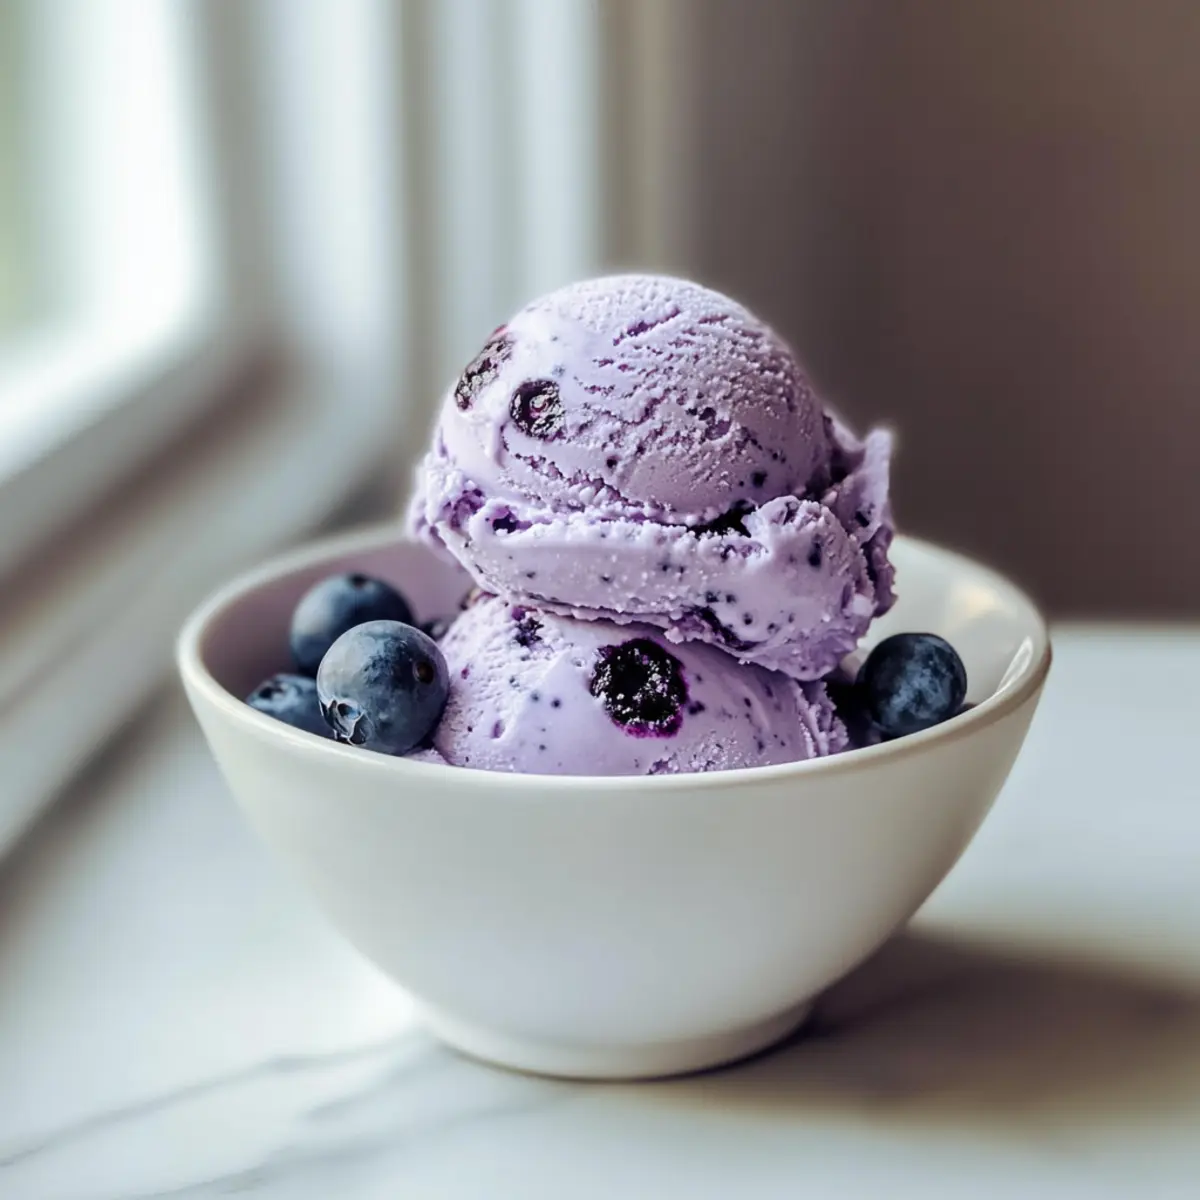
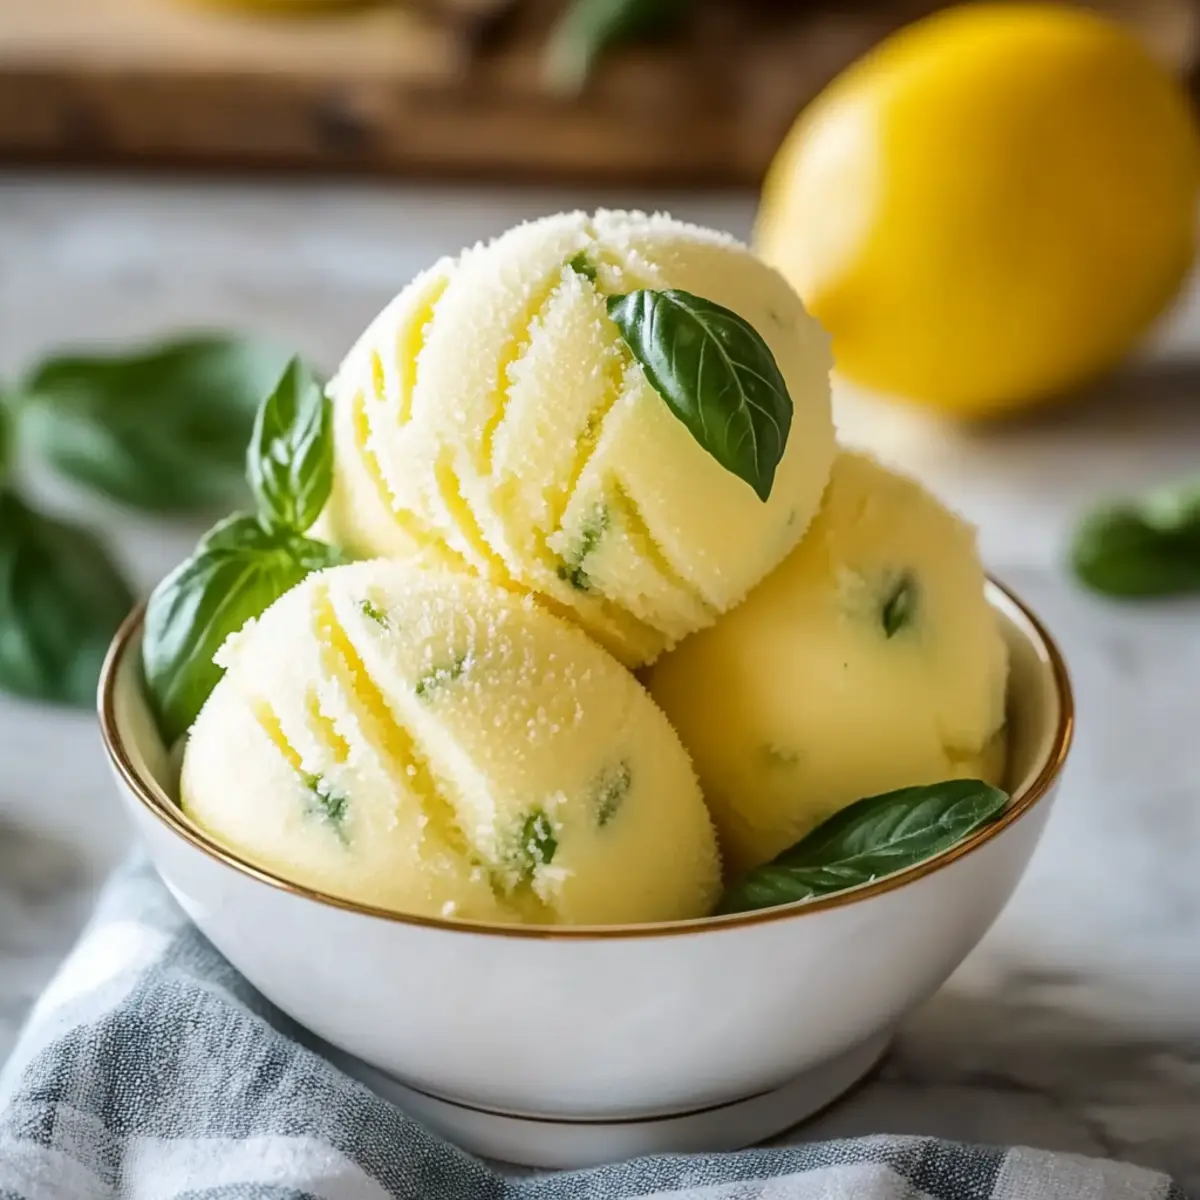
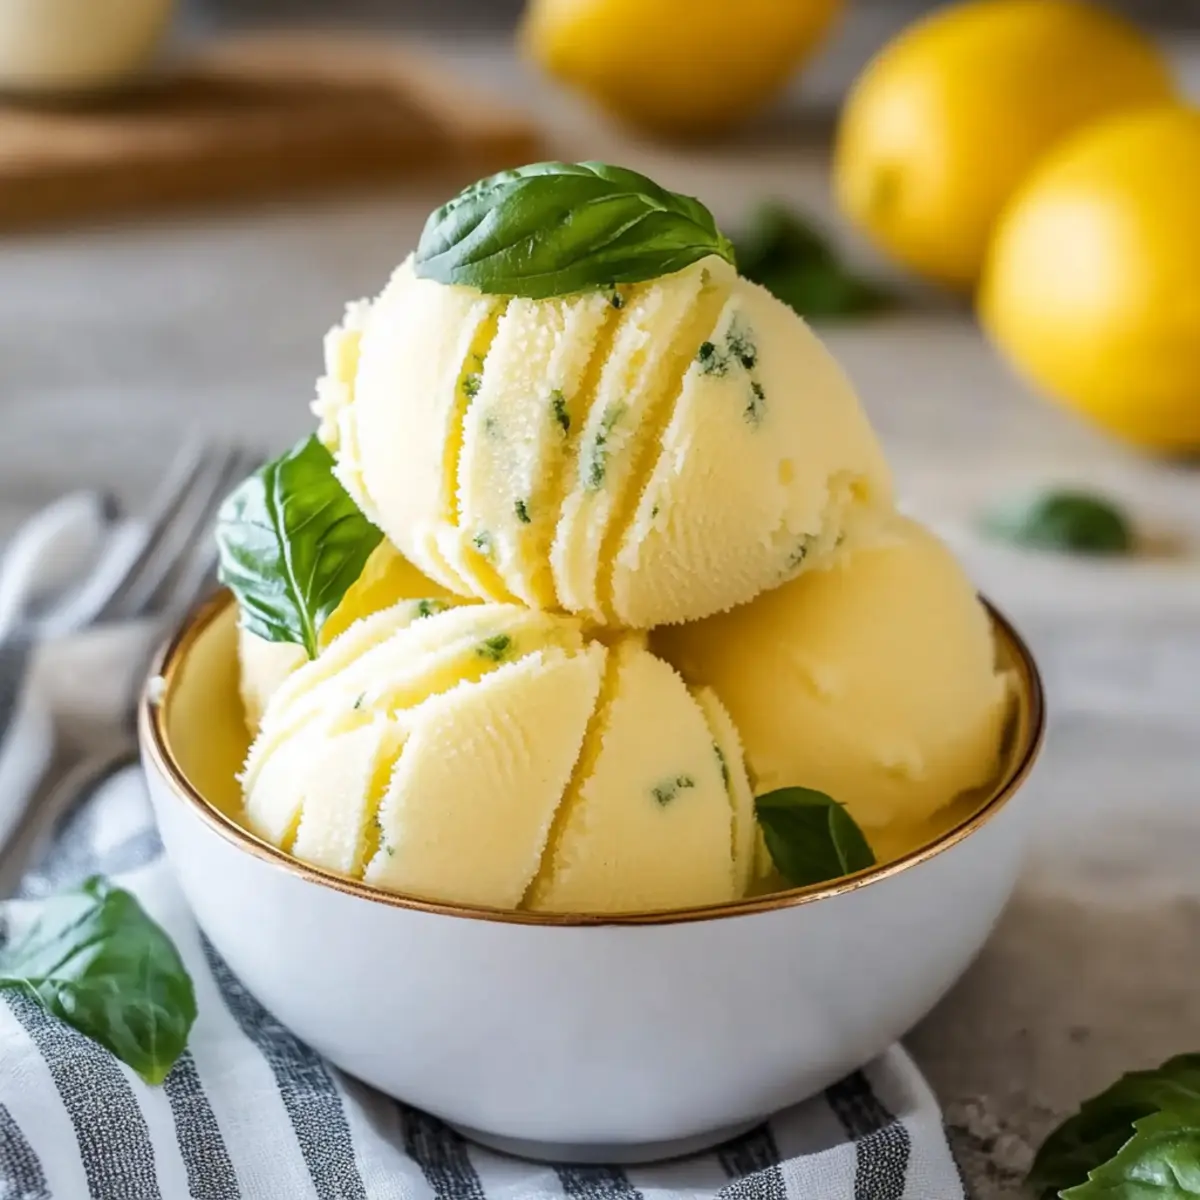
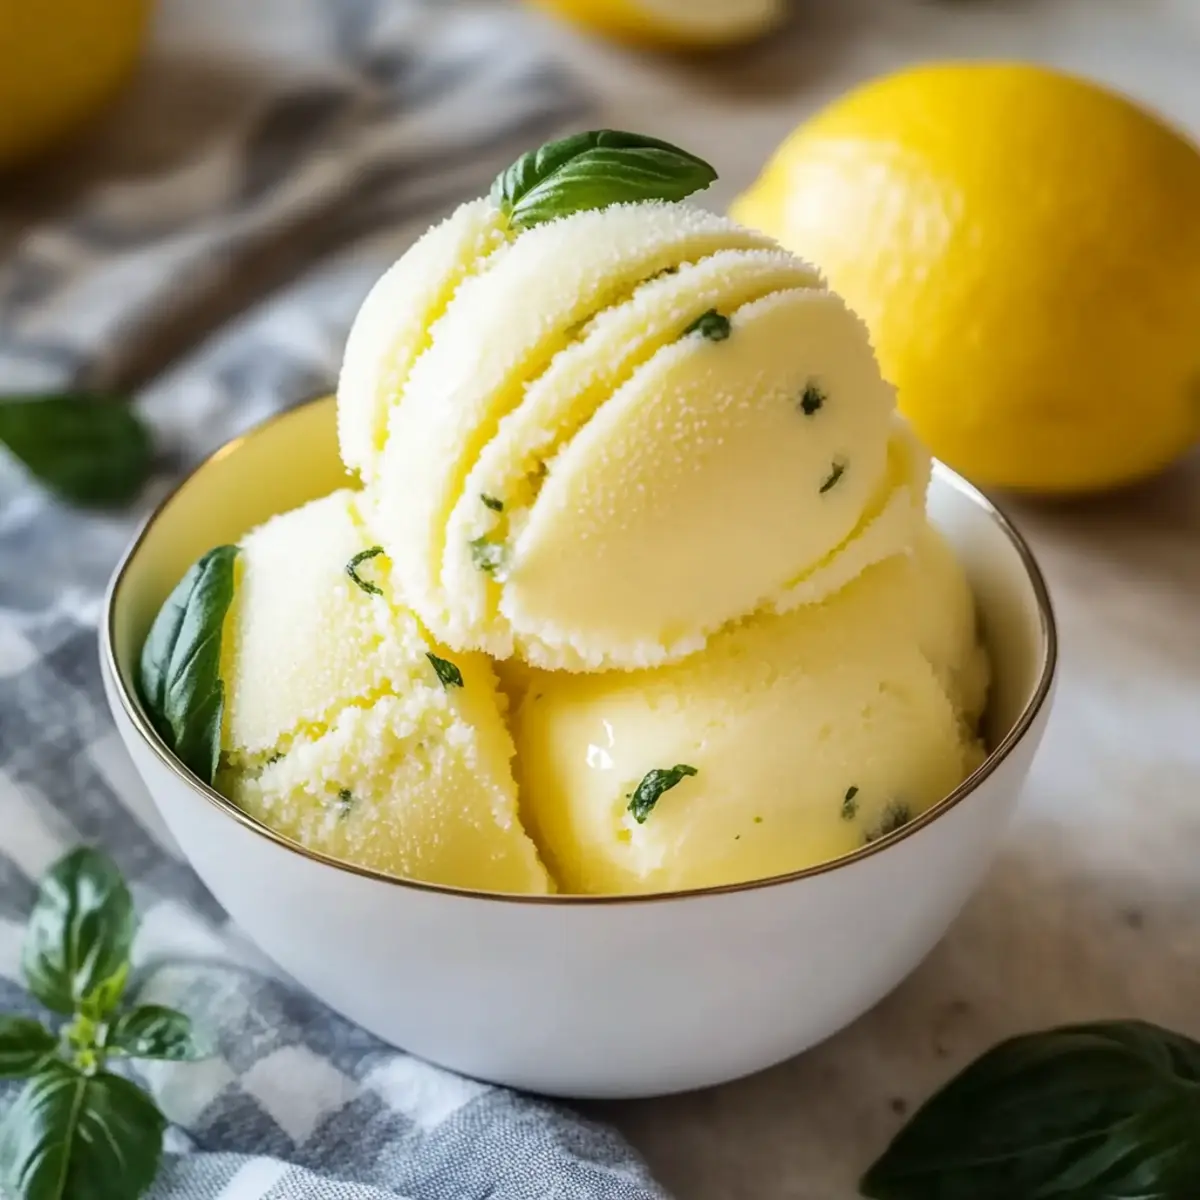
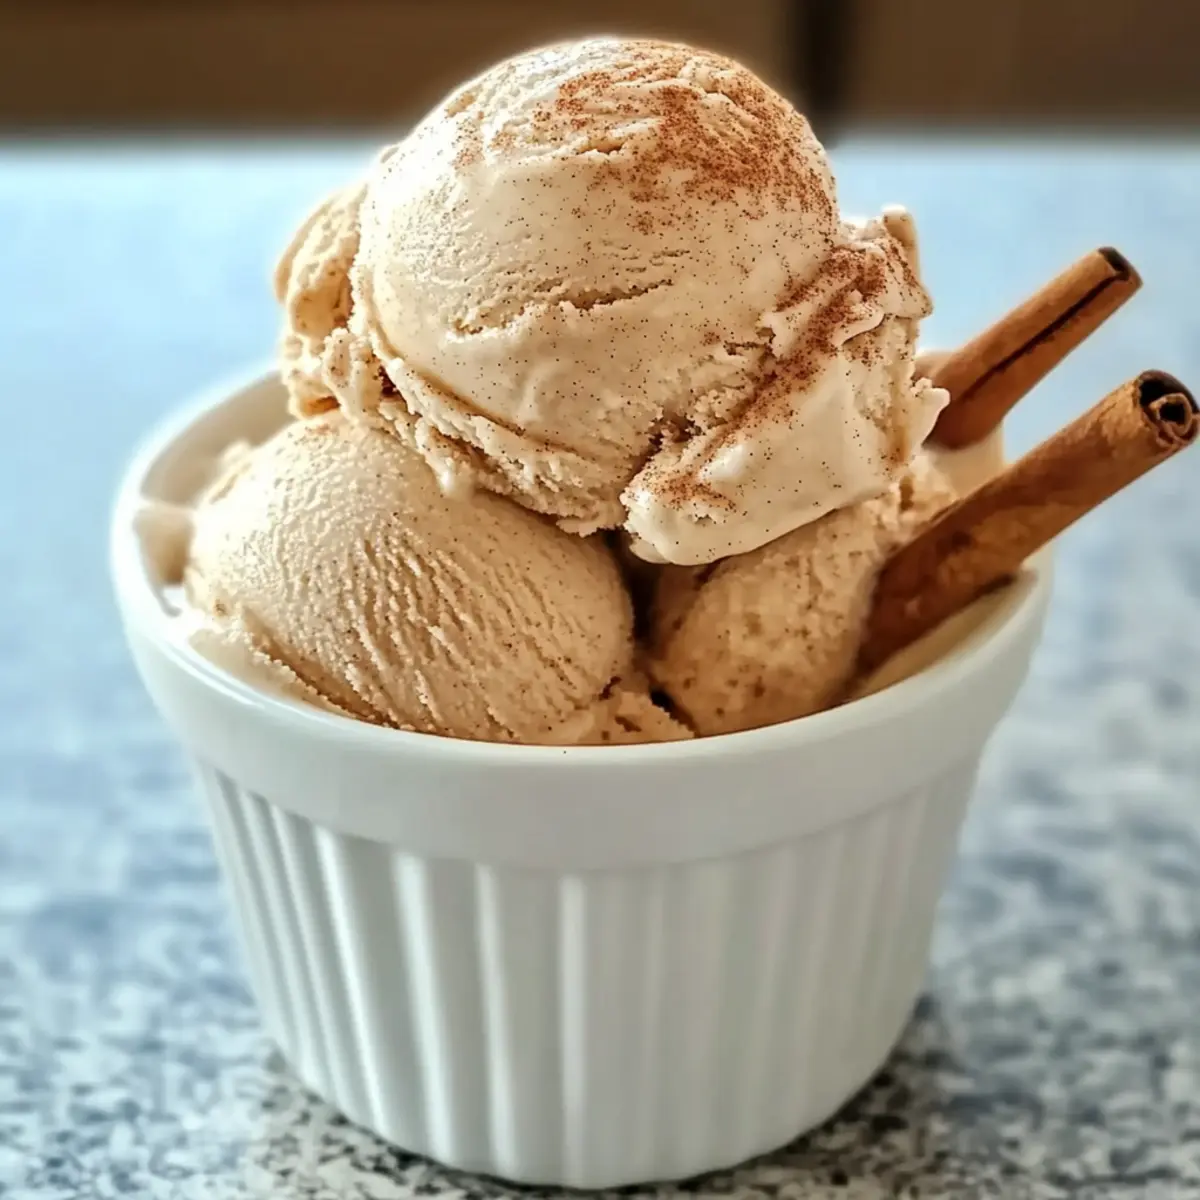
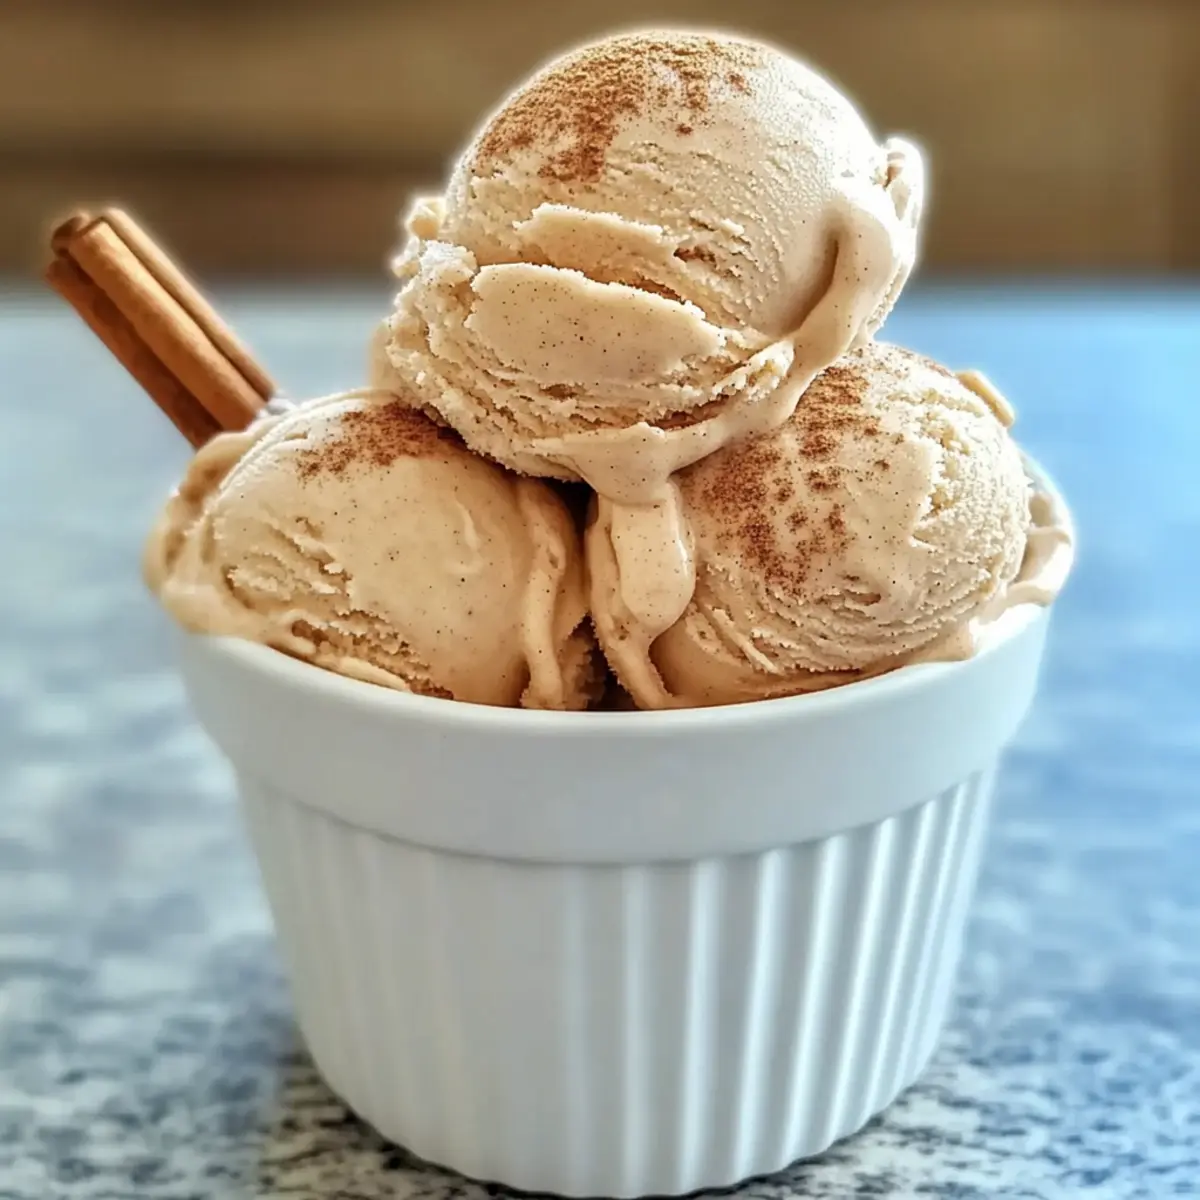
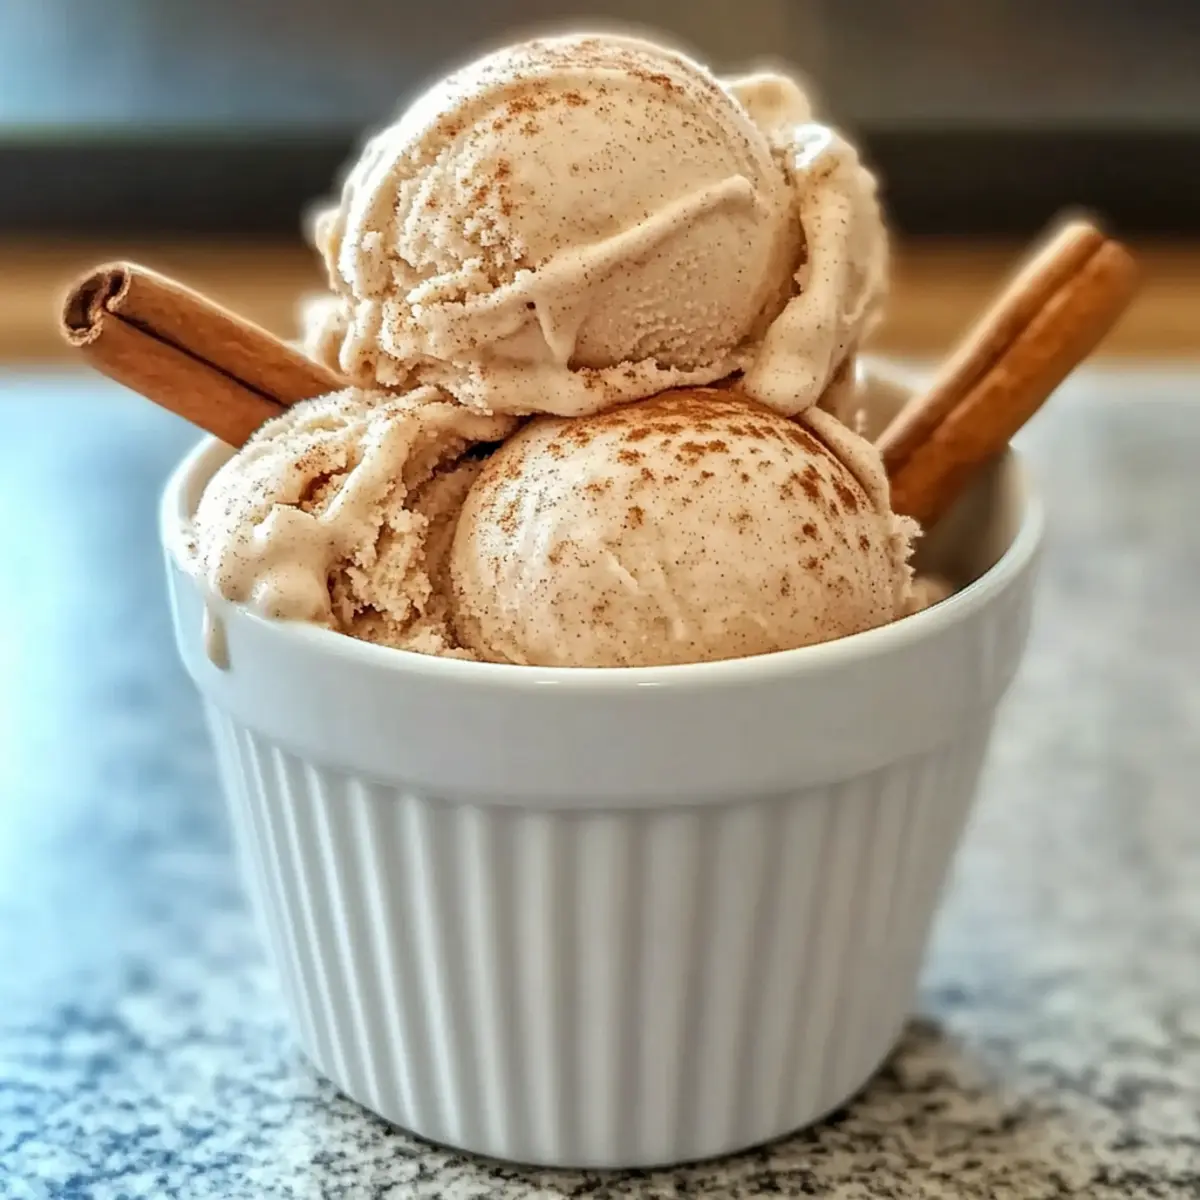
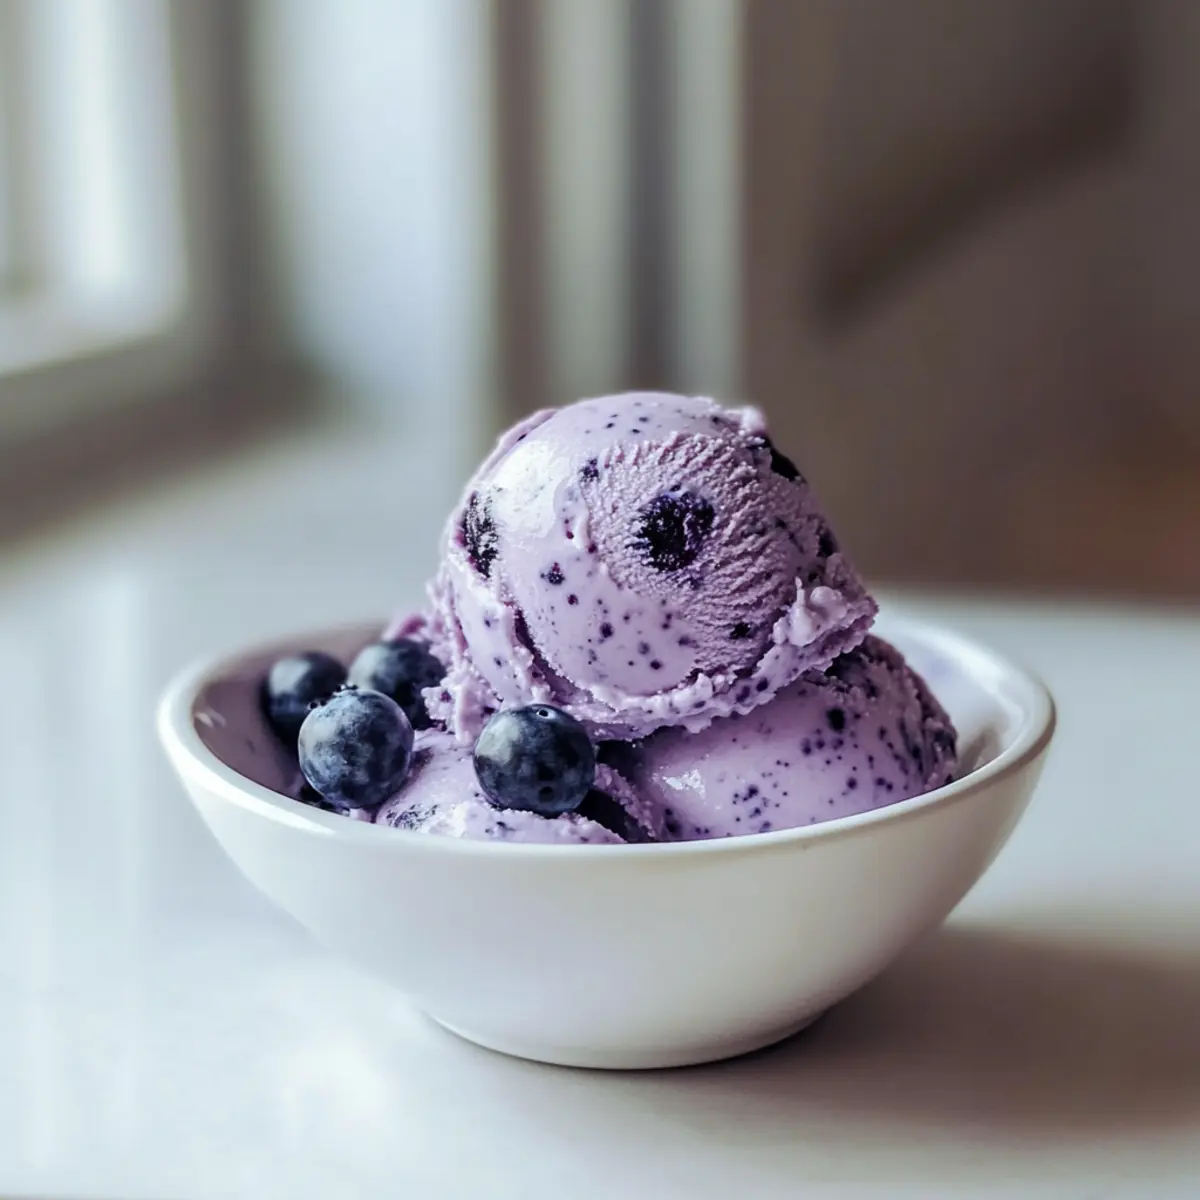
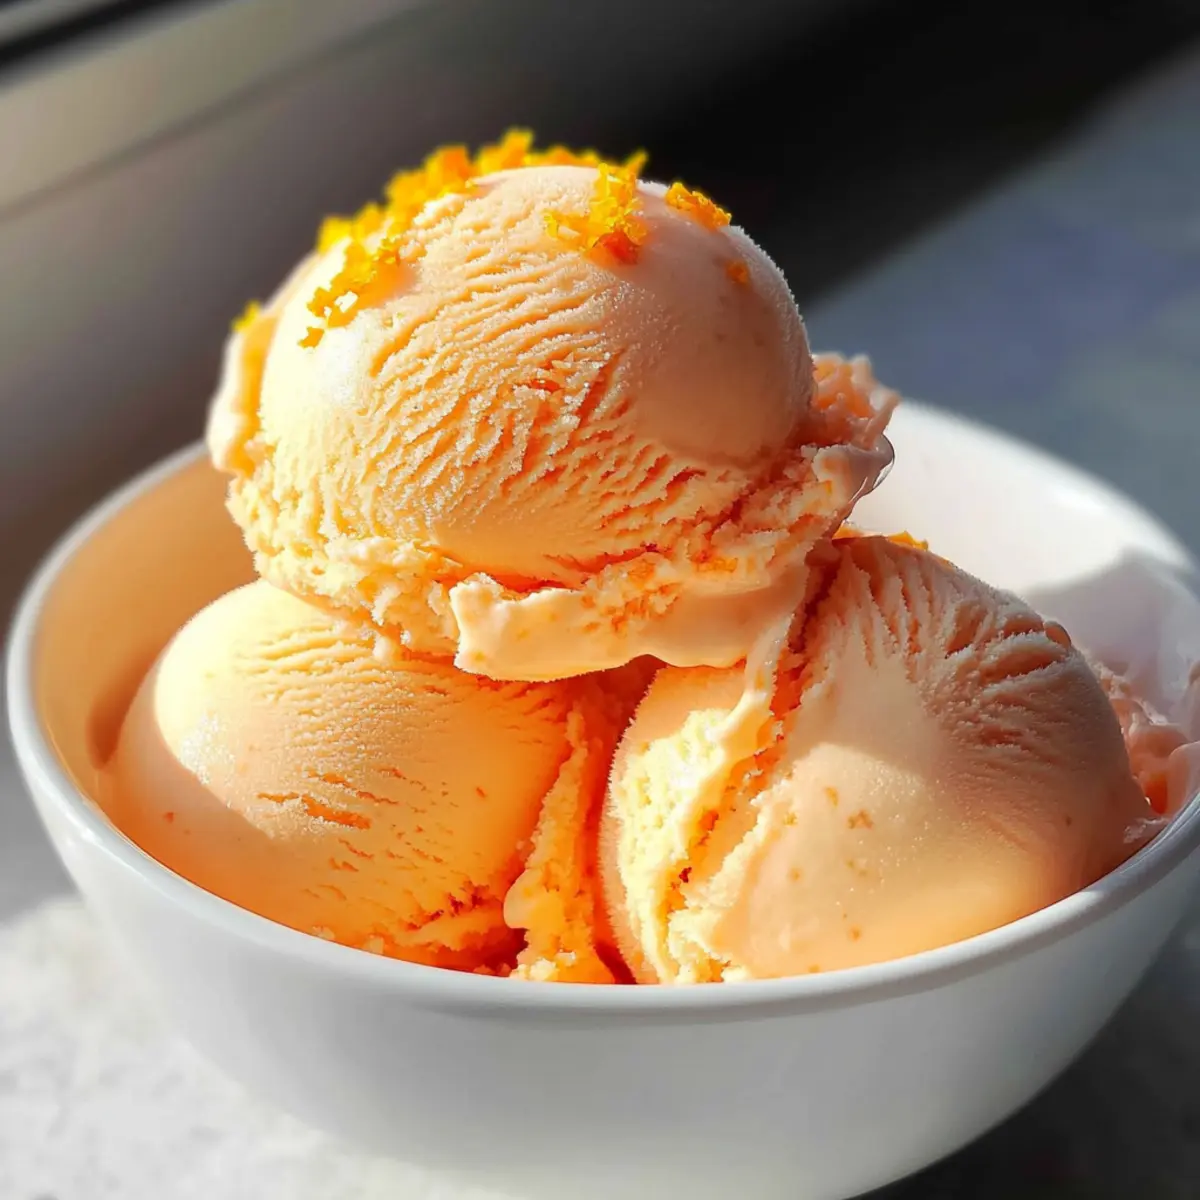
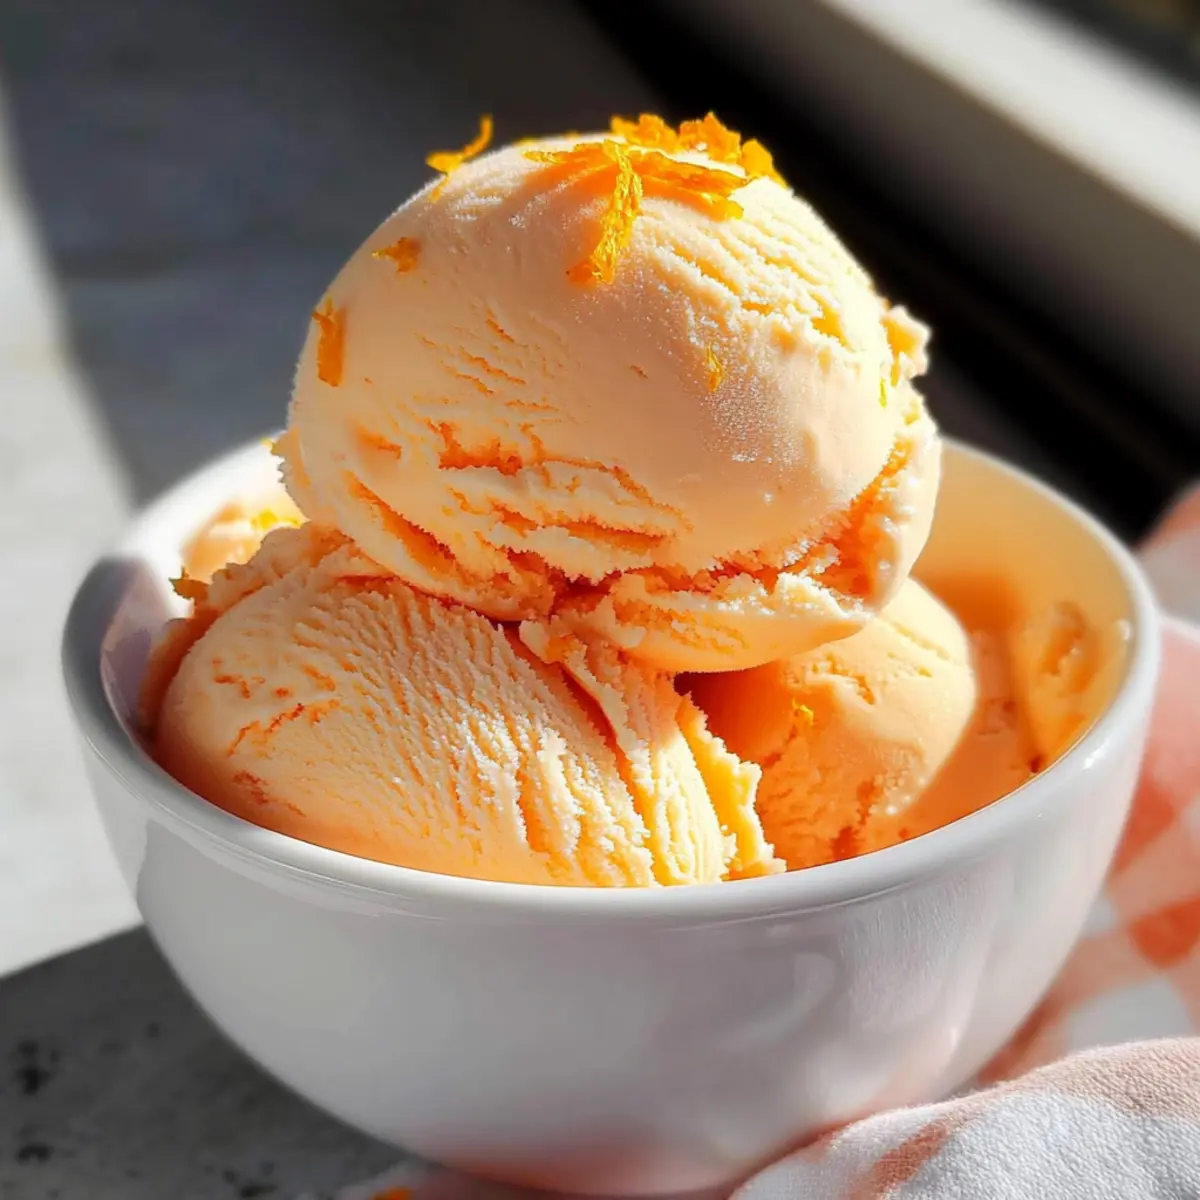
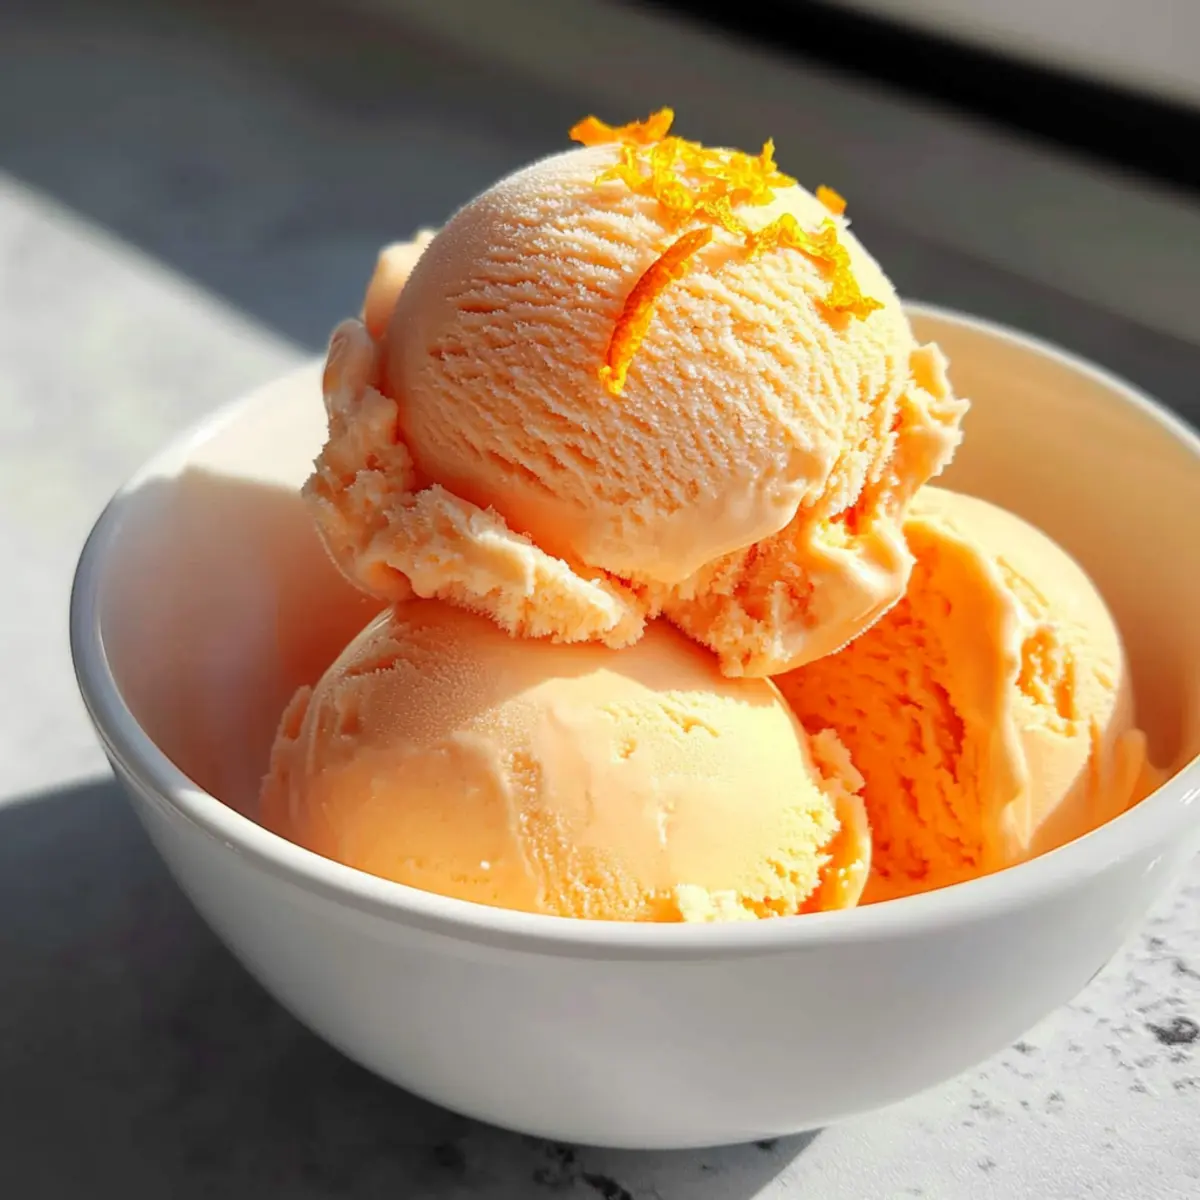
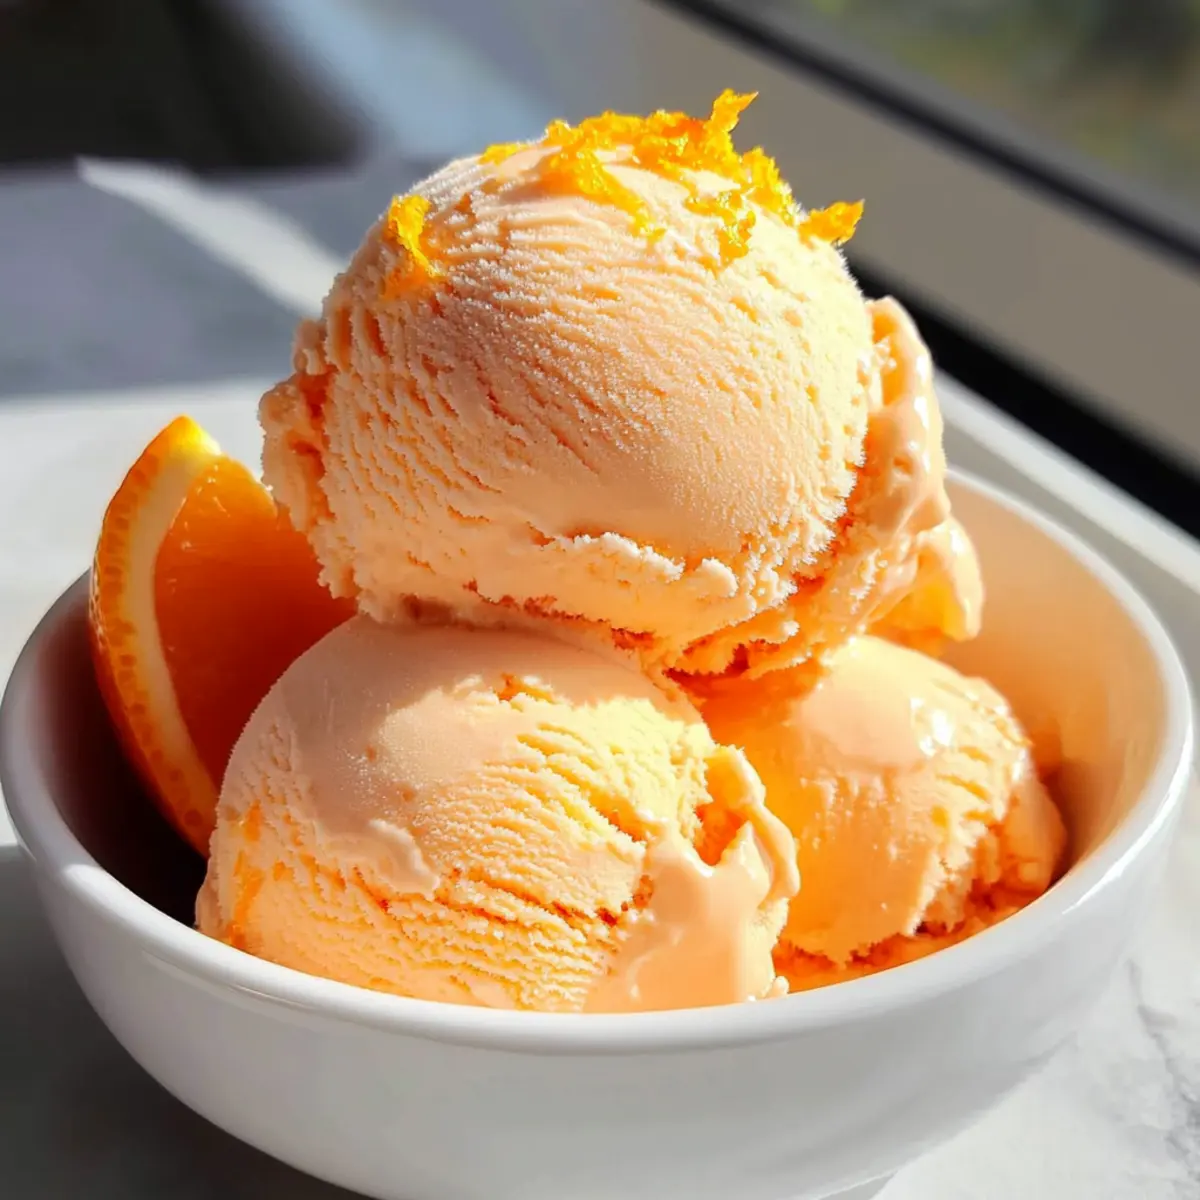
As I stood in my kitchen, the sun streaming through the window, the scent of freshly squeezed oranges took me back to sun-soaked summer afternoons and ice cream trucks buzzing by. This homemade Orange Ice Cream recipe captures that nostalgic feeling perfectly, offering a creamy, dreamy treat that’s both refreshing and delightfully zesty. It’s not only a breeze to whip up with simple ingredients, but it also brings joy to kids and adults alike, making it a versatile dessert for any occasion. Whether you’re hosting a summer BBQ or craving a comforting sweet at home, this Orange Ice Cream will satisfy your sweet tooth and brighten your day! Curious to add a tasty twist to your homemade dessert repertoire? Let’s dive into the recipe!
Why is Homemade Orange Ice Cream Special?
Nostalgic Flavor: Experience the delightful taste of childhood with vibrant notes that burst in every bite.
Effortless Creation: This ice cream comes together quickly with just a few simple ingredients, making it perfect for a last-minute treat.
Versatile Enjoyment: Enjoy it solo, or pair it with warm desserts like chocolate chip cookies for an unforgettable combination.
Customizable Experience: You can easily adjust sweetness or mix in fun extras like chocolate chips, ensuring it suits everyone’s taste!
Family-Friendly Fun: Kids love to participate in making this creamy treat, creating cherished moments around the kitchen.
Long-Lasting Goodness: Store in the freezer for up to two months, so you can savor it anytime your sweet cravings hit.
Orange Ice Cream Ingredients
Get ready to create delicious homemade Orange Ice Cream with these simple ingredients!
For the Base
- Heavy Cream – Provides a rich, creamy texture; for a dairy-free option, try coconut cream.
- Sugar – Sweetens the ice cream; honey or agave syrup make great natural substitutes.
- Freshly Squeezed Orange Juice – Contributes vibrant flavor and freshness; use ripe oranges for the best taste.
- Whole Milk – Adds creaminess; almond milk can be used for a lighter alternative.
For Flavor Enhancement
- Orange Extract – Enhances the orange flavor; lemon extract can provide a fun citrusy variant.
- Vanilla Extract – Adds warmth and depth to the flavor profile; leave as is unless you want a different base.
For Presentation
- Food Coloring (optional) – Adds visual appeal to your Orange Ice Cream; not necessary, but can brighten the color.
With these ingredients, you're all set to whip up a batch of dreamy, creamy Orange Ice Cream that will surely melt hearts and minds. Enjoy making this delightful dessert!
Step‑by‑Step Instructions for Orange Ice Cream
Step 1: Combine Ingredients
In a large mixing bowl, whisk together 2 cups of heavy cream, 1 cup of sugar, 1 cup of freshly squeezed orange juice, 1 cup of whole milk, 1 teaspoon of orange extract, and 1 teaspoon of vanilla extract. Mix until the sugar dissolves completely, creating a smooth and creamy base for your Orange Ice Cream. This process should take about 2-3 minutes of steady mixing.
Step 2: Add Color If Desired
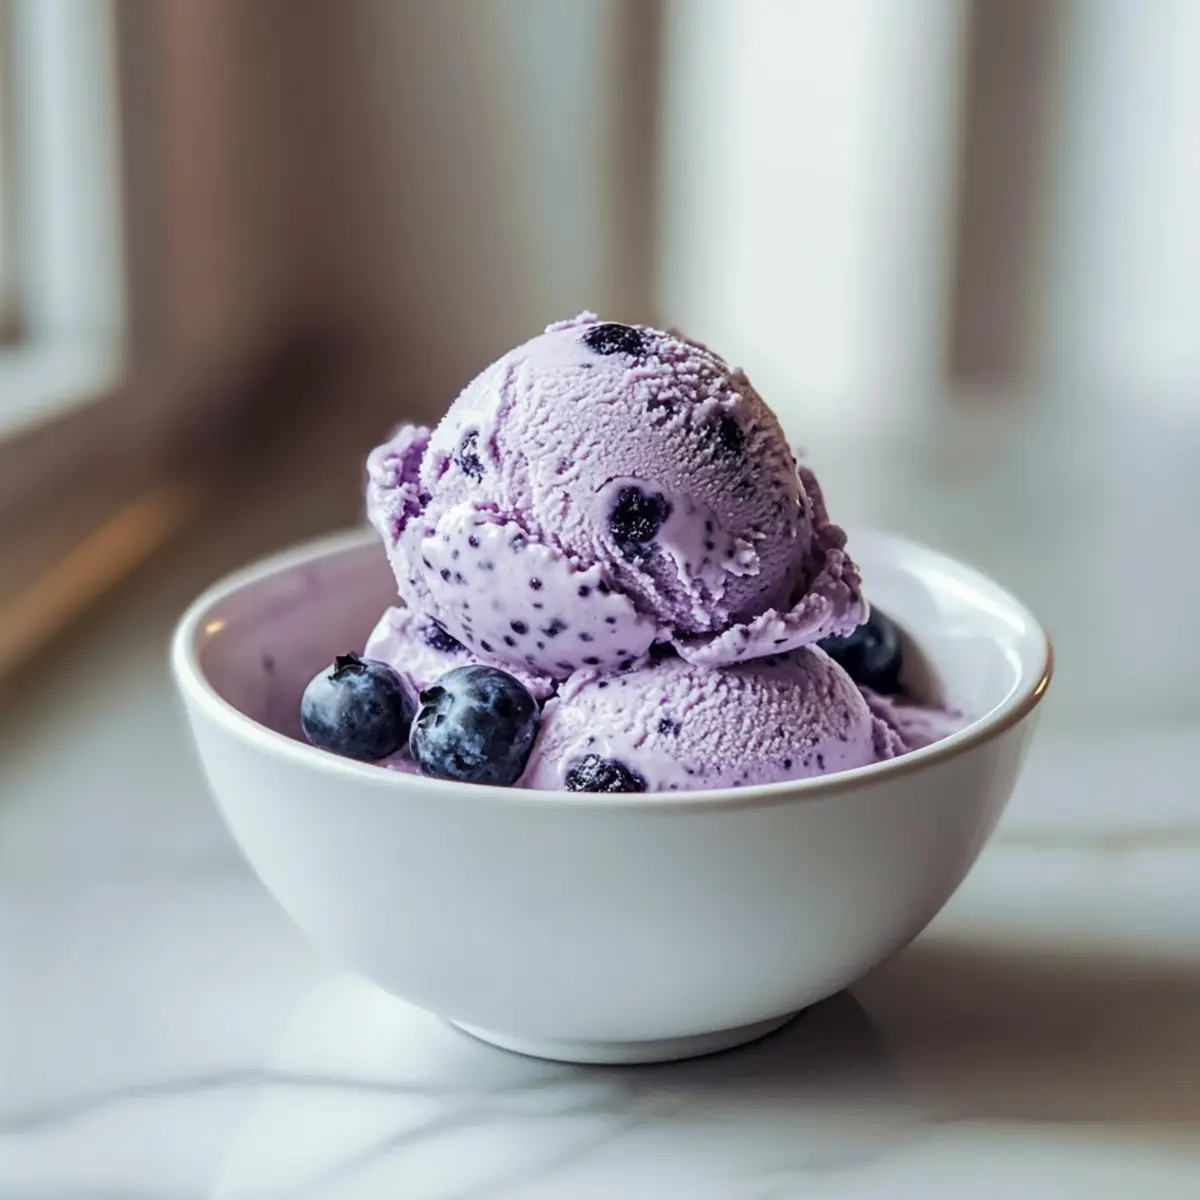
If you’d like your homemade Orange Ice Cream to have a vibrant hue, now is the time to incorporate food coloring. Add a few drops and gently stir the mixture until the color is evenly distributed. Achieving a bright orange shade will enhance the visual appeal of your dessert, making it even more inviting for those summer gatherings.
Step 3: Chill the Mixture
To improve the texture of your Orange Ice Cream, cover the bowl with plastic wrap and refrigerate the mixture for at least 1 hour. This chilling period allows the flavors to meld and ensures a creamier result when you churn it. While waiting, you can prepare your ice cream maker according to the manufacturer's instructions.
Step 4: Churn the Ice Cream
Once chilled, pour the mixture into your ice cream maker. Churn the mixture according to the manufacturer's instructions, typically for about 20-25 minutes. You’ll know it’s ready when it reaches a soft-serve consistency, thick and creamy yet pliable. This is the perfect stage to enjoy as a dessert if you're looking for a quick treat!
Step 5: Freeze Until Firm
Transfer the churned Orange Ice Cream into an airtight container, smoothing the top for even freezing. Cover the surface with plastic wrap to prevent ice crystals from forming and seal with a lid. Freeze the ice cream for 4-6 hours, or overnight, until it becomes firm enough to scoop. Patience is key as the flavors continue to develop during this time!
Step 6: Serve and Enjoy
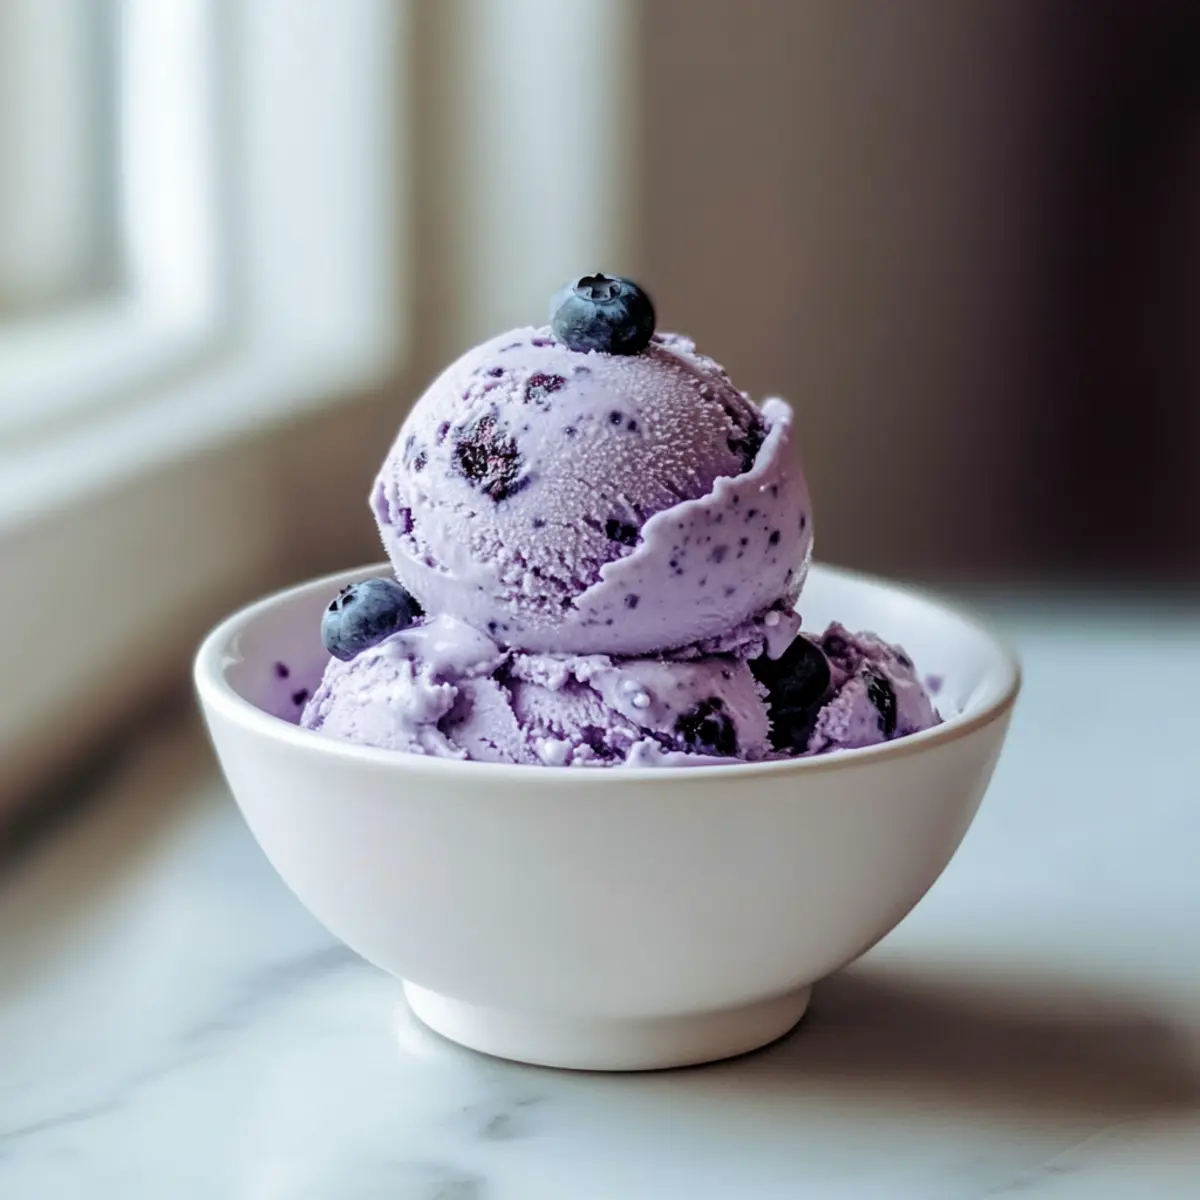
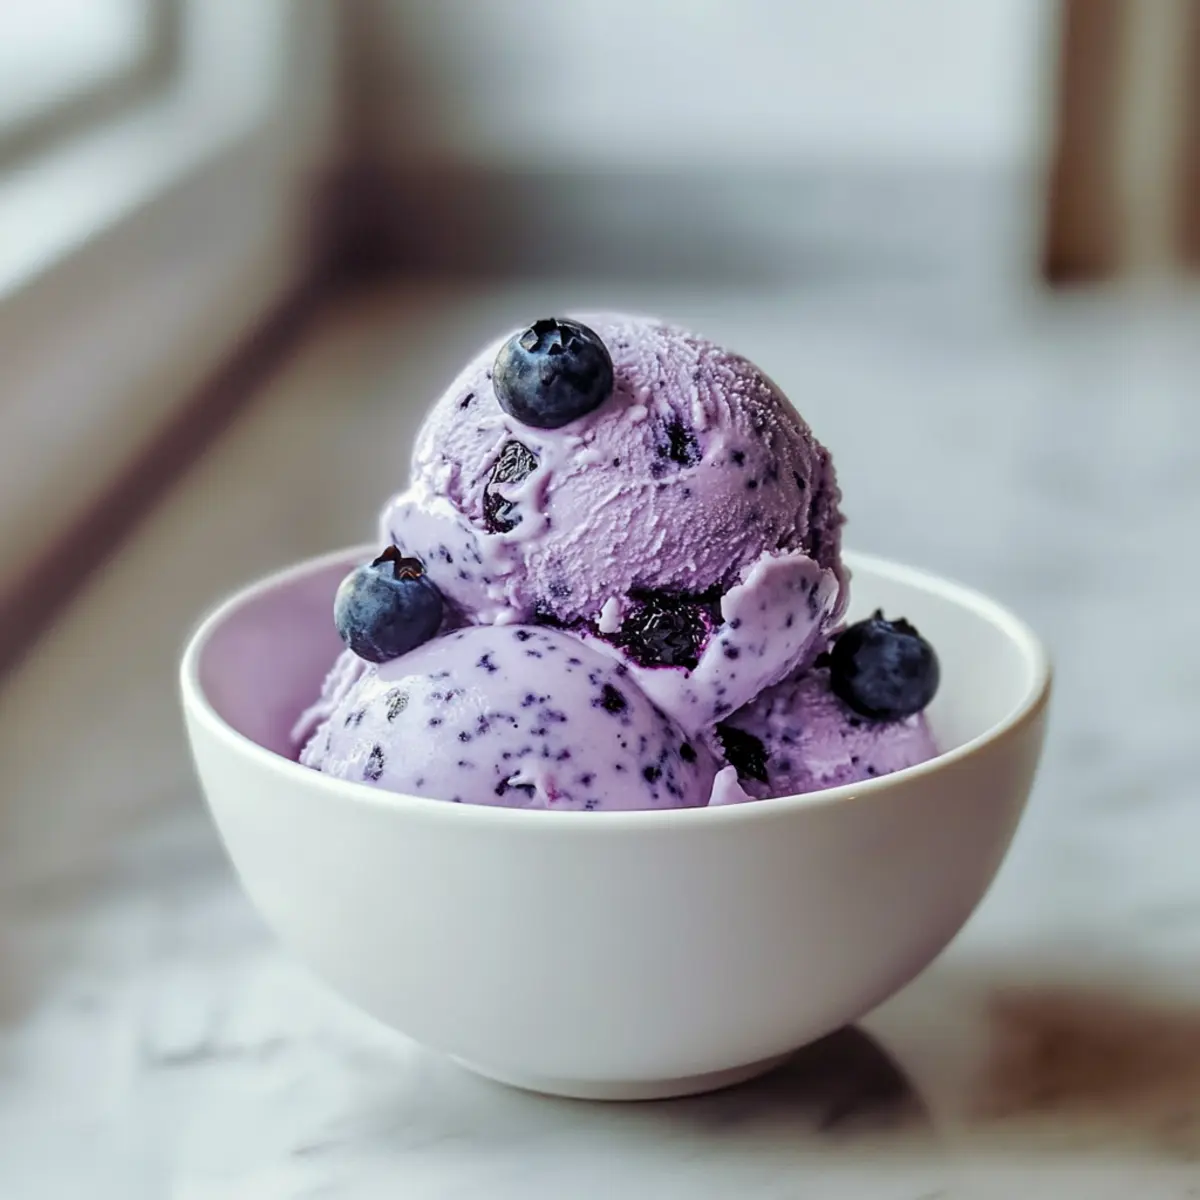
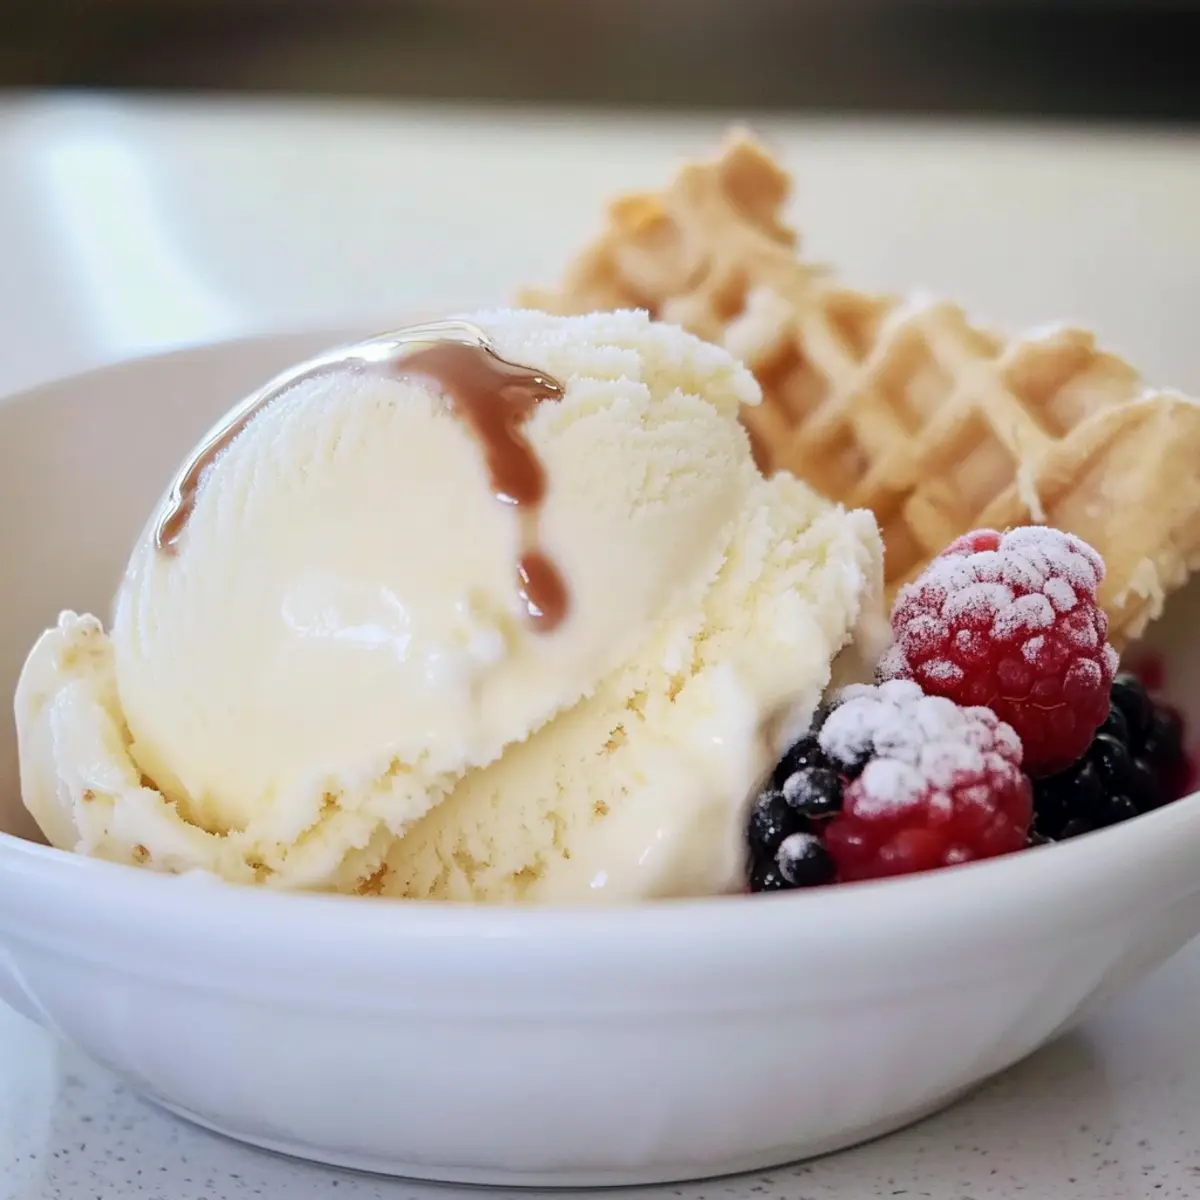
When ready to serve your delightful Orange Ice Cream, remove it from the freezer and let it sit for about 5 minutes. This slight warming allows for easier scooping. Use an ice cream scoop to serve generous portions into bowls or cones, and delight in the creamy, zesty taste reminiscent of childhood summers.
What to Serve with Homemade Creamy Orange Ice Cream
Imagine savoring this zesty treat paired with delightful accompaniments that elevate your dessert experience even further.
-
Warm Chocolate Chip Cookies: The rich, gooey texture of chocolate chip cookies contrasts beautifully with the creamy orange ice cream, creating a match made in dessert heaven.
-
Fresh Fruit Salad: A colorful mix of seasonal fruits enhances the refreshing orange flavor, providing a light and vibrant complement to your frozen treat.
-
Pineapple Upside-Down Cake: The caramelized, buttery sweetness of this cake pairs perfectly with the citrusy notes of the ice cream, making every bite a tropical delight.
-
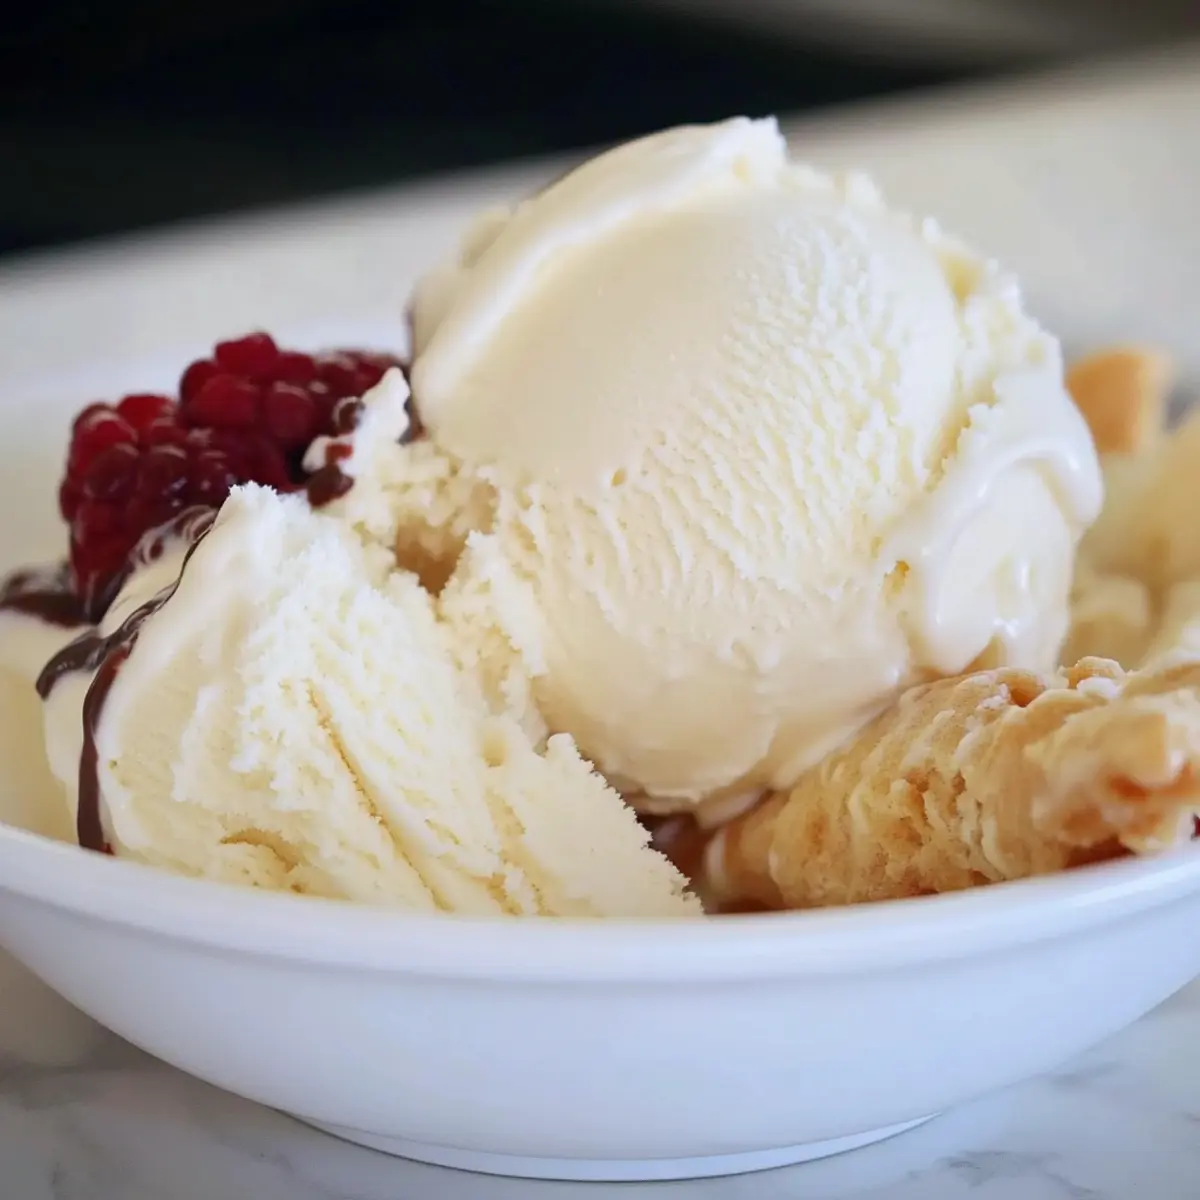
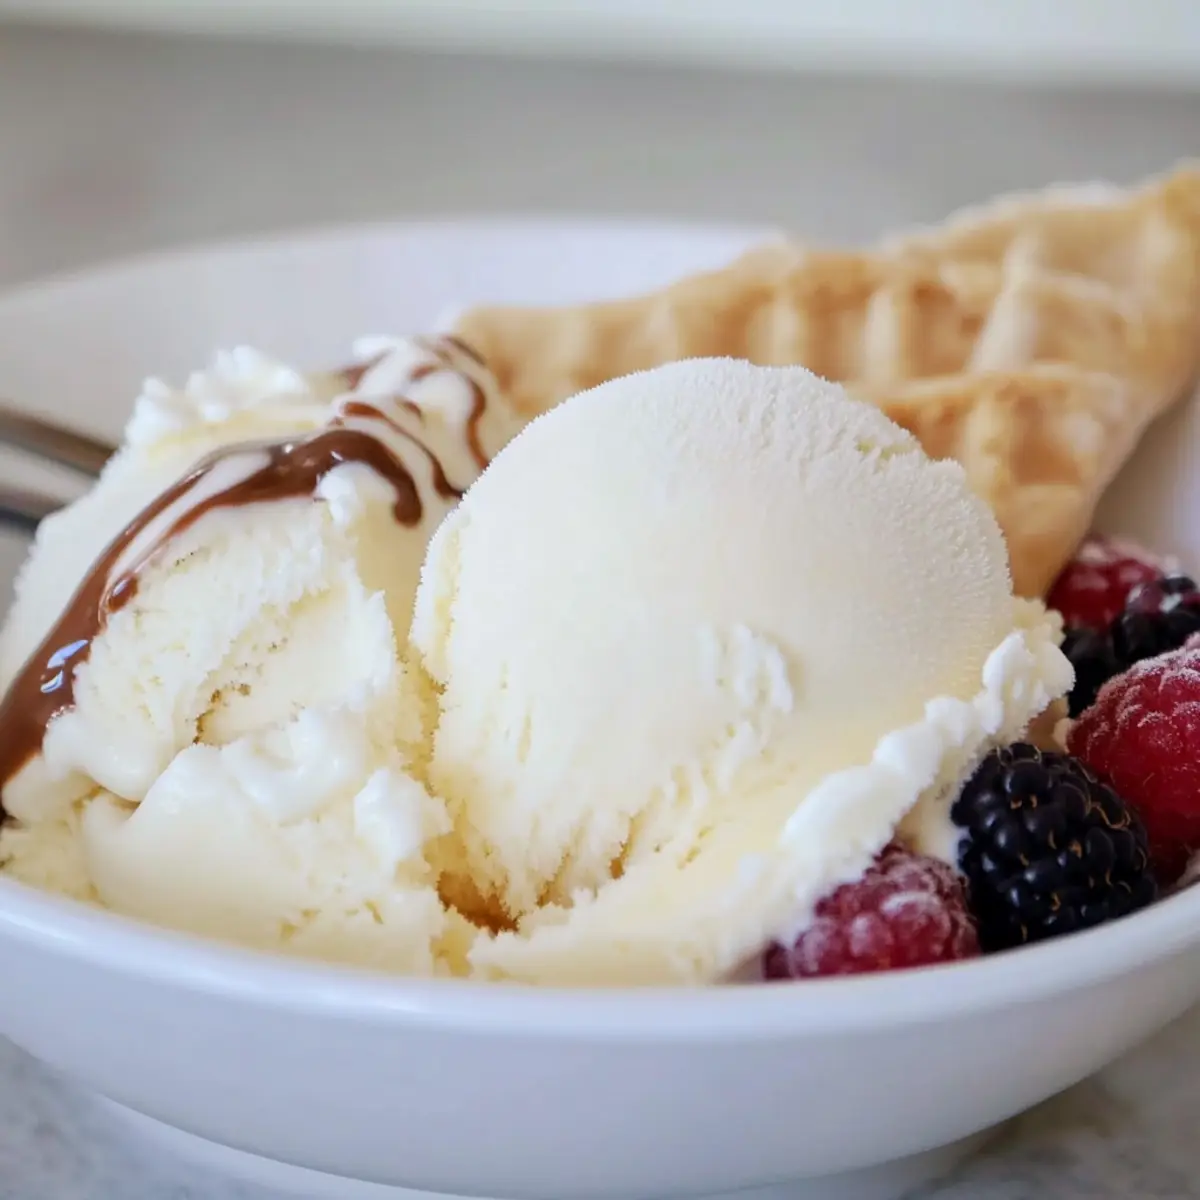
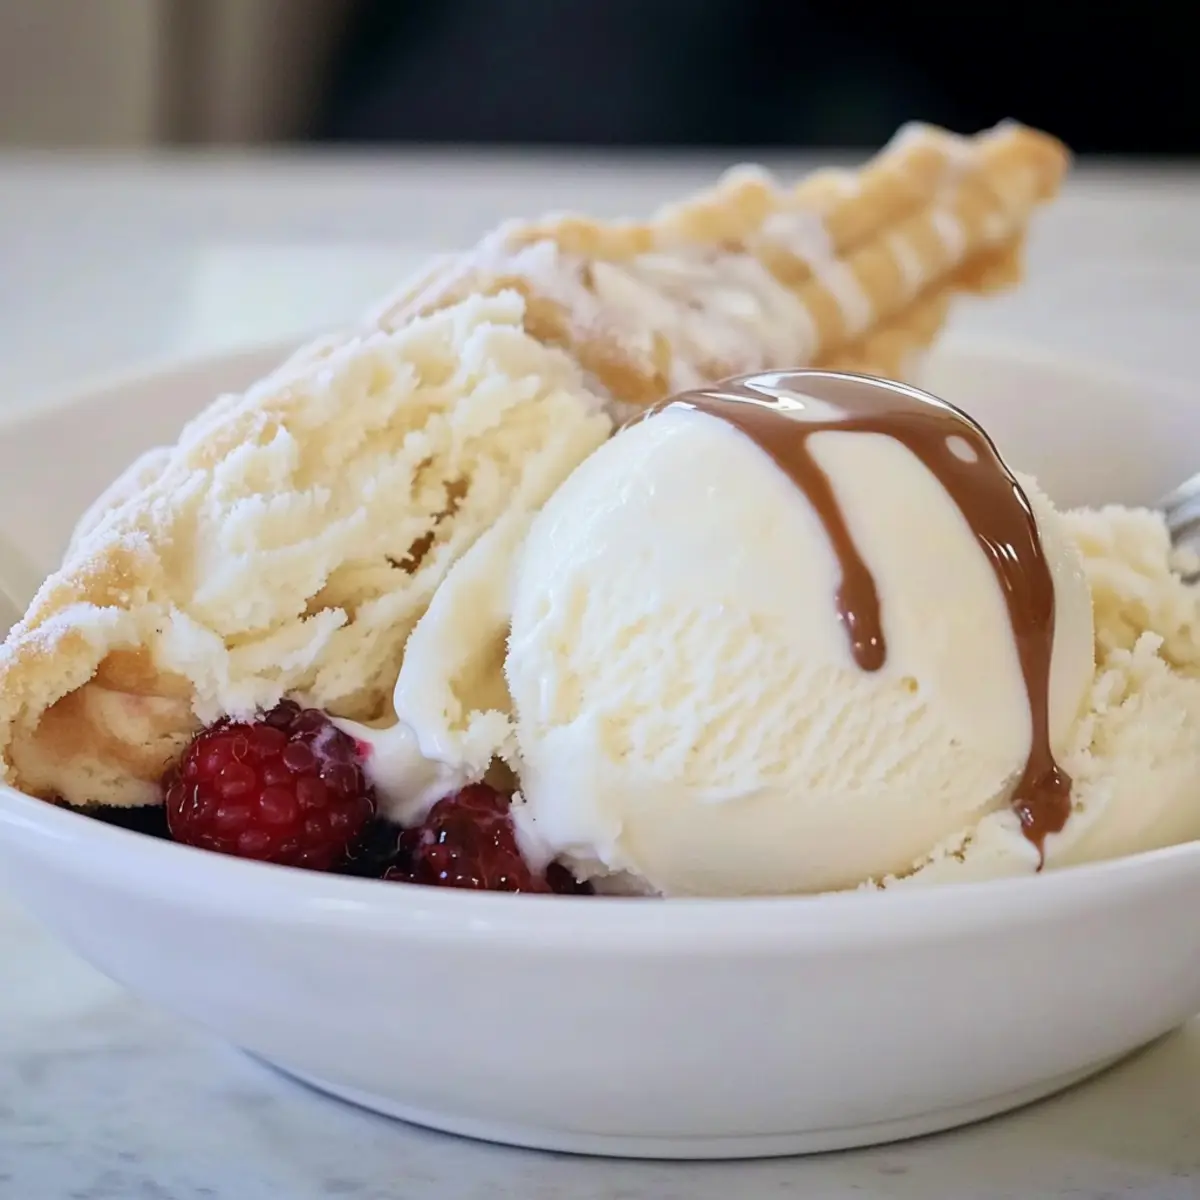
Homemade Waffle Cone: Serve your ice cream in a crispy waffle cone for a delightful crunch that adds an extra layer of satisfaction to each scoop.
-
Mint Sprig Garnish: The fresh scent of mint not only brightens up your presentation but also adds a refreshing layer of flavor that works harmoniously with the rich orange ice cream.
-
Coconut Macaroons: These chewy, sweet treats bring a tropical twist. Their texture is a wonderful contrast to the smooth creaminess of the orange ice cream.
-
Iced Tea or Lemonade: A chilled glass of iced tea with lemon or tangy lemonade will refresh your palate, making it the ideal drink to enjoy alongside your homemade masterpiece.
-
Chocolate Sauce Drizzle: A warm drizzle of chocolate sauce over the ice cream offers a decadent touch, creating a luxurious flavor combination that tickles the taste buds.
-
Crushed Graham Crackers: The slight crunch and subtle sweetness of graham crackers sprinkled on top provide a fun texture contrast with every creamy spoonful.
Each of these pairings brings out new flavors and textures, turning your homemade orange ice cream into a delightful dessert experience that everyone will love!
Make Ahead Options
These homemade Orange Ice Cream preparations are perfect for busy families looking to save time while enjoying a delightful treat! You can mix the ice cream base (heavy cream, sugar, orange juice, whole milk, orange extract, and vanilla extract) up to 24 hours in advance and refrigerate it, allowing the flavors to meld beautifully. Additionally, the churned ice cream can be stored in an airtight container in the freezer, ready up to 2 months before serving. To maintain its creamy texture, cover the surface with plastic wrap to prevent ice crystals. When you're ready to enjoy, simply let the Orange Ice Cream sit for about 5 minutes at room temperature for easy scooping, and relish in the homemade taste without the last-minute rush!
How to Store and Freeze Orange Ice Cream
Airtight Container: Store your homemade Orange Ice Cream in an airtight container to keep it fresh and prevent freezer burn; it will last up to 2 months in the freezer.
Chilling Before Serving: Before serving, let the ice cream sit at room temperature for about 5 minutes. This makes scooping easier and keeps the creamy texture intact.
Reviving Leftovers: If your Orange Ice Cream becomes too hard, let it sit at room temperature for a few minutes to soften slightly before scooping.
Make-Ahead Option: Feel free to prepare this delightful treat several days in advance for parties or gatherings, ensuring you always have a sweet scoop on hand!
Orange Ice Cream Variations & Substitutions
Get ready to put your own spin on this delightful Orange Ice Cream! With a few swaps and twists, you can create a whole new level of deliciousness.
- Dairy-Free: Swap heavy cream and whole milk for coconut cream and almond milk for a refreshing vegan option.
- Natural Sweetener: Use honey or agave syrup instead of sugar for a healthier, naturally sweet twist.
- Citrus Boost: Experiment with lemon or lime juice in place of orange juice for a zesty change of flavor.
- Chocolate Delight: Stir in chocolate chips or dark chocolate shavings right before freezing for a decadent experience.
- Texture Twist: Add crushed cookies or nuts into the mix for crunchy surprises with each scoop.
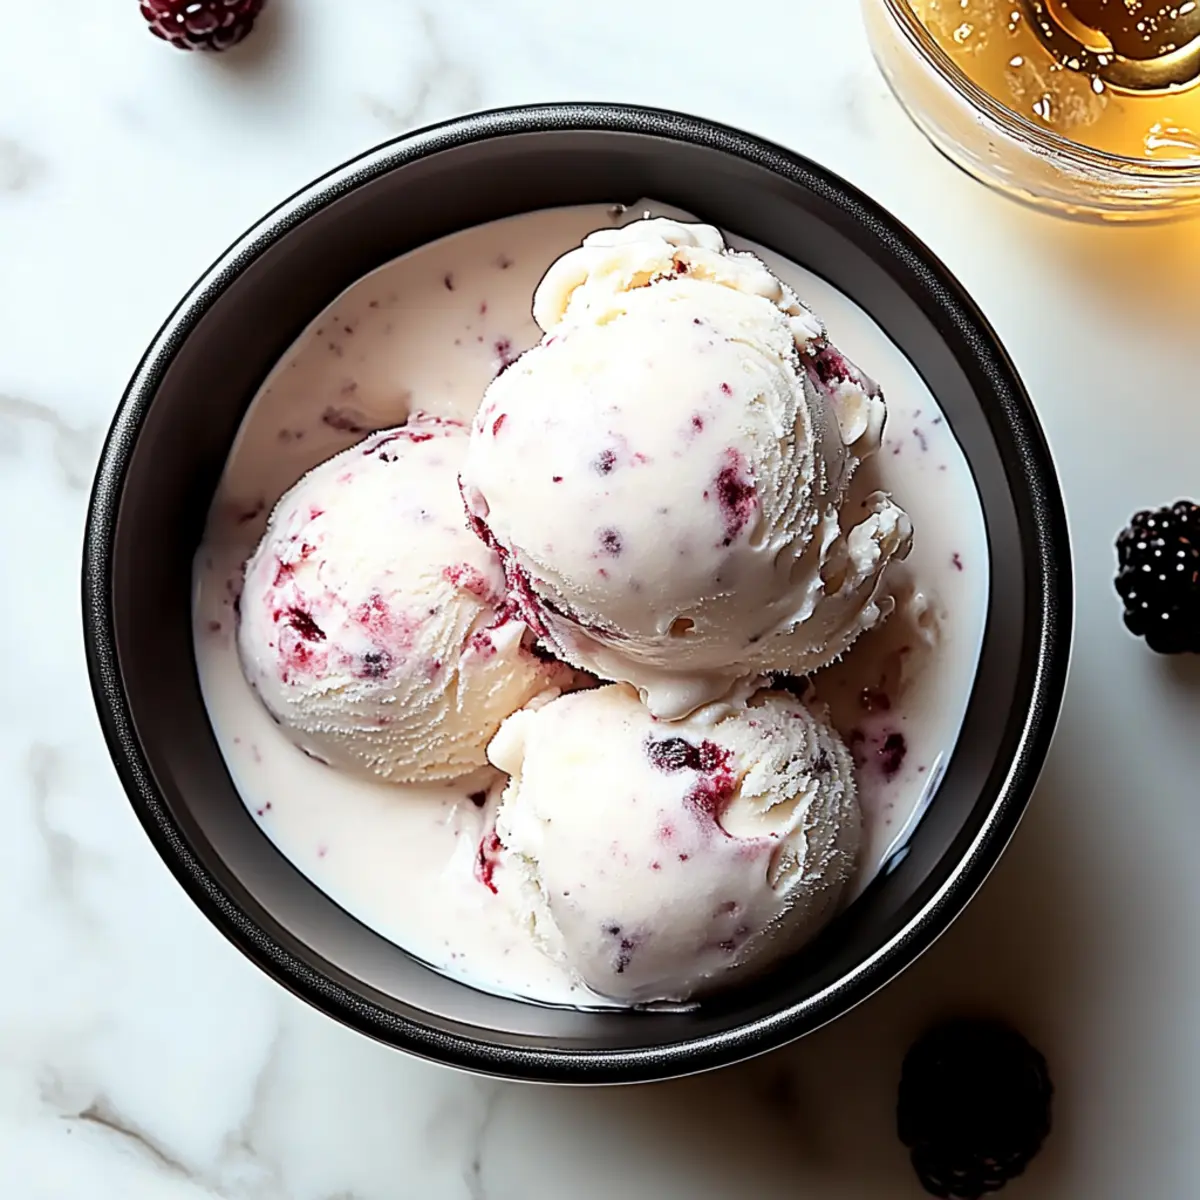
- Fruit Fusion: Blend in pureed strawberries or raspberries for a vibrant fruit swirl throughout your ice cream.
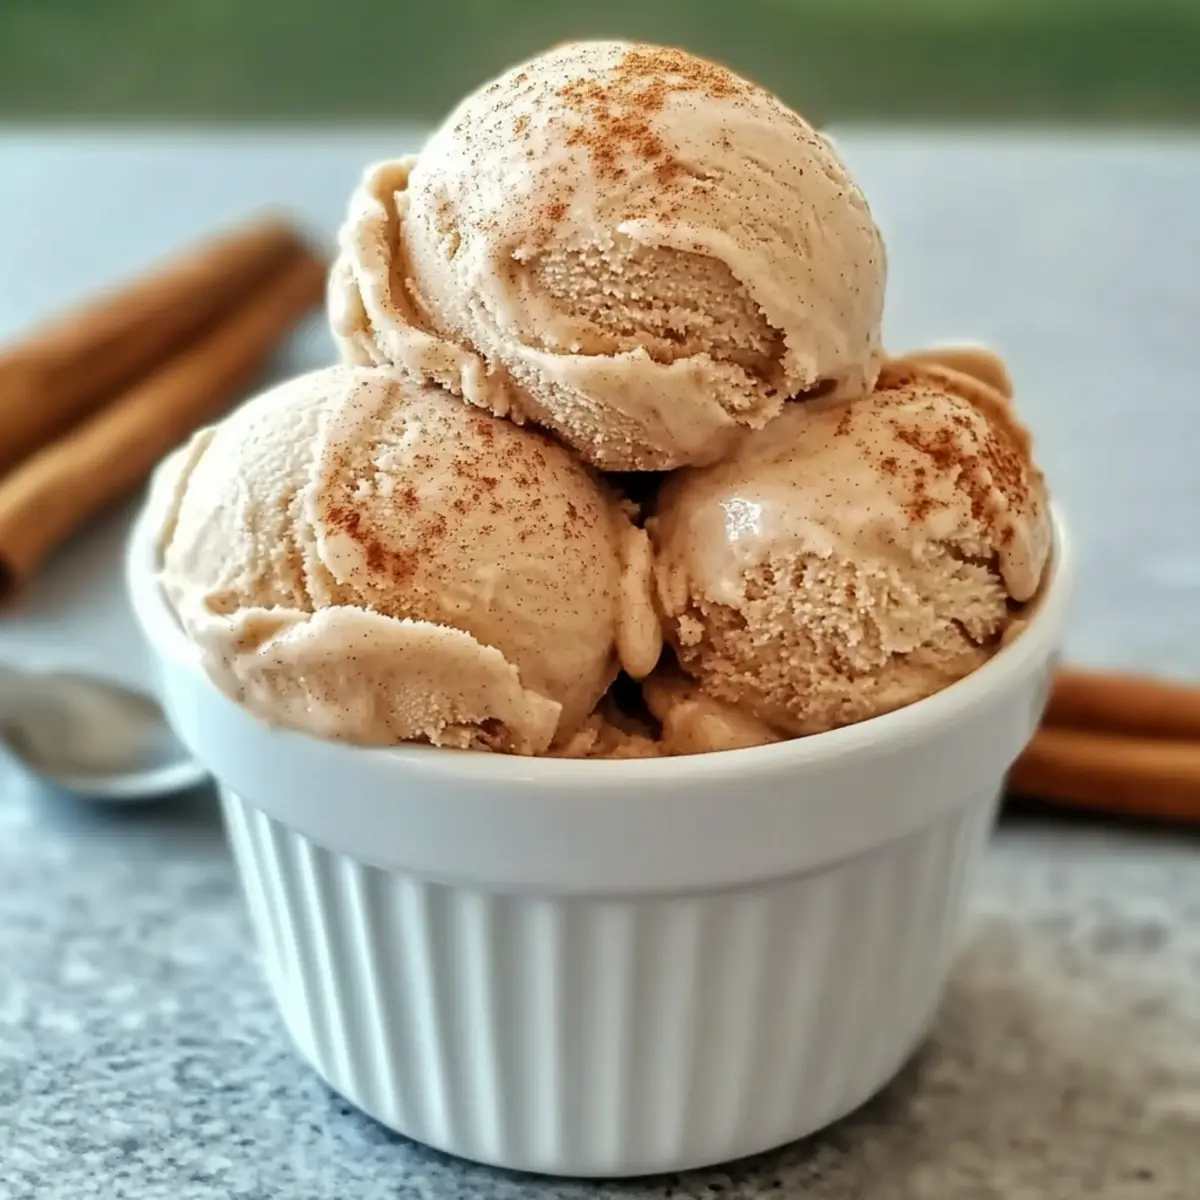
- Spiced Treat: Consider adding a dash of cinnamon or nutmeg for a cozy, aromatic twist that warms the palate.
- Syrup Finish: Drizzle a homemade or store-bought chocolate or caramel sauce over scoops for a gourmet touch.
With these variations, you can make this Orange Ice Cream truly your own! If you’re curious about mixing flavors, try making a delicious Cajeta Ice Cream or a rich Cacao Nib Ice. Enjoy experimenting!
Expert Tips for Orange Ice Cream
- Fresh Ingredients Matter: Use ripe oranges and high-quality cream for the best flavor. Freshness elevates your Orange Ice Cream's taste immensely.
- Chill the Base: Always refrigerate the mixture before churning. This prevents ice crystals and results in a smoother, creamier texture.
- Avoid Over-Churning: Monitor the churning process closely. Over-churning can make your Orange Ice Cream overly firm instead of creamy.
- Sealing It Right: Use plastic wrap to cover the surface of your ice cream before sealing the container. This keeps it free from freezer burn.
- Experiment with Flavors: Feel free to add zest from your oranges or mix in chocolate chips for a fun twist on your Orange Ice Cream!
Orange Ice Cream Recipe FAQs
How do I choose the best oranges for this recipe?
Absolutely! When selecting oranges, opt for those that are firm and heavy for their size, with smooth, unblemished skin. Look for vibrant color and avoid any with dark spots or wrinkles, which can indicate over-ripeness. Fresh, juicy oranges will give your Orange Ice Cream the vibrant, zesty flavor that makes it special.
What’s the best way to store homemade Orange Ice Cream?
You should store your Orange Ice Cream in an airtight container to keep it fresh and prevent freezer burn. It can last up to 2 months in the freezer. When you're ready to serve, let it sit at room temperature for about 5 minutes to soften a bit for easier scooping. This will help maintain that creamy texture we all love!
Can I freeze Orange Ice Cream for later?
Yes! You can absolutely freeze your homemade Orange Ice Cream. After churning, transfer it into an airtight container, smoothing the top for even freezing. Cover the surface with plastic wrap and seal with the lid. Freeze it for 4-6 hours or overnight until firm. It's perfect to make ahead for gatherings, bringing joy anytime you crave something sweet!
What if my ice cream is too hard to scoop after freezing?
No worries! If your Orange Ice Cream is too hard to scoop, simply let it sit at room temperature for about 10 minutes. This allows it to soften slightly, making it easier to scoop. You can also use a spoon to gently break it up if it has become too solid. Patience is key, as you want that creamy texture!
Can I make this Orange Ice Cream dairy-free?
Very much so! To create a dairy-free version of this delightful Orange Ice Cream, substitute the heavy cream with coconut cream and the whole milk with almond milk or any plant-based milk you prefer. Just ensure you still use fresh orange juice for that revitalizing flavor, and your dessert will be just as creamy and delicious!
Are there any allergy considerations when making this Orange Ice Cream?
Indeed! This recipe contains dairy and sugar, so ensure to check for any lactose intolerance or sugar preferences among guests. For a nut-free option, just ensure the almond milk is substituted with oat milk or another safe alternative. Additionally, if using food coloring, verify it’s free from allergens, especially if serving children. Enjoy making this beloved treat, and customize it to meet everyone’s needs!
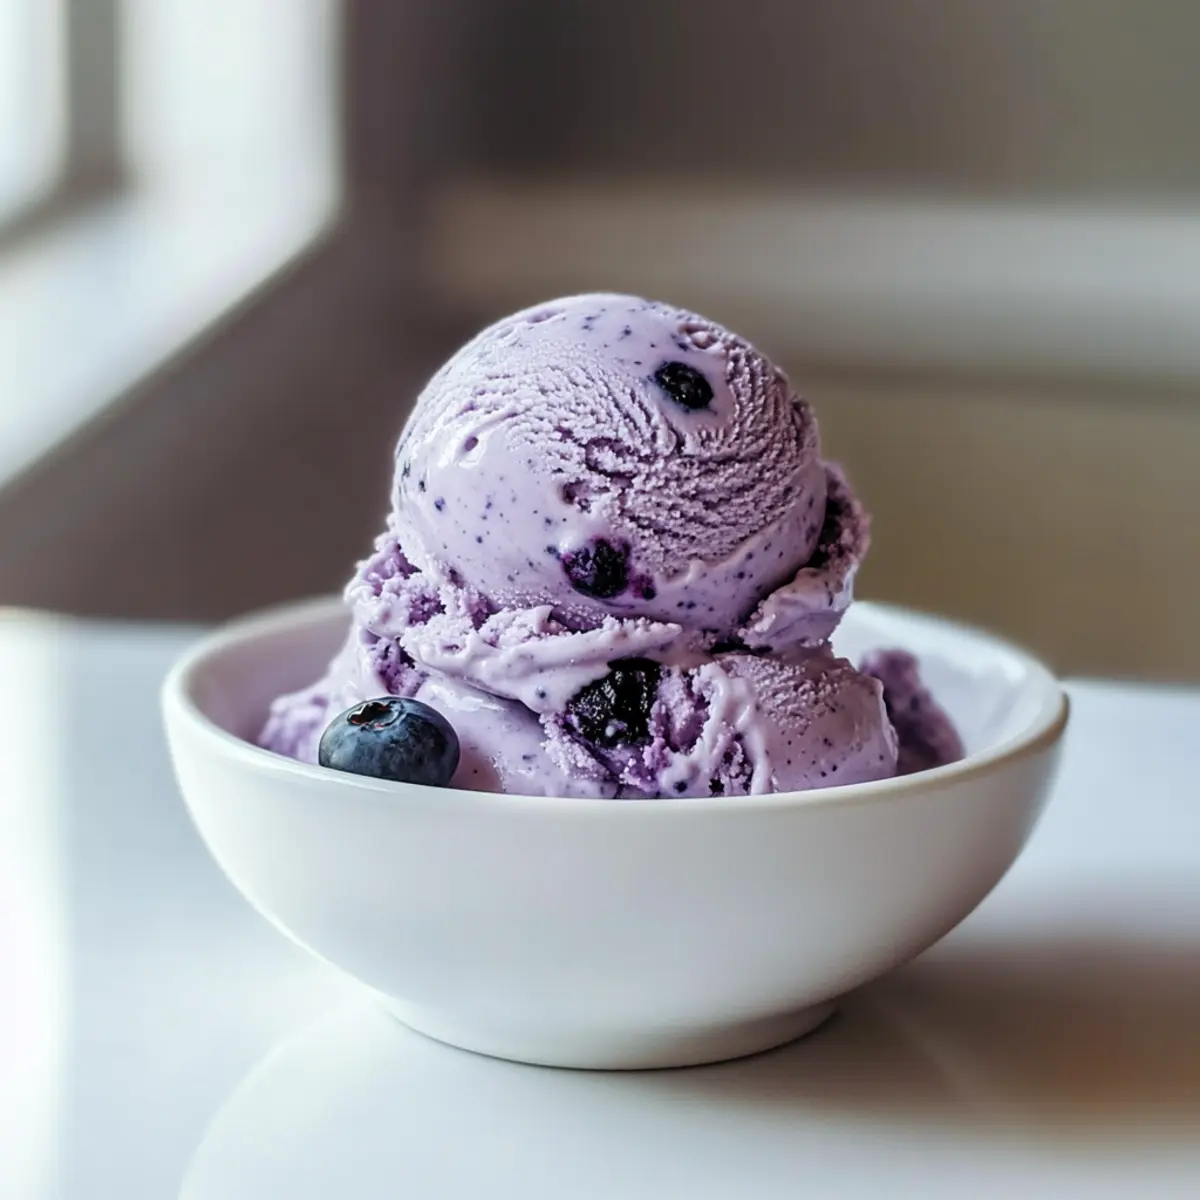
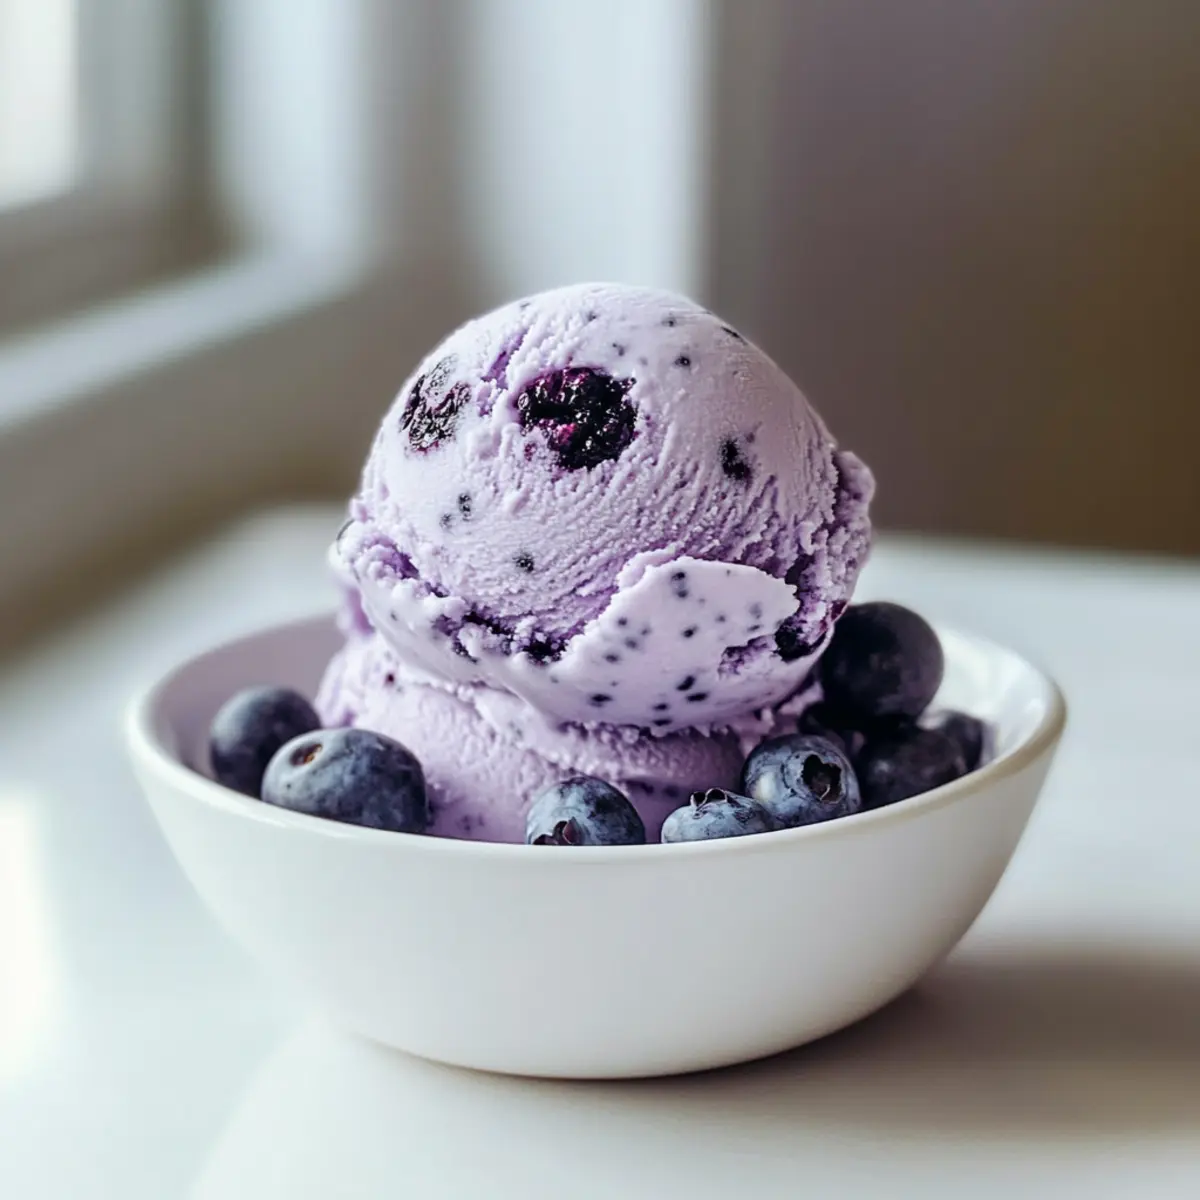
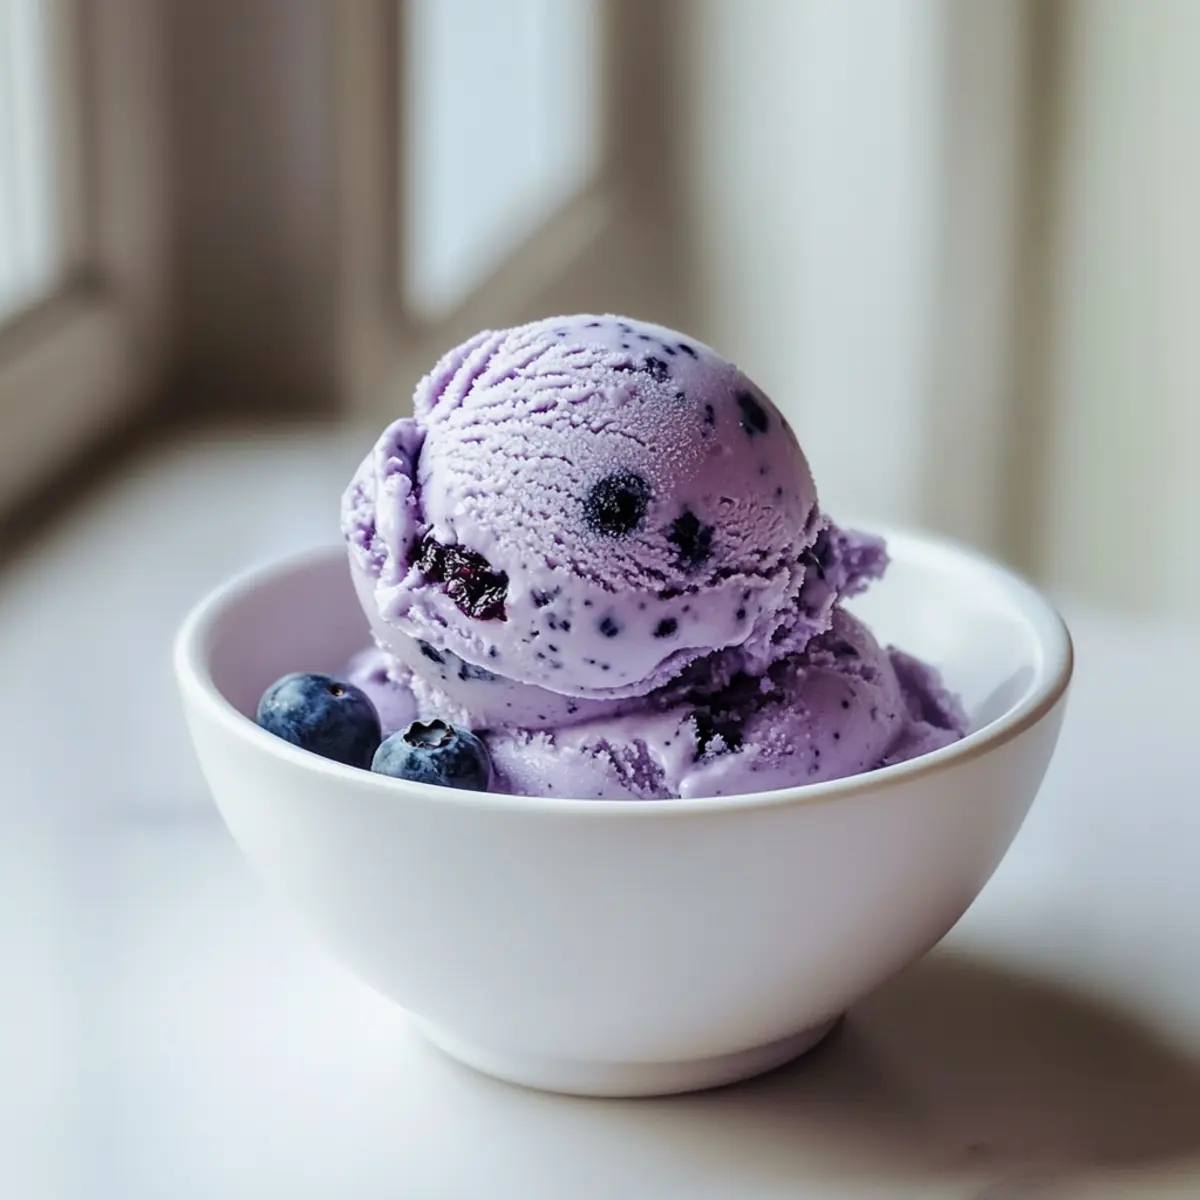
Creamy Orange Ice Cream That Melts Hearts and Minds
Ingredients
Equipment
Method
- Combine the heavy cream, sugar, orange juice, whole milk, orange extract, and vanilla extract in a large bowl. Mix until the sugar dissolves completely, around 2-3 minutes.
- If desired, add food coloring to achieve a vibrant hue and stir gently.
- Cover the bowl with plastic wrap and refrigerate for at least 1 hour.
- Pour the mixture into the ice cream maker and churn according to the manufacturer's instructions for about 20-25 minutes.
- Transfer the churned ice cream to an airtight container, smoothing the top, cover with plastic wrap, and freeze for 4-6 hours until firm.
- Before serving, let the ice cream sit for about 5 minutes for easier scooping.