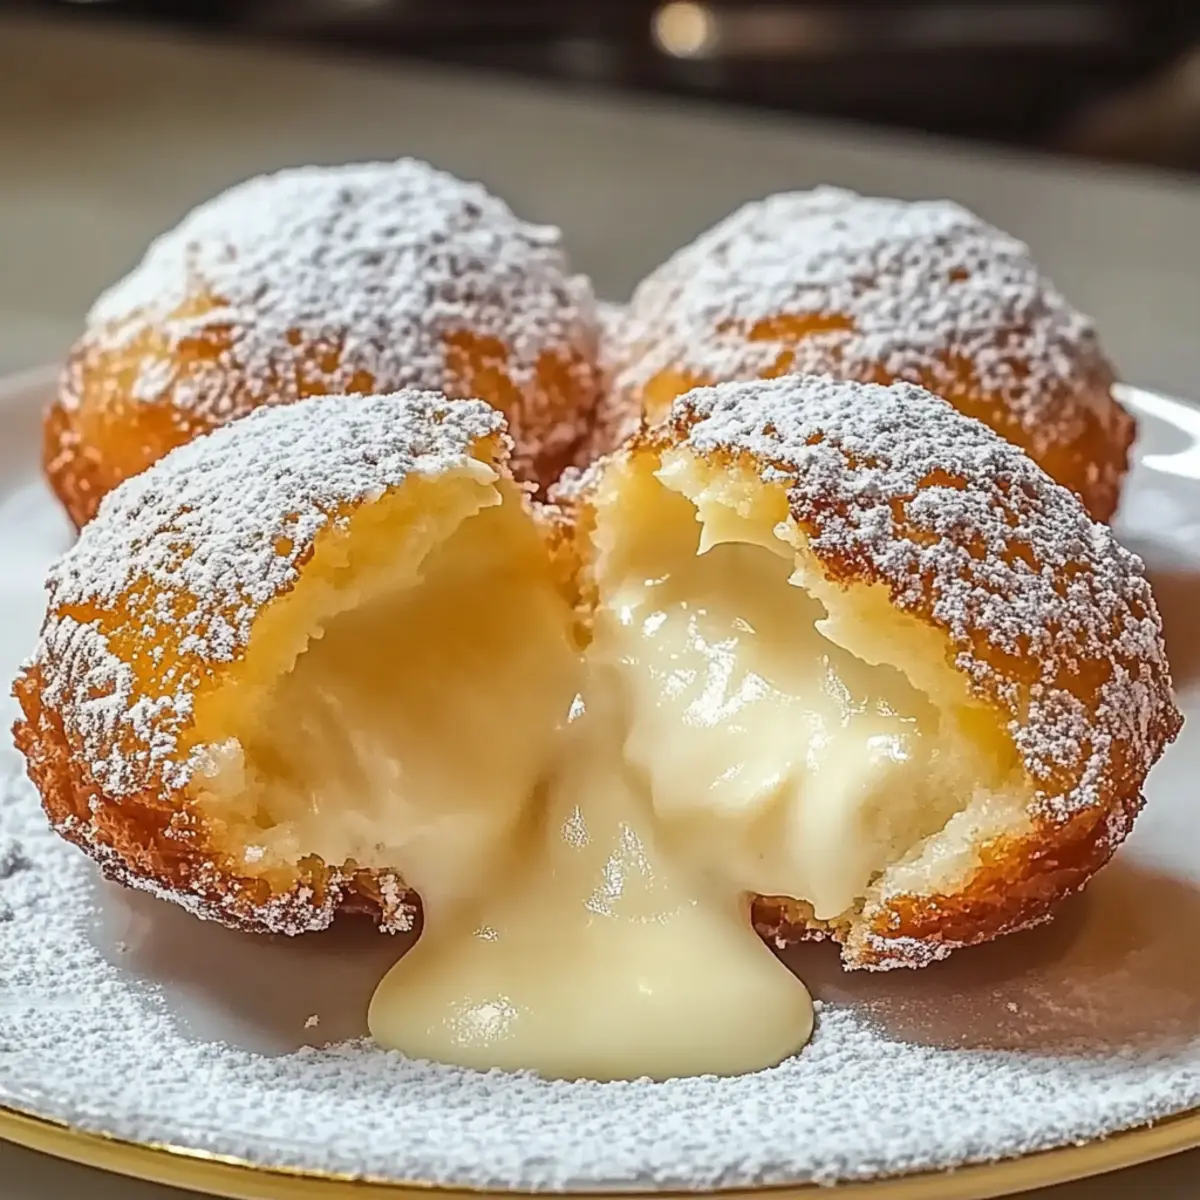
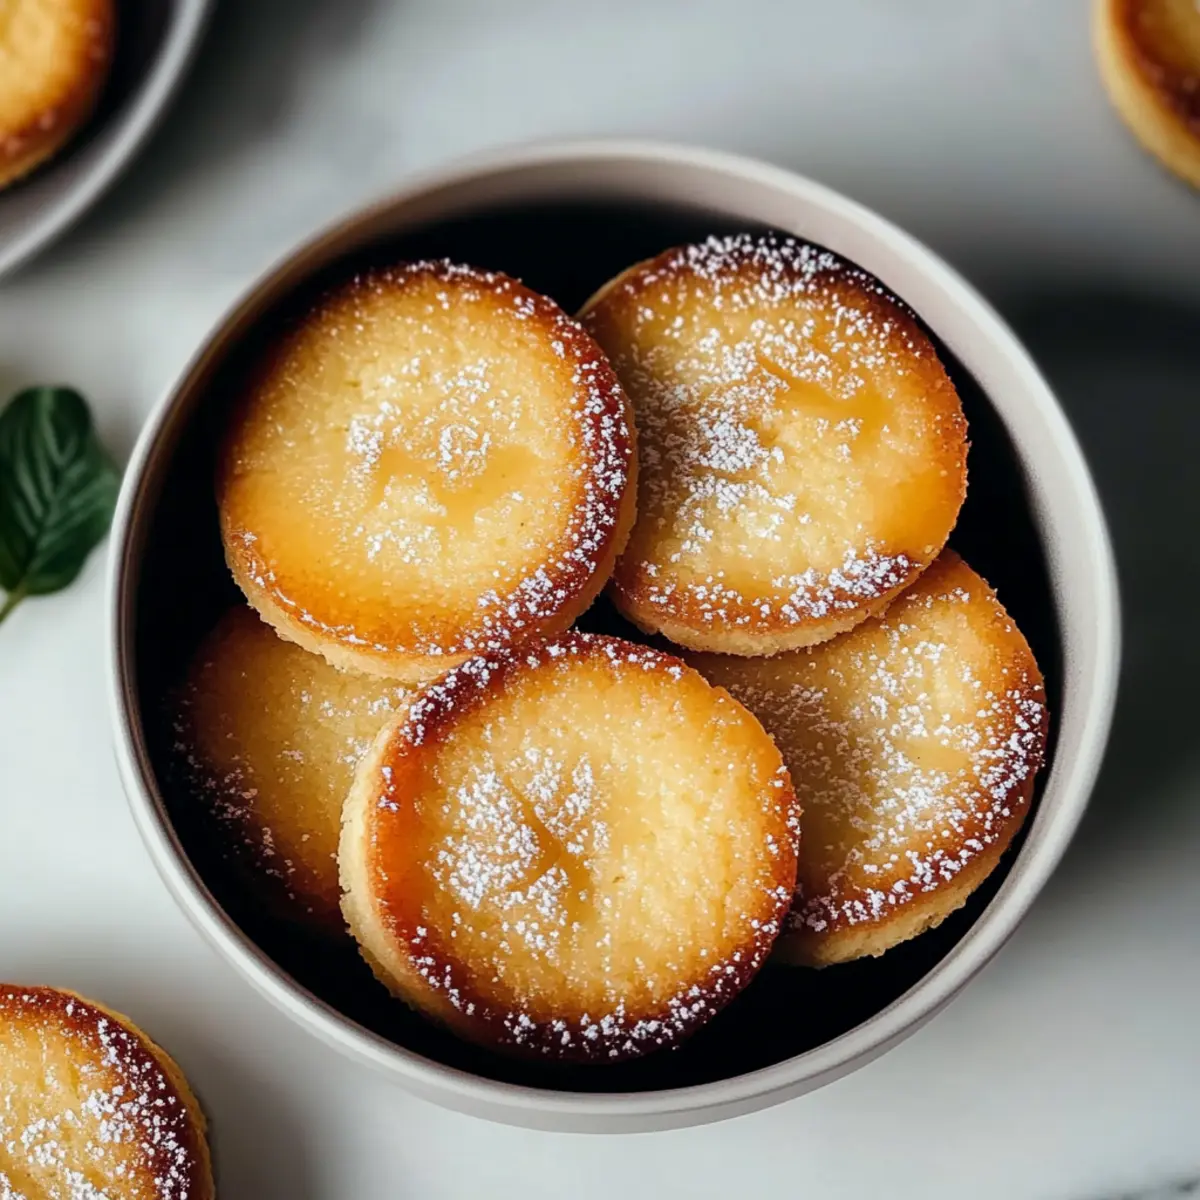
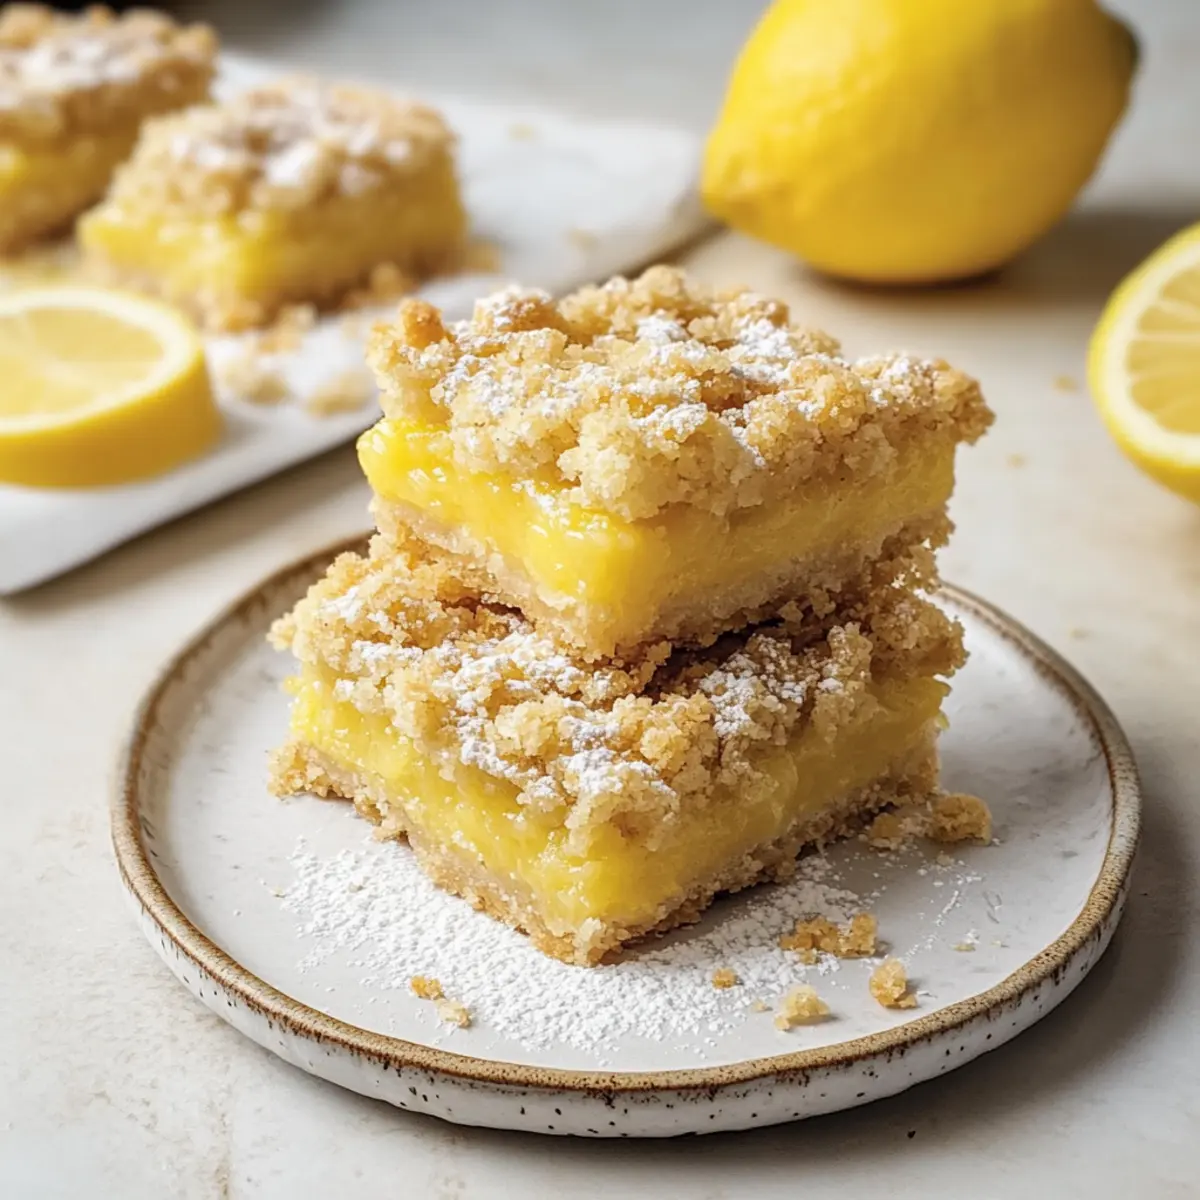
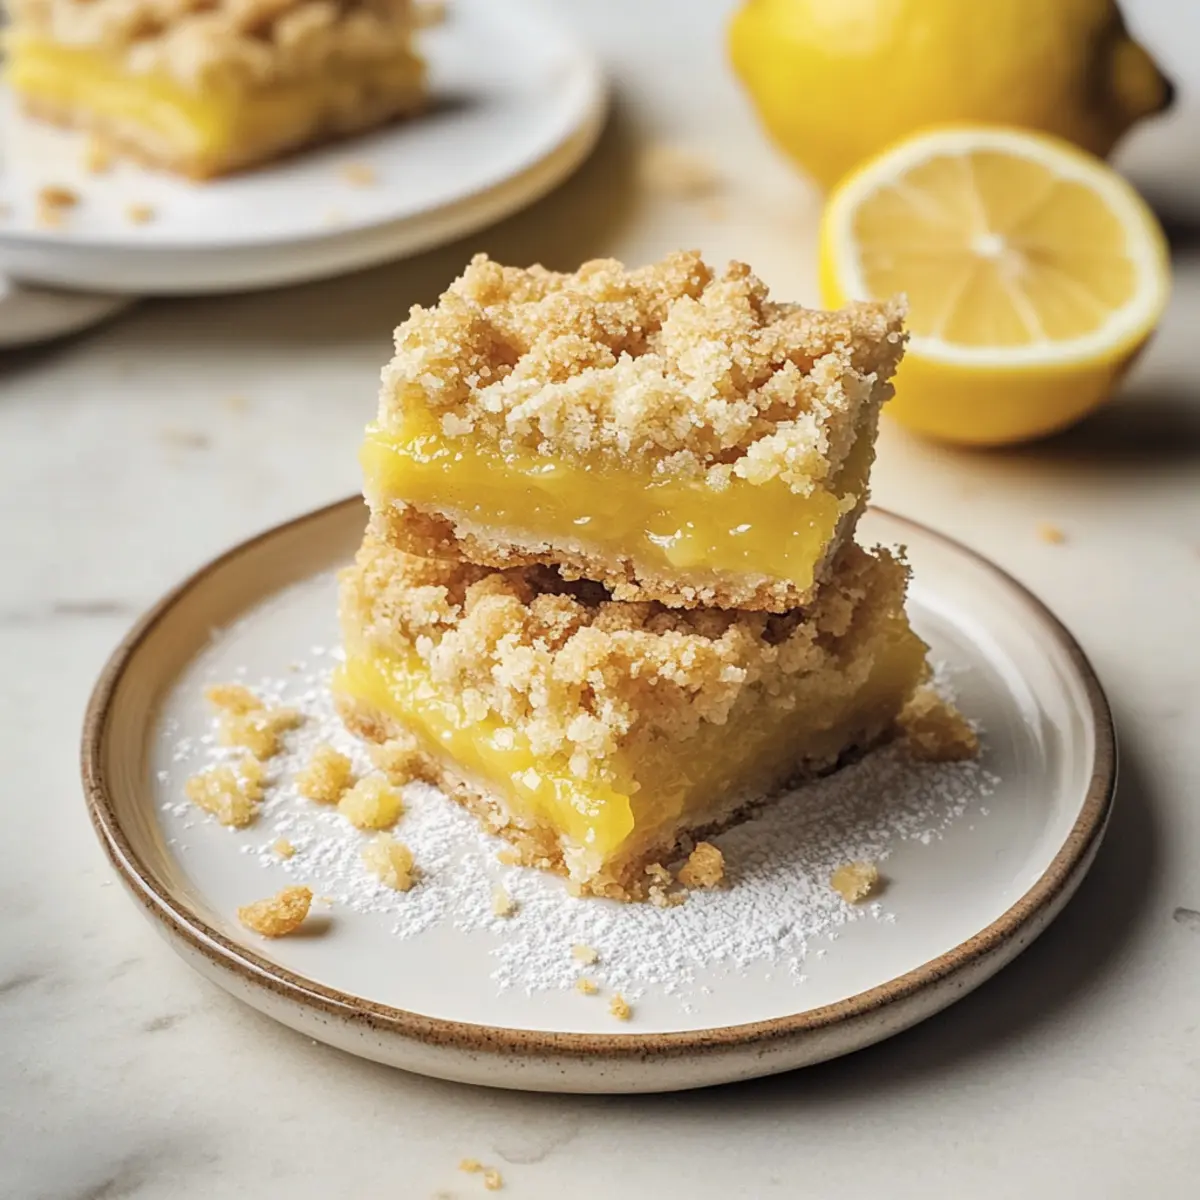
The aroma of freshly baked cookies wafting through the house instantly transports me back to sun-soaked summers spent in grandma's kitchen. One bite of these Jello Sugar Cookies—soft, chewy, and bursting with nostalgia—will do the same for you. What makes this sweet treat so delightful is not just the fruity flavors that come alive with every chew, but the vibrant colors that make them a feast for the eyes. Perfect for gatherings or cozy evenings at home, these quick and easy cookies are made from simple ingredients and can be customized with your favorite Jello flavors. Get ready to impress your friends and family with a colorful dessert that tastes like a joyful childhood memory! Which Jello flavor will you choose for your batch?
Why Are These Jello Sugar Cookies So Special?
Nostalgic Flavor: Each bite transports you back to childhood summers, evoking memories of carefree days.
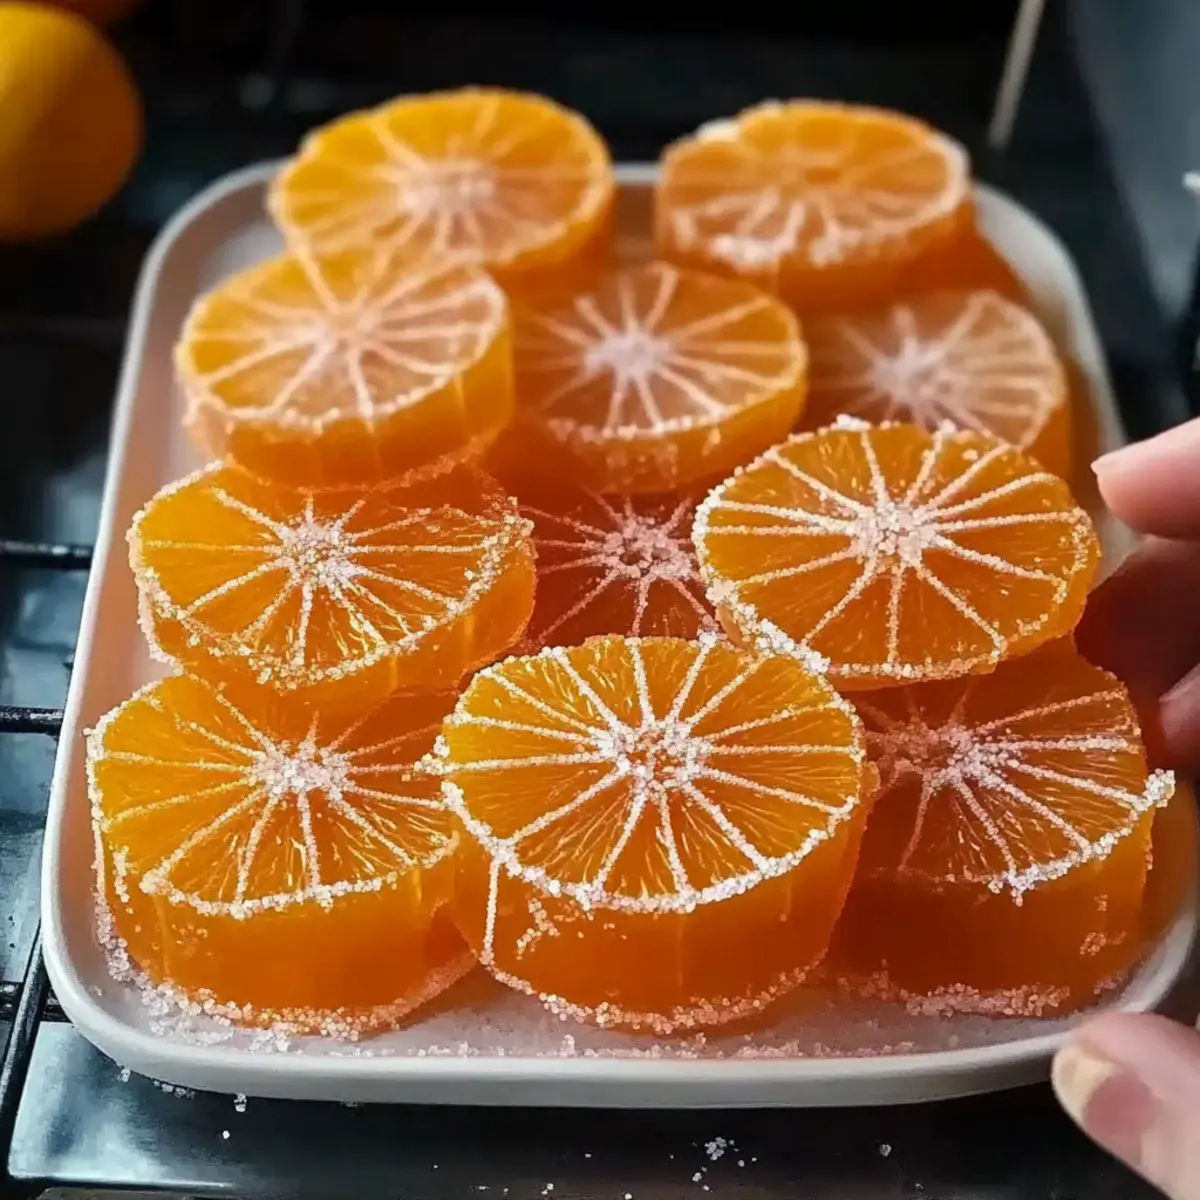
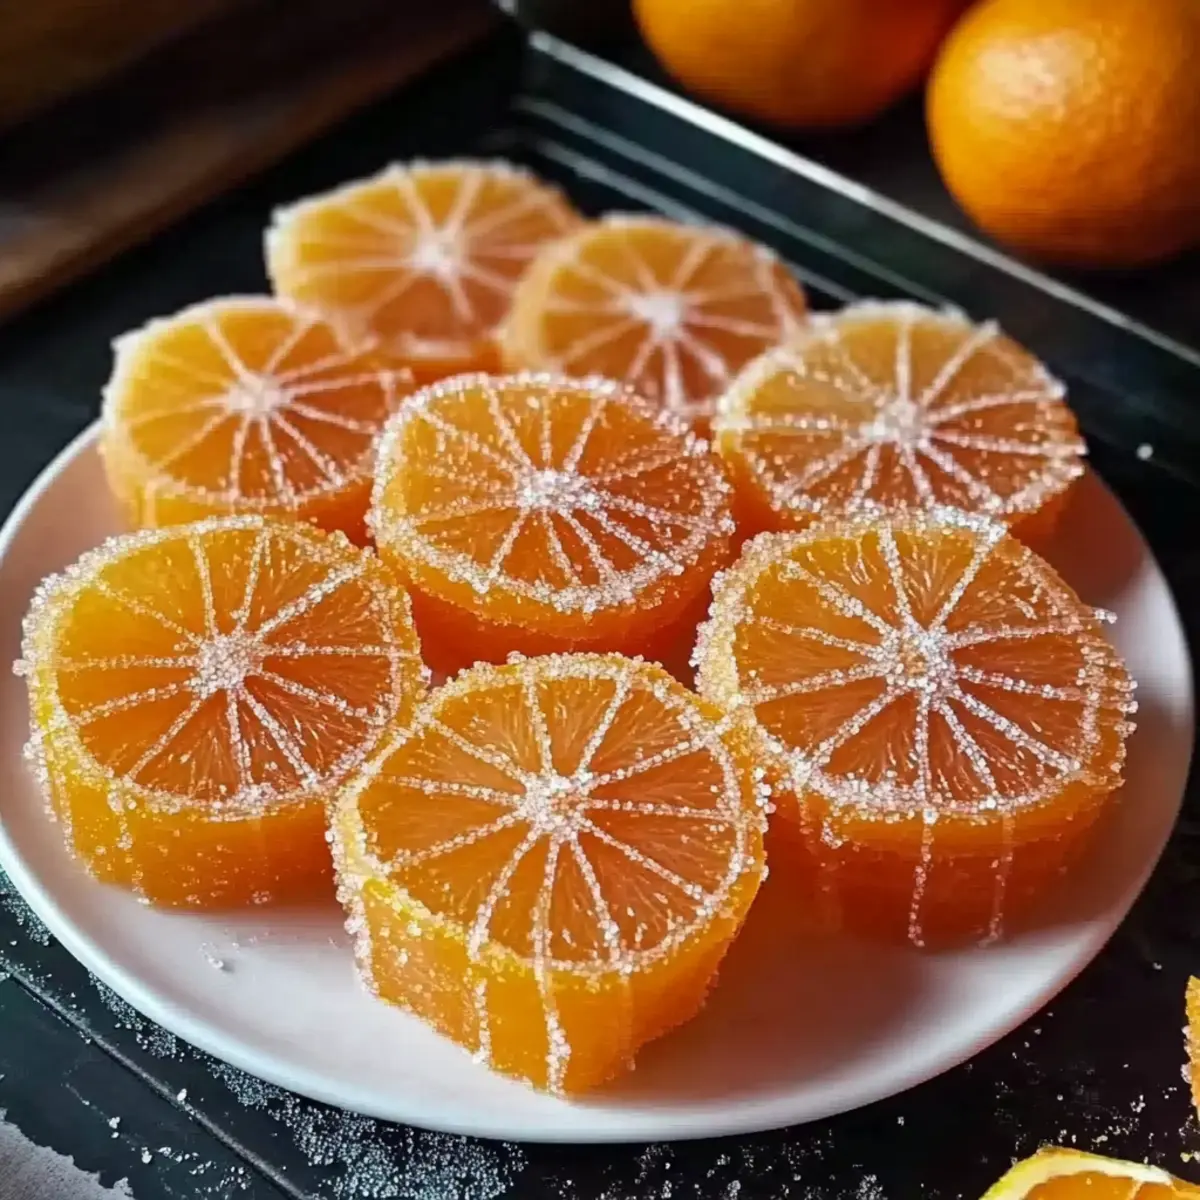
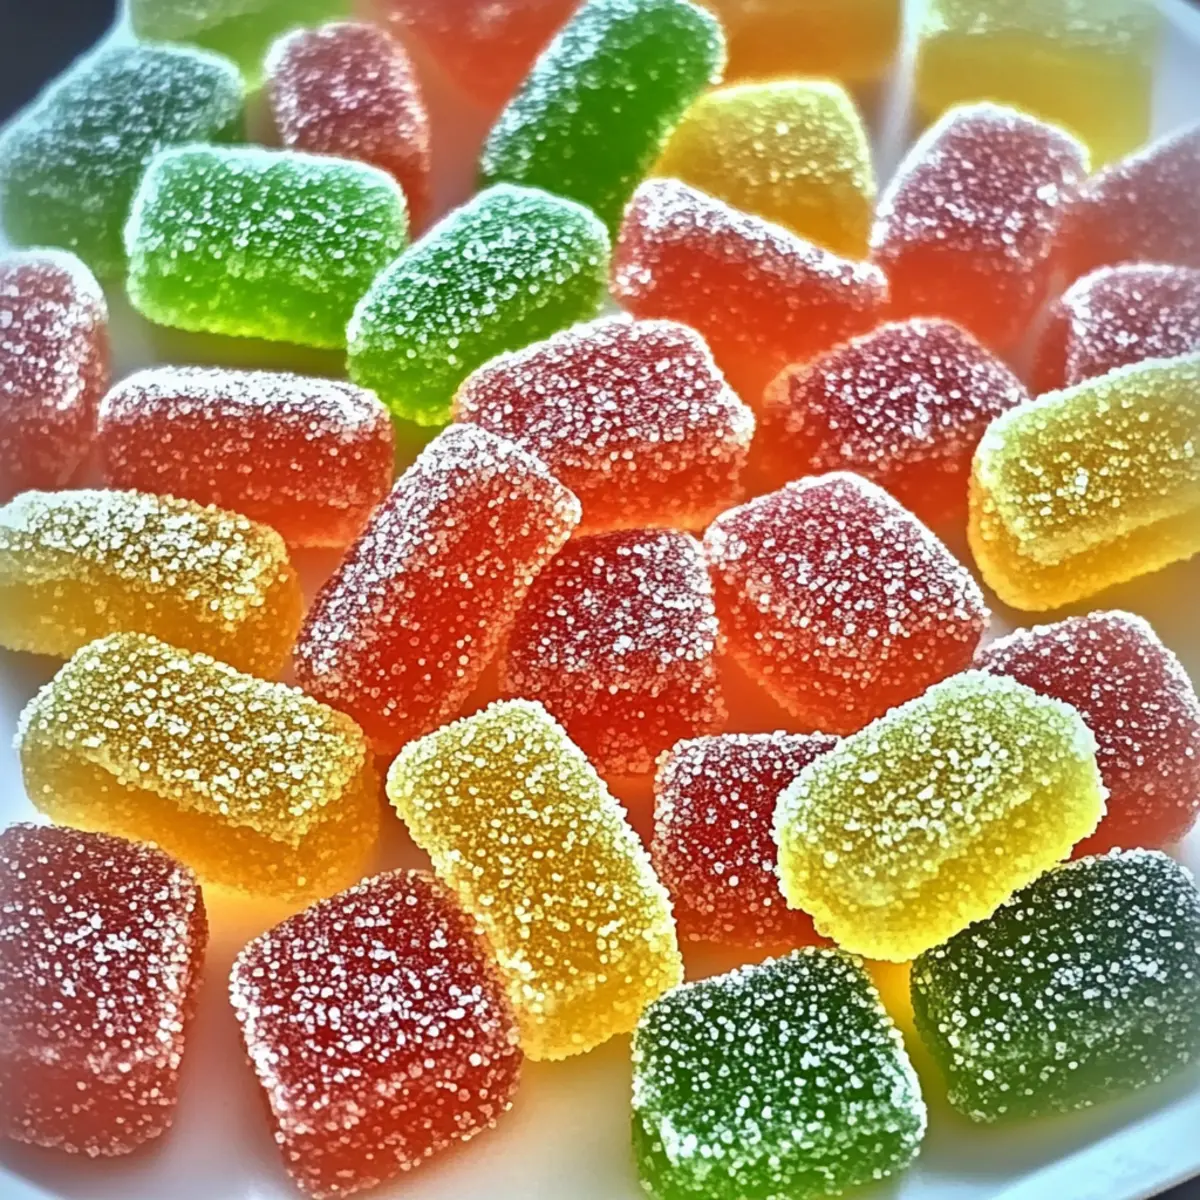
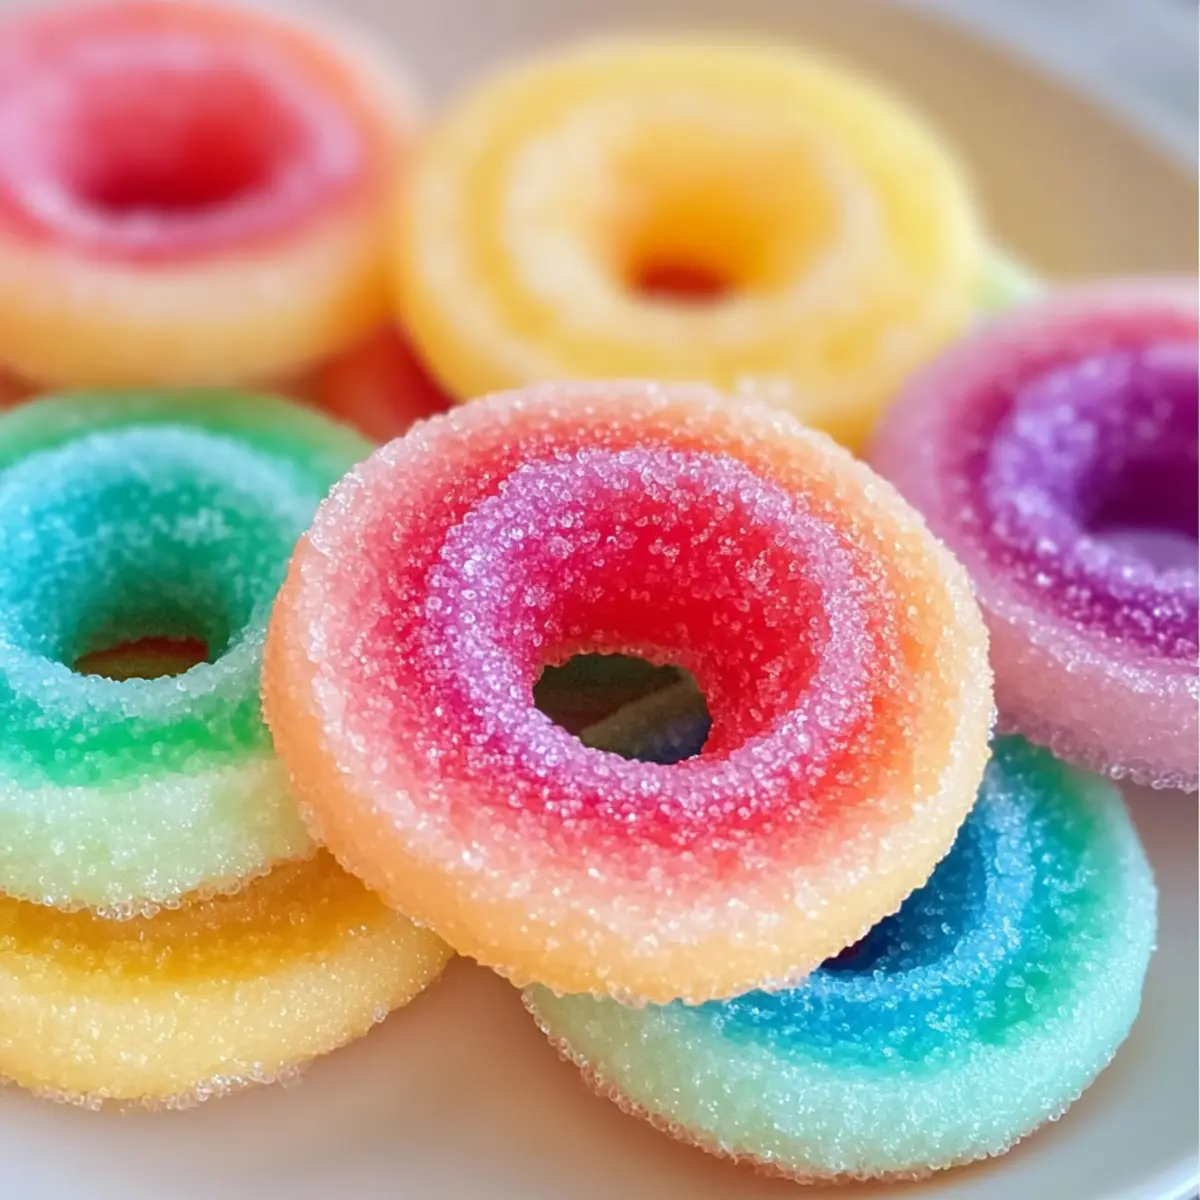
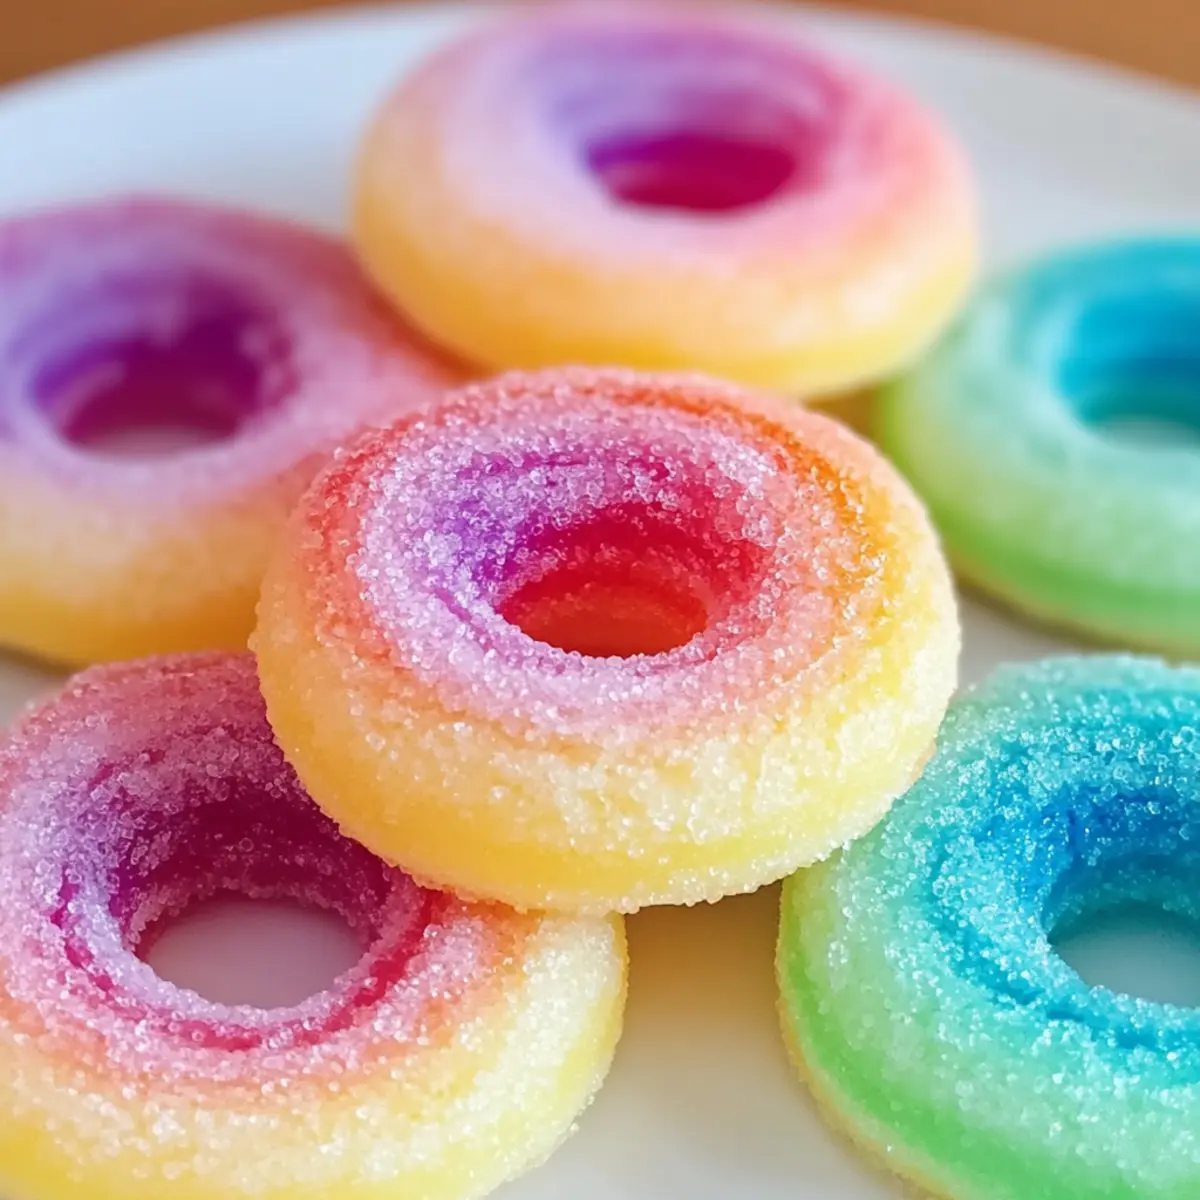
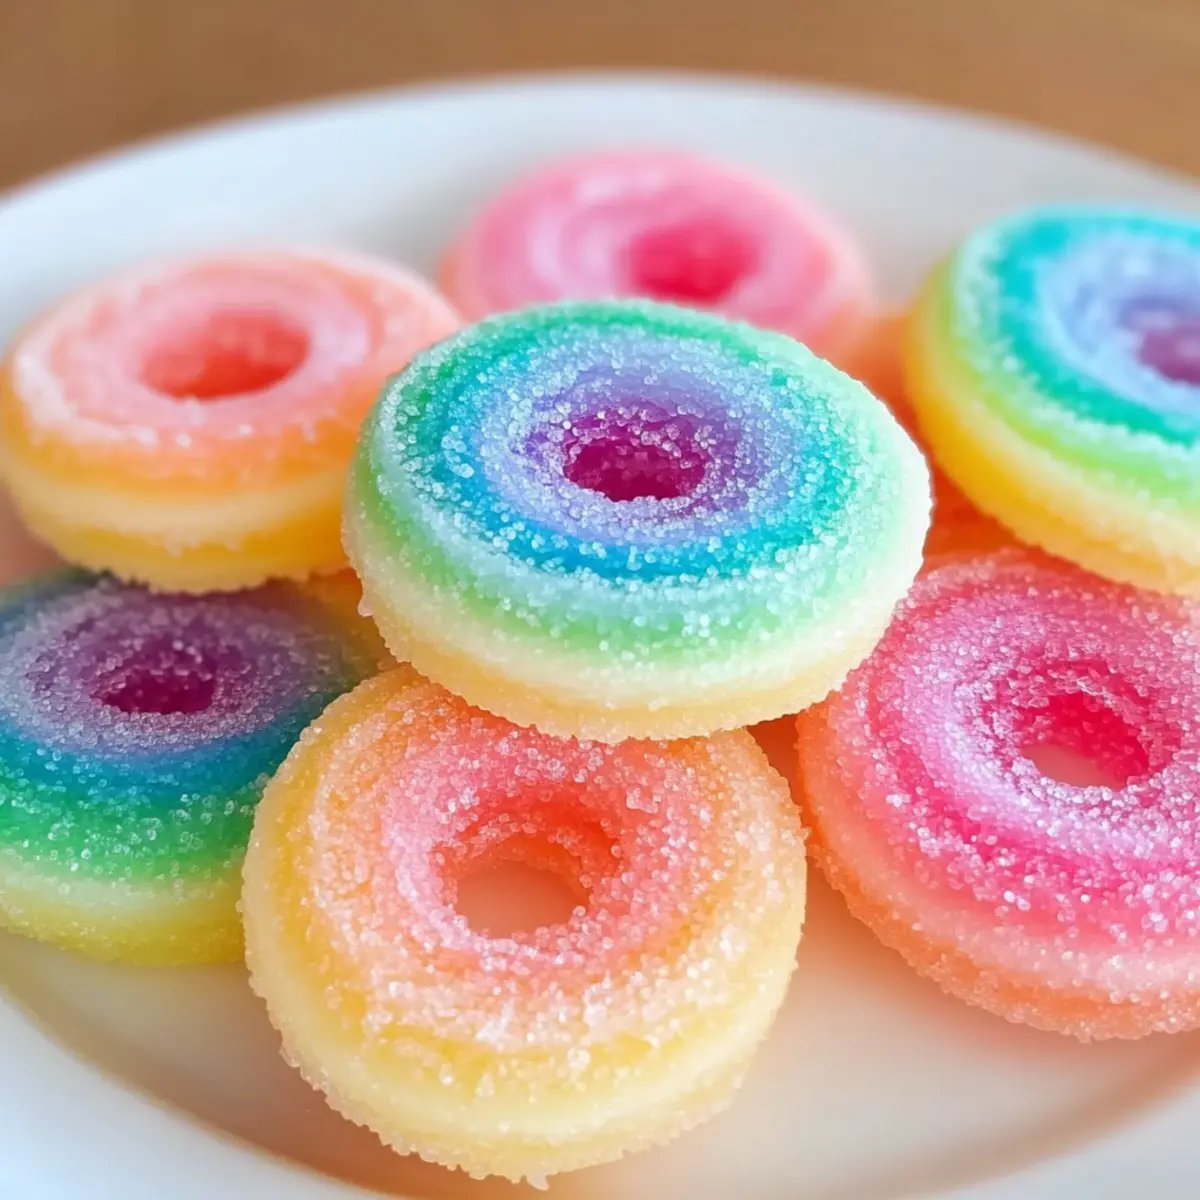
Colorful Creations: With a rainbow of Jello flavors to choose from, these cookies are as visually striking as they are tasty!
Quick and Easy: This straightforward recipe requires minimal effort, making it perfect for even the busiest home cooks.
Customizable Delight: Feel free to experiment with different Jello flavors, or add in fun ingredients like sprinkles or chocolate chips for a personal touch.
Perfect for sharing: These vibrant cookies are ideal for parties, potlucks, or simply enjoying at home with friends and family. They’re a guaranteed crowd-pleaser!
Pair them with a refreshing glass of lemonade or iced tea for a truly delightful experience. Want more unique cookie ideas? Check out my recipes for Matcha Cookies Soft or Thumbprint Cookies Melt!
Jello Sugar Cookies Ingredients
For the Dough
- Unsalted Butter – Provides richness and helps create a tender texture. Note: Use cold butter for better dough texture.
- Granulated Sugar – Adds sweetness and aids in achieving the cookies' light and fluffy texture. Note: No substitutions needed.
- Large Egg – Binds the ingredients together and adds moisture. Note: Can use a flax egg for a vegan option.
- All-purpose Flour – Establishes the cookie structure. Note: Whole wheat flour can give a heartier bite.
- Baking Powder – Helps cookies rise, ensuring a light texture. Note: Can substitute baking soda.
- Salt – Enhances flavor depth. Note: Sea salt is recommended for a richer taste.
- Jello Gelatin Powder – Infuses fruity flavor and color into the cookies. Note: Use regular Jello, not sugar-free, for vibrant results.
For Rolling
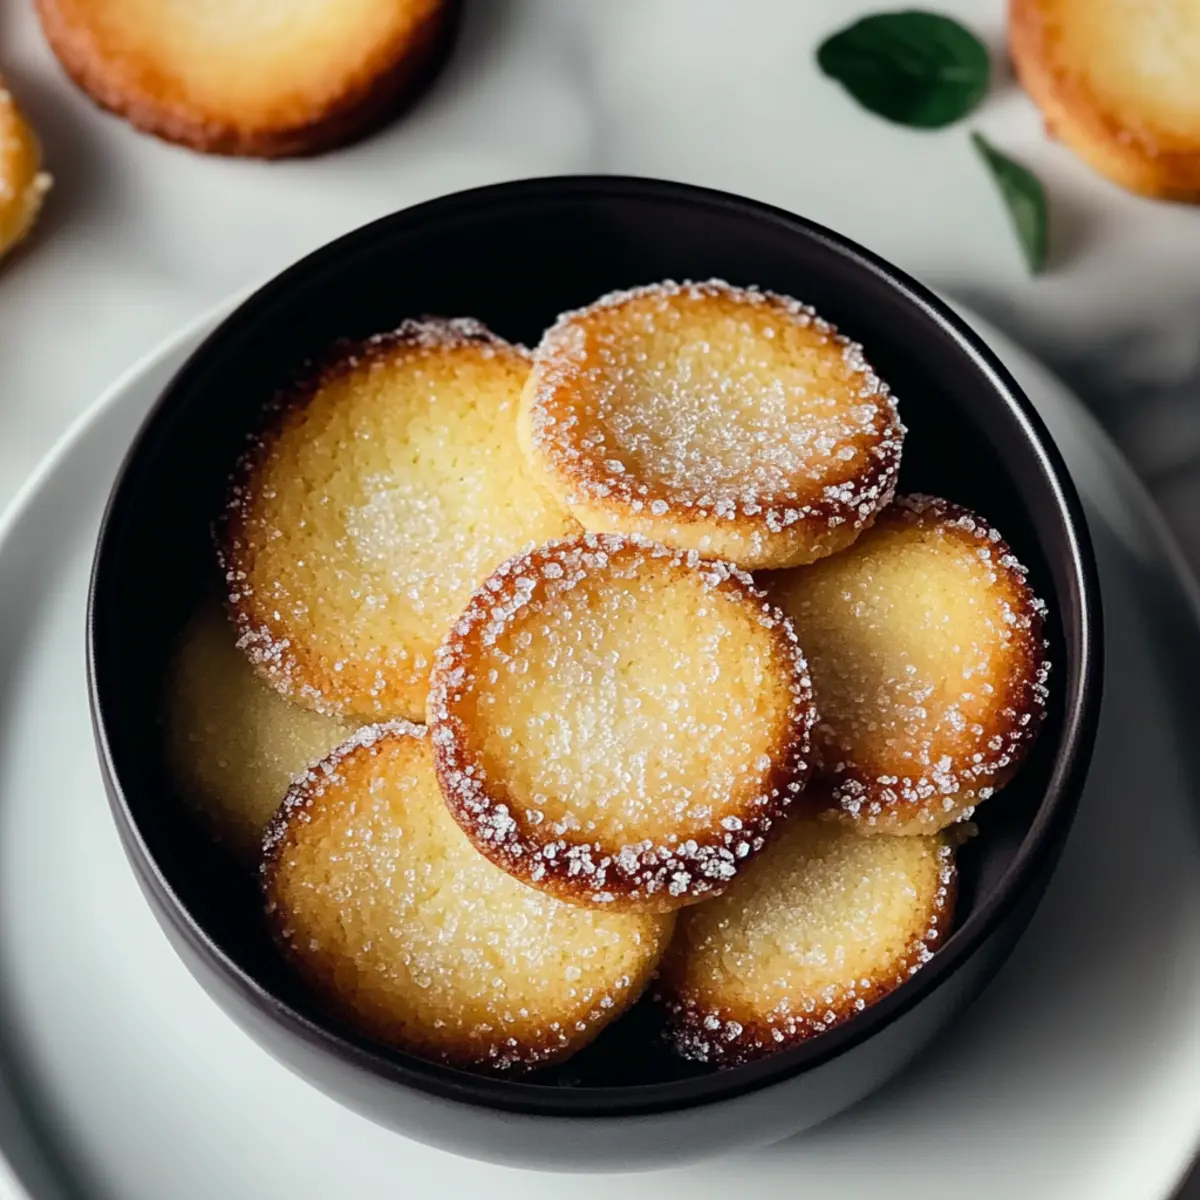
- Additional Sugar – For rolling the cookie balls to create a sweet crust. Note: Colored sugar can enhance visual appeal.
Step‑by‑Step Instructions for Jello Sugar Cookies
Step 1: Preheat the Oven
Begin by preheating your oven to 350°F (175°C). While the oven is heating, line your baking sheets with parchment paper to ensure the Jello Sugar Cookies won’t stick. This prep step helps create a uniform baking environment, resulting in perfectly baked cookies that are tender and chewy.
Step 2: Cream Butter and Sugar
In a large mixing bowl, combine softened unsalted butter and granulated sugar. Use an electric mixer to beat the mixture on medium speed for about 3 to 5 minutes until it turns light and fluffy. This process incorporates air into the mix, setting the stage for soft, chewy Jello Sugar Cookies.
Step 3: Add the Egg
Once the butter and sugar mixture is fluffy, crack in a large egg. Beat well until the egg is fully incorporated into the mixture, achieving a smooth consistency. This step not only adds moisture but also binds the ingredients together, ensuring your cookie dough has the right texture.
Step 4: Mix Dry Ingredients
In a separate bowl, whisk together all-purpose flour, baking powder, and salt. This uniform mixing of dry ingredients helps distribute the leavening agent thoroughly and prevents clumping. Once combined, you’re ready to fold these into the wet mixture, ensuring your Jello Sugar Cookies rise perfectly.
Step 5: Combine Wet and Dry Mixtures
Gradually add the dry ingredient mixture to the butter and egg mixture. Use a spatula or wooden spoon to gently fold the ingredients together until a soft dough forms. Avoid overmixing to maintain the tender texture of your Jello Sugar Cookies, which should come together nicely.
Step 6: Incorporate Jello Powder
Divide the dough into 3 to 4 equal portions, and in each, mix in 1 to 2 tablespoons of different Jello powder flavors. This is where the fun begins! Use your hands to knead the Jello into the dough, creating vibrant colors and fruity flavors throughout, making each batch uniquely delightful.
Step 7: Chill the Dough
Wrap each portion of the colored dough in plastic wrap and place them in the refrigerator for 15 to 20 minutes. Chilling is critical for the Jello Sugar Cookies, as it prevents them from spreading too much during baking, ensuring they stay thick and chewy.
Step 8: Shape the Cookies
After chilling, remove the dough from the refrigerator. Roll each portion into balls, about 1 inch in diameter, and coat them in granulated sugar. Slightly flatten each ball with your palm before arranging them on the prepared baking sheets, leaving space between each to allow for spreading during baking.
Step 9: Bake the Cookies
Place the baking sheets in the preheated oven and bake the Jello Sugar Cookies for 8 to 10 minutes. You'll know they’re done when the edges are set, and the tops are crackled. Keep an eye on them to avoid overbaking, as they will continue to firm up while cooling.
Step 10: Cool the Cookies
Once baked, allow the cookies to cool on the baking sheets for about 2 minutes. This resting time helps them maintain their shape before transferring the Jello Sugar Cookies to a wire rack to cool completely. Enjoy the delightful aromas filling your kitchen!
How to Store and Freeze Jello Sugar Cookies
Room Temperature: Store cookies in an airtight container at room temperature for up to 5 days. This keeps them soft and chewy for delightful daily treats.
Fridge: You can keep Jello Sugar Cookies in the refrigerator for up to 10 days. Just ensure they are well-wrapped to maintain their moisture and flavor.
Freezer: For longer storage, freeze baked cookies in a single layer until solid, then transfer to a freezer-safe bag. They can last for up to 2 months in the freezer.
Reheating: When ready to enjoy, thaw cookies on the counter for a few hours or microwave them for 10–15 seconds for a warm, fresh-baked taste!
Jello Sugar Cookies Variations & Substitutions
Feel free to unleash your creativity and customize these Jello Sugar Cookies with delightful twists!
-
Dairy-Free: Substitute unsalted butter with vegan butter or coconut oil for a dairy-free version that everyone can enjoy.
Embrace the tenderness of these cookies while making them accessible to all dietary needs! -
Flour-Free: Use almond flour or a gluten-free blend to whip up a flour-free version of these vibrant treats.
They’ll still come out soft and chewy, perfect for those following a gluten-free lifestyle! -
Add-Ins: Mix in colorful sprinkles, mini chocolate chips, or dried fruits for an extra burst of flavor and texture.
You can let your imagination run wild; these fun additions will make each batch uniquely delightful! -
Zesty Kick: Incorporate lemon or orange zest to elevate your cookies with a fresh citrus note.
A little bit of zest can brighten up the flavor profile and take you right back to sunny summer days! -
Matcha Magic: Replace a portion of the Jello powder with matcha for a vibrant green twist and a subtle earthy flavor.
This unexpected blend not only looks stunning but also adds an antioxidant boost to your cookies! -
Spicy Sweetness: Add a pinch of cinnamon or cayenne pepper for a warm spice that complements the fruity flavors beautifully.
A little heat can enhance the overall experience, making each bite exciting and surprising! -
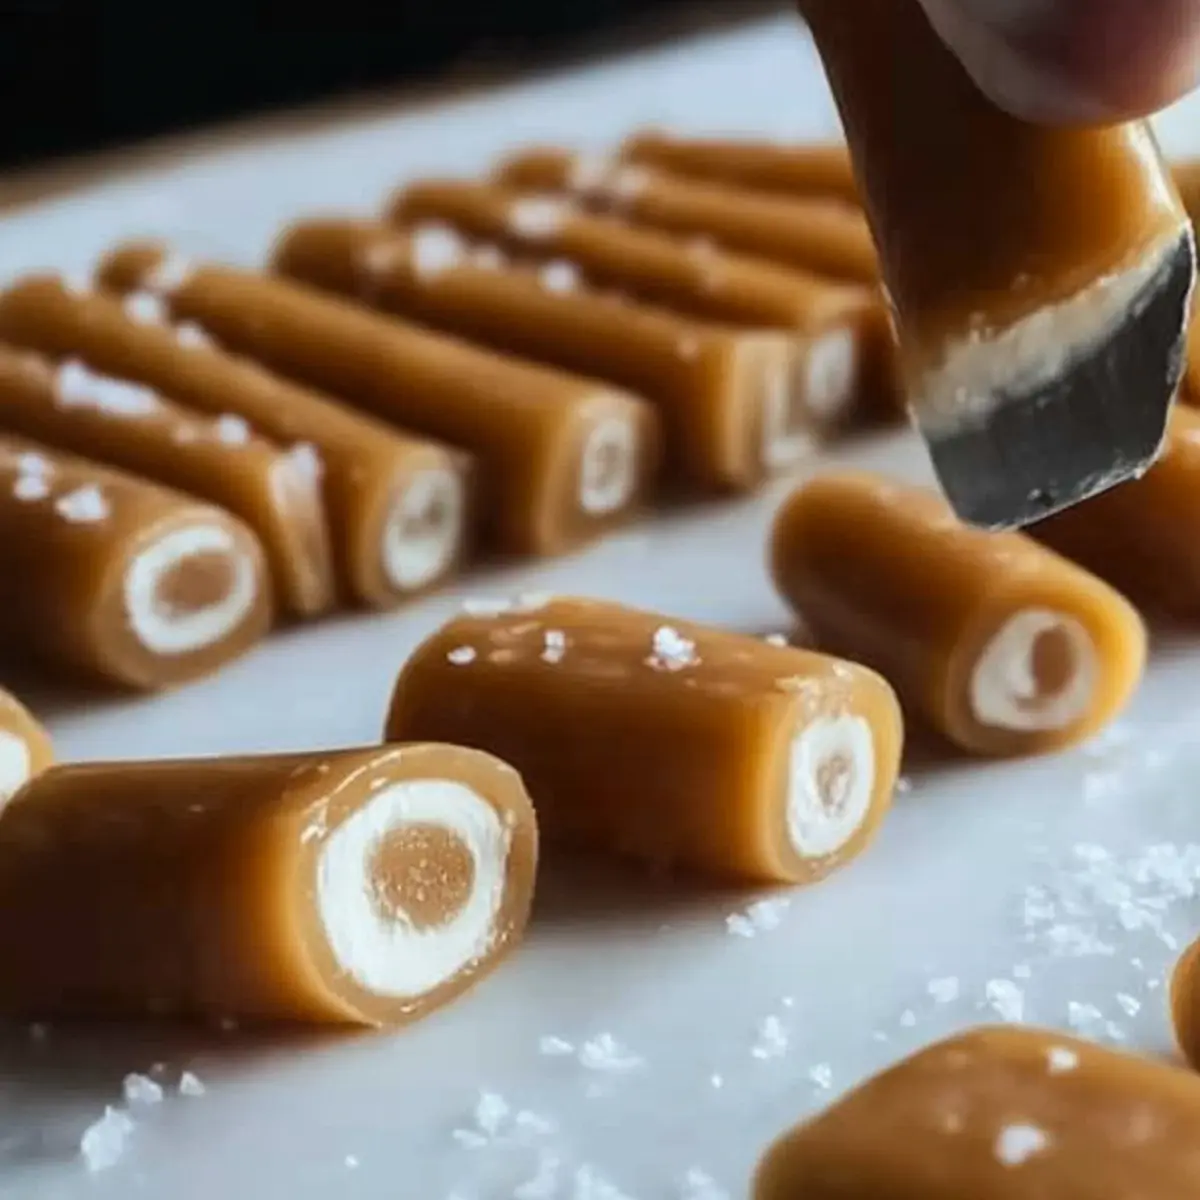
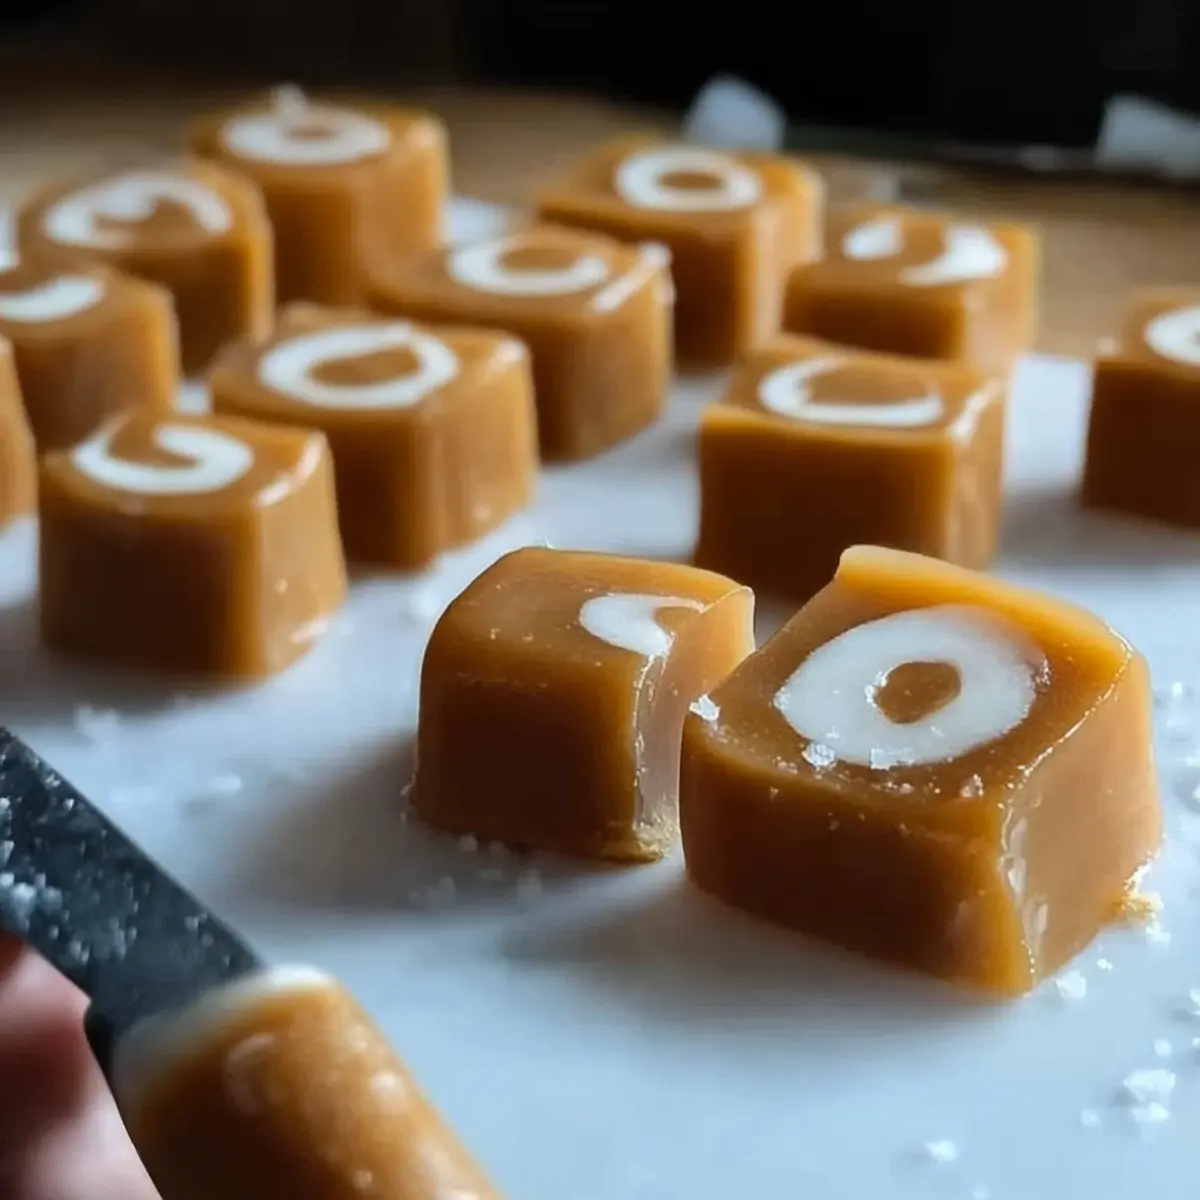
Swirled Creation: Instead of mixing the Jello into the dough, create a swirled effect by swirling it into the shaped cookie balls.
This not only creates a beautiful visual but allows for layered flavors in every bite! -
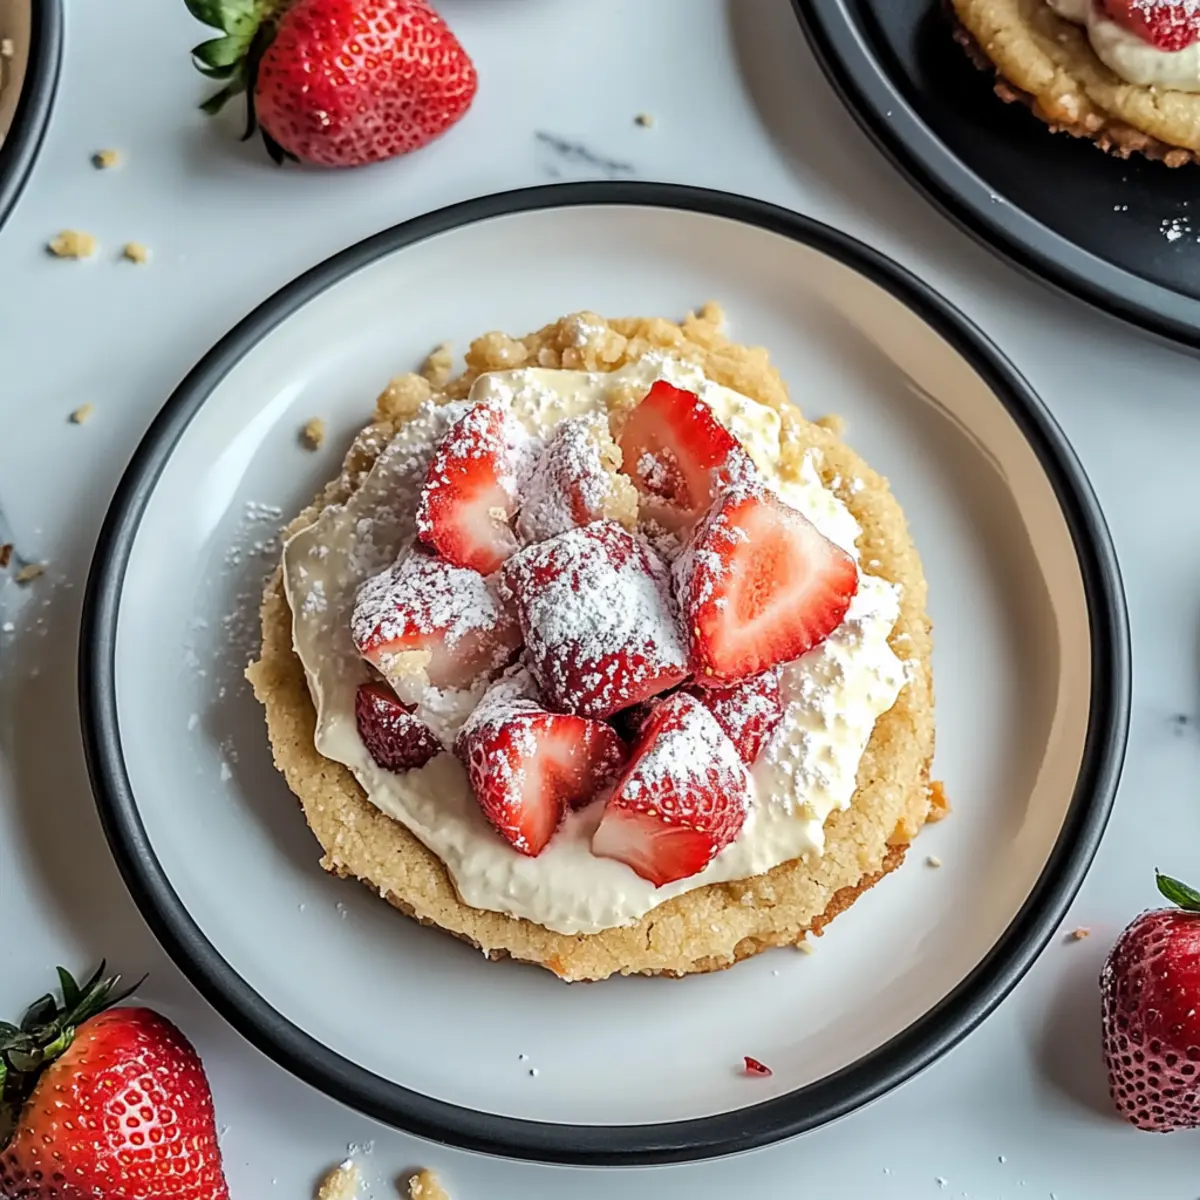
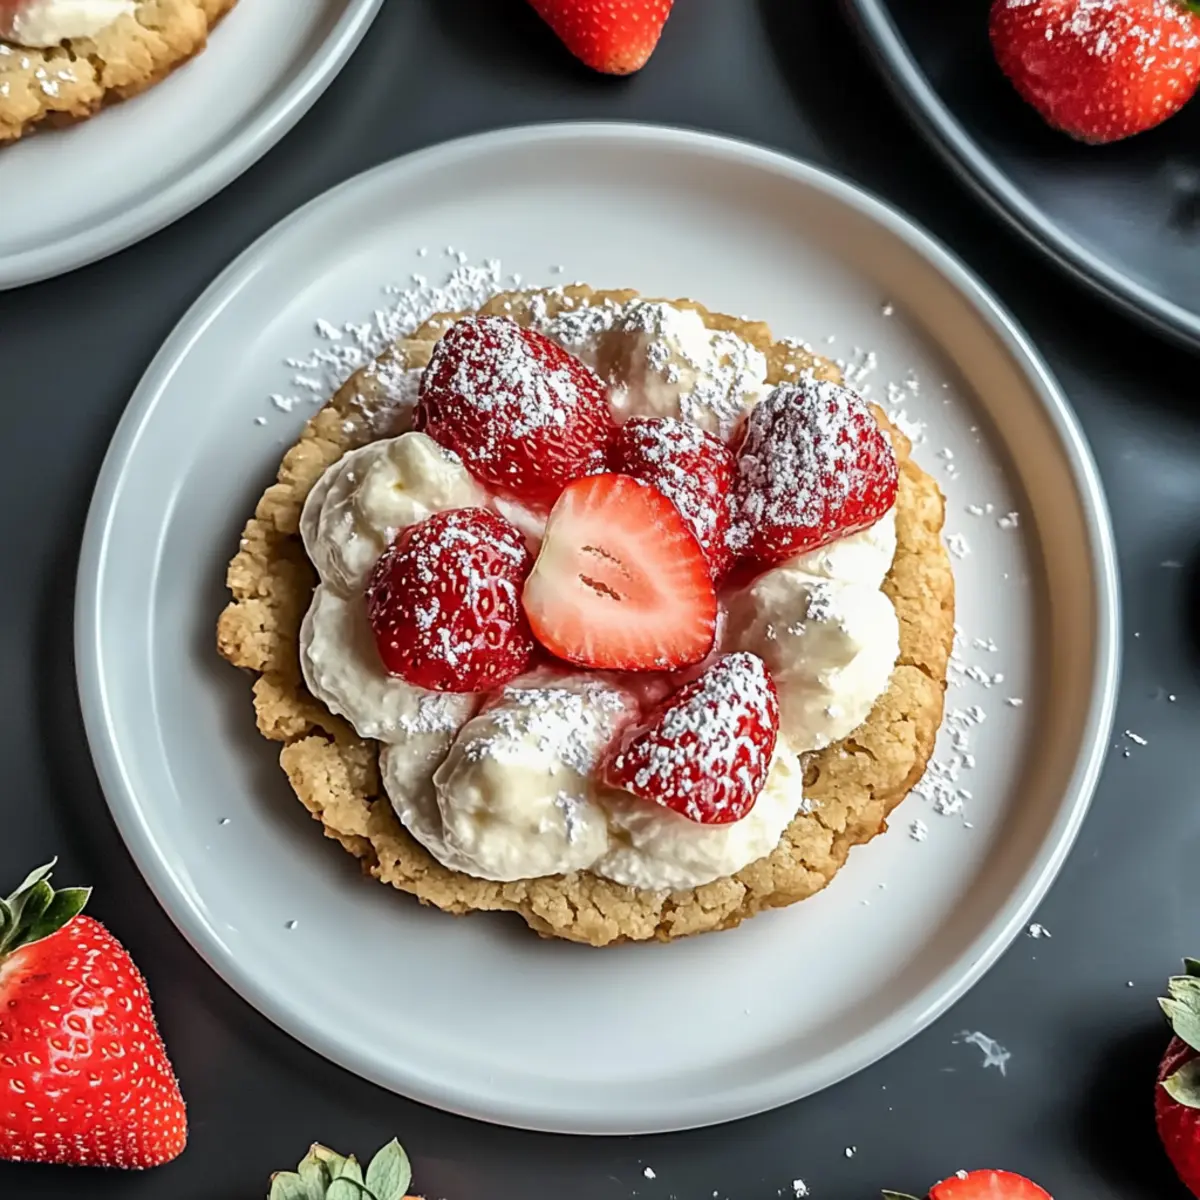
Layering Textures: If you're feeling adventurous, consider sandwiching two cookies with frosting or jam for a delightful treat!
These Jello Sugar Cookies can become a scrumptious sandwich with limitless flavor possibilities!
Want to explore even more creative cookie inspirations? Check out my delicious recipes for Eggnog Cookies Soft or Mexican Wedding Cookies!
Expert Tips for Jello Sugar Cookies
-
Chill the Dough: Always chill the dough to prevent your Jello Sugar Cookies from spreading too much in the oven. A chilled dough retains its shape, resulting in a thick, chewy texture.
-
Use Regular Jello: Opt for regular Jello rather than sugar-free varieties to achieve the brightest colors and most vibrant flavors in your cookies. This makes a noticeable difference!
-
Monitor Baking Time: Keep an eye on your cookies while they bake. They will continue to set even after you take them out of the oven, so remove them once the edges are firm and tops are slightly crackled.
-
Mix Flavors: Feel free to experiment with blending different Jello flavors for unique taste combinations. This adds an exciting twist and makes each batch special.
-
Avoid Overmixing: When combining wet and dry ingredients, mix gently until just combined. Overmixing can lead to tough cookies instead of the soft and chewy Jello Sugar Cookies we love!
-
Personalize with Add-Ins: Consider mixing in extras like sprinkles, chocolate chips, or nuts for added texture and flavor. These small touches can elevate your cookies to a new level!
What to Serve with Delightful Jello Sugar Cookies
Create a magical sweet spread that will delight everyone!
-
Fresh Fruit Salad: A vibrant mix of seasonal fruits adds a refreshing, juicy contrast that complements the chewy texture of the cookies.
-
Yogurt Parfait: Layer creamy yogurt with granola and berries for a delicious, wholesome pairing that balances sweetness with tartness.
-
Milkshake Madness: A rich vanilla or fruit-flavored milkshake pairs perfectly, making for a nostalgic treat reminiscent of summer days.
-
Lemonade Stand: The zesty citrus of freshly squeezed lemonade enhances the fruity flavors of your Jello Sugar Cookies and offers a thirst-quenching experience.
-
Chocolate Dipped Strawberries: These sweet bites provide a rich, indulgent contrast to the light, fruity cookies, creating a decadent treat.
-
Ice Cream Sandwiches: Swap out traditional cookies for Jello Sugar Cookies as delightful ice cream sandwich alternatives filled with your favorite ice cream flavor.
These pairings will turn an ordinary snack into an unforgettable gathering of flavors and memories.
Make Ahead Options
These Jello Sugar Cookies are a fantastic choice for meal prep, allowing you to enjoy indulgent treats any day of the week! You can prepare the cookie dough up to 24 hours in advance by mixing all ingredients and wrapping it tightly in plastic wrap before refrigerating. This chilling step helps maintain the cookies' chewy texture. If you're looking to plan further ahead, the dough can be frozen for up to 3 months. Just thaw it overnight in the refrigerator before rolling it into balls, coating in sugar, and baking. Rest assured, your Jello Sugar Cookies will be just as delicious and vibrant, ready to charm your friends and family at a moment's notice!
Jello Sugar Cookies Recipe FAQs
What type of Jello should I use for the best results?
Absolutely! It's best to use regular Jello gelatin powder instead of sugar-free varieties. Regular Jello provides the brightest colors and most vibrant flavors, making your cookies visually stunning and delicious.
How long do Jello Sugar Cookies stay fresh?
You can store your Jello Sugar Cookies in an airtight container at room temperature for up to 5 days, keeping them soft and chewy. If you wish to extend their shelf life, pop them in the refrigerator for up to 10 days, wrapped properly to maintain moisture.
Can I freeze Jello Sugar Cookies?
Yes, you can! For freezing, place the baked cookies in a single layer on a baking sheet until solid, then transfer them to a freezer-safe bag. They will stay fresh for up to 2 months. When you want to enjoy them, thaw at room temperature for a few hours or microwave for about 10-15 seconds for that fresh-baked taste.
What should I do if my cookie dough is too sticky?
If you’re finding your dough is overly sticky, a little sprinkle of flour can help! Add in small amounts (about a tablespoon at a time) while mixing until you achieve a soft, workable dough. Just be careful not to overdo it, as too much flour can make your cookies tough instead of chewy and soft.
Can these cookies be made allergen-friendly?
Very! You can easily customize the Jello Sugar Cookies to be dairy-free by substituting unsalted butter for vegan butter or coconut oil. Additionally, if you need a gluten-free option, simply swap all-purpose flour for a gluten-free flour blend. Always check the Jello packaging to ensure it fits your dietary needs.
How can I enhance the flavors of Jello Sugar Cookies?
One fun tip is to mix different Jello flavors together for a unique blend, or incorporate add-ins like chocolate chips, nuts, or colorful sprinkles. Adding a splash of lemon or orange zest can also give your dough a fresh, zesty kick. Enjoy experimenting!

Delightful Jello Sugar Cookies – Chewy, Colorful Joys
Ingredients
Equipment
Method
- Preheat your oven to 350°F (175°C) and line your baking sheets with parchment paper.
- In a large mixing bowl, cream together the softened unsalted butter and granulated sugar using an electric mixer until light and fluffy, about 3 to 5 minutes.
- Add a large egg and beat until fully incorporated, achieving a smooth consistency.
- In a separate bowl, whisk together the all-purpose flour, baking powder, and salt.
- Gradually add the dry ingredients to the wet mixture, folding until a soft dough forms. Avoid overmixing.
- Divide the dough into 3 to 4 equal portions and mix in 1 to 2 tablespoons of different Jello powder flavors into each portion.
- Wrap each portion of the colored dough in plastic wrap and chill in the refrigerator for 15 to 20 minutes.
- Roll each chilled portion into balls about 1 inch in diameter and coat in additional sugar, slightly flattening them on the baking sheets.
- Bake cookies for 8 to 10 minutes until edges are set and tops are crackled. Do not overbake.
- Allow cookies to cool on the baking sheets for 2 minutes before transferring to a wire rack to cool completely.