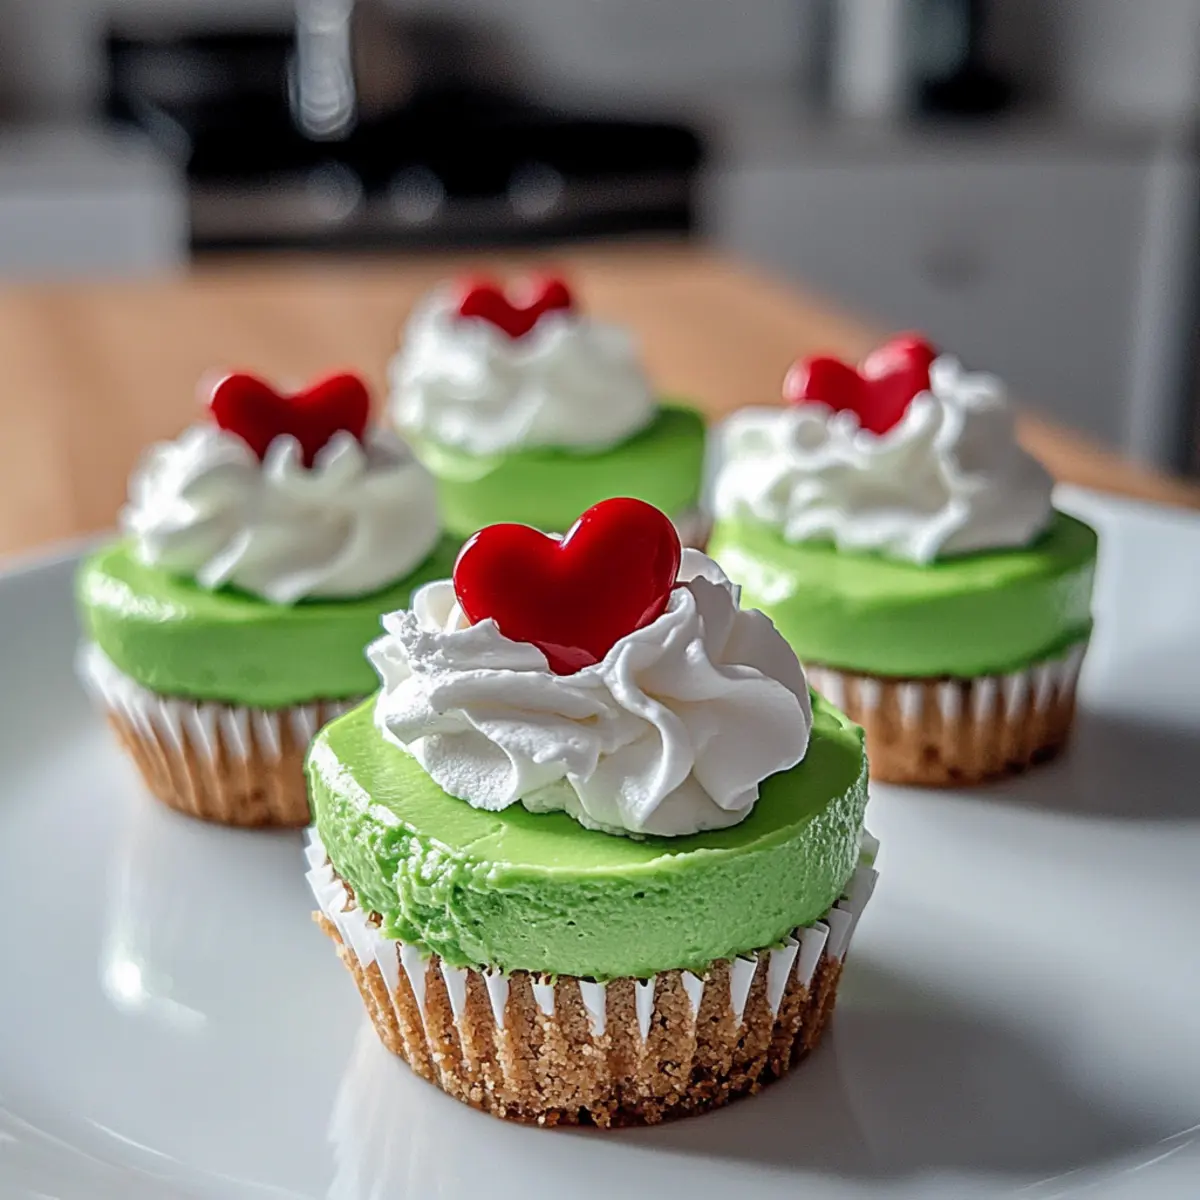
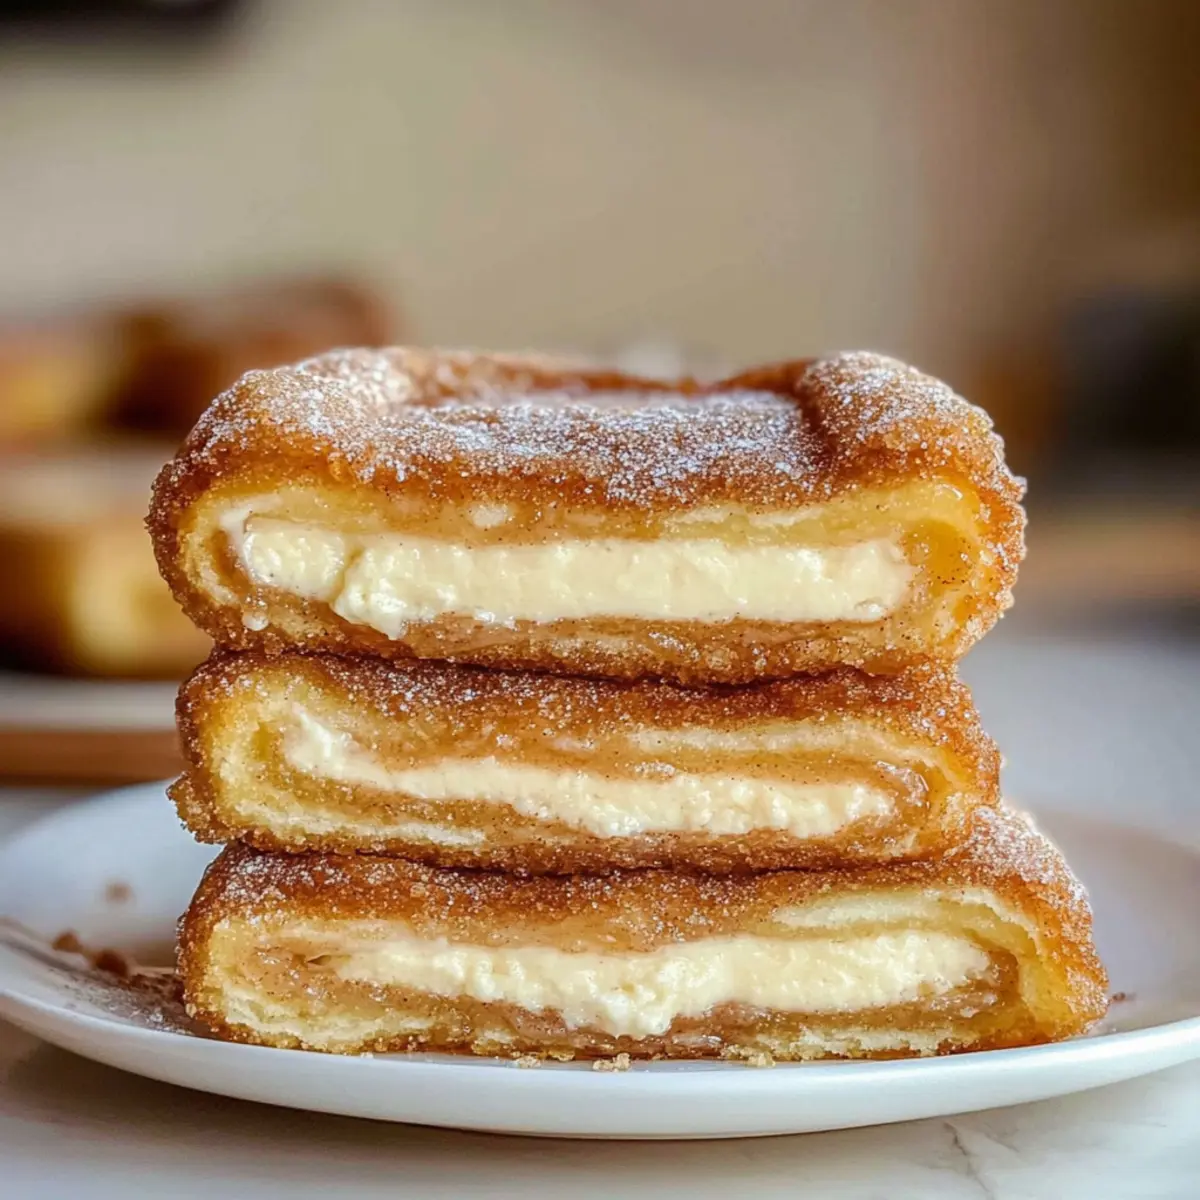
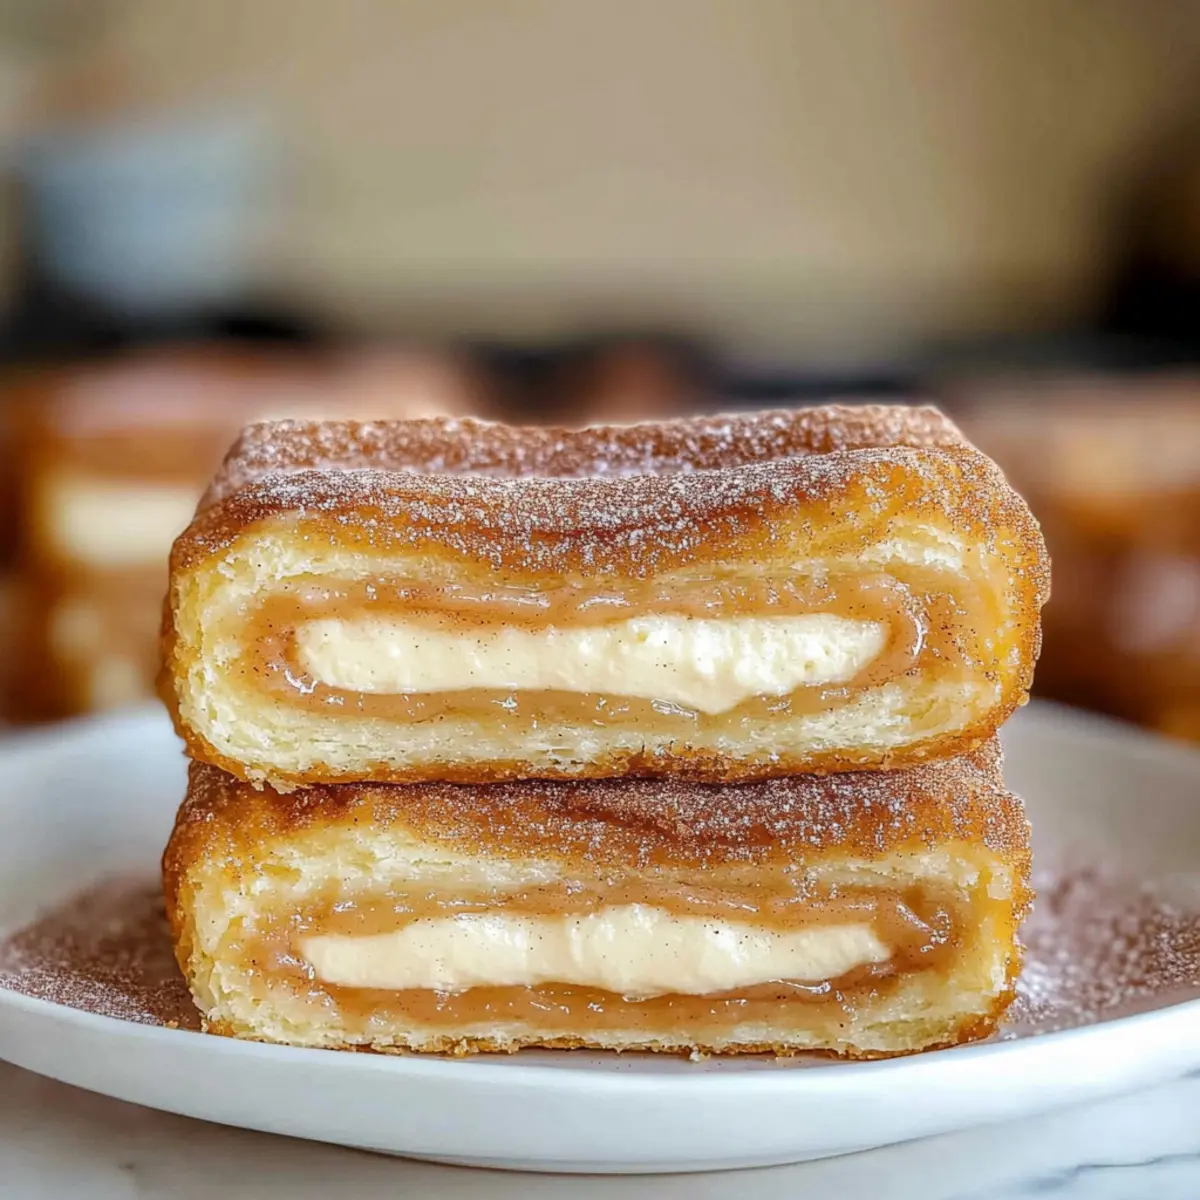
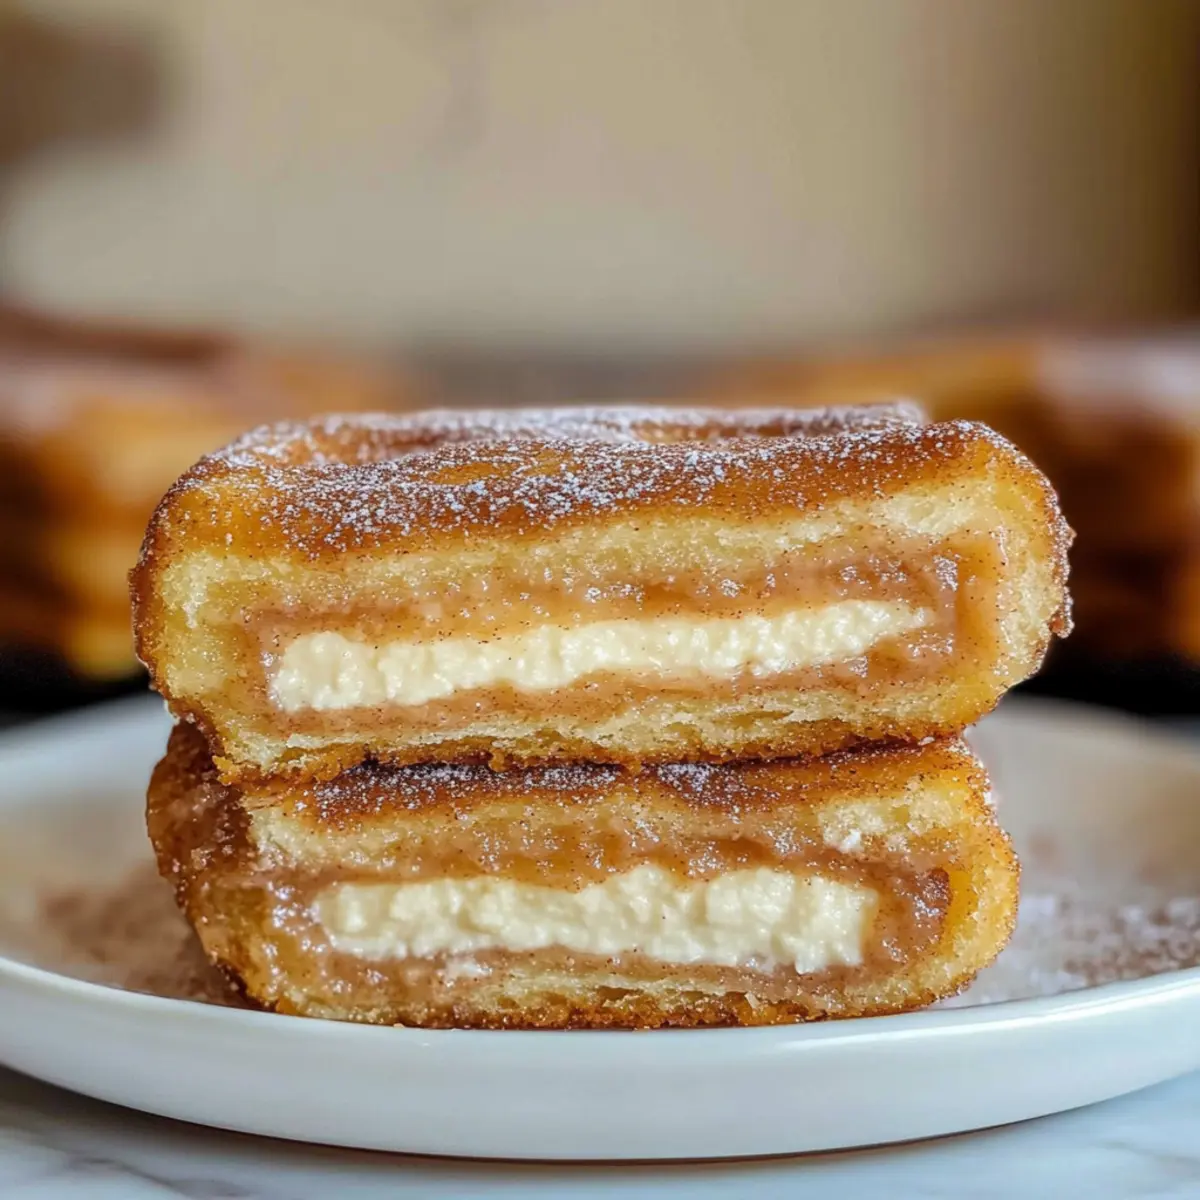
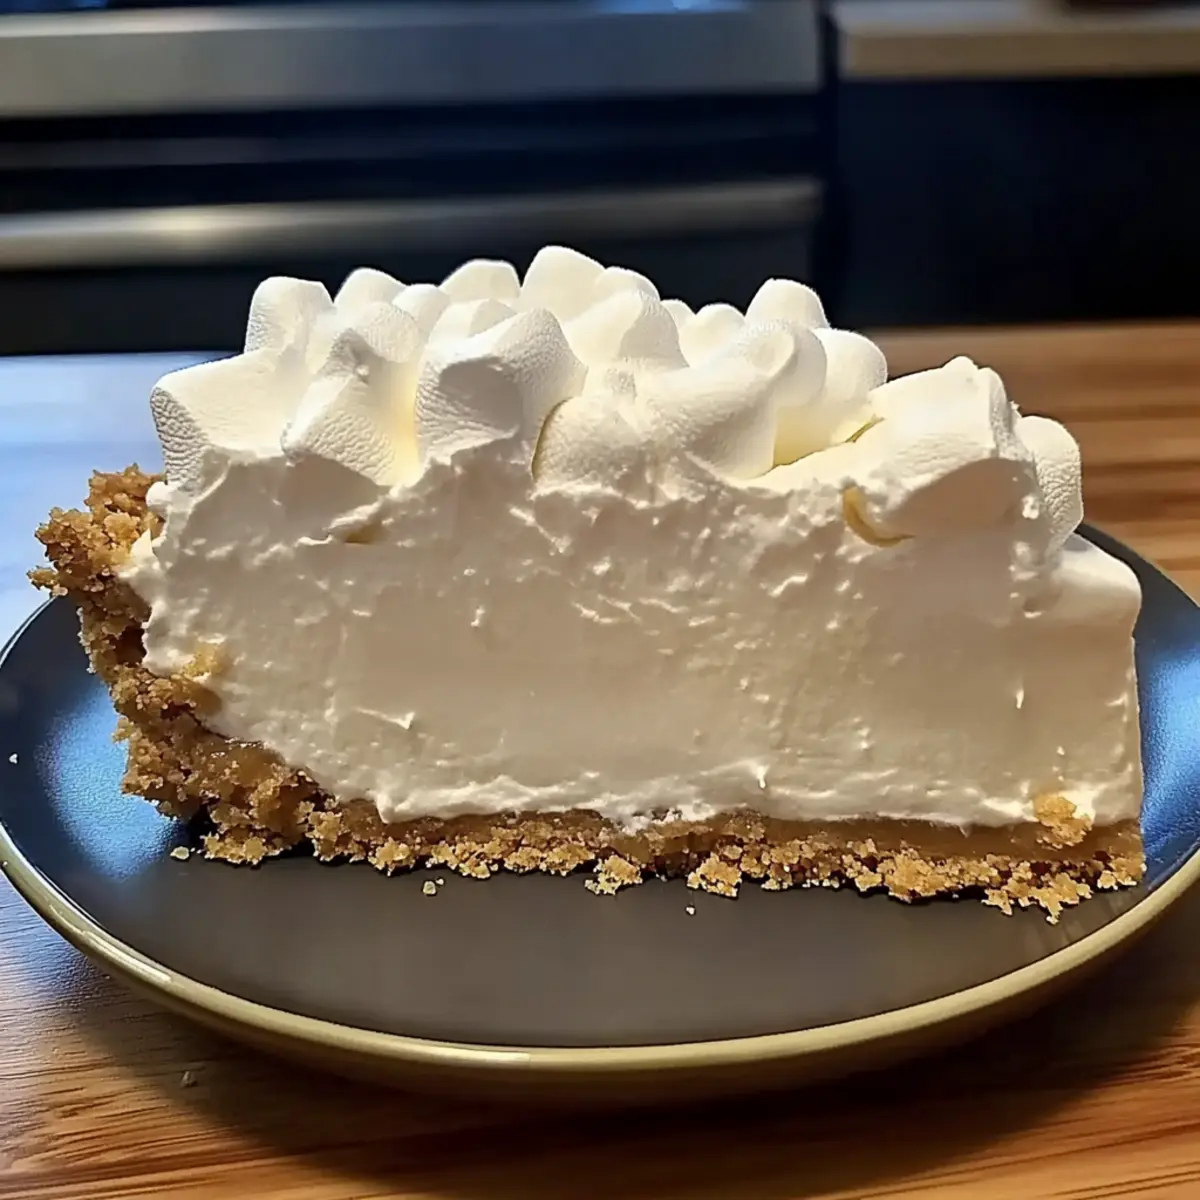
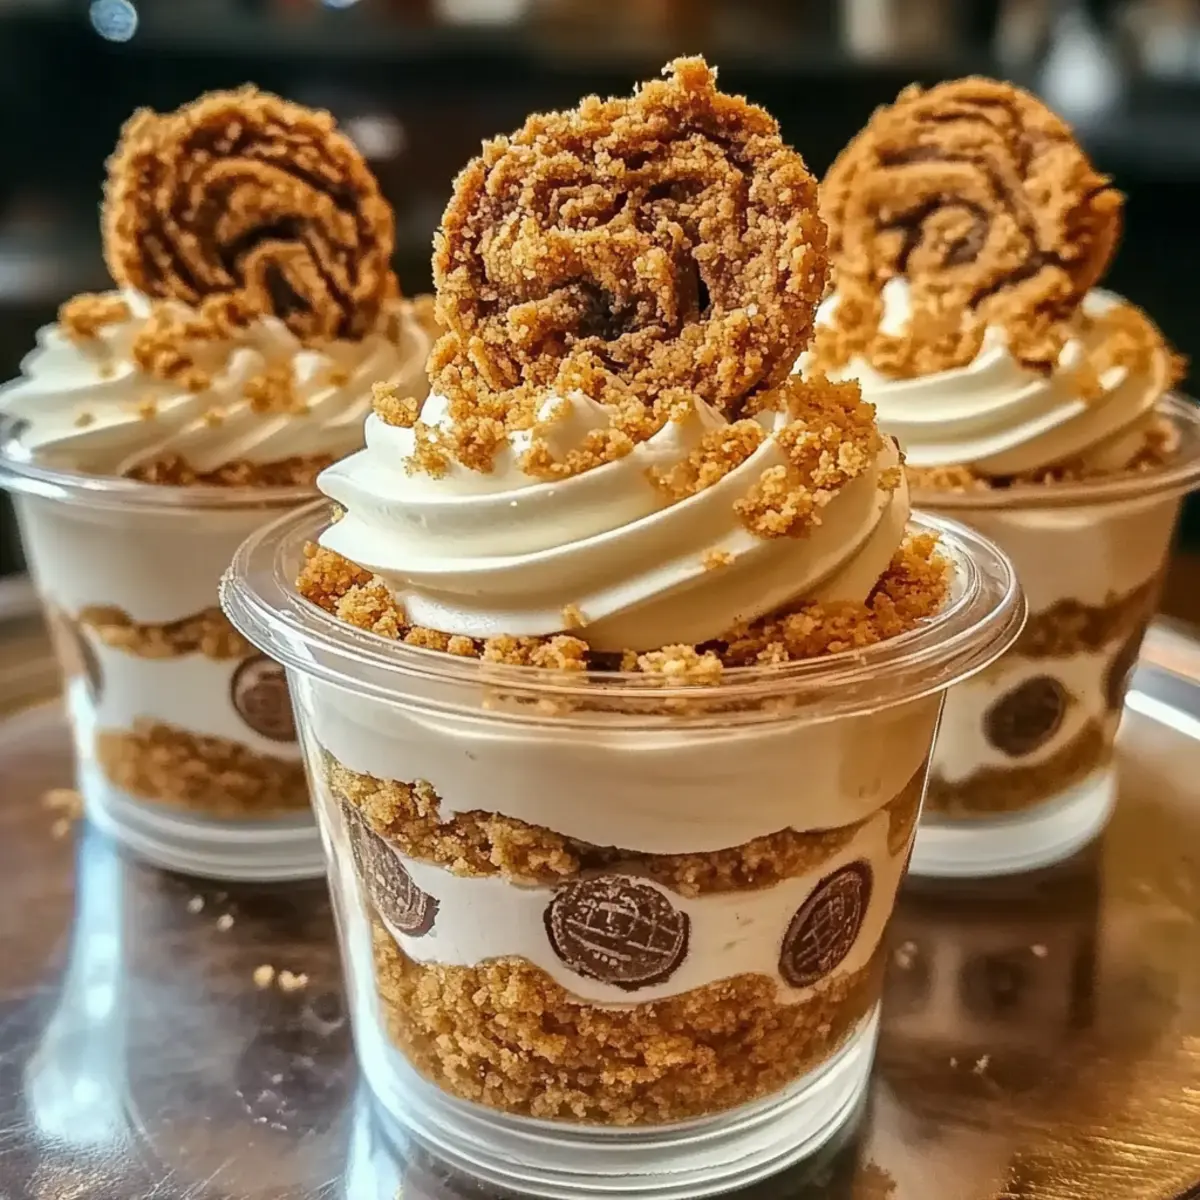
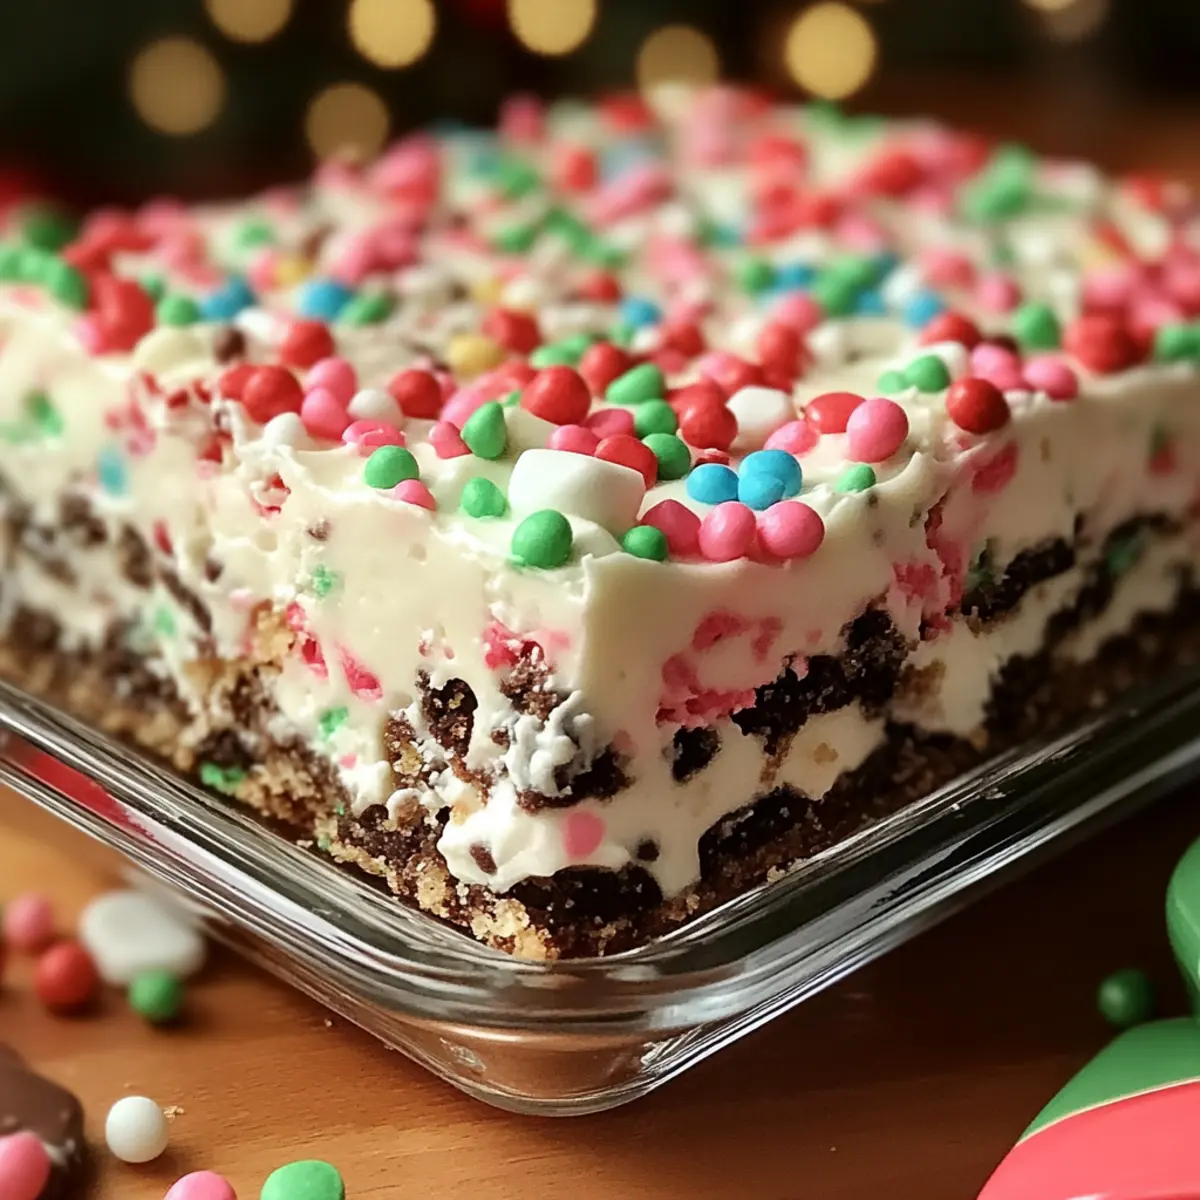
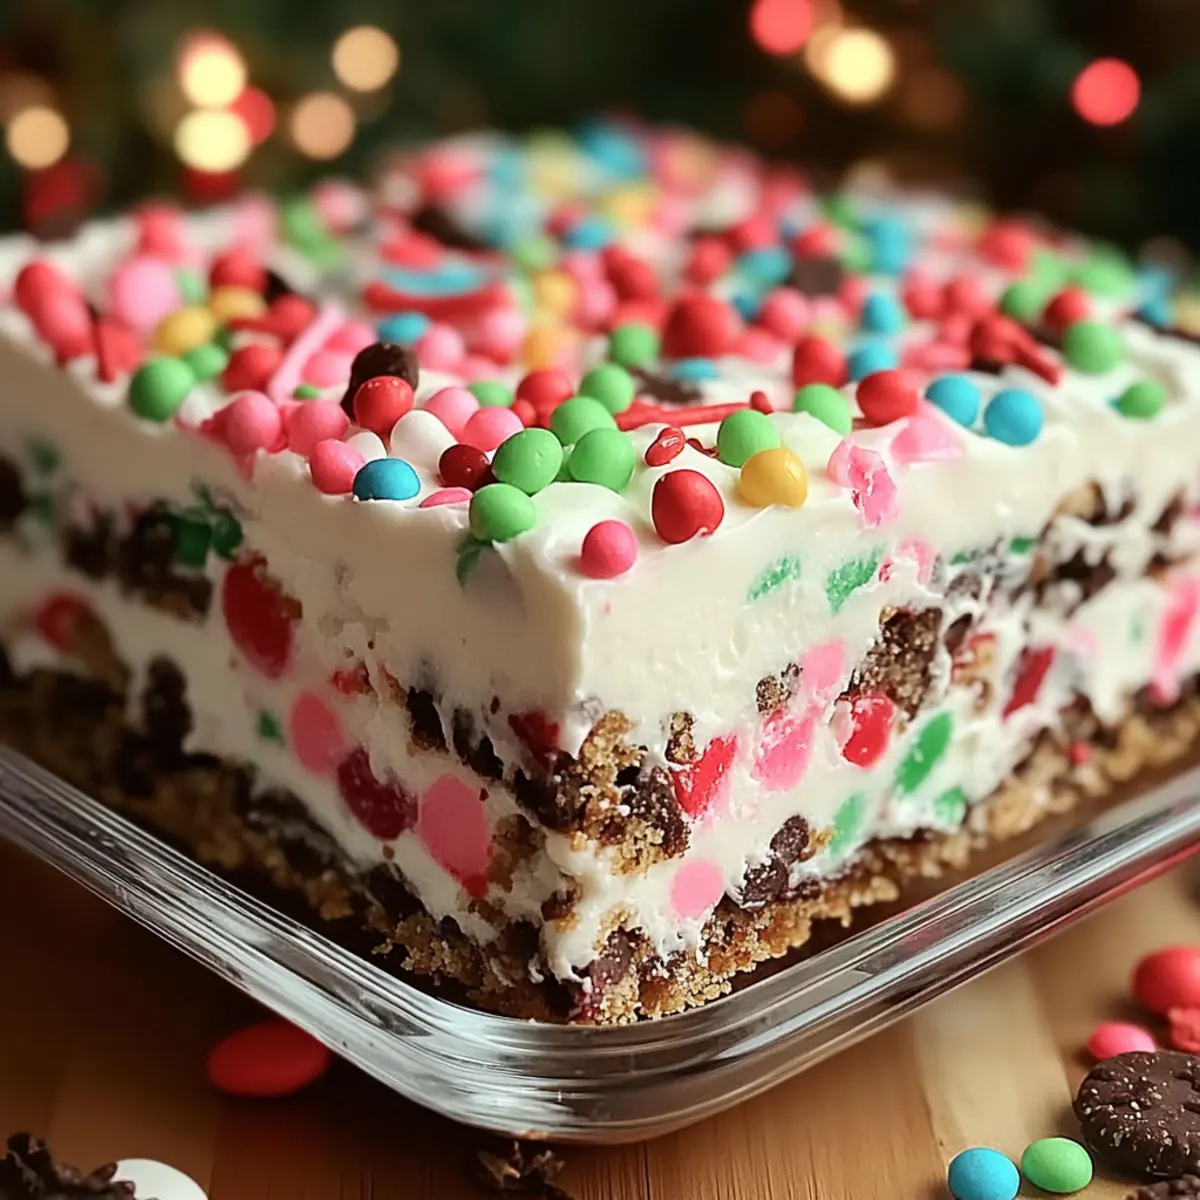
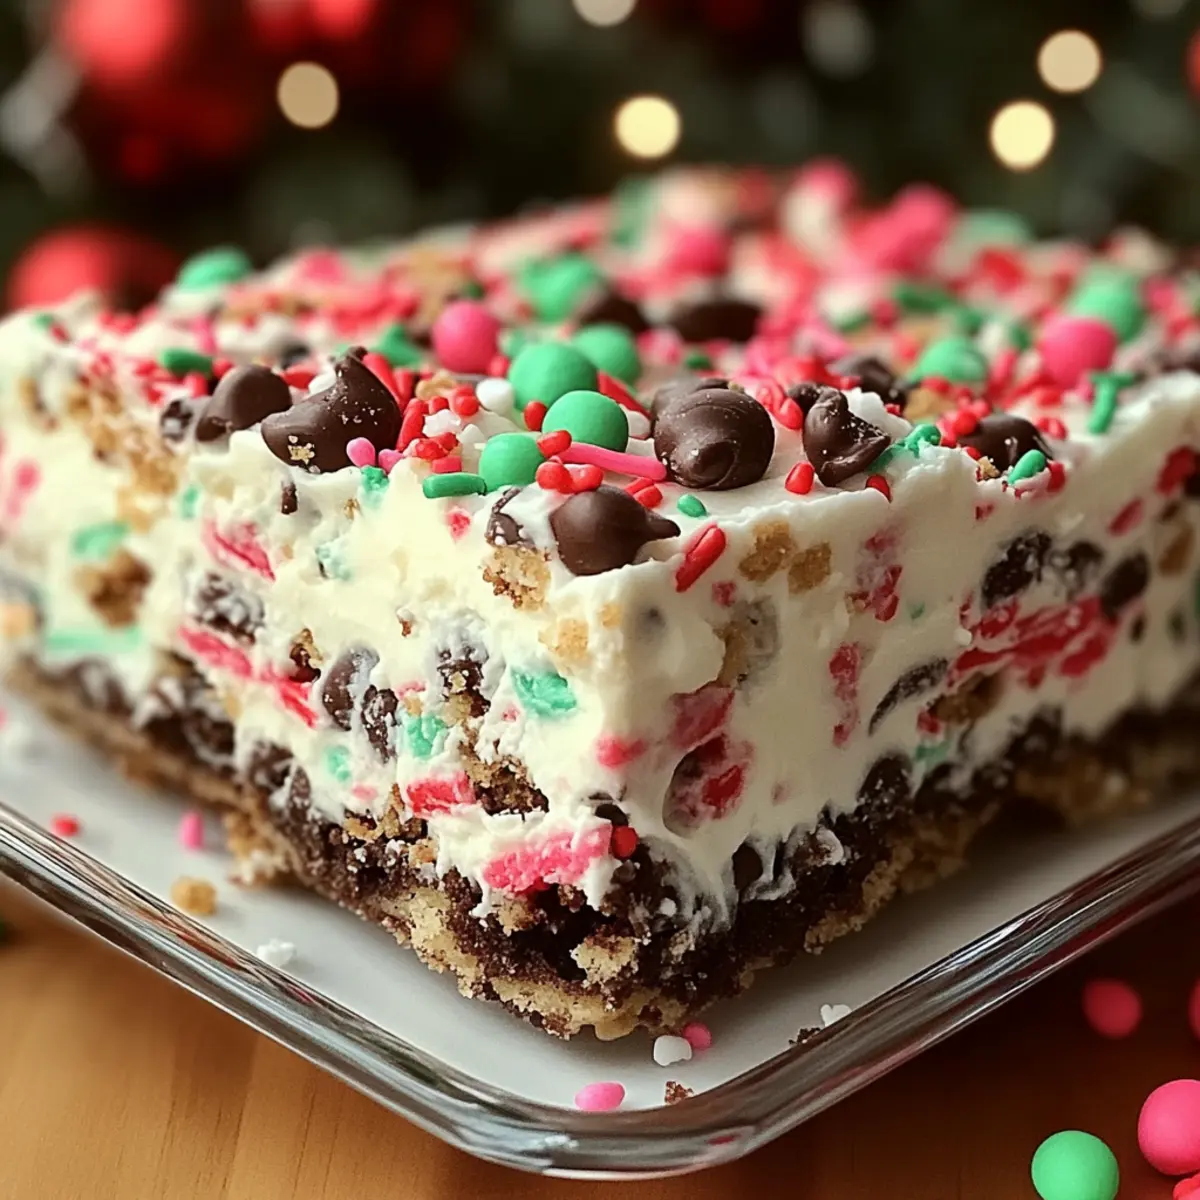
The aroma of freshly baked cookies mingling with holiday spices can evoke a sense of nostalgia that’s hard to resist. That’s why I’m excited to share my go-to recipe for Festive No-Bake Christmas Cookie Lasagna! This delightful Christmas Cookie Lasagna Dessert is not only incredibly simple to make, but it also spares you the hassle of turning on the oven during the busy holiday season—so you can focus on what truly matters: gathering with family and friends. With layers of soft cookies and a creamy, luscious filling, this dessert is fully customizable; swap in your favorite cookies or toppings to make it uniquely yours. Plus, it’s perfect for anyone looking for a quick, crowd-pleasing treat that can be prepared in advance. Are you ready to indulge in a festive twist that will leave everyone asking for seconds? Let's dive in!
Why is this Christmas Cookie Lasagna Dessert irresistible?
Simplicity: With no baking required, this recipe is a breeze, allowing you to whip it up in no time!
Customizable Layers: Tailor this dessert to your taste by mixing in your favorite cookies or toppings, like crushed nuts or festive sprinkles.
Crowd-Pleasing: Perfect for holiday gatherings, this treat appeals to all ages, making it an instant hit at any celebration.
Make-Ahead Delight: Prepare it a day in advance and store it in the fridge, freeing up your time for festivities.
Decadent Textures: Experience the delightful contrast of creamy layers against crunchy cookies, creating a dessert that’s a feast for the senses.
For a different flavor twist, consider trying out my Eggnog Cookies Soft recipe or make some unique Mexican Wedding Cookies to accompany your holiday festivities!
Christmas Cookie Lasagna Dessert Ingredients
This simple yet decadent dessert is sure to delight and surprise!
For the Cookie Base
- High-Quality Cookies – Choose your favorite like chocolate chip or gingerbread for a festive vibe.
For the Cream Mixture
- Cream Cheese – Ensure it’s softened for a smooth and creamy texture.
- Whipped Topping – Lightens up the mixture, creating a fluffy consistency.
For the Decor
- Chocolate Chips or Festive Sprinkles – Use these to add a delightful touch and personalized flair.
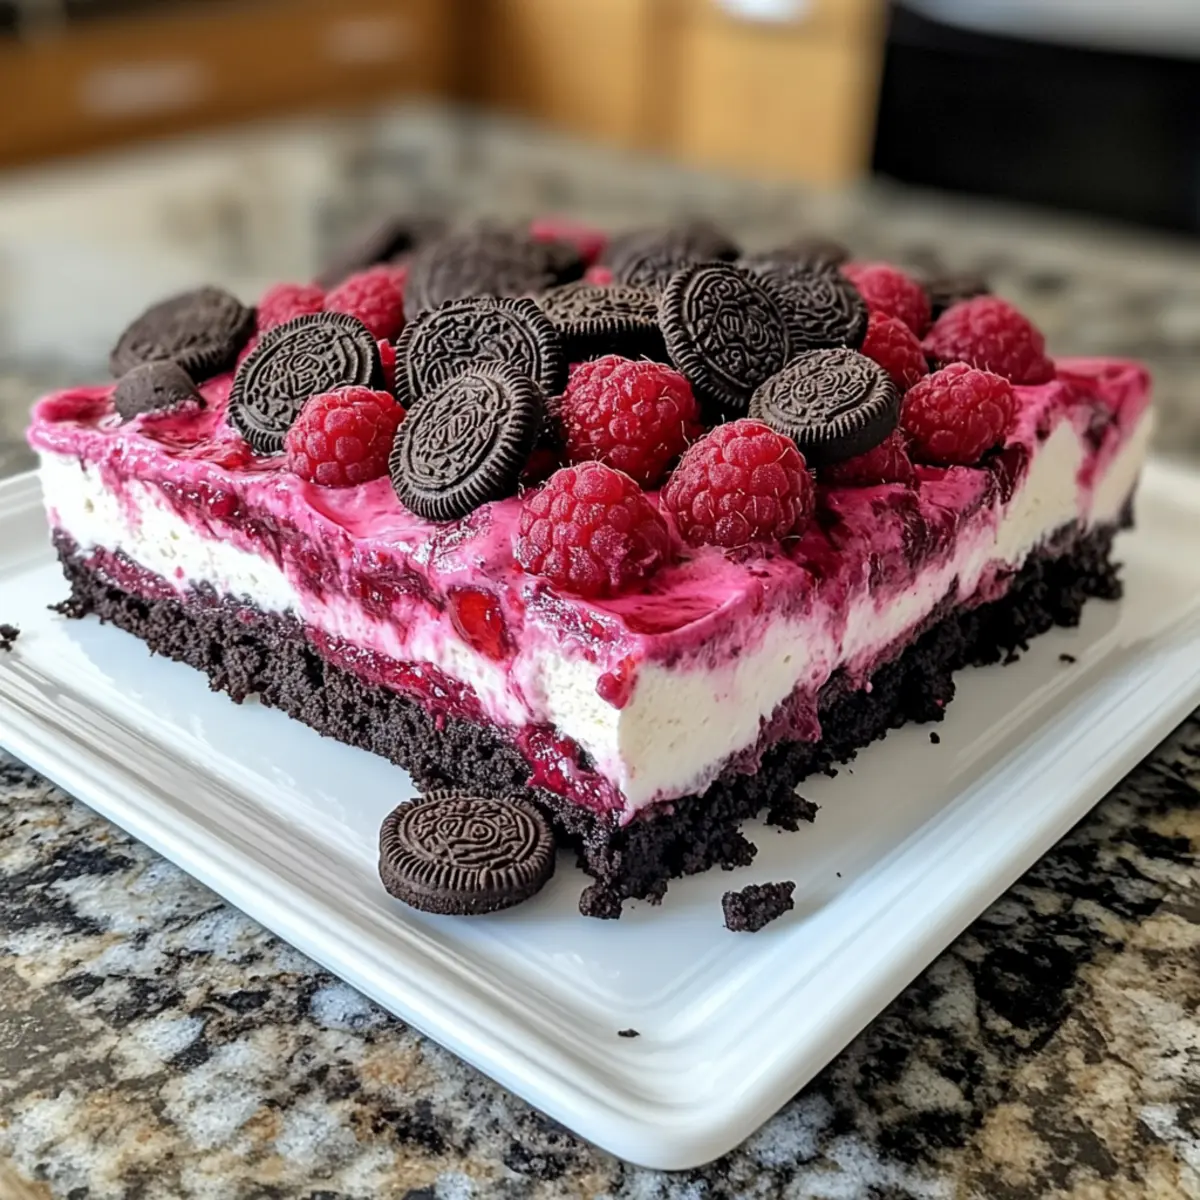
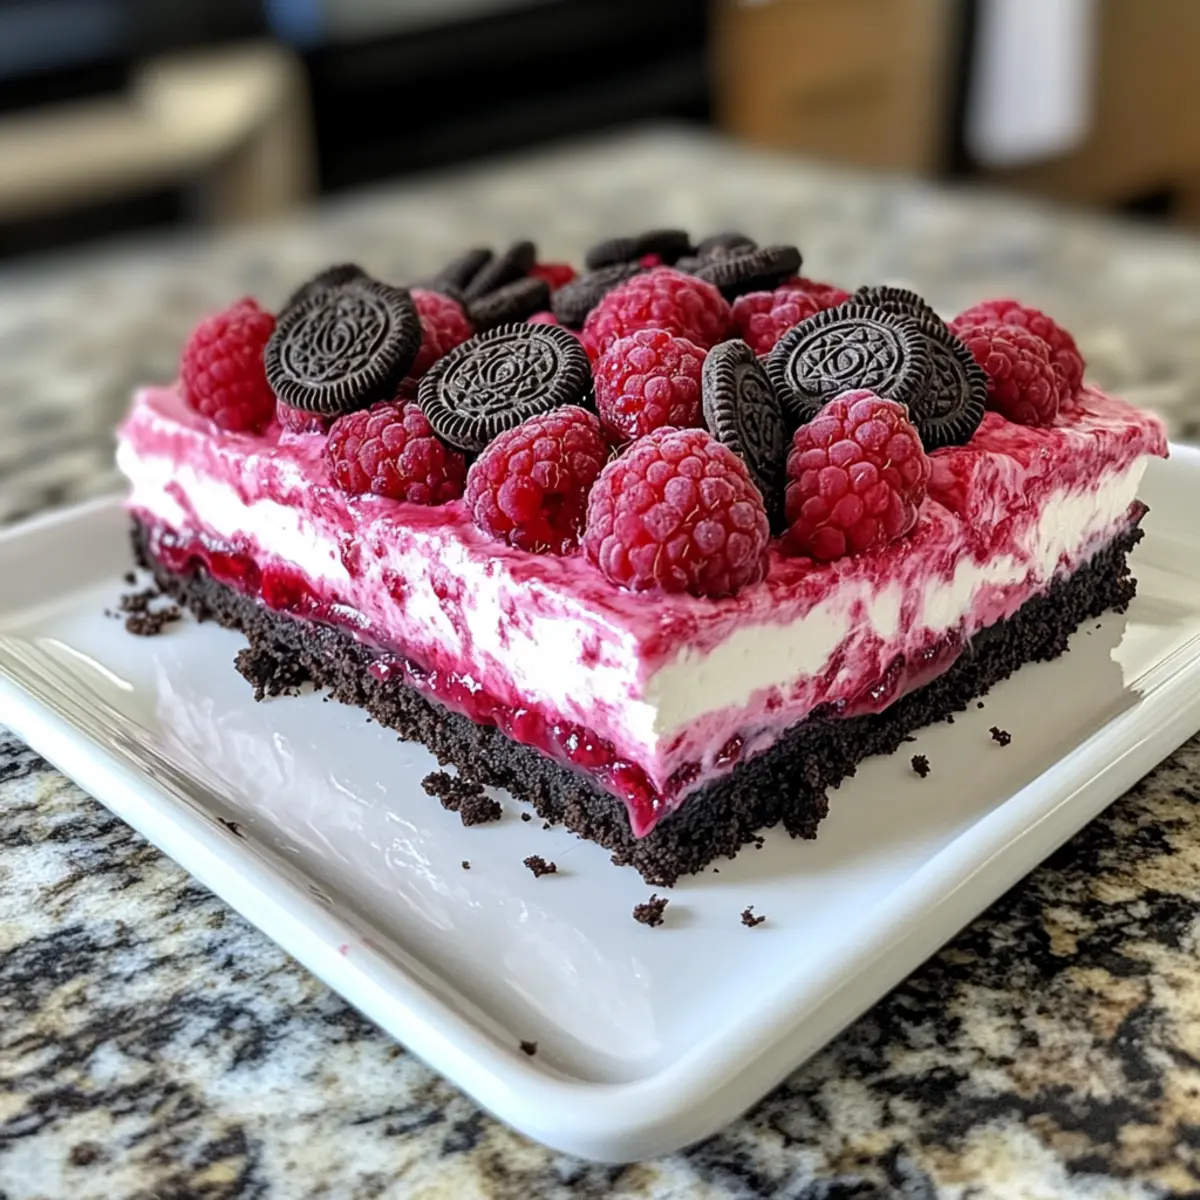
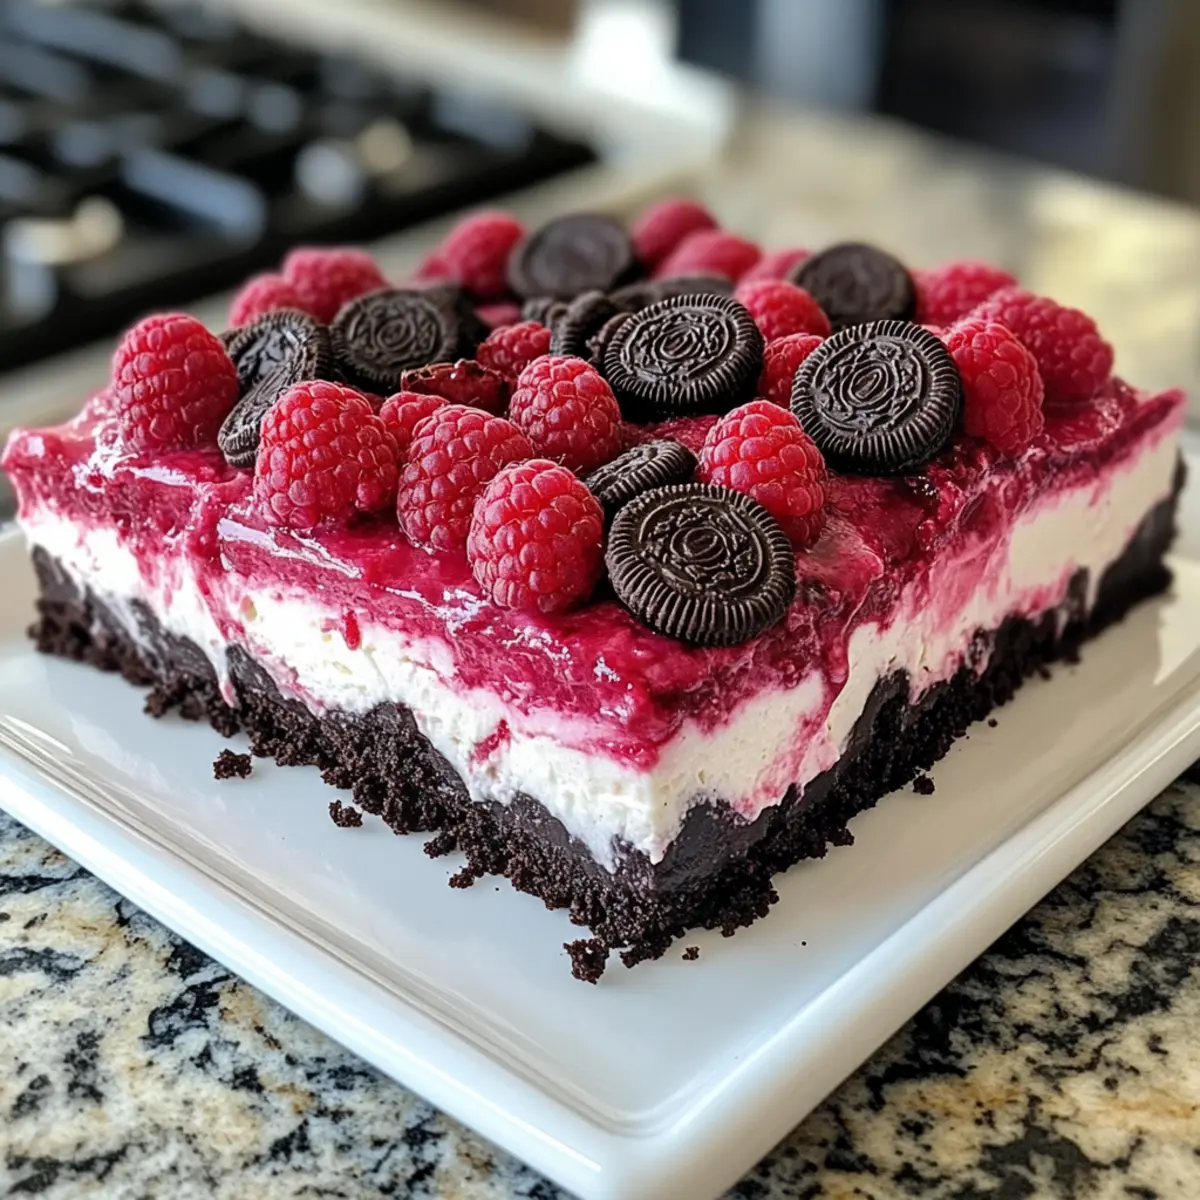
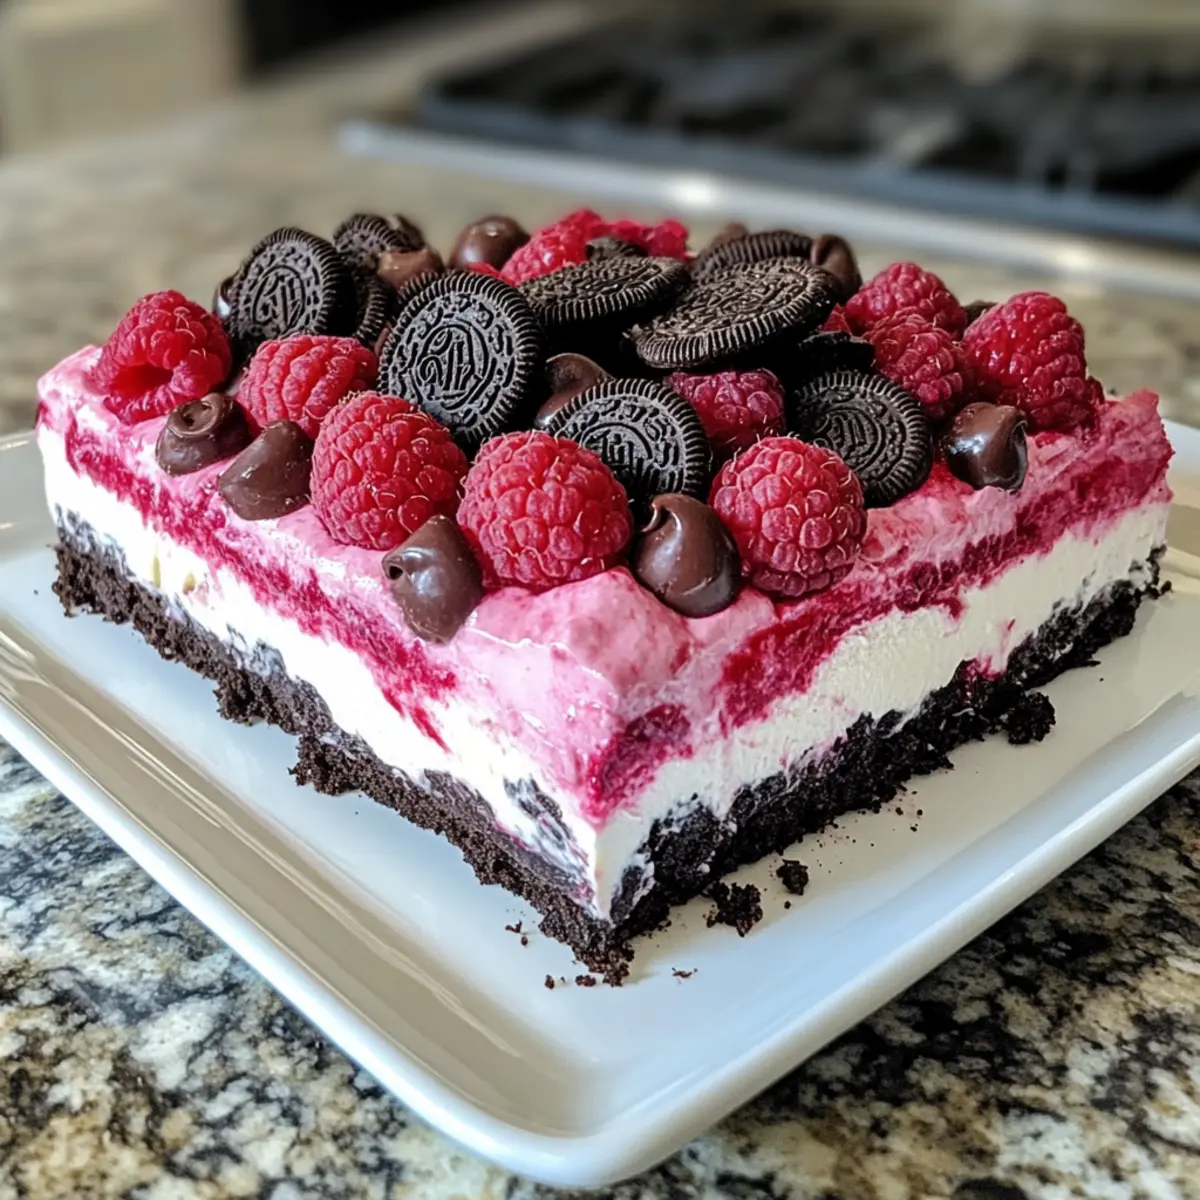
- Fruity Layers (Optional) – Fresh raspberries or cherries give a refreshing balance to the richness of the cookie layers.
Feel free to get creative with this Christmas Cookie Lasagna Dessert and make it your own!
Step‑by‑Step Instructions for Festive No-Bake Christmas Cookie Lasagna
Step 1: Prepare the Baking Dish
Begin by taking a 9x13 inch baking dish and arrange a layer of your chosen high-quality cookies, such as chocolate chip or gingerbread, at the bottom. Ensure the cookies are evenly spaced for a solid foundation. This will create the perfect base for your Christmas Cookie Lasagna Dessert.
Step 2: Mix the Cream Cheese Layer
In a mixing bowl, beat 8 ounces of softened cream cheese with an electric mixer until smooth and creamy, around 2 minutes. Gently fold in 8 ounces of whipped topping until well combined, creating a light and fluffy mixture. This will be the luscious layer of your dessert that adds creaminess to the cookies.
Step 3: Spread the Cream Mixture
Carefully spread half of the cream cheese mixture evenly over the base layer of cookies. Make sure to cover them fully for a delightful blend of flavors. The whimsical layers of your Christmas Cookie Lasagna Dessert are starting to come together beautifully, showcasing the rich creaminess over the crunchy cookies beneath.
Step 4: Add Another Layer of Cookies
Now, it’s time to add another layer of cookies over the cream mixture. Lay them out in even rows, ensuring there are no overlaps to maintain a structured look. This second layer adds depth to your dessert, enhancing both texture and presentation—so exciting to see!
Step 5: Top with Remaining Cream Mixture
Spread the remaining cream cheese mixture on top of the second cookie layer, smoothing it out carefully. This final layer will create a luscious and inviting finish to your Christmas Cookie Lasagna. Use a spatula to ensure the topping is evenly distributed, enhancing both the texture and visual appeal of your dessert.
Step 6: Chill in the Refrigerator
Cover the entire dish with plastic wrap, ensuring it seals tightly to keep the dessert fresh. Refrigerate for at least 4 hours or ideally overnight. This chilling time allows the layers to set properly, making it easier to slice and serve your delectable Christmas Cookie Lasagna Dessert when the festivities begin.
Step 7: Add Festive Toppings
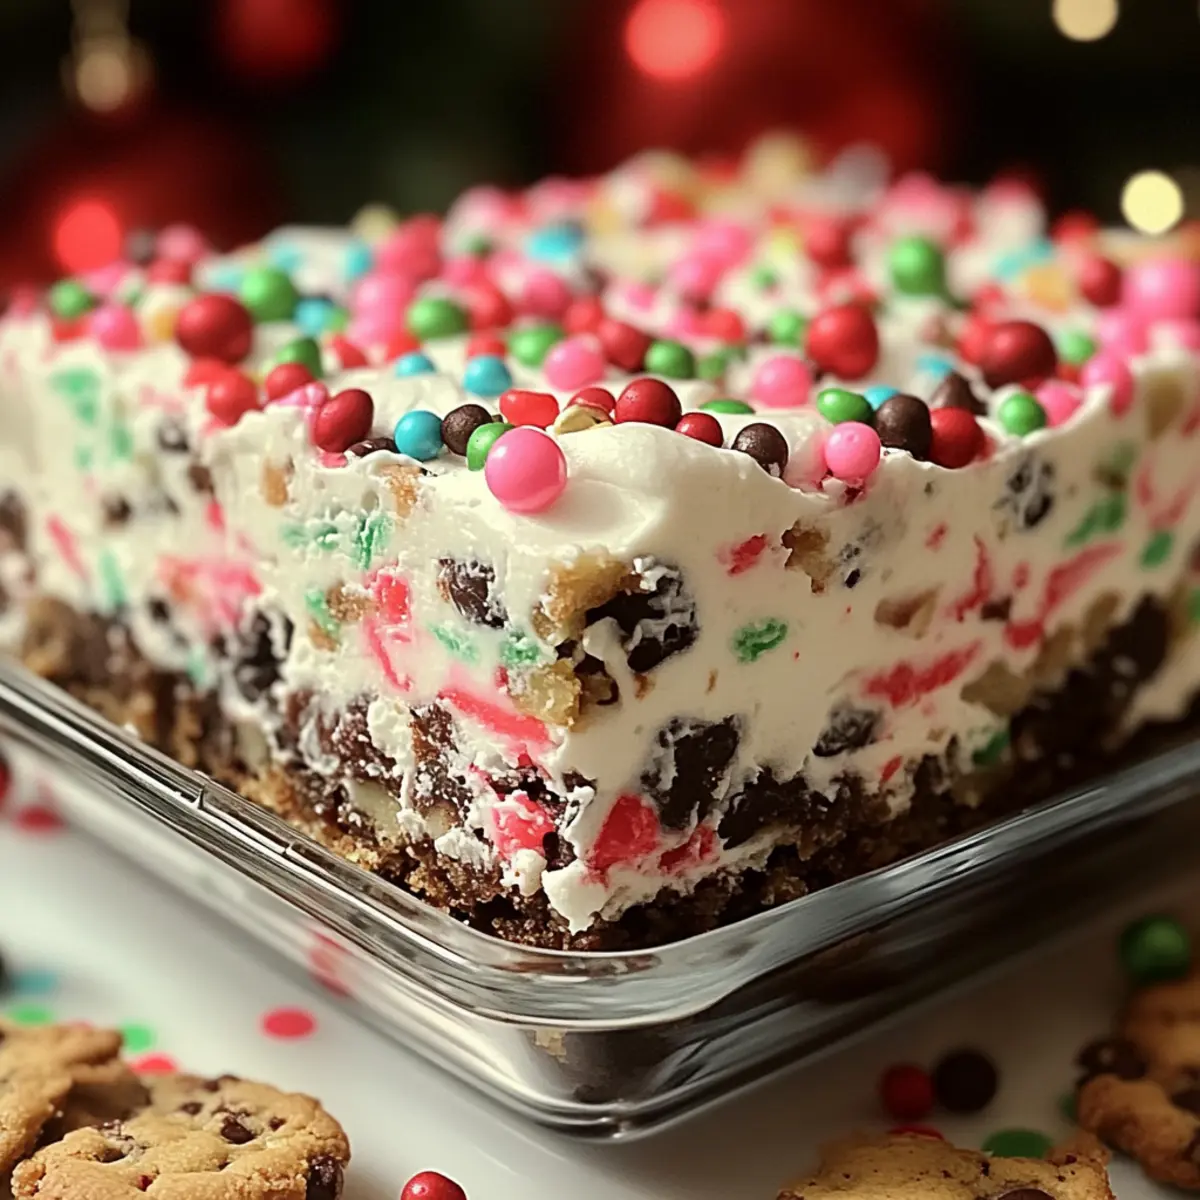
Before serving, take the dessert out of the fridge and sprinkle a generous layer of chocolate chips or colorful festive sprinkles on top for a cheerful holiday touch. This final step enhances not only the appearance but also the flavor profile, making your no-bake dessert an attractive centerpiece for your holiday gathering.
Christmas Cookie Lasagna Dessert Variations
Feel free to let your creativity shine and customize this delightful dessert in countless ways!
-
Peppermint Twist: Substitute with peppermint-flavored cookies for a refreshing, minty holiday experience that complements the festive season beautifully.
-
Fall Flavor: Incorporate pumpkin spice cream cheese for a cozy twist, capturing the essence of autumn right in your layers.
-
Textured Crunch: Add a layer of crushed nuts between the cookie and cream layers for delightful crunch and rich flavor contrast that really elevates your dessert.
-
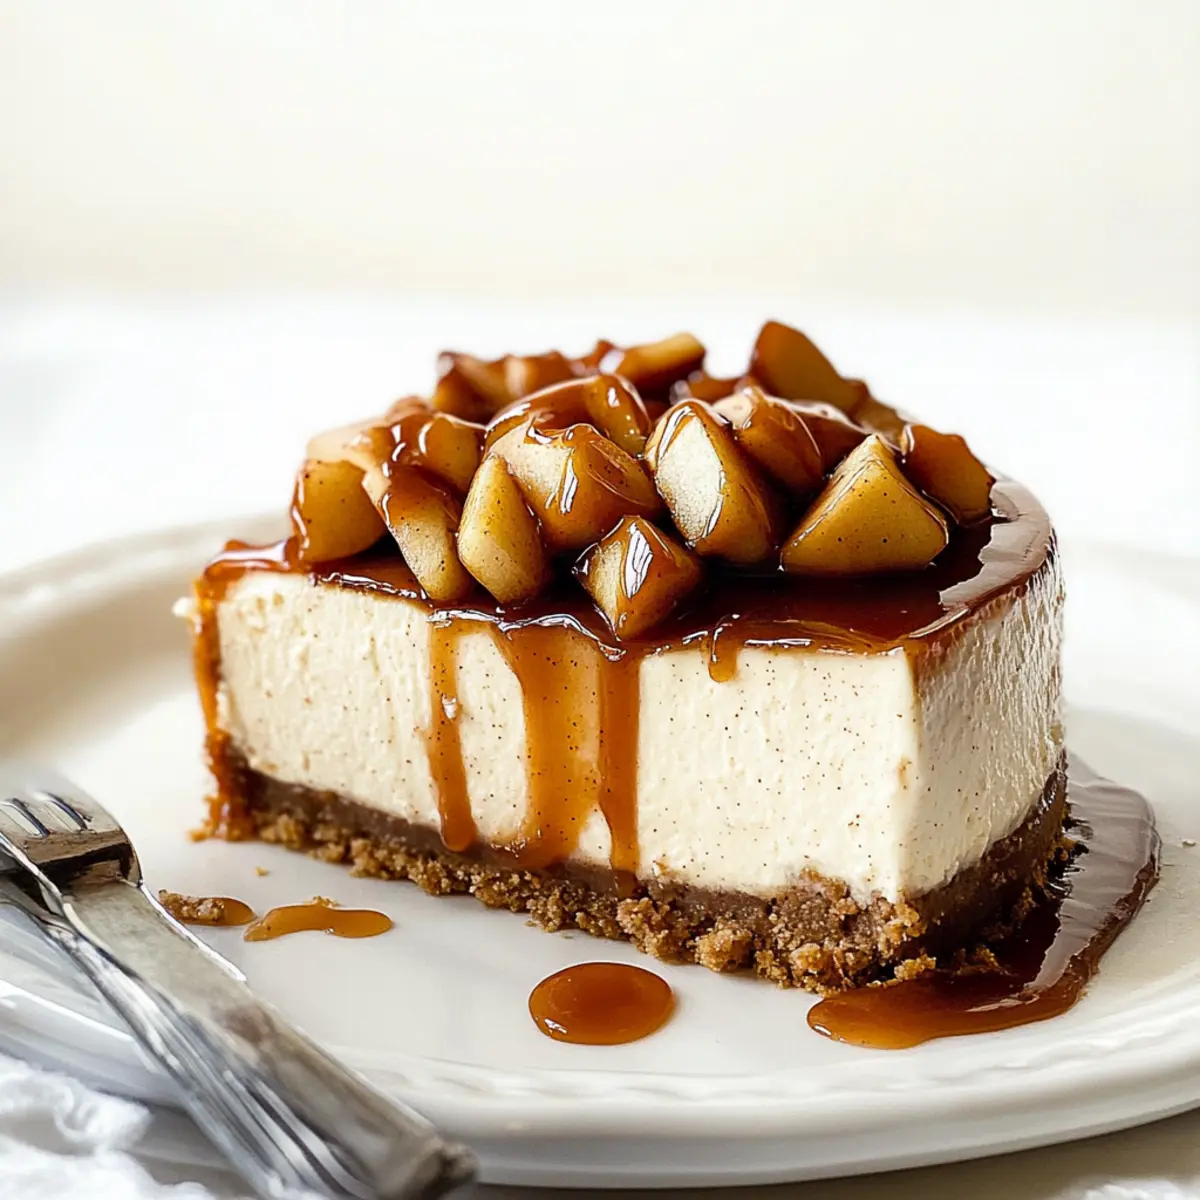
Chocolaty Delight: Opt for chocolate cookies instead of traditional ones and drizzle with caramel sauce for an even richer taste that chocolate lovers will adore.
-
Dairy-Free Version: Use vegan cream cheese and whipped topping for a dairy-free option, ensuring everyone can enjoy this tasty treat.
-
Fruity Surprise: Layer in fresh raspberries or cherries for a splash of color and a fruity burst that brightens the rich flavors of the cookies.
-
Seasonal Sprinkles: Top with festive sprinkles, such as red and green, for a playful holiday touch that makes the dessert visually irresistible.
For more indulgent treats, why not try some of my Peaches Cream Cookies for a refreshing summer spin or whip up a batch of Matcha Cookies Soft for a deliciously unique addition to your cookie collection?
What to Serve with Festive No-Bake Christmas Cookie Lasagna
The holidays are all about creating memorable moments, and pairing your dessert with the right sides can elevate the experience.
-
Rich Hot Chocolate: Offers a warm, velvety experience that complements the creamy layers of the lasagna. Add a sprinkle of cinnamon for that extra festive touch!
-
Gingerbread Cookies: These spiced delights echo the flavors of the season while providing a satisfying crunch alongside the soft lasagna. A lovely nod to holiday traditions!
-
Fruit Salad: A refreshing contrast to the dessert’s richness, a medley of seasonal fruits lightens up the meal. Opt for pomegranate, oranges, or kiwi for vibrant colors!
-
Pecan Pie Bars: The nutty and buttery flavor of pecan pie bars adds a delightful crunch and sweetness that perfectly harmonizes with the dessert’s creaminess.
-
Eggnog: This classic holiday drink infuses festive flavors which pair beautifully with the layers of soft cookies. Try garnishing with nutmeg for an aromatic finish!
-
Christmas Potato Salad: A unique twist, this salad adds both creaminess and a touch of crunch while incorporating seasonal herbs to lighten the palate between layers of dessert.
-
Sparkling Water with Lime: For those seeking a refreshing drink, this bubbly sensation with a citrus twist cleanses the palate and perfectly complements the festive flavors.
The combination of these delightful pairings will create a memorable holiday feast!
Make Ahead Options
These Festive No-Bake Christmas Cookie Lasagna Desserts are perfect for meal prep, allowing you to enjoy your holiday gatherings without the last-minute stress! You can prepare the entire dessert up to 24 hours in advance; simply layer the cookies and cream mixture as per the instructions, then cover tightly with plastic wrap and refrigerate. This chilling time enhances the flavors, ensuring your dessert is just as delicious when served. If needed, you can store it in the refrigerator for up to 3 days or freeze individual portions for up to 2 months. Just remember to sprinkle on the festive toppings right before serving for a fresh, cheerful finish!
How to Store and Freeze Christmas Cookie Lasagna
Refrigerator: Keep your Christmas Cookie Lasagna Dessert covered in plastic wrap or an airtight container for up to 3 days. This will help maintain its creamy texture and flavor.
Freezer: For longer storage, slice the dessert into individual portions and freeze them in airtight containers for up to 2 months. Thaw in the fridge before serving for the best taste and texture.
Make-Ahead: You can prepare this delightful dessert 24 hours in advance, making it an ideal choice for busy holiday schedules, ensuring everyone can enjoy it fresh and delicious!
Reheating: Since this is a no-bake dessert, there's no need for reheating. Just serve it chilled, and enjoy the layers of delightful flavors!
Expert Tips for Christmas Cookie Lasagna Dessert
-
Room Temperature Cream Cheese: Ensure your cream cheese is at room temperature for a silky smooth mixture. Cold cream cheese results in lumps that can ruin the texture.
-
Chilling is Crucial: Don’t skip the chilling time! Allowing the layers to set properly is key to achieving clean slices when serving your Christmas Cookie Lasagna Dessert.
-
Layer Evenly: Spacing cookies without overlapping is essential for a visually appealing presentation and neat layers. Overlapping can make it messy when serving.
-
Customize Wisely: Feel free to customize your cookie choices, but remember that some cookies absorb moisture faster than others, which could affect the dessert's consistency.
-
Topping Choices: Get creative with toppings! While chocolate chips and sprinkles are popular, consider using crushed nuts or a drizzle of caramel for a different flavor profile.
Christmas Cookie Lasagna Dessert Recipe FAQs
How do I choose the right cookies for this dessert?
Absolutely! For a great foundation, pick high-quality cookies that complement the cream mixture. Chocolate chip or gingerbread cookies are fantastic options. If you’re looking for a more festive twist, consider using peppermint-flavored cookies for a refreshing take!
How should I store any leftovers?
Very! Keep your Christmas Cookie Lasagna Dessert covered in plastic wrap or in an airtight container in your refrigerator where it can last for up to 3 days. This helps maintain its creamy texture and delicious flavor, perfect for those sweet cravings!
Can I freeze the Christmas Cookie Lasagna Dessert?
Of course! For longer storage, slice your dessert into individual portions and place them in airtight containers. You can freeze these portions for up to 2 months. When you're ready to enjoy a slice, simply thaw it in the fridge overnight for the best taste and texture.
What if my cream cheese mixture isn't smooth?
Oh, don’t fret! If your cream cheese seems lumpy, it’s likely that it wasn’t softened enough. Make sure you let it sit at room temperature for at least 30 minutes before mixing. Beat it well with an electric mixer until smooth, and you can always add a splash of milk to help with creaminess.
Is this dessert suitable for those with dietary restrictions?
Certainly! To make your Christmas Cookie Lasagna Dessert gluten-free, simply use gluten-free cookies. For dairy-free options, swap the cream cheese and whipped topping for suitable vegan alternatives. This way, everyone can indulge in the festive cheer without worry!
Can I make this dessert ahead of time?
Absolutely! You can prepare your Christmas Cookie Lasagna Dessert up to 24 hours in advance. This make-ahead option is perfect for busy holiday schedules, allowing the layers to meld beautifully. Just keep it covered in the refrigerator until you’re ready to serve!
Delicious Christmas Cookie Lasagna Dessert for Holiday Cheer
Ingredients
Equipment
Method
- Prepare the Baking Dish: Arrange a layer of your chosen high-quality cookies at the bottom.
- Mix the Cream Cheese Layer: Beat 8 ounces of softened cream cheese until smooth, then fold in 8 ounces of whipped topping.
- Spread the Cream Mixture: Carefully spread half of the cream cheese mixture evenly over the layer of cookies.
- Add Another Layer of Cookies: Place another layer of cookies over the cream mixture.
- Top with Remaining Cream Mixture: Spread the remaining cream cheese mixture on top of the second cookie layer.
- Chill in the Refrigerator: Cover with plastic wrap and refrigerate for at least 4 hours or overnight.
- Add Festive Toppings: Sprinkle chocolate chips or festive sprinkles on top before serving.