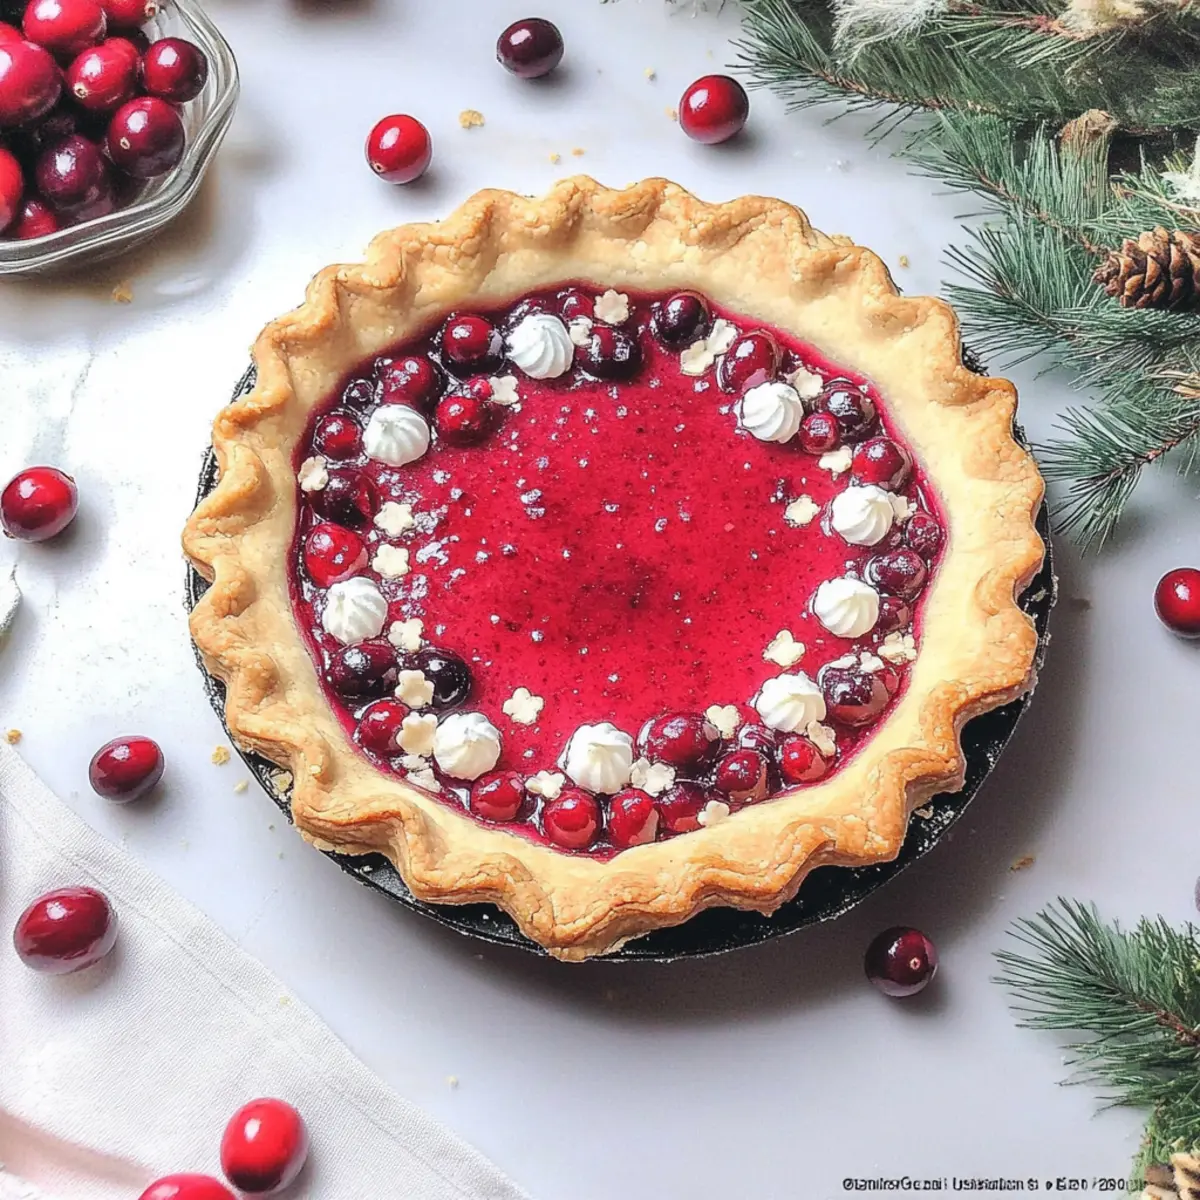
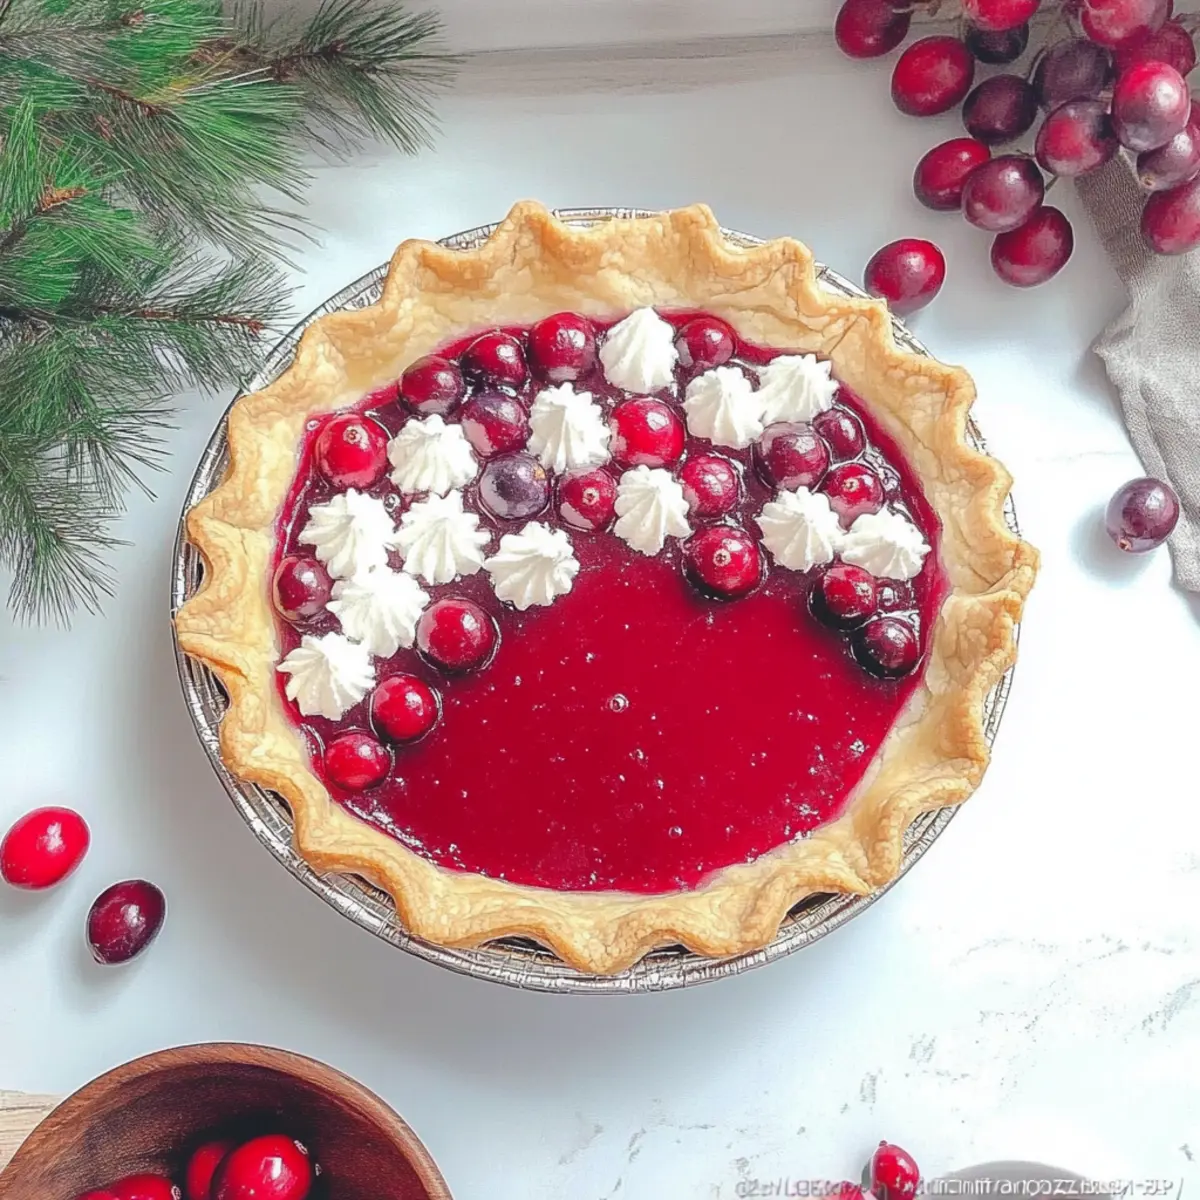
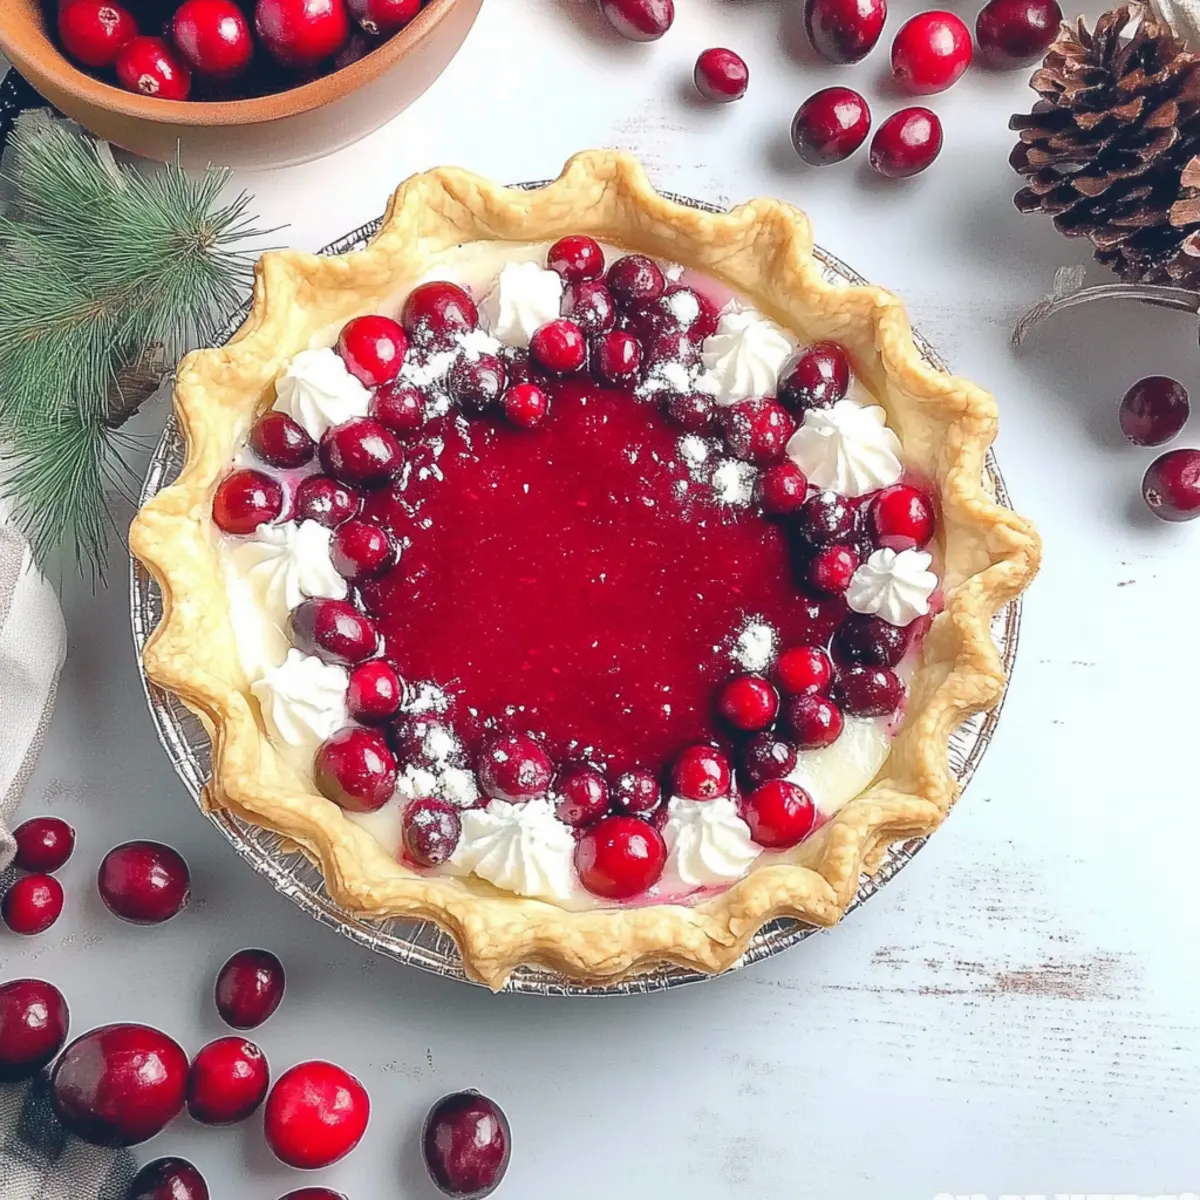
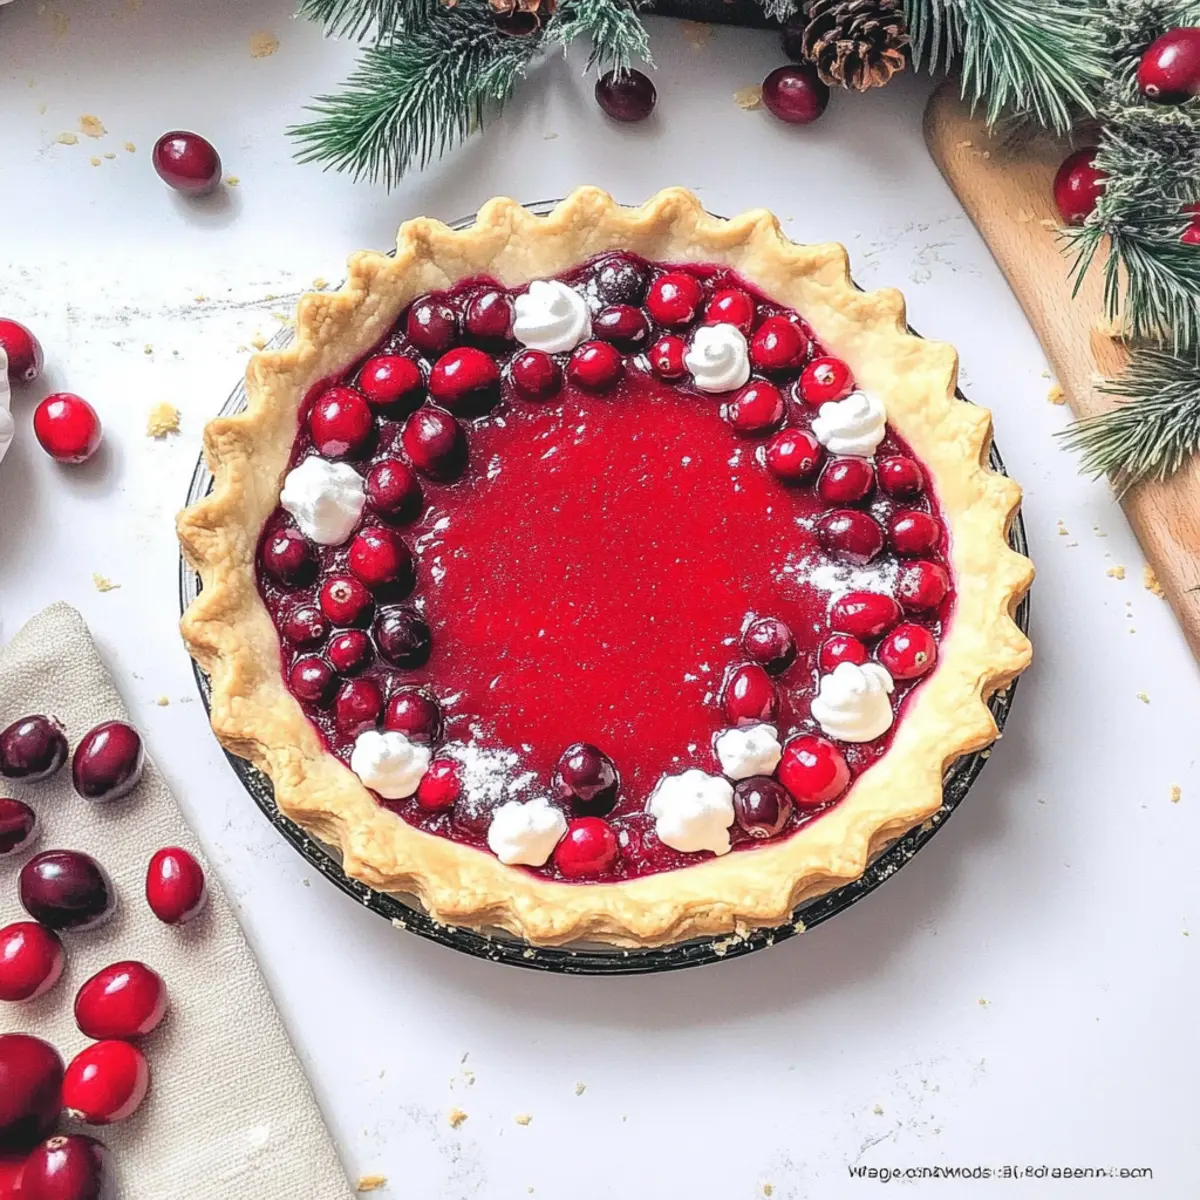
As I lifted the golden-brown crust from the oven, the aroma of sweet and tangy cranberries wafted through my kitchen, calling to mind festive gatherings and cherished memories. This Cranberry Custard Pie is more than just a dessert; it’s a holiday centerpiece that balances creamy custard with the vibrant flavor of cranberries, creating a delicious sweet treat you won’t want to miss. Whether you’re hosting a holiday dinner or wanting to impress family and friends, this pie is an effortless way to share warmth and joy. Plus, it’s a delightful make-ahead option, freeing you up to enjoy the festivities. Are you ready to create something memorable that will have everyone reaching for seconds? Let’s dive into this scrumptious recipe!
Why Is This Pie So Irresistible?
Rich, Creamy Texture: The luscious custard envelops you in warmth with each bite, offering a delightful creaminess that perfectly complements the tart cranberries.
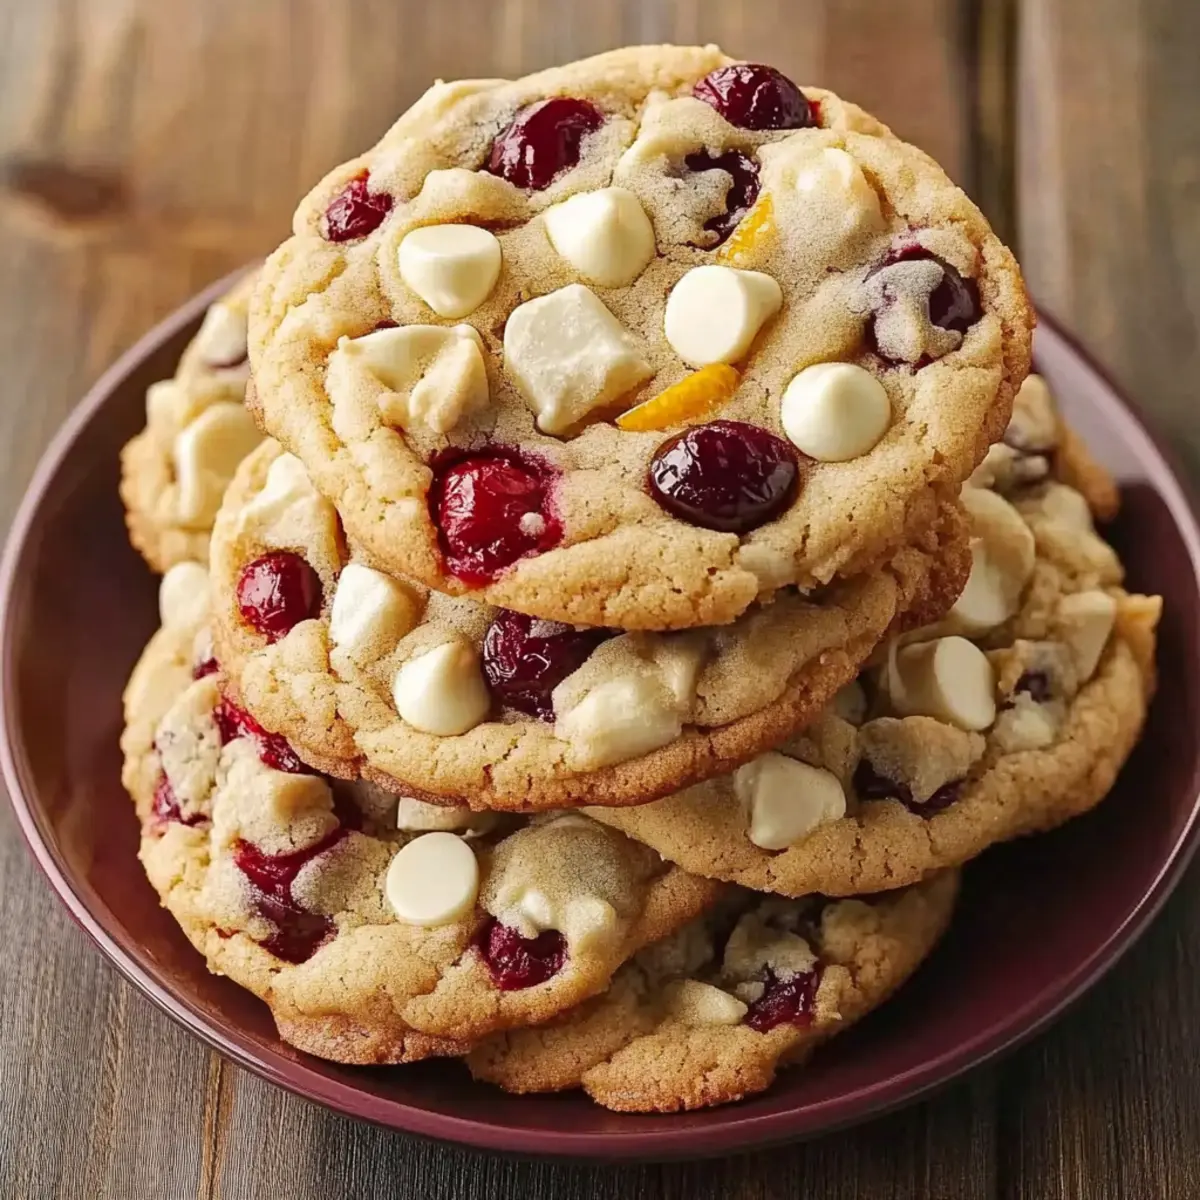
Festive Flavors: With cranberries and orange zest, this pie encapsulates holiday spirit, making it an instant favorite at gatherings.
Easy to Make: Whether you're an experienced chef or a home cook, the straightforward steps mean you can whip it up with ease.
Make-Ahead Magic: Prepare the pie in advance, letting it chill overnight for maximum flavor—perfect for busy holiday schedules!
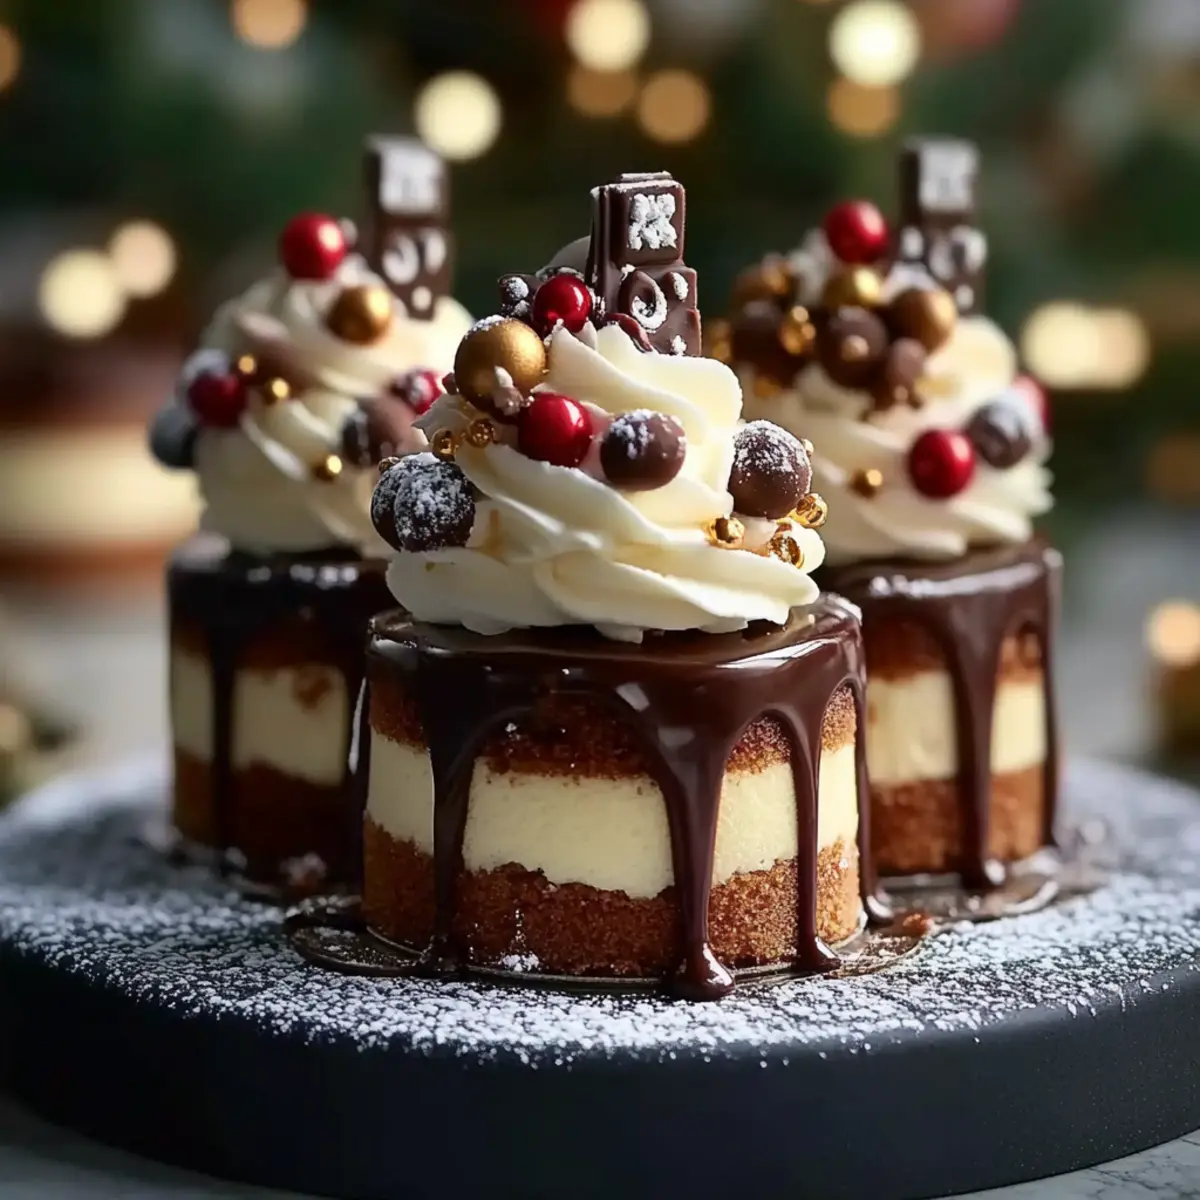
Serve in Style: Garnish it with whipped cream or fresh cranberries for a stunning presentation that’s bound to impress guests.
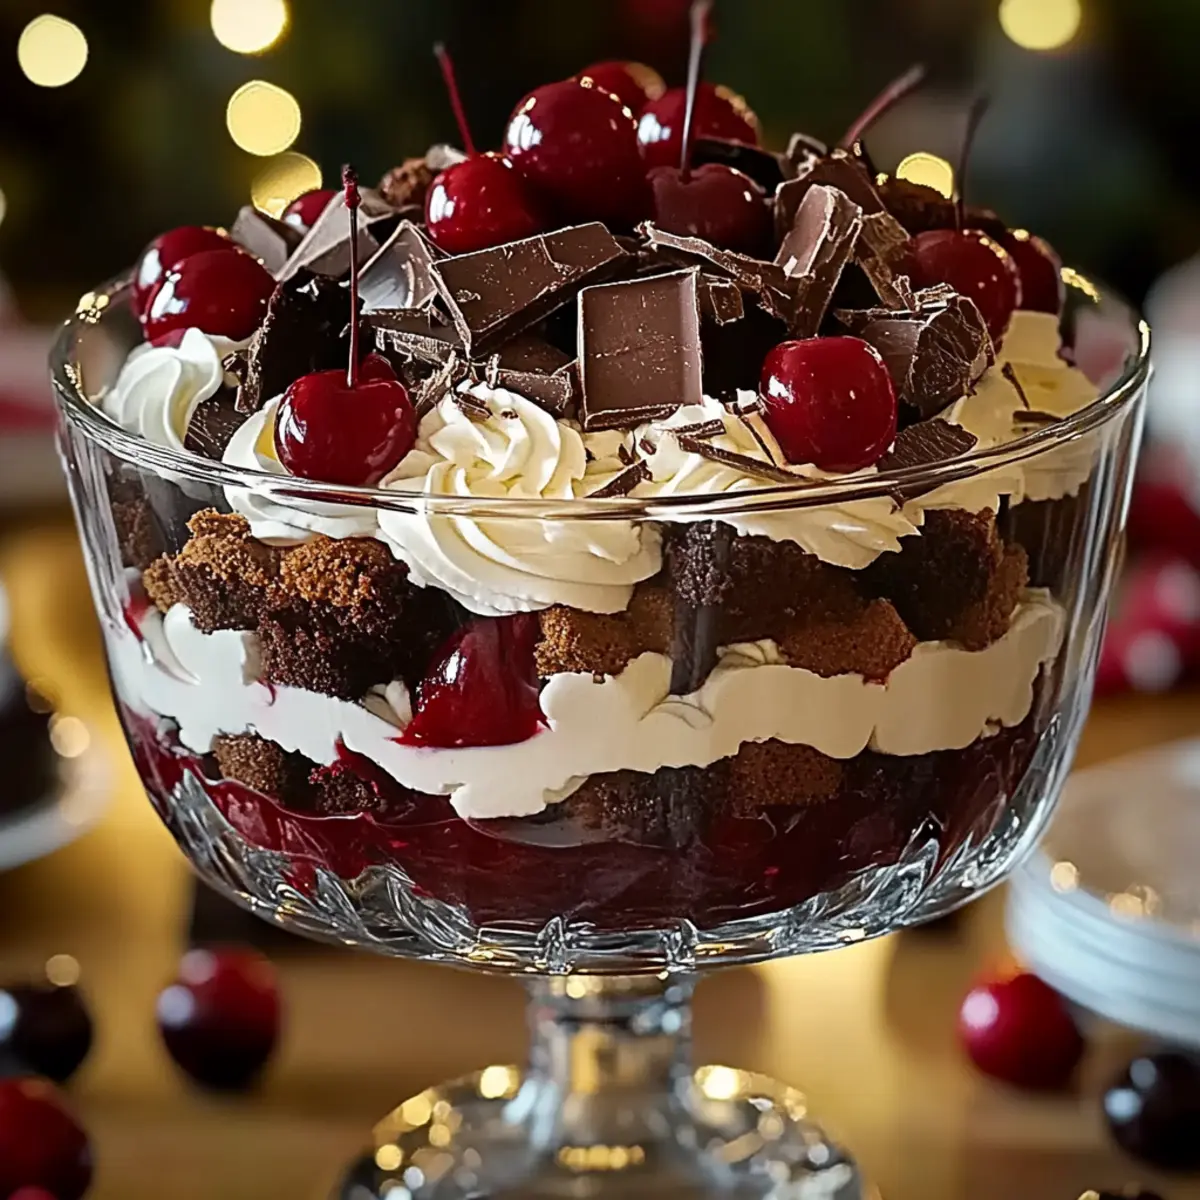
Pair it with a warm Tamale Pie Hearty or add a side of Spinach Pie Deliciously for a complete holiday feast!
Cranberry Custard Pie Ingredients
-
For the Crust
• Refrigerated Pie Crust – Use a store-bought or homemade version for a flaky texture. -
For the Filling
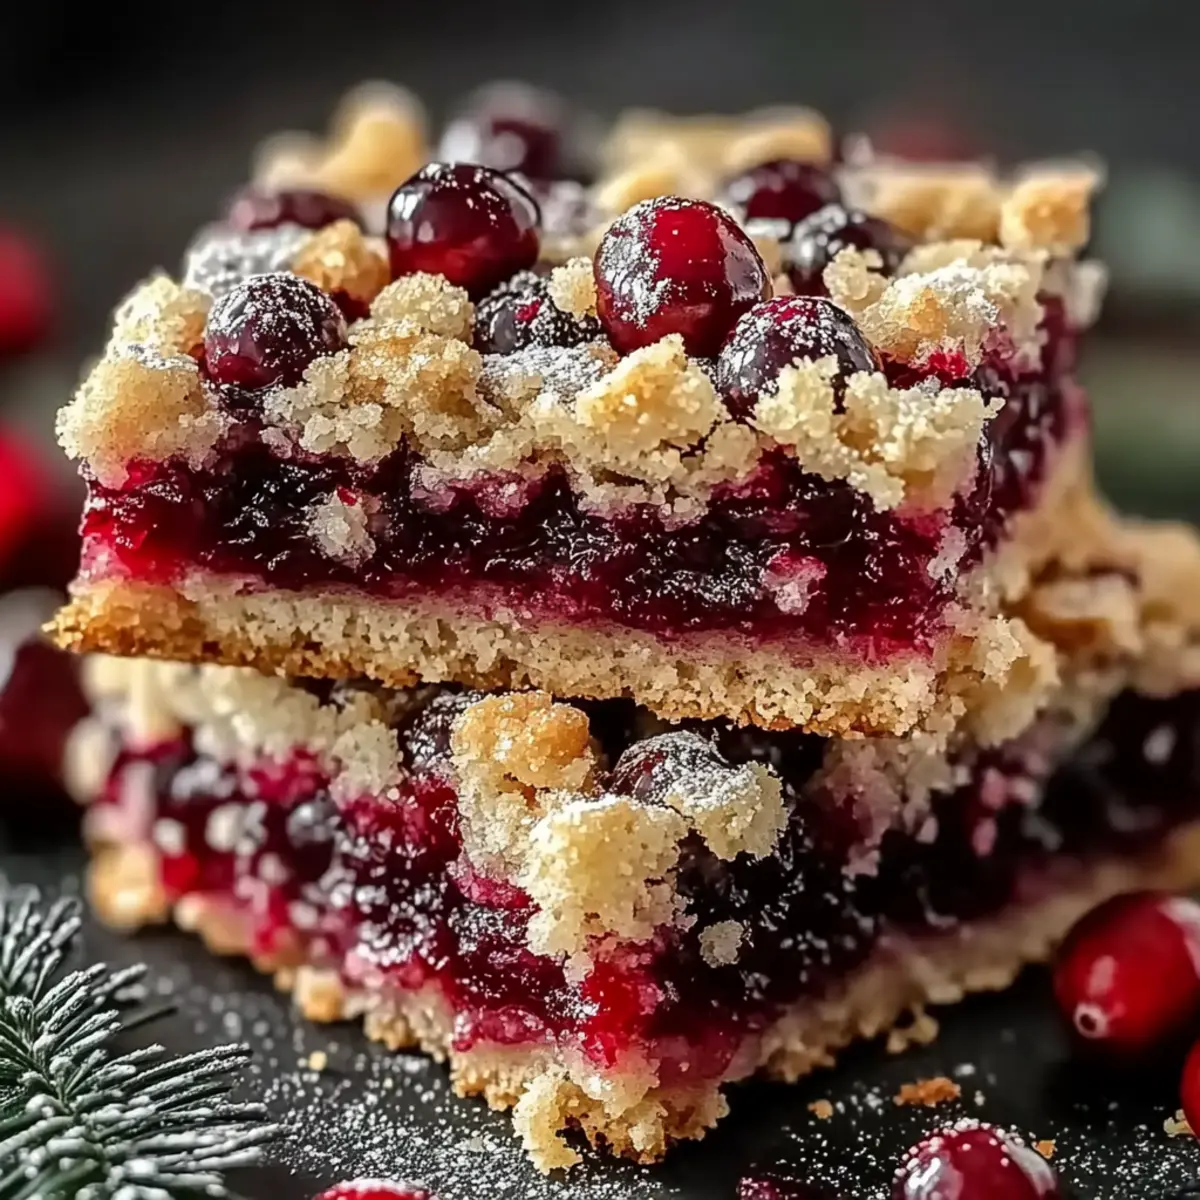
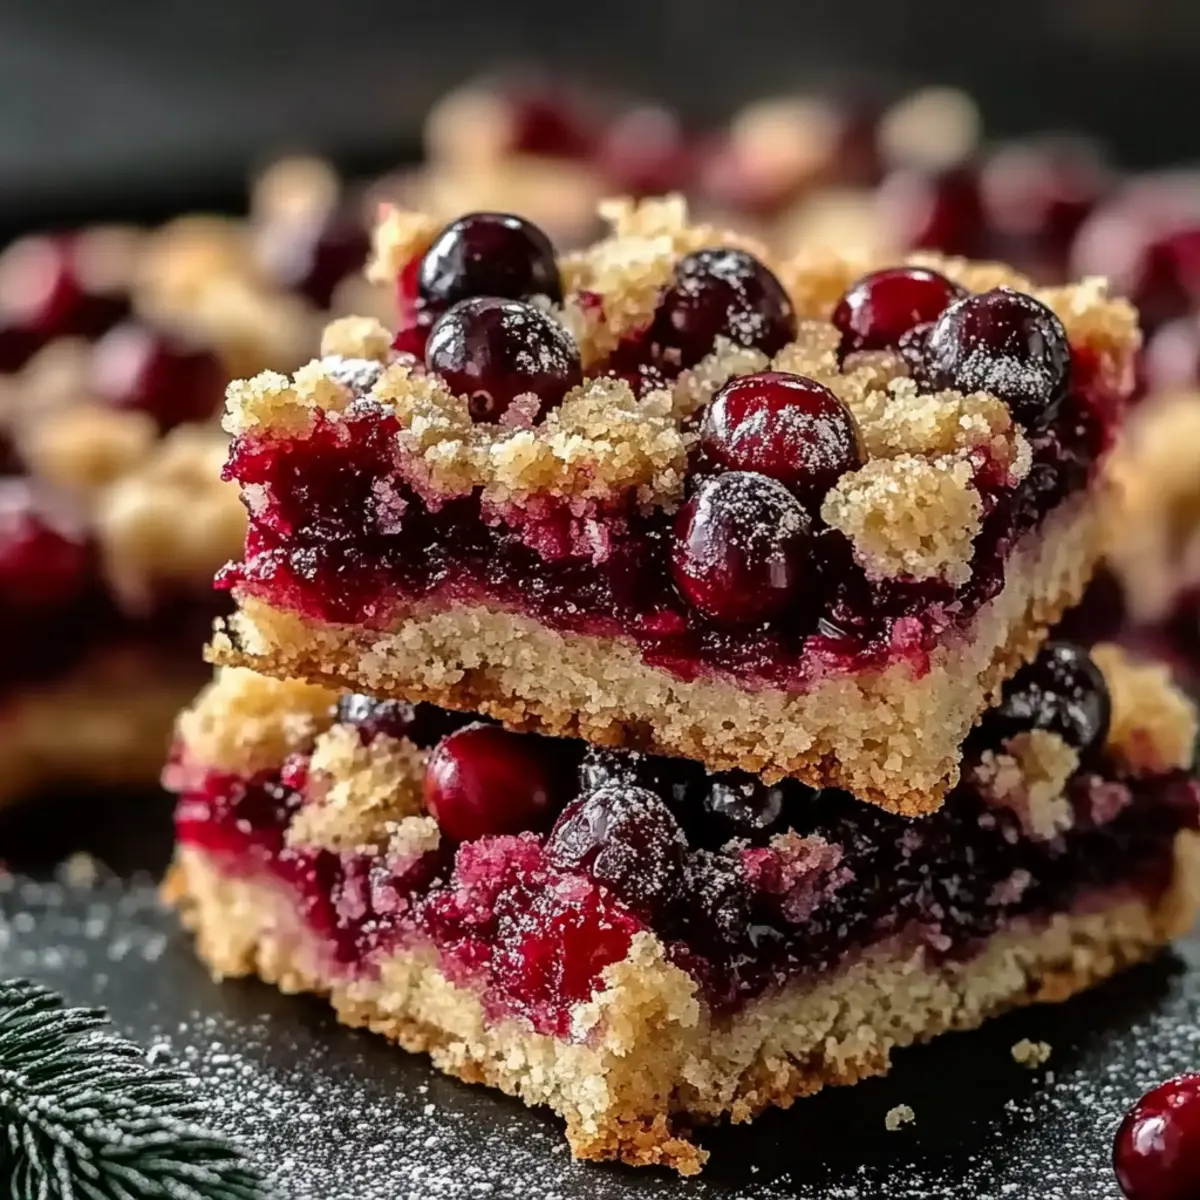
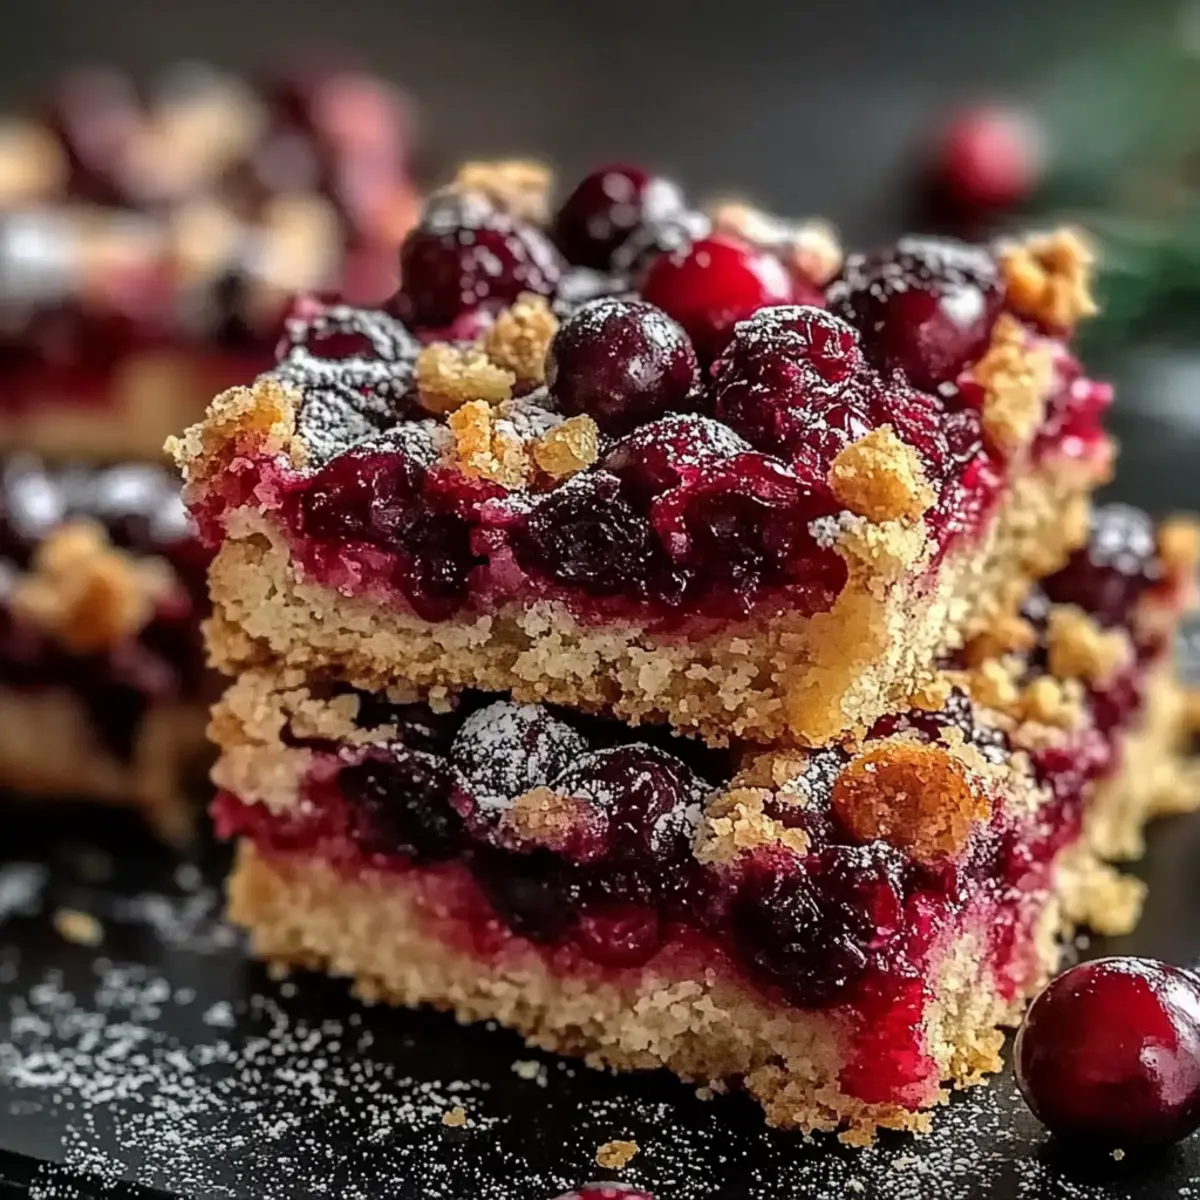
• Cranberries (4 cups) – The star ingredient, delivering that sweet and tangy burst. Fresh or frozen works well!
• Orange Juice (1 cup) – Adds a refreshing citrus zing that beautifully balances the tartness of the cranberries.
• Sweetened Condensed Milk (1 can, 14 oz) – Imparts sweetness and creaminess to the filling; coconut condensed milk can substitute for a dairy-free option.
• Egg Yolks (6 large) – Provide richness and act as a thickening agent; let them warm to room temperature before use.
• Orange Zest (1 tbsp) – Intense citrus aroma that enhances the overall flavor profile.
This Cranberry Custard Pie is sure to be the highlight of your festive gatherings!
Step‑by‑Step Instructions for Cranberry Custard Pie
Step 1: Preheat Your Oven
Begin by preheating your oven to 350°F (180°C). This ensures it's hot enough to achieve that perfect golden-brown crust. While the oven heats, gather your materials and get ready to embark on this delightful baking adventure!
Step 2: Prepare the Pie Crust
Roll out your refrigerated pie crust and carefully transfer it to a 9-inch pie pan. Trim the excess dough, fluting the edges if desired. This crust will provide a flaky base that beautifully supports the creamy filling of your cranberry custard pie.
Step 3: Par-bake the Crust
To achieve a perfectly crispy pie crust, cover it with parchment paper and add pie weights. Place it in the preheated oven and bake for 10 minutes. After that, remove the weights and parchment, then bake for an additional 10 minutes until the crust is lightly golden and set.
Step 4: Cook the Cranberries
In a medium saucepan, combine 4 cups of cranberries with 1 cup of orange juice. Over medium heat, bring the mixture to a gentle simmer, stirring occasionally until most cranberries burst, about 4-5 minutes. This step releases the tart juices and creates a vibrant flavor base.
Step 5: Strain the Mixture
Once the cranberries have simmered, blend the mixture until smooth, then strain it through a fine-mesh sieve. Reserve about 2 cups of the liquid, discarding any solids. This cranberry puree will be the heart of your custard pie, enhancing its tangy essence.
Step 6: Mix the Filling
In a large mixing bowl, combine the reserved cranberry liquid, 1 can of sweetened condensed milk, 6 large egg yolks, and 1 tablespoon of orange zest. Whisk these ingredients together until the mixture is smooth and well combined. This creamy filling will create a luscious layer of flavor in your pie.
Step 7: Bake the Pie
Carefully pour the cranberry custard filling into the par-baked crust, spreading it evenly. Place the pie back in the oven and bake for 30-35 minutes, or until the filling is set with a slight wobble in the center. The edges should be golden, and the filling will continue to firm up as it cools.
Step 8: Cool & Refrigerate
Once baked, remove your cranberry custard pie from the oven and allow it to cool on a wire rack for about 2 hours. After cooling, refrigerate the pie for at least 4 hours or preferably overnight. This chilling time ensures the filling sets perfectly, allowing the flavors to meld beautifully.
Step 9: Garnish and Serve
Just before serving, add a dollop of whipped cream or decorate with fresh cranberries and festive sprinkles for a delightful pop of color. Your beautiful cranberry custard pie is now ready to shine at your holiday gathering, impressing everyone with its creamy texture and festive flavors!
How to Store and Freeze Cranberry Custard Pie
-
Fridge: Store your cranberry custard pie covered in the refrigerator for up to 4 days. This ensures the filling remains fresh and the flavors meld beautifully as it sits.
-
Freezer: You can freeze the pie for up to 2 months. Wrap it tightly in plastic wrap and then aluminum foil to prevent freezer burn, ensuring your festive flavors are preserved.
-
Reheating: To enjoy leftovers, thaw the pie in the refrigerator overnight, then serve it cold or reheat slices in a microwave for 15-20 seconds for a warm treat.
-
Make-Ahead Tip: Prepare the pie a day or two in advance and refrigerate it. This makes it the perfect make-ahead dessert for your holiday celebrations!
Expert Tips for Cranberry Custard Pie
-
Perfectly Par-Baked Crust: Ensure your pie crust is adequately par-baked to avoid a soggy bottom. Take that extra time for crispiness!
-
Watch the Baking Time: Keep a close eye on your pie during the last 10 minutes. Cover edges with foil if they start to darken too much.
-
Full Cooling Before Refrigeration: Let the pie cool completely on a wire rack before refrigerating. This step is crucial for the custard to set properly.
-
Chill Overnight: If possible, refrigerate the pie overnight to enhance the flavors and achieve a firmer texture for serving.
-
Fresh Garnish for Presentation: Add a touch of fresh cranberries or whipped cream before serving to elevate the visual appeal of your cranberry custard pie.
Make Ahead Options
These Cranberry Custard Pies are perfect for meal prep enthusiasts! You can prepare the filling and pie crust up to 24 hours in advance, allowing you to save time on busy holiday mornings. Simply par-bake the crust and store it covered at room temperature. For the filling, mix the cranberry puree, sweetened condensed milk, egg yolks, and orange zest, then refrigerate it in an airtight container. When it's time to bake, pour the filling into the crust and bake as directed, ensuring that everything stays fresh and delicious. This way, you’ll have a creamy, indulgent pie that’s just as delightful as if made the same day, leaving you free to enjoy the festivities!
What to Serve with Cranberry Custard Pie
Elevate your holiday gathering with these delightful pairings that beautifully complement the tangy and creamy notes of your dessert.
- Whipped Cream: A dollop of freshly whipped cream adds a light, fluffy contrast, enhancing the pie's rich custard texture.
- Vanilla Ice Cream: The coolness of vanilla ice cream balances the tartness of the cranberry pie, creating a blissful combination.
- Citrus Salad: A refreshing citrus salad with oranges and grapefruits provides a sweet, zesty counterpart, cutting through the pie's richness. The vibrant colors and flavors will brighten your table!
- Gingersnap Cookies: These spiced cookies offer a crunchy texture that pairs wonderfully with the silky custard, bringing a warm, festive flavor to your dessert experience.
- Sparkling Wine: A glass of sparkling wine adds a celebratory touch, its bubbles perfectly complementing the creamy richness of the Cranberry Custard Pie.
- Coffee or Espresso: Brewed coffee or a shot of espresso enhances dessert time, providing a bold flavor contrast that balances the sweetness of the pie.
- Holiday Fruitcake: A slice of traditional fruitcake offers dense textures and spiced flavors, making it a fitting companion to your festive dessert.
- Chocolate Ganache: Drizzling a bit of dark chocolate ganache on top adds decadence and a rich flavor that pairs beautifully with the fruitiness of the pie.
- Cheese Platter: A selection of sharp cheeses brings savory elements to your dessert table, creating a balanced taste experience for every palate.
Cranberry Custard Pie Variations & Substitutions
Feel free to let your creativity shine as you explore these delightful twists on this classic cranberry custard pie!
-
Berry Medley: Swap half of the cranberries with fresh raspberries or blueberries for a colorful and flavorful twist. The mix brings a new dimension to the pie that’s sure to surprise your guests.
-
Chocolate Lovers: Add a luscious layer of dark chocolate ganache on top for a rich and indulgent finish. This unexpected combination of tart cranberries with chocolate creates a truly decadent dessert.
-
Non-Dairy Delight: Use coconut condensed milk instead of sweetened condensed milk for a creamy, dairy-free pie. The coconut flavor will add a delightful tropical twist, enhancing the overall festive spirit.
-
Nutty Crunch: Incorporate chopped nuts, such as pecans or walnuts, into the crust or as a topping for added texture. This will give the pie an extra crunch that perfectly contrasts the creamy filling.
-
Spiced Sensation: Add a pinch of cinnamon or nutmeg into the custard mixture for warm, cozy spices. Just a hint can elevate the flavors, making it feel even more festive and inviting.
-
Maple Sweetness: Replace the sweetened condensed milk with maple syrup for a sweeter, earthy flavor profile. It’s a perfect way to introduce a new layer of sweetness while keeping it deliciously creamy.
-
Seasonal Citrus: Experiment by incorporating lemon or lime zest along with the orange zest. This will create a brighter flavor profile that balances beautifully with the cranberries' tartness.
-
Savory Spin: For an unexpected twist, consider adding a hint of rosemary or thyme to the filling. This savory kick can transform your dessert into an exciting fusion of sweet and savory that will leave everyone guessing.
These variations can help you personalize your Cranberry Custard Pie for every festive occasion! Pair it alongside a warm Tamale Pie Hearty or complement it with a slice of a savory Spinach Pie Deliciously for a memorable feast that celebrates the joy of holiday cooking!
Cranberry Custard Pie Recipe FAQs
How do I select the best cranberries?
When choosing cranberries, look for firm, plump berries that are vibrant in color. Avoid any with dark spots or wrinkles, as these may be overripe. Whether you opt for fresh or frozen cranberries, ensure they’re free from blemishes to achieve that perfect tartness in your pie.
How should I store my cranberry custard pie?
Store your cranberry custard pie covered in the refrigerator for up to 4 days. This method preserves its creamy filling and allows the flavors to meld beautifully. You can use plastic wrap or aluminum foil, ensuring it's tightly sealed to avoid any absorption of odors from other foods in your fridge.
Can I freeze cranberry custard pie?
Absolutely! You can freeze your cranberry custard pie for up to 2 months. Wrap it carefully in plastic wrap and then in aluminum foil to prevent freezer burn. To thaw, simply place it in the refrigerator overnight before serving. You can enjoy it cold or warm individual slices for a comforting treat!
What if my custard filling doesn’t set?
If your filling doesn’t set properly, it's likely due to overbaking or not allowing it to cool completely before refrigeration. If you find it’s still too runny, you can return it to the oven for a few additional minutes until it firms up. Remember to keep an eye on it, as custards can be sensitive to cooking times.
Is this recipe suitable for those with allergies?
For those with dairy allergies, you can substitute the sweetened condensed milk with coconut condensed milk, which offers a deliciously creamy texture without the dairy. Always ensure that any other ingredients you use are compliant with dietary restrictions to keep your cranberry custard pie safe for everyone to enjoy!
Can pets eat cranberry custard pie?
While cranberries can be safe for pets in small amounts, the sugar and dairy in the custard filling are not ideal for them. It’s best to keep this festive dessert away from pets to avoid any digestive issues. Instead, you might consider making a dog-friendly treat specifically for your furry friends!
Creamy Cranberry Custard Pie for a Sweet Festive Twist
Ingredients
Equipment
Method
- Preheat your oven to 350°F (180°C). Gather your materials.
- Roll out the pie crust and transfer it to a 9-inch pie pan. Trim excess dough.
- Par-bake the crust with parchment and weights for 10 minutes, then remove weights and bake for an additional 10 minutes.
- In a medium saucepan, combine cranberries and orange juice. Simmer over medium heat until cranberries burst, about 4-5 minutes.
- Blend the mixture until smooth, strain through a sieve, reserving about 2 cups of liquid.
- In a mixing bowl, combine the reserved cranberry liquid, sweetened condensed milk, egg yolks, and orange zest. Whisk until smooth.
- Pour the filling into the par-baked crust. Bake for 30-35 minutes until set.
- Cool on a wire rack for 2 hours, then refrigerate for at least 4 hours or overnight.
- Garnish with whipped cream or fresh cranberries before serving.