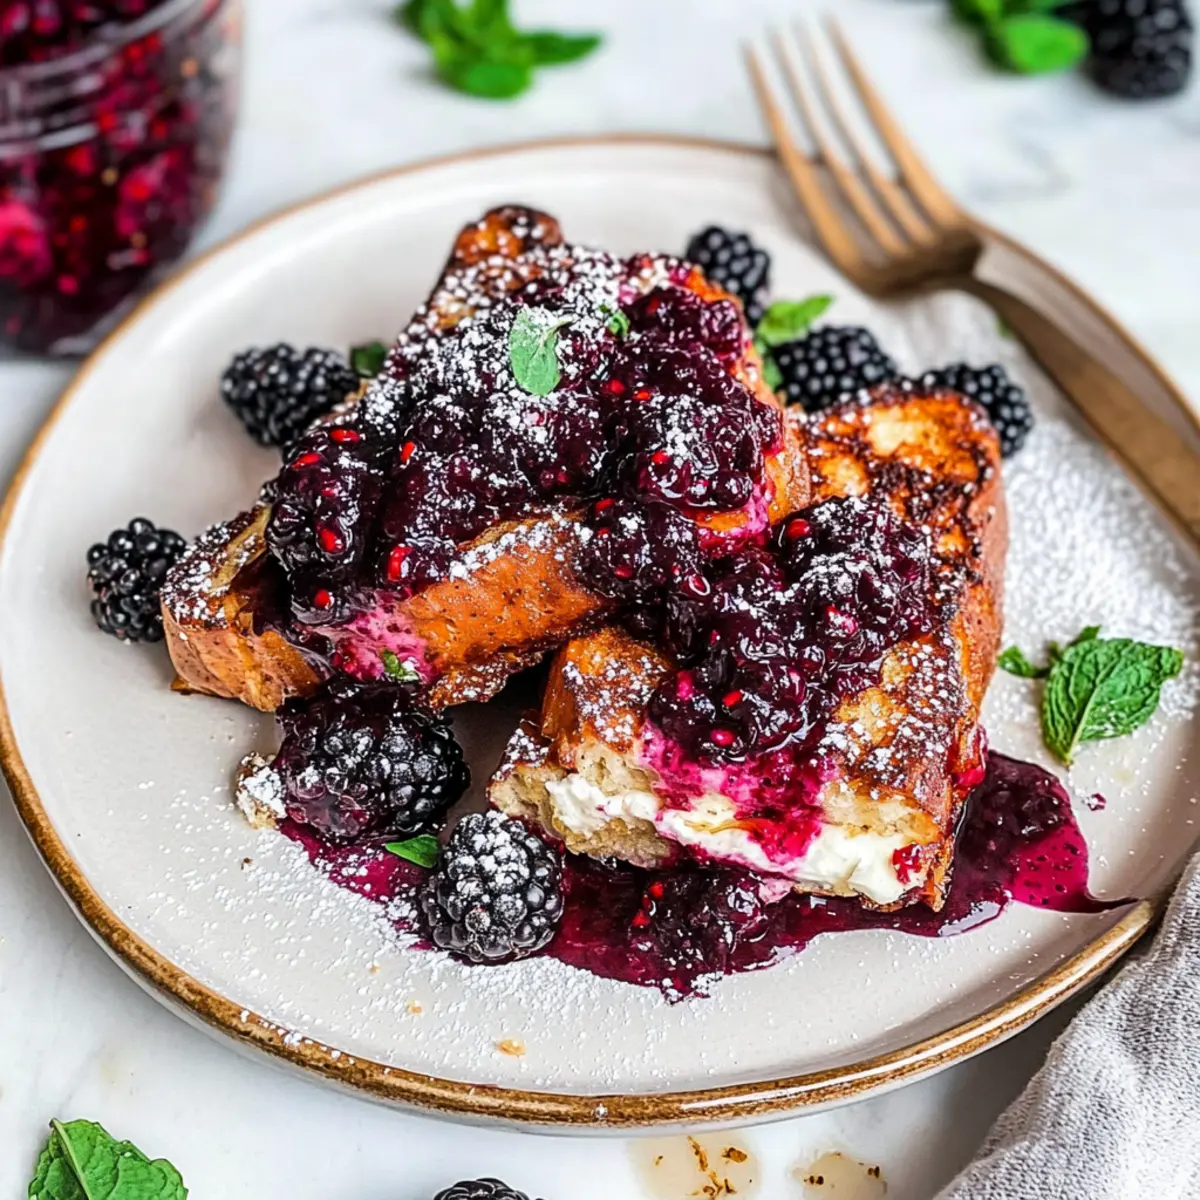
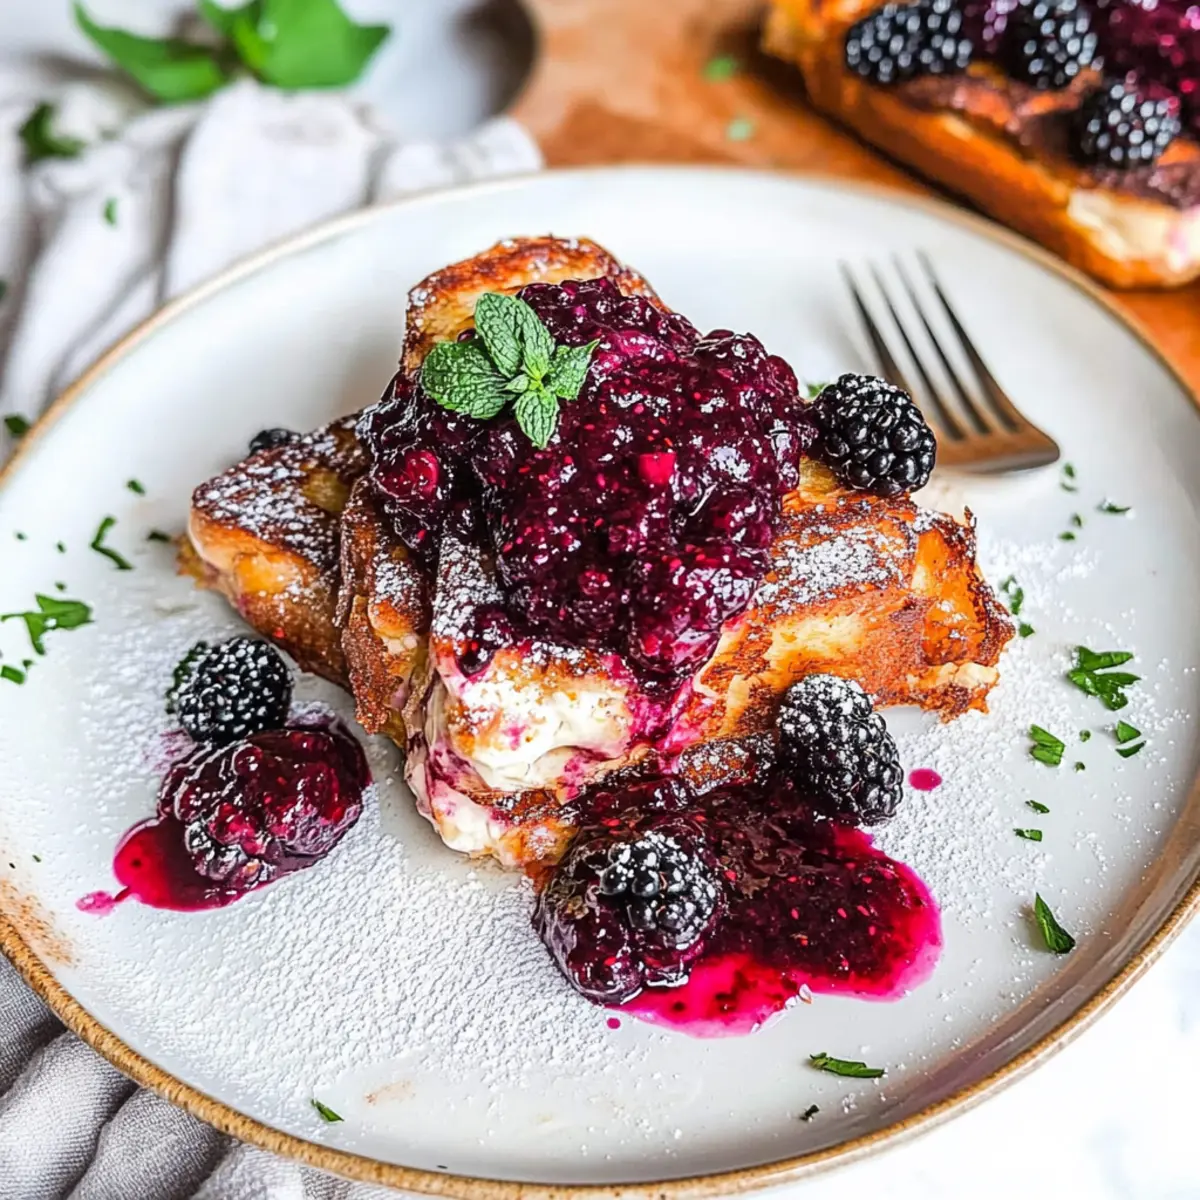
The sweet scent of bubbling blackberries wafts through the kitchen, sparking joy and anticipation. I can hardly contain my excitement as I prepare to whip up my favorite indulgent breakfast: Cream Cheese Stuffed Blackberry Compote French Toast. This quick 20-minute recipe is not just a meal; it's a cozy experience. The soft brioche bread cradles a rich, creamy filling, while the warm, syrupy blackberry compote takes it to a level beyond standard brunch fare. It's perfect for impressing guests or simply treating myself to a delightful breakfast-for-dinner. With minimal prep time and maximum flavor, you’ll find this dish becomes your go-to for any occasion. Are you ready to savor your very own brunch masterpiece?
Why is This French Toast Irresistible?
Indulgent Pleasure: Every bite of this cream cheese stuffed blackberry compote French toast is a delightful treat, offering a perfect balance of sweet and creamy.
Quick to Make: In just 20 minutes, you can transform simple ingredients into a gourmet breakfast that rivals your favorite brunch spot.
Versatile Base: Use brioche or challah for that rich texture, and feel free to swap blackberries for your favorite berries anytime!
Satisfying and Filling: The whipped cream cheese filling adds luxurious creaminess, making this dish a hearty breakfast you won’t forget.
Perfect for Sharing: Whether it’s a family brunch or a cozy breakfast-for-dinner, this indulgent dish is sure to impress guests. And if you enjoy quick and delicious desserts, try our Ice Cream Cake for another sweet treat!
Cream Cheese Stuffed Blackberry Compote French Toast Ingredients
For the French Toast
• Brioche or Challah Bread – The base of the recipe; its soft, rich texture makes each bite heavenly.
• Whipped Cream Cheese – Adds creaminess and tang; substitute with ricotta for a lighter option.
• Eggs – Essential for binding and providing structure; beat well for a smooth mixture.
• Skim Milk – Adds moisture; whole milk or a plant-based option will give a richer taste.
• Cinnamon – A warm spice that enhances the flavor; feel free to substitute with nutmeg.
• Vanilla Extract – Enhances sweetness and aroma; vanilla bean paste can add a more robust flavor.
• Butter – Used for frying to add richness; coconut oil works as a dairy-free alterative.
• Powdered Sugar – A garnish that can be omitted for a less sweet presentation.
For the Blackberry Compote
• Blackberries – The star of the compote; use fresh or frozen, depending on availability.
• Lemon Zest & Juice – Brightens the flavors; lime can be swapped in for a twist.
• White Sugar – Sweetens the compote; brown sugar can add depth to the flavor.
• Water – Assists in cooking down the compote to a beautiful consistency.
• Corn Starch – Thickens the compote; tapioca starch is an excellent alternative.
Dive into this luscious cream cheese stuffed blackberry compote French toast for a delightful breakfast experience that you’ll crave again and again!
Step‑by‑Step Instructions for Cream Cheese Stuffed Blackberry Compote French Toast
Step 1: Prepare the Compote
In a medium saucepan over medium heat, combine 2 cups of blackberries, the juice and zest of 1 lemon, ½ cup of white sugar, and ¼ cup of water. Bring the mixture to a gentle boil, stirring occasionally. Once boiling, reduce the heat to low and add 1 tablespoon of corn starch mixed with a splash of water. Simmer for about 5 minutes, or until the compote thickens and the blackberries burst, creating a luscious sauce.
Step 2: Make the Egg Mixture
While the compote cooks, crack 4 large eggs into a mixing bowl. Whisk the eggs until light and frothy, then add ½ cup of skim milk, 1 teaspoon of cinnamon, and 1 teaspoon of vanilla extract. Whisk again until well combined. This egg mixture is essential for coating the brioche or challah, ensuring a rich and satisfying flavor for your Cream Cheese Stuffed Blackberry Compote French Toast.
Step 3: Assemble Sandwiches
Slice 8 pieces of brioche or challah bread, then spread a layer of whipped cream cheese on one side of each slice. For an extra touch of sweetness, consider adding a tablespoon of the freshly made blackberry compote on top of the cream cheese before topping with another slice of bread. Press gently to secure the sandwiches, ensuring they hold together during cooking.
Step 4: Cook French Toast
In a large non-stick skillet, melt 2 tablespoons of butter over medium heat until it’s sizzling but not burning. Dip each assembled sandwich into the egg mixture, allowing it to soak partway through for about 10 seconds. Carefully place the soaked sandwiches in the skillet, cooking for 2-3 minutes on each side or until golden brown and crisp. Adjust the heat as needed to avoid burning.
Step 5: Serve
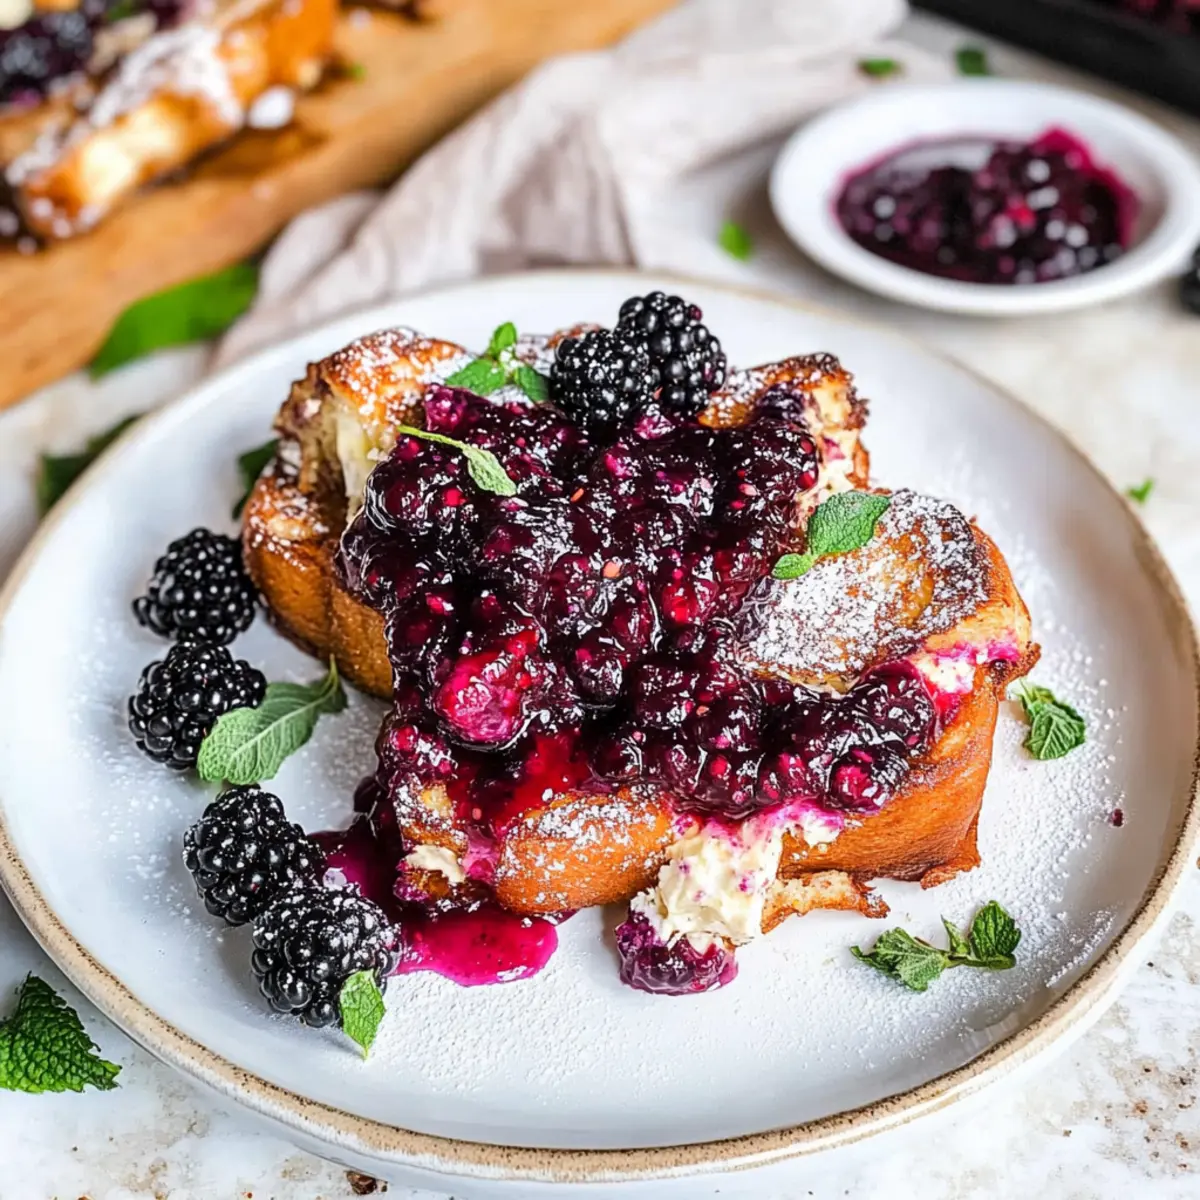
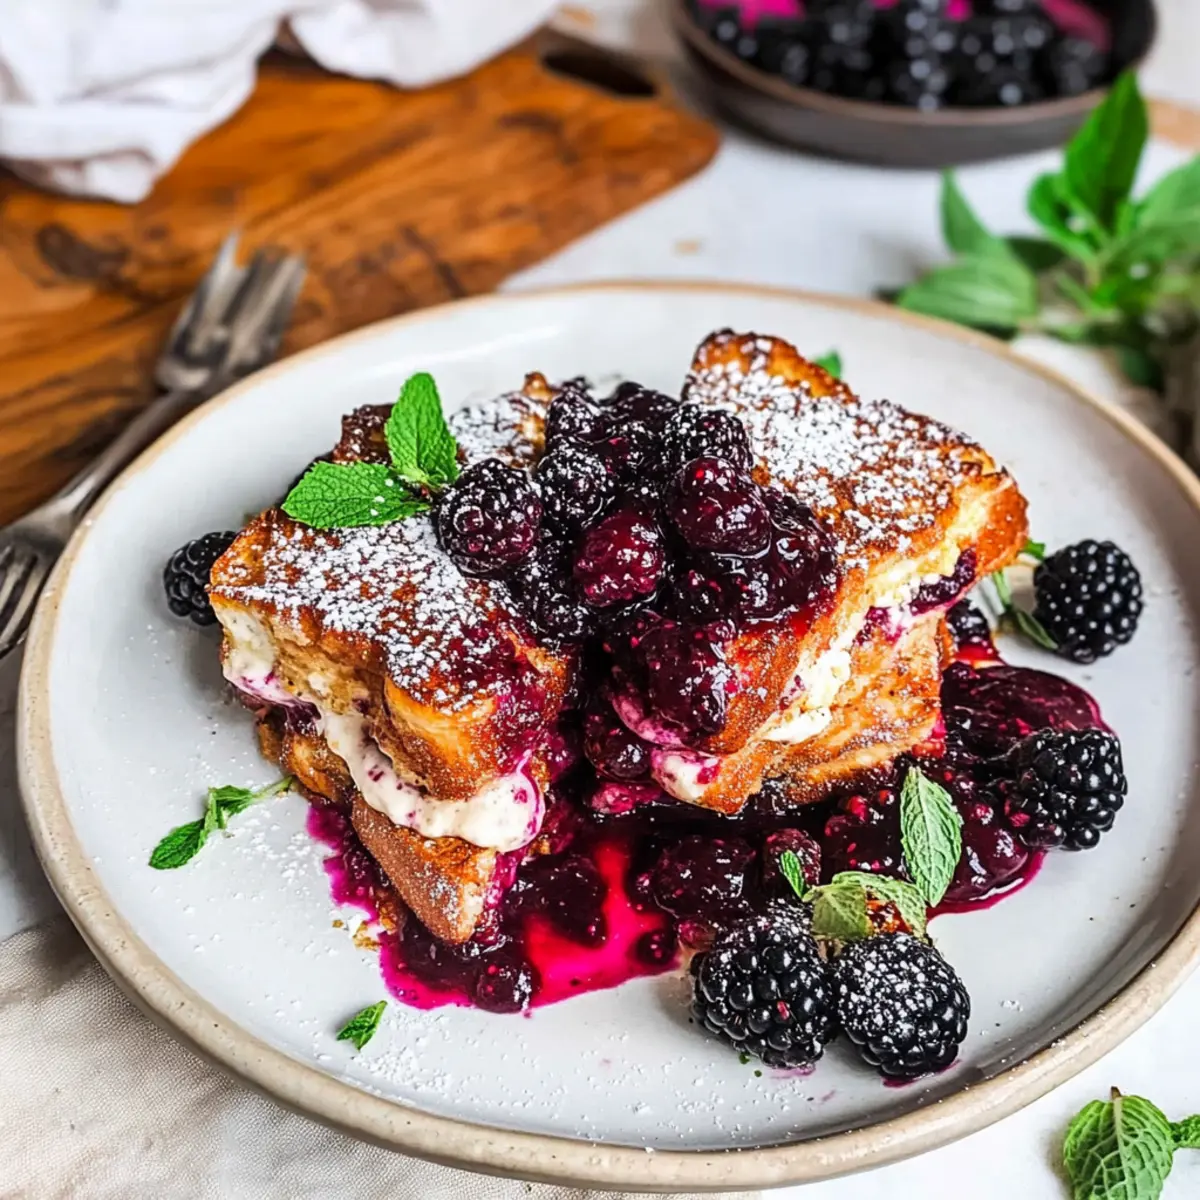
Once golden brown, remove the French toast from the skillet and place it on a plate. Drizzle generously with the warm blackberry compote, and if desired, dust with powdered sugar for a delightful finishing touch. Serve immediately and savor the decadent taste of your Cream Cheese Stuffed Blackberry Compote French Toast, perfect for a comforting breakfast or a special brunch gathering.
What to Serve with Cream Cheese Stuffed Blackberry Compote French Toast
The perfect brunch experience extends beyond just the plate—it’s about creating memorable moments with delicious companions.
-
Crispy Bacon: The salty crunch of bacon adds a delightful contrast to the sweet, creamy French toast. It’s a match made in breakfast heaven!
-
Fresh Fruit Salad: Bright, juicy pieces of mixed fruit offer a refreshing balance to the richness of the French toast. Opt for seasonal fruits for the best flavors.
-
Maple Syrup: A drizzle of pure maple syrup enhances the sweetness of the blackberry compote while adding a warm, cozy touch.
-
Creamy Yogurt: A dollop of Greek yogurt provides tanginess that pairs beautifully alongside the sweetness of the compote. Top it with granola for extra crunch!
-
Coffee or Espresso: A hot cup of coffee or espresso complements the dish perfectly, cutting through the sweetness and adding a deep, roasted flavor.
-
Whipped Cream: For an extra indulgent touch, a scoop of freshly whipped cream elevates this dish to dessert status—perfect for those sweet cravings!
-
Sparkling Water: Infused sparkling water with a splash of lemon or mint gives a refreshing palate cleanser, making each bite of the French toast even more delightful.
-
Chocolate Chips: For a little extra decadence, serve alongside a small bowl of chocolate chips to sprinkle on your slice. Who says breakfast can't be a treat?
How to Store and Freeze Cream Cheese Stuffed Blackberry Compote French Toast
Fridge: Store any leftovers in an airtight container for up to 3 days. Reheat in the microwave for a quick breakfast or brunch.
Freezer: For longer storage, place individual slices between layers of parchment paper in a freezer-safe bag. They can be frozen for up to 2 months.
Reheating: To reheat from frozen, bake in a preheated oven at 350°F (175°C) for about 10-15 minutes, or until warmed through. Enjoy the delightful taste of your cream cheese stuffed blackberry compote French toast once again!
Expert Tips for Cream Cheese Stuffed Blackberry Compote French Toast
Golden Crust: Ensure the butter is sizzling but not burning before adding your sandwiches to achieve that perfect golden crust.
Don’t Rush the Compote: Allow the compote to cool slightly before serving; this not only enhances flavor but also thickens it beautifully.
Cook in Batches: Avoid overcrowding the skillet; cook in batches to ensure even browning and a perfect texture every time.
Egg Mixture Matters: Be sure to whisk the egg mixture thoroughly. This ensures that every slice of bread is evenly coated for maximum flavor in your Cream Cheese Stuffed Blackberry Compote French Toast.
Sweetness Control: If you're watching your sugar intake, feel free to adjust the amount of powdered sugar for garnish or skip it altogether for a less sweet presentation.
Cream Cheese Stuffed Blackberry Compote French Toast Variations
Feel free to play with this recipe and make it your own with these delightful twists and substitutions!
-
Berries Swap: Use strawberries or raspberries instead of blackberries for a fresh take; the sweetness will shine through.
-
Chocolate Delight: Add mini chocolate chips to the cream cheese filling for a decadent dessert-like version. It’s an indulgent surprise inside every bite!
-
Gluten-Free: Substitute your bread with gluten-free varieties to cater to dietary needs while still enjoying this rich breakfast treat.
-
Nutty Flavor: Stir in some chopped nuts like pecans or walnuts to the compote for extra crunch and flavor depth.
-
Coconut Twist: Replace butter with coconut oil for frying to infuse a hint of tropical flavor and keep it dairy-free. Your French toast will boast a delightful coconut aroma!
-
Spice It Up: Add a pinch of cayenne pepper to the egg mixture for a gentle heat that pairs beautifully with the sweet blackberries.
For more delightful sweet dishes, consider trying my Blackberry Crisp Amp or enjoy the creamy delight of our Vegan Cacao Cream. Each variation here is crafted to elevate your culinary adventure without straying too far from this comforting classic!
Make Ahead Options
These Cream Cheese Stuffed Blackberry Compote French Toast sandwiches are perfect for meal prep enthusiasts! You can prepare the blackberry compote up to 3 days in advance, allowing the flavors to meld beautifully. Simply store it in an airtight container in the refrigerator. Additionally, you can assemble the sandwiches (with cream cheese spread) up to 24 hours ahead; just keep them covered in the fridge to prevent drying. When you’re ready to serve, dip the cold sandwiches into the egg mixture and cook them directly from the fridge for a quick breakfast that’s just as delicious! This way, you're saving time without sacrificing taste, making your mornings smoother and more manageable.
Cream Cheese Stuffed Blackberry Compote French Toast Recipe FAQs
How do I choose ripe blackberries?
Look for blackberries that are deep in color, plump, and shiny. Ripe blackberries will be sweet and slightly soft to the touch, whereas those with dark spots all over may be past their prime. Always give them a gentle squeeze; if they yield slightly, they're just right for your compote!
What is the best way to store leftovers?
Store any remaining Cream Cheese Stuffed Blackberry Compote French Toast in an airtight container in the refrigerator for up to 3 days. The richness of the cream cheese combined with the sweet compote makes this dish just as enjoyable the next day. When you're ready to indulge again, simply pop it in the microwave for a quick and satisfying breakfast.
Can I freeze the French toast, and if so, how?
Absolutely! To freeze your Cream Cheese Stuffed Blackberry Compote French Toast, first let it cool completely. Then, layer individual slices between sheets of parchment paper to prevent sticking, and place them in a freezer-safe bag. You can store them in the freezer for up to 2 months. To reheat, place the frozen slices in a preheated oven at 350°F (175°C) for about 10-15 minutes or until warmed through, giving you a delicious breakfast treat any time!
What should I do if the compote is too runny?
If your blackberry compote ends up too runny, don’t worry! Simply return it to the stovetop and let it simmer for a bit longer over low heat. You can also whisk in a little more corn starch mixed with water to thicken it up. Stir continuously until you reach your desired consistency. Just be patient, and it’ll turn out beautifully!
Are there any dietary considerations I should be aware of?
Definitely! If you have dietary restrictions, consider using gluten-free bread for a gluten-free option and coconut oil as a dairy-free alternative to butter. For allergies, be cautious with cream cheese and any additional toppings you might use, like nuts or extra sugars. Feel free to swap the whipped cream cheese with ricotta for a lighter and nut-free alternative.
Can pets eat blackberries?
Yes! Blackberries are generally safe for dogs in moderation, as they are packed with vitamins and antioxidants. However, avoid giving your dog any cream cheese or sweet compote. Always check with your vet if you're unsure about introducing new foods to your pet's diet!
Cream Cheese Stuffed Blackberry Compote French Toast Bliss
Ingredients
Equipment
Method
- In a medium saucepan over medium heat, combine 2 cups of blackberries, the juice and zest of 1 lemon, ½ cup of white sugar, and ¼ cup of water. Bring to a gentle boil, stir, and then simmer for about 5 minutes.
- In a mixing bowl, whisk 4 large eggs until light and frothy. Add ½ cup of skim milk, 1 teaspoon of cinnamon, and 1 teaspoon of vanilla extract. Combine well.
- Slice 8 pieces of brioche or challah bread, spread a layer of whipped cream cheese, and optionally add blackberry compote. Top with another slice of bread.
- Melt 2 tablespoons of butter in a non-stick skillet over medium heat. Dip each sandwich into the egg mixture and coat evenly before cooking for 2-3 minutes on each side until golden brown.
- Remove from skillet, drizzle with warm blackberry compote, and dust with powdered sugar if desired. Serve immediately.