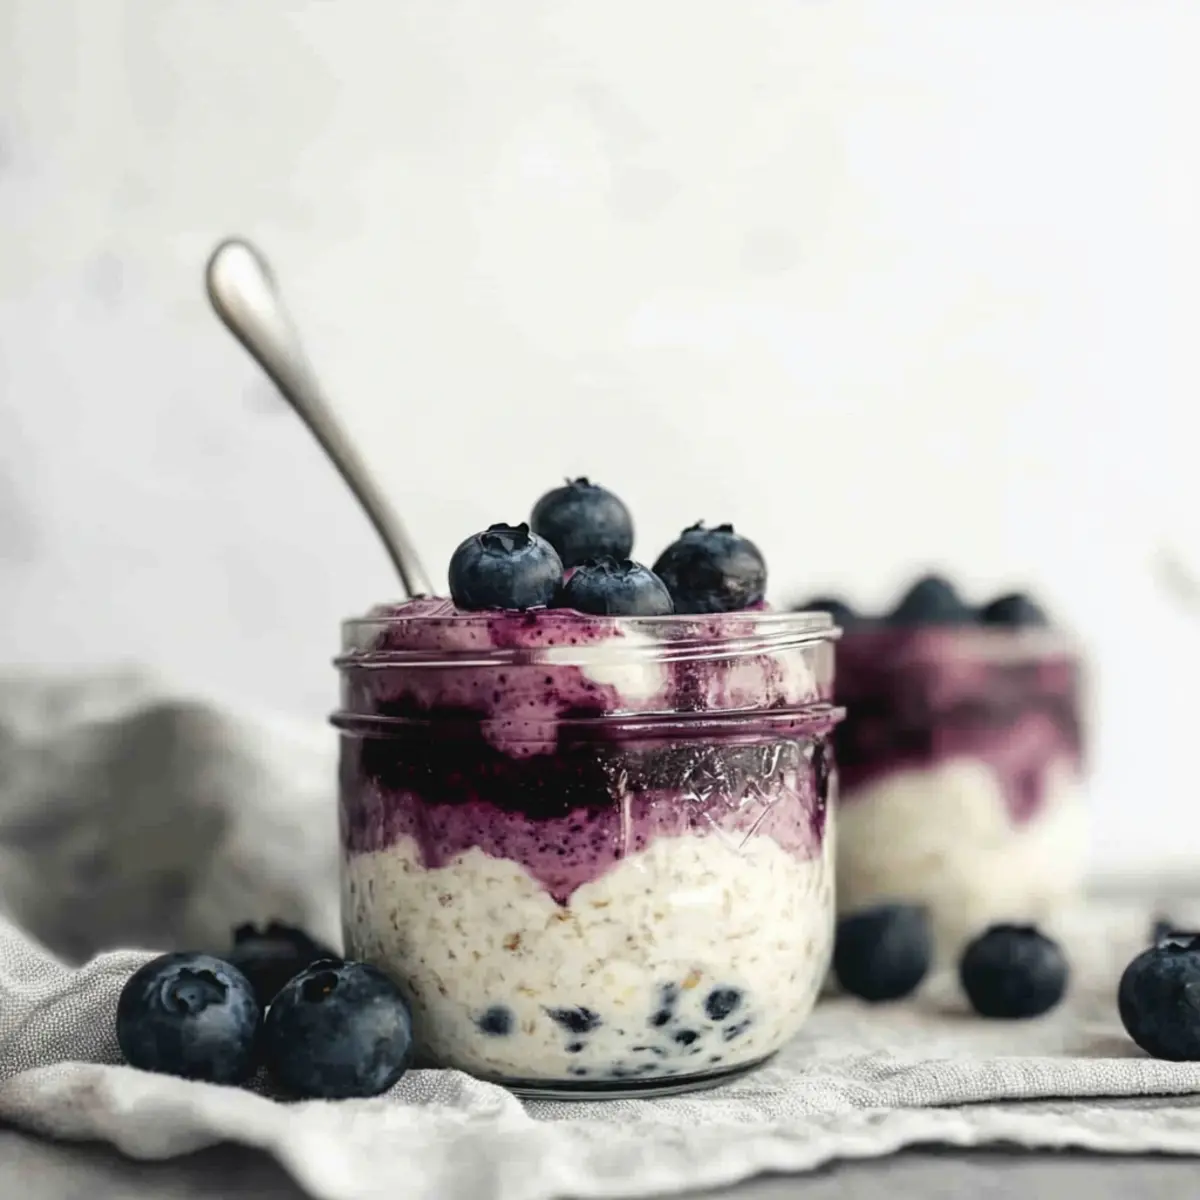
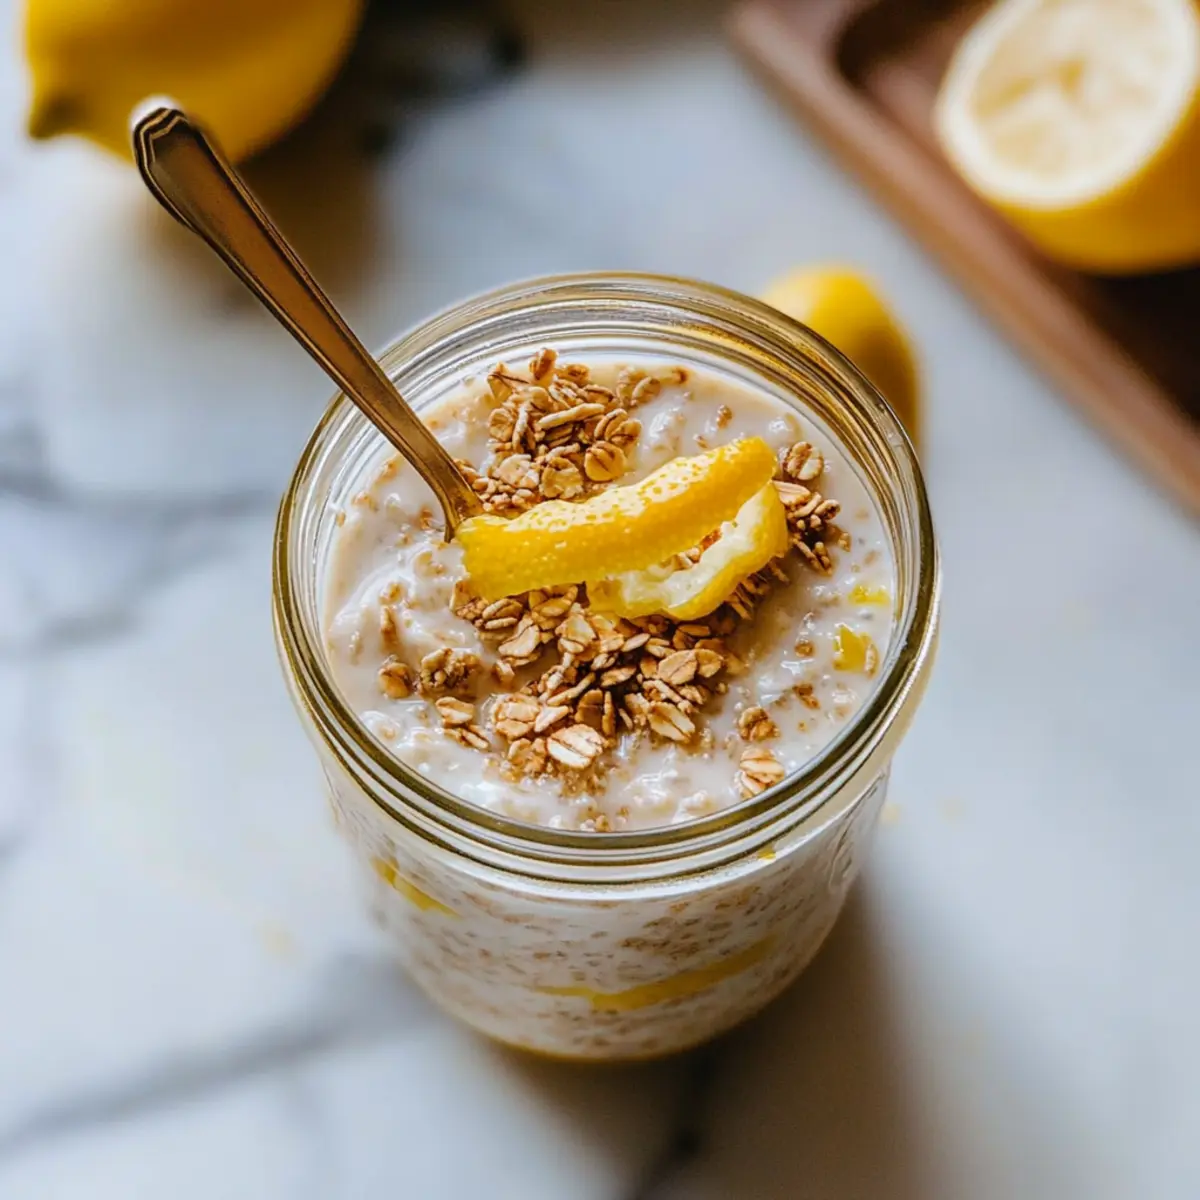
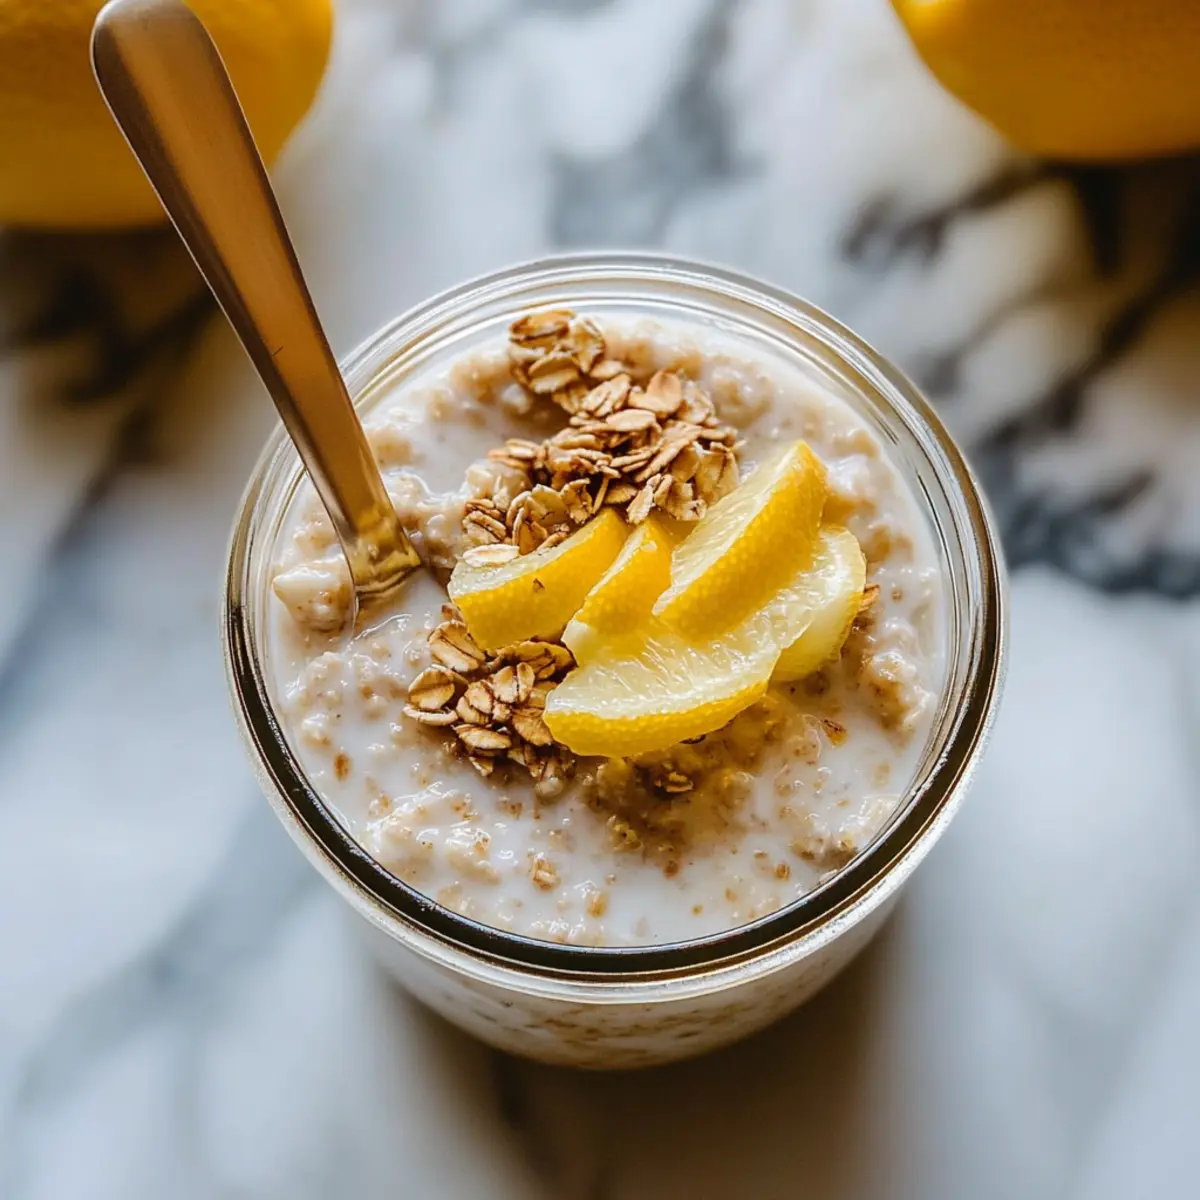
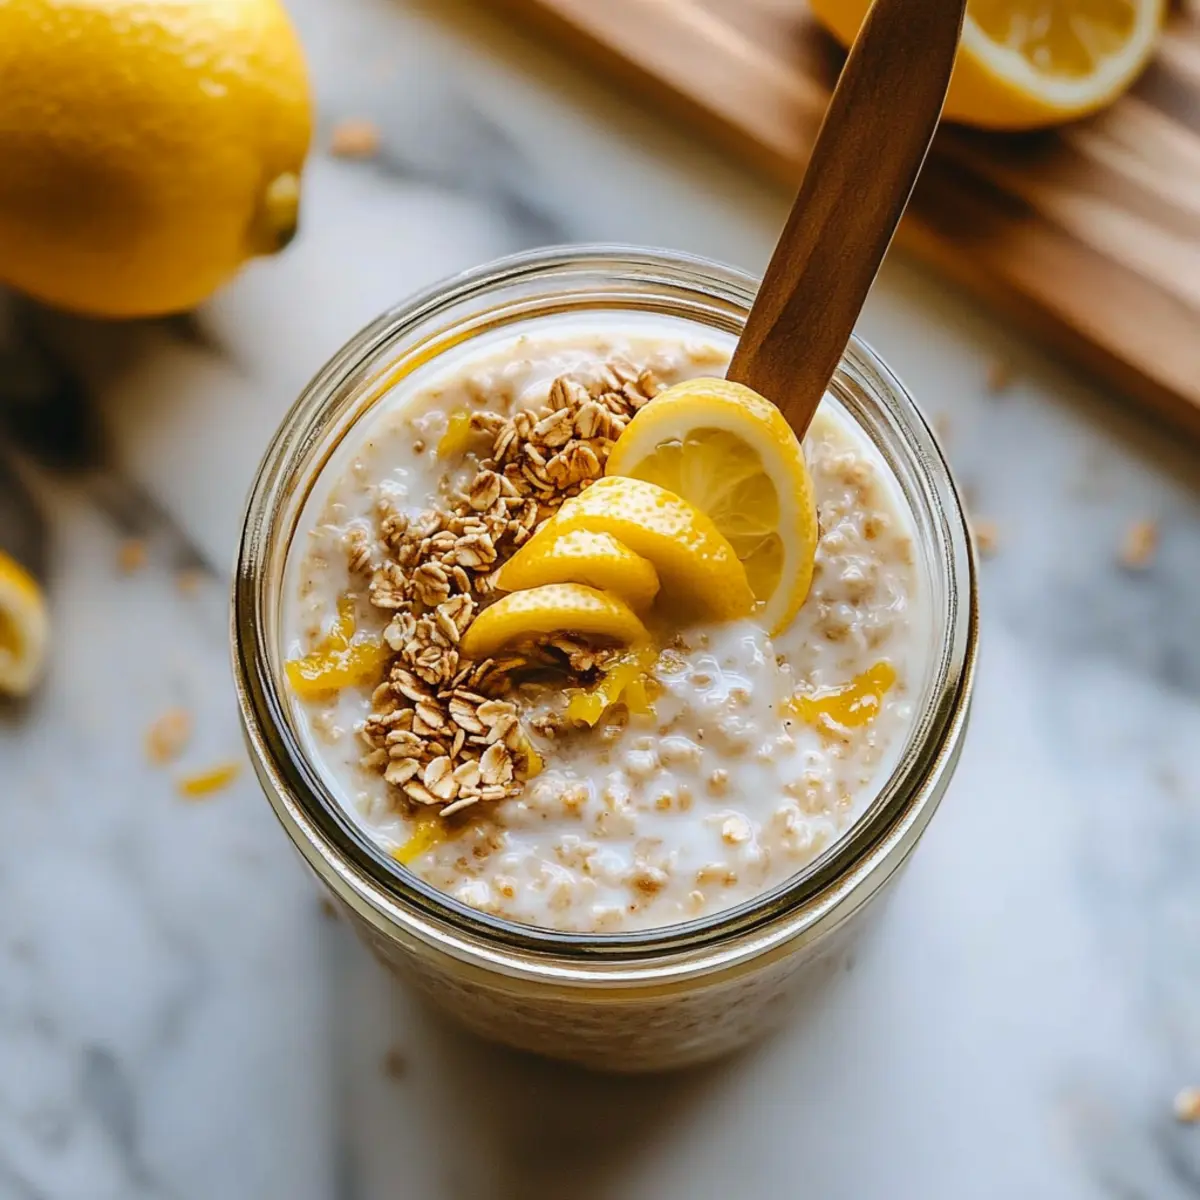
Bright, creamy, and oh-so-refreshing—these Lemon Curd Overnight Oats are my new favorite way to kickstart the day! When I first combined sweet-tart lemon curd with hearty oats, I knew I’d stumbled upon something special. Not only do they provide a burst of citrusy flavor, but they’re also incredibly easy to whip up the night before, making them perfect for anyone needing a fast yet nutritious breakfast solution. Plus, with options for gluten-free and vegan adaptations, everyone can enjoy this delightful treat. So, are you ready to elevate your morning routine with a touch of sunshine?
Why Choose Lemon Curd Overnight Oats?
Simplicity: This recipe requires minimal effort, allowing busy mornings to start with an easy, nourishing meal.
Citrusy Delight: The bright and creamy lemon curd infuses every bite with refreshing flavor, waking up your taste buds!
Versatile Options: Whether you prefer dairy or non-dairy, gluten-free or traditional, this recipe can be easily adapted to fit your dietary needs.
Meal Prep Friendly: Make a batch ahead of time and enjoy delicious breakfasts throughout the week—perfect for those on the go!
Crowd-Pleaser: Impress family and friends with this unique twist on overnight oats; it’s a delightful way to surprise anyone looking for a fun breakfast option.
Feeling inspired? Pair it with a Lemon Chicken Soup for a refreshing meal or indulge in Lemon Ricotta Protein pancakes for a complete citrus experience!
Lemon Curd Overnight Oats Ingredients
Here’s everything you need to create these delightful Lemon Curd Overnight Oats!
For the Oats Mixture
• Rolled Oats – The foundation of the dish; opt for gluten-free oats for a gluten-free version.
• Milk – Adds creaminess; choose between dairy or a non-dairy alternative like almond milk.
• Greek Yogurt – Provides protein and creamy texture; swap with coconut yogurt for a dairy-free option.
• Chia Seeds – Thickens the oats and adds fiber; no direct substitute needed, but you can add more for extra thickness.
• Honey or Maple Syrup – Sweetens the mixture; feel free to adjust according to your preference.
• Vanilla Extract – Enhances the flavor; ensure it’s pure for the best taste.
For the Lemon Curd
• Large Egg – Gives richness to the lemon curd; essential for the creamy texture.
• Fresh Lemon Juice – Brings brightness and tartness to the curd; fresh is always best!
• Lemon Zest – Intensifies the lemon flavor and aroma; don’t skip this for that extra zing!
• Sugar – Sweetens the curd; alternative sweeteners like honey can also be used.
• Butter – Adds richness; vegan butter is a great substitute for a plant-based version.
For Toppings
• Granola – Adds crunch and texture; sprinkle generously on top for a delightful contrast.
• Extra Lemon Zest – Boosts flavor and visual appeal; a little zest goes a long way.
• Honey or Maple Syrup – Drizzle over the top for added sweetness before serving.
With these ingredients, you're well on your way to creating the most delicious Lemon Curd Overnight Oats!
Step‑by‑Step Instructions for Lemon Curd Overnight Oats
Step 1: Make the Lemon Curd
In a small saucepan, combine 1 large egg, 1/2 cup fresh lemon juice, 1 tablespoon lemon zest, and 1/2 cup sugar. Cook over low heat, whisking constantly for about 5 minutes, until the mixture thickens and coats the back of a spoon. Remove from heat, stir in 4 tablespoons of butter until melted, and let it cool completely before using.
Step 2: Prepare Oats Mixture
In a medium mixing bowl, combine 1 cup rolled oats, 1 cup milk (dairy or non-dairy), 1/2 cup Greek yogurt, 2 tablespoons chia seeds, 2 tablespoons honey or maple syrup, and 1 teaspoon vanilla extract. Stir well until all ingredients are fully combined, creating a creamy base. This mixture will soak up the flavors and thicken overnight.
Step 3: Layer Ingredients
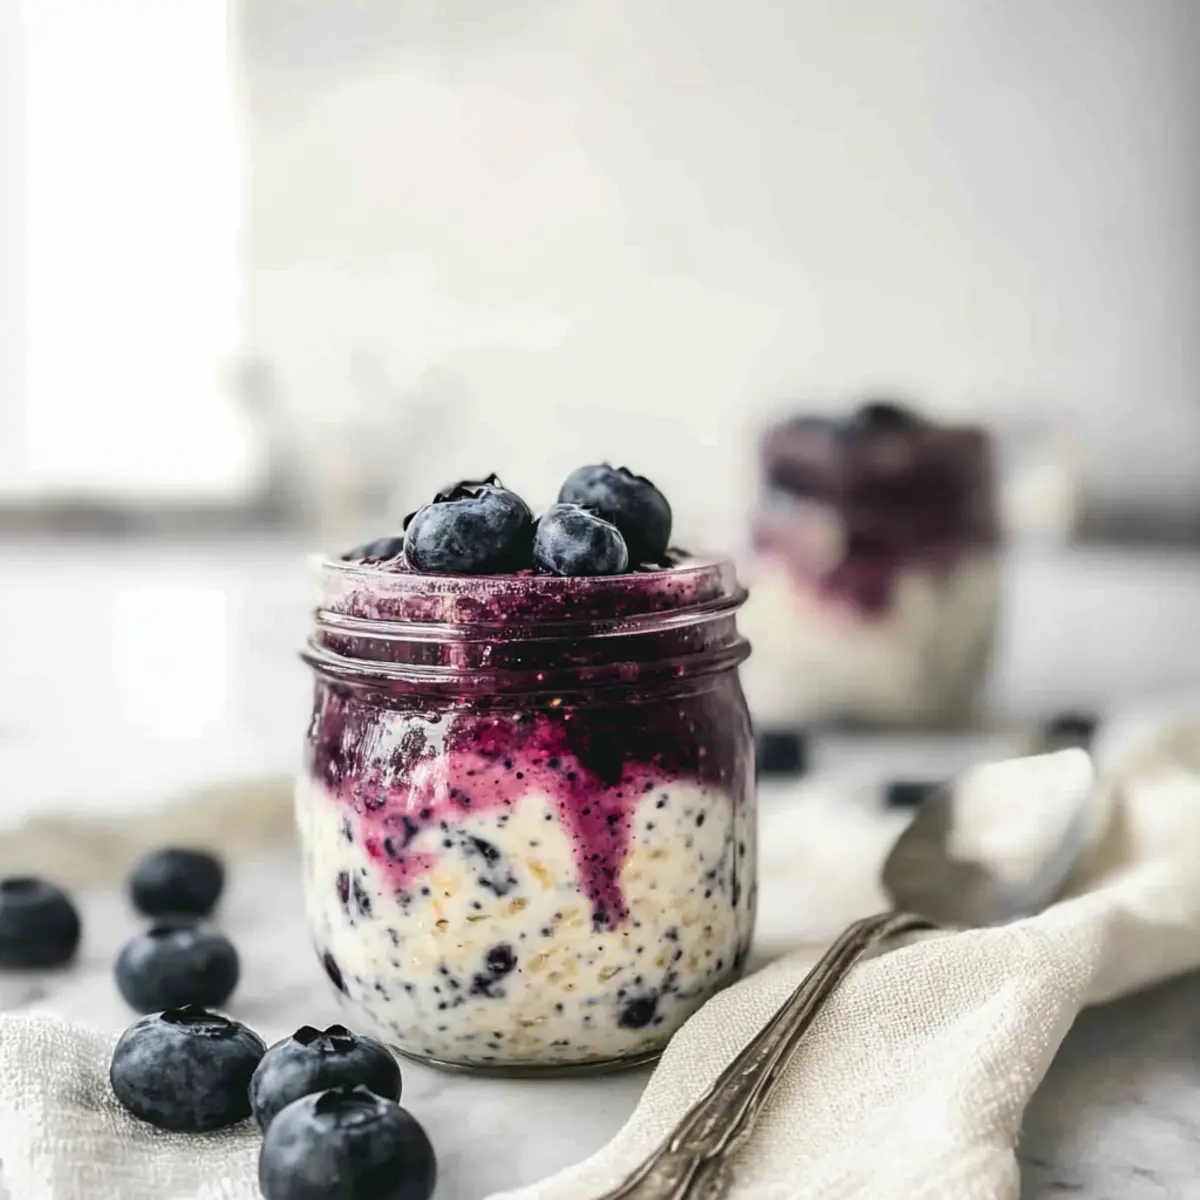
Grab a mason jar or any airtight container. Spoon half of the oats mixture into the bottom, followed by a generous layer of the prepared lemon curd. Then, top with the remaining oats mixture, ensuring even distribution. This beautiful layering not only looks appealing but also helps meld the flavors together perfectly as they chill.
Step 4: Refrigerate
Seal the mason jar tightly and place it in the refrigerator. Allow the Lemon Curd Overnight Oats to chill for at least 4 hours, or ideally overnight. This waiting time allows the oats to absorb the liquid, increasing their creaminess and flavor. It’s the perfect make-ahead breakfast solution for your busy mornings.
Step 5: Serve
When you're ready to enjoy your Lemon Curd Overnight Oats, take them out of the fridge. Top with a sprinkle of granola for a delightful crunch, an additional sprinkle of lemon zest for burst, and a drizzle of honey or maple syrup for extra sweetness. Mix it all together and savor this creamy breakfast treat!
Expert Tips for Lemon Curd Overnight Oats
- Extra Curds: Make additional lemon curd to keep in the fridge for a week. It’s delicious on toast or paired with yogurt!
- Thickness Adjustment: If you prefer thicker oats, reduce the milk or increase the chia seeds for a satisfying, pudding-like texture.
- Sweetness Control: Taste your mixture before refrigerating and adjust with more honey or maple syrup based on your preference.
- Chilling Time: Always chill the Lemon Curd Overnight Oats for at least 4 hours—overnight is ideal to develop the best flavor and texture.
- Topping Ideas: Experiment by topping with different fruits, nuts, or seeds for added flavor and nutrition when serving.
Lemon Curd Overnight Oats Variations
Feel free to get creative with these Lemon Curd Overnight Oats and tailor them to your taste buds!
-
Gluten-Free: Use certified gluten-free oats to enjoy a safe and scrumptious breakfast experience.
-
Vegan: Swap Greek yogurt for coconut yogurt and butter for vegan butter, making this delight plant-based.
-
Flavor Boost: Mix in a teaspoon of poppy seeds for a delightful crunch and a hint of nutty flavor.
-
Coconut Twist: Replace half the milk with coconut milk for a tropical flair that beautifully complements the lemon.
-
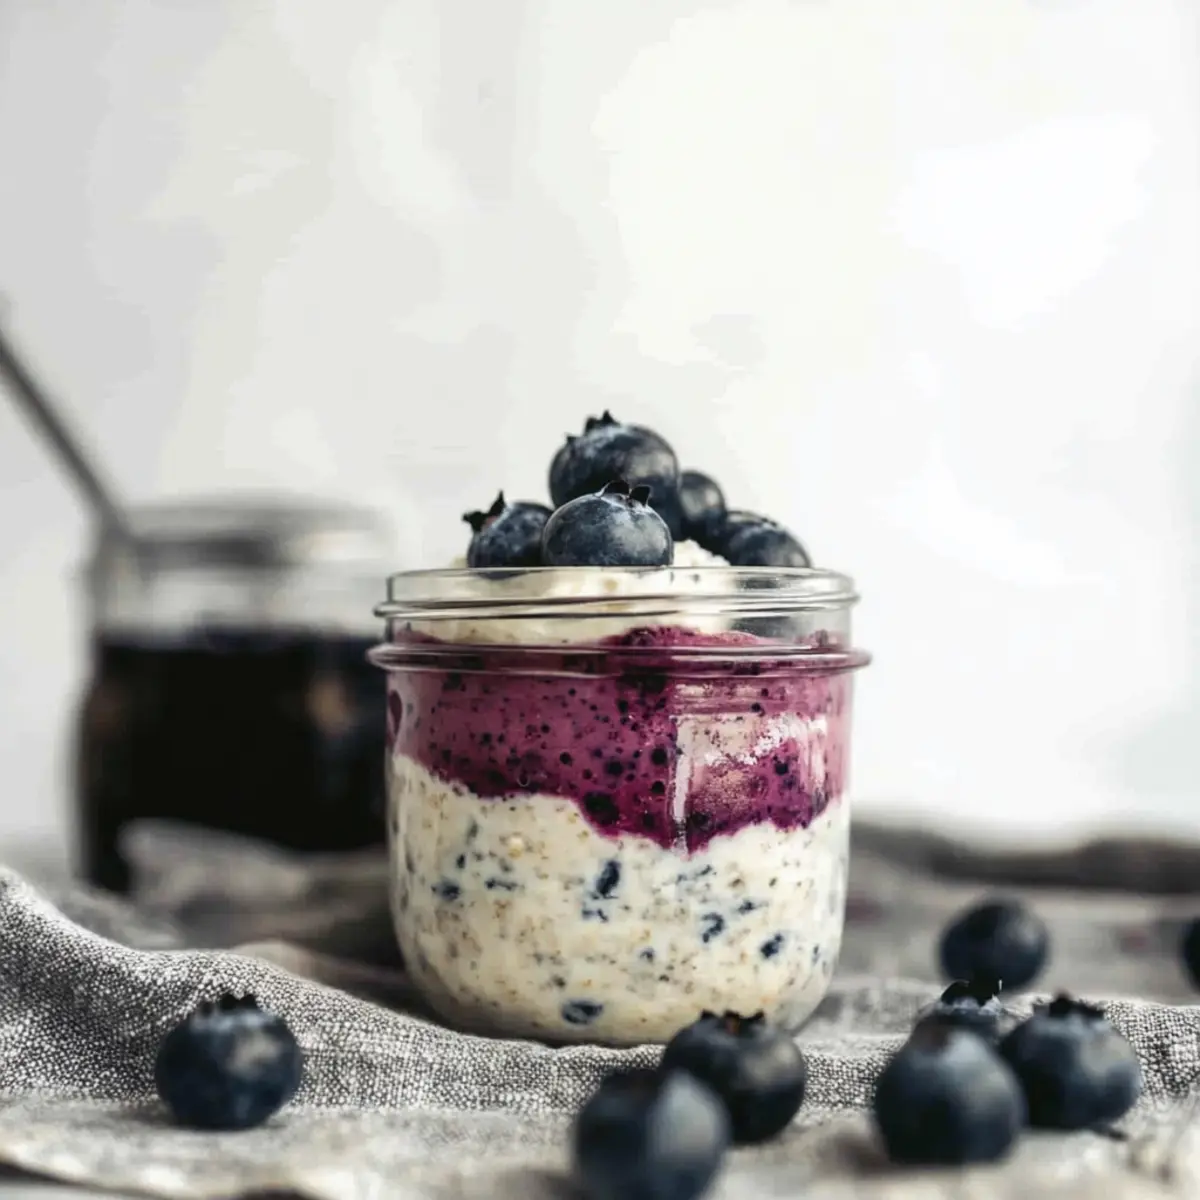
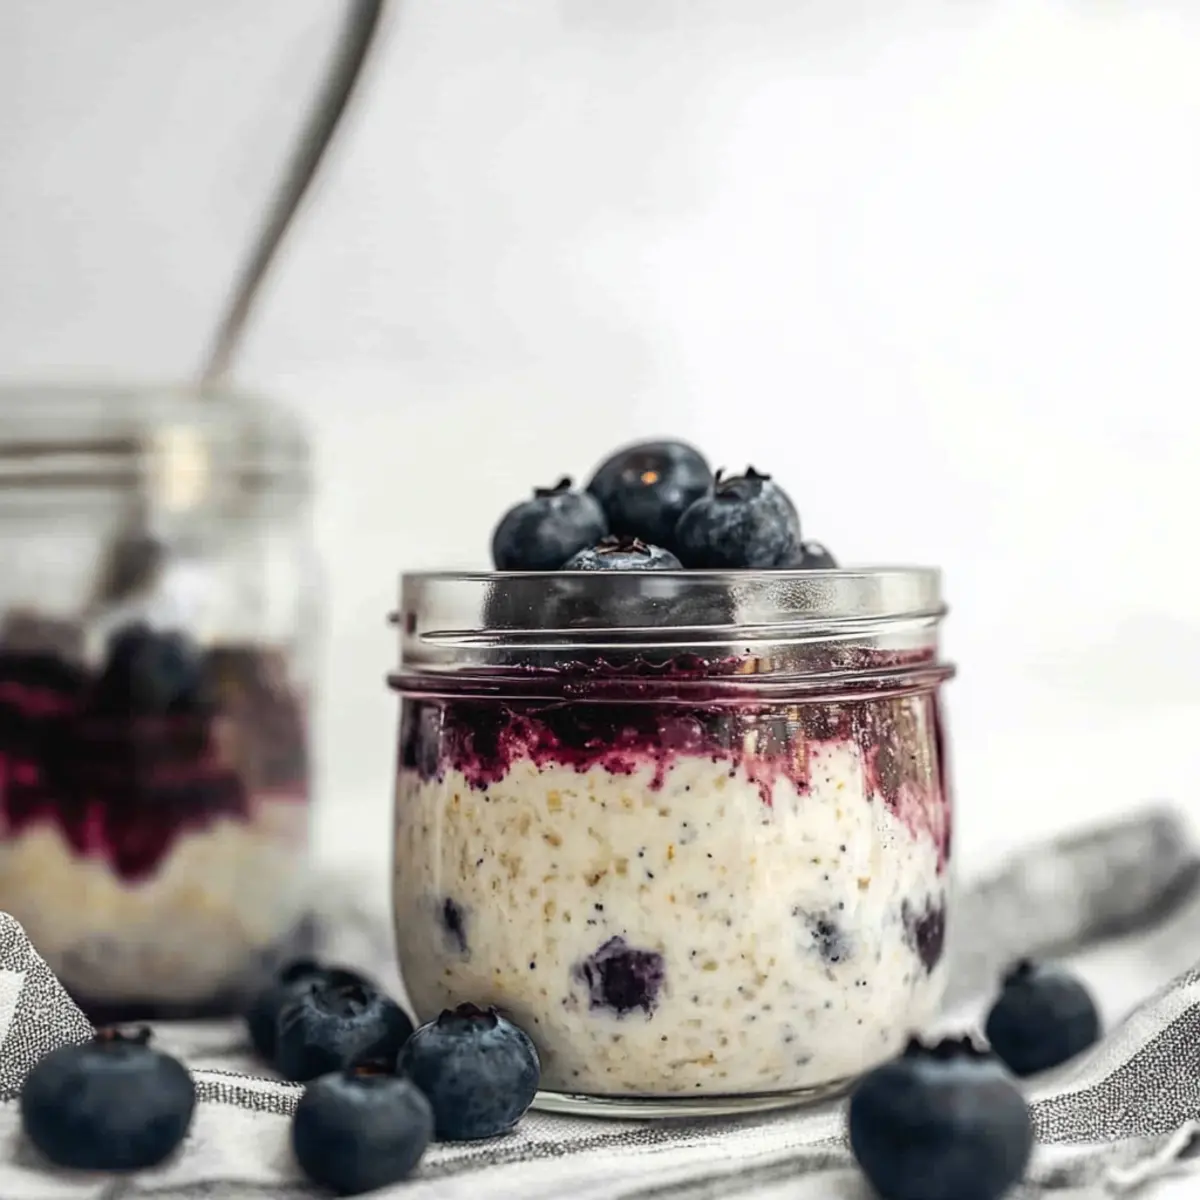
Berry Burst: Layer in fresh berries, like blueberries or raspberries, to add a burst of sweetness and color.
-
Nutty Crunch: Top with chopped nuts like almonds or walnuts for added texture and healthy fats.
-
Maple Variation: Use maple syrup instead of honey for a deeper, richer sweetness that pairs wonderfully with lemon.
-
Extra Creamy: For a luxurious texture, stir in an extra spoonful of Greek yogurt to make it even creamier.
Want more lemony goodness? Try these delightful options—like a comforting Lemon Chicken Soup or start your day right with a delightful stack of Lemon Ricotta Protein pancakes!
Make Ahead Options
These Lemon Curd Overnight Oats are a fantastic meal prep solution for busy mornings! You can prepare the oats mixture (rolled oats, milk, Greek yogurt, chia seeds, honey, and vanilla) up to 3 days in advance and store it in the refrigerator in an airtight container. Additionally, the lemon curd can be made and refrigerated for about one week before serving. To ensure the oats remain creamy and delicious, keep them sealed to avoid browning and drying out. When you're ready to serve, simply layer the lemon curd with the prepped oats and garnish with granola, lemon zest, and a drizzle of honey for a bright and refreshing breakfast treat that saves you time and effort!
How to Store and Freeze Lemon Curd Overnight Oats
Fridge: Store your Lemon Curd Overnight Oats in an airtight container for up to 5 days. This makes them perfect for meal prep and quick breakfasts.
Freezer: While not recommended for freezing the assembled oats, you can freeze any leftover lemon curd in a separate airtight container for up to 3 months. Thaw in the fridge before using.
Reheating: If you prefer warm oats, microwave the oats for about 1 minute and stir before enjoying. Add a splash of milk to restore creaminess if needed.
Separation: It's normal for the oats to thicken and absorb liquid over time; simply stir before serving to refresh the texture!
What to Serve with Lemon Curd Overnight Oats
Brighten your morning routine with these delightful pairings that enhance your Lemon Curd Overnight Oats experience!
-
Fresh Fruits: Juicy berries or sliced bananas add a delightful sweetness and freshness, complementing the tangy lemon curd perfectly. They not only bring vibrant colors but also add a nutritious punch to your breakfast.
-
Greek Yogurt Parfait: Layer your oats with creamy Greek yogurt for extra protein and richness. This combination creates a luscious texture, making each spoonful a dream!
-
Nutty Granola: A sprinkle of your favorite granola offers a satisfying crunch and nutty flavor, enhancing the creamy oats while adding an interesting texture.
-
Coconut Chia Pudding: The velvety richness of coconut chia pudding is a tropical twist that pairs beautifully with lemon. It adds an extra layer of creaminess and tropical delight to every bite!
-
Herbal Tea: A refreshing cup of chamomile or mint tea brings balance to the citrus notes of your dish while providing a calming start to your day.
-
Citrus Smoothie: Blend up a zesty citrus smoothie with oranges and spinach to harmonize with the lemon flavor, offering a refreshing, nutrient-packed drink alongside your oats.
-
Lemon Infused Water: Serve your oats with lemon-infused water for a light and refreshing drink. The citrusy water not only hydrates but also complements the lemon curd deliciously.
Lemon Curd Overnight Oats Recipe FAQs
How do I select the perfect lemons for the curd?
Absolutely! Look for lemons that are firm, bright yellow, and free of dark spots or blemishes. A good lemon will feel heavy for its size, indicating plenty of juice. Freshness is key here for that vibrant citrus flavor!
How should I store leftover Lemon Curd Overnight Oats?
You can store your Lemon Curd Overnight Oats in an airtight container in the refrigerator for up to 5 days. This method makes it super convenient for meal prep, allowing you to enjoy a tasty and nutritious breakfast throughout the week without any hassle!
Can I freeze my Lemon Curd Overnight Oats?
While it's best not to freeze the assembled oats (as they can become mushy), you can freeze any leftover lemon curd. Place the lemon curd in a separate airtight container and store it in the freezer for up to 3 months. When ready to use, simply thaw it in the refrigerator overnight. Then, mix it into your oats for that lovely brightness!
What can I do if my overnight oats are too thick?
If you find your Lemon Curd Overnight Oats are thicker than desired, don’t fret! Just add a splash of milk—dairy or non-dairy—until you achieve your preferred consistency. Stir well, and they’ll be creamy and luscious again in no time.
Are there any dietary considerations I should keep in mind?
Very good question! For those with allergies, be cautious of the egg in the lemon curd; consider using a plant-based egg substitute if you're going vegan. Additionally, ensure that any sweeteners used are suitable for your dietary preferences, such as maple syrup for vegans. Always check labels for allergens if you're sharing with children or guests!
What toppings can I add to my Lemon Curd Overnight Oats?
The more the merrier! I often recommend topping with granola for that crunch, extra lemon zest for a flavor boost, and a drizzle of honey or maple syrup to enhance sweetness. You can also add fresh fruits like berries or sliced bananas for added nutrition and taste. Experiment with your favorites!

Lemon Curd Overnight Oats: A Bright and Creamy Breakfast Treat
Ingredients
Equipment
Method
- In a small saucepan, combine 1 large egg, 1/2 cup fresh lemon juice, 1 tablespoon lemon zest, and 1/2 cup sugar. Cook over low heat, whisking constantly for about 5 minutes, until the mixture thickens and coats the back of a spoon. Remove from heat, stir in 4 tablespoons of butter until melted, and let it cool completely before using.
- In a medium mixing bowl, combine 1 cup rolled oats, 1 cup milk, 1/2 cup Greek yogurt, 2 tablespoons chia seeds, 2 tablespoons honey or maple syrup, and 1 teaspoon vanilla extract. Stir well until all ingredients are fully combined, creating a creamy base.
- Grab a mason jar or any airtight container. Spoon half of the oats mixture into the bottom, followed by a generous layer of the prepared lemon curd. Then, top with the remaining oats mixture.
- Seal the mason jar tightly and place it in the refrigerator. Allow the Lemon Curd Overnight Oats to chill for at least 4 hours, or ideally overnight.
- When ready to enjoy, take them out of the fridge. Top with granola, extra lemon zest, and a drizzle of honey or maple syrup. Mix and savor!