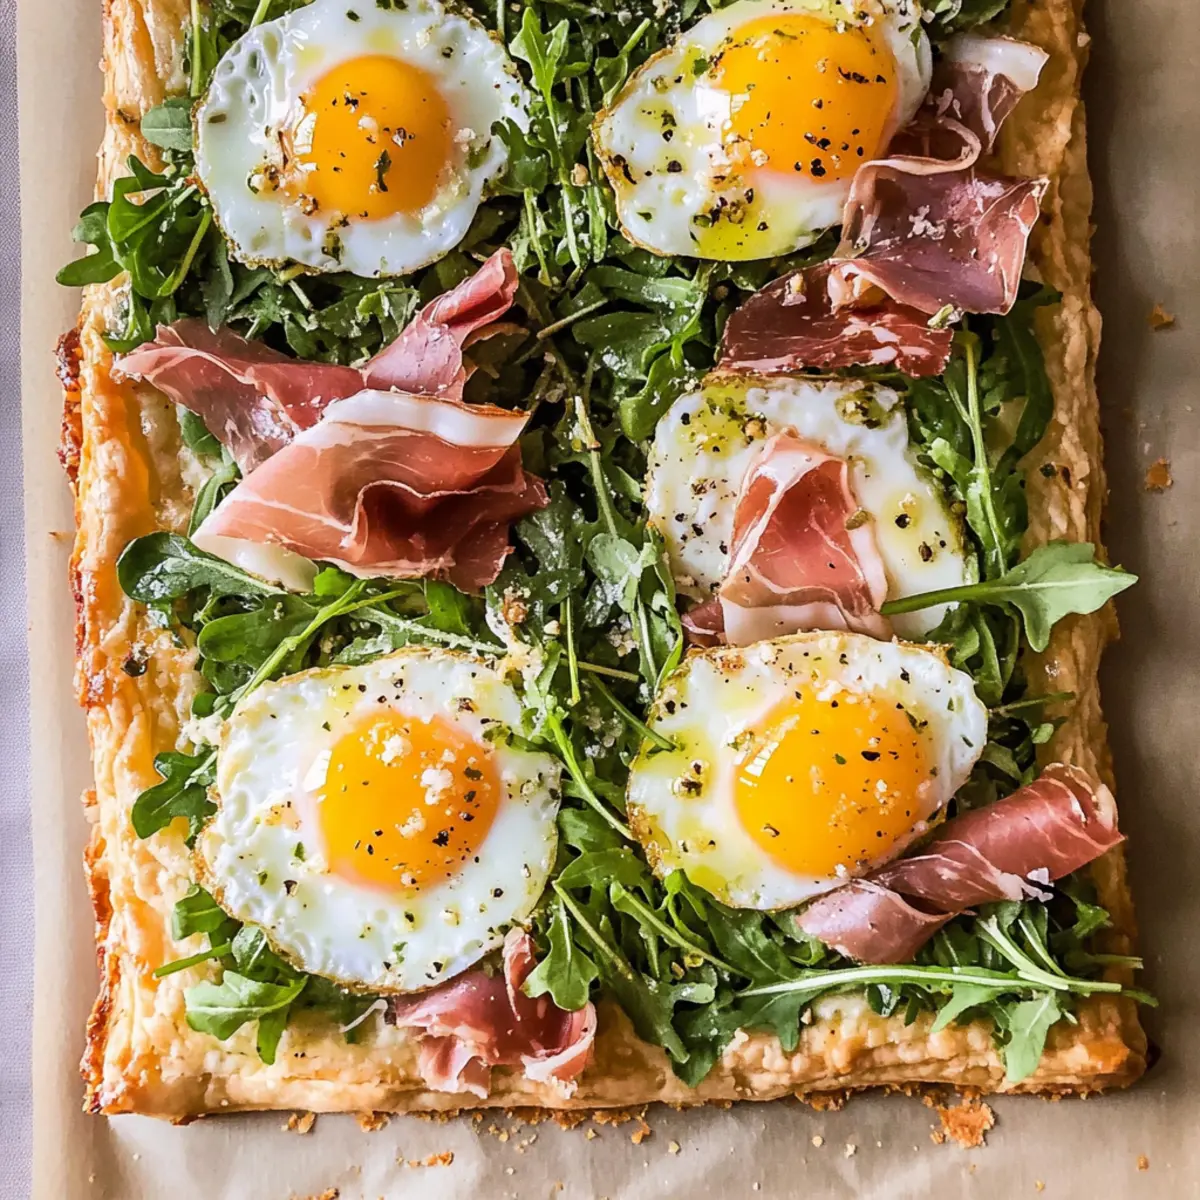
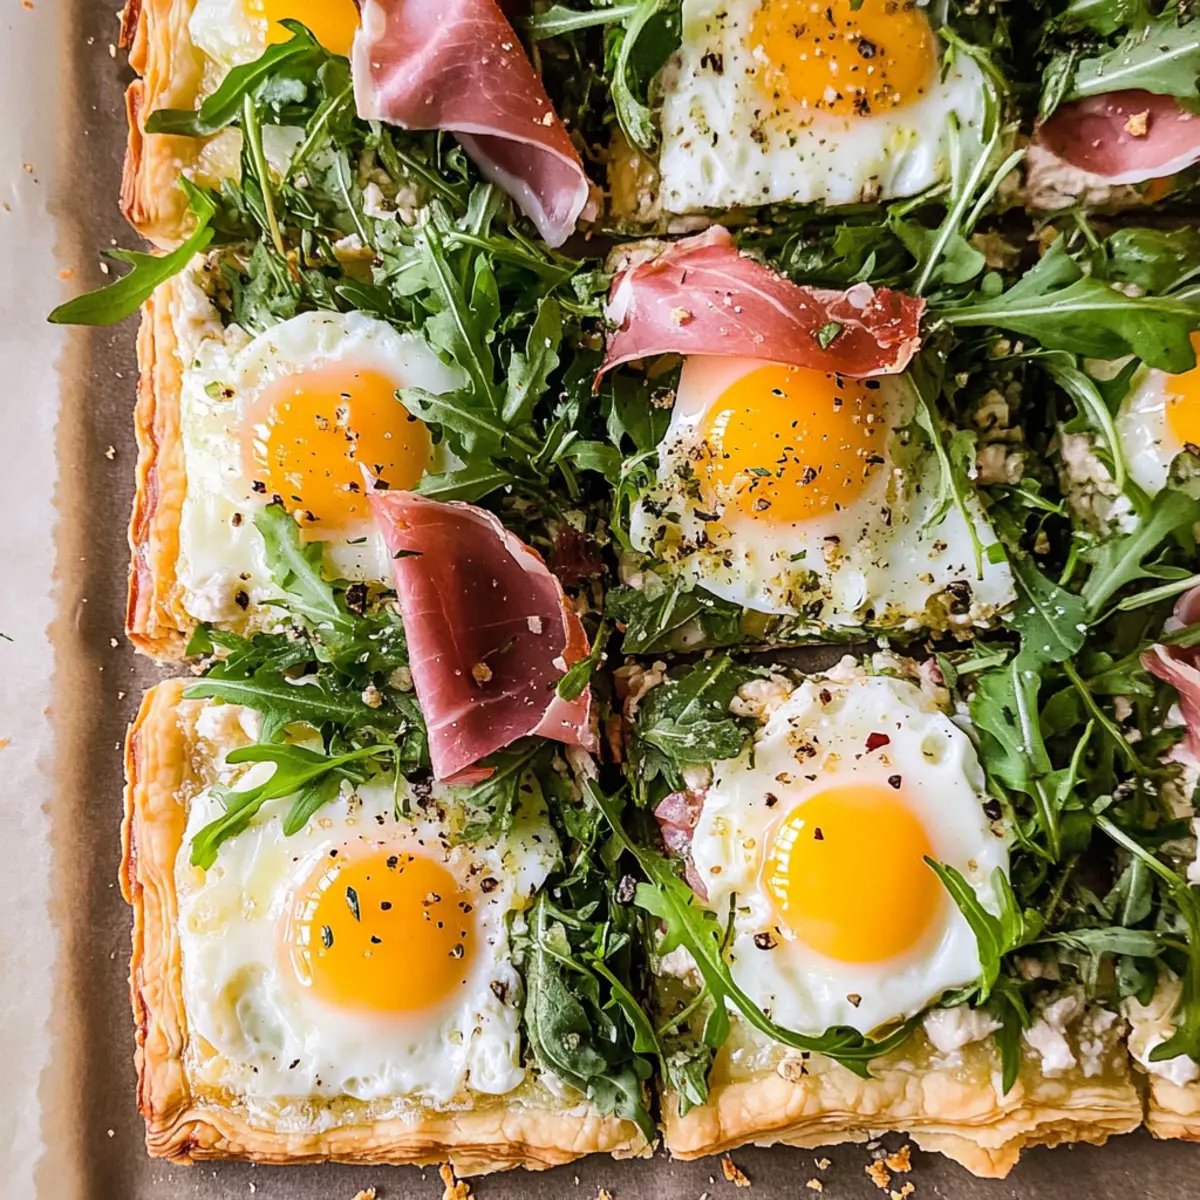
As the enticing aroma of baking fills the air, I can't help but reminisce about my favorite brunch gatherings where everyone gathers around the table, eagerly awaiting a slice of something special. Joanna Gaines' Easy Eggs Benedict Casserole transforms the classic brunch staple into an effortless dish that combines layers of creamy Hollandaise, savory Canadian bacon, and fluffy English muffins—all in one pan! This delightful make-ahead breakfast not only saves you precious morning time but also satisfies even the hungriest of guests. Just imagine how appreciative your friends and family will be when you serve up this comforting crowd-pleaser without the usual last-minute chaos. Ready to elevate your brunch game? Let’s dive into this delicious recipe that’s sure to become a weekend favorite!

Why is this casserole a brunch essential?
Effortless Preparation: You can whip up this Joanna Gaines Eggs Benedict Casserole the night before, allowing flavors to meld beautifully while you enjoy a stress-free morning.
Flavor Explosion: Each bite is a harmonious fusion of creamy Hollandaise, savory Canadian bacon, and fluffy English muffins that will leave everyone craving more.
Crowd-Pleasing Appeal: Whether it's for a small gathering or a larger brunch event, this dish satisfies even the hungriest of guests, making it perfect for any occasion.
Versatile Options: Feel free to customize with sautéed vegetables or different cheeses to suit your palate—this casserole adapts to your preferences!
Simplified Cooking: No need to juggle multiple dishes; this all-in-one casserole eliminates the chaos often found in brunch prep, letting you savor time with family and friends.
Curious to elevate your brunch game even further? Check out Turkish Eggs Discover for more delightful ideas!
Joanna Gaines Eggs Benedict Casserole Ingredients
For the Casserole
- Milk – Adds moisture and creaminess; substitute with almond milk for a dairy-free option.
- Eggs – Acts as a binder and provides richness; fresh eggs will enhance the flavor.
- Green Onions – Offers a mild onion flavor and freshness; swap with chives if preferred.
- Onion Powder – Enhances the depth of flavor; fresh onion can be used, but with caution to avoid overpowering tastes.
- Salt – Essential for seasoning; kosher salt provides a cleaner taste.
- Canadian Bacon – Delivers protein and a savory touch; for a lighter version, use diced ham or turkey bacon.
- English Muffins – Forms the base of the casserole; whole wheat varieties can replace regular ones for more fiber.
- Ground Paprika – Adds a hint of smokiness and vibrant color; smoked paprika can be used for a bolder flavor.
- Hollandaise Sauce Mix – Simplifies the sauce preparation; traditional homemade sauce can elevate the dish further.
- Butter – Contributes richness and flavor; opt for unsalted butter to control saltiness.
For Serving (Optional)
- Fresh Fruit Salad – Provides a refreshing complement to the rich casserole; consider a mix of seasonal fruits for variety.
- Additional Hollandaise Sauce – Perfect for drizzling over individual servings for an extra flavor boost; a must for Eggs Benedict enthusiasts!
With these ingredients, you’re all set to create a delicious Joanna Gaines Eggs Benedict Casserole that will impress your guests and make brunch a breeze!
Step‑by‑Step Instructions for Joanna Gaines Eggs Benedict Casserole
Step 1: Preheat the Oven
Start by preheating your oven to 350°F (175°C). This ensures that your Joanna Gaines Eggs Benedict Casserole bakes evenly. While the oven heats, gather your ingredients and prepare your baking dish by greasing it with butter or cooking spray for easy cleanup.
Step 2: Whisk the Mixture
In a large mixing bowl, whisk together 2 cups of milk, 8 beaten eggs, chopped green onions, onion powder, and a pinch of salt until thoroughly combined. This mixture should be smooth and slightly frothy, indicating that it’s well-blended. Allow it to sit for a moment while you prepare the other ingredients.
Step 3: Incorporate Bacon and Muffins
Gently stir in diced Canadian bacon and cubed English muffins into the egg mixture, ensuring everything is well-coated. You want to see the bacon and muffin pieces evenly distributed throughout the mixture, as this will create a delightful bite in every slice. Letting it sit for a minute allows the muffins to soak up some of the liquid.
Step 4: Pour into Baking Dish
Carefully pour the mixture into your prepared baking dish, spreading it evenly with a spatula to make sure it bakes uniformly. Sprinkle ground paprika generously on top for an added layer of flavor and visual appeal. This step will enhance the overall look of your Joanna Gaines Eggs Benedict Casserole.
Step 5: Prepare the Hollandaise Sauce
Next, prepare the Hollandaise sauce according to the package instructions. If using homemade sauce, now is the time to whip it up for a gourmet touch. Once ready, drizzle the sauce evenly over the top of the casserole, ensuring it covers the surface well for that luscious taste.
Step 6: Bake to Perfection
Place the casserole in the preheated oven and bake for 45-50 minutes. You’ll know it’s done when the top is golden brown and the center is set. A slight jiggle is fine, but it should not appear liquidy. Enjoy the delicious aroma filling your kitchen as it bakes!
Step 7: Cool and Serve
Once baked, remove the casserole from the oven and allow it to cool slightly for about 10-15 minutes. This resting time helps the casserole set further, making it easier to cut into neat squares. Serve warm and watch your loved ones delight in the flavors of Joanna Gaines Eggs Benedict Casserole!

How to Store and Freeze Joanna Gaines Eggs Benedict Casserole
Fridge: Store in an airtight container for up to 3 days. This keeps the casserole fresh while allowing you to enjoy leftovers without sacrificing flavor.
Freezer: For longer storage, freeze portions wrapped tightly in plastic wrap and then aluminum foil for up to 2 months. Thaw overnight in the fridge before reheating.
Reheating: Warm individual servings in the microwave or heat the entire casserole in the oven at 350°F (175°C) for about 20-25 minutes, ensuring it heats through completely.
Preparation Tips: Consider making Joanna Gaines Eggs Benedict Casserole a day ahead for stress-free brunch hosting, simply refrigerating before baking to meld those delightful flavors.
Expert Tips for Joanna Gaines Eggs Benedict Casserole
-
Make-Ahead Magic: Prepare your casserole the night before and store it in the fridge. This allows the flavors to meld beautifully, making morning prep a breeze.
-
Cooling Precision: After baking, let the casserole cool for 10-15 minutes before cutting. This helps the pieces hold together better, ensuring a neat serving for your guests.
-
Grease Smartly: Use plenty of butter or cooking spray to grease your baking dish. This prevents sticking, which can lead to messy slices and a less appealing presentation.
-
Quality Ingredients: For the best Joanna Gaines Eggs Benedict Casserole, use fresh, high-quality ingredients, especially eggs and dairy, to enhance flavors and texture.
-
Customize Joyfully: Feel free to experiment with different cheeses or sautéed veggies. This dish adapts to your taste, keeping brunch exciting and personal.
-
Serving Size Savvy: Cut your casserole into even portions to ensure all guests receive the same deliciousness. Consider serving with fresh fruit for a balanced meal!
What to Serve with Joanna Gaines' Eggs Benedict Casserole?
Imagine a beautifully laid table brimming with delectable complements to your creamy, savory casserole that will keep everyone coming back for seconds.
-
Fresh Fruit Salad: Bright and colorful, it adds a refreshing contrast to the rich flavors of the casserole—perfect for brightening up your brunch spread.
-
Crispy Hash Browns: Golden and crunchy, these classic breakfast favorites provide a satisfying texture that pairs well with the soft casserole.
-
Additional Hollandaise Sauce: Serving extra sauce on the side encourages guests to indulge. It brings that signature flavor and creamy texture everyone loves.
-
Herbed Yogurt Dip: A cool and tangy dip made with Greek yogurt, fresh herbs, and a squeeze of lemon complements the richness of the casserole beautifully.
-
Sparkling Mimosa: This delightful mix of champagne and orange juice adds a festive touch, perfectly balancing the savory bite of the casserole.
-
Savory Scones: Fluffy and buttery, these treats offer a delightful, crumbly contrast to the creamy casserole. Try adding cheese or herbs for an extra twist.
-
Roasted Asparagus: Tender and slightly crispy, asparagus brings a fresh, earthy element to your table, making it a lovely and light addition to the meal.
-
Cinnamon Rolls: Sweet and warm, these gooey pastries bring a comforting finish to your brunch feast, delighting everyone’s sweet tooth.
With these delightful pairings, your Joanna Gaines Eggs Benedict Casserole will shine brightly on the brunch table, making for a truly memorable gathering!
Joanna Gaines Eggs Benedict Casserole Variations
Feel free to get creative with your Joanna Gaines Eggs Benedict Casserole and tailor it to your taste buds!
-
Vegetarian Delight: Substitute Canadian bacon with sautéed spinach or mushrooms for a hearty, plant-based option. The earthy flavors complement the creamy sauce beautifully.
-
Cheesy Goodness: Add crumbled feta or sharp cheddar cheese to the mixture before baking. The melted cheese creates a rich, gooey texture that amplifies the comforting vibes!
-
Herb Infusion: Experiment with fresh herbs like dill or parsley for a refreshing twist. Just a handful added to the egg mixture will brighten the dish and elevate its flavor profile.
-
Spicy Kick: For those who enjoy a bit of heat, toss in diced jalapeños or a dash of hot sauce. The warmth adds excitement to every bite, making it a real crowd-pleaser.
-
Smoky Flavor: Swap ground paprika for smoked paprika to deepen the flavor. This subtle change adds a lovely smokiness that harmonizes with the savory components of the casserole.
-
Whole Grain Twist: Use whole wheat English muffins for added fiber and a nutty flavor. This small swap can be a healthy enhancement while still keeping the casserole delicious.
-
Easy Gluten-Free: Substitute English muffins with gluten-free bread for a tasty version that everyone can enjoy. The result is just as satisfying without missing out on all the yummy goodness.
-
Sauce Swap: For a homemade touch, trade the Hollandaise mix for your secret family recipe. Making your sauce adds a personal flair that elevates the entire dish.
Looking for more egg-inspired creations? Don’t miss out on our delicious Turkish Eggs Discover recipe for a unique twist that’s sure to impress!
Make Ahead Options
These Joanna Gaines Eggs Benedict Casserole are perfect for busy mornings! You can easily prepare the casserole up to 24 hours in advance by following the recipe through to the baking step. Simply cover it tightly with plastic wrap and refrigerate to allow the flavors to meld beautifully. This method keeps the casserole just as delicious while saving you precious prep time. When you're ready to serve, remove the wrap and bake directly from the fridge, adding about 10 additional minutes to the baking time if needed to ensure it's heated through. This make-ahead option transforms your brunch experience, letting you enjoy a delightful meal with minimal morning fuss!

Joanna Gaines Eggs Benedict Casserole Recipe FAQs
What type of milk should I use?
Absolutely! You can use whole milk for a rich and creamy texture. However, if you're looking for a dairy-free option, almond milk works beautifully as a substitute without compromising flavor.
How do I store leftovers?
Store your Joanna Gaines Eggs Benedict Casserole in an airtight container in the refrigerator for up to 3 days. Make sure it cools completely before sealing to preserve that creamy goodness.
Can I freeze the casserole?
Yes, you certainly can! To freeze, wrap portions tightly in plastic wrap, then wrap again in aluminum foil. This will keep them safe for up to 2 months. When you’re ready to enjoy it, thaw the casserole overnight in the fridge before reheating.
What if my casserole doesn't set properly?
If you find that your casserole is too runny after baking, it might need a little more time in the oven. Bake for an additional 5-10 minutes until it firms up. Also, ensure you whisk the egg mixture thoroughly for optimal binding.
Are there any allergy considerations I should be aware of?
Always be mindful! This casserole contains eggs and dairy, which are common allergens. If you’re preparing it for someone with allergies, consider using dairy alternatives for milk and sauce, and ensure your Canadian bacon is gluten-free if needed.
How do I enhance the flavor even more?
Very! You can try adding fresh herbs like dill or parsley to the egg mixture or sprinkle some crumbled feta or cheddar cheese on top before baking for an extra burst of deliciousness. The more the merrier in terms of flavor!
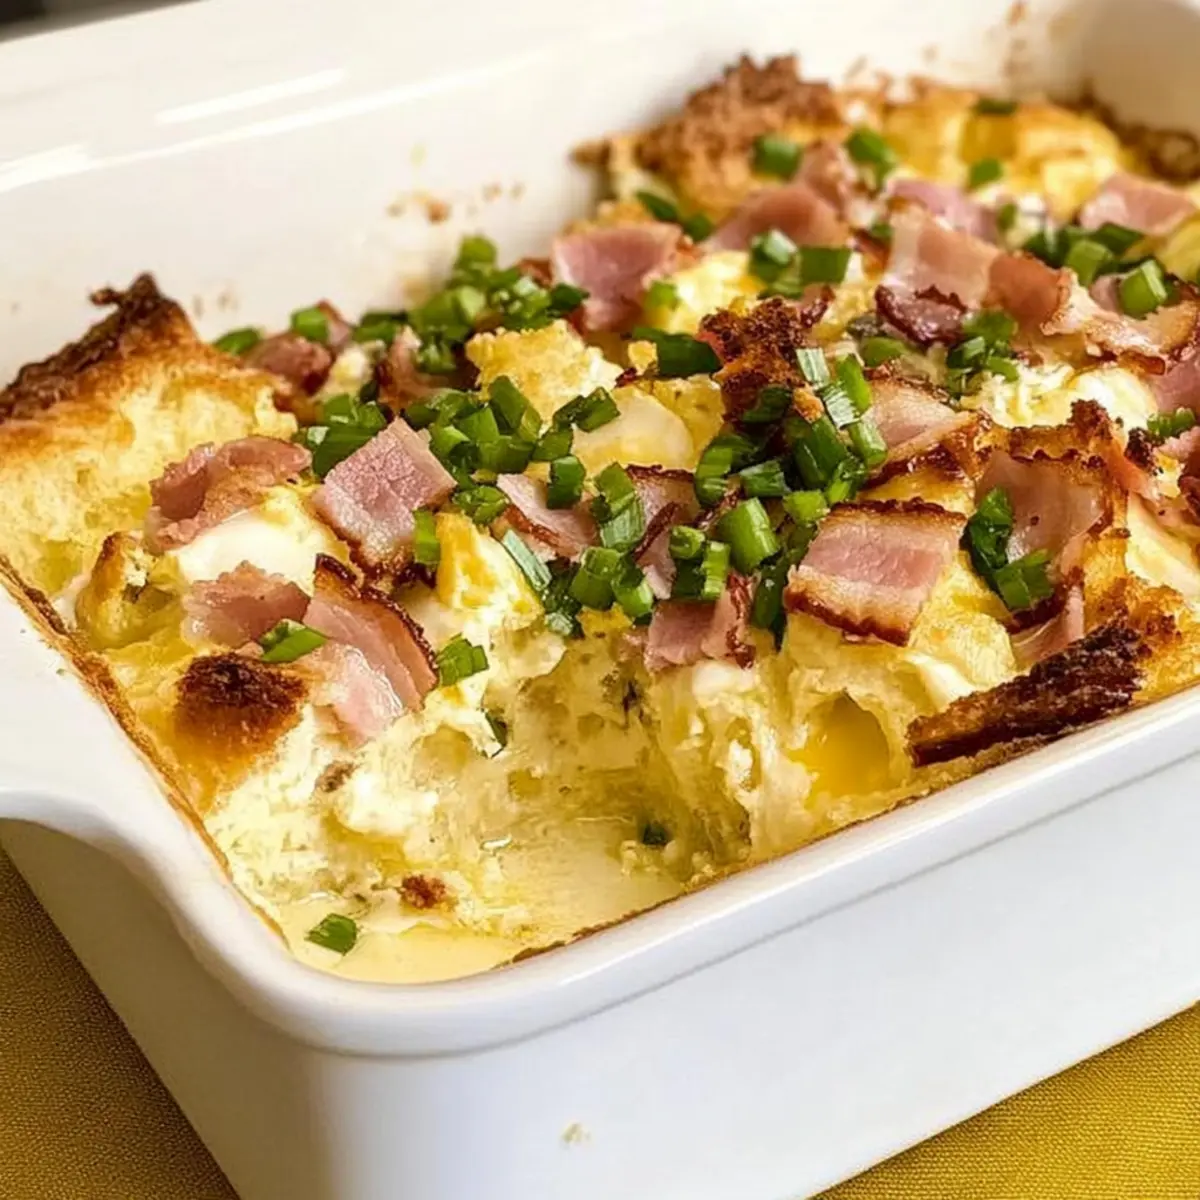
Joanna Gaines Eggs Benedict Casserole for Effortless Brunch
Ingredients
Equipment
Method
- Preheat your oven to 350°F (175°C) and prepare your baking dish by greasing it.
- In a large mixing bowl, whisk together milk, beaten eggs, green onions, onion powder, and salt until thoroughly combined.
- Gently stir in diced Canadian bacon and cubed English muffins into the egg mixture.
- Carefully pour the mixture into your prepared baking dish and sprinkle ground paprika on top.
- Prepare the Hollandaise sauce according to package instructions and drizzle over the top of the casserole.
- Place the casserole in the preheated oven and bake for 45-50 minutes.
- Once baked, cool for 10-15 minutes before serving.