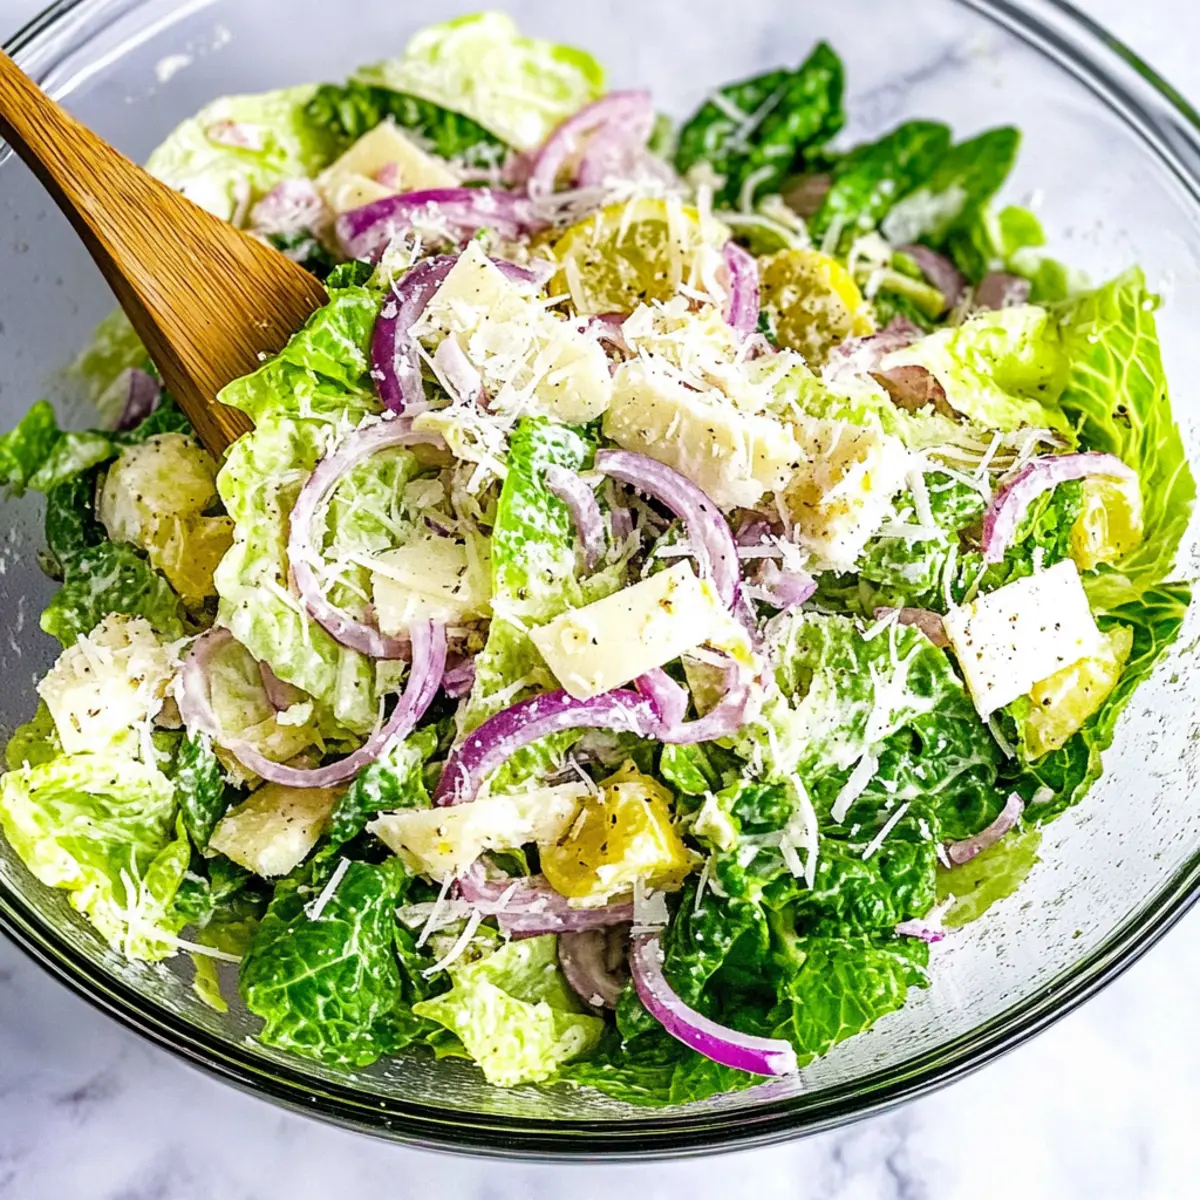
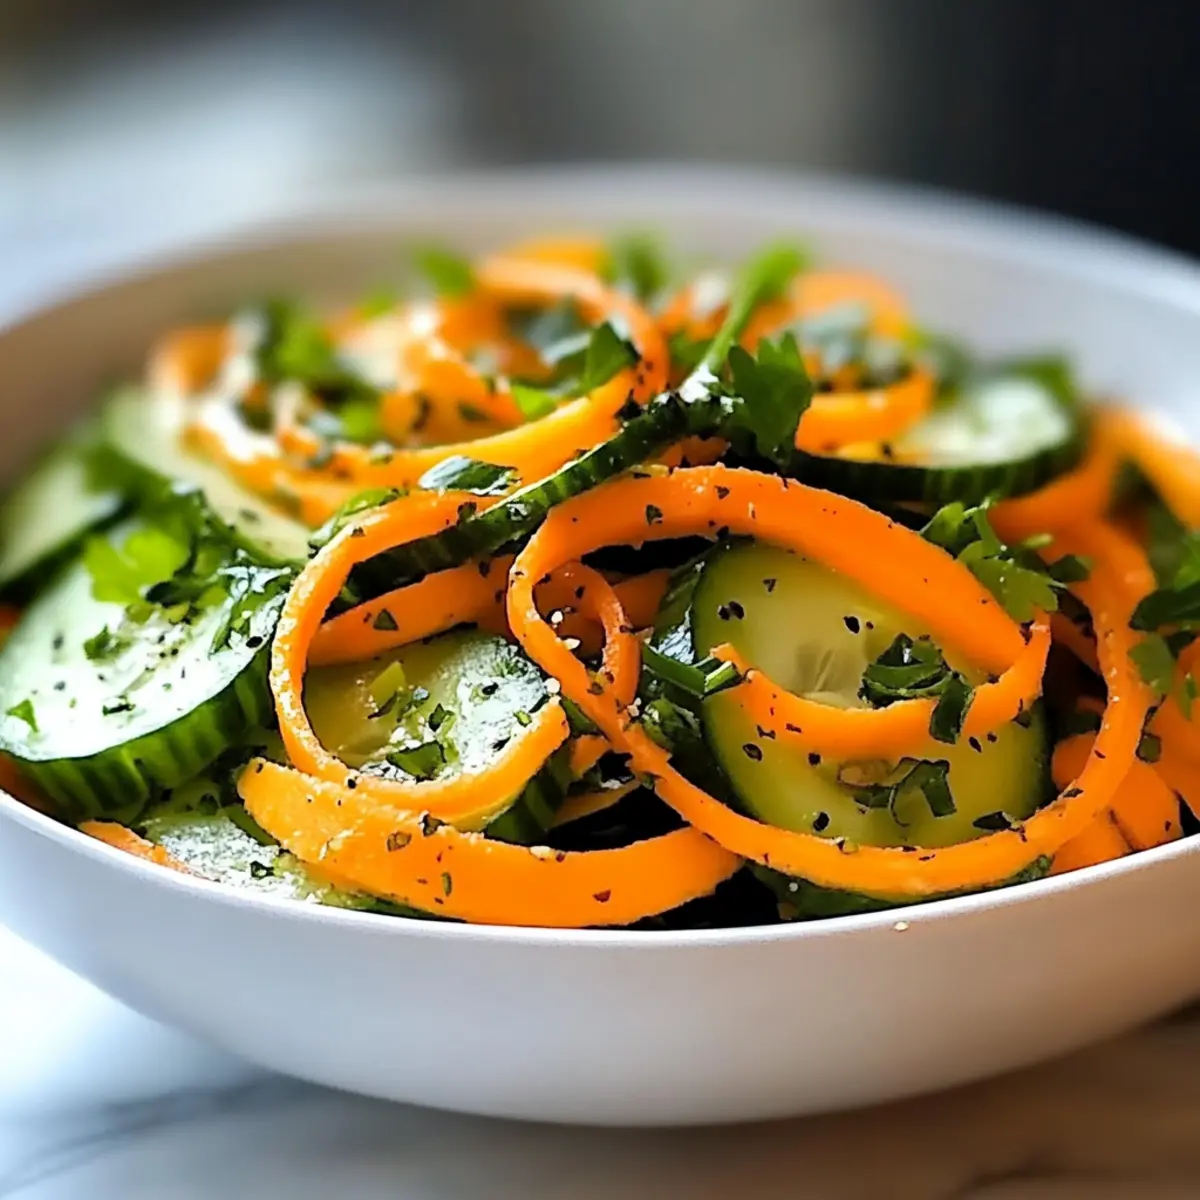
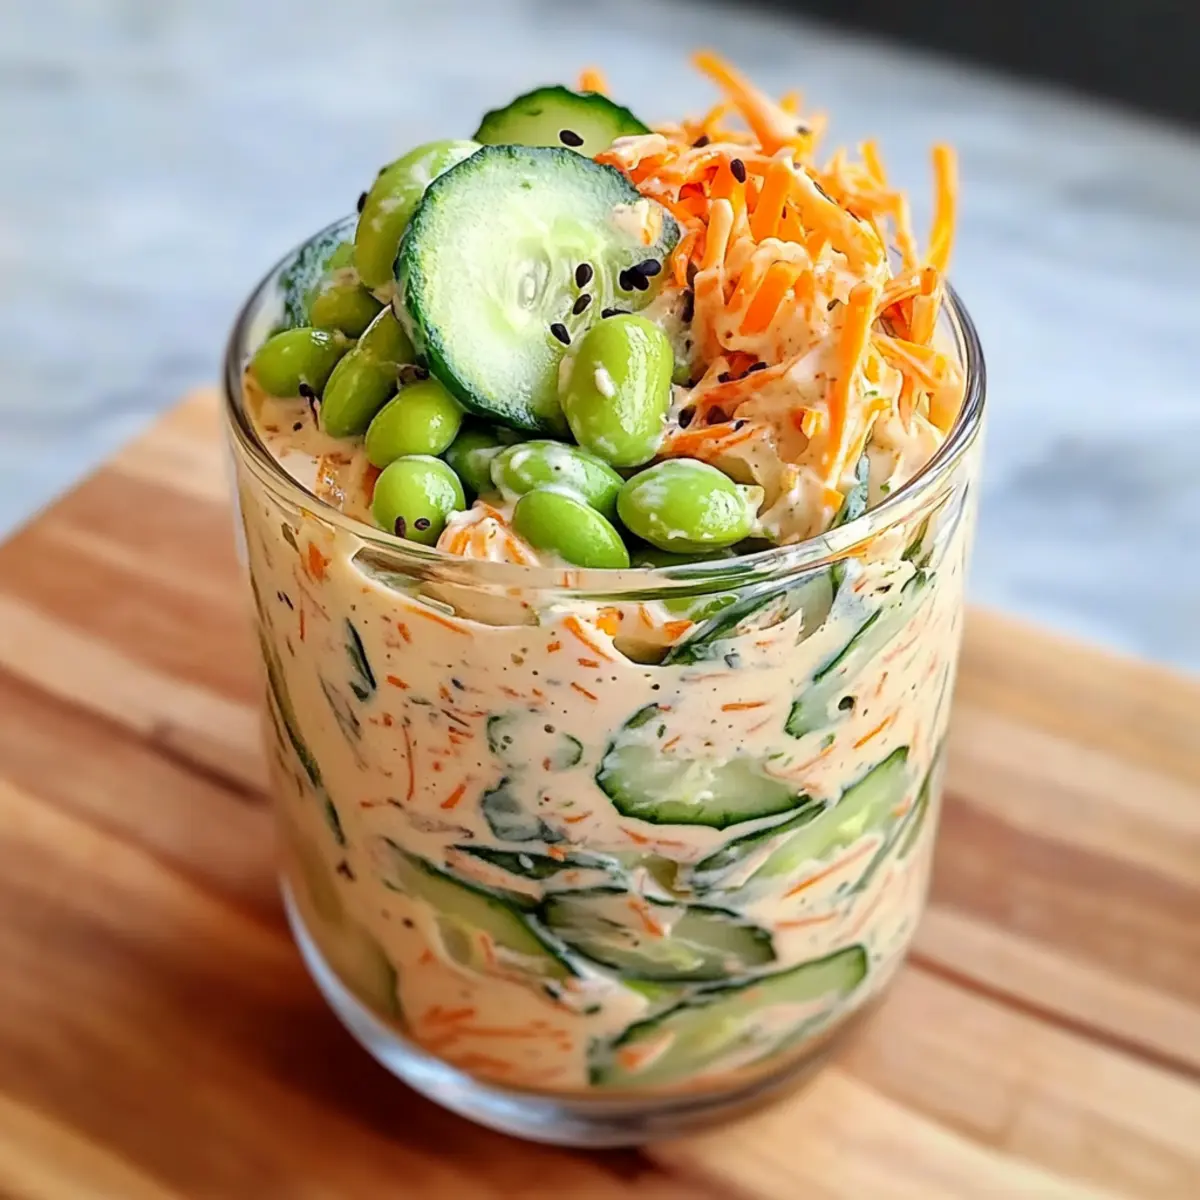
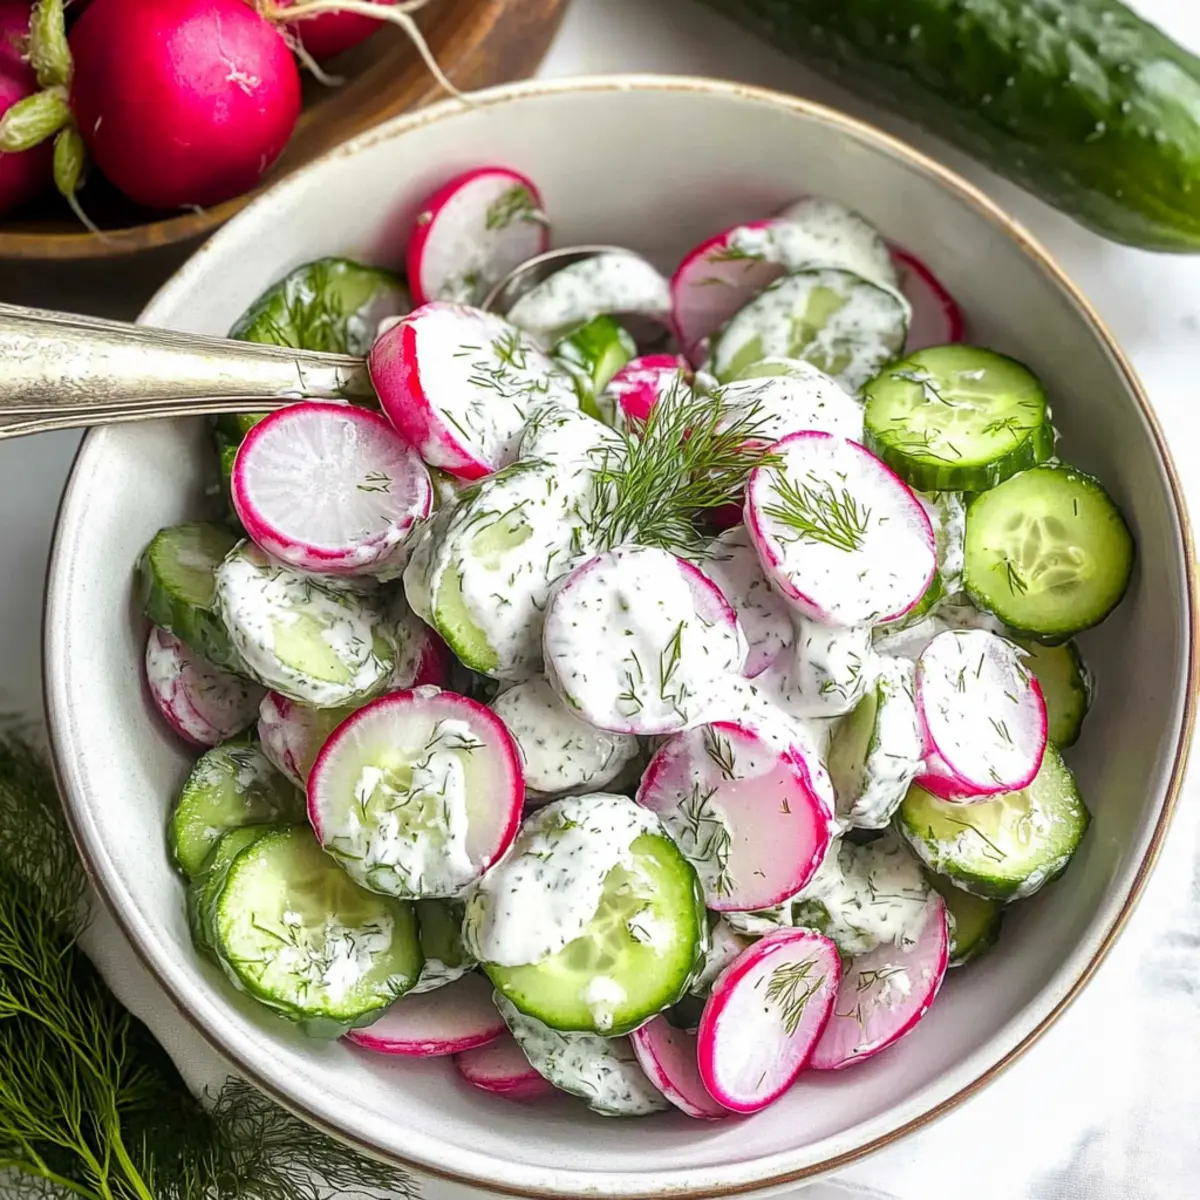
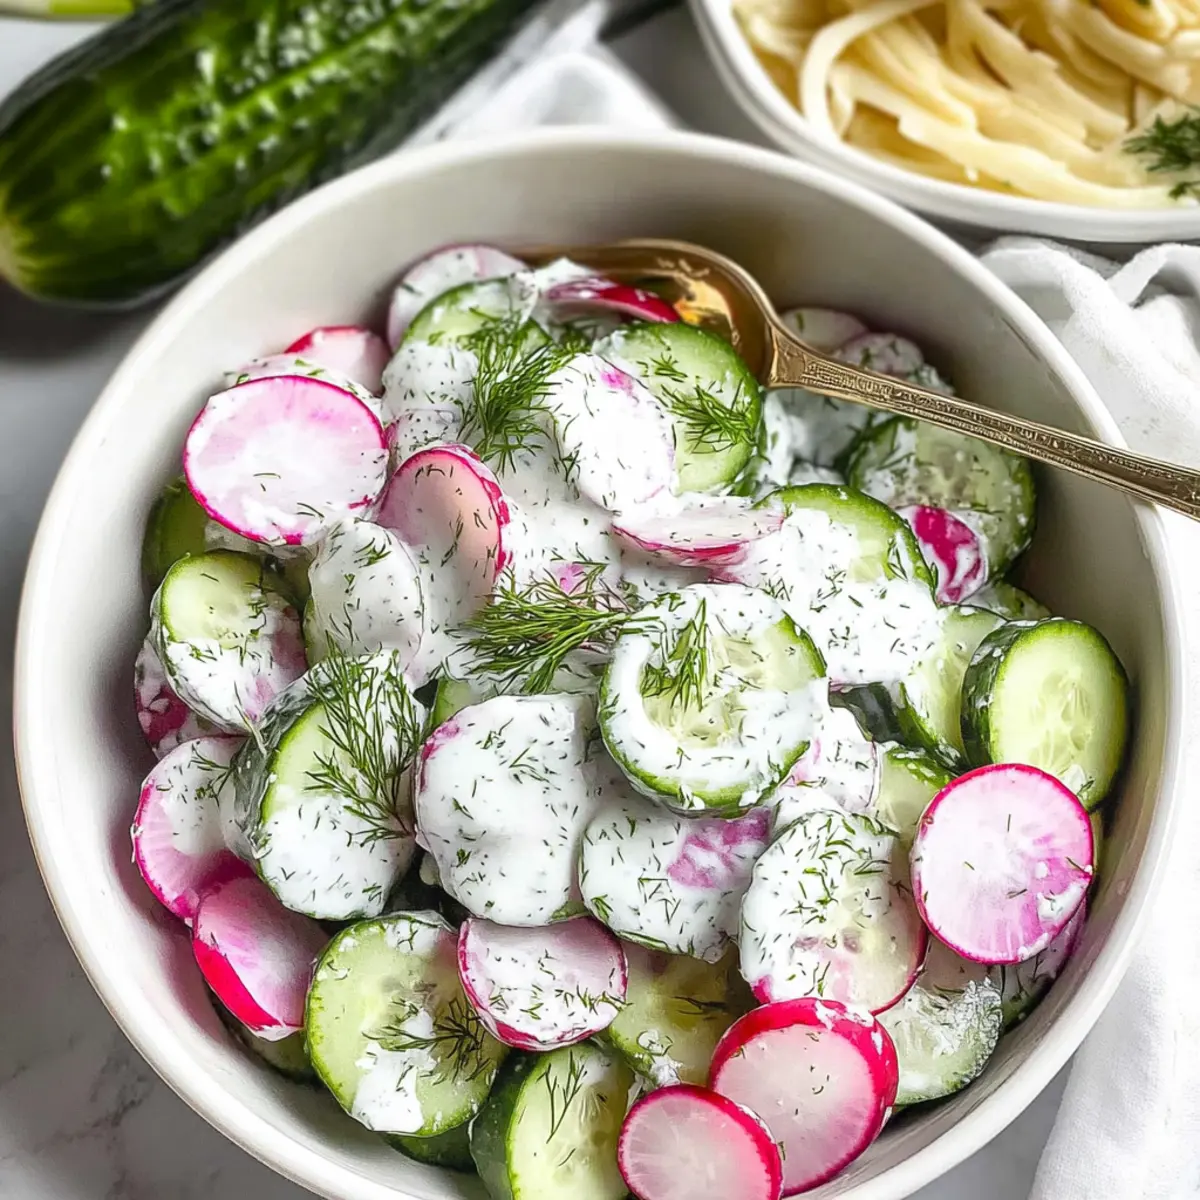
As I stood in my kitchen last summer, the sun pouring in through the window, I felt the urge to create something refreshing and light. That’s when I stumbled upon the idea for this Cucumber Radish Salad with Yogurt Dill Dressing. It’s pure joy on a plate, offering a delightful crunch that makes warm days so much more enjoyable. Not only can this vibrant salad be whipped up in just 10 minutes, but it’s also packed with veggies, making it a nutritious companion for grilled meats or a satisfying stand-alone meal. Whether you’re looking to brighten up a weeknight dinner or impress at your next picnic, this salad is the perfect answer. Ready to make your taste buds dance with freshness? Let’s dive into this delicious recipe!

Why is this salad a summertime essential?
Quick and Easy: This Cucumber Radish Salad comes together in just 10 minutes, making meal prep a breeze. Freshness Guaranteed: Enjoy the crisp textures of cucumbers and radishes paired with a creamy yogurt dill dressing. Healthy and Nutritious: With only about 90 calories per serving, you can indulge guilt-free while reaping the benefits of fresh veggies. Versatile Ingredients: Feel free to swap in snap peas or bell peppers to customize your salad. Just like my Chicken Salad with Apples or Balsamic Steak Salad, it’s a dish that pairs perfectly with your favorite meats. Perfect for Entertaining: This salad is sure to impress your guests, adding a vibrant touch to barbecues and summer gatherings.
- Ingredients
Cucumber Radish Salad Ingredients
For the Salad
• Mini or Persian Cucumbers (4 pieces) – These provide a refreshing crunch and hydrating quality; regular cucumbers can be used, just peel and scoop out seeds.
• Radishes (1 bunch) – They add a peppery kick; opt for fresh, firm radishes for the best texture.
• Fresh Dill (3 Tablespoons) – This herb brings vibrant flavor; if fresh isn’t available, 2 teaspoons of dried dill can be a good substitute.
• Chives (¼ cup) – Enhances freshness with a mild, shallot-like flavor; thinly sliced scallions can act as an alternative (use ½ cup).
For the Dressing
• Plain Greek Yogurt (⅓ cup) – This creamy base is the heart of the dressing; choose whole milk or 2% yogurt for a thicker consistency.
• Extra Virgin Olive Oil (2 Tablespoons) – Adds depth and richness to the dressing.
• Red Wine Vinegar or Apple Cider Vinegar (2 teaspoons) – Provides the necessary acidity for a balanced flavor; both options work wonderfully.
• Honey (1 teaspoon) – This optional sweetness rounds out the flavors; you can substitute with sugar or simply omit it.
• Kosher Salt (½ teaspoon) – Enhances the overall taste of your Cucumber Radish Salad.
• Garlic Powder (¼ teaspoon) – Adds a subtle depth; for a fresher taste, you can use finely minced fresh garlic instead.
• Black Pepper (to taste) – Adjust according to your preference for seasoning.
This simple yet satisfying Cucumber Radish Salad is versatile and perfect for warm days! Enjoy as a side or a stand-alone meal.
Step‑by‑Step Instructions for Cucumber Radish Salad
Step 1: Slice the Vegetables
Begin by thinly slicing the cucumbers and radishes using a sharp knife or a mandolin for precision. Aim for even slices about 1/8-inch thick to ensure they mix well. Place the sliced veggies in a large mixing bowl, allowing their vibrant colors to shine and set the stage for the refreshing Cucumber Radish Salad.
Step 2: Add Fresh Herbs
Next, finely chop the fresh dill and chives, adding them directly to the bowl with your cucumbers and radishes. Stir gently to combine, allowing the aromatic herbs to infuse their freshness throughout the mix. This vibrant addition enhances the salad's flavors while creating a delightful visual appeal.
Step 3: Prepare the Dressing
In a separate bowl, whisk together the Greek yogurt, extra virgin olive oil, red wine vinegar (or apple cider vinegar), honey, kosher salt, garlic powder, and black pepper. Mix until smooth and creamy, ensuring all components are well combined. This dressing will envelop your salad in a luscious layer of flavor, perfectly complementing the crunchy veggies.
Step 4: Combine Salad and Dressing
Pour the creamy dressing over the vegetable mixture, then carefully toss everything together. Use a spatula or large spoon to gently coat all the ingredients, ensuring the cucumbers and radishes are evenly dressed. Be careful not to mash the veggies; you want to maintain that lovely crunch in your Cucumber Radish Salad.
Step 5: Serve Immediately
For the freshest taste and texture, serve your Cucumber Radish Salad immediately. Enjoy the crispness of the veggies and the creamy dressing while they’re at their best. If you prefer to prep ahead, store the veggies and dressing separately in the refrigerator and combine just before serving to prevent excess moisture.
Make Ahead Options
These Cucumber Radish Salad preparations are a game-changer for busy weeknights! You can slice the cucumbers and radishes ahead of time, up to 24 hours, and store them in an airtight container in the refrigerator to keep them crisp. Additionally, prepare the creamy yogurt dill dressing in advance and refrigerate it for up to 3 days to allow the flavors to meld. Just remember to keep the salad components and dressing separate until you're ready to serve; this prevents excess moisture from the cucumbers. When it’s time to enjoy, simply combine everything in a bowl, toss gently, and you'll have a vibrant salad ready to impress with minimal effort!
Expert Tips for Cucumber Radish Salad
- Slice Evenly: Ensure cucumbers and radishes are sliced uniformly for consistent crunch and flavor. A mandolin can help achieve perfect thickness.
- Dress Just Before Serving: To avoid a soggy salad, dress the Cucumber Radish Salad moments before serving. This keeps the veggies crisp and vibrant.
- Fresh Ingredients Matter: Use the freshest produce you can find. This significantly impacts the overall taste and texture of your salad.
- Adjust to Preferences: Feel free to customize the dressing with more herbs, like basil or parsley, for a personal touch that matches your taste.
- Store Wisely: Keep salad elements separate if making ahead. Store vegetables and dressing in airtight containers in the fridge for up to a day for the best results.
What to Serve with Cucumber Radish Salad
Prepare to elevate your meal with delightful pairings that enhance the fresh flavors of your dish.
- Grilled Chicken: The smoky, tender notes of grilled chicken contrast beautifully with the salad's crispness, making for a balanced plate.
- Roasted Salmon: This buttery delight with its hint of seasoning complements the tangy yogurt dressing while adding healthy omega-3s.
- Quinoa Pilaf: Nutty quinoa mixed with fresh herbs provides a satisfying base and a hearty texture that rounds out your meal.
- Hummus & Pita Chips: The creaminess of hummus and the crunch of pita chips create a satisfying contrast that pairs perfectly with the salad.
- Mint Lemonade: A refreshing beverage that beautifully complements the salad’s unique flavors, while offering a cooling touch on warmer days.
- Berry Tart: End your meal on a sweet note with a seasonal berry tart—its sweetness pairs harmoniously with the salad's tangy notes.
- Grilled Veggie Skewers: Colorful and flavorful, these skewers enhance the meal with added textures and savory depth, creating a vibrant spread.
Cucumber Radish Salad Variations
Get creative and discover delightful twists on this refreshing salad that will excite your taste buds!
- Dairy-Free: Substitute Greek yogurt with a plant-based yogurt to create a creamy dressing that everyone can enjoy.
- Heat Up: Add a pinch of crushed red pepper flakes to the dressing for a subtle, spicy kick that dances on your palate.
- More Crunch: Toss in some chopped bell peppers or snap peas to amplify the crunch factor and bring vibrant colors to your salad.
- Grain Addition: Include cooked quinoa or bulgur wheat for a heartier version that turns this salad into a filling meal.
- Zesty Twist: A splash of fresh lemon juice or zest can brighten up the flavors and add a delightful zing to your salad.
- Herb Swap: Replace dill with fresh basil or cilantro for an unexpected flavor profile that brings a fresh, herbaceous note. For inspiration, try this in your next Jello Salad Cottage or Avocado Egg Salad.
- Fruit Fusion: Add diced apples or pears for a sweet and crunchy contrast – a delightful surprise in every bite!
- Nutty Flavor: For an extra layer of richness, sprinkle in some toasted sunflower seeds or sliced almonds, complementing the salad perfectly.
Feel free to experiment and let your creativity shine as you make this Cucumber Radish Salad your own!
How to Store and Freeze Cucumber Radish Salad
Fridge: Store leftover Cucumber Radish Salad in an airtight container for up to 3 days. Keep the dressing separate to maintain the salad's crispness.
Freezer: It’s not recommended to freeze this salad, as the cucumbers and radishes will lose their crunch and texture upon thawing.
Preparation Tips: For make-ahead convenience, store sliced cucumbers and radishes in one container and the dressing in another, combining them just before serving. This method keeps everything fresh and flavorful.
Reheating: There’s no need to reheat this salad; it’s best enjoyed cold, offering a refreshing crunch on those warm days!
Cucumber Radish Salad Recipe FAQs
What type of cucumbers should I use for the salad?
Absolutely! I recommend using Mini or Persian cucumbers for their crispness and hydrating qualities. If you opt for regular cucumbers, just be sure to peel them and scoop out the seeds to enhance the texture in your Cucumber Radish Salad.
How can I store leftovers of the Cucumber Radish Salad?
Store any leftover salad in an airtight container in the fridge for up to 3 days. For the best results, keep the dressing separate until you’re ready to serve. This helps retain the salad's refreshing crunch!
Can I freeze the Cucumber Radish Salad?
I would advise against freezing this salad. Cucumbers and radishes contain a lot of water, and when thawed, they tend to become limp and lose that delightful crunch. For make-ahead convenience, store the sliced veggies and dressing separately in the fridge for up to one day.
What if my radishes are too bitter?
Are your radishes giving you a bitter bite? No worries! If you find that the radishes are too strong, try soaking them in cold water for about 30 minutes before using them. This can help mellow out that sharp flavor. Additionally, choosing fresh, firm radishes will ensure a milder taste, so be sure to pick the best ones!
Is this Cucumber Radish Salad suitable for a gluten-free diet?
Very! This Cucumber Radish Salad is naturally gluten-free, grain-free, and vegetarian, making it a fantastic option for those with dietary restrictions. Just make sure that the yogurt and any other condiments you use are also labeled gluten-free to keep it safe for your guests.
Can I customize the dressing for dietary preferences?
Absolutely! Feel free to modify the dressing to suit your taste or dietary needs. If you prefer a lighter option, you can mix Greek yogurt with some sour cream or even use a dairy-free yogurt. Additionally, for a bit more zest, consider adding a few drops of lemon juice or using different herbs to elevate the flavor of your Cucumber Radish Salad.
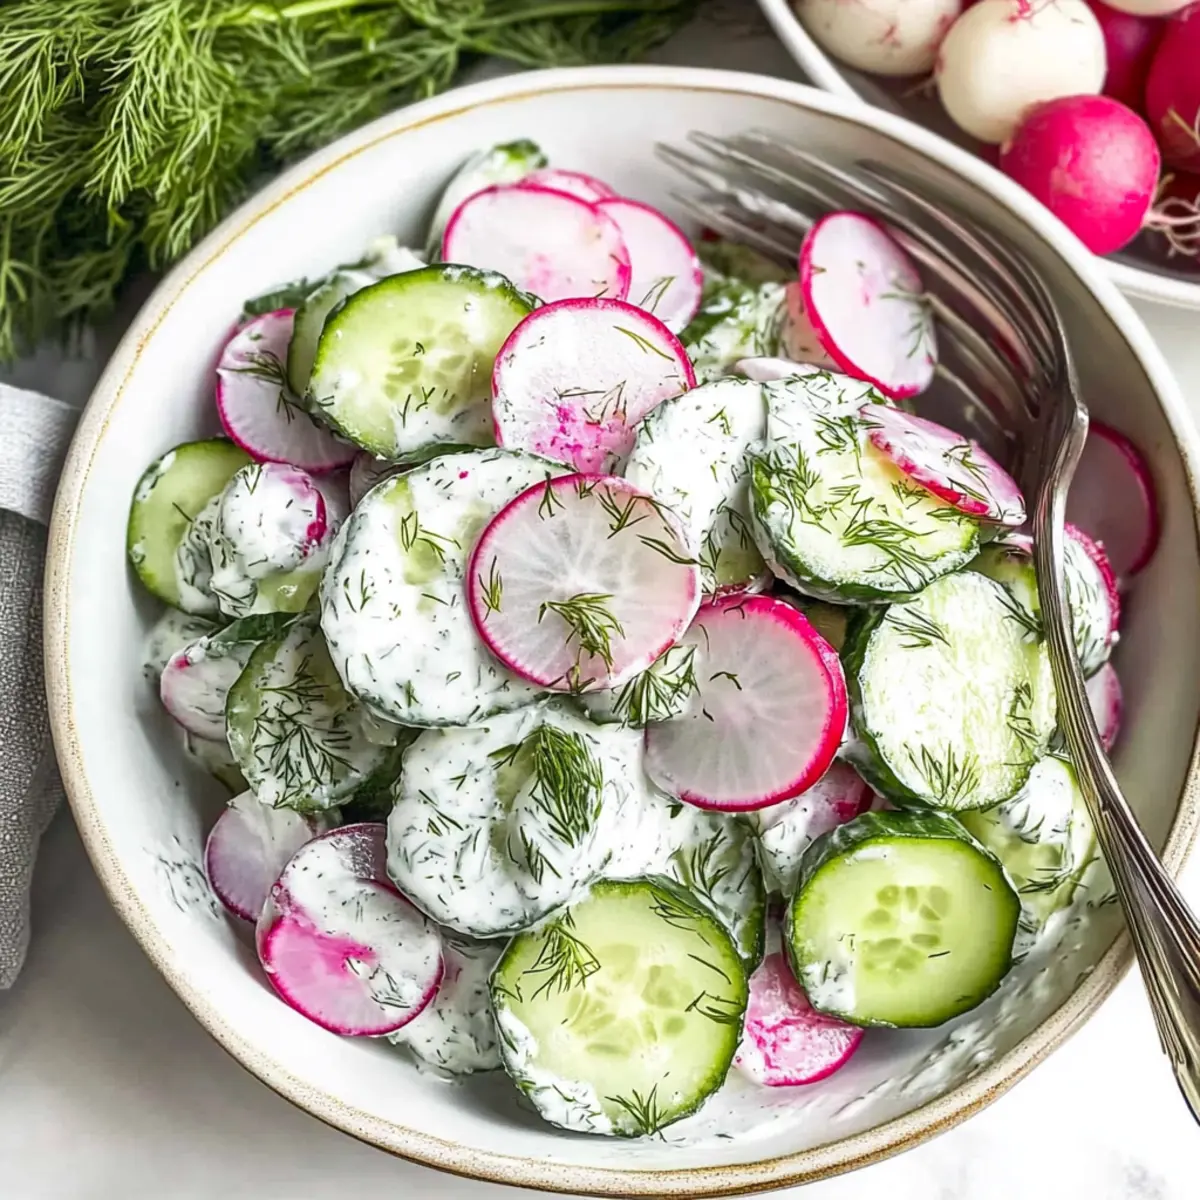
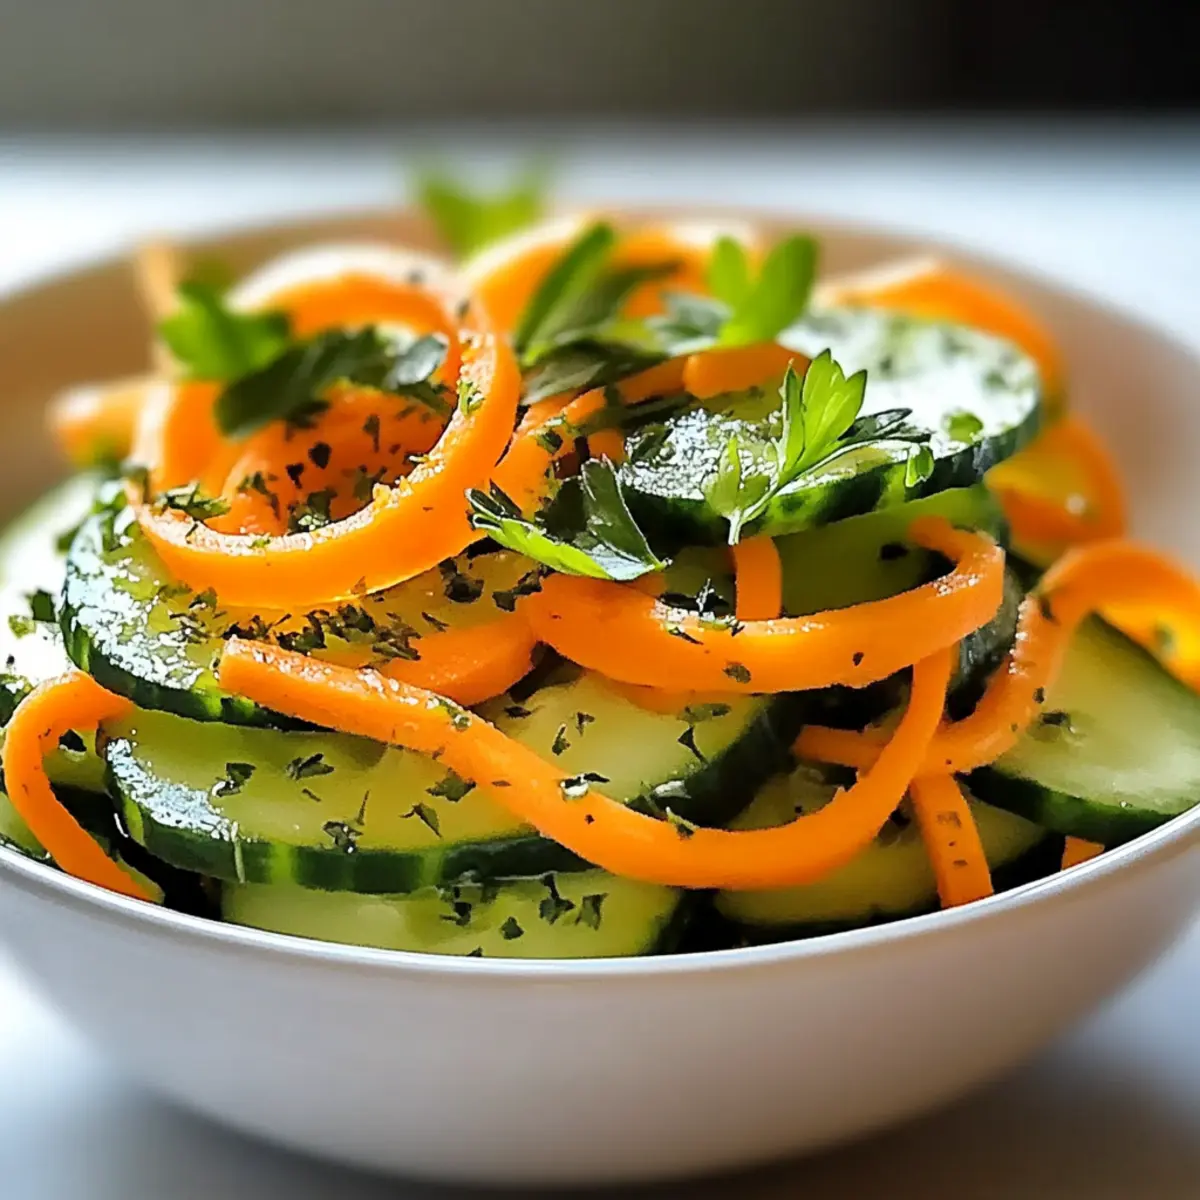
Crispy Cucumber Radish Salad with Creamy Yogurt Dressing
Ingredients
Equipment
Method
- Begin by thinly slicing the cucumbers and radishes using a sharp knife or a mandolin for precision. Aim for even slices about 1/8-inch thick.
- Finely chop the fresh dill and chives, adding them directly to the bowl with your cucumbers and radishes. Stir gently to combine.
- In a separate bowl, whisk together the Greek yogurt, extra virgin olive oil, red wine vinegar (or apple cider vinegar), honey, kosher salt, garlic powder, and black pepper until smooth and creamy.
- Pour the creamy dressing over the vegetable mixture, then carefully toss everything together using a spatula or large spoon.
- For the freshest taste, serve your Cucumber Radish Salad immediately.