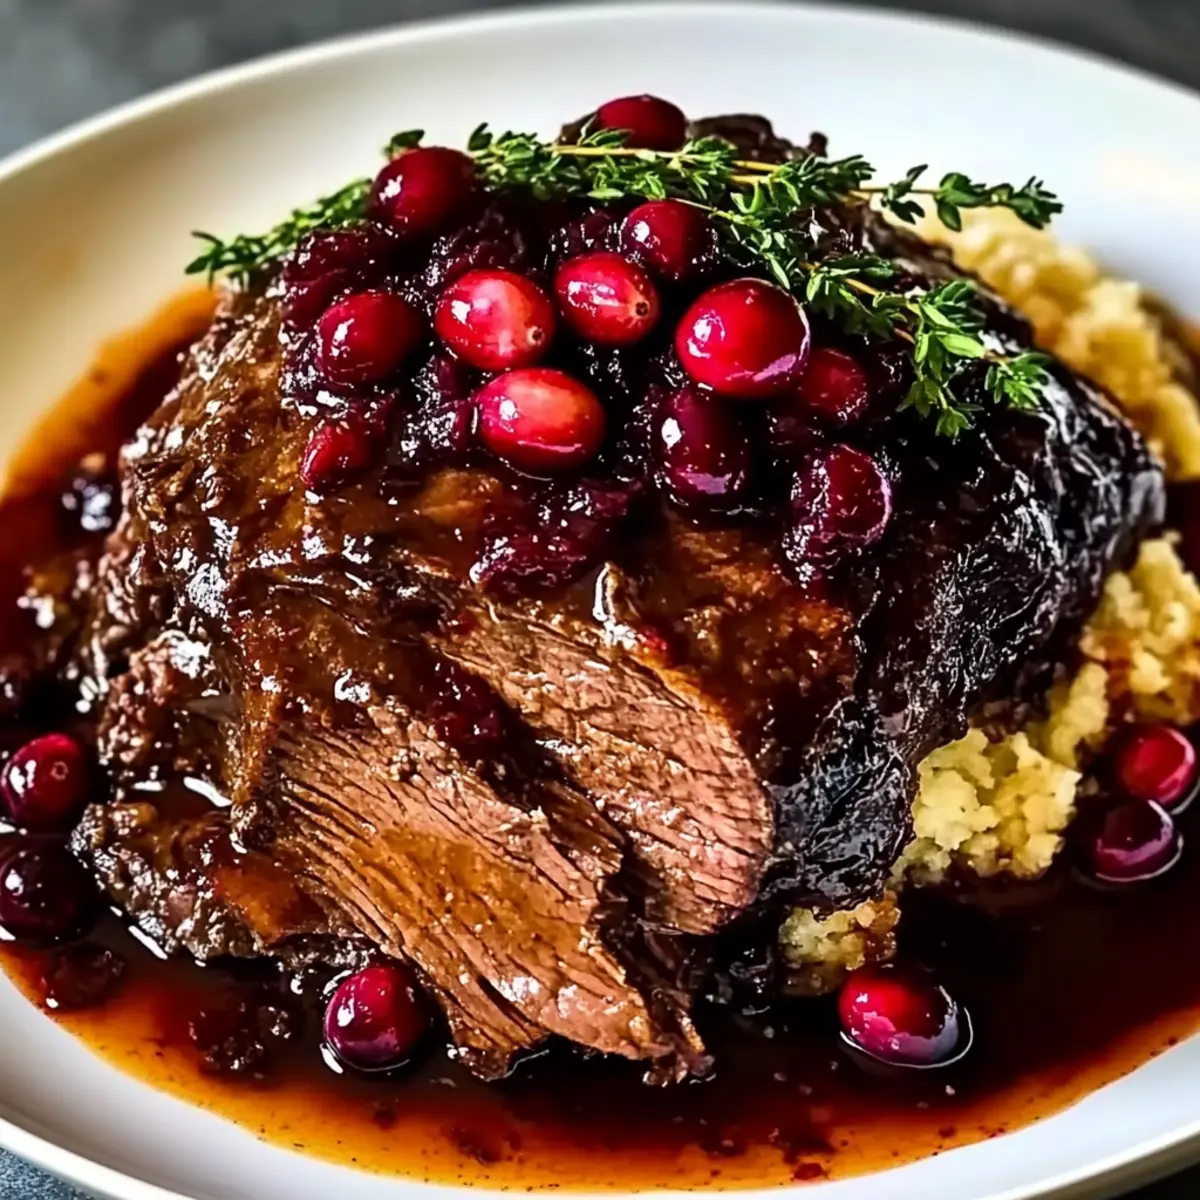
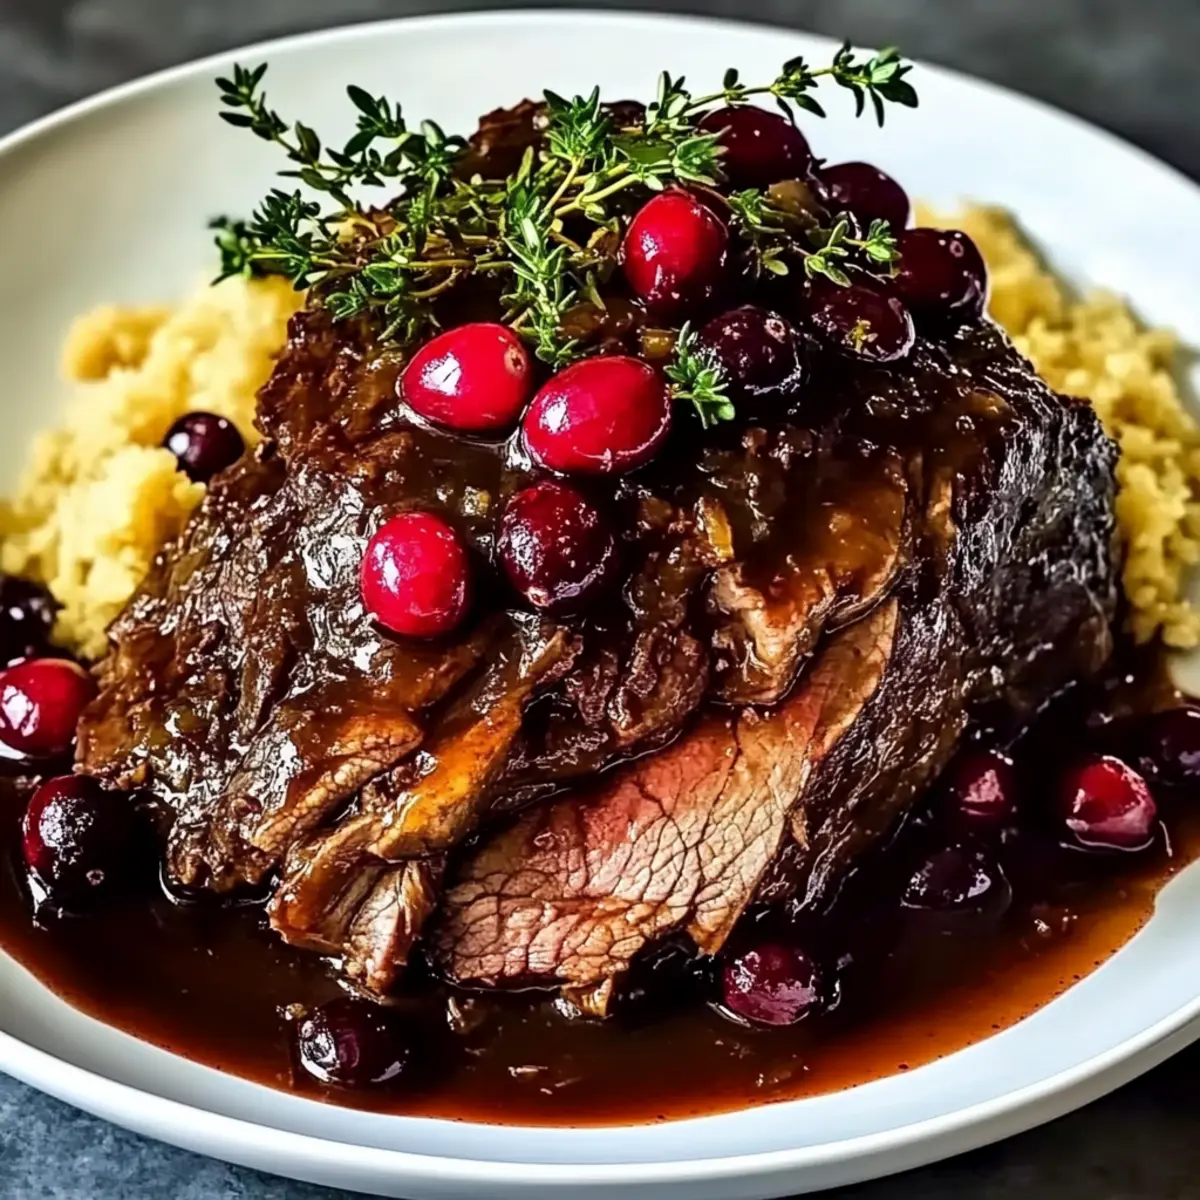
As the first frost kisses the ground, I find myself longing for hearty meals that bring warmth and comfort into my home. Enter the Slow-Braised Beef Roast with Cranberry Balsamic Glaze — an easy yet impressive dish that effortlessly transforms any winter gathering into a cozy celebration. This recipe not only boasts the rich flavors of succulent beef, but the tantalizing blend of tart cranberries and a sweet-savory glaze adds a festive touch that stirs the senses. You won't believe how simple it is to prepare this crowd-pleaser, making it a perfect choice for busy weeknights or memorable holiday feasts. Are you ready to fall in love with your new go-to winter recipe?
Why is this roast a holiday favorite?
Irresistible Comfort: This Slow-Braised Beef Roast is a true embodiment of cozy comfort food, blending rich beef flavor with the delightful fizzy tang of cranberries for a holiday-worthy dish.
Time-Saving Meal Prep: With minimal hands-on time, you can pop it in the oven and focus on delightful sides like creamy mashed potatoes or Roasted Corn Fried Tacos while it cooks!
Succulent Texture: The fork-tender beef paired with a luscious glaze ensures each bite is an indulgent experience—guaranteeing smiles all around the dinner table.
Versatility Galore: Feel free to customize this roast, whether you swap in brisket or add seasonal veggies for a twist, it’s sure to impress every time!
Satisfies Any Crowd: Enhancing gatherings, this dish shines at both intimate dinners or large festive celebrations—your guests will rave about it!
Plan Ahead Perfection: Leftovers taste even better the next day, making it a fantastic choice for meal prep or cozy weeks ahead.
Slow-Braised Beef Roast Ingredients
• Savor the magic of this Slow-Braised Beef Roast with a harmonious mix of flavors!
For the Beef
- Beef Chuck Roast – This well-marbled cut guarantees tenderness; substitute with brisket or bottom round if needed.
- Salt – Essential for amplifying the beef's natural flavor; don't skimp on seasoning.
- Black Pepper – Freshly cracked adds depth and warmth for a balanced flavor profile.
For Searing
- Olive Oil – A must-have for searing; it enhances flavors and creates a beautiful fond at the bottom of the pot.
For the Aromatics
- Yellow Onion – Adds sweetness and depth; sauté until softened to maximize flavor.
- Garlic – Releases a fragrant aroma when cooked; aim for golden and fragrant, not burnt.
For the Glaze
- Balsamic Vinegar – This tangy staple is vital for the glaze; a white balsamic can tone down the tanginess.
- Brown Sugar – Balances the acidity from the vinegar and cranberries; feel free to swap in maple syrup for a unique twist.
- Whole Cranberries – Use fresh or frozen for that delightful tart sweetness; dried cranberries are sweeter but less tangy.
For Added Flavor
- Fresh Thyme – This herb elevates the dish; it's essential for infusing flavor throughout the roast.
- Carrots (optional) – They add a hearty touch and sweetness; plus, they look beautiful in the pot!
There you have it! Gather these ingredients and get ready to create a dish that not only warms the heart but also delights the taste buds. Happy cooking!
Step‑by‑Step Instructions for Slow-Braised Beef Roast with Cranberry Balsamic Glaze
Step 1: Prepare the Beef
Pat the beef chuck roast dry with paper towels and generously season it with salt and freshly cracked black pepper. Ensure every surface is coated for optimum flavor. This step is essential, as seasoning enhances the taste of the Slow-Braised Beef Roast during cooking.
Step 2: Sear the Beef
In a large Dutch oven, heat 2 tablespoons of olive oil over medium-high heat. Once the oil shimmers, carefully add the seasoned beef roast and sear it for about 4-5 minutes on each side until a deep brown crust forms. This caramelization will deepen the flavor of your roast, making it even more delicious.
Step 3: Sauté the Onions
After the beef is beautifully browned, remove it from the pot and set it aside. In the same Dutch oven, add the chopped yellow onion and sauté for about 5 minutes, stirring occasionally, until the onion is softened and translucent. This step builds a flavor base for the Slow-Braised Beef Roast.
Step 4: Add Garlic
Next, add minced garlic to the softened onions and cook for an additional 1 minute, stirring constantly until aromatic. Be careful not to burn the garlic, as it can turn bitter; you want it to be fragrant and golden, adding depth to your dish.
Step 5: Deglaze the Pot
Pour in ½ cup of balsamic vinegar, using a wooden spoon to scrape up any browned bits stuck to the bottom of the pot. Allow the vinegar to simmer for about 2 minutes to reduce slightly, which enhances the flavors and prepares the pot for the next ingredients in your Slow-Braised Beef Roast.
Step 6: Add Broth and Sugar
Stir in 2 cups of beef broth and 2 tablespoons of brown sugar, mixing well to dissolve the sugar. Bring the mixture to a gentle simmer, then return the seared beef roast to the pot, ensuring it’s nestled in the liquid for even cooking.
Step 7: Incorporate Cranberries and Thyme
Add 1 cup of whole cranberries and a few sprigs of fresh thyme to the pot. If desired, toss in chopped carrots for added sweetness and texture. Stir gently to distribute the ingredients, ensuring the cranberries and thyme infuse their flavors into the Slow-Braised Beef Roast.
Step 8: Braise in the Oven
Cover the Dutch oven with its lid and transfer it to a preheated oven set at 325°F (163°C). Let the beef braise for 3 to 3.5 hours, or until the meat is fork-tender and easily shreds. The long, slow cooking time ensures that all the flavors meld beautifully.
Step 9: Rest the Roast
Once done, carefully remove the pot from the oven and let the roast rest for about 10 minutes before slicing. This resting period allows the juices to redistribute, keeping your Slow-Braised Beef Roast juicy and flavorful for serving.
Step 10: Finish the Glaze
While the roast rests, skim off excess fat from the sauce in the pot. If desired, simmer the sauce on the stove for a few minutes to thicken it further. This step enhances the sweet-savory glaze that will accompany your beef beautifully.
Step 11: Serve
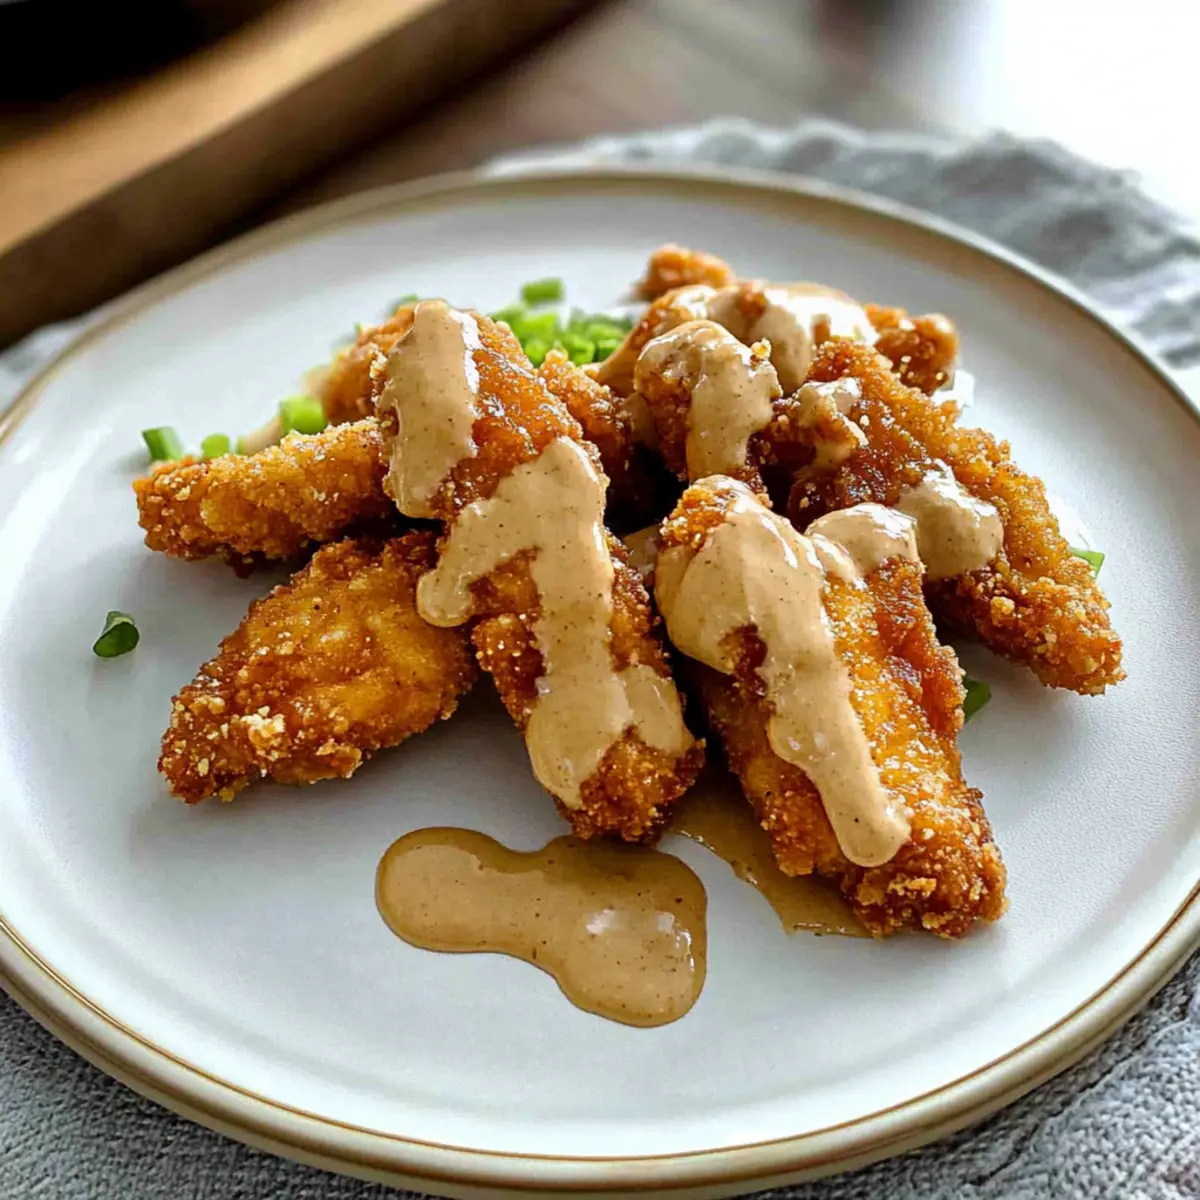
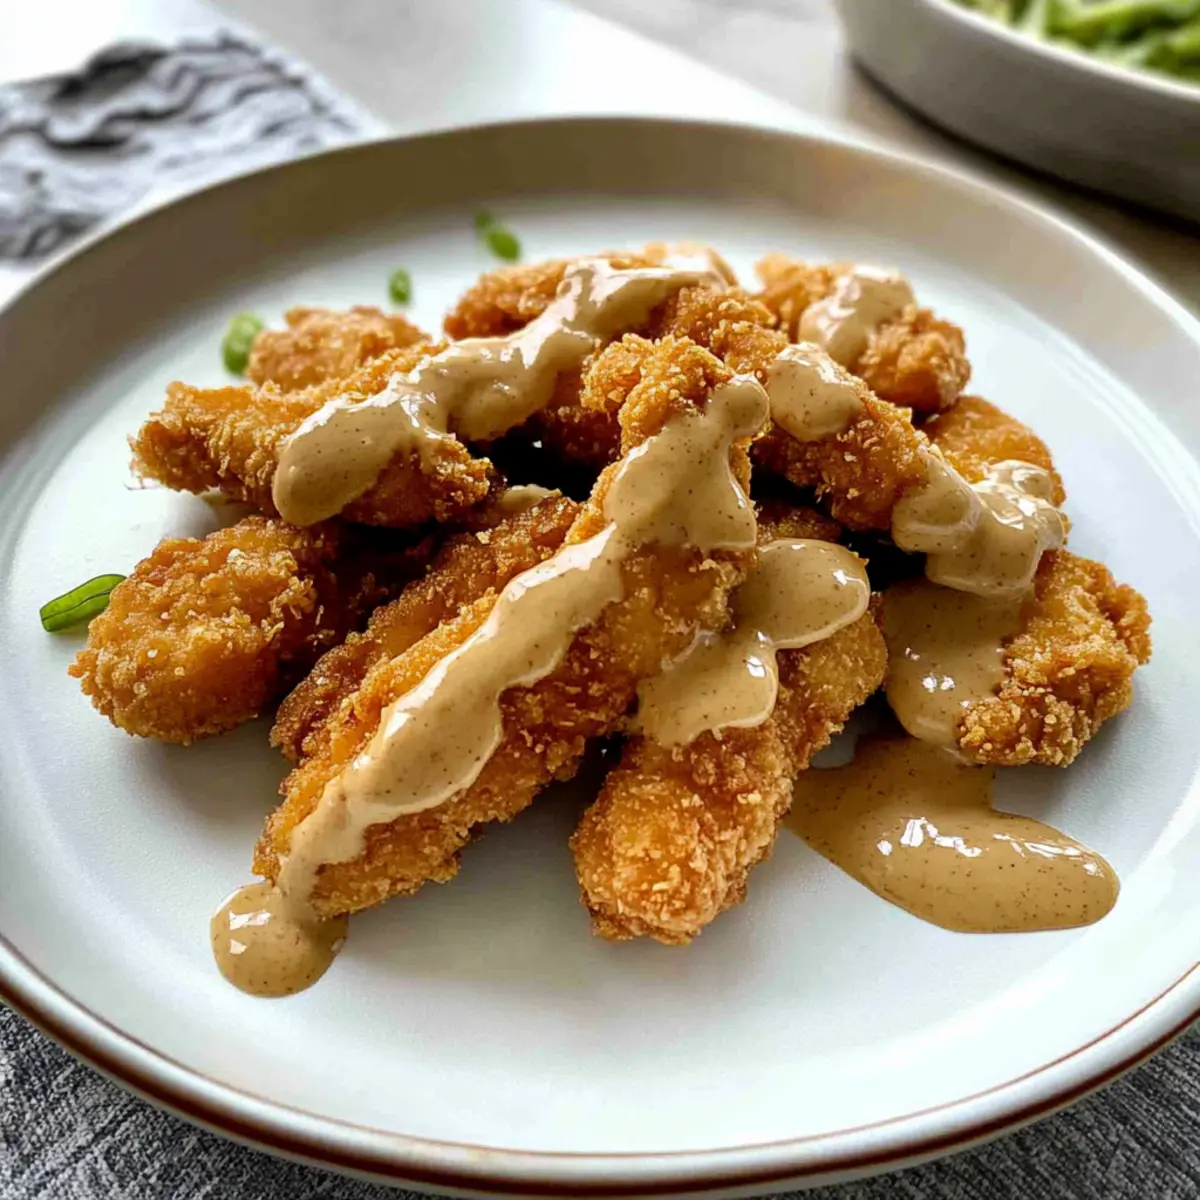
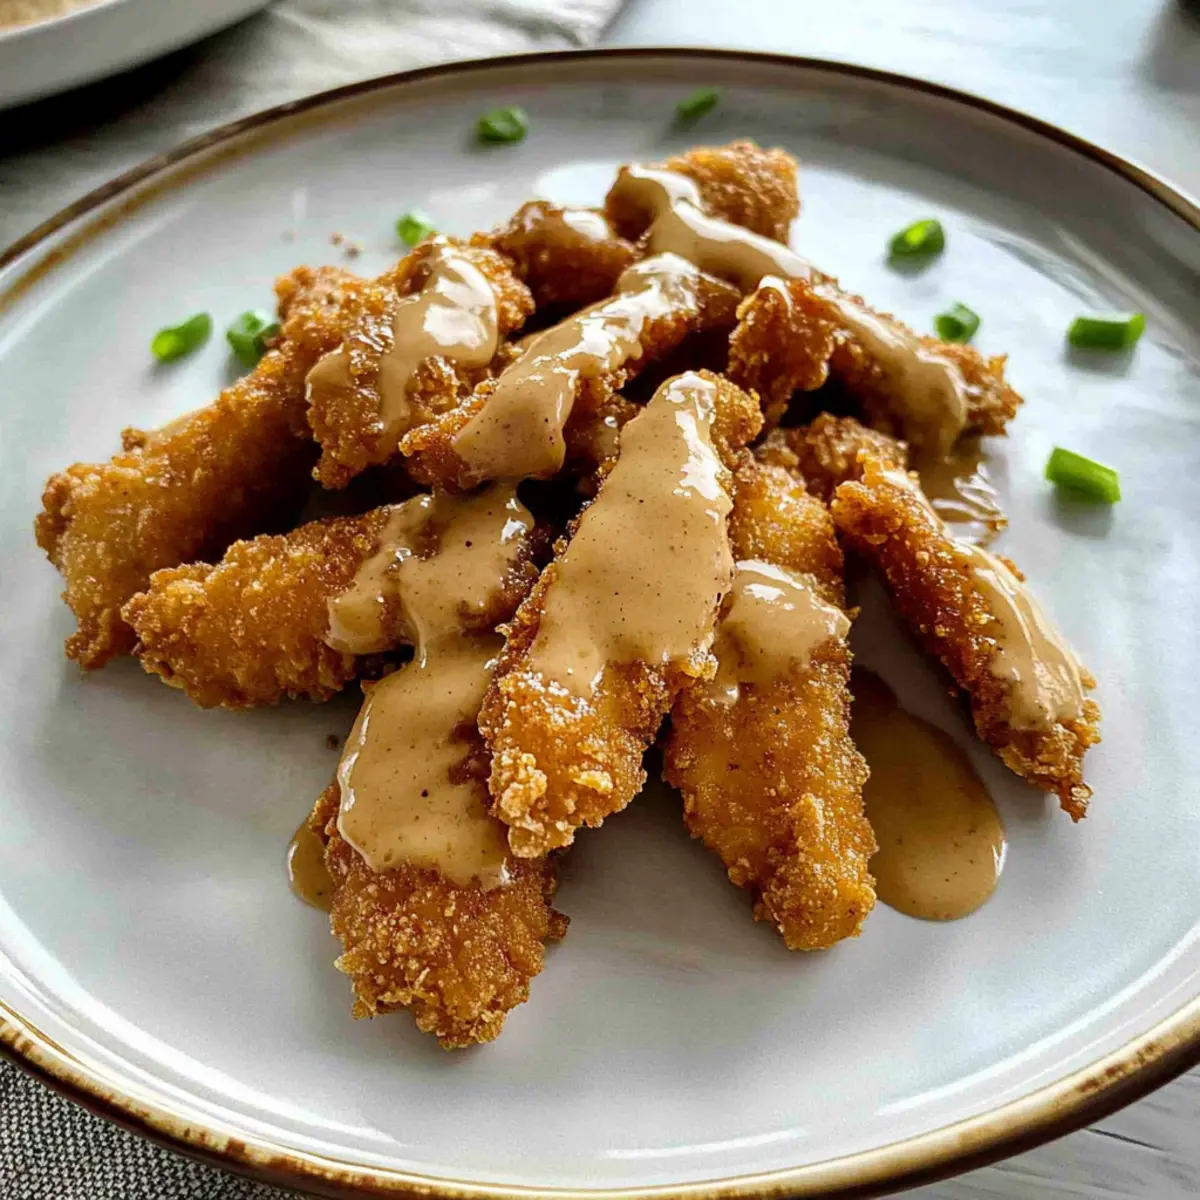
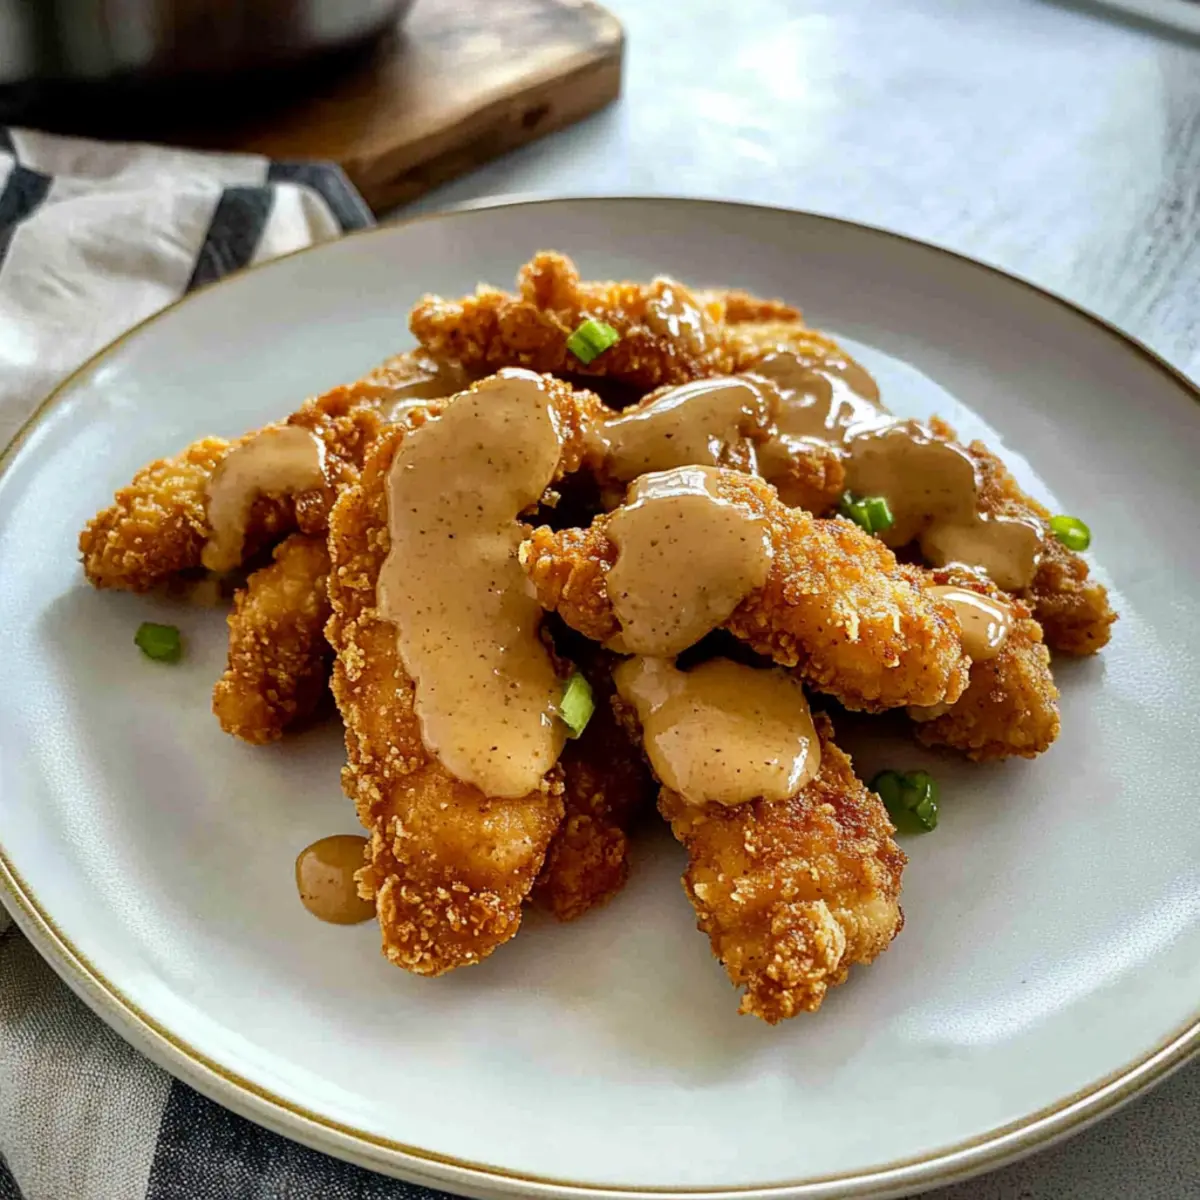
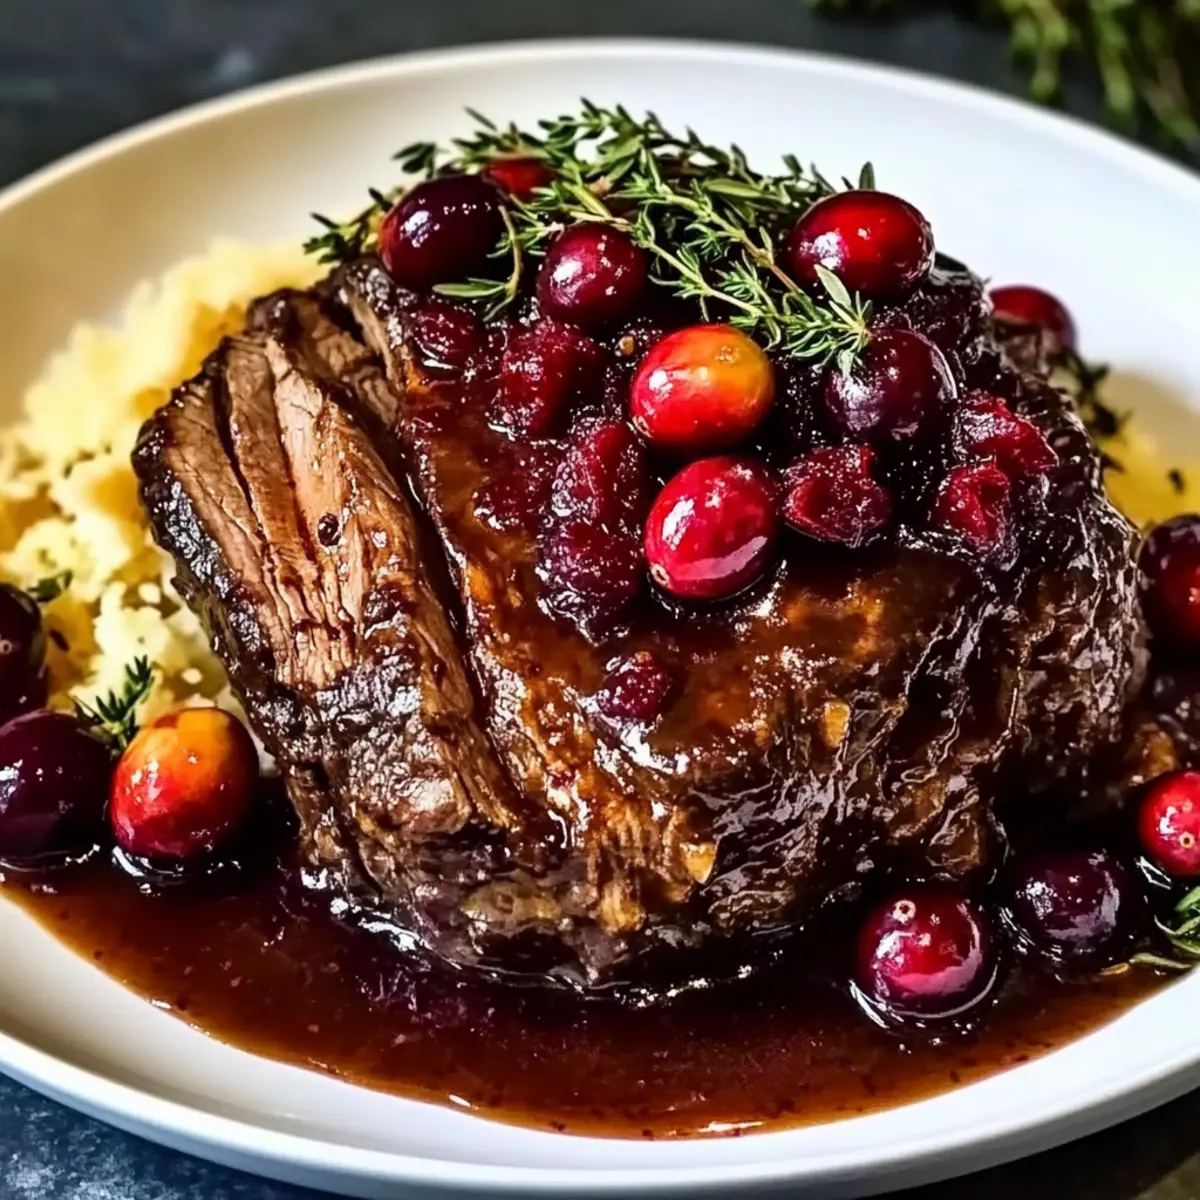
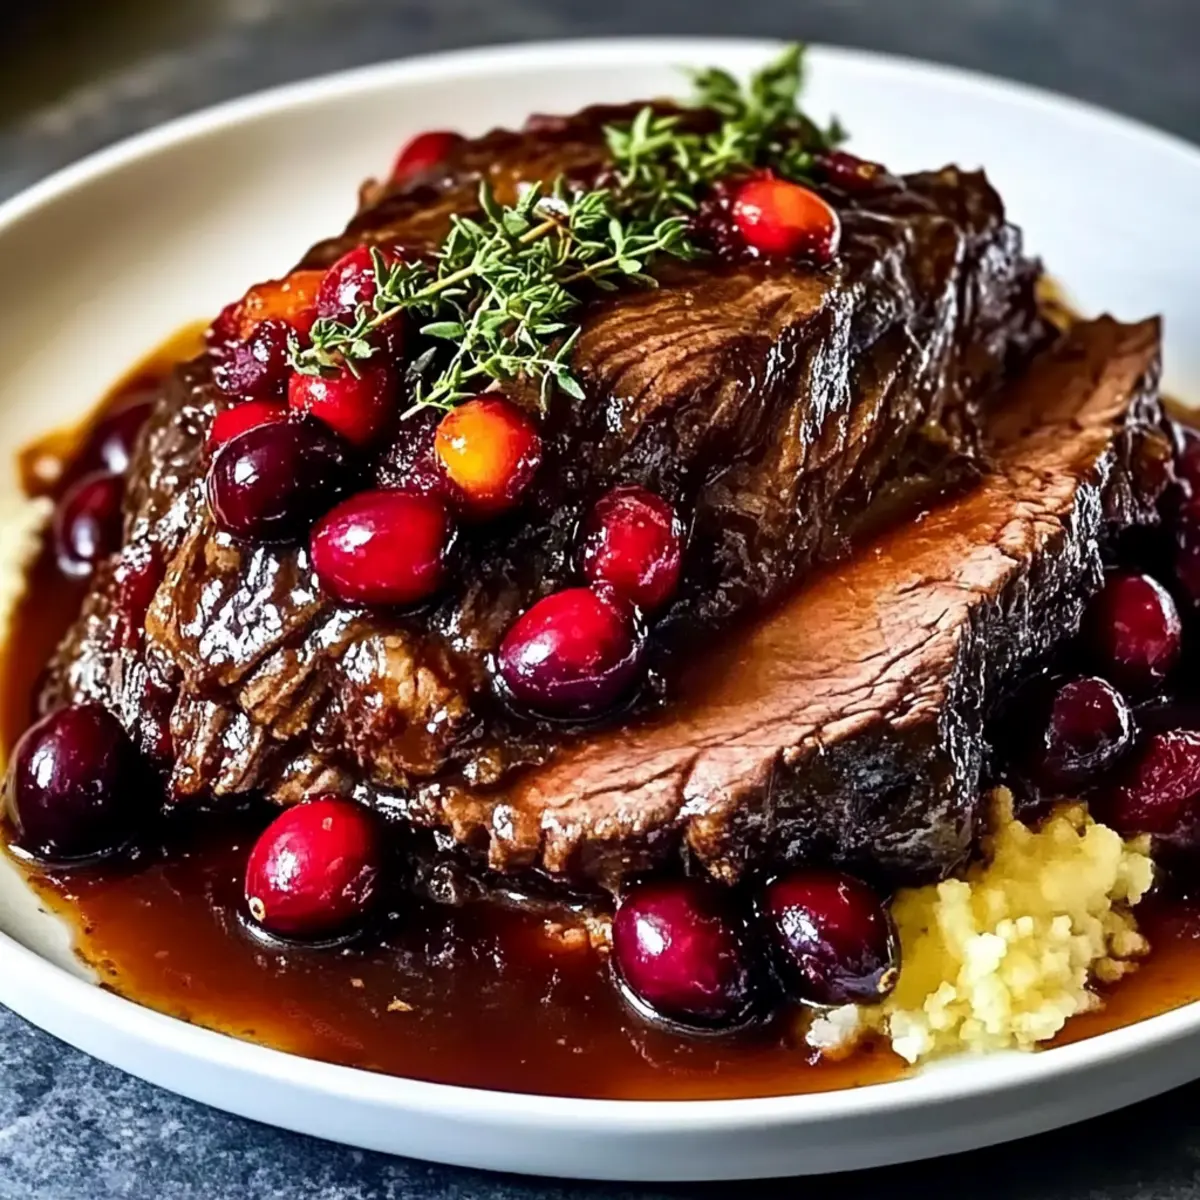
Finally, slice or shred the tender beef roast and drizzle the thickened glaze over the top. Serve your Slow-Braised Beef Roast with Cranberry Balsamic Glaze alongside creamy mashed potatoes or your favorite vegetables for a heartwarming meal that will impress any crowd.
Expert Tips for Slow-Braised Beef Roast
-
Perfect Searing: Ensure that your beef chuck roast is patted dry and sufficiently seasoned with salt and pepper before searing to develop a rich, flavorful crust.
-
Simmer for Thickness: If you desire a thicker glaze, whisk in a cornstarch slurry (1 tsp cornstarch mixed with 1 tbsp water) during the final simmer. This will create a luxurious finish for your Slow-Braised Beef Roast.
-
Use a Slow Cooker: Consider transferring everything to a slow cooker after searing. Cook on low for 8 hours or high for 5 hours for tender results—perfect for busy days!
-
Flavor Melding: Keep in mind that leftovers often taste even better the next day. Allowing the flavors to meld enhances the overall taste of your beef roast.
-
Cranberry Choices: Fresh cranberries can burst with tartness, but feel free to use frozen cranberries directly without thawing. This flexibility allows you to prepare this dish any time of the year!
-
Add Veggies: Don't hesitate to toss in extra root vegetables during the braising process for added sweetness and nutrition; consider parsnips or sweet potatoes for delightful variety.
Make Ahead Options
These Slow-Braised Beef Roasts with Cranberry Balsamic Glaze are ideal for meal prep! You can season and sear the beef up to 24 hours in advance; just refrigerate it tightly wrapped. Additionally, prepare the glaze components—sauté the onions, garlic, and deglaze the pot—up to 3 days ahead and store them in an airtight container. When you're ready to cook, reheat the glaze mixture, return the beef to the pot, and add the remaining ingredients before braising. This way, you maintain the quality and rich flavors of the dish, making it just as delicious with minimal effort when it’s time to serve!
What to Serve with Slow-Braised Beef Roast with Cranberry Balsamic Glaze
Savoring the rich, warm flavors of this comforting beef roast creates the perfect opportunity to craft an unforgettable meal.
-
Creamy Mashed Potatoes: These fluffy potatoes soak up the sweet-savory glaze, making every bite an indulgent delight.
-
Garlic Sautéed Green Beans: The freshness and slight crunch of green beans contrast beautifully with the tender beef, adding balance to your plate.
-
Roasted Root Vegetables: Carrots, parsnips, and sweet potatoes harmonize with the roast's flavors while introducing a lovely medley of textures.
-
Fresh Spinach Salad: A light spinach salad with a tangy vinaigrette will brighten your meal, offering a refreshing contrast to the hearty beef.
-
Cranberry Sauce: Incorporate a homemade cranberry sauce for an extra burst of tartness that complements the glaze and enhances the overall flavor profile.
-
Red Wine: Pair this meal with a Cabernet Sauvignon or Merlot, as their bold, rich flavors echo the savory notes of the dish.
-
Homemade Bread: A warm, crusty loaf provides an opportunity to mop up every last drop of that delicious glaze, making it a satisfying addition to your dinner.
Each pairing emphasizes textures and flavors, elevating your dining experience to something truly special.
How to Store and Freeze Slow-Braised Beef Roast
Fridge: Store the Slow-Braised Beef Roast in an airtight container for up to 4 days. Allow it to cool completely before refrigerating to maintain its juicy texture.
Freezer: For long-term storage, freeze the roast in an airtight container or heavy-duty freezer bag for up to 3 months. Make sure to label with the date for easy reference.
Reheating: When ready to enjoy the leftovers, reheat gently on the stovetop or in the oven, adding a splash of broth to keep the beef moist and tender.
Flavor Enhancement: Leftover Slow-Braised Beef Roast tastes even better the next day, as the flavors meld and develop, giving you a heartwarming meal ready in no time.
Variations & Substitutions for Slow-Braised Beef Roast
Feel free to get creative with this beloved dish! Each twist can enhance flavors and textures while catering to your family's tastes.
-
Brisket Swap: Substitute beef chuck with brisket for a richer flavor profile and melt-in-your-mouth tenderness.
-
Frozen Berries: Use frozen cranberries directly in the dish without thawing for a convenient, seasonal solution.
-
Root Veggies: Add parsnips or sweet potatoes for a nutritious boost and a beautifully colorful presentation on the plate.
-
Vegetarian Delight: Swap beef for hearty mushrooms or tempeh, and use vegetable broth to create an inviting, meat-free version that’s still comforting.
-
Glaze Boost: Stir in a splash of red wine during the cooking process for added depth and complexity to the glaze.
-
Herbed Variations: Experiment by adding fresh herbs like rosemary or oregano for a fragrant twist that complements the dish beautifully.
-
Sweet Heat: Sprinkle red pepper flakes or add diced jalapeños to the pot for a kick that balances the sweetness of the cranberries.
-
Side Options: Serve with creamy mashed potatoes, Grilled Balsamic Steak Salad, or Maple Roasted Sweet Potatoes with Pecans to round out your meal and satisfy different tastes.
Let each variation inspire you to create a memorable meal that resonates with your loved ones; cooking is all about joy and creativity!
Slow-Braised Beef Roast with Cranberry Balsamic Glaze Recipe FAQs
How do I choose the best beef chuck roast?
Absolutely! When selecting a beef chuck roast, look for one that has good marbling—these white streaks of fat distribute flavor and moisture during cooking. Aim for a roast that feels firm but has a little give when pressed. Avoid any with dark spots or excessive liquid in the packaging, as these can indicate spoilage.
What’s the best way to store leftovers?
You can store your Slow-Braised Beef Roast in an airtight container for up to 4 days in the fridge. Make sure it cools completely before sealing to preserve its juicy texture! If the roast is seasoned well, don’t worry—flavors often improve with a day or two in the fridge, making for delightful leftovers.
Can I freeze Slow-Braised Beef Roast?
Very! To freeze, let the roast cool completely, then place it in an airtight container or heavy-duty freezer bag. It will stay fresh for up to 3 months. When you're ready to enjoy it, thaw overnight in the refrigerator and reheat gently on the stovetop with a splash of broth to keep the beef moist.
What should I do if my glaze is too thin?
If your glaze isn’t as thick as you’d like, no worries! After cooking, skim off excess fat and return the glaze to the stovetop. Simmer it gently to reduce and thicken, or whisk in a cornstarch slurry (mix 1 teaspoon cornstarch with 1 tablespoon of cold water) and stir until it reaches your desired consistency. This should create a beautifully rich sauce!
Are there any dietary considerations for this recipe?
Absolutely! If you have allergies, keep in mind that this recipe is free from gluten and nuts, but always check your individual ingredients to be sure. Additionally, while cranberries are safe for most pets, the glaze contains elements (like sugar) that should be limited in their diets. Always consult your vet for specifics based on your pet's health needs.
How can I enhance the flavor of my Slow-Braised Beef Roast?
For even more flavor, consider marinating the beef in a mix of balsamic vinegar, garlic, and spices for a few hours or overnight before cooking. You can also add extra aromatics like celery and bay leaves to the braising liquid or substitute the beef broth with wine for a deeper taste. Lastly, letting the roast rest for 10 minutes after it comes out of the oven not only helps it retain its juices but also allows the flavors to meld perfectly.
Slow-Braised Beef Roast with Cranberry Balsamic Glaze Magic
Ingredients
Equipment
Method
- Pat the beef chuck roast dry with paper towels and season it with salt and pepper.
- Heat olive oil in a large Dutch oven and sear the beef roast on both sides until browned.
- Remove the beef and sauté chopped yellow onion until softened.
- Add minced garlic and cook until aromatic, about 1 minute.
- Deglaze the pot with balsamic vinegar, scrapping up browned bits.
- Add beef broth and brown sugar, stirring well and returning the beef to the pot.
- Incorporate cranberries and thyme, optionally adding chopped carrots.
- Cover and braise in the oven at 325°F for 3 to 3.5 hours.
- Let the roast rest for about 10 minutes before slicing.
- Skim off excess fat from the sauce and thicken if desired before serving.
- Slice or shred the beef and serve with the glaze.