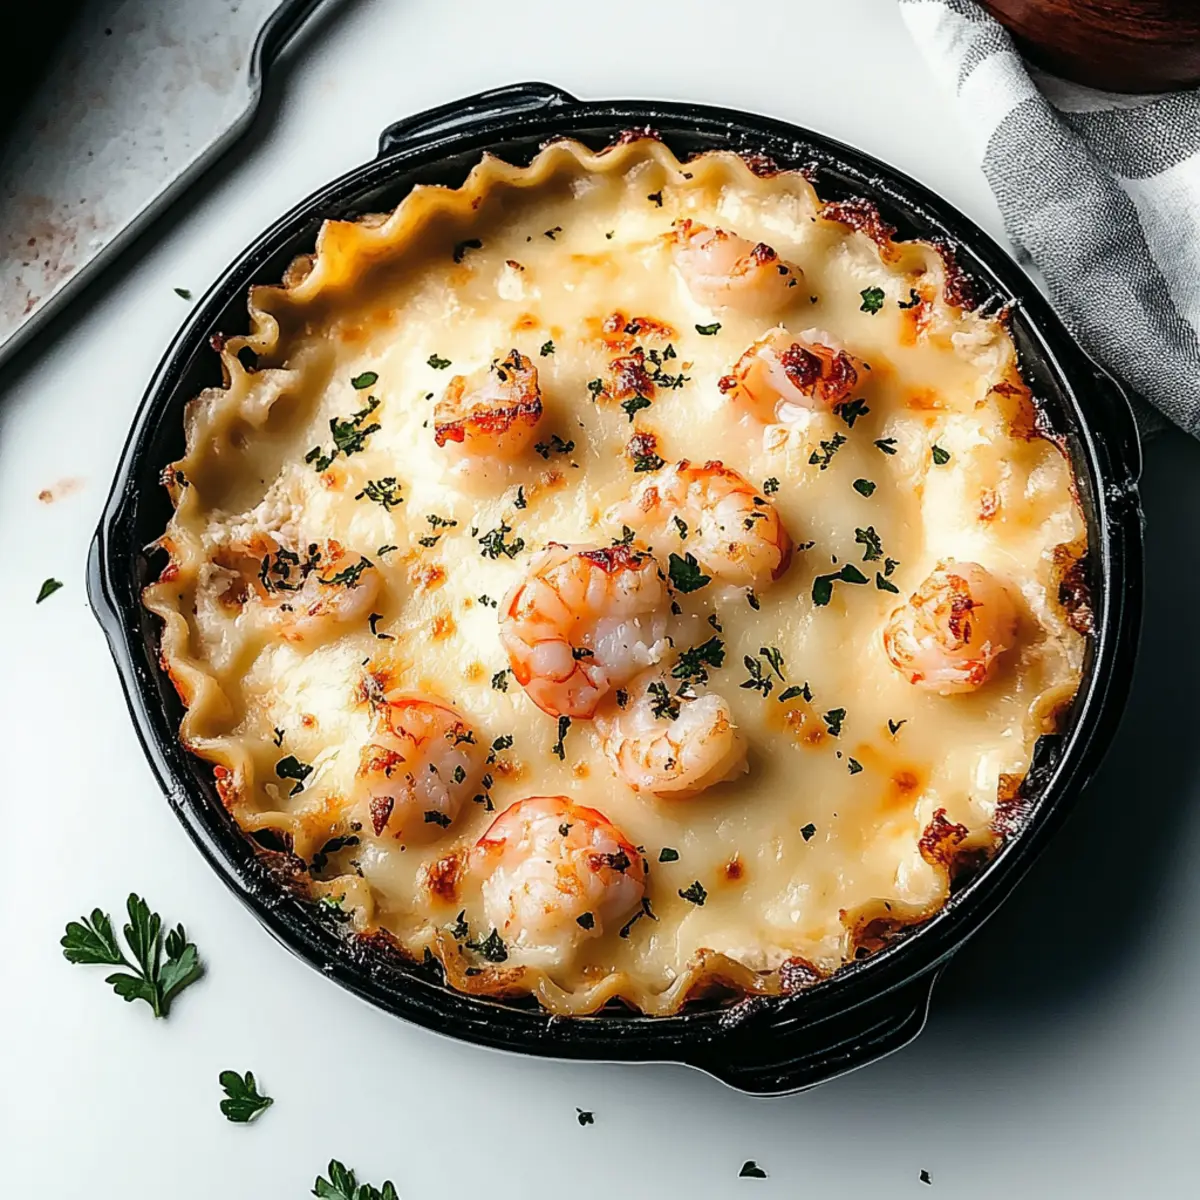
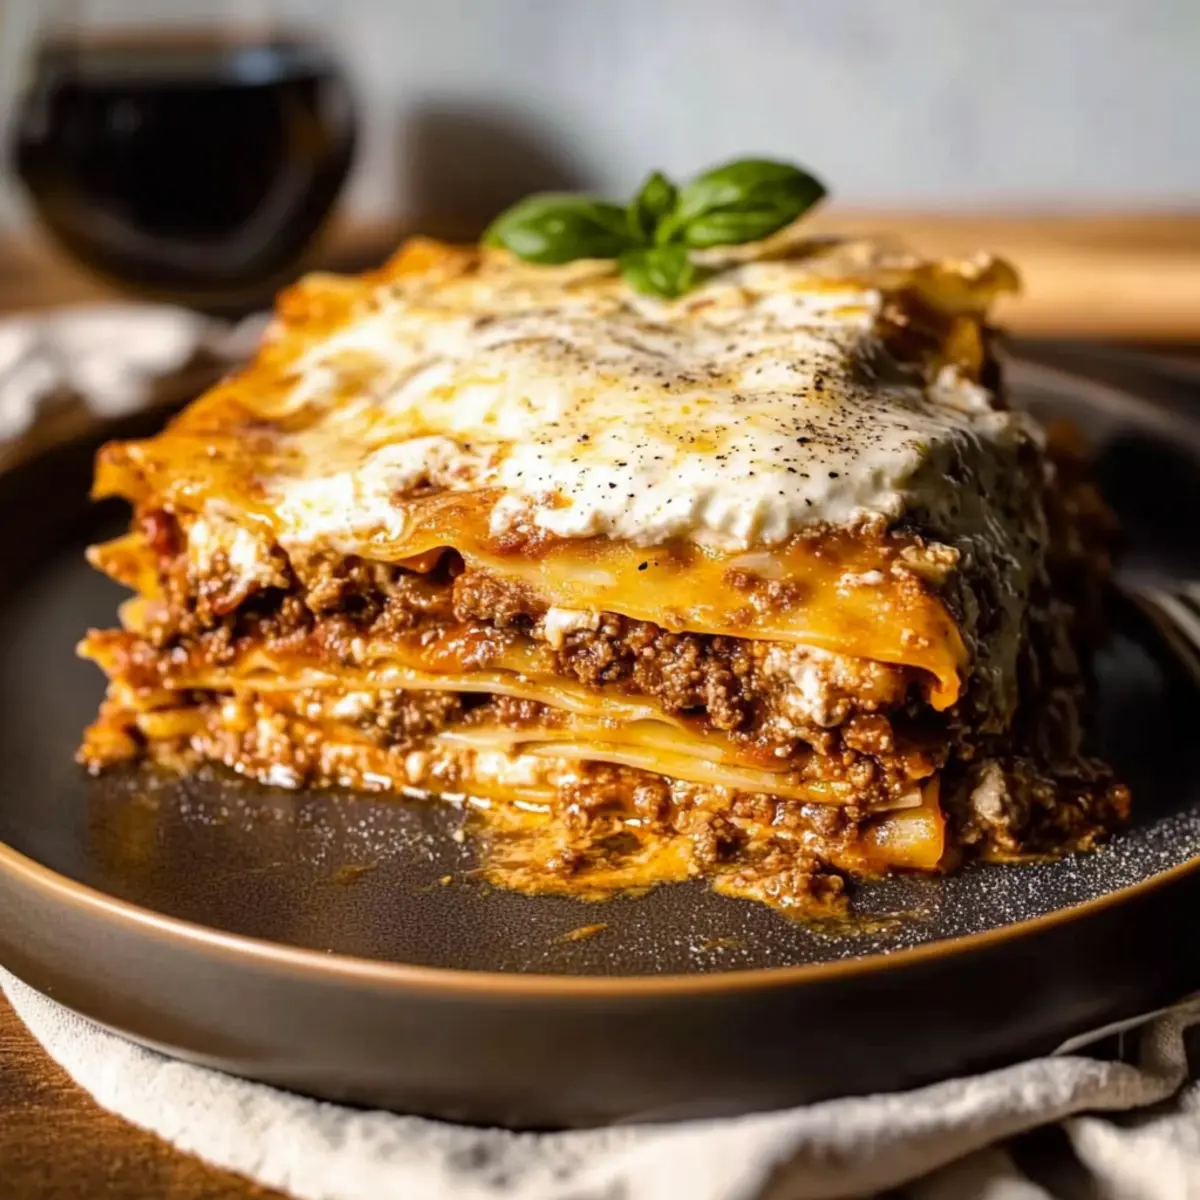
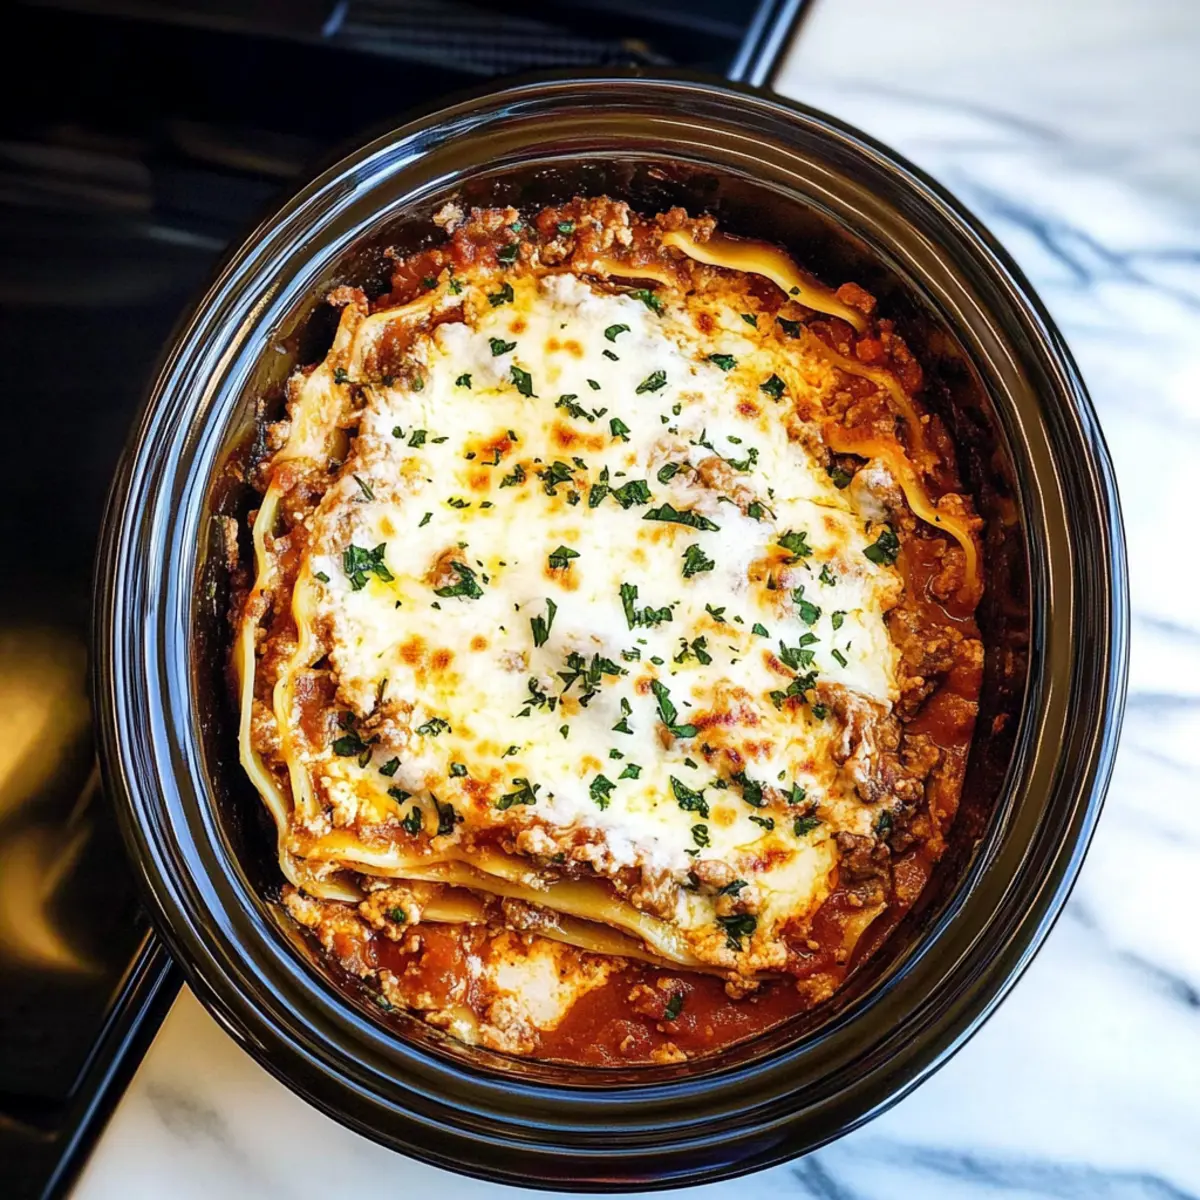
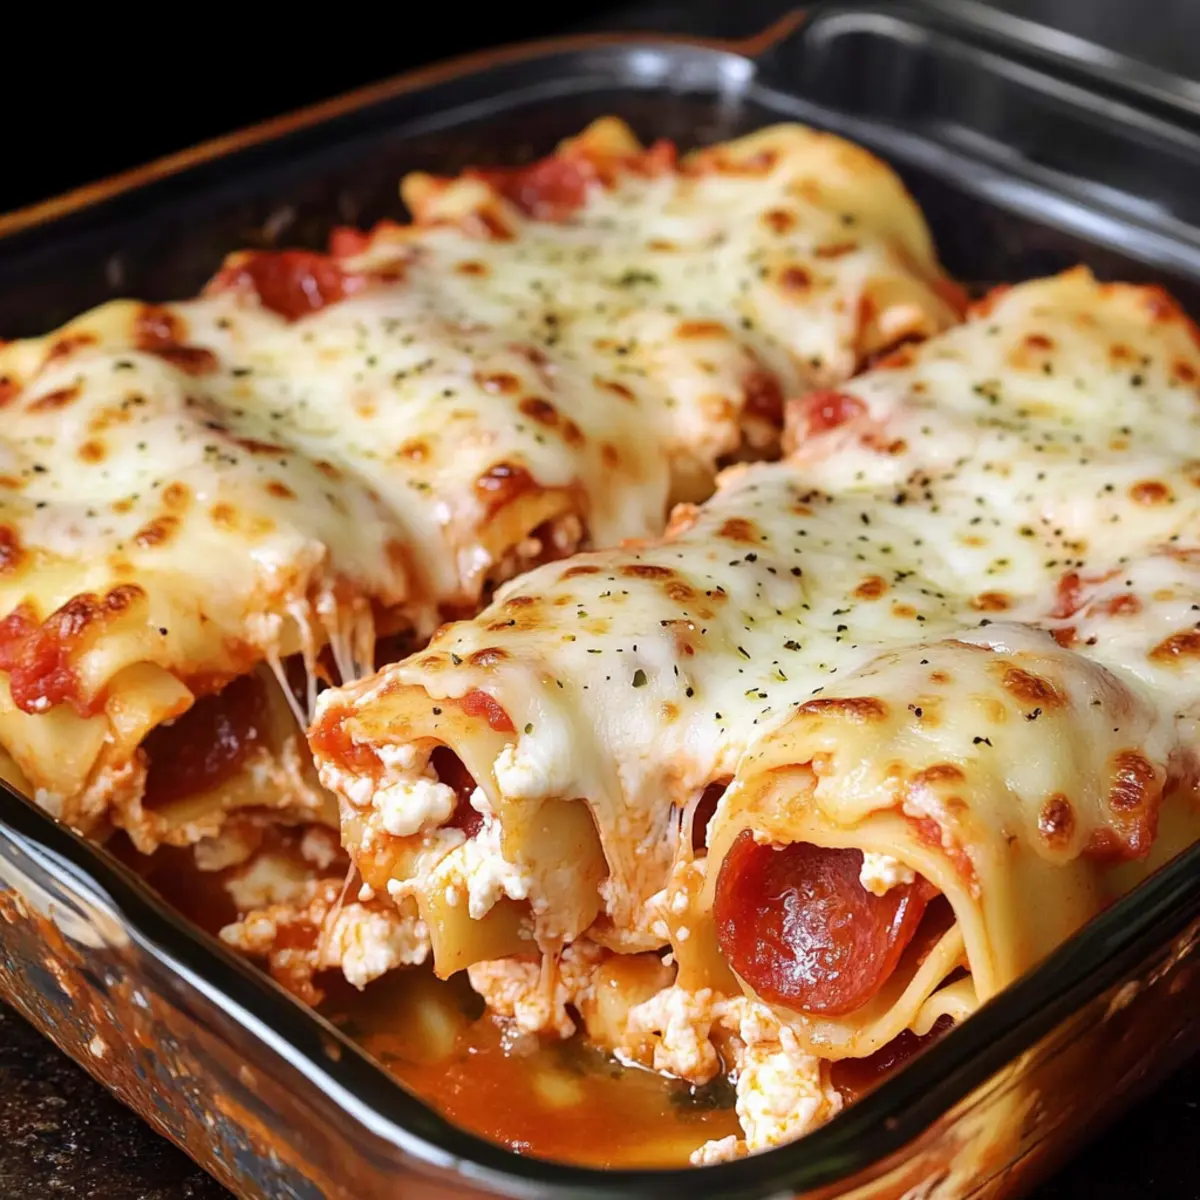
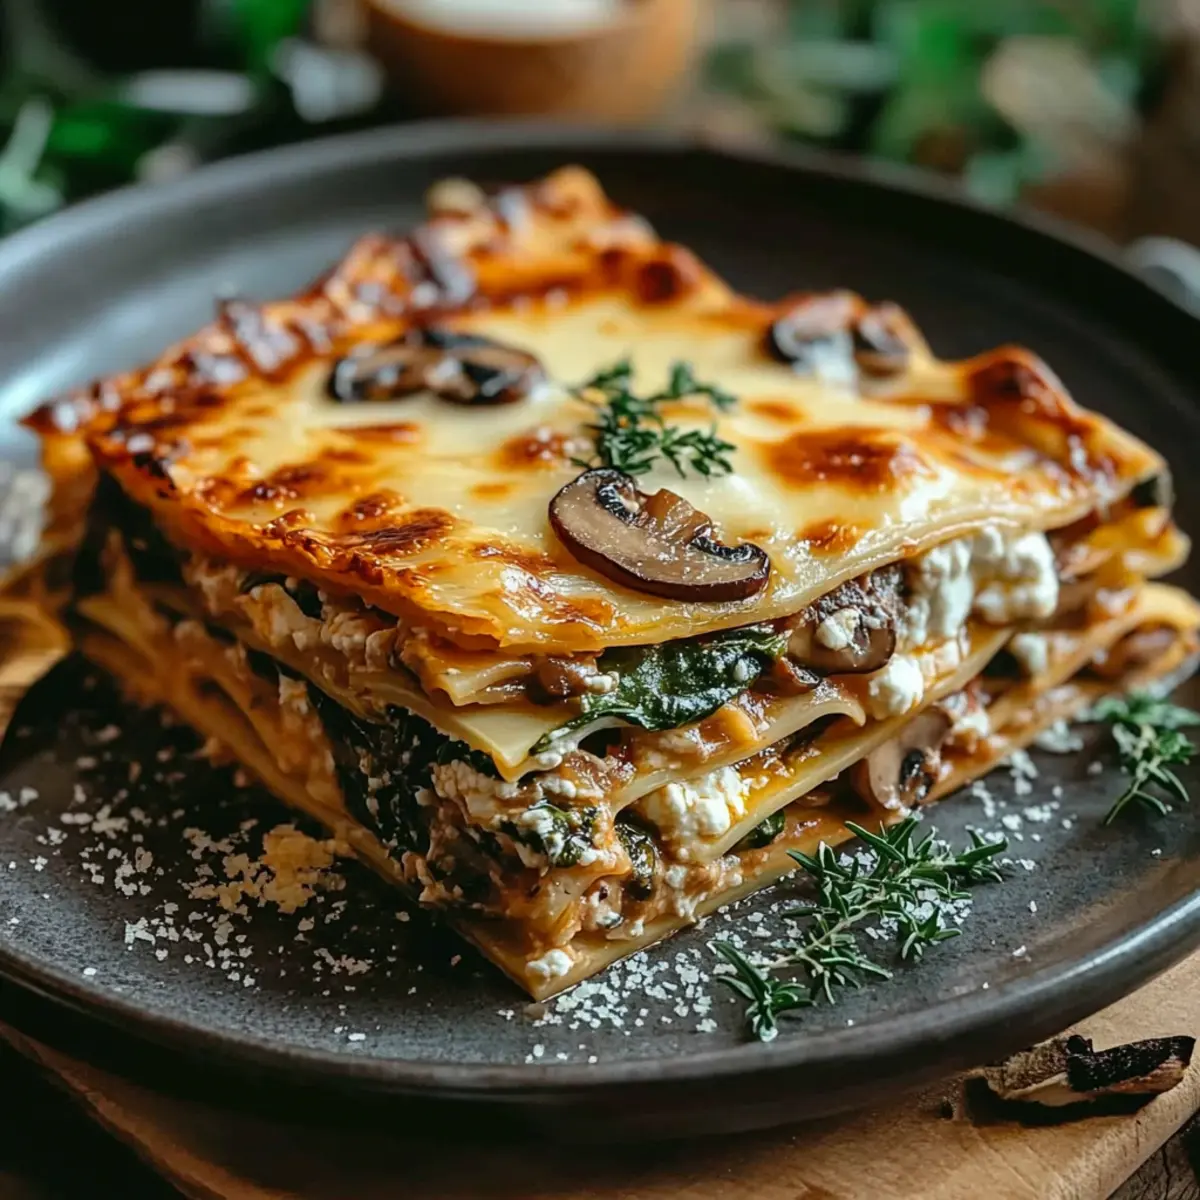
As I stood in my kitchen, the warm aroma of sautéing garlic filled the air, luring me into a cozy cooking trance. Today, I'm excited to share my beloved Mushroom and Spinach Lasagna, a dish that combines earthy mushrooms with vibrant, nutritious spinach, all enveloped in creamy ricotta and robust marinara sauce. This vegetarian comfort food is not only a crowd-pleaser but also surprisingly simple to prepare, making it perfect for weeknight dinners or gatherings with friends. Each layer of lasagna noodles brings a hearty embrace to every bite, creating a satisfying meal you won't forget. Curious about the magic behind this irresistible recipe? Let’s dive in!
What Makes This Lasagna Unforgettable?
Comforting Layers: Each bite reveals a warm hug of flavors, thanks to the bold blend of mushrooms and spinach nestled between creamy ricotta and tangy marinara.
Easy Preparation: This recipe simplifies weeknight cooking with its straightforward steps. With just a few fresh ingredients, you’ll create a dish that feels gourmet yet achievable.
Versatile Options: Not a fan of spinach? Feel free to swap it with kale or add your favorite roasted veggies for a delightful twist.
Impressive Flavor: Seasoning each layer enhances the overall taste, ensuring a feast of flavors that will leave your family asking for seconds, just like with my Grilled Mushrooms Savory.
Ideal for Gatherings: Perfect for serving guests, this lasagna brings everyone together, making any meal feel special. Plus, it's a great way to make leftovers disappear!
Mushroom And Spinach Lasagna Ingredients
• Let’s gather the essentials for this comforting dish!
For the Noodles
- Lasagna Noodles – Use no-boil or traditional; ensure they are cooked al dente for the best texture.
For the Sauté
- Olive Oil – Extra virgin adds great flavor; you can substitute with vegetable oil if needed.
- Onion – A fragrant base; shallots can work well for a milder taste.
- Garlic – Fresh minced garlic enhances flavor; garlic powder is a quick substitute.
- Mushrooms – Cremini or button are ideal; consider shiitake or portobello for a rich taste.
- Dried Thyme (or other herbs) – Fresh thyme is awesome; just double the fresh amount for the best flavor.
- Salt and Pepper – Season to your liking; feel free to add other herbs like oregano for extra depth.
For the Filling
- Spinach – Fresh is best; thaw and drain frozen spinach for a good alternative.
- Ricotta Cheese – For creaminess; cottage cheese is a lighter option.
For the Topping
- Mozzarella Cheese – Low-moisture works best for melting; provolone makes a nice substitute.
- Parmesan Cheese – Freshly grated gives great flavor; pecorino brings a sharper taste.
For Flavor and Moisture
- Marinara Sauce – This can be homemade or store-bought; just ensure it’s not too watery for the lasagna.
This Mushroom and Spinach Lasagna is simple yet delightful, promising a hearty vegetarian meal that warms the soul. Get ready to impress yourself and your loved ones!
Step‑by‑Step Instructions for Mushroom And Spinach Lasagna
Step 1: Preheat and Prepare
Begin by preheating your oven to 375°F (190°C) and greasing a 9x13-inch baking dish with a light coating of olive oil. This ensures the Mushroom and Spinach Lasagna won’t stick, allowing for easy serving later on. Gather all your ingredients so you have everything within reach for a smooth cooking process.
Step 2: Cook the Noodles
Fill a large pot with water, adding a generous amount of salt, and bring it to a boil over high heat. Once boiling, carefully add the lasagna noodles and cook according to package instructions until they’re al dente, typically about 8–10 minutes. Drain the noodles and set them aside on a baking sheet to prevent sticking while you prepare the filling.
Step 3: Sauté the Aromatics
In a large skillet, heat 2 tablespoons of extra virgin olive oil over medium heat. Once the oil is shimmering, add the chopped onion and sauté for about 3–4 minutes, or until it becomes translucent. The aroma will fill your kitchen, setting the stage for the delicious flavors to come in your Mushroom and Spinach Lasagna.
Step 4: Add the Garlic and Mushrooms
Stir in the minced garlic, cooking for an additional minute until fragrant. Then, add the sliced mushrooms, dried thyme, salt, and pepper to the skillet. Cook the mixture for about 5–7 minutes, stirring occasionally, until the mushrooms are tender and most of their moisture has evaporated, which intensifies their flavor.
Step 5: Incorporate the Spinach
Add the fresh spinach to the skillet and cook until wilted, which should take about 2–3 minutes. Stir the mixture well to blend all the flavors together. This vibrant filling will be layered throughout your Mushroom and Spinach Lasagna, bringing both color and nutrition to the dish.
Step 6: Assemble the Layers
Start assembling your lasagna by spreading a thin layer of marinara sauce on the bottom of the greased baking dish. Then, place three lasagna noodles on top. Next, spread half of the ricotta cheese over the noodles, followed by half of the mushroom and spinach mixture. Top with a sprinkle of a third of the mozzarella and Parmesan cheeses.
Step 7: Repeat the Layers
Repeat the layering process, starting again with three more noodles. Place the remaining ricotta and the rest of the mushroom and spinach mixture on top, along with another third of the mozzarella and Parmesan. Finish with a final layer of noodles on top, ensuring everything is evenly distributed in your Mushroom and Spinach Lasagna.
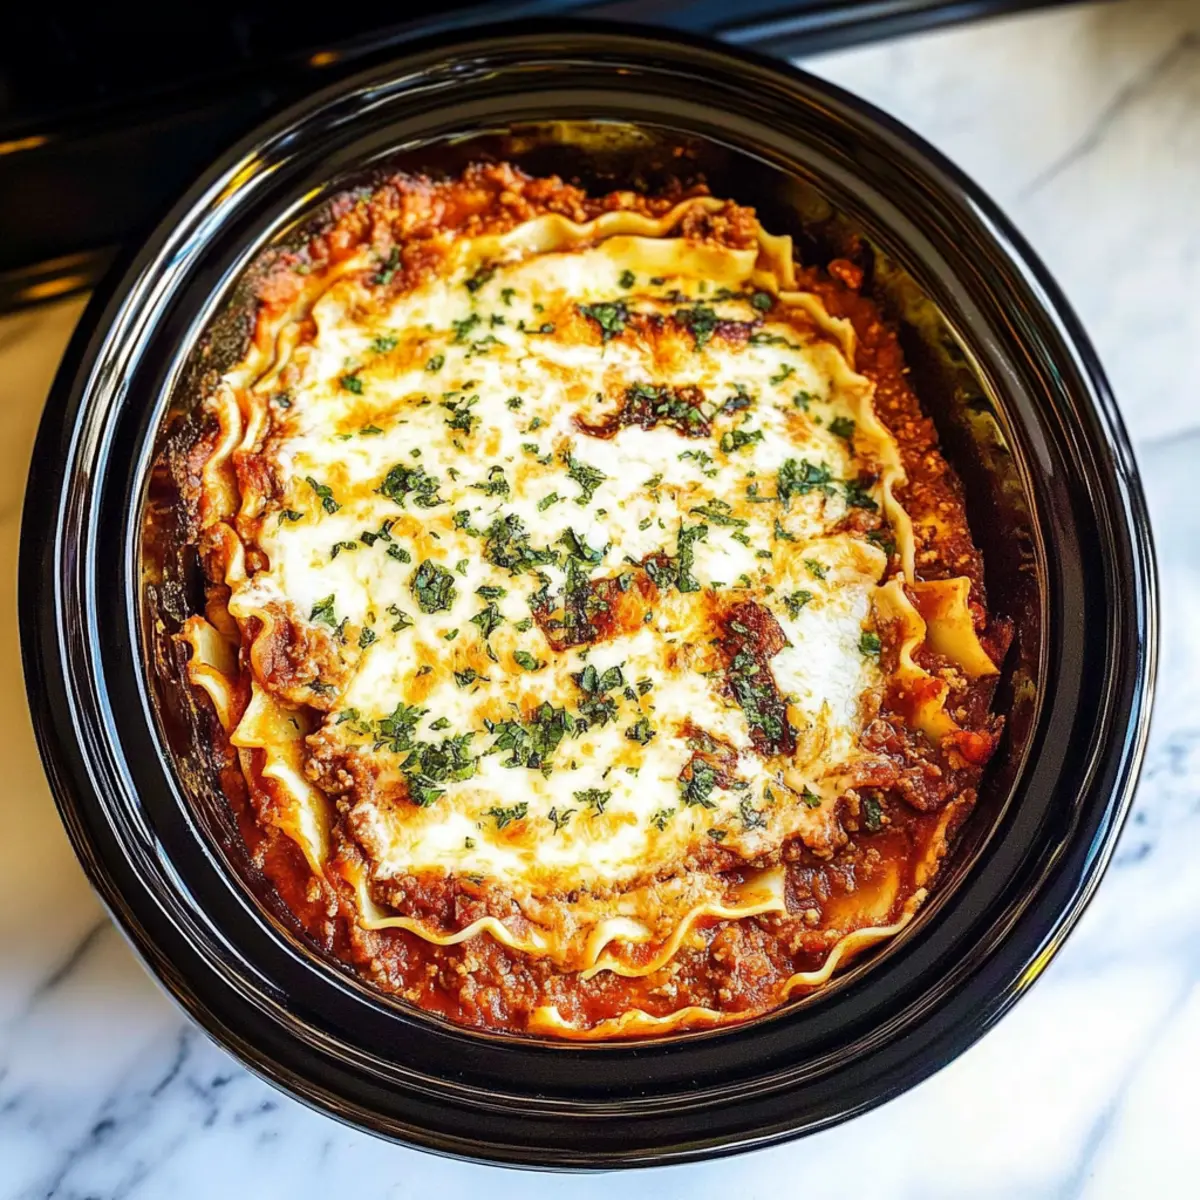
Step 8: Final Topping and Bake
Spread the remaining marinara sauce over the top layer of noodles, then sprinkle with the remaining mozzarella and Parmesan cheese. Cover the baking dish securely with aluminum foil to prevent the top from burning. Bake in the preheated oven for 25 minutes; then, uncover and bake an additional 10–15 minutes until the cheese is bubbly and golden brown.
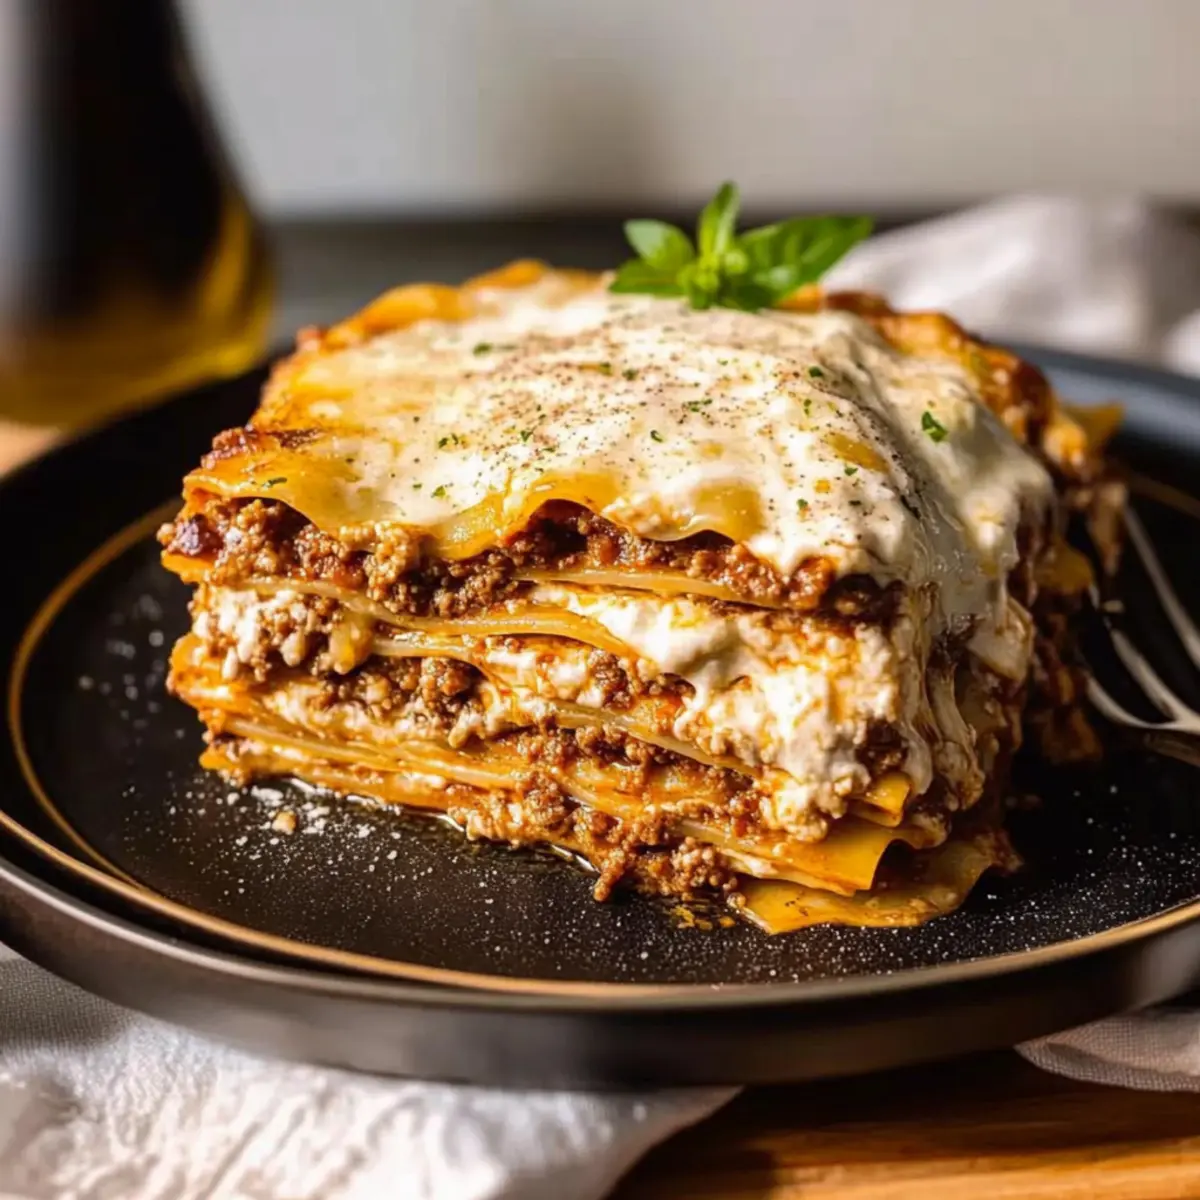
Step 9: Cool and Serve
Once baked, remove the Mushroom and Spinach Lasagna from the oven and let it cool for about 10 minutes before serving. This resting time allows the layers to set, making it easier to slice. Garnish with fresh basil for an aromatic touch and enjoy the comforting flavors of this delicious dish!
How to Store and Freeze Mushroom And Spinach Lasagna
Fridge: Store leftovers in an airtight container for up to 3-4 days to keep your delicious Mushroom and Spinach Lasagna fresh and flavorful.
Freezer: For longer storage, freeze the lasagna (before baking) wrapped tightly in plastic wrap and foil for up to 3 months.
Reheating: When ready to enjoy, thaw in the fridge overnight, then bake at 375°F (190°C) until heated through, about 30-40 minutes.
Airtight Tips: If you bake it first, let it cool completely before storing to prevent excess moisture, ensuring the best taste and texture when reheated.
Variations & Substitutions for Mushroom And Spinach Lasagna
Feel free to get creative with your Mushroom And Spinach Lasagna by switching up ingredients and flavors, making it even more delightful!
-
Greens Swap: Replace spinach with kale or Swiss chard for a delicious twist. Both options enhance the nutritional value while adding unique flavors to your lasagna.
-
Veggie Add-Ins: Toss in roasted vegetables like zucchini or bell peppers to boost flavor and nutrition. With roasted veggies, each slice brings a burst of freshness and color that elevates your dish.
-
Cheese Options: Switch out ricotta with cottage cheese for a lighter version. You could even go bold with a blend of five cheeses for a truly decadent treat.
-
Vegan Delight: Try plant-based cream cheese and vegan mozzarella to create a vegan lasagna. This version ensures everyone can join the table without sacrificing flavor or comfort.
-
Herb Infusion: Add fresh basil or parsley to the filling for an aromatic touch. Fresh herbs will bring out the flavors of the mushrooms and spinach, making your lasagna sing.
-
Noodle Choice: Use whole wheat or gluten-free lasagna noodles as an alternative. This adjustment ensures that everyone has a chance to enjoy this comforting dish, no matter their dietary needs.
-
Flavor Boost: Layer in some sun-dried tomatoes or olives for a Mediterranean flair. These add great depth and tanginess, transforming your lasagna into a culinary adventure.
-
Spicy Kick: For a bit of heat, sprinkle in some red pepper flakes or diced jalapeños. A little spice can create a delightful contrast with the creamy layers, tantalizing your taste buds.
Feel free to explore these options and make this Mushroom And Spinach Lasagna your own! And if you're looking for other flavors to explore, consider trying my incredible Chickpea Spinach Curry for another hearty meal or enjoy a slice of Spinach Pie Deliciously as a side. Happy cooking!
What to Serve with Mushroom and Spinach Lasagna
Elevate your dining experience by pairing this comforting lasagna with delightful sides and beverages that complement its rich flavors.
-
Garlic Bread: The crunch and warmth of garlic bread provide the perfect contrast to creamy layers, making each bite of lasagna even more enjoyable.
-
Caesar Salad: Crisp romaine with tangy dressing adds freshness, balancing the richness of the dish. A sprinkle of Parmesan will tie the flavors together seamlessly.
-
Roasted Veggies: Seasonal roasted vegetables like zucchini and bell peppers bring vibrant colors and added nutrition, enhancing your meal's visual appeal and taste.
-
Herbed Quinoa: Light and fluffy quinoa tossed with fresh herbs brings a nutty flavor that harmonizes beautifully with the earthiness of mushrooms and spinach.
-
Italian Red Wine: A glass of Chianti or Sangiovese complements the lasagna’s robust flavors, enhancing the overall dining experience in a memorable way.
-
Chocolate Mousse: For dessert, a light and creamy chocolate mousse offers a sweet finish, contrasting nicely with the savory main course while leaving everyone satisfied.
-
Lemon Sorbet: A refreshing lemon sorbet can cleanse the palate after the rich lasagna, making it an elegant way to end the meal.
Make Ahead Options
These Mushroom and Spinach Lasagna are perfect for meal prep enthusiasts! You can easily assemble the entire lasagna up to 24 hours in advance, tightly covering it with foil and refrigerating. This not only saves you time but also allows the flavors to meld beautifully, enhancing the taste. To maintain quality, ensure the sauce isn’t too watery and sprinkle a bit of extra cheese on top before baking; this will give you that irresistible bubbly finish. When you're ready to serve, simply preheat your oven and bake for the recommended time, adding an extra 10-15 minutes if it's coming straight from the fridge. Enjoy a comforting, homemade meal with minimal effort!
Expert Tips for Mushroom And Spinach Lasagna
-
Layer Wisely: Season each layer separately to enhance the flavor of your Mushroom And Spinach Lasagna, ensuring every bite is delicious.
-
Prevent Watery Sauce: Avoid overloading with sauce; too much can make your lasagna soggy. Keep it balanced for the best texture.
-
Cover Strategically: Bake covered initially to prevent burning, then uncover for the last 10–15 minutes to achieve a nice golden top.
-
Make Ahead: Assembling your lasagna a day in advance allows the flavors to meld beautifully. Just bake before serving!
-
Cool Before Serving: Let the lasagna rest for about 10 minutes post-baking to set the layers, making slicing cleaner and easier.
Mushroom and Spinach Lasagna Recipe FAQs
How do I choose the right mushrooms for my lasagna?
Absolutely! For your Mushroom and Spinach Lasagna, both cremini and button mushrooms are excellent choices due to their rich flavors. If you’re feeling adventurous, you can use shiitake or portobello mushrooms for a deeper, earthier taste. Just make sure to clean them properly and slice them evenly to ensure they cook well!
What is the best way to store leftovers?
Very! To keep your Mushroom and Spinach Lasagna fresh, store leftovers in an airtight container in the refrigerator for up to 3-4 days. If you like to prepare meals ahead of time, it's a great idea to enjoy the leftovers as the flavors deepen over the days!
Can I freeze my lasagna, and how?
Absolutely! To freeze your Mushroom and Spinach Lasagna, assemble it without baking, then wrap it tightly in plastic wrap followed by aluminum foil. This will keep it fresh for up to 3 months. When you're ready to enjoy it, simply thaw in the refrigerator overnight, then bake at 375°F (190°C) for about 30-40 minutes until it's heated through.
What can I do if my lasagna turns out watery?
Not to worry! If your Mushroom and Spinach Lasagna is overly watery, ensure you're not overloading it with sauce. Keep each layer balanced—just enough to create moisture without drowning it. A good tip is to let your sautéed mushrooms cool and drain any excess liquid before layering. This will help maintain a delicious texture!
Is there a way to make this recipe vegan-friendly?
Absolutely! To make a vegan Mushroom and Spinach Lasagna, swap the dairy ingredients for plant-based alternatives. Use a dairy-free ricotta made from blended tofu or nuts, and choose vegan mozzarella. Just ensure your lasagna noodles are egg-free. This way, you can savor all that goodness with a plant-based twist!
Are there any ingredient substitutions I should consider?
Very! If you're looking to customize your Mushroom and Spinach Lasagna, consider swapping spinach for kale or Swiss chard. You can also add roasted veggies like zucchini or bell peppers for additional nutrition and flavor. And, feel free to experiment with different cheeses or herbs that suit your taste!

Mushroom And Spinach Lasagna for Cozy Comfort Food Nights
Ingredients
Equipment
Method
- Preheat your oven to 375°F (190°C) and grease a 9x13-inch baking dish with olive oil.
- Cook the lasagna noodles in a large pot of salted boiling water until al dente, about 8-10 minutes, then drain and set aside.
- In a large skillet, heat olive oil over medium heat, add chopped onion and sauté until translucent.
- Add minced garlic and cook for an additional minute, then add sliced mushrooms, dried thyme, salt, and pepper; cook until mushrooms are tender.
- Stir in fresh spinach and cook until wilted.
- Spread a thin layer of marinara sauce on the bottom of the greased baking dish, place three lasagna noodles on top.
- Spread half of the ricotta cheese over the noodles, followed by half of the mushroom and spinach mixture, and top with a third of the mozzarella and Parmesan cheeses.
- Repeat the layering process with remaining ingredients and finish with a final layer of noodles, topped with marinara sauce and remaining cheeses.
- Cover with foil and bake for 25 minutes; uncover and bake an additional 10-15 minutes until cheese is golden brown.
- Let cool for 10 minutes before serving.