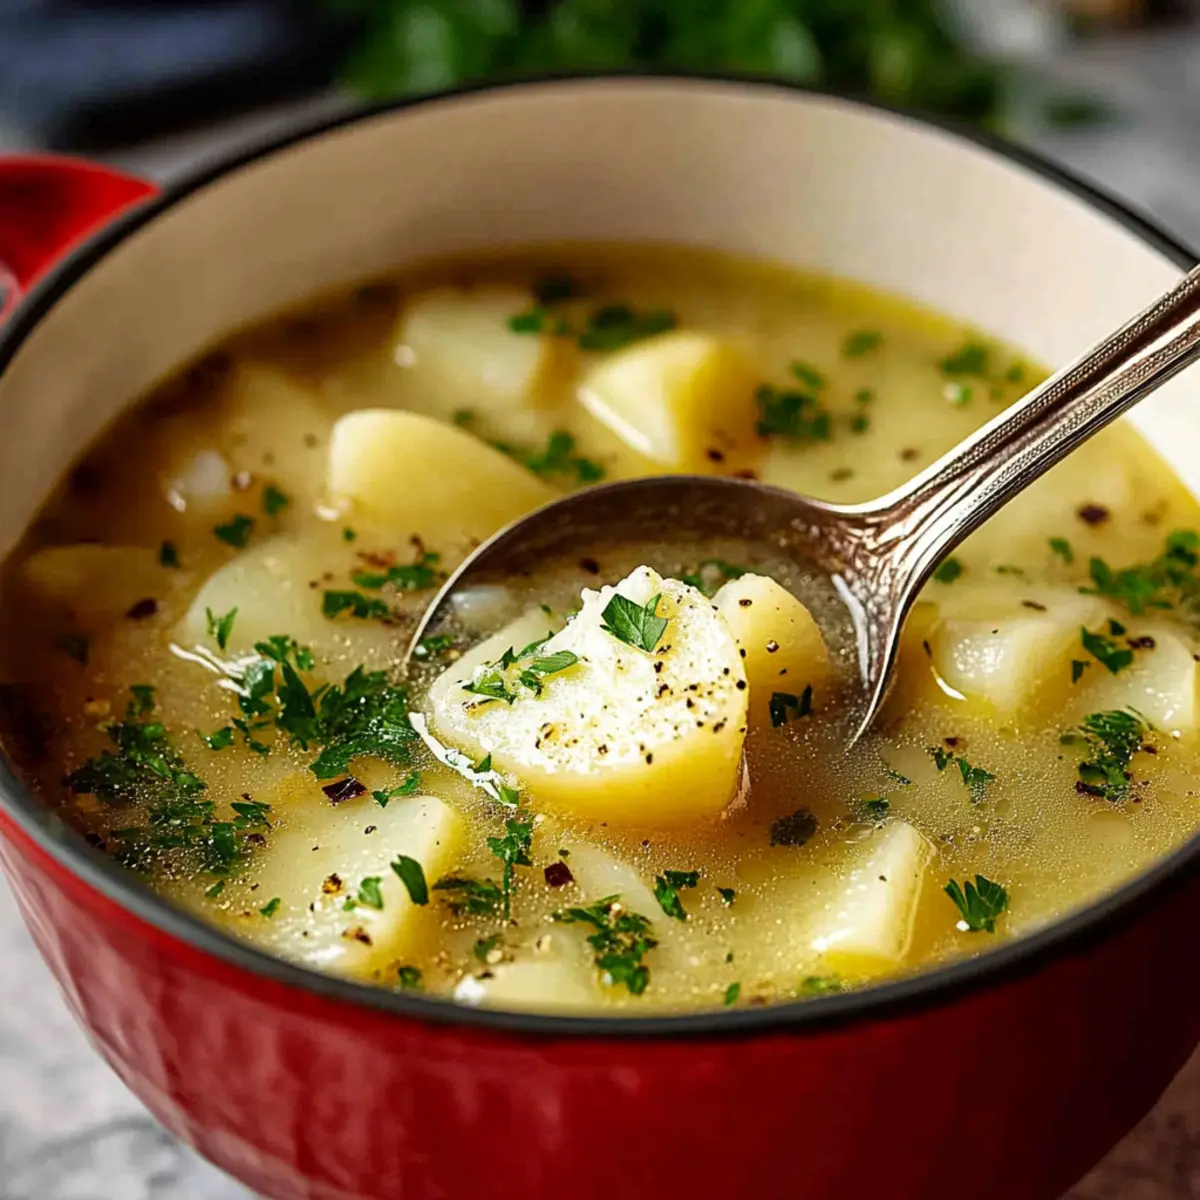
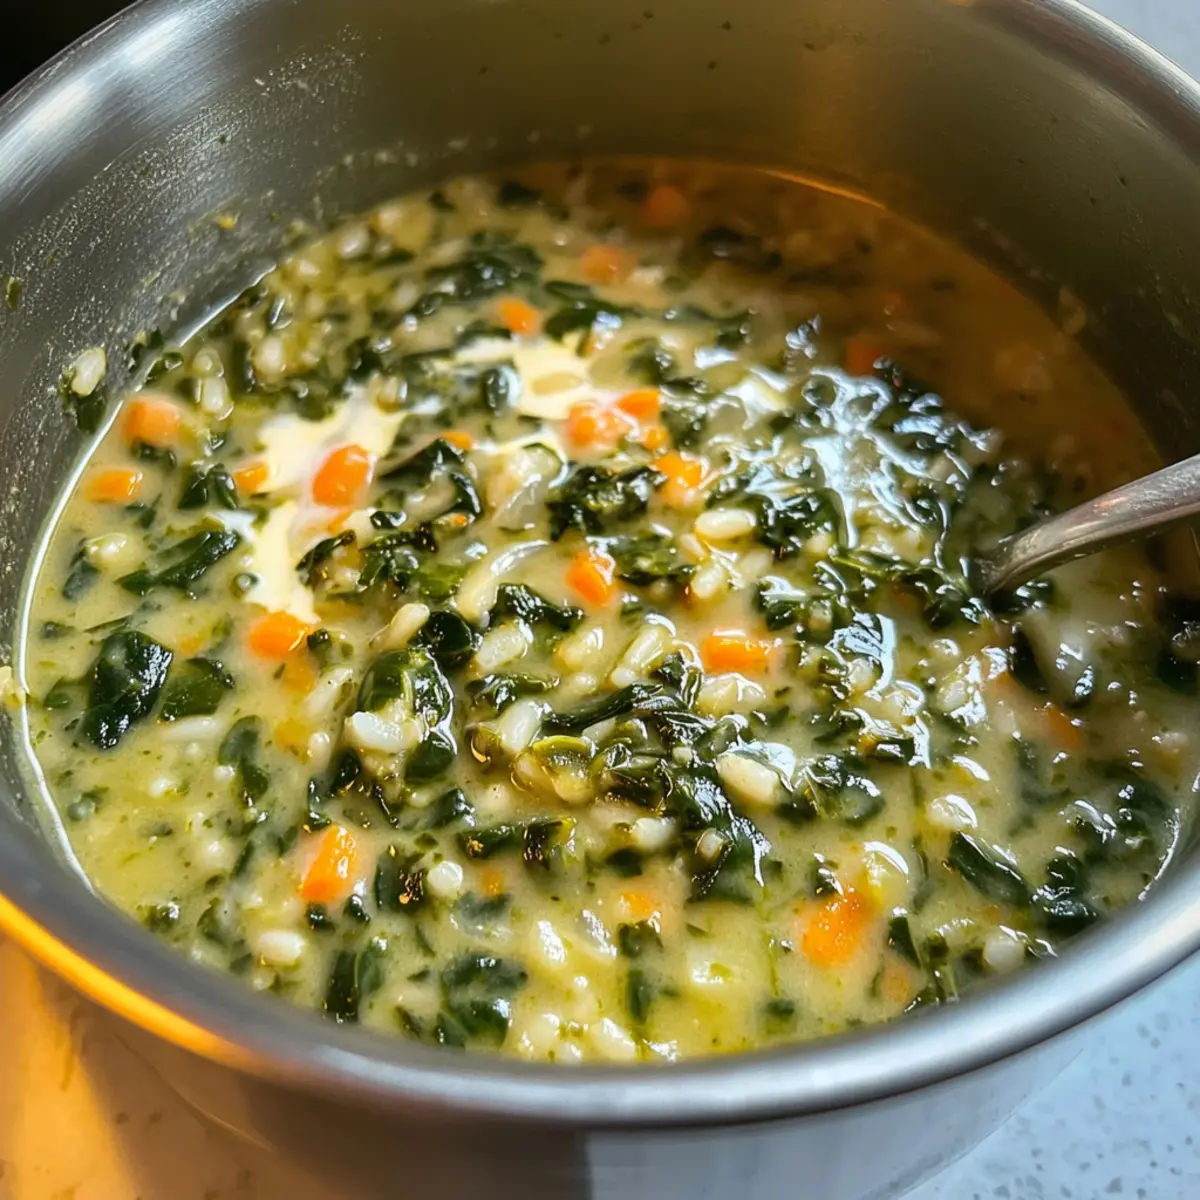
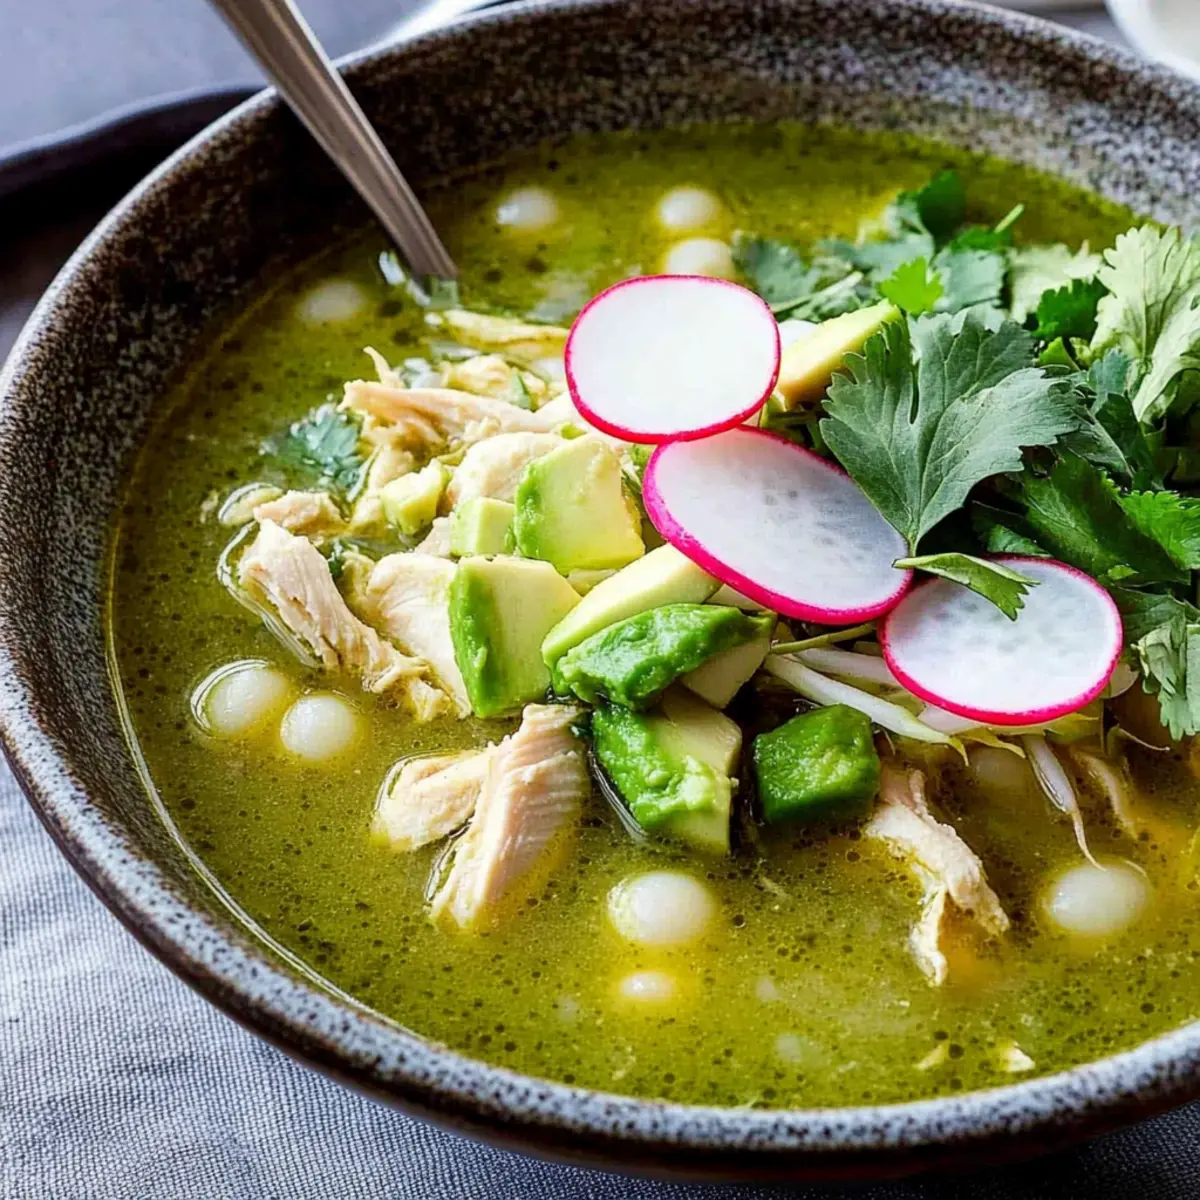
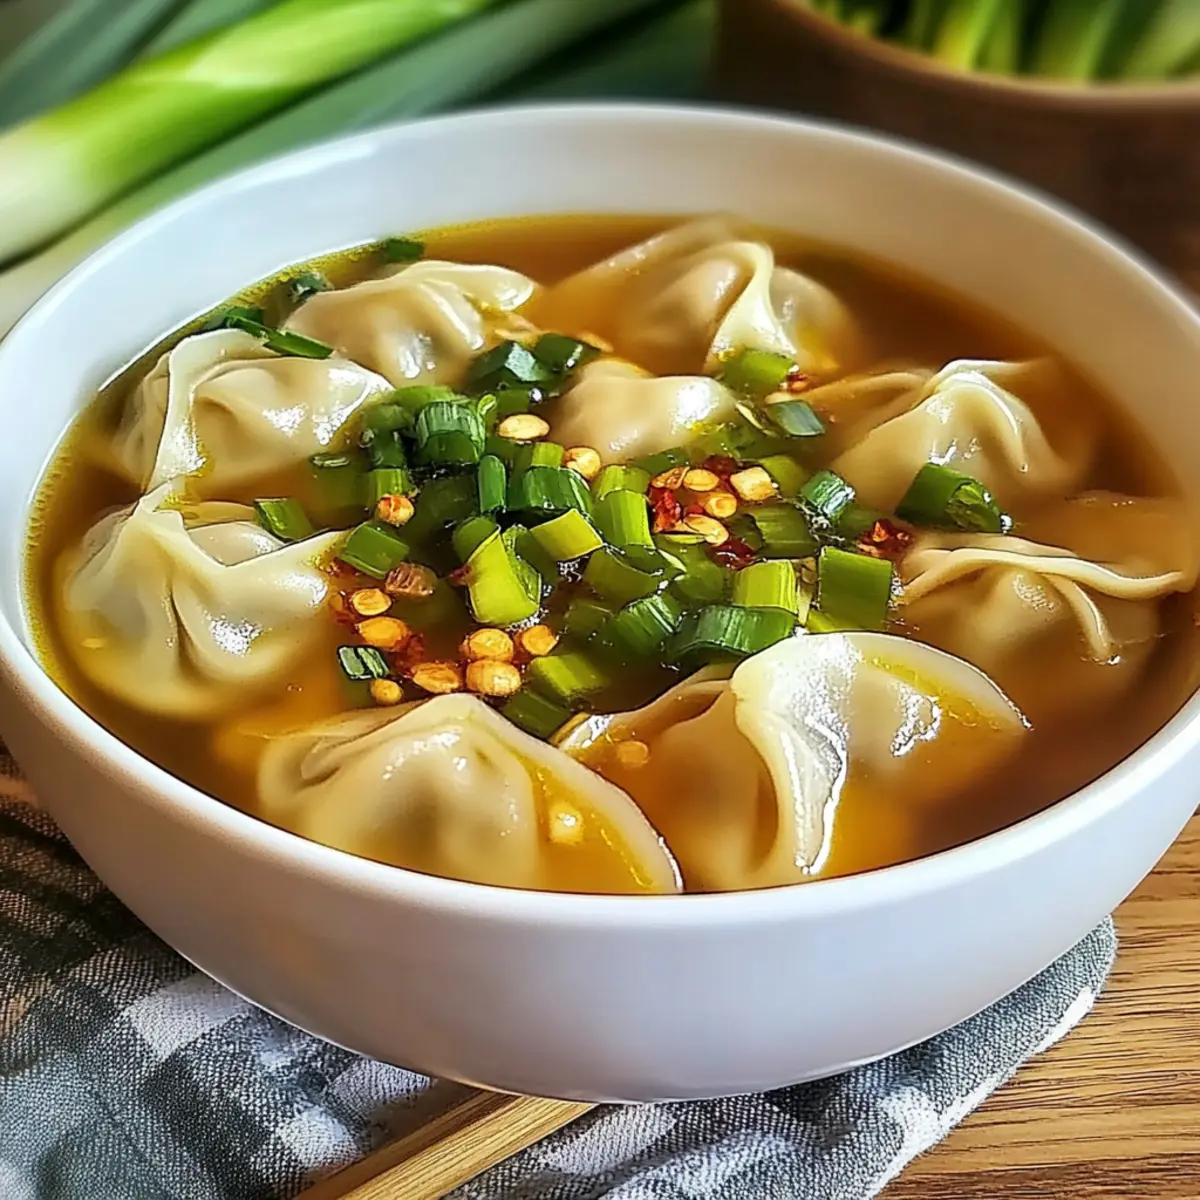
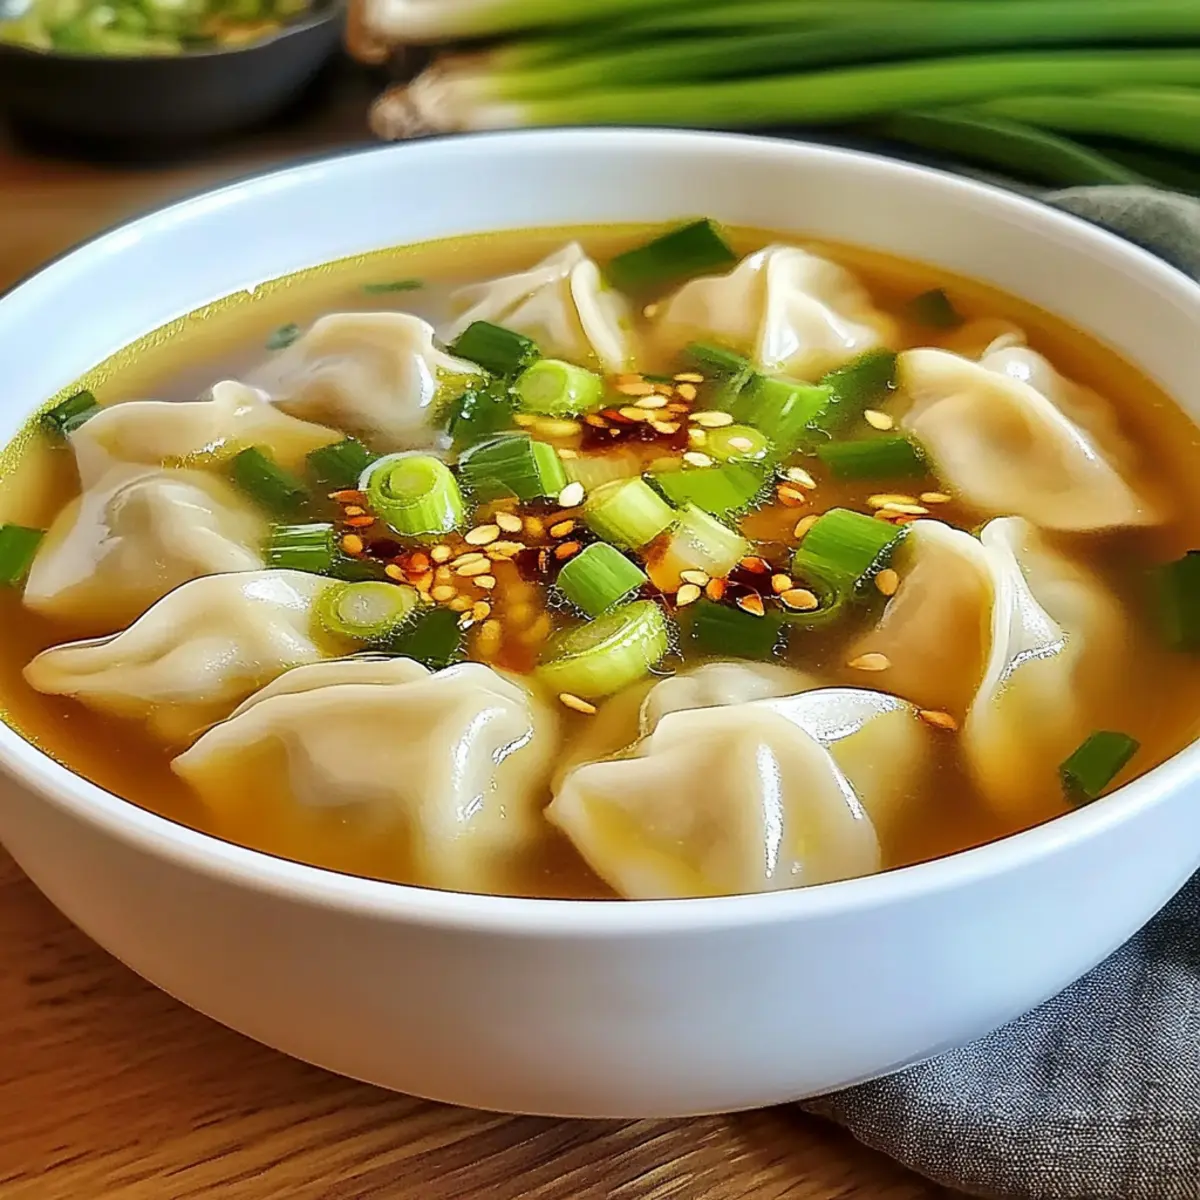
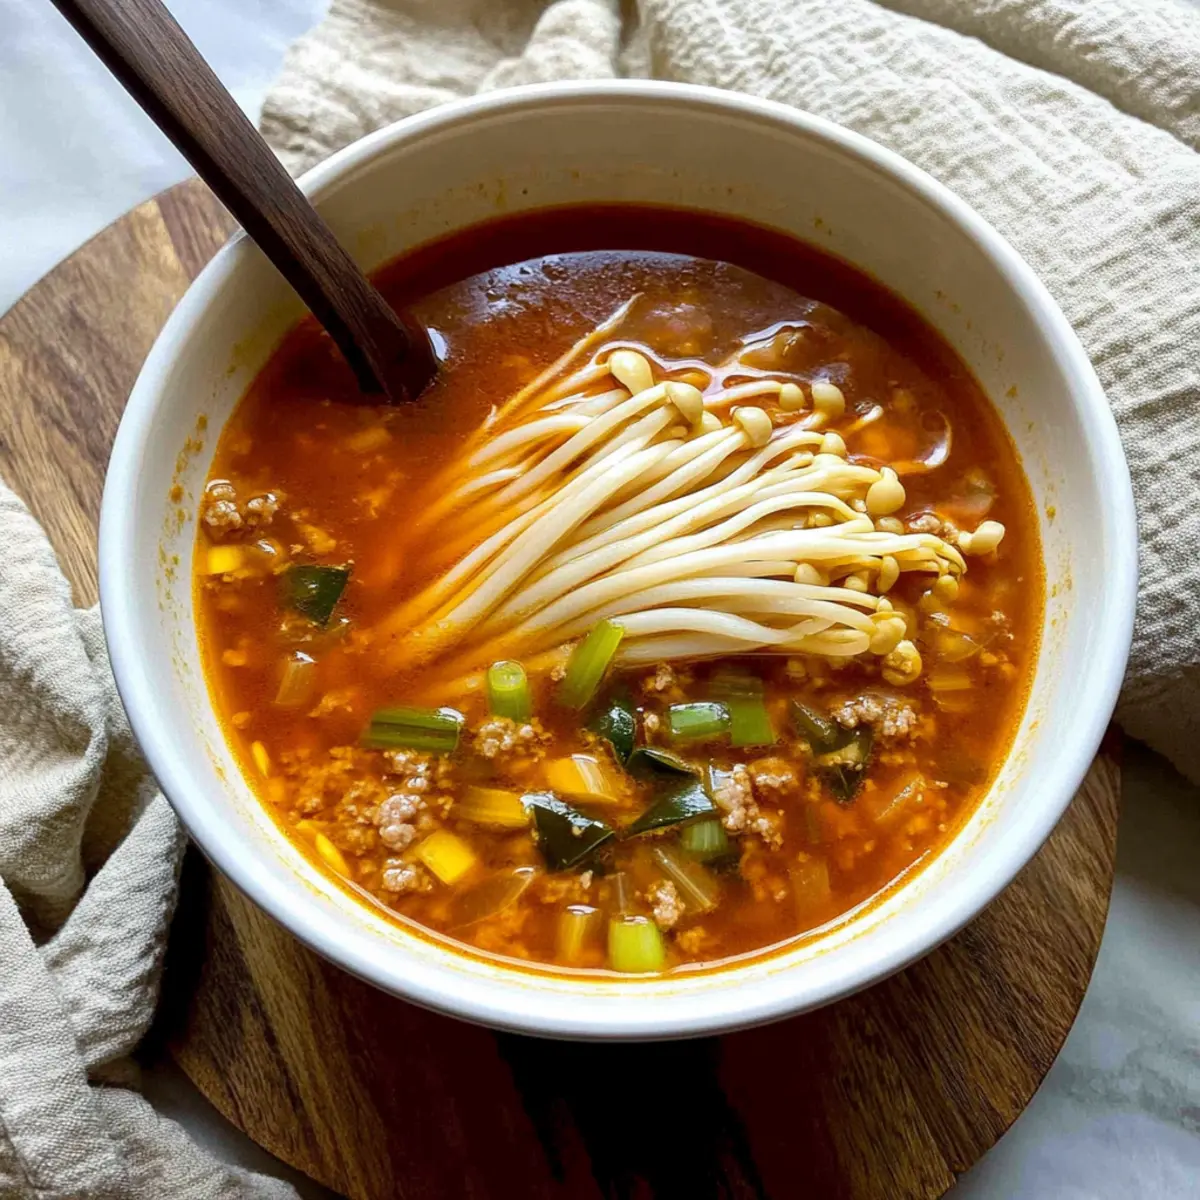
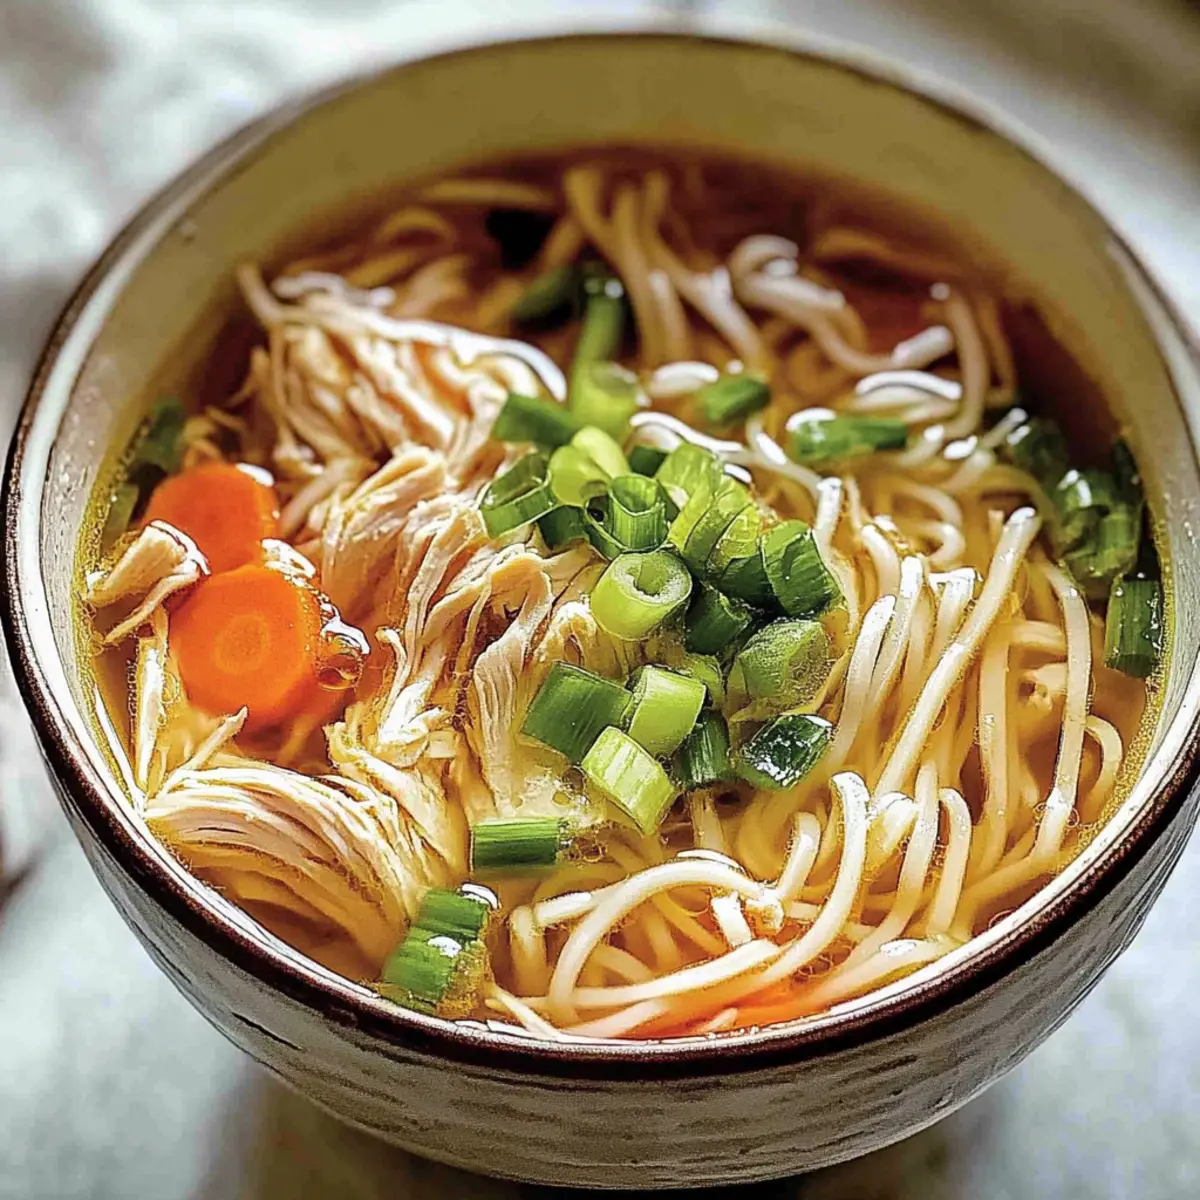
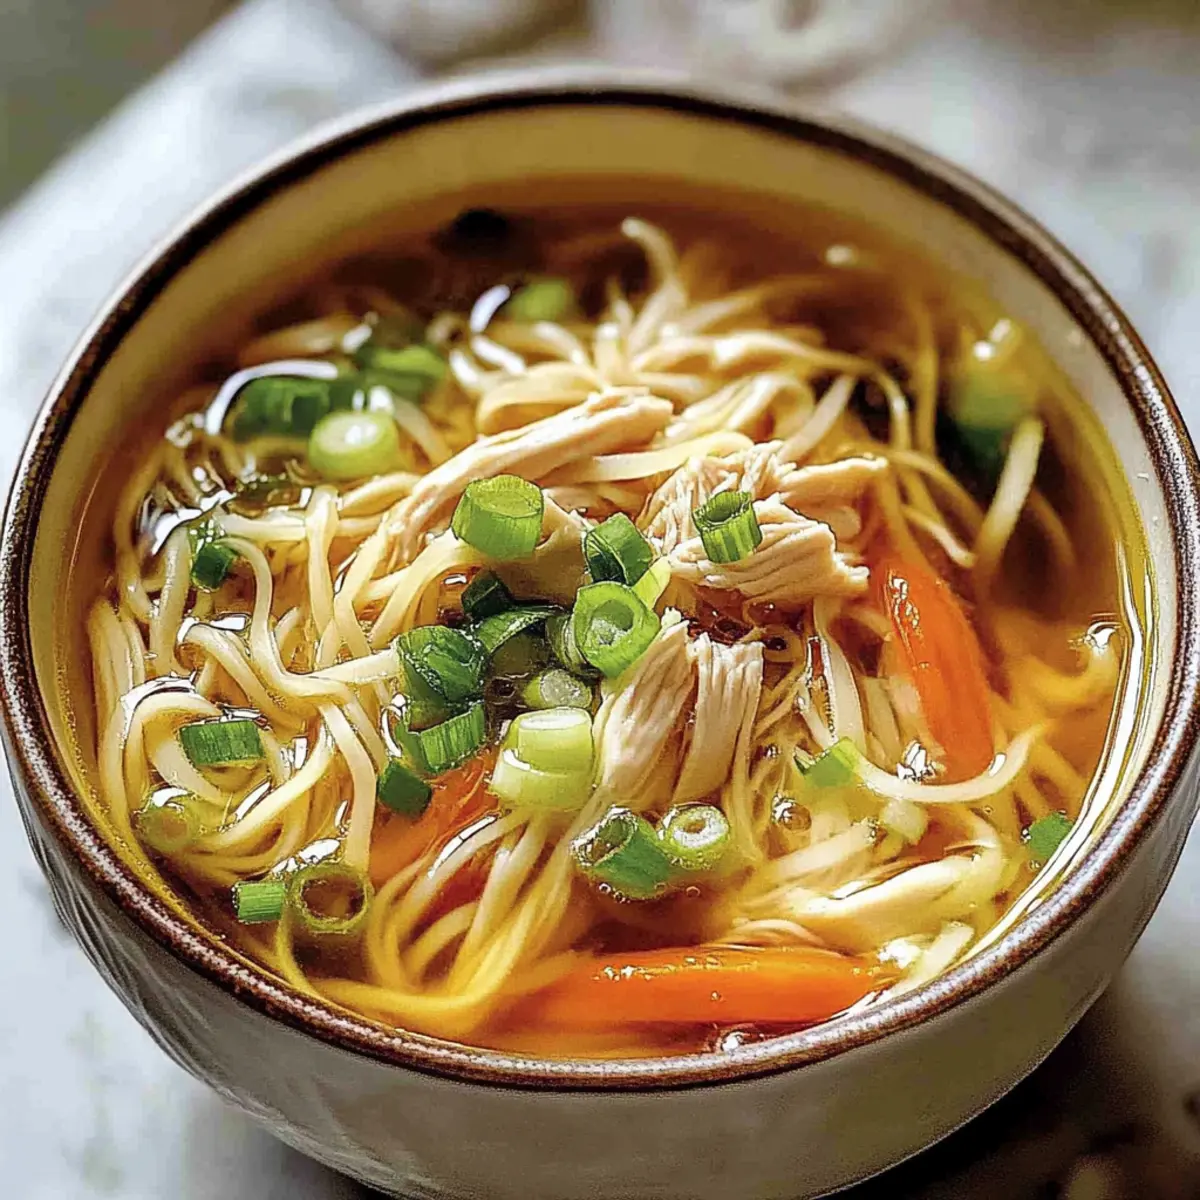
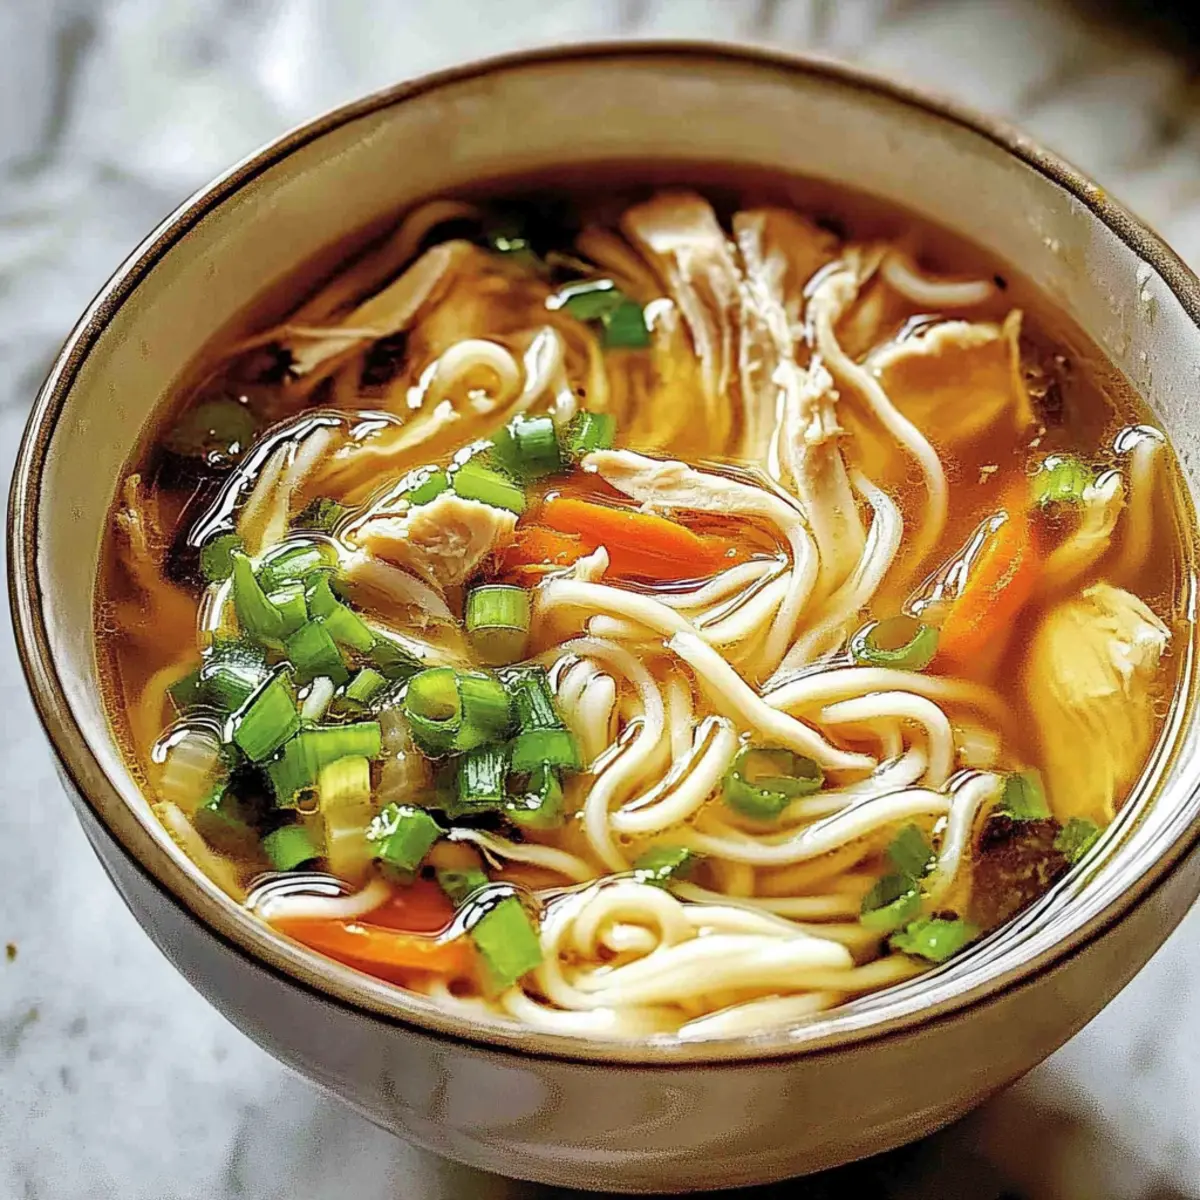
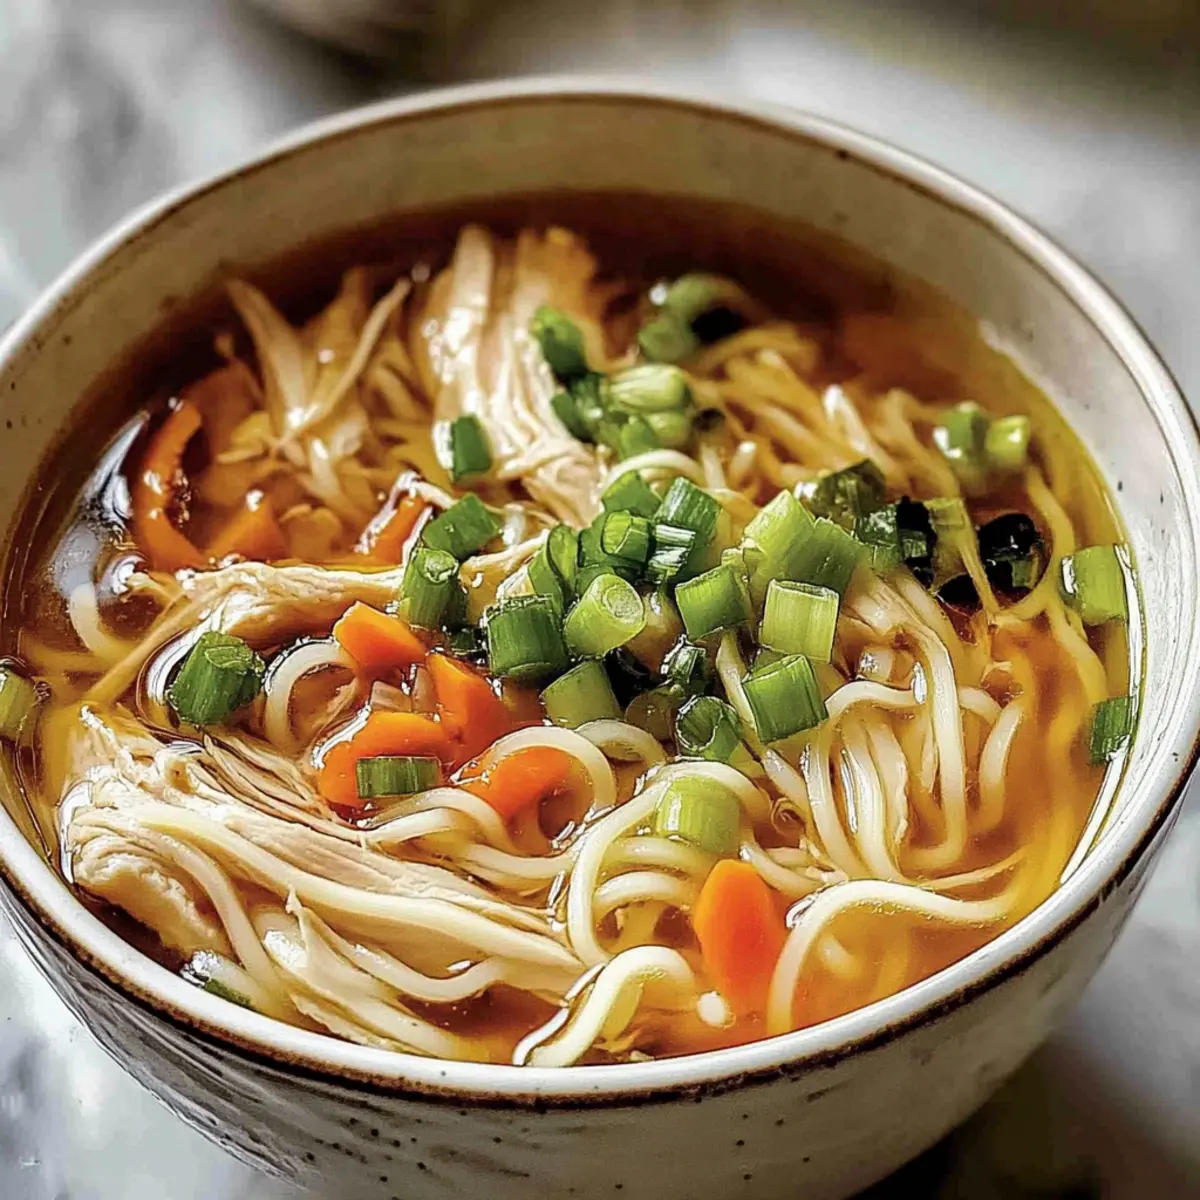
On a chilly evening, the aroma wafting from my kitchen held the promise of comfort — a steaming pot of Ginger Scallion Chicken Noodle Soup was on the horizon. This recipe elevates the classic chicken noodle soup into an aromatic masterpiece, blending the warm notes of fresh ginger and garlic to create a broth bursting with depth. It’s not just quick and easy to whip up; it’s also wonderfully adaptable, inviting you to toss in extra veggies or proteins to suit your family's preferences. With tender chicken and nestled noodles embraced by a savory hug of spices, this dish becomes the ultimate weeknight pick-me-up that feels special. Are you ready to discover the magic behind this delicious bowl of joy?
Why is this soup a must-try?
Comforting warmth: This soup embodies the essence of home-cooked comfort food, perfect for cozy nights.
Simple & quick: With just a few ingredients, you can whip up this delicious soup in no time, ideal for busy weeknights.
Flavor explosion: The bold flavors of ginger and garlic create a broth that tantalizes your taste buds, making each spoonful a delight.
Versatile base: Feel free to customize your soup by adding your favorite vegetables or proteins, just like with our Chicken Teriyaki Noodles or Crock Pot Chicken.
Great for sharing: Perfect for family dinners or gatherings, everyone will love this heartwarming dish!
Healthy goodness: Packed with fresh ingredients, it’s a nourishing choice for any meal.
Ginger Scallion Chicken Noodle Soup Ingredients
• The comforting blend of flavors awaits!
For the Soup
- Boneless Skinless Chicken Thighs – Best for a tender, juicy texture; can substitute chicken breasts but must monitor for overcooking.
- Garlic (6 cloves, thinly sliced) – Adds depth and aroma; essential to the flavor profile and cannot substitute without losing characteristic taste.
- Ginger (3 inches, peeled and finely chopped) – Provides warmth and tang; fresh ginger is preferred but powdered can be used, altering flavor.
- Scallions (1 bundle, divided) – Introduces freshness; divide between white parts for cooking and green parts for garnish.
- Kosher Salt (4 tsp) – Enhances all flavors; adjust according to taste, especially if using broth that is already salted.
- Black or White Pepper – Adds mild heat; to taste based on preference.
- Water (10 cups) – Forms the soup base; can use chicken broth for extra flavor.
- Dried Ramen or Curly Noodles (8 oz) – Provides carbohydrate base; other noodles can be used, adjust cook time based on package instructions.
- Carrot (1 cup, cut into thin matchsticks) – Offers sweetness and texture; can substitute with other vegetables like bok choy for added nutrition.
- Black Rice Vinegar (1/4 cup) – Adds tartness; substitute with rice vinegar or white wine vinegar, adjusting to taste.
- Soy Sauce (1/4 cup) – Provides umami and seasoning; opt for low-sodium if desired.
- Toasted Sesame Oil (2 tbsp) – Adds a nutty flavor; optional but highly recommended for depth.
- Crispy Chili Oil – Enhances heat and flavor; add to taste for spice lovers, or omit for a milder soup.
Enjoy each delightful ingredient in your Ginger Scallion Chicken Noodle Soup experience!
Step‑by‑Step Instructions for Ginger Scallion Chicken Noodle Soup
Step 1: Prepare the Base
In a large pot, combine boneless skinless chicken thighs, thinly sliced garlic, finely chopped ginger, white parts of the scallions, kosher salt, black or white pepper, and 10 cups of water. Heat the mixture over high heat until it reaches a rolling boil, then reduce the heat to medium-low. Allow the soup to simmer uncovered for about 15 minutes, until the chicken is tender and the broth is fragrant.
Step 2: Make the Sauce
While the soup is simmering, take a small bowl and whisk together 1/4 cup of black rice vinegar, 1/4 cup of soy sauce, and 2 tablespoons of toasted sesame oil. This flavorful sauce will add depth to your Ginger Scallion Chicken Noodle Soup. Set aside, allowing the flavors to blend while the chicken continues to cook.
Step 3: Shred the Chicken
Once the chicken is cooked through and tender, carefully remove it from the pot using tongs or a slotted spoon. Place the chicken on a cutting board and allow it to cool slightly. After a few minutes, shred the chicken into bite-sized pieces using two forks, ensuring it remains saucy and flavorful for the soup.
Step 4: Cook the Noodles
Bring the soup back up to a gentle boil on medium-high heat, then add 8 ounces of dried ramen or curly noodles along with 1 cup of thin matchstick-cut carrots. Cook according to the noodle package instructions, generally about 3-4 minutes, until the noodles are tender but still firm, adding a colorful sweetness to your Ginger Scallion Chicken Noodle Soup.
Step 5: Combine and Heat
After the noodles have finished cooking, stir the shredded chicken back into the pot. Mix everything together thoroughly, ensuring the chicken is heated through. Allow it to warm for an additional minute, ensuring the flavors meld beautifully, creating the ultimate comforting bowl of soup.
Step 6: Serve and Garnish
Ladle the warm soup into bowls, then finish with a sprinkle of the reserved green parts of the scallions for a fresh, vibrant touch. Drizzle the prepared sauce over each serving, allowing the flavors to shine through, and personalize with crispy chili oil to taste for an extra kick in your Ginger Scallion Chicken Noodle Soup.
Storage Tips for Ginger Scallion Chicken Noodle Soup
Fridge: Store leftover soup in an airtight container for up to 4 days. To maintain the best noodle texture, keep noodles separate until you're ready to reheat.
Freezer: Freeze the broth and shredded chicken in airtight containers for up to 3 months. Cook fresh noodles when you're ready to enjoy the soup again.
Reheating: To reheat, thaw frozen broth and chicken overnight in the refrigerator. Heat in a pot over medium heat, adding fresh noodles and any additional veggies until warmed through.
Expert Tips for Ginger Scallion Chicken Noodle Soup
-
Don’t Rush the Chicken: Ensure the chicken is cooked through but not overdone; check for doneness early to maintain tenderness.
-
Noodle Timing: Avoid mushy noodles by adding them only when the broth is boiling; consider cooking noodles separately if you prefer a firmer texture.
-
Aromatic Boost: Sauté garlic and ginger briefly before adding liquid to achieve a depth of flavor; be careful not to let garlic burn, as it can turn bitter.
-
Fresh Scallion Finish: Reserve the green parts of the scallions until serving to keep their crunch and vibrant color in your Ginger Scallion Chicken Noodle Soup.
-
Customize Wisely: Feel free to add more vegetables or proteins; just remember to adjust the cooking times based on what you choose for best results.
-
Spice Control: Start with a small amount of crispy chili oil for heat; you can always add more if you desire a spicier kick in your soup!
Make Ahead Options
These Aromatic Ginger Scallion Chicken Noodle Soup meal prep tips will save you valuable time during your busy week! You can prepare the soup base (chicken, garlic, ginger, scallion whites, and broth) up to 24 hours in advance and refrigerate it in an airtight container to maintain its flavor. To prevent the noodles from becoming soggy, cook them separately right before serving. Simply reheat the soup on the stove, add freshly cooked noodles and carrot matchsticks, and stir in the shredded chicken. For the best quality, reserve the scallion greens and crispy chili oil to sprinkle on top just before serving. Enjoy a warm bowl of comfort, effortlessly!
Variations & Substitutions for Ginger Scallion Chicken Noodle Soup
Feel free to let your creativity shine by customizing this delightful soup to suit your tastes!
-
Extra Greens: Add baby bok choy for additional greens. This not only boosts nutrition but also enhances the texture.
-
Protein Swap: Substitute frozen shrimp or firm tofu for the chicken. This opens up a world of flavor while keeping it family-friendly.
-
Spicy Twist: Increase the amount of crispy chili oil for that extra heat. A little goes a long way, but adjust to your spice tolerance!
-
Vegetable Medley: Incorporate other veggies like Napa cabbage or snap peas for extra nutrition. Each bite becomes a colorful adventure!
-
Noodle Variety: Instead of ramen, try soba or udon noodles for a different texture. Each noodle type brings its own unique personality to the soup.
-
Vinegar Options: Use rice vinegar or apple cider vinegar in place of black rice vinegar. Each will lend a distinct flavor while keeping the essence intact.
-
Herbal Boost: Fresh herbs like cilantro or basil can be added just before serving for an aromatic lift. A sprinkle of green can brighten an already flavorful dish!
-
Umami Enhancement: If you love umami, try adding a tablespoon of miso paste into your broth. This can deepen the flavor, making every spoonful rich and satisfying.
Get inspired and mix and match these ideas! And when you’re ready to explore more comforting chicken dishes, don’t forget to check out my Chicken Adobo Again or Spatchcock Chicken Flavor. Happy cooking!
What to Serve with Aromatic Ginger Scallion Chicken Noodle Soup
Set the stage for a comforting meal that highlights the rich, aromatic flavors of your soup while adding delightful contrasts.
-
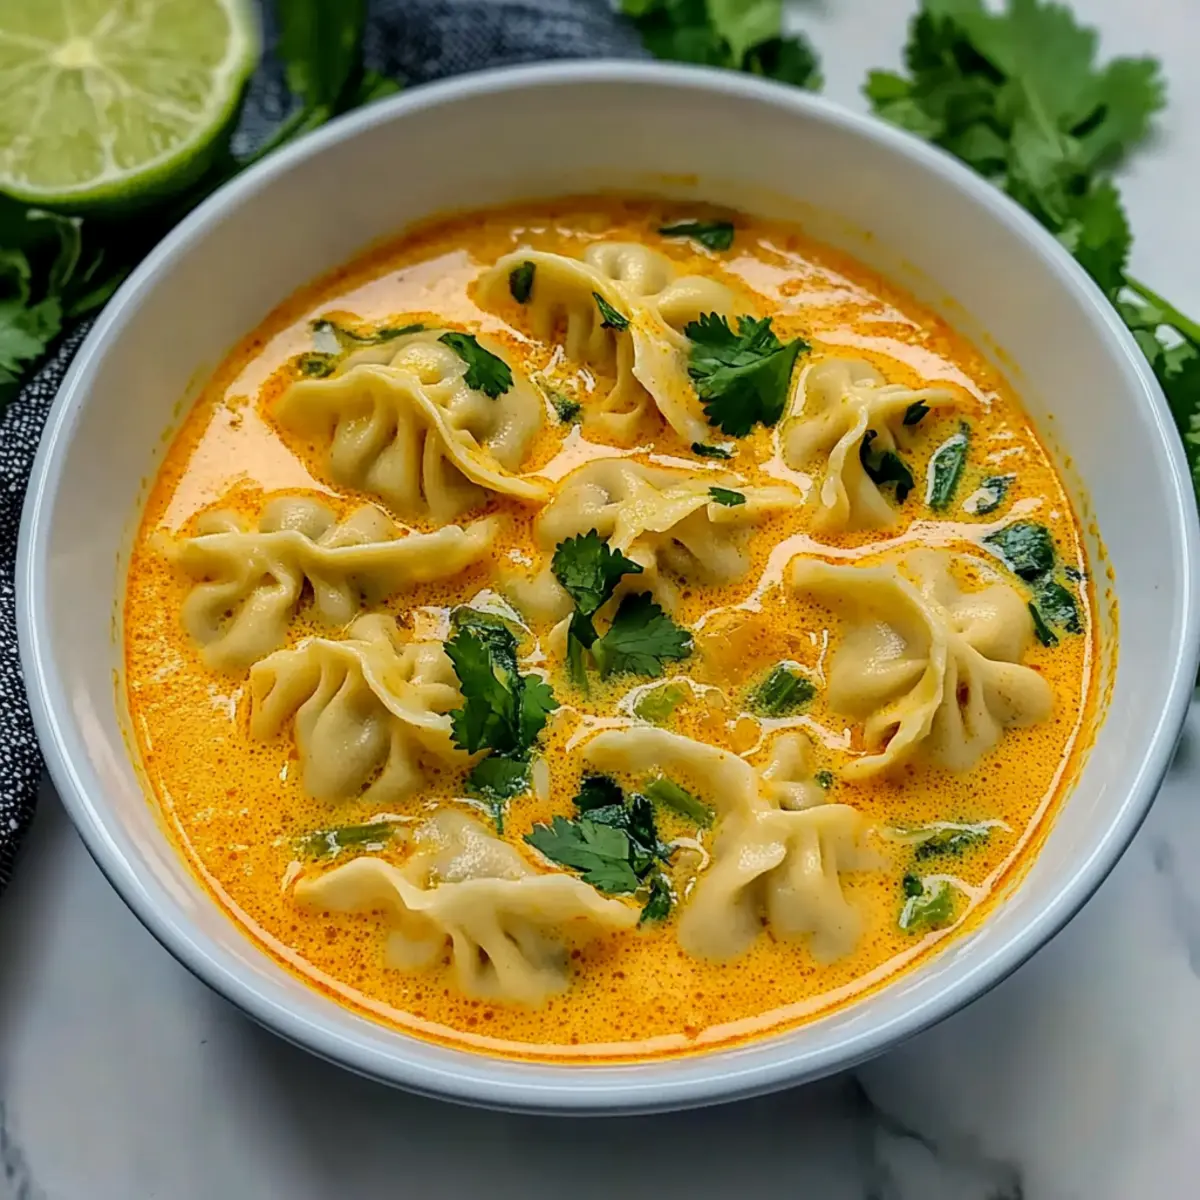
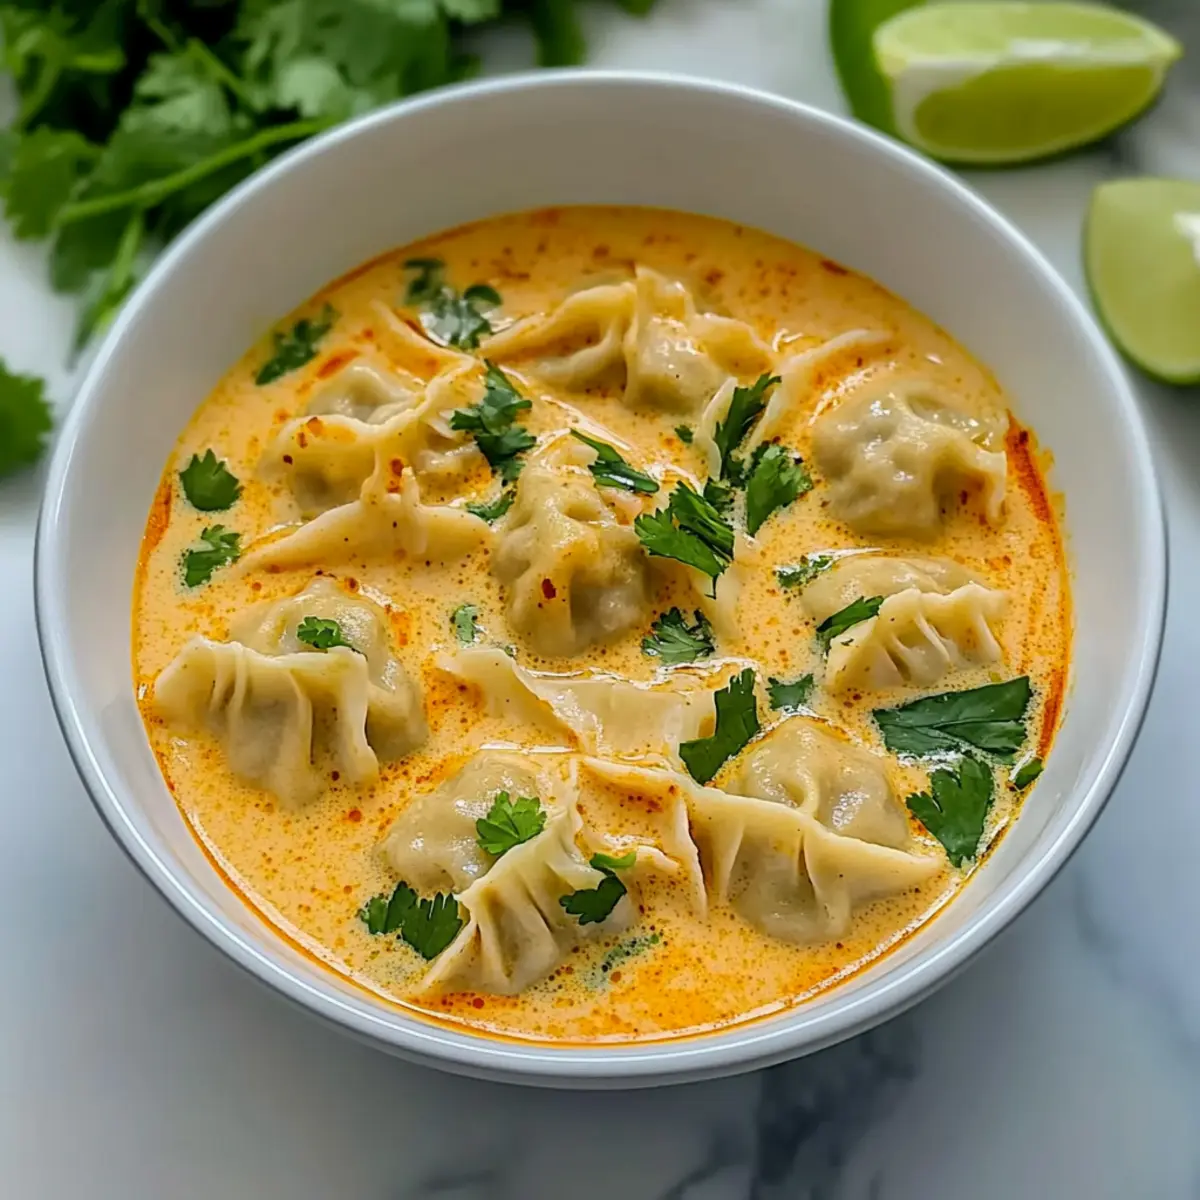
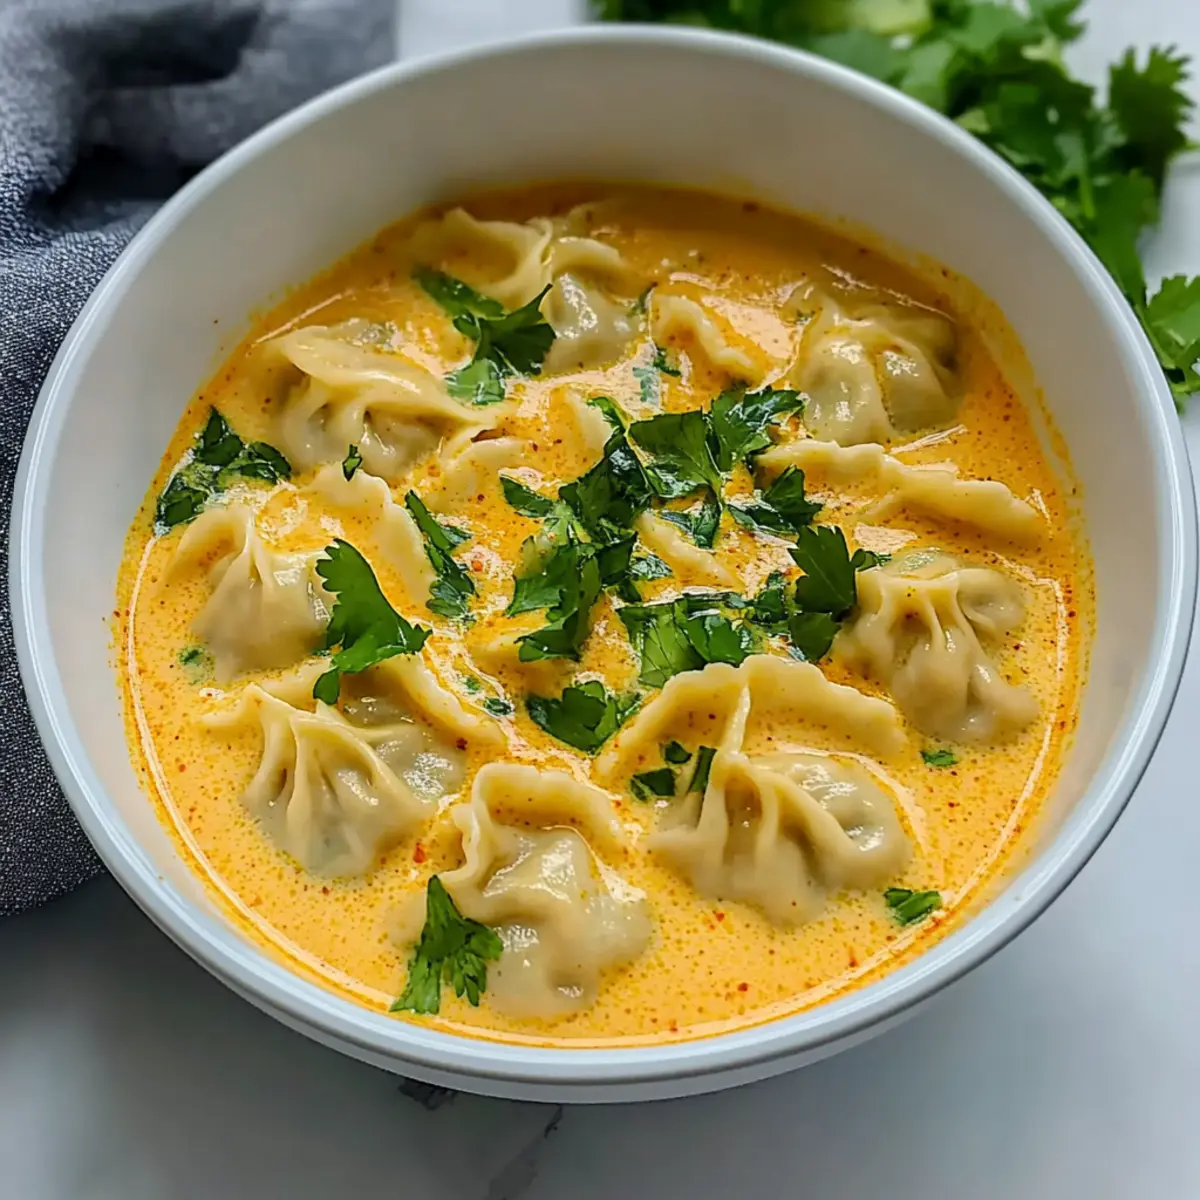
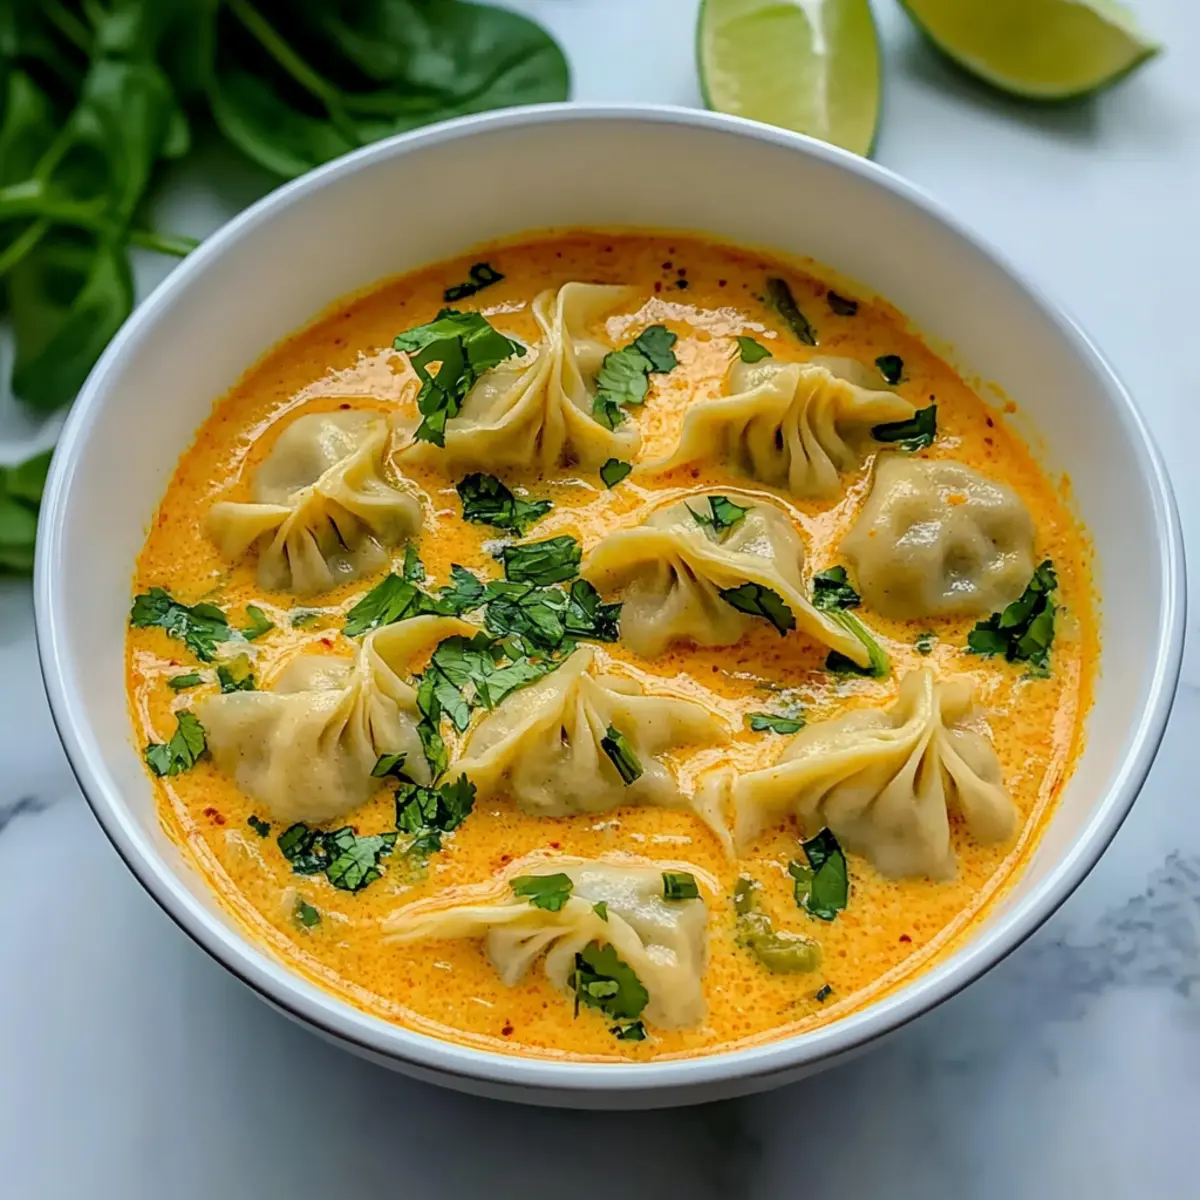
Steamed Dumplings: Their soft, pillowy texture and savory filling complement the warmth of the soup beautifully.
-
Crispy Spring Rolls: The crunch of crispy vegetables contrasts perfectly with the tender noodles, adding an enjoyable texture balance.
-
Fresh Cucumber Salad: A bright and refreshing side that cuts through the richness of the broth, making each bite feel light and vibrant.
-
Garlic Bread: The buttery, toasted notes of garlic and herbs create a delicious pairing with the soup's savory elements.
-
Pickled Vegetables: Adding a tangy crunch, these are perfect for those who crave additional flavors and textures in each bite.
-
Chili Oil Drizzle: Elevate your soup by serving a small bowl of spicy chili oil on the side for those who like an extra kick.
Don’t shy away from blending these options together — they harmonize beautifully with the cozy embrace of your Ginger Scallion Chicken Noodle Soup!
Ginger Scallion Chicken Noodle Soup Recipe FAQs
What is the best way to choose fresh ginger for this recipe?
Absolutely! When selecting ginger, look for firm roots with smooth, unblemished skin. Avoid any that have dark spots or are shriveled. Fresh ginger should smell fragrant and spicy. You can even lightly press the skin; it should feel solid and not easily indented.
How should I store leftover Ginger Scallion Chicken Noodle Soup?
Leftovers should be stored in an airtight container in the fridge, where they can stay fresh for up to 4 days. To keep the noodles from absorbing too much broth and becoming mushy, it's best to store them separately. Simply reheat your soup on the stove over medium heat until warmed through, adding the noodles back in freshly cooked if needed.
Can I freeze this soup, and if so, how?
Yes! You can freeze the broth and shredded chicken separately for up to 3 months in airtight containers. When you're ready to enjoy the soup again, thaw the containers in the fridge overnight. To reheat, place the broth in a pot over medium heat, bring to a simmer, and add fresh noodles along with any vegetables you choose! This way, your noodles will retain their perfect texture.
What if my chicken turns out dry when cooking?
To ensure your chicken stays juicy, be sure not to overcook it, as this can lead to dryness. Check for doneness early, especially if you're using thin pieces. The ideal internal temperature for fully cooked chicken thighs is 165°F (75°C). If you do find yourself with overcooked chicken, consider shredding it finely and stirring it back into the broth to help it reabsorb some moisture.
Are there any dietary considerations for this soup?
Yes, if you or anyone you're serving has allergies, it’s essential to keep an eye on the ingredients. For a gluten-free option, use gluten-free soy sauce, and substitute the noodles with a gluten-free alternative, such as rice noodles. Additionally, if preparing for pets, always take out any onions and garlic, as they're not safe for most pets.
Can I customize the vegetables in this soup? What are some suggestions?
Very much so! This recipe is wonderfully adaptable. You can add vegetables like bok choy, bell peppers, or even baby spinach for added nutrition. To incorporate these, simply add them during the last few minutes of cooking to keep them vibrant and crisp. Enjoy experimenting with different textures and flavors!
Aromatic Ginger Scallion Chicken Noodle Soup Bliss
Ingredients
Equipment
Method
- In a large pot, combine chicken thighs, garlic, ginger, white scallion parts, salt, pepper, and water. Bring to a boil, then simmer for about 15 minutes until chicken is tender.
- While simmering, whisk together black rice vinegar, soy sauce, and sesame oil in a small bowl. Set aside.
- Remove cooked chicken from pot, shred into bite-sized pieces, and set aside.
- Bring soup back to a boil, add noodles and carrots. Cook according to package instructions, about 3-4 minutes.
- Stir shredded chicken back into the pot and warm through for an additional minute.
- Ladle soup into bowls, garnish with the reserved green scallion parts, drizzle with sauce, and add crispy chili oil if desired.