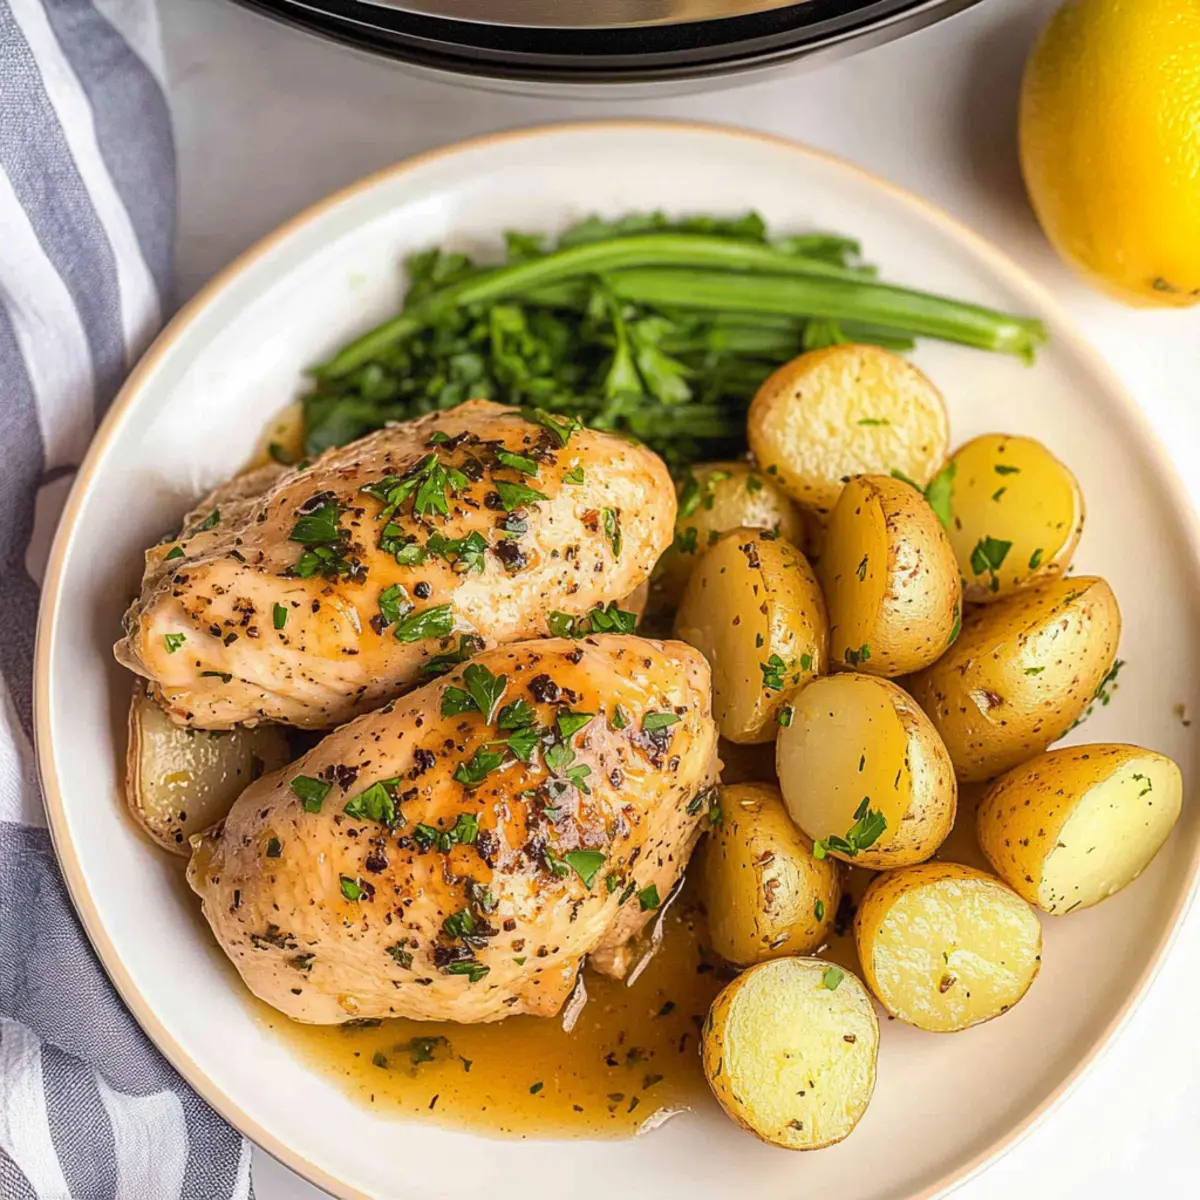
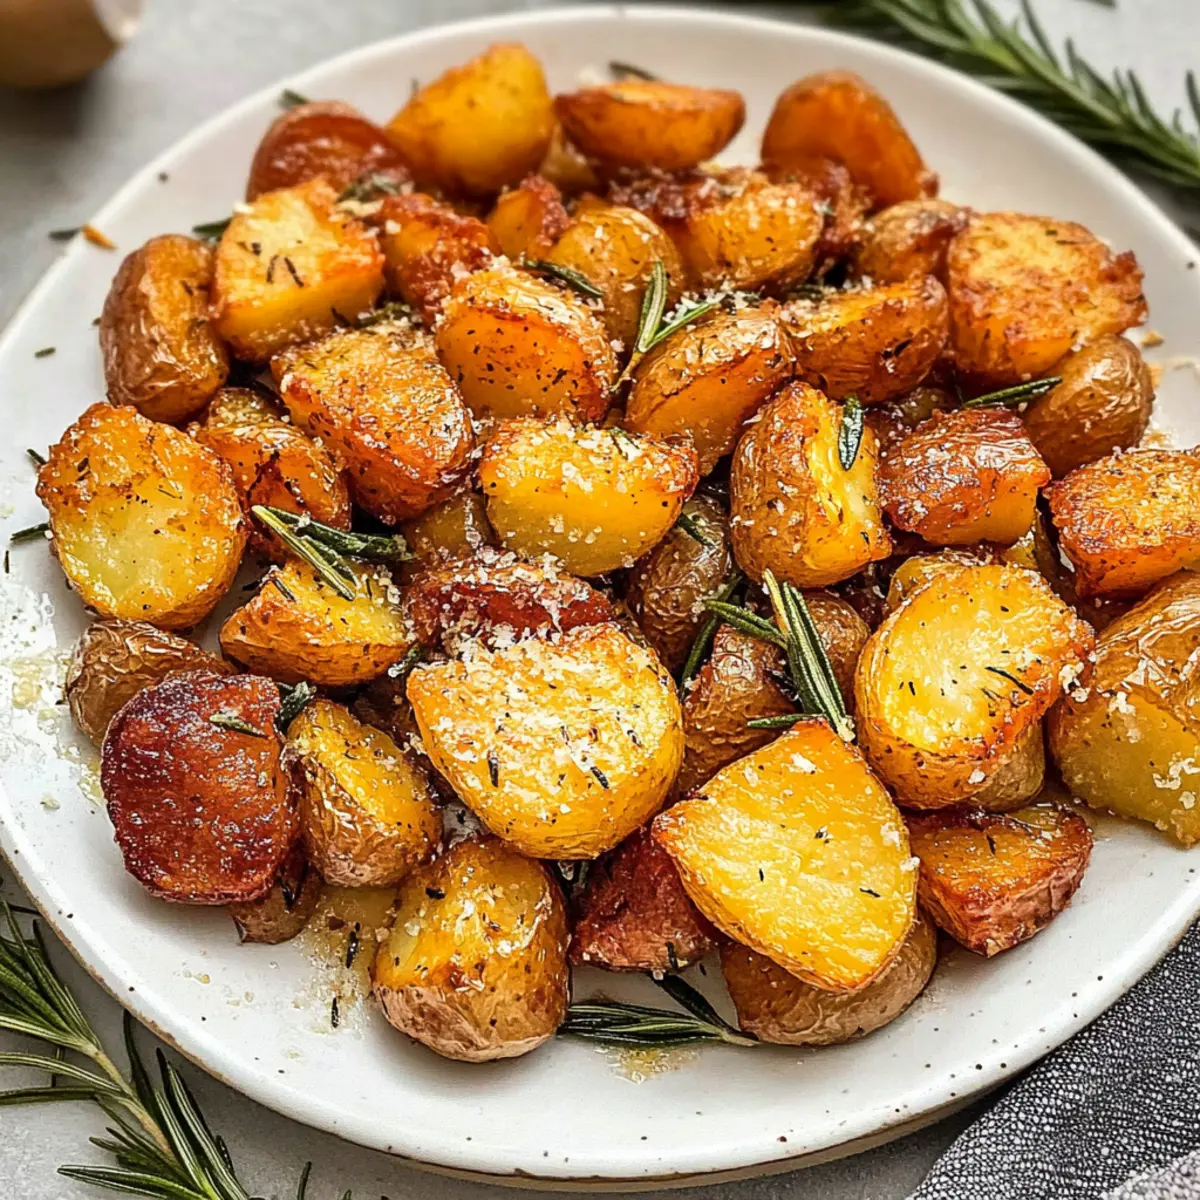
The sizzle of roasting potatoes fills the kitchen, drawing everyone closer in anticipation. Today, I’m excited to share my recipe for Crispy Roast Potatoes with Rosemary and Garlic, a side dish that promises to elevate any meal. These potatoes are not only Whole30 compliant and gluten-free; they also deliver the ultimate blend of crunchiness and fluffiness that will have your family asking for seconds. With simple ingredients and minimal prep, you can create a side that pairs beautifully with everything from roast chicken to grilled steaks. Want to discover the secrets behind achieving that perfect crispy exterior? Let’s dive into this recipe that’s bound to become a staple in your home!
Why are Crispy Roast Potatoes a Must-Have?
Irresistible Crunch: Each bite delivers a delightful crunch paired with a fluffy interior, making these potatoes incredibly satisfying.
Flavorful Aroma: Infused with garlic and rosemary, they fill your kitchen with enticing fragrances that will have everyone eagerly waiting at the table.
Easy Preparation: With just a few simple steps, these potatoes come together quickly—perfect for busy weeknights or special gatherings.
Versatile Side Dish: They complement a wide range of mains, whether it’s Fish Taco Bowls or Roasted Bratwurst Peppers, making your meals more exciting.
Crowd-Pleaser: Guaranteed to impress family and guests alike, they’re perfect for holidays or casual dinners.
Make Ahead: You can parboil them in advance, making meal prep a breeze while still achieving that coveted crispy finish when roasted fresh.
Crispy Roast Potatoes Ingredients
• Get ready to make a delightful side!
For the Potatoes
- Yellow Potatoes – The star of the dish; cut into large chunks for the best texture.
- Kosher Salt – Essential for enhancing flavor and achieving that perfect crispy crust.
- Baking Soda – Helps create a wonderfully crisp exterior by breaking down the potato's surface.
For Roasting
- Duck Fat – This rich fat elevates the flavor during roasting; feel free to swap with olive oil or ghee if needed.
- Freshly-Cracked Black Pepper – Adds a depth of flavor that complements the dish beautifully.
- Whole Head Garlic – Trimmed and roasted for an aromatic infusion that enhances the overall taste.
- Chopped Fresh Rosemary – Brings a fresh herbal note, making these crispy roast potatoes truly enchanting.
For Finishing Touches
- Extra-Virgin Olive Oil – Drizzle on at the end for a silky finish; grass-fed butter is a great alternative.
- Flaky Sea Salt – This final sprinkle enhances both flavor and presentation for your crispy roast potatoes.
Step‑by‑Step Instructions for Crispy Roast Potatoes with Rosemary and Garlic
Step 1: Prep the Potatoes
Start by peeling the yellow potatoes and cutting them into large chunks for optimal texture; smaller potatoes can be left whole. Rinse the potatoes under cold water to remove excess starch, ensuring they will crisp up beautifully. Once prepared, set aside the potatoes while you boil water for the next step.
Step 2: Parboil the Potatoes
In a large pot, bring salted water to a rolling boil and add baking soda, which aids in achieving that coveted crispy exterior. Carefully add the potatoes and parboil for about 10 minutes until they're tender but still firm, not falling apart. Drain the potatoes in a colander and allow them to cool slightly, giving them a moment to relax.
Step 3: Coat and Season
While the potatoes are cooling, preheat your oven to 425°F (220°C). In a large bowl, toss the parboiled potatoes with duck fat, making sure each piece is well-coated. Season generously with kosher salt, freshly-cracked black pepper, chopped rosemary, and the whole head of garlic. This combination will infuse the potatoes with aromatic flavors as they roast.
Step 4: Roast the Potatoes
Spread the seasoned potatoes evenly on a large baking sheet, ensuring they’re not overcrowded for even roasting. Place them in the preheated oven and roast for 60 to 75 minutes. Keep an eye on them, turning the potatoes halfway through until they achieve a golden brown hue and a wonderfully crispy texture, bringing out that mouthwatering crunch.
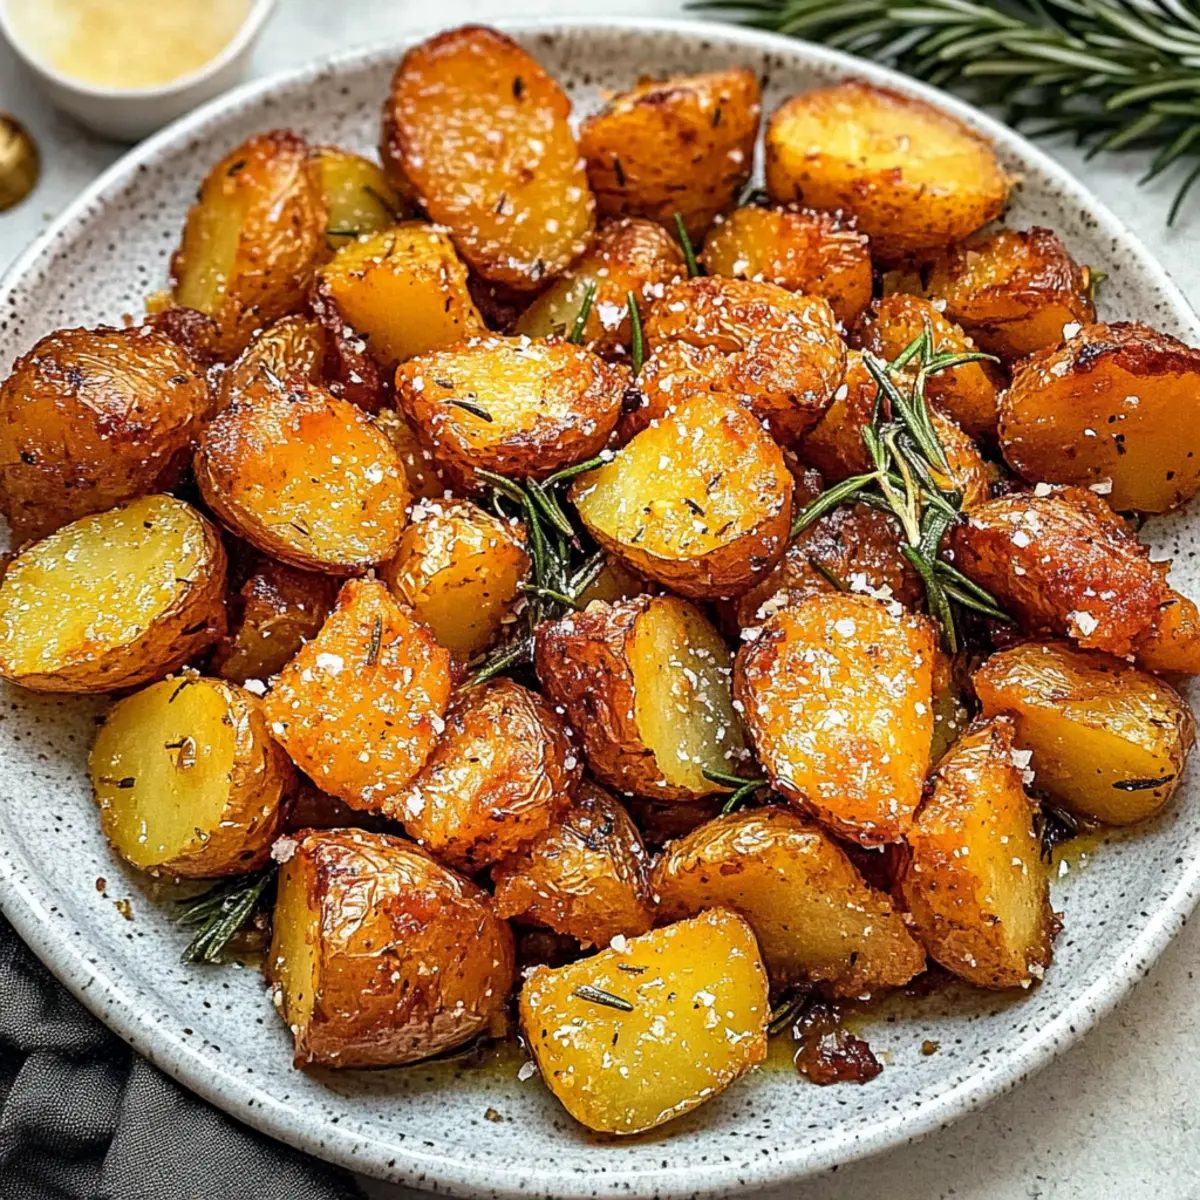
Step 5: Finish and Serve
Once done, remove the crispy roast potatoes from the oven and let them cool for a few minutes. Drizzle with extra-virgin olive oil and sprinkle with flaky sea salt to enhance their flavor. Serve immediately, marveling at the crispy exteriors and fluffy insides that make these potatoes a delightful side dish to any meal.
How to Store and Freeze Crispy Roast Potatoes
Fridge: Store leftover crispy roast potatoes in an airtight container for up to 3 days. This will help retain some of their delightful flavors.
Freezer: For longer storage, freeze the parboiled potatoes before roasting. Place them in a freezer bag, and they’ll stay good for up to 3 months.
Reheating: To enjoy leftovers, reheat in a preheated oven at 400°F (200°C) for about 10-15 minutes, allowing them to regain some crispiness.
Make-Ahead Tip: Parboil and refrigerate the potatoes in advance; they can be roasted fresh when you're ready to serve crispy roast potatoes at your gathering!
Make Ahead Options
Crispy Roast Potatoes are perfect for meal prep, allowing busy home cooks to enjoy a delicious side with minimal last-minute fuss. You can parboil the potatoes up to 24 hours in advance; once cooled, simply refrigerate them in an airtight container. This step ensures they’re tender and ready for roasting without compromising their amazing texture. When you're ready to serve, toss the chilled potatoes in duck fat, rosemary, and seasoning before roasting at 425°F (220°C) for 60 to 75 minutes until crispy. This method guarantees that your potatoes will be just as delicious and satisfying, making this a fantastic solution for time-strapped weeknights!
What to Serve with Crispy Roast Potatoes with Rosemary and Garlic
Enhance your meal with a delightful medley of flavors and textures that beautifully complement your crispy roast potatoes.
-
Roasted Chicken: The juicy, tender chicken pairs perfectly with the crunch of the potatoes, creating a comforting meal that warms the heart.
-
Grilled Lamb Chops: Their rich flavor and herbaceous notes harmonize wonderfully with rosemary, making this pairing an elegant choice for gatherings.
-
Smoky Barbecue Ribs: The crispy potatoes make a wonderful contrast to the sticky sweetness of barbecue sauce, ideal for a casual feast.
-
Honey-Glazed Carrots: Sweet and tender, these vibrant carrots offer a lovely freshness that balances out the hearty potatoes beautifully.
-
Fresh Garden Salad: A crisp salad with mixed greens, cherry tomatoes, and a light vinaigrette adds a refreshing crunch to each bite, enhancing the meal.
-
Creamy Coleslaw: The tanginess of coleslaw provides a delightful contrast to the savory roast potatoes, bringing a creamy element to the table.
-
Red Wine: A silky, medium-bodied red wine like Pinot Noir will elevate your dining experience, pairing beautifully with both the potatoes and main dishes.
-
Apple Crisp: Finish with a warm apple crisp for dessert; the sweet, cinnamon flavors complement the savory theme while providing a comforting end to the meal.
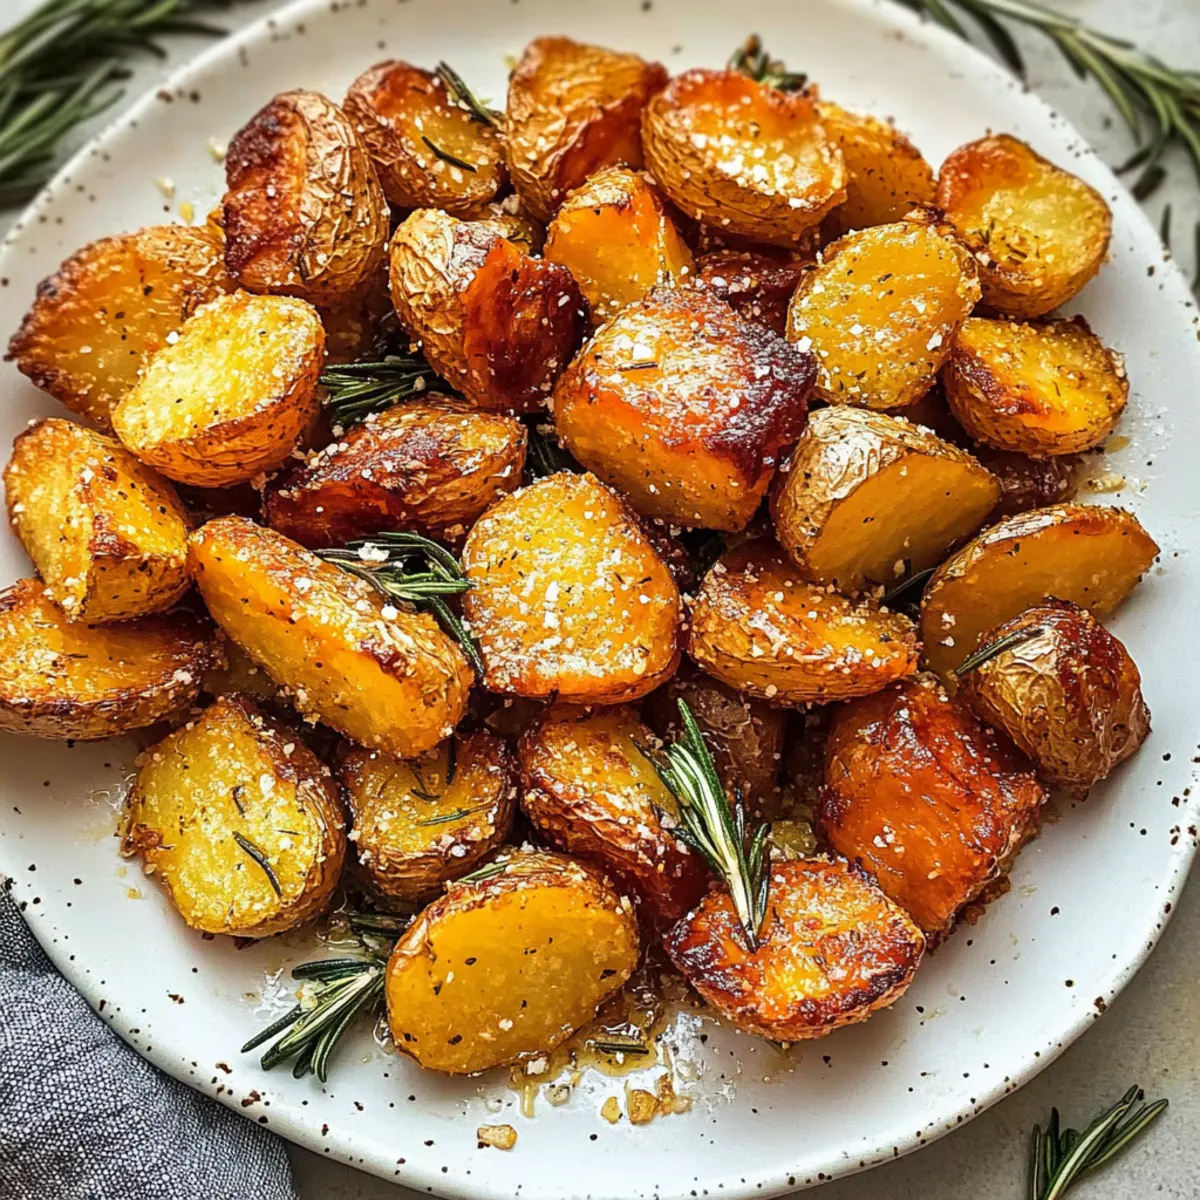
Expert Tips for Crispy Roast Potatoes
Chunk Size Matters: Cut your potatoes into large, uniform chunks to prevent them from crumbling during cooking; this ensures maximum crispiness.
Perfect Parboil: Use salted water and baking soda during parboiling—this combination helps break down the potato surface for better texture.
Preheat Properly: Ensure your oven is fully preheated to 425°F (220°C) before roasting; this kick-starts the crisping process, yielding the best crispy roast potatoes.
Space Them Out: Spread the potatoes evenly on the baking sheet; overcrowding can lead to steaming instead of roasting, hindering that desired crunch.
Garnish Wisely: Finish with flaky sea salt right before serving to elevate flavor; avoid adding it too early to keep the integrity of the potatoes intact.
Crispy Roast Potatoes Variations
Feel free to get creative and tailor these crispy roast potatoes to your taste buds with these delightful twists!
-
Herb Swap: Exchange rosemary for thyme or oregano to refresh the flavor profile for a unique twist.
Consider using a combination of these herbs to create a fragrant herb mix that captivates your senses. -
Garlic Infusion: Enhance the garlic flavor by using roasted garlic oil instead of duck fat for a richer taste.
Simply drizzle the oil over the potatoes while tossing, and enjoy the added depth of flavor. -
Spicy Kick: Sprinkle crushed red pepper flakes or cayenne for a spicy variation that’ll warm your taste buds.
This simple addition elevates the dish and adds a whole new layer of heat to savor. -
Paprika Boost: Add smoked paprika for a hint of smokiness that can take these potatoes to another level.
Toss the potatoes with a teaspoon of paprika before roasting to embrace a new flavor dimension. -
Vegan Option: Substitute duck fat with avocado oil or melted coconut oil to keep the dish plant-based friendly.
These swaps maintain delicious crunchiness while also catering to vegan diets. -
Cheesy Flavor: Add grated Parmesan or nutritional yeast right before serving to introduce a delightful savoriness.
This flavor enhancement not only adds richness but also an irresistible cheesy aroma. -
Zesty Finish: A squeeze of fresh lemon juice right before serving can brighten flavors and add a refreshing zing.
Pair it with a sprinkle of zest to make each bite burst with a delightful citrus note. -
Twice-Roasted: For an extra crispy outer layer, roast the potatoes a second time at a higher temperature for the last 15 minutes.
This technique adds a delightful crunch that elevates the overall texture and taste.
Enhance your dining experience by serving these crispy roast potatoes alongside Smoky Sweet Potatoes or Roasted Corn Fried for a vibrant spread that excites the palate!
Crispy Roast Potatoes with Rosemary and Garlic Recipe FAQs
How do I choose the best potatoes?
Absolutely! For crispy roast potatoes, yellow potatoes are ideal due to their creamy texture and ability to hold their shape. Look for firm potatoes without dark spots or blemishes, as these can indicate overripeness. A great selection will be smooth and evenly colored, perfect for achieving that delightful crunch.
What’s the best way to store leftover crispy roast potatoes?
After enjoying your crispy roast potatoes, let any leftovers cool down before placing them in an airtight container. They can be stored in the fridge for up to 3 days. To reheat, pop them back into a preheated oven at 400°F (200°C) for about 10-15 minutes to help restore some of that glorious crispiness.
Can I freeze parboiled potatoes instead of fully roasted ones?
Very! To freeze parboiled potatoes, first follow the parboiling steps, then drain and let them cool completely. Once cooled, spread them in a single layer on a baking sheet and freeze until solid. Transfer them to a freezer bag or airtight container, and they’ll keep well for up to 3 months. When you're ready to use them, roast straight from the freezer, adding a few extra minutes to the cooking time.
What should I do if my potatoes aren’t crispy enough?
If your crispy roast potatoes aren't as crispy as desired, check a few factors. First, ensure you’re using enough duck fat or oil to coat all potatoes evenly. Also, make sure your oven is preheated and that the potatoes are spread out on the baking sheet without overcrowding. If they are still not crisping up, increase the temperature by 25°F (about 15°C) and roast a bit longer. This will help achieve that coveted crunch.
Are crispy roast potatoes safe for pets?
While the ingredients in crispy roast potatoes are generally safe, make sure not to include any seasoning like salt or garlic if you plan to share with your pets, as these can be harmful. It's best to stick to plain, cooked potatoes for your furry friends.
Can I make this recipe in advance?
Absolutely! You can parboil the potatoes a day ahead and store them in the fridge. When you’re ready to serve, just toss them in duck fat and roast. This way, you can enjoy freshly roasted crispy potatoes without the last-minute scramble!

Crispy Roast Potatoes with Garlic and Rosemary Magic
Ingredients
Equipment
Method
- Start by peeling the yellow potatoes and cutting them into large chunks. Rinse under cold water to remove excess starch.
- In a large pot, bring salted water to a boil with baking soda. Add the potatoes and parboil for about 10 minutes. Drain and let cool slightly.
- Preheat oven to 425°F (220°C). Toss parboiled potatoes with duck fat and seasonings in a bowl. Ensure each piece is coated.
- Spread the seasoned potatoes on a baking sheet and roast for 60-75 minutes, turning halfway, until golden brown and crispy.
- Remove from the oven, let cool briefly, drizzle with olive oil, and sprinkle with sea salt. Serve immediately.