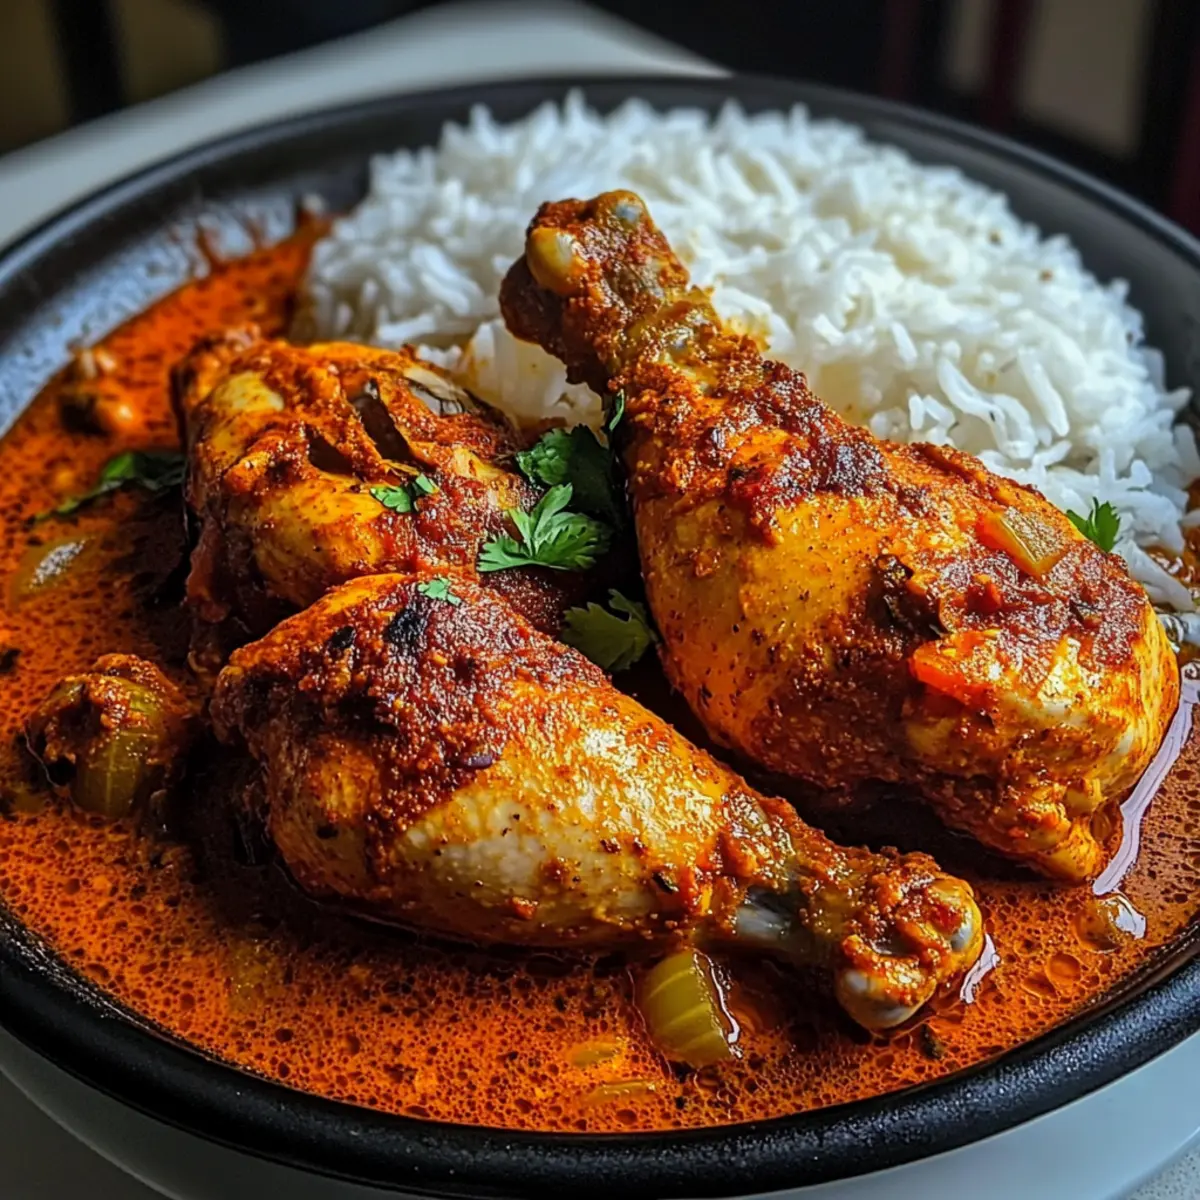
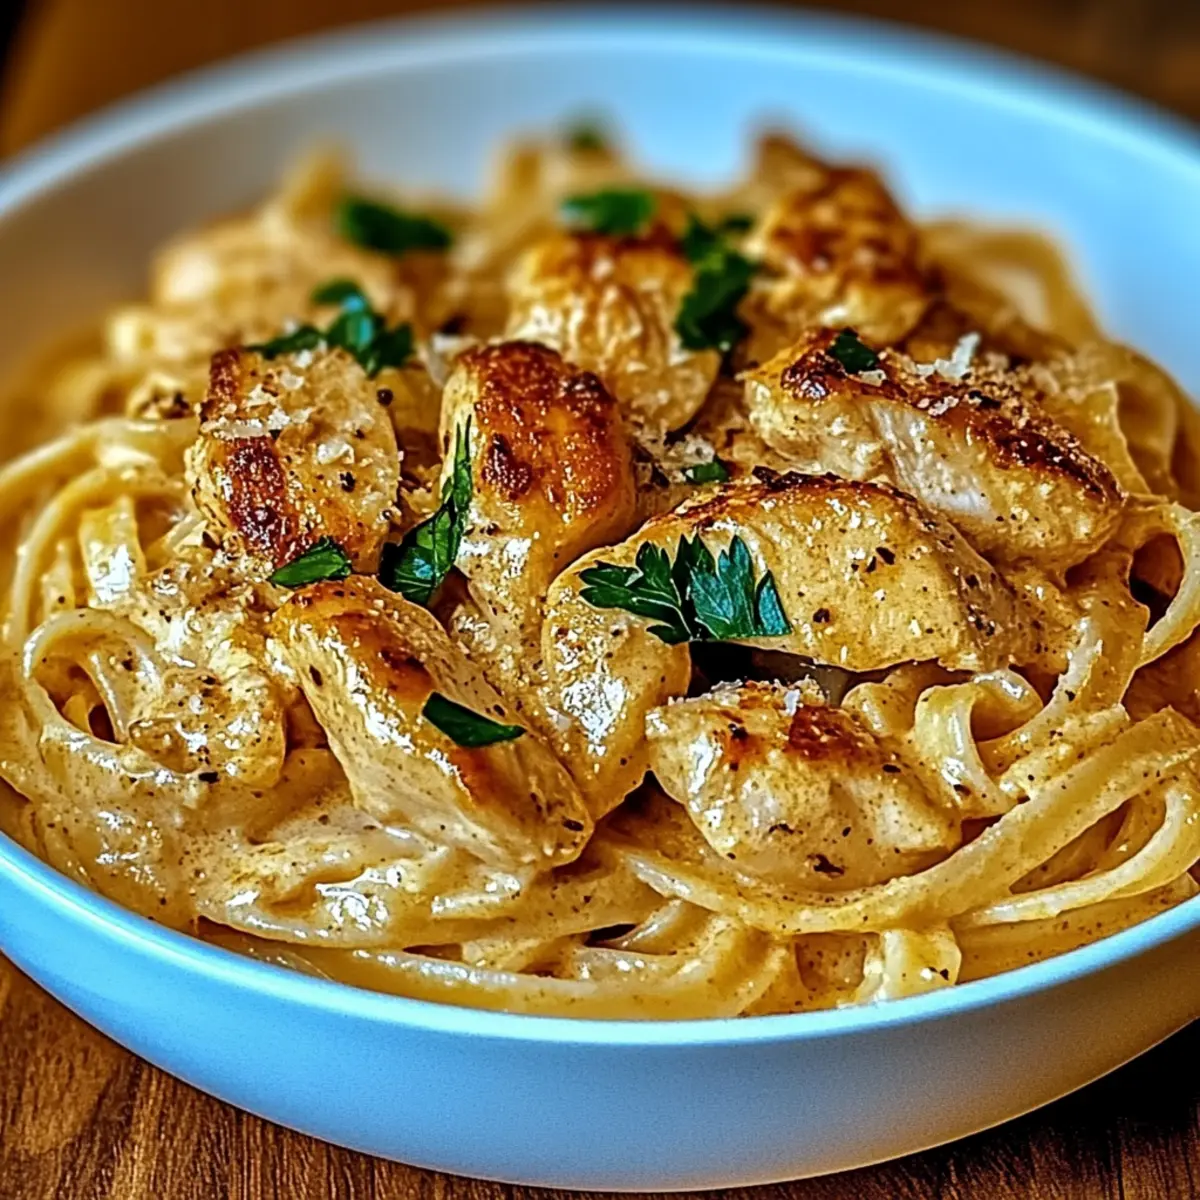
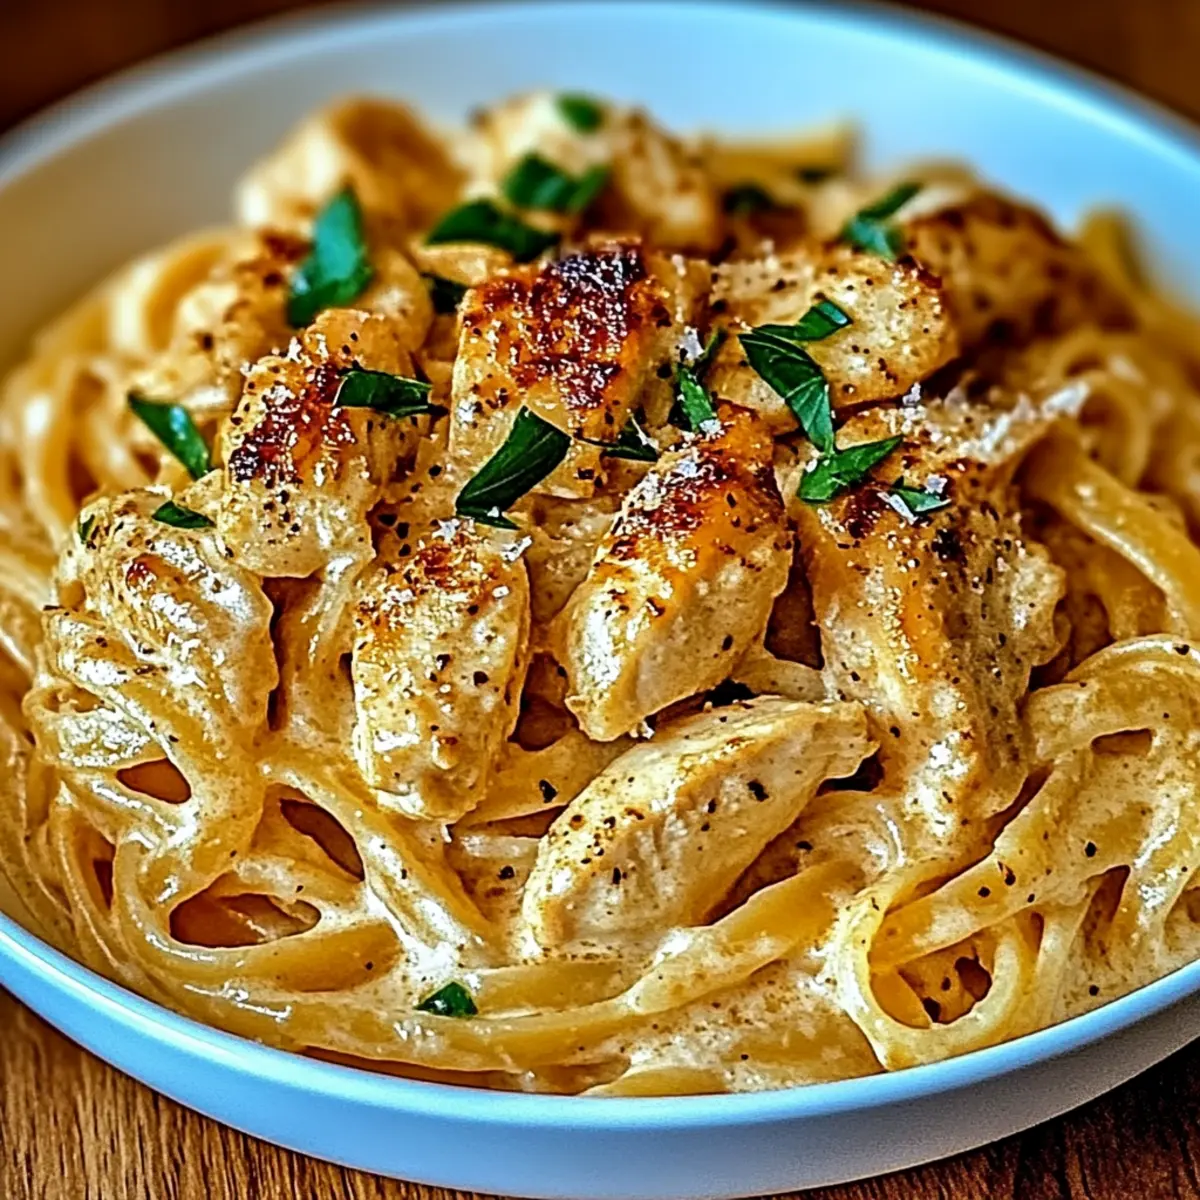
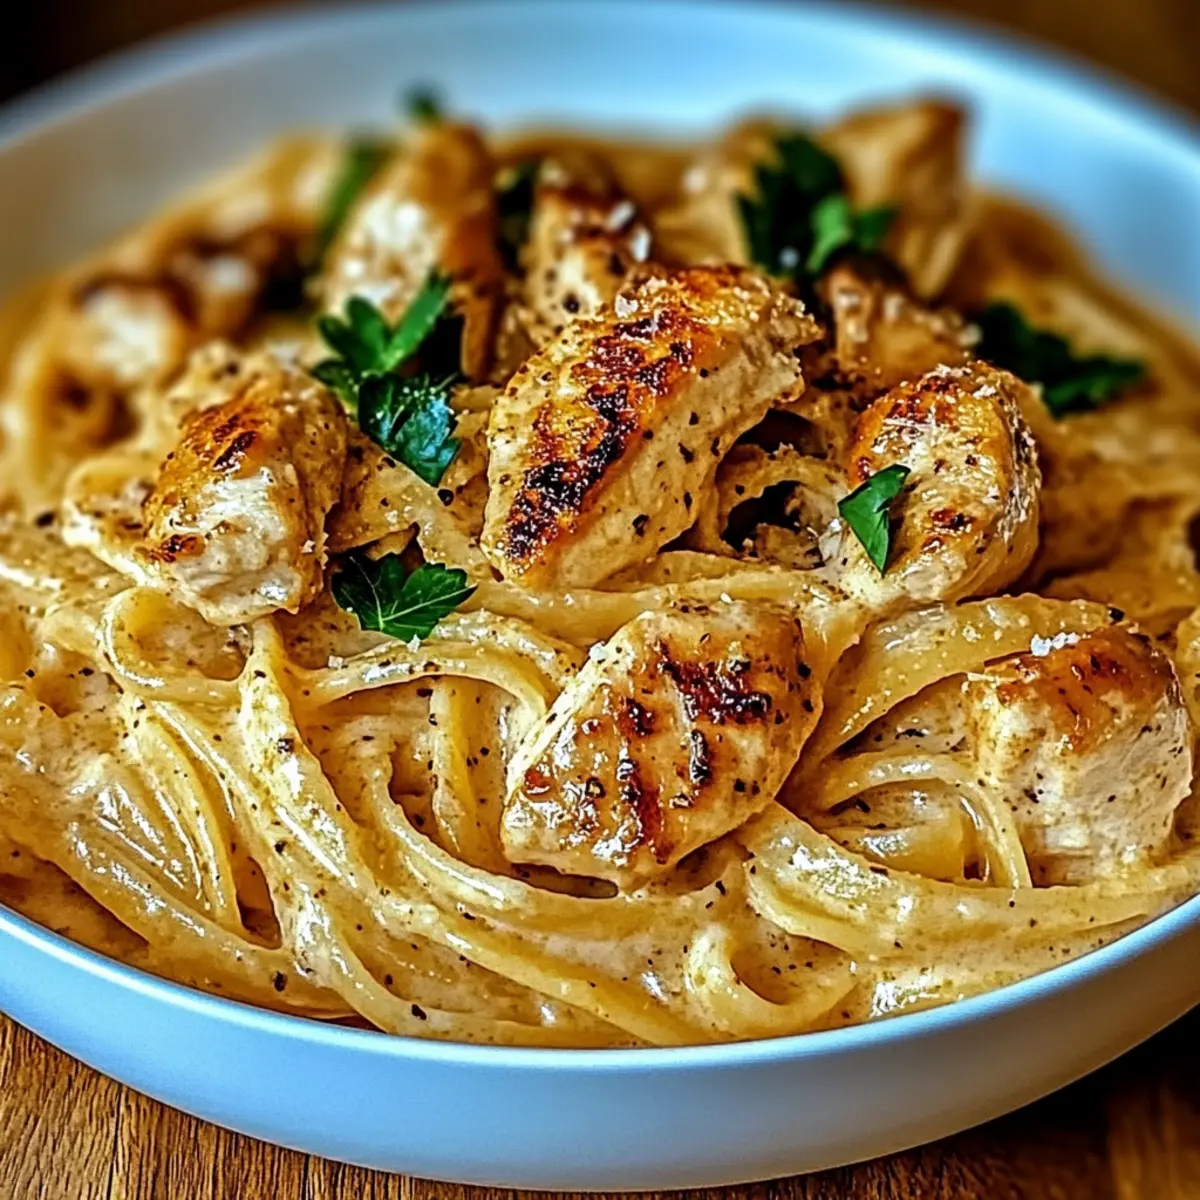
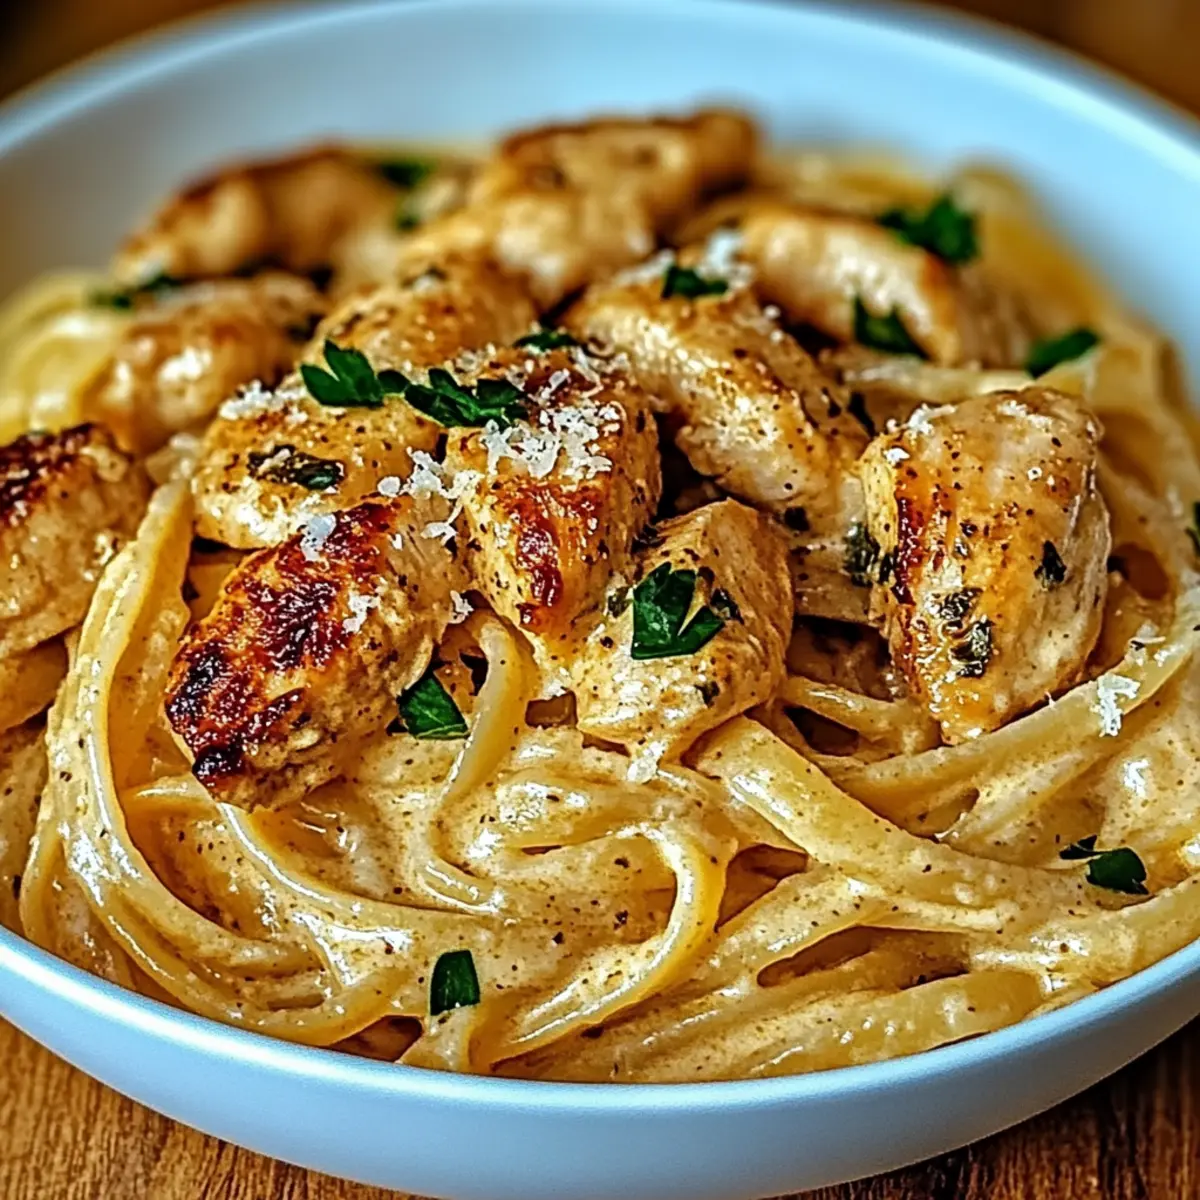
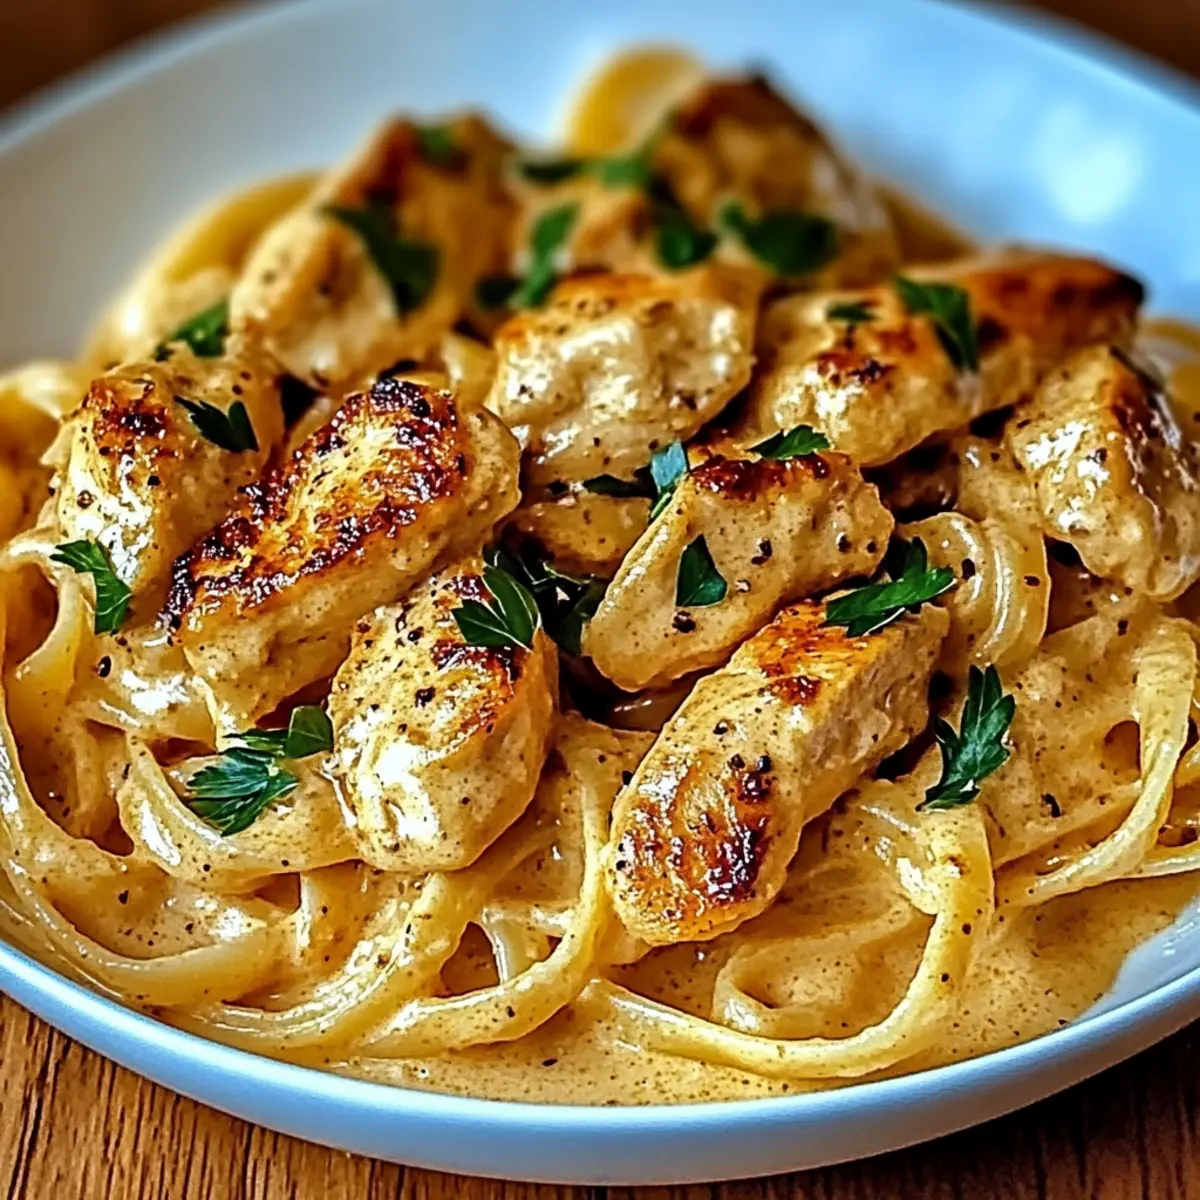
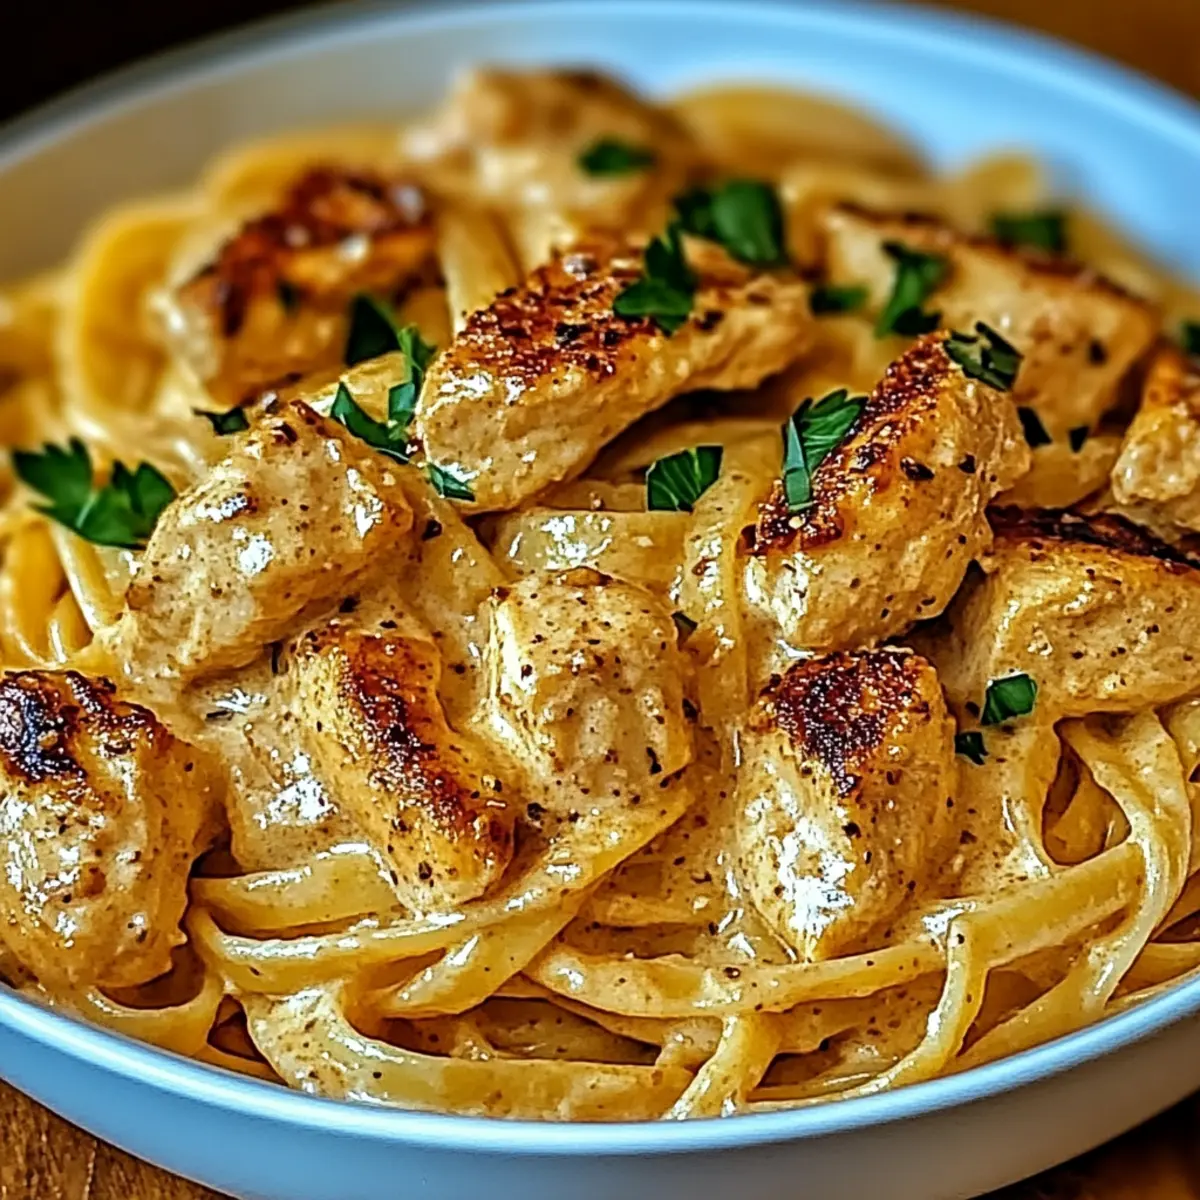
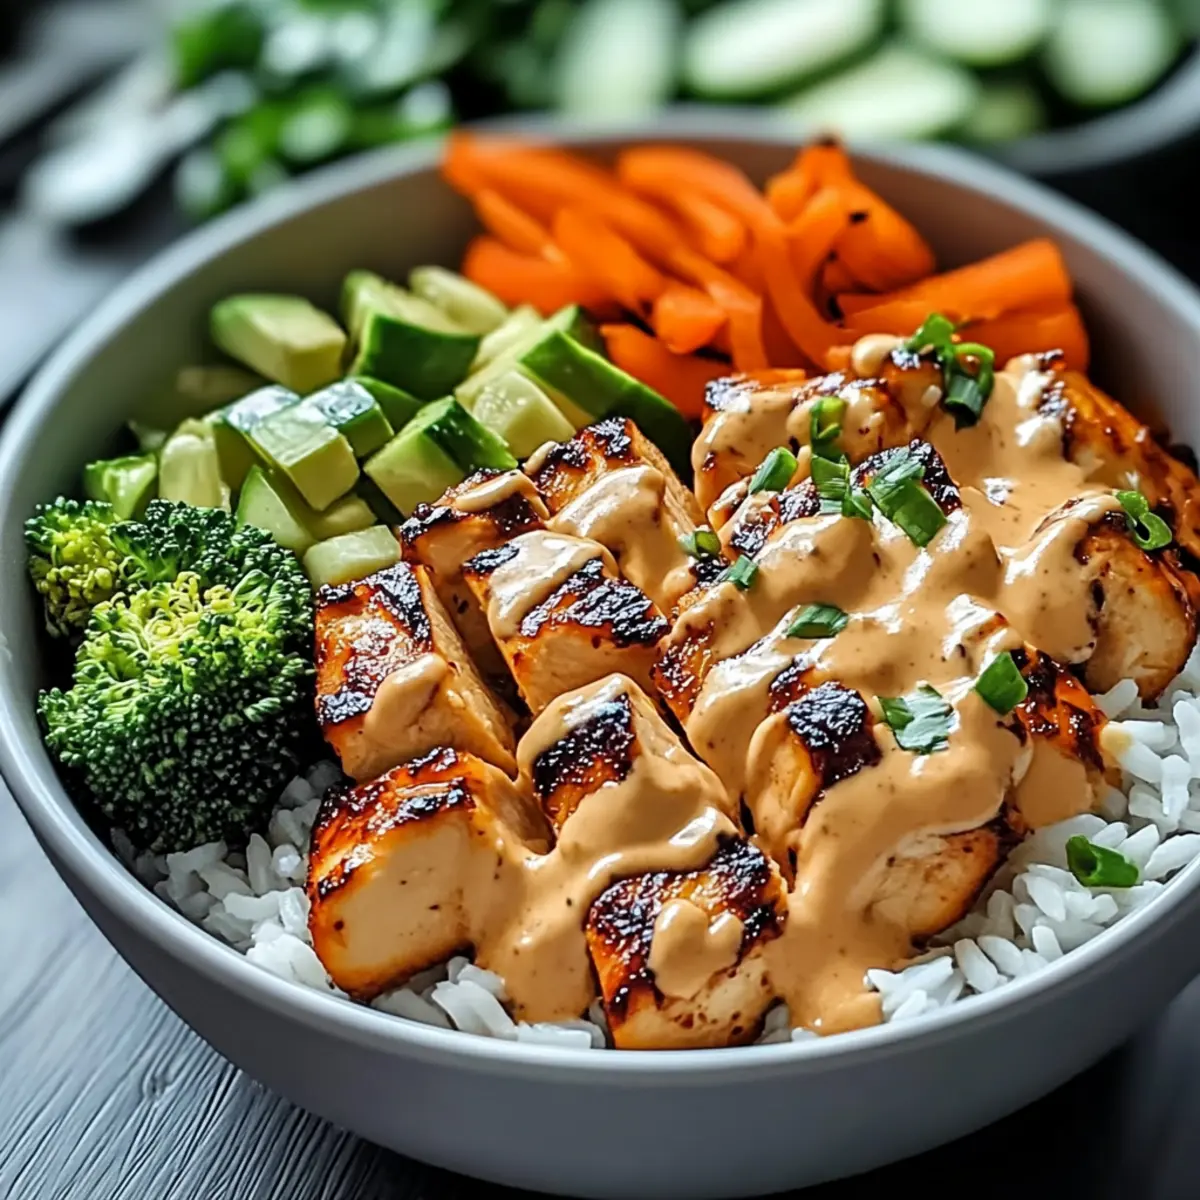
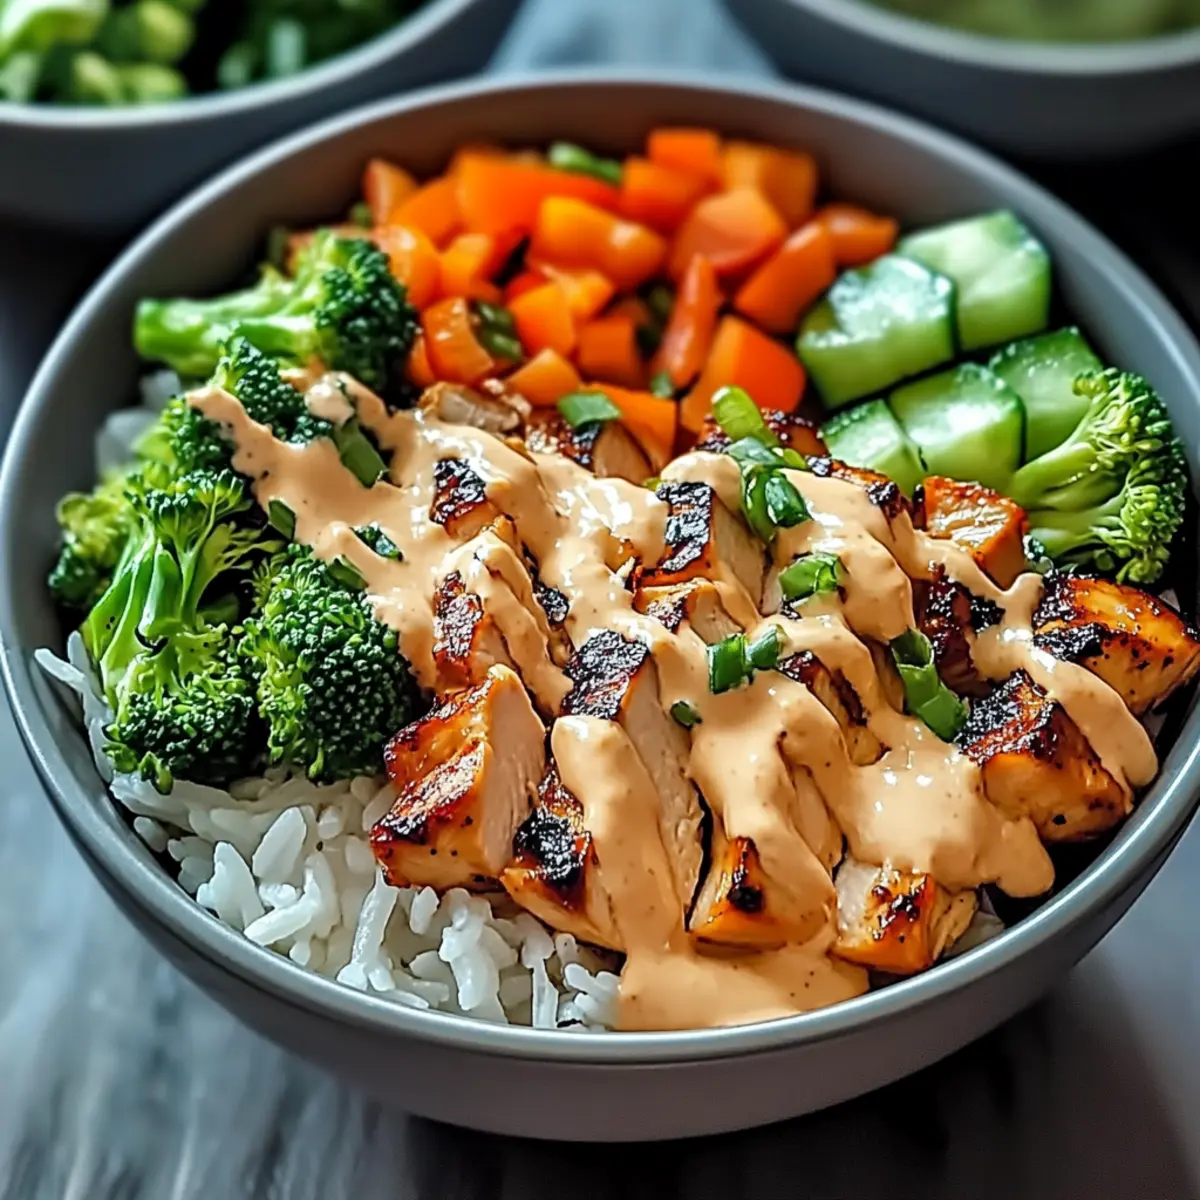
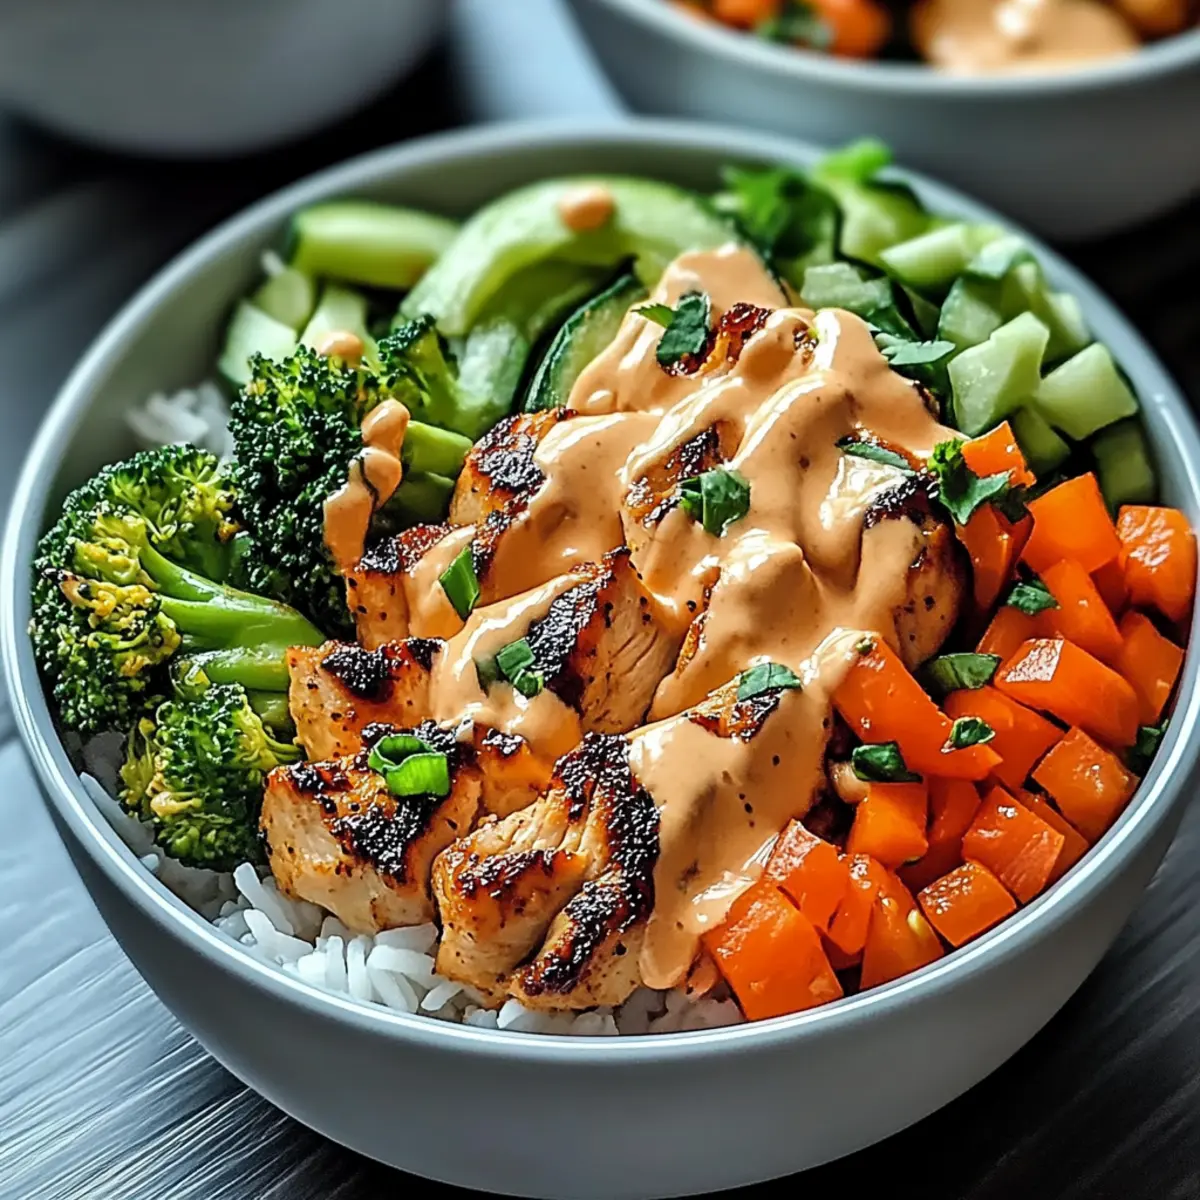
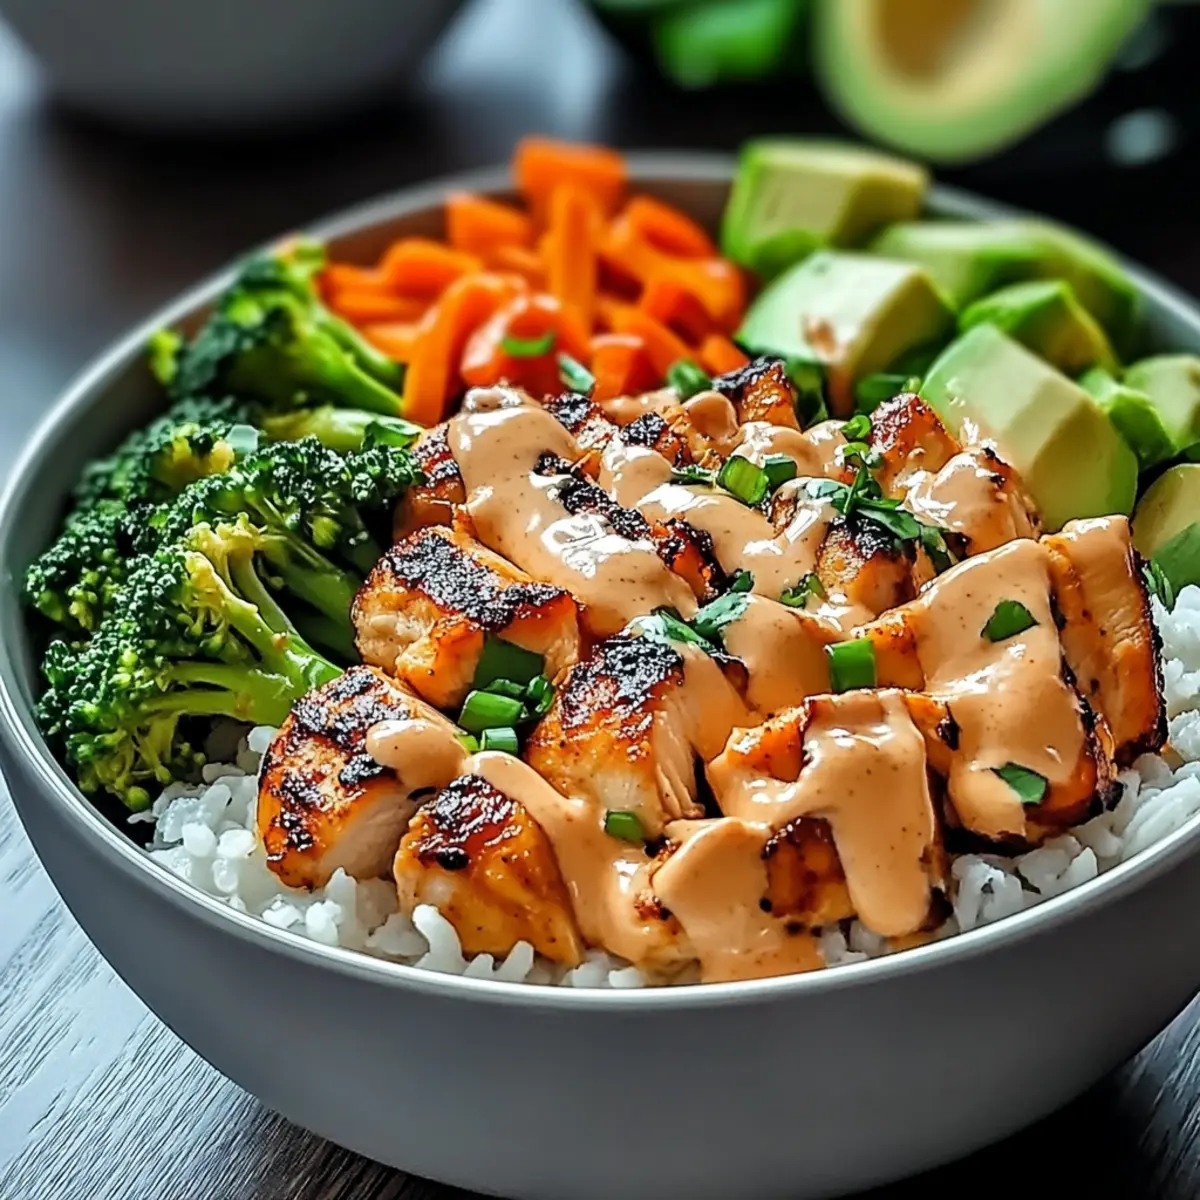
As I stood in my kitchen, a chaotic symphony of sounds—a sizzling skillet, clinking utensils, and my family’s chatter—reminded me that weeknight dinners can be both manageable and delightful. Enter the Easy Bang Bang Chicken Bowl, a dish that transforms the ordinary into something extraordinary in just a few simple steps. This delectable creation features tender chicken paired with vibrant, crisp vegetables, all smothered in a creamy, spicy-sweet sauce that’s impossible to resist. The beauty of this meal lies in its customization, allowing you to adapt it with your favorite veggies and spice levels, making it a perfect fit for the whole family—or even a surprise guest! Whether you’re looking to whip up a quick meal or satisfy your cravings with healthy comfort food, this bowl delivers on both fronts. Are you ready to dive into this flavorful adventure?
Why Is Bang Bang Chicken Bowl Amazing?
Customizable: Tailor this dish to suit your family’s tastes—swap chicken for shrimp or tofu, and choose any veggies you have on hand!
Quick Preparation: Ready in under 30 minutes, it’s perfect for busy weeknights.
Flavor Explosion: The creamy, spicy-sweet bang bang sauce creates a delightful contrast with fresh veggies and tender chicken.
Crowd-Pleaser: Kids and adults alike will be asking for seconds!
Healthy Option: Packed with lean protein, vitamins, and fibers; it’s a wholesome choice without sacrificing taste.
Pair it with a refreshing cucumber salad or Honey Garlic Chicken Thighs for a complete meal experience!
Bang Bang Chicken Bowl Ingredients
For the Chicken
• Chicken Breast – A lean protein that keeps the dish healthy; swap with chicken thighs for a moister texture.
For the Vegetables
• Mixed Vegetables – Adds color and nutrition; choose seasonal favorites like bell peppers, broccoli, or snap peas for variety.
For the Base
• Rice – The hearty foundation of the bowl; consider using quinoa or brown rice for extra fiber.
For the Sauce
• Mayonnaise – Gives the sauce its creamy consistency; for a lighter alternative, try Greek yogurt or avocado.
• Sweet Chili Sauce – This brings the sweetness to the sauce; adjust the quantity based on your personal taste.
• Sriracha – Adds a kick of heat; modify to your spice comfort level for the perfect Bang Bang Chicken Bowl!
For Toppings (Optional)
• Fresh Herbs – Garnish with chopped cilantro for a burst of freshness; you can also add green onions for extra flavor.
• Crunchy Peanuts – Sprinkle on top for an added crunch; they contrast beautifully with the creamy sauce.
Step‑by‑Step Instructions for Bang Bang Chicken Bowl
Step 1: Prepare the Rice
Start by cooking your rice according to the package instructions, which typically takes about 15 to 20 minutes. Rinse the rice thoroughly to remove excess starch, then combine it with water in a saucepan. Bring it to a boil, then cover and simmer on low heat until tender. Fluff the rice with a fork as it cooks, creating a light and airy base for your Bang Bang Chicken Bowl.
Step 2: Heat the Skillet
While the rice is cooking, heat a large skillet over medium heat and add a splash of oil. Allow the oil to warm up for about a minute until it shimmers, indicating it's ready. This creates the perfect environment for sautéing chicken, ensuring it browns nicely while sealing in moisture, setting the stage for a delicious Bang Bang Chicken Bowl.
Step 3: Cook the Chicken
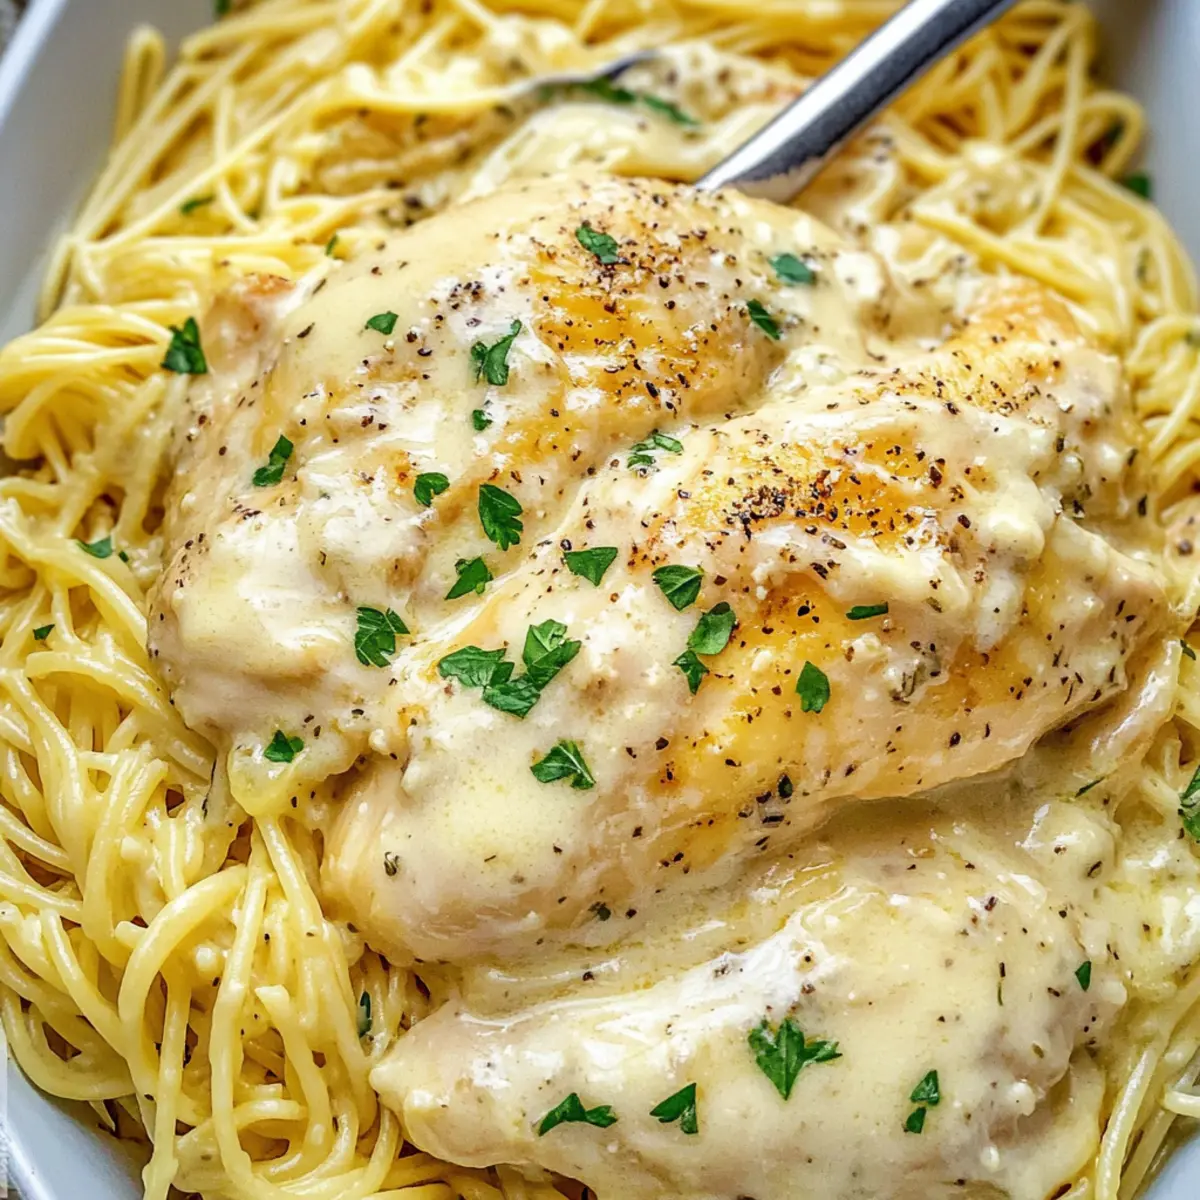
Add your chicken breast to the hot skillet, sautéing for 5 to 7 minutes. Cook until the chicken reaches an internal temperature of 165°F and is golden brown on the outside, making sure to turn it halfway for even cooking. The chicken should be juicy and tender, providing a hearty protein that complements the bowl beautifully.
Step 4: Sauté the Vegetables
Once the chicken is fully cooked, remove it from the skillet and let it rest. In the same skillet, add your mixed vegetables and sauté them for about 3 to 4 minutes until they're tender-crisp. Keep stirring frequently, allowing the colors to brighten and the flavors to meld, enhancing the overall appeal of your Bang Bang Chicken Bowl.
Step 5: Mix the Sauce
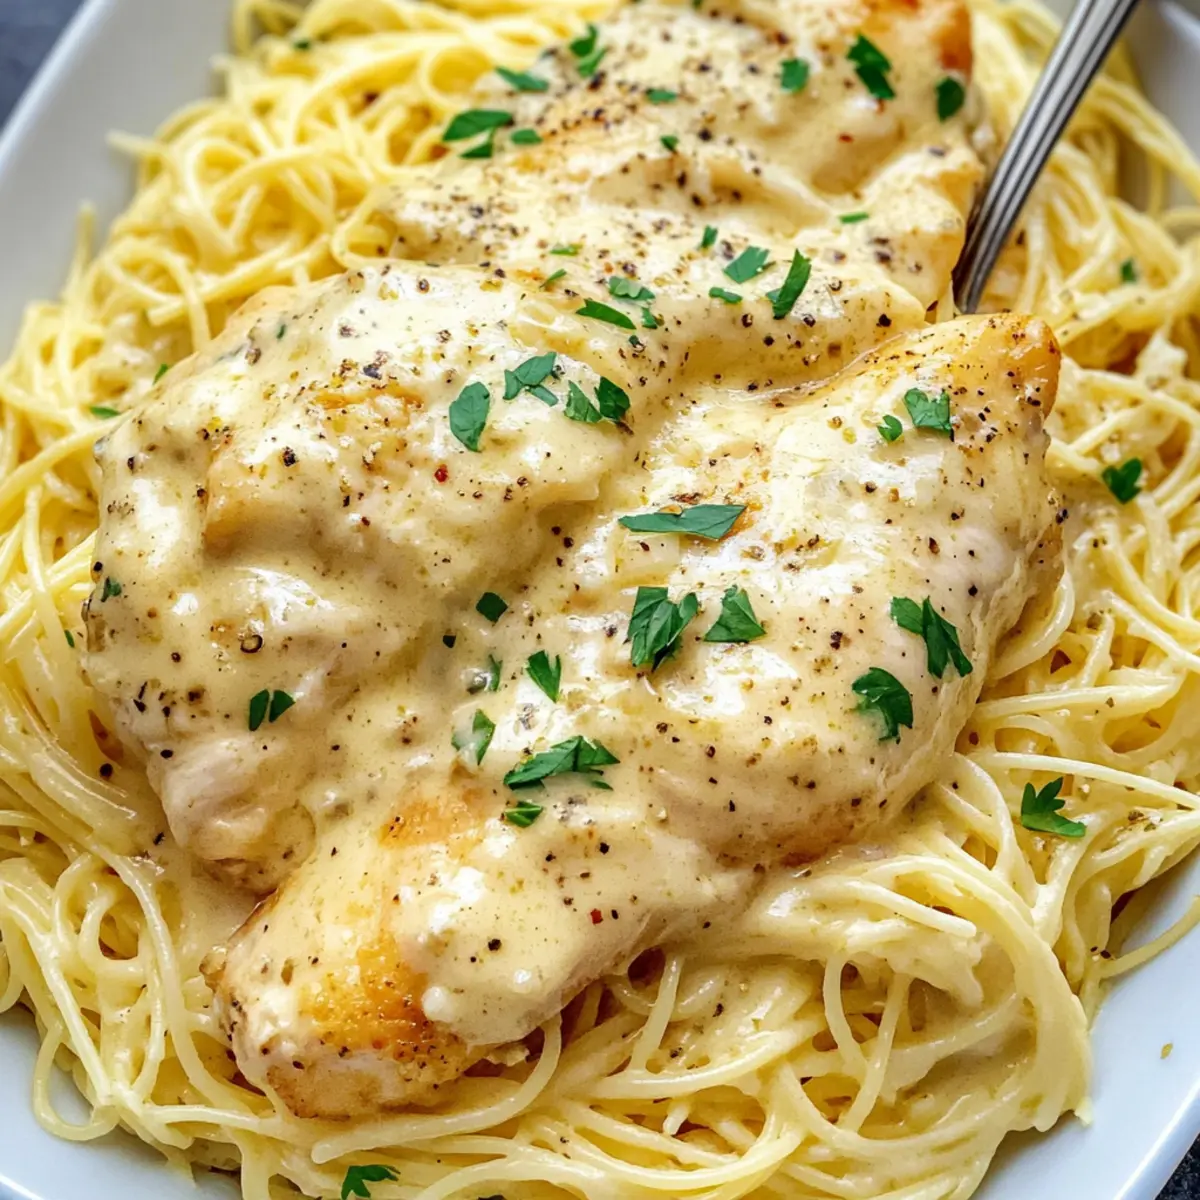
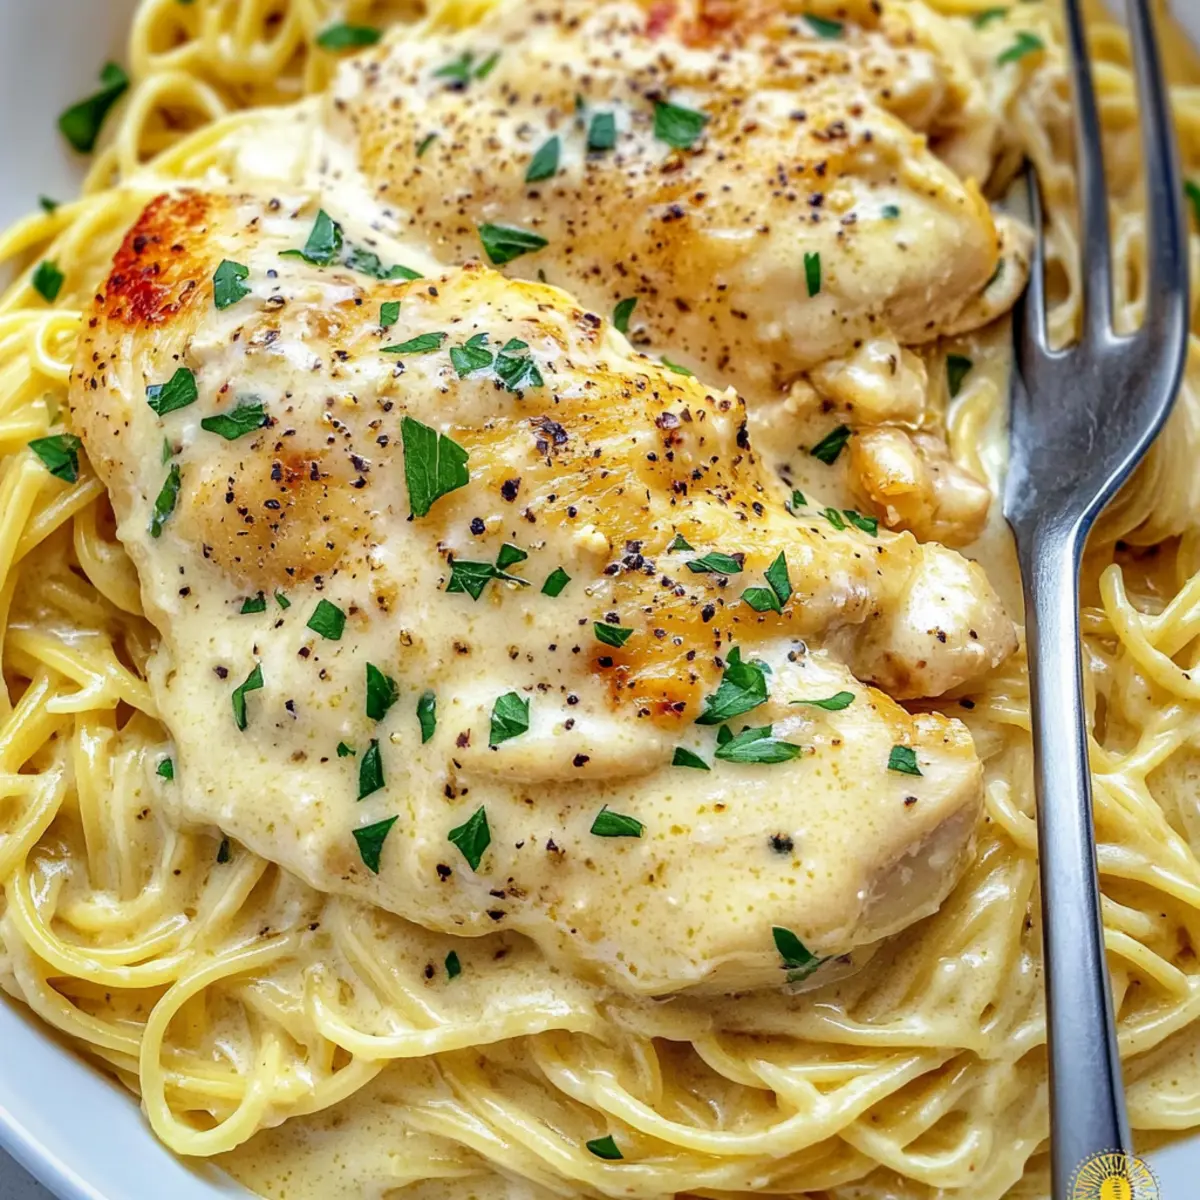
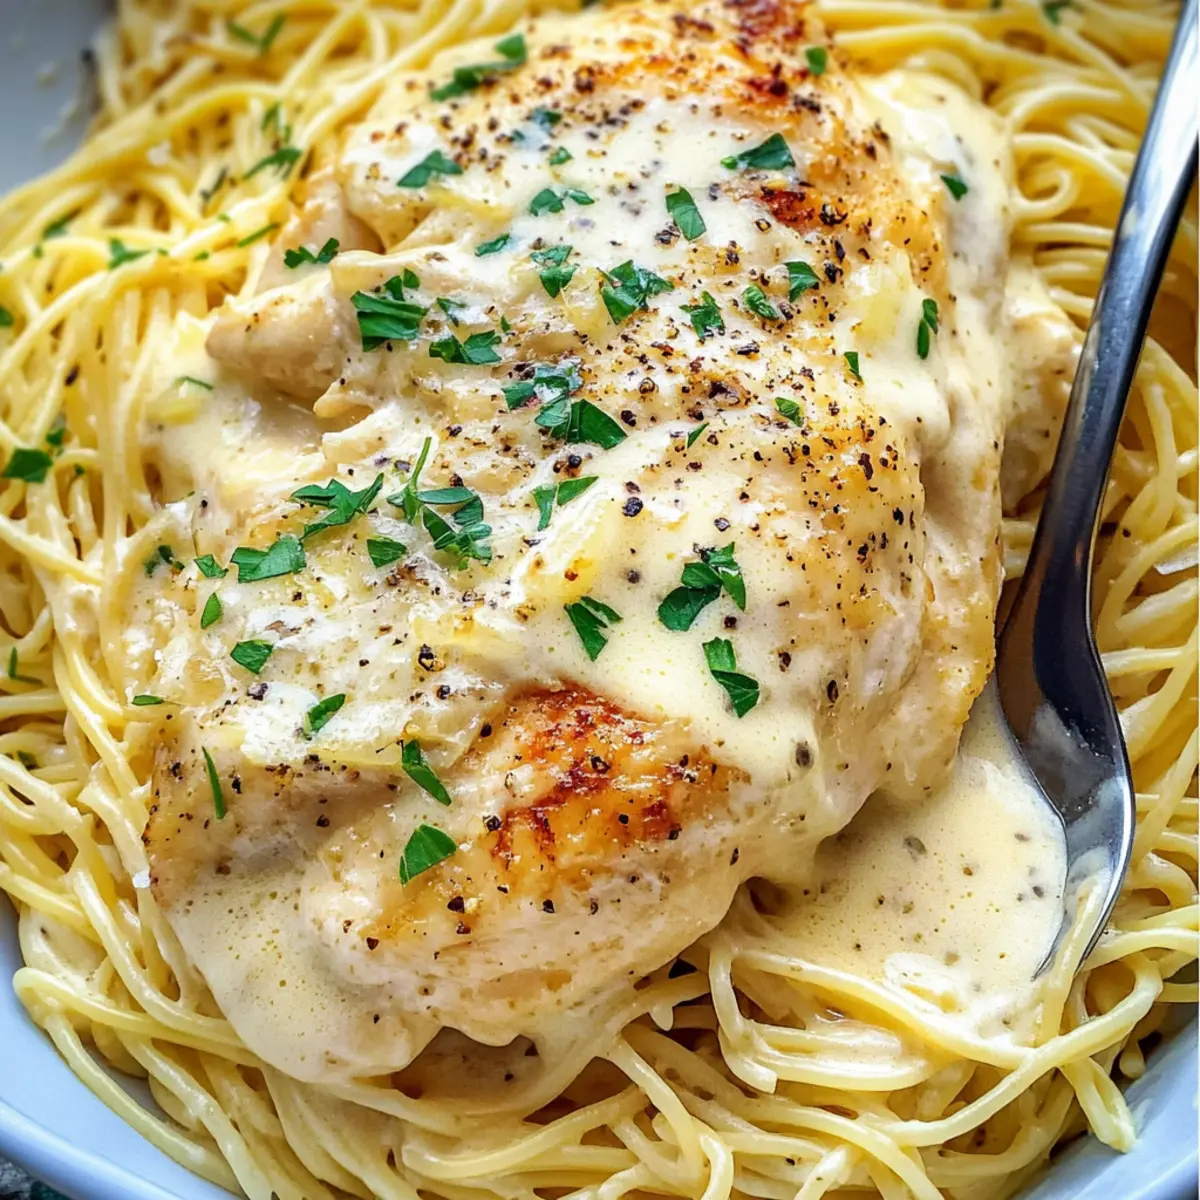
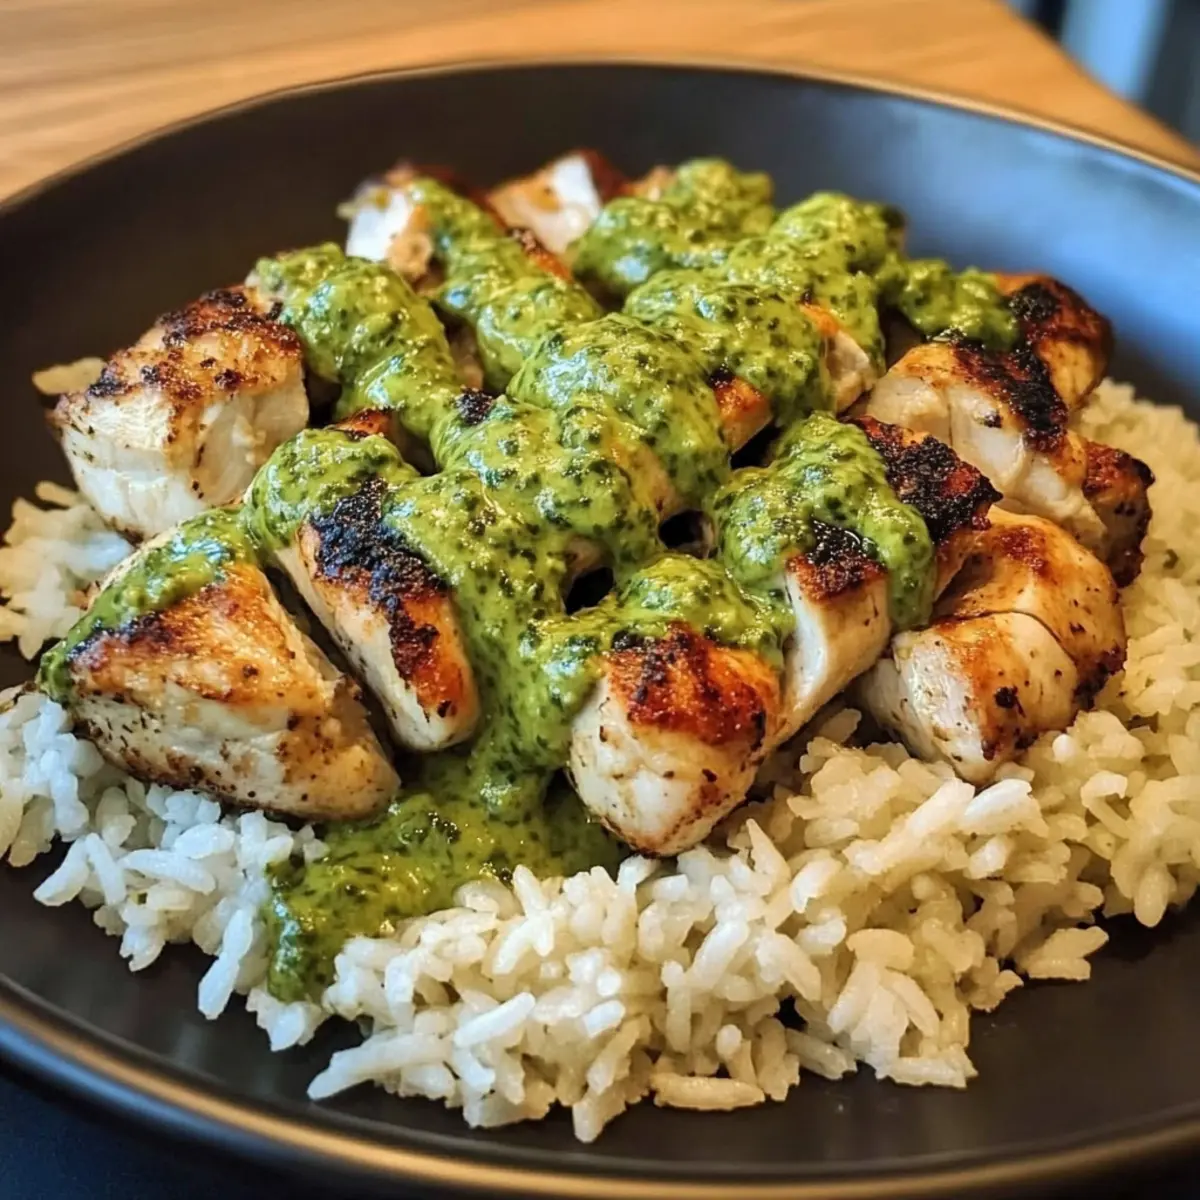
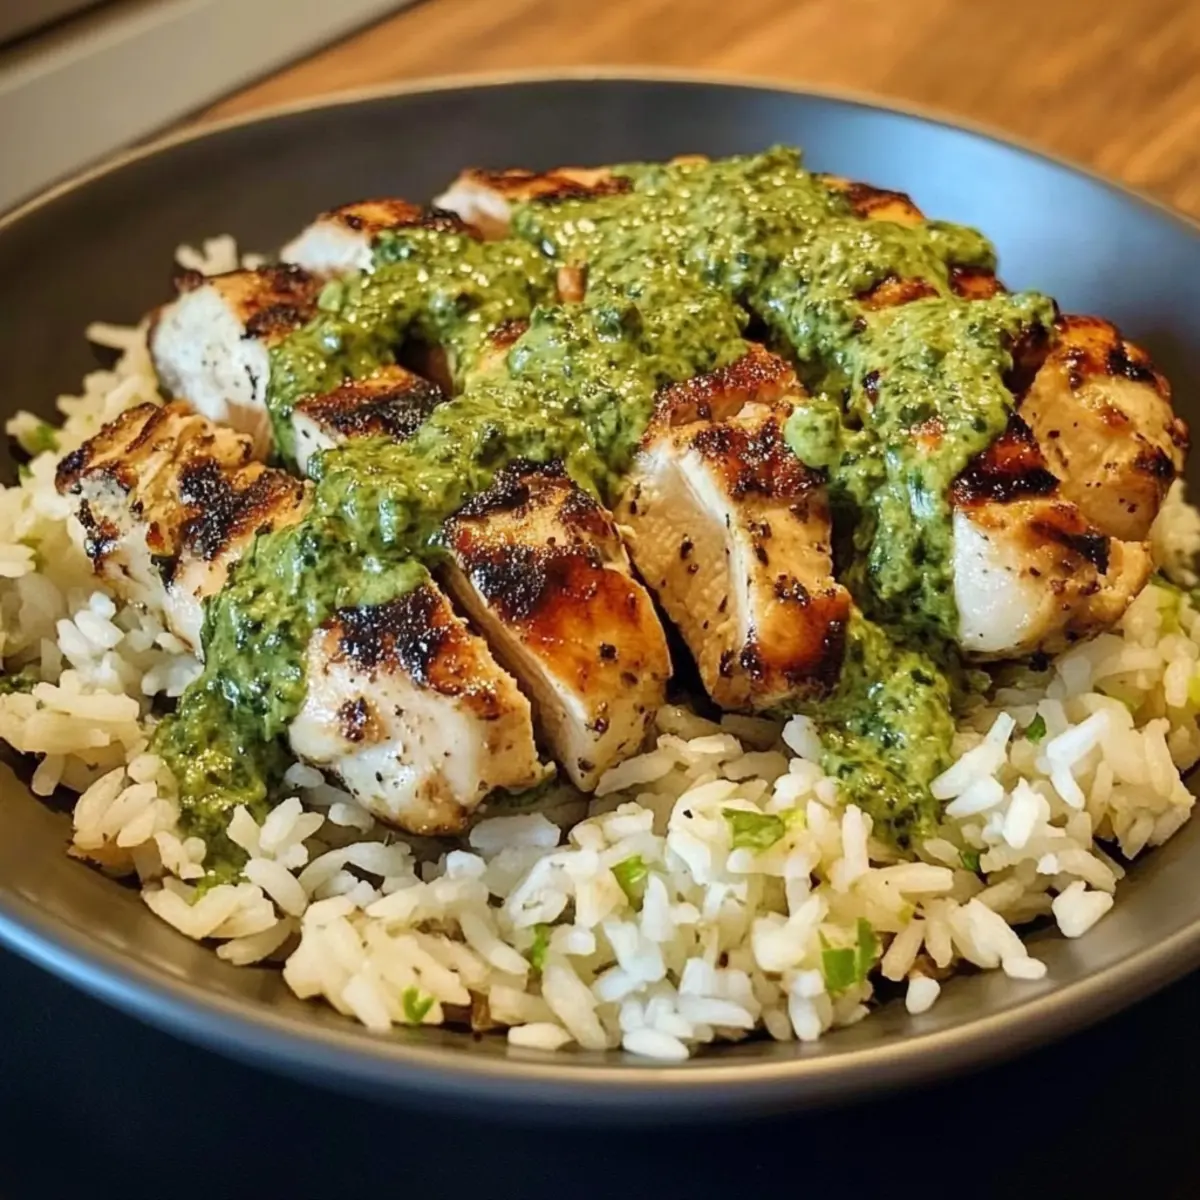
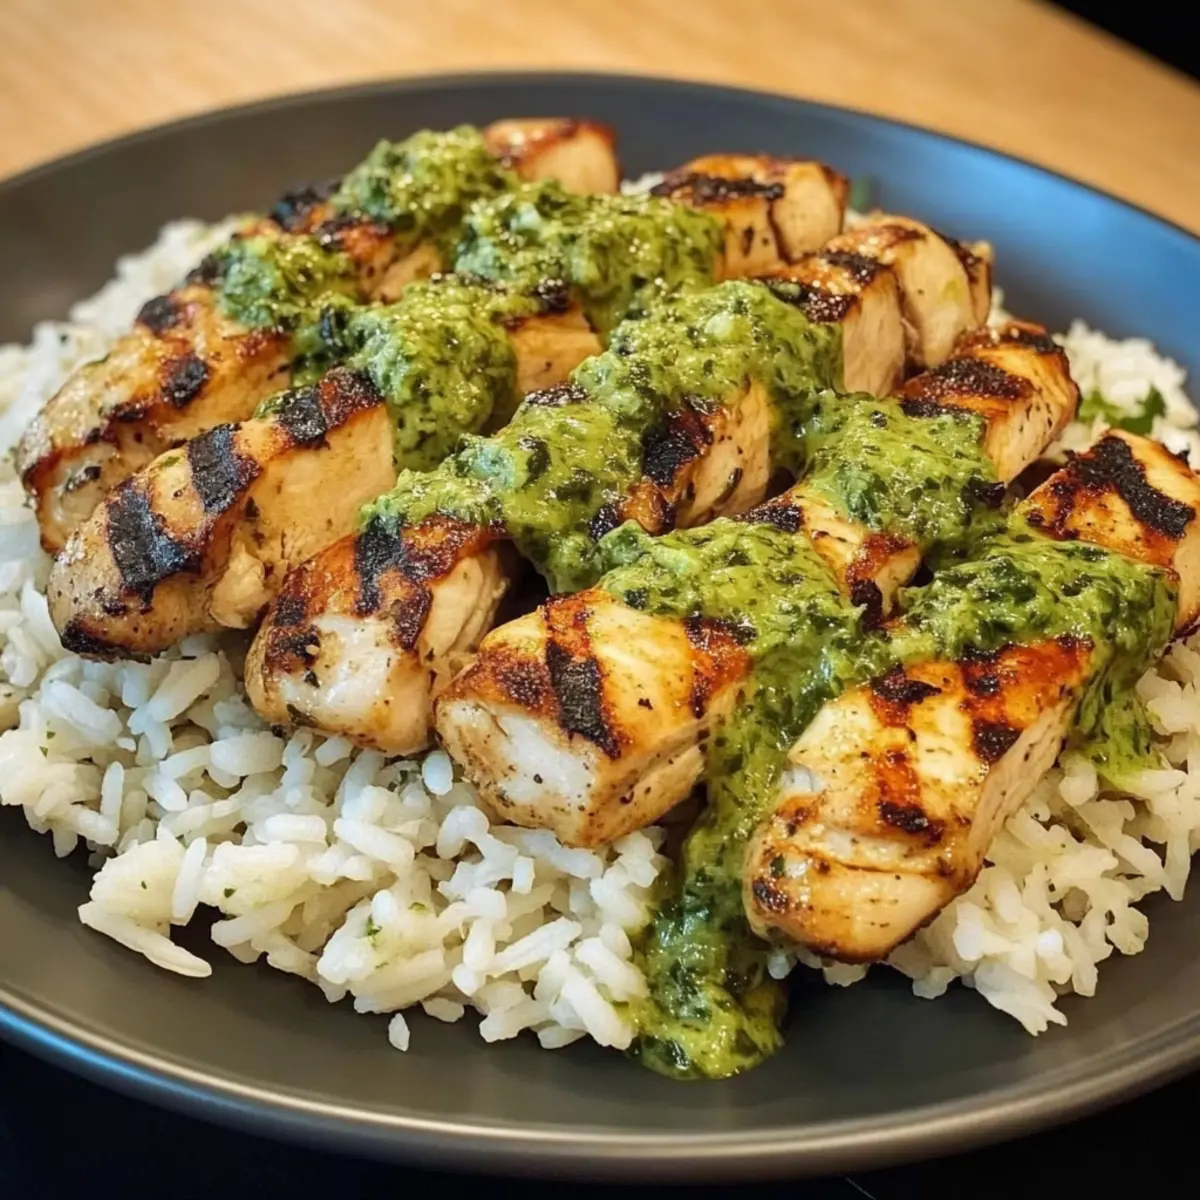
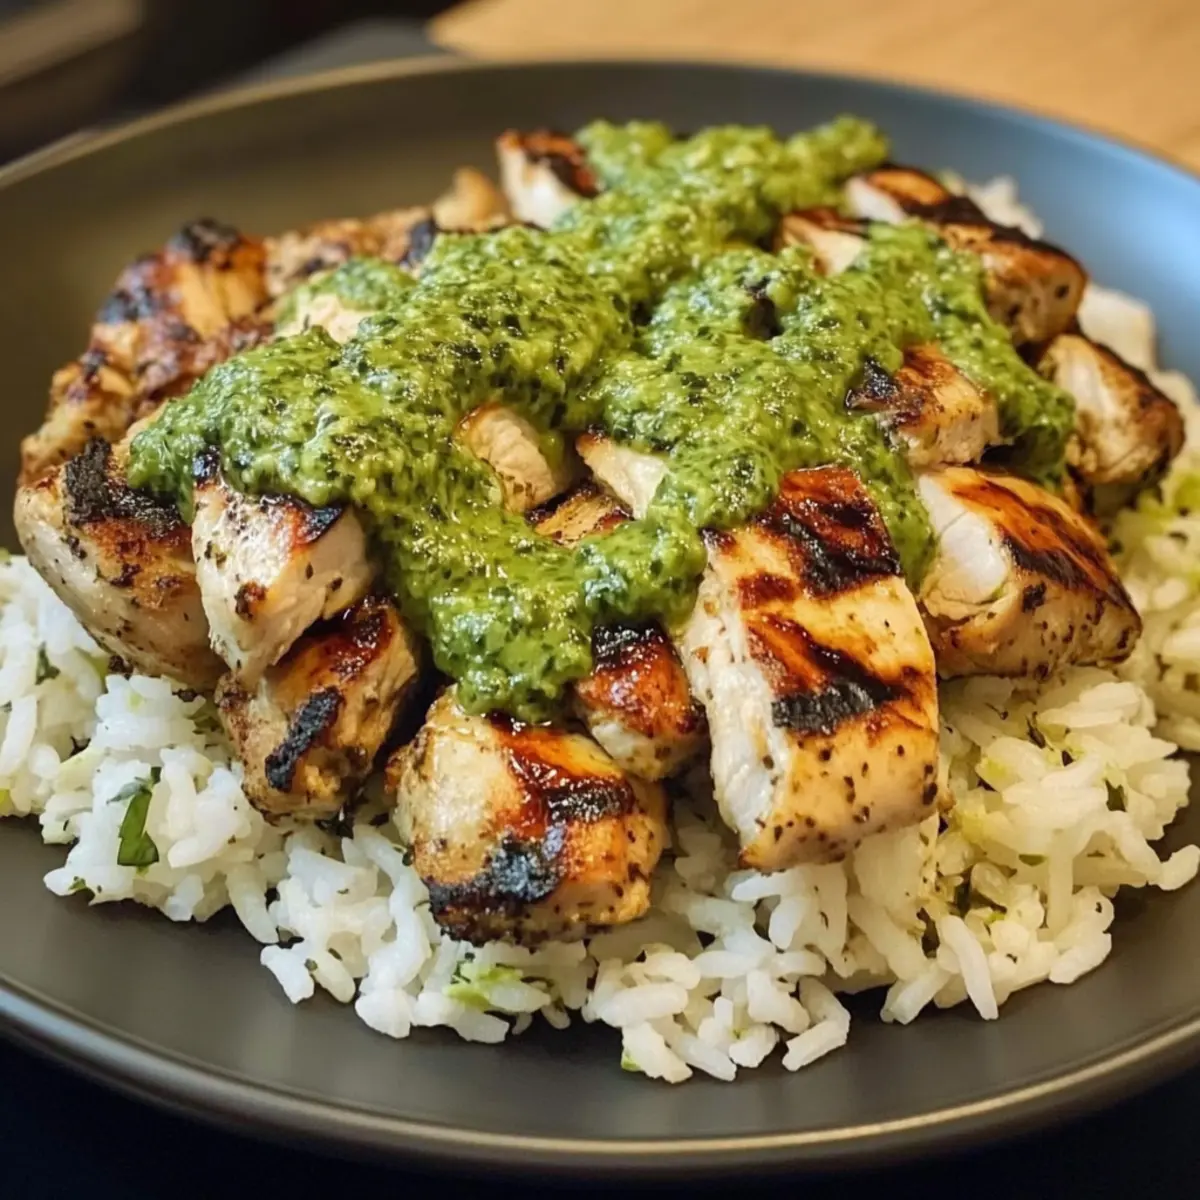
In a small bowl, combine mayonnaise, sweet chili sauce, and sriracha, mixing well until smooth and creamy. Adjust the flavor to your liking, adding more sriracha if you prefer a spicier sauce for your Bang Bang Chicken Bowl. This delightful sauce will bring all your ingredients together with a creamy, spicy-sweet kick.
Step 6: Assemble the Bowl
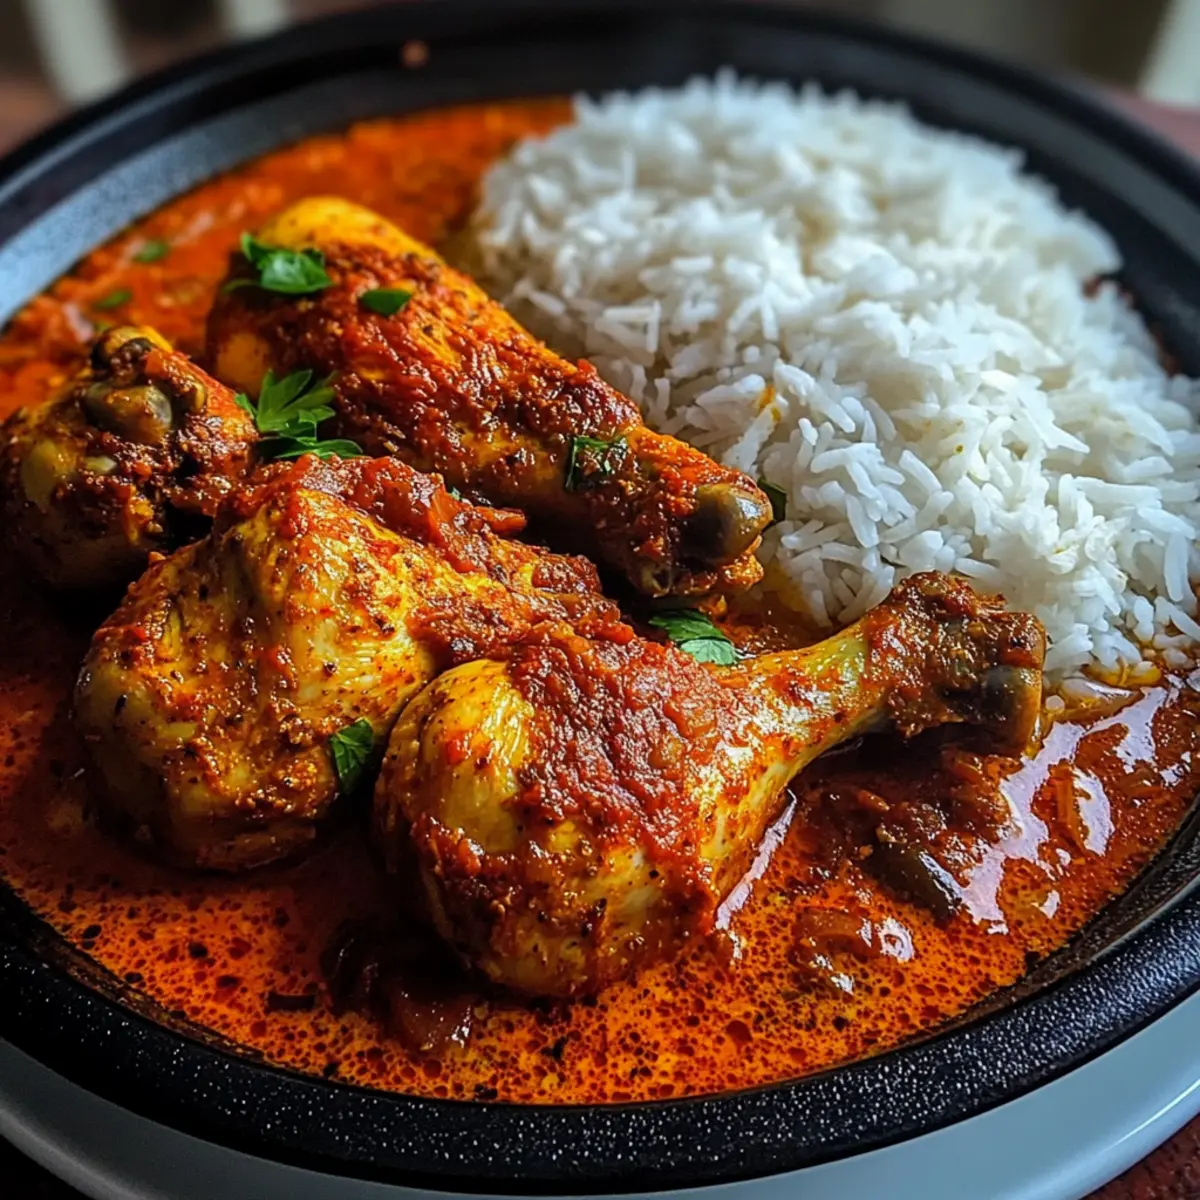
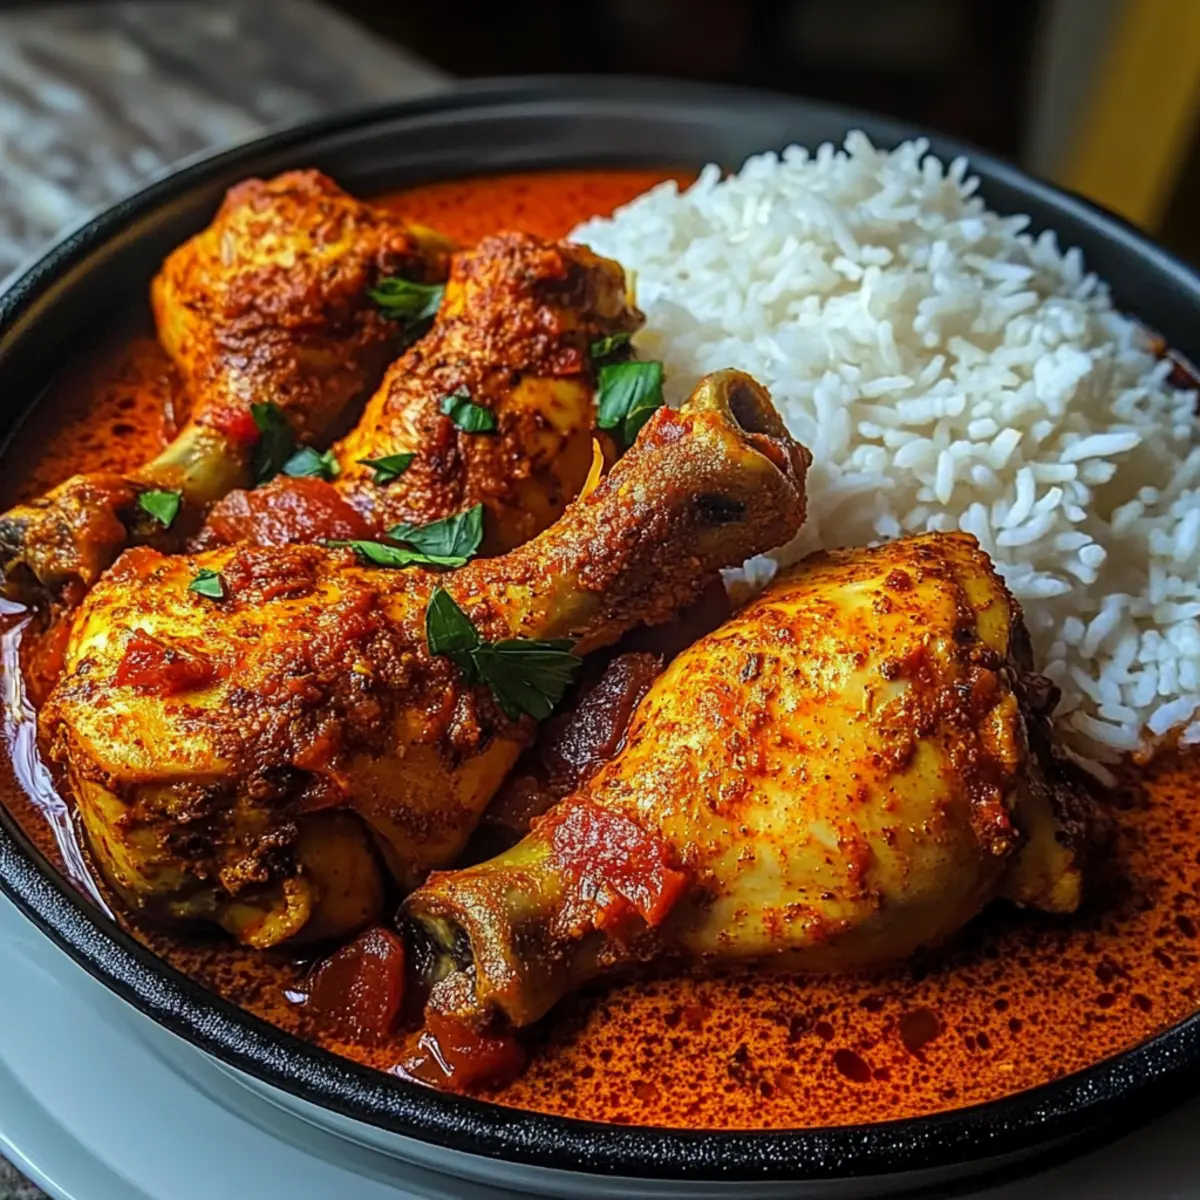
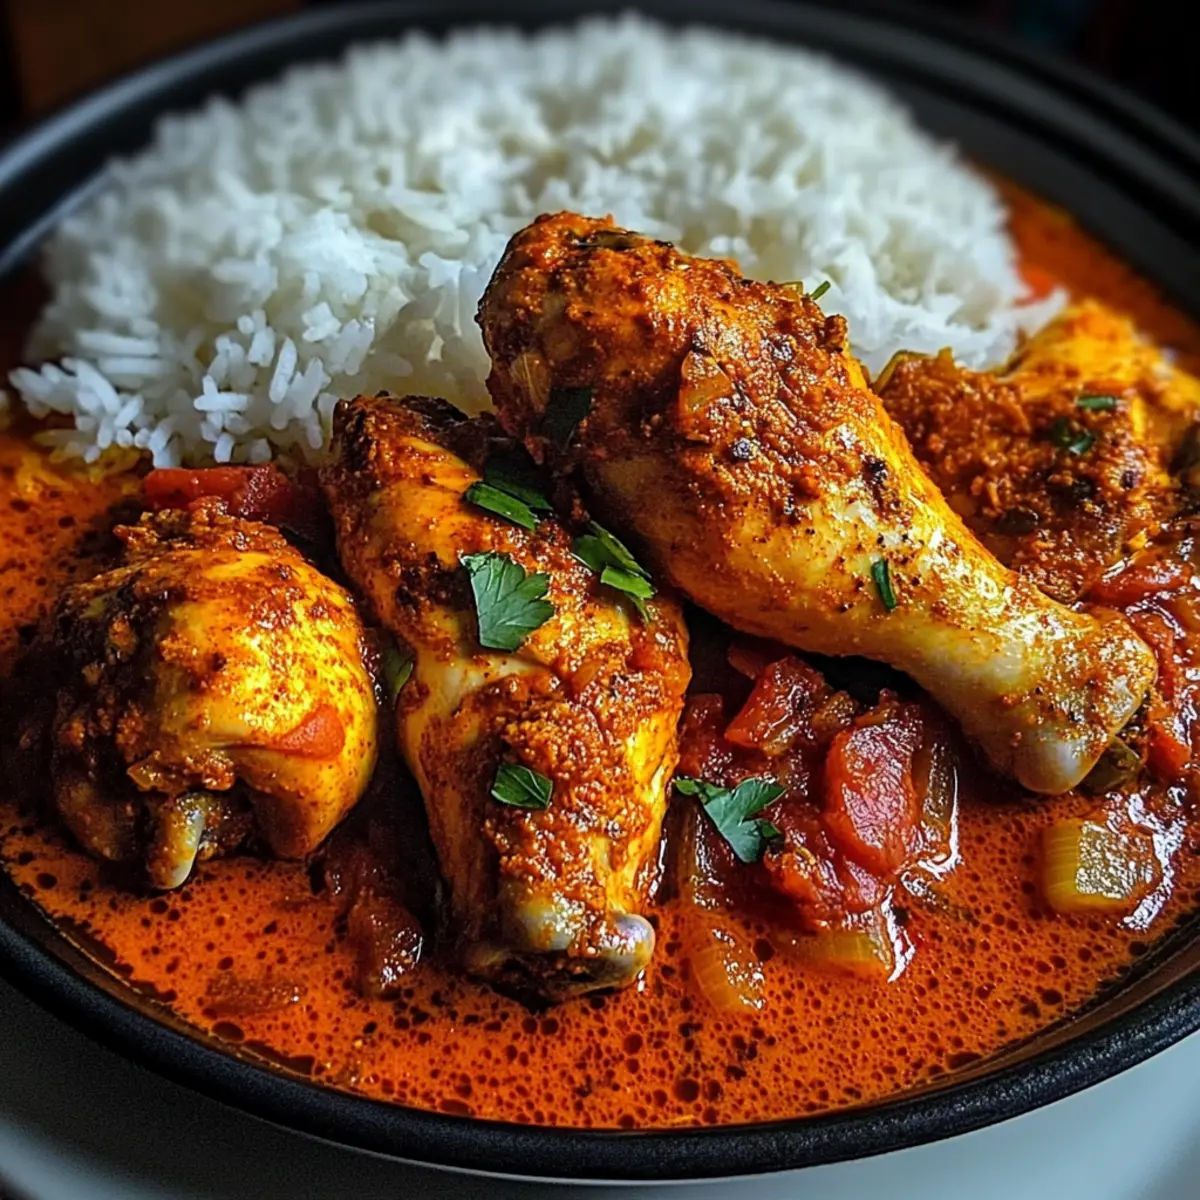
To create your Bang Bang Chicken Bowl, start by placing a generous scoop of fluffy rice in each bowl. Layer with the sautéed chicken pieces and colorful vegetables, showcasing the vibrant ingredients. Drizzle the creamy sauce generously over the top, allowing it to cascade beautifully, ensuring every bite is packed with flavor and satisfaction.
Storage Tips for Bang Bang Chicken Bowl
Fridge: Store leftover Bang Bang Chicken Bowl in airtight containers for up to 3 days. This keeps the chicken tender and the veggies crisp, making reheating a breeze.
Freezer: For longer storage, freeze individual portions in airtight containers or freezer bags for up to 2 months. This way, you can enjoy this delicious meal anytime!
Reheating: To reheat, microwave for 2-3 minutes, stirring halfway. If reheating from frozen, thaw in the fridge overnight for best results before warming.
Assembly Consideration: If you want to maintain texture, store the sauce separately from the chicken and vegetables until ready to serve.
What to Serve with Bang Bang Chicken Bowl
Create a delightful dining experience with these perfect pairings that complement the vibrant flavors of your bowl.
-
Crispy Garlic Bread: The crunchy exterior and soft inside offer a comforting balance to the spicy-sweet dish. It’s perfect for soaking up any leftover sauce!
-
Refreshing Cucumber Salad: Light, crisp, and hydrating, this salad adds a cool contrast to the rich flavors of the Bang Bang Chicken Bowl, enhancing the meal's overall freshness.
-
Steamed Broccoli: Bright green florets pack a nutritious punch and their earthy flavor beautifully complements the creamy sauce, providing an inviting textural variety.
-
Sweet Potato Fries: These crunchy fries, sprinkled with a hint of salt, present a hearty side that contrasts the bowl’s softness and brings a touch of sweetness.
-
Fruit Smoothie: A refreshing drink made from berries and yogurt! This adds a vibrant, fruity element to the meal that cleanses the palate between bites.
-
Peanut Butter Brownies: End your meal on a sweet note! The rich, fudgy brownies pair well with the Bang Bang flavors, creating a satisfying finish to your culinary adventure.
Make Ahead Options
These Easy Bang Bang Chicken Bowls are perfect for those busy weeknights when time is tight! You can prep the chicken and mixed vegetables up to 3 days in advance by cooking them and storing them separately in airtight containers in the fridge. To maintain quality and freshness, store the sauce separately as well, preventing sogginess. When you're ready to serve, just reheat the chicken and vegetables in a skillet over medium heat until warmed through, then assemble the bowls with the rice and drizzle on the sauce. This makes dinner a breeze, ensuring you enjoy all the deliciousness without the last-minute rush!
Expert Tips for Bang Bang Chicken Bowl
• Customize Flavor: Adjust the spice level of your sauce by gradually adding sriracha, ensuring it's tailored to your family's heat tolerance.
• Perfectly Cook Chicken: Avoid overcooking by using a meat thermometer; chicken should reach 165°F for safe, juicy results in your Bang Bang Chicken Bowl.
• Fresh Veggies: Opt for seasonal vegetables to enhance flavor and nutrition; this keeps your dish vibrant and exciting.
• Meal Prep Friendly: Cook chicken and veggies in advance and store them separately, allowing for quick assembly on busy nights.
• Storage Tips: Store leftovers in airtight containers for up to 3 days in the fridge or up to 2 months in the freezer for later enjoyment.
Bang Bang Chicken Bowl Variations
Feel free to get creative with your Bang Bang Chicken Bowl! Each twist adds a unique flavor or texture, making it your perfect meal.
- Protein Swaps: Use shrimp or tofu instead of chicken for a delightful alternative. Both options provide a different texture and flavor profile, offering an exciting twist on this classic dish.
- Grain Alternatives: Replace white rice with quinoa or cauliflower rice for a low-carb option. These swaps not only cater to dietary preferences but also add different nutrients to keep things fresh and interesting.
- Vegetable Medley: Incorporate zucchini or asparagus during the sauté stage for seasonal freshness. Their unique flavors will elevate the dish and serve as delightful surprises in every bite.
- Heat Levels: Increase sriracha or add crushed red pepper flakes for a spicier dish. Finding your ideal spice level can transform your bowl into a zesty explosion, bringing a new thrill to your taste buds.
- Dairy-Free Sauce: Use cashew cream instead of mayonnaise for a rich, creamy alternative. This swap is perfect for those avoiding dairy while still enjoying a satisfying sauce.
- Sweetness Adjustments: Rely on honey or maple syrup in place of sweet chili sauce for a natural sweetness. This substitution adds depth and a hint of caramel flavor, enriching the overall dish without overwhelming it.
- Toppings Galore: Enhance with garnishes like avocado, chopped cilantro, or crunchy peanuts. These toppings not only add crunch but also make your bowl visually stunning, turning it into a feast for the eyes.
- Meal Prep Version: Prepare in bulk by cooking larger servings of chicken and veggies. This way, you have a ready-made dish for busy weeknights; just reheat and enjoy!
For more creamy and delightful chicken recipes, check out Honey Garlic Chicken and Crock Pot Chicken to keep your meals both exciting and satisfying.
Bang Bang Chicken Bowl Recipe FAQs
What type of chicken should I use for the Bang Bang Chicken Bowl?
Absolutely! I recommend using chicken breast for a lean option, but feel free to substitute with chicken thighs for extra moisture. Both cuts work beautifully, just ensure any chicken piece reaches an internal temperature of 165°F during cooking for safety and deliciousness!
How should I store leftovers from the Bang Bang Chicken Bowl?
Leftovers can be stored in airtight containers in the fridge for up to 3 days. This keeps everything crisp and fresh! For longer storage, freeze individual portions in airtight containers or freezer bags for up to 2 months, making sure to separate the sauce to maintain texture when reheating.
Can I freeze the Bang Bang Chicken Bowl? How?
Yes, indeed! To freeze the Bang Bang Chicken Bowl, first let everything cool to room temperature. Then, portion out the chicken, vegetables, and rice into airtight containers or freezer bags. Remember to freeze the sauce separately! When you're ready to enjoy, thaw overnight in the fridge and reheat in the microwave for 2-3 minutes, stirring halfway for even heating.
What if my chicken becomes dry while cooking?
Very common—don't worry! To prevent dry chicken, use a meat thermometer to ensure it’s cooked just until it reaches 165°F. If you do find it dry, consider brining the chicken beforehand or adding a splash of chicken broth during cooking for moisture. This trick yields juicy results!
Is the Bang Bang Chicken Bowl suitable for any dietary restrictions?
It's quite versatile! To make it gluten-free, use gluten-free soy sauce in the sauce or swap out the rice for quinoa. For a dairy-free version, replace mayonnaise with avocado or a dairy-free yogurt. Always check ingredient labels if allergies are a concern and customize this delectable dish to your family's needs!
Savory Bang Bang Chicken Bowl: Quick, Customizable Delight
Ingredients
Equipment
Method
- Start by cooking your rice according to the package instructions, which typically takes about 15 to 20 minutes. Rinse the rice thoroughly to remove excess starch, then combine it with water in a saucepan. Bring it to a boil, then cover and simmer on low heat until tender. Fluff the rice with a fork as it cooks.
- While the rice is cooking, heat a large skillet over medium heat and add a splash of oil. Allow the oil to warm up for about a minute until it shimmers.
- Add your chicken breast to the hot skillet, sautéing for 5 to 7 minutes until cooked through and golden brown.
- Remove the chicken from the skillet and let it rest. Add the mixed vegetables to the same skillet and sauté for about 3 to 4 minutes until they're tender-crisp.
- In a small bowl, combine mayonnaise, sweet chili sauce, and sriracha, mixing well until smooth and creamy. Adjust the flavor as needed.
- To assemble, place a scoop of rice in each bowl. Layer with sautéed chicken and vegetables, then drizzle the sauce on top.