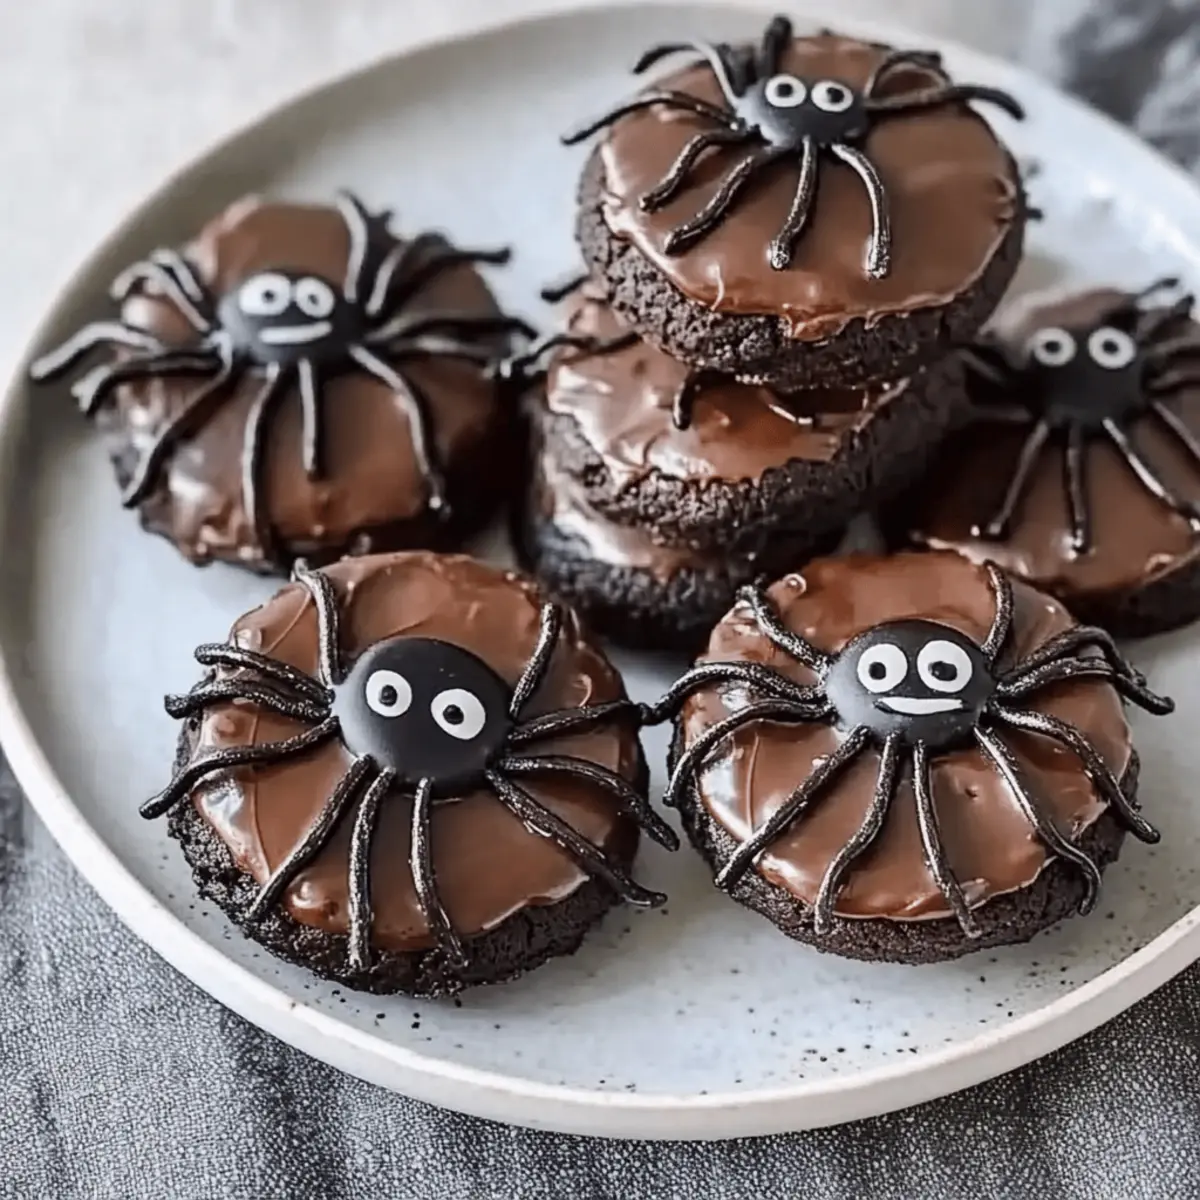
As the leaves fall and the air turns crisp, I find myself swept up in the enchantment of Halloween. One of my favorite ways to celebrate this spooky season is by whipping up a batch of delightful Chocolate Spider Cookies. Combining rich chocolate with the surprising chewiness of licorice, these cookies not only bring a fun twist to your Halloween festivities, but they’re also a snap to make—perfect for little hands eager to help in the kitchen. Whether you’re hosting a costume party or simply looking to add a touch of whimsy to your afternoon snack, these kid-friendly treats are sure to be a hit. Ready to create some delicious Halloween magic? Let's dive into this fun and easy recipe!
Why are Chocolate Spider Cookies a must-try?
Fun and Festive: The spooky design of these cookies adds a playful spirit to any Halloween gathering, making them a centerpiece for your dessert table.
Quick and Easy: With just a few simple ingredients and steps, you’ll have a batch ready in no time—perfect for those last-minute plans!
Kid-Friendly Fun: Involve your little ones and watch as they delight in decorating their very own spiders, creating cherished family memories along the way.
Versatile Variations: Want to mix it up? You can easily switch liquorice for pretzel sticks or get creative with different icing designs.
Crowd-Pleasing Treat: Rich chocolate and chewy textures create a tempting treat that appeals to both kids and adults alike—perfect for sharing or gifting!
Chocolate Spider Cookies Ingredients
• Get ready to create some spooky goodness!
For the Cookie Base
- Dark or Milk Chocolate (200g) – Provides a decadent richness; substitute with white chocolate for a sweeter twist.
- Oreo Cookies (2 packs, 154g each) – The perfect chocolatey foundation; feel free to replace with any chocolate wafer cookies if you prefer.
For the Spider Legs
- Liquorice Catherine Wheels (113g pack) – Adds a fun, chewy texture for the legs; replace with pretzel sticks for a crunchier option if desired.
For Decoration
- White and Black Icing Pens – Bring your spiders to life with cute eyes; you can also use colored royal icing for a different look.
Embrace the spirit of Halloween with these delightful Chocolate Spider Cookies!
Step‑by‑Step Instructions for Chocolate Spider Cookies
Step 1: Melt Chocolate
Start by breaking the dark or milk chocolate into small pieces and placing them in a heatproof bowl. Set the bowl over a pot of barely simmering water, ensuring the bowl doesn’t touch the water. Stir gently as the chocolate melts, about 5-7 minutes, until it’s completely smooth and shiny. Remove from heat, but keep warm while you prepare the other components of your Chocolate Spider Cookies.
Step 2: Prepare Legs
While the chocolate is melting, take the liquorice Catherine wheels and unroll them. Using a sharp knife or kitchen scissors, cut the liquorice into 2-3 cm lengths to create the spider legs. This should yield enough pieces for each cookie. Set the cut pieces aside and prepare your Oreo cookies for assembling the spiders.
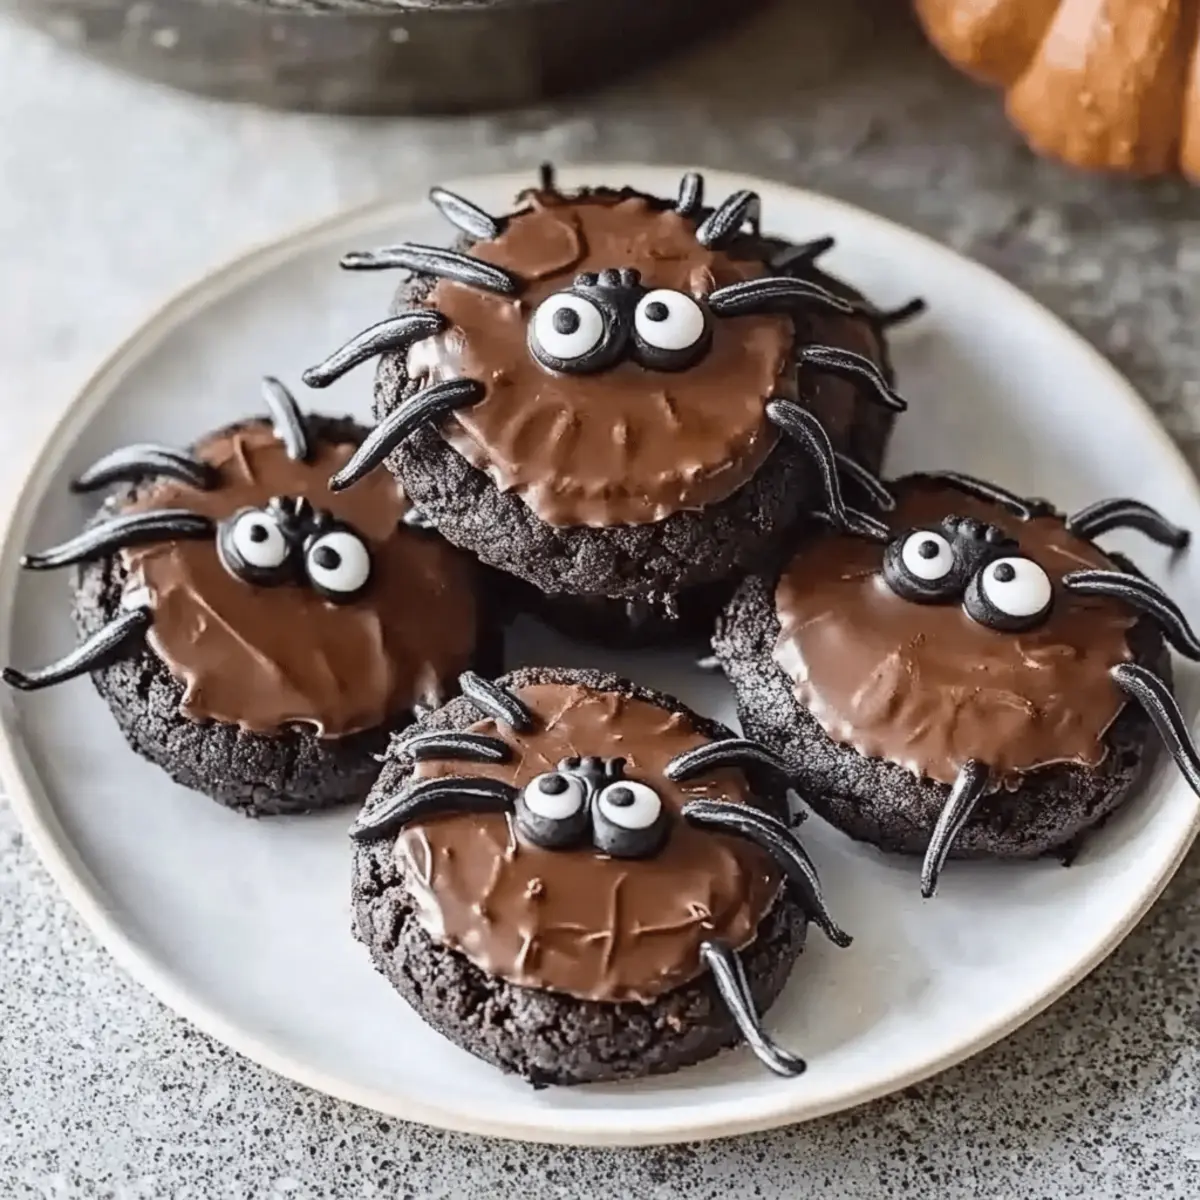
Step 3: Assemble Spiders
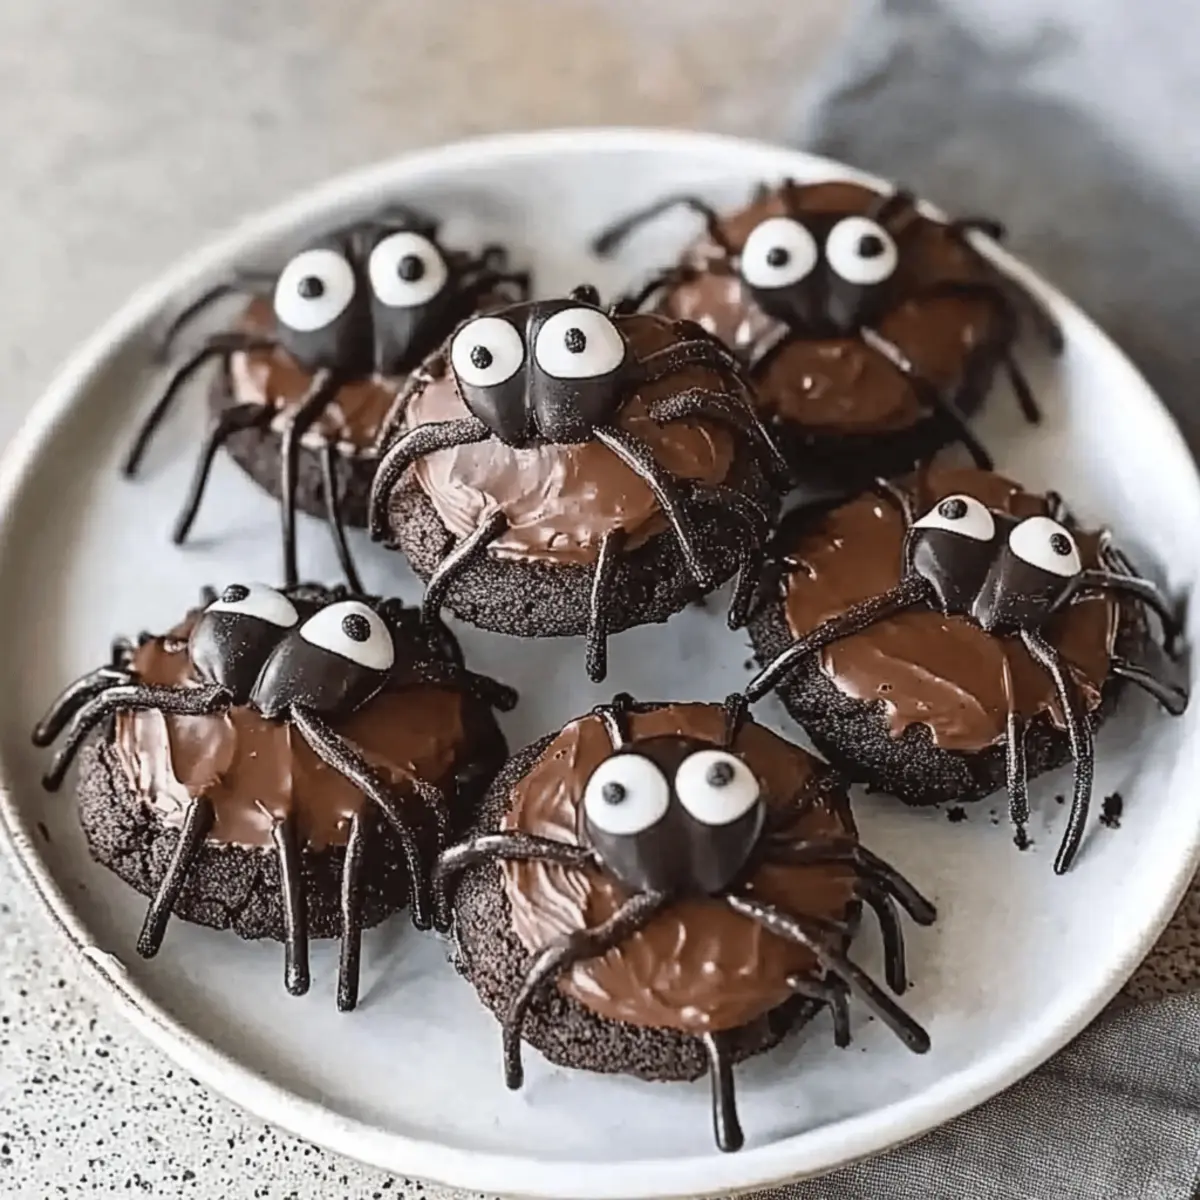
To begin assembling your Chocolate Spider Cookies, take one Oreo and place about a teaspoon of melted chocolate on top. Next, position eight of the liquorice legs around the chocolate, pressing them gently into the cookie so they stay in place. Sandwich another Oreo on top to create the spider body, securing it with additional melted chocolate. Repeat this process until all cookies are assembled.
Step 4: Decorate Eyes
Once you’ve assembled your spiders, it’s time to give them life! Use the white icing pen to draw two large dots on the top Oreo for the eyes of each spider. Follow up with two smaller dots of black icing in the center of the white dots. This will create an adorable and spooky look for your Chocolate Spider Cookies, making them fun for kids to admire.
Step 5: Set
After decorating the spiders, place them on a tray or baking sheet and allow them to set in a cool area for about 15-20 minutes. This will help the chocolate firm up and secure the spider legs and eyes in place. Once set, your delightful Chocolate Spider Cookies are ready to be enjoyed or served at your Halloween celebration!
Storage Tips for Chocolate Spider Cookies
- Room Temperature: Store your Chocolate Spider Cookies in an airtight container at room temperature for up to 5 days to maintain their delightful texture and flavor.
- Fridge: If you prefer them chilled, you can refrigerate them for up to a week, but this may change the cookie's original consistency.
- Freezer: For longer storage, freeze the cookies in a single layer on a baking sheet before transferring them to a freezer bag. They can last for up to 3 months but be sure to thaw them in the fridge before enjoying.
- Reheating: If you want to savor the gooey chocolate again, warm them in the microwave for a few seconds—just enough to soften without melting!
What to Serve with Spooky Chocolate Spider Cookies?
As your delightful Chocolate Spider Cookies bring festive fun to the table, consider these perfect pairings to enhance your Halloween experience.
- Cold Glass of Milk: A classic combination, milk perfectly balances the rich chocolate and sweet flavors of your cookies, making every bite better!
- Warm Hot Chocolate: Cozy up your Halloween treats with a cup of silky hot chocolate, ideal for dipping your spider cookies and adding to the festive atmosphere.
- Vanilla Ice Cream: The creamy texture of vanilla ice cream contrasts beautifully with the cookies, creating a satisfying dessert that everyone will love.
- Caramel Dipping Sauce: Drizzle warm caramel sauce over the cookies for a luscious treat that adds a touch of indulgence and a hint of sweet sophistication.
- Pumpkin Spice Latte: Embrace the season with a spicy, warm beverage. The flavors of pumpkin and spice complement the chocolaty goodness and enhance the Halloween spirit.
- Gummy Worms: For a fun twist, serve gummy worms alongside—the colorful, chewy candies add a whimsical touch that's perfect for Halloween snacking.
- Crispy Apple Slices: Slice up some fresh apples for a refreshing crunch. The natural sweetness and slight tartness pair nicely with the rich chocolate in your cookies.
- Cupcakes with Spider Toppers: Bake up some cute cupcakes adorned with edible spider toppers for a cohesive Halloween-themed dessert experience that kids will adore.
- Chocolate Milkshake: Blend up a rich chocolate milkshake as a deliciously decadent pairing that elevates the chocolate factor of your spooky cookies to new heights.
Make Ahead Options
These delightful Chocolate Spider Cookies are perfect for meal prep, saving you time during the busy Halloween season! You can prepare the chocolate cookie base and the liquorice legs up to 24 hours in advance by melting the chocolate and cutting the liquorice into spider legs ahead of time. Simply store the chocolate in an airtight container at room temperature to maintain its smoothness, while the legs can be kept in a separate container to avoid sticking. When you’re ready to assemble, take the prepped ingredients and sandwich them together with the Oreos, then decorate with icing pens just before serving. This way, you’ll enjoy fresh, festive treats without the last-minute rush!
Expert Tips for Chocolate Spider Cookies
- Melt Gently: Ensure you melt chocolate slowly to avoid burning. This keeps it smooth and perfect for assembling your Chocolate Spider Cookies.
- Cool Environment: Let the decorated cookies set in a cool, dry place—do not freeze! Freezing can make them too hard to enjoy.
- Leg Placement: Use toothpicks or a small spatula to position the liquorice legs precisely. This will help maintain the structure and look of your spiders.
- Creative Decorations: Allow kids to get creative with icing designs; different colors can add to the spooky appeal of your cookies.
- Storage Tips: For best freshness, store your Chocolate Spider Cookies in an airtight container at room temperature, enjoying them within five days.
Variations & Substitutions for Chocolate Spider Cookies
Feeling creative? These easy variations will let you take your Chocolate Spider Cookies to the next level!
-
Flavored Candy Melts: Use candy melts in vibrant colors instead of chocolate for a fun, eye-catching twist that kids will adore.
-
Nutty Crunch: Adding chopped nuts or crispy rice cereal into the chocolate mixture offers delightful pops of crunch, enhancing texture and flavor.
-
Gummy Alternatives: Swap the liquorice legs for colorful gummy worms or gummy spiders to create a different, chewy texture with exciting flavors.
-
Gluten-Free Option: Replace regular Oreos with gluten-free chocolate cookies to make this festive treat accessible for everyone.
-
Dairy-Free Choice: Opt for dairy-free chocolate and icing pens to cater to dietary needs while still delivering on that rich chocolate flavor.
-
Richer Icing Decoration: Try using flavored royal icing instead of standard icing pens for a gourmet touch. Vanilla or almond flavors can elevate the cookies beautifully.
-
Dark Chocolate Dive: Go for a double chocolate treat by using chocolate-flavored Oreos as the base, which intensifies the chocolaty goodness!
Why not make a batch of these delightful Chocolate Spider Cookies and enhance your Halloween celebrations? Pair them with a cozy hot chocolate or serve alongside a plate of Eggnog Cookies Soft for an extra sweet touch!
Chocolate Spider Cookies Recipe FAQs
What type of chocolate is best for Chocolate Spider Cookies?
Absolutely! Dark chocolate offers a rich, intense flavor, while milk chocolate provides a sweeter profile. You can even use white chocolate for a fun twist! The choice really depends on your taste preference and that of your family.
How should I store Chocolate Spider Cookies?
For optimal freshness, store your cookies in an airtight container at room temperature for up to 5 days. If you prefer them chilled, refrigerating them is an option, but know that it might change the original texture a bit.
Can I freeze Chocolate Spider Cookies, and if so, how?
Yes, you can! Firstly, make sure the cookies are fully assembled with decorations. Place them in a single layer on a baking sheet to freeze them solid for about 1 to 2 hours. Once set, carefully transfer them to a freezer-safe bag or container. They can stay fresh for up to 3 months. To enjoy them later, let them thaw in the fridge for a few hours before serving!
What do I do if my chocolate isn't melting smoothly?
Very! If your chocolate starts to seize or isn't melting well, try the following: Ensure you're using low heat to melt the chocolate, as too high heat can cause it to burn. Also, you can add a teaspoon of vegetable oil or shortening to help achieve that silky texture. If using a microwave, melt in 30-second intervals, stirring between to avoid overheating.
Can these cookies be made with allergens in mind?
Certainly! If you need to avoid certain allergens, consider swapping the regular Oreo cookies for gluten-free chocolate wafers or using dairy-free chocolate to accommodate dietary restrictions. Always check ingredient labels to ensure safety for anyone with allergies.
What can I substitute for liquorice in the recipe?
If liquorice isn't your thing, no worries! You can use pretzel sticks for a crunchy spider leg alternative or swap in gummy candies for a pop of color and sweetness. Just make sure the substitute maintains the character of the cookie so that it's still fun and festive for Halloween!
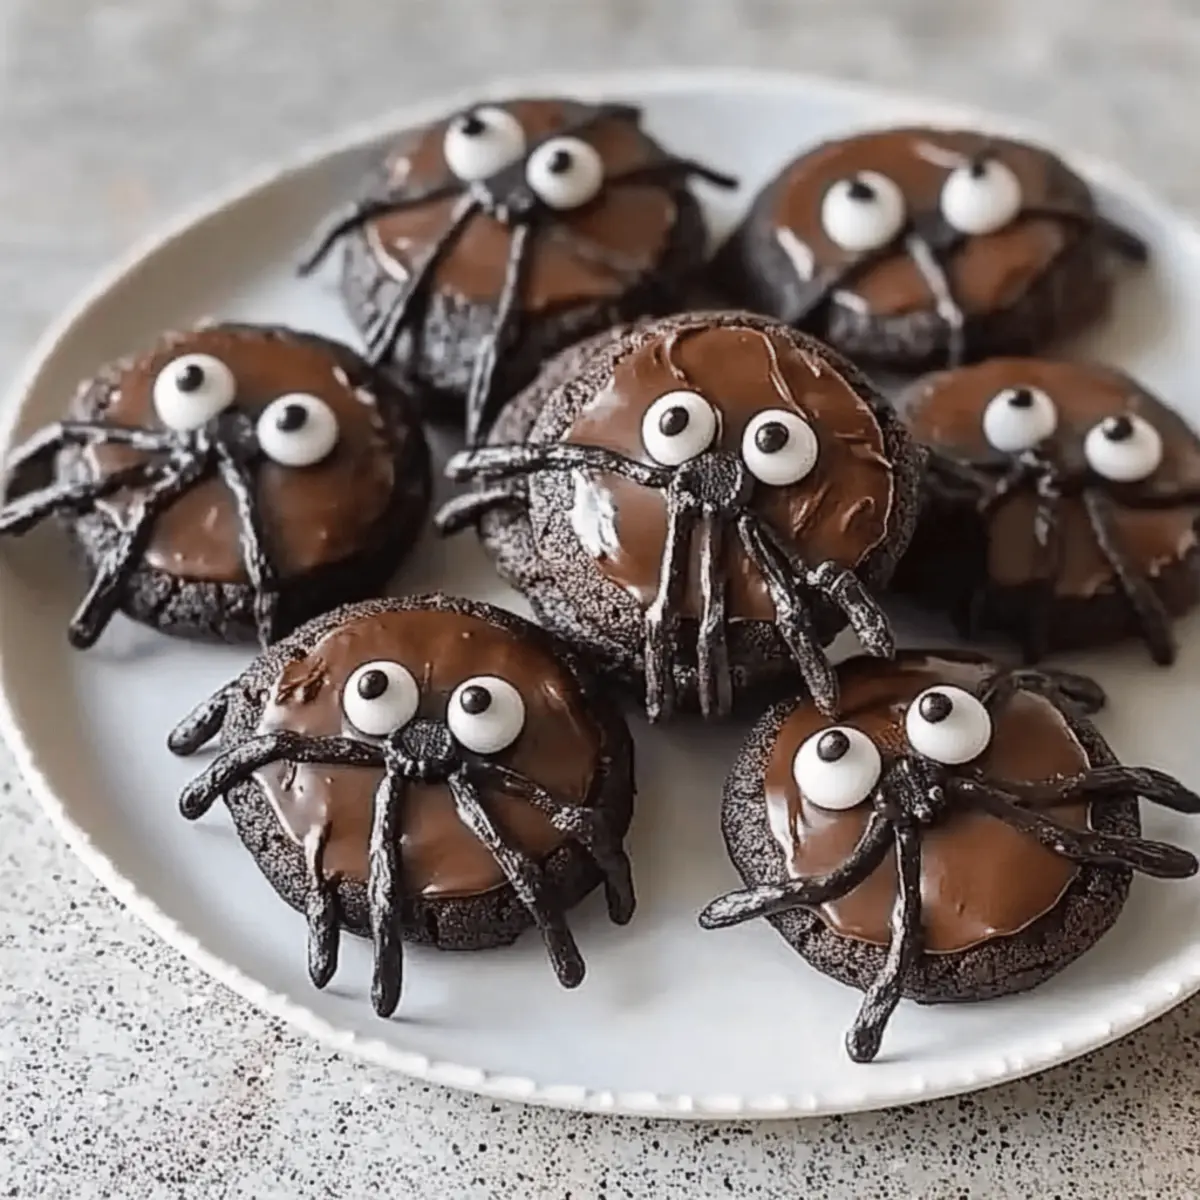
Delightful Chocolate Spider Cookies for a Spooky Halloween Treat
Ingredients
Equipment
Method
- Start by breaking the dark or milk chocolate into small pieces and placing them in a heatproof bowl. Set the bowl over a pot of barely simmering water, stirring gently until melted, about 5-7 minutes.
- While the chocolate is melting, take the liquorice Catherine wheels and unroll them, cutting into 2-3 cm lengths for spider legs.
- To assemble, take one Oreo and place about a teaspoon of melted chocolate on top. Position eight liquorice legs around the chocolate, pressing gently. Sandwich another Oreo on top to create the spider body.
- Use the white icing pen to draw two large dots on the top Oreo for the eyes of each spider, followed by smaller dots of black icing in the center.
- Place the decorated cookies on a tray and allow them to set in a cool area for about 15-20 minutes.