As I stirred the bubbling cauldron of creativity in my kitchen, I couldn’t help but smile at the thought of Halloween treats that go beyond just candy. Enter the Spooky Black Halloween Milkshake, a delightful concoction that adds a delicious twist to your spooky festivities. This nonalcoholic delight boasts a striking black hue that’s sure to enchant guests of all ages and bring a bit of whimsy to your gatherings. Not only is it incredibly quick and easy to whip up, but it’s also highly customizable, allowing everyone to add their favorite toppings for a personal touch. Perfect for kids' parties and themed dinners, this milkshake sets the stage for a memorable Halloween treat. Are you ready to dive into this creamy, sweet adventure?
Why is this milkshake perfect for Halloween?
Simplicity Meets Fun: This Spooky Black Halloween Milkshake is a breeze to make, combining just a few ingredients for a quick, delicious treat.
Eye-Catching Appeal: Its striking black color and playful toppings create a fun visual that’s perfect for Halloween celebrations, making it a hit with kids and adults alike.
Endless Customizations: You can easily adapt this recipe with your favorite flavors and toppings, from chocolate ice cream to colorful sprinkles. Need more inspiration? Check out our Sweet Potatoes Black for delightful pairings!
Interactive Fun: Set up a toppings bar for guests to personalize their shakes, turning dessert time into a memorable experience.
Seasonal Delight: This nonalcoholic drink captures the essence of Halloween, making it a must-have for seasonal festivities!
Spooky Black Halloween Milkshake Ingredients
For the Milkshake
- Vanilla Ice Cream – The creamy base that provides sweetness; opt for dairy-free for a vegan alternative.
- Milk – Adds fluidity; whole or 2% milk recommended for a richer consistency.
- Black Gel Food Coloring – Creates the dramatic black hue; substitute with food-grade activated charcoal for a natural twist.
- Vanilla Extract – Enhances flavor; no need for substitutions, although imitation vanilla can suffice in a pinch.
For the Toppings
- Whipped Cream – Adds a fluffy texture and sweetness; consider dairy-free options for a vegan touch.
- Black and Orange Sprinkles – Festive and fun, these sprinkles bring a playful touch to your milkshake.
- Crushed Chocolate Cookies – Provides extra texture and chocolate flavor; swap with similar or gluten-free cookies if needed.
- Halloween-themed Candy – Optional candies like gummy worms or candy eyeballs can elevate the spooky fun.
- Black Straws or Spoons – Perfect for serving and enhances the overall presentation.
This Spooky Black Halloween Milkshake will surely be a showstopper at your Halloween gathering!
Step‑by‑Step Instructions for Spooky Black Halloween Milkshake
Step 1: Blend the Base
In a blender, combine 4 cups of vanilla ice cream, 1 cup of whole milk, 1 teaspoon of vanilla extract, and 1 teaspoon of black gel food coloring. Blend on medium speed for about 30 seconds until the mixture is smooth and creamy. You want a thick yet pourable consistency, so add more food coloring if a richer black hue is desired.
Step 2: Adjust Consistency
Taste the milkshake, and if you'd like it thicker, slowly add another scoop of vanilla ice cream and blend again for 15 seconds. Alternatively, if it's too thick, pour in a splash of milk until you reach your desired consistency. This step ensures your Spooky Black Halloween Milkshake is just right for sipping!
Step 3: Chill Your Glasses
While adjusting the consistency, prepare your serving glasses by chilling them in the freezer for about 10 minutes. Chilled glasses help maintain the shake's temperature and create a refreshing experience for your guests. Once ready, remove them from the freezer and set them aside.
Step 4: Pour and Top It Off
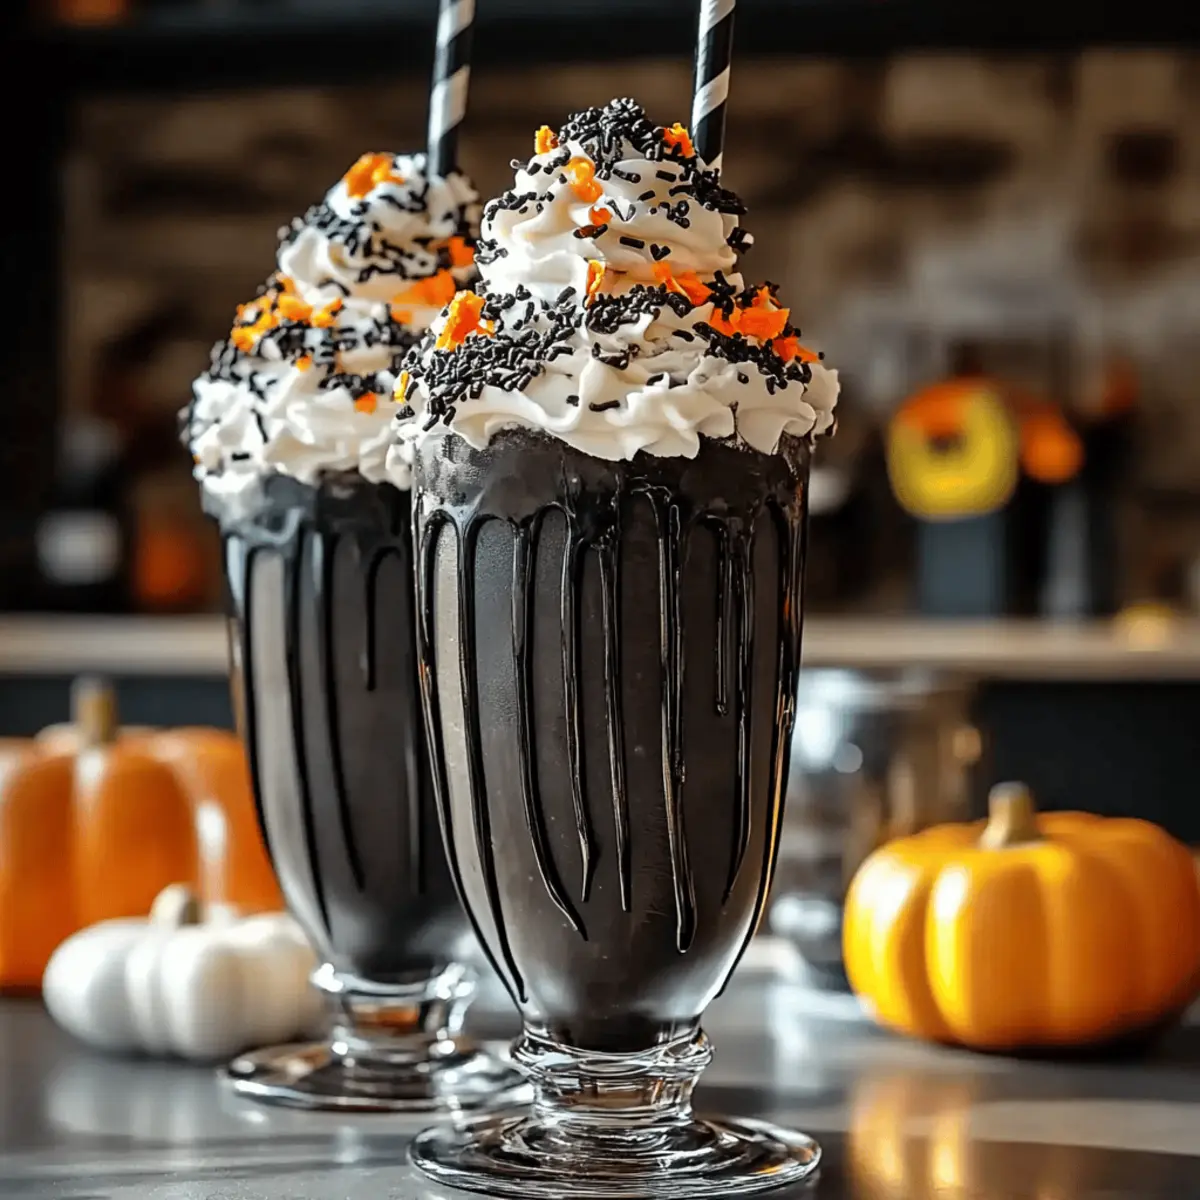
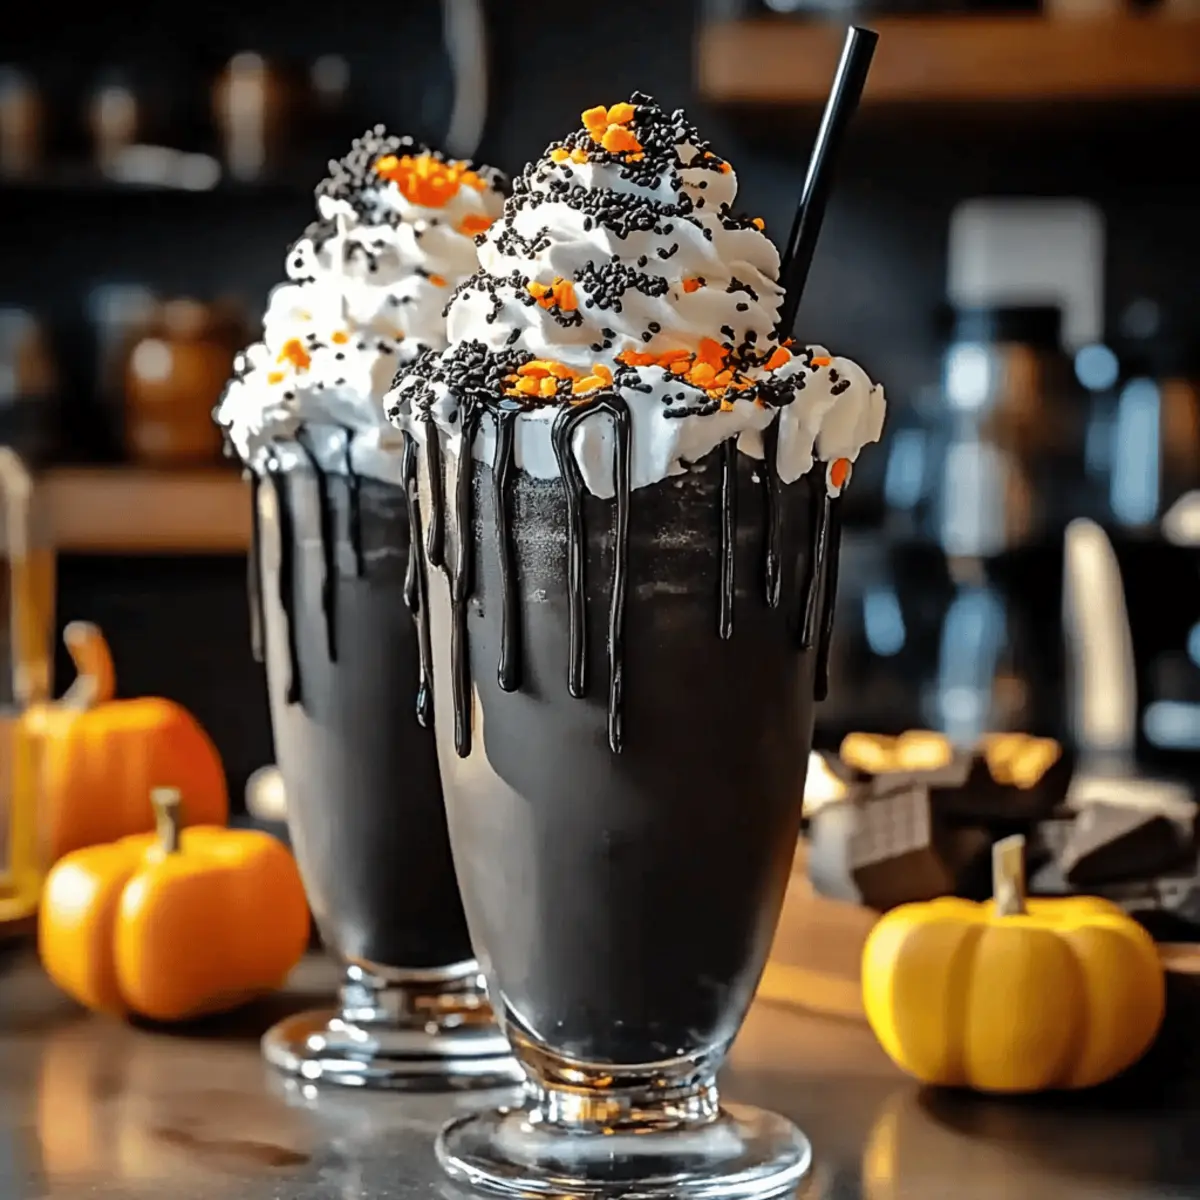
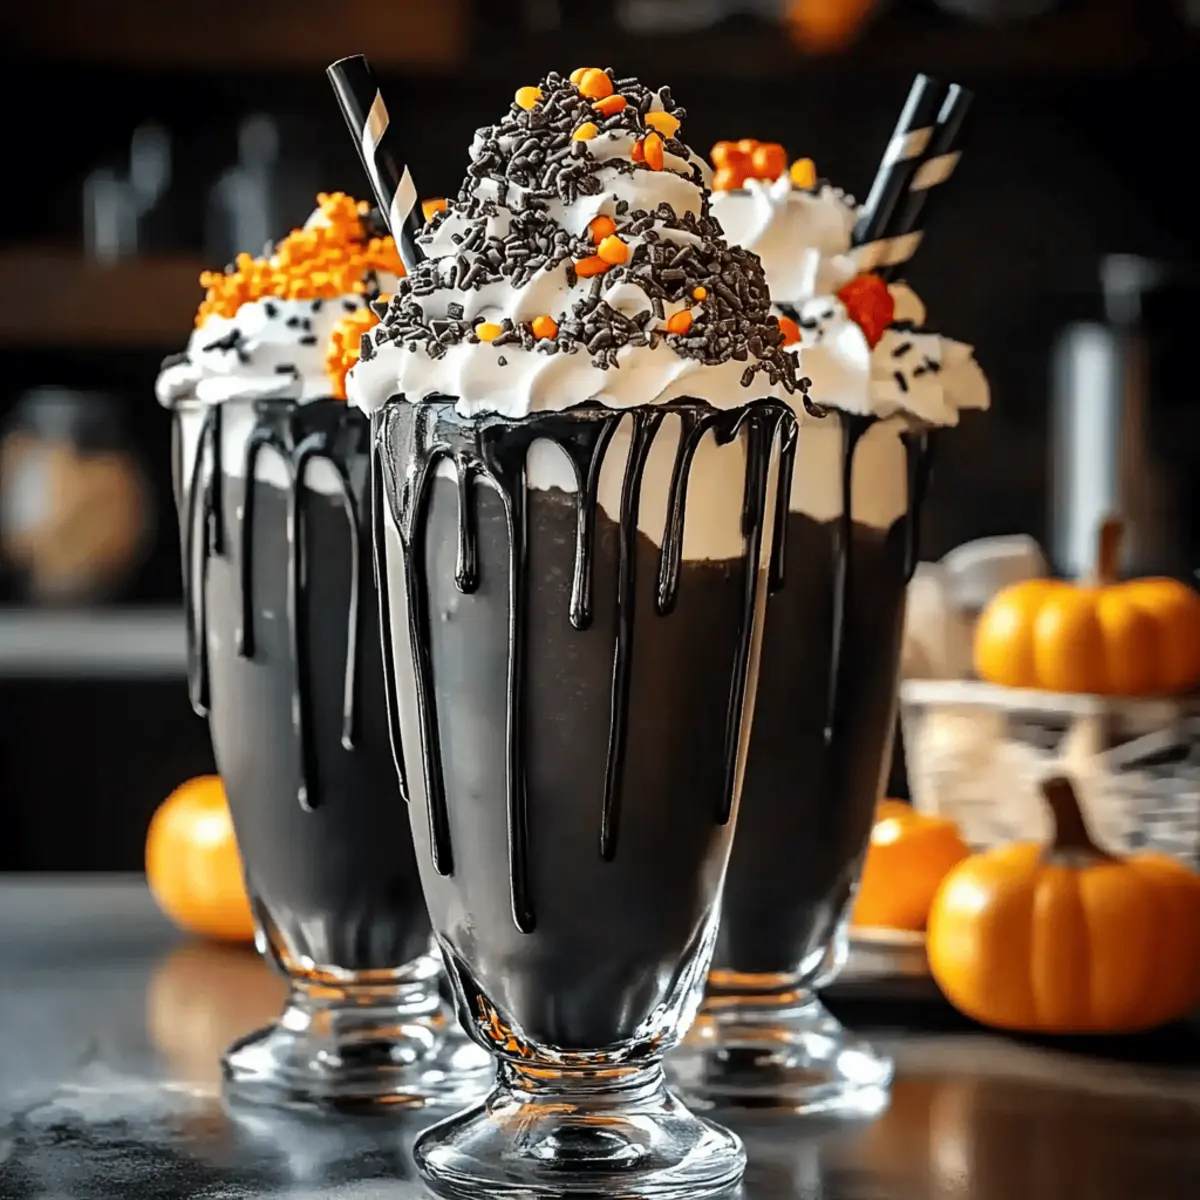
Carefully pour the blended mixture into your chilled glasses, filling them about three-quarters full. Now comes the fun part: top each milkshake with a generous swirl of whipped cream, creating a fluffy mountain atop each glass. The contrast of the whipped cream against the black shake is visually striking!
Step 5: Add Festive Toppings
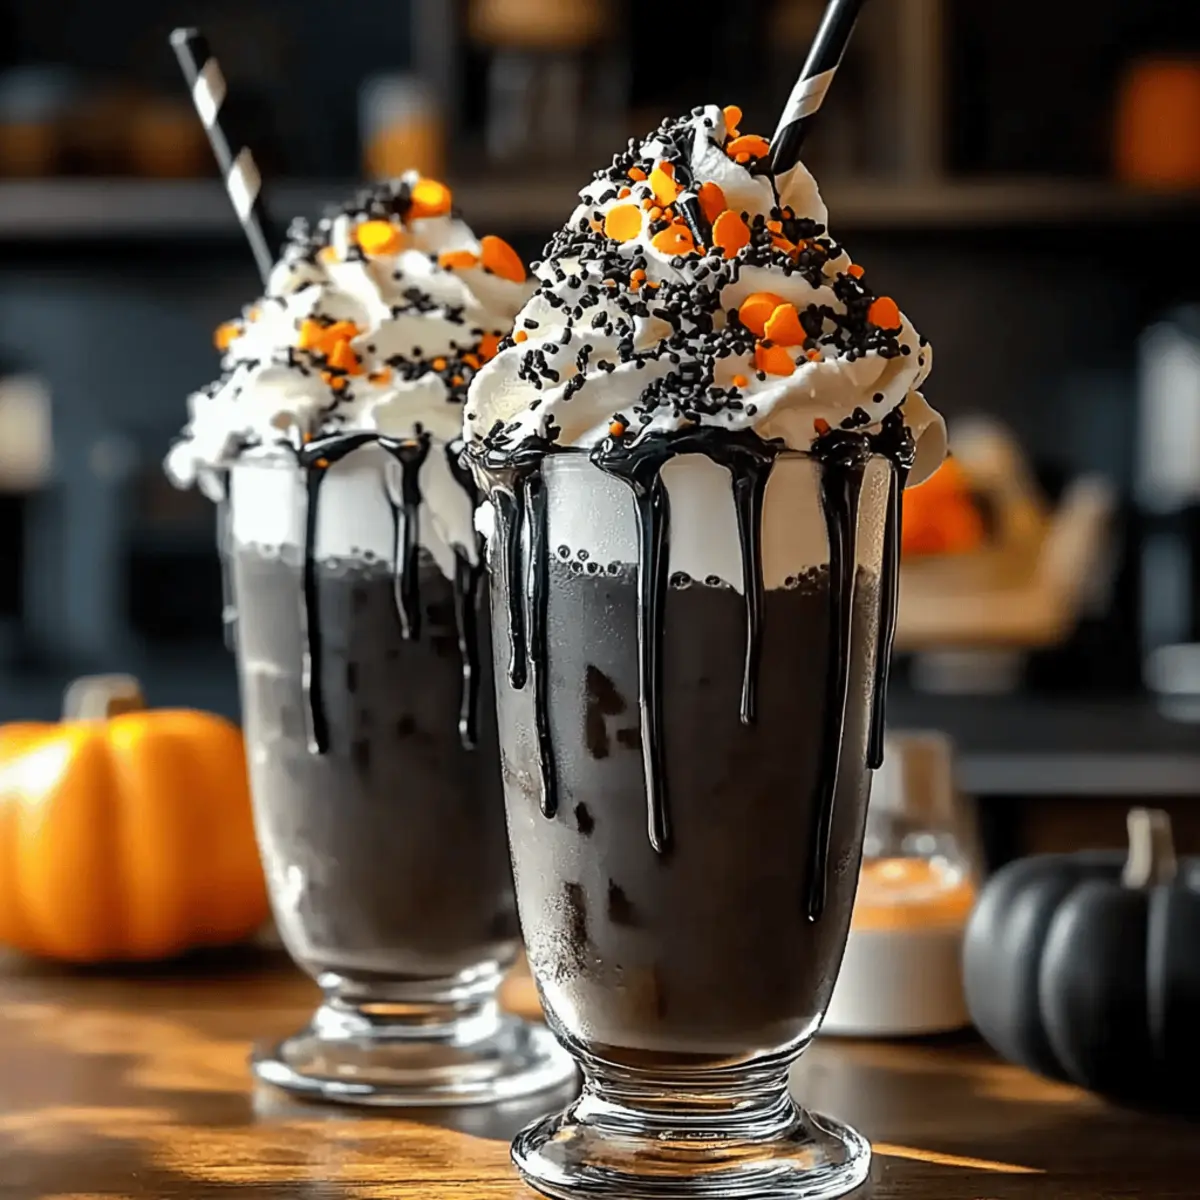
Sprinkle a handful of black and orange sprinkles onto the whipped cream for a festive touch that screams Halloween. Next, layer on some crushed chocolate cookies for texture and extra flavor. Don’t forget to add your favorite Halloween-themed candy, such as gummy worms or candy eyeballs, to really make your Spooky Black Halloween Milkshake a showstopper!
Step 6: Serve with Style
Lastly, insert black straws or spoons into each glass for easy sipping and a fun presentation. Serve these delightful treats immediately to friends and family, enjoying the spooky atmosphere they create. Your Spooky Black Halloween Milkshake is now ready to bring smiles and spooky vibes to your celebration!
What to Serve with Spooky Black Halloween Milkshake?
Indulging in a creamy, whimsical delight, this Halloween milkshake pairs perfectly with a variety of treats to enhance your spooky celebration.
-
Ghoulish Halloween Cupcakes: These colorful cupcakes add a sweet touch, with decorations that evoke the spirit of Halloween.
-
Crispy Pumpkin Fries: The savory crunch of pumpkin fries contrasts beautifully with the milkshake's sweetness, ensuring every bite is a delightful surprise.
-
Chocolate-Dipped Pretzels: The salty-sweet combination creates a fun texture that complements the rich flavors of the milkshake.
-
Ghostly Fruit Kebabs: Fresh fruits on a stick, like strawberries and bananas, add a refreshing pop of color and healthiness to offset the indulgent shake.
-
Monster Cheese Plate: A selection of cheeses with Halloween-themed crackers or garnishes provides a savory contrast to the dessert while being a visually appealing spread.
-
Spooky Popcorn: Drenched in dark chocolate and sprinkled with festive candies, popcorn offers a delightful crunch alongside your milkshake.
-
Black Velvet Brownies: Rich and fudgy brownies add a decadent element, complimenting the milkshake’s texture with every bite.
-
Fruit Punch Mocktail: An equally festive drink, a refreshing fruit punch can cleanse the palate and keep the festive spirit alive!
Embrace the Halloween season by pairing these delightful options with your Spooky Black Halloween Milkshake for an unforgettable gathering.
Make Ahead Options
These Spooky Black Halloween Milkshake preparations are perfect for busy cooks seeking time-saving solutions! You can pre-scoop the vanilla ice cream into serving glasses and store them in the freezer for up to 24 hours. Additionally, you can mix the milk, vanilla extract, and food coloring and refrigerate this mixture in an airtight container for up to 3 days. When you're ready to serve, simply blend the chilled mixture with the frozen ice cream until smooth and creamy. This way, you can create your delicious milkshake with minimal effort while ensuring it remains just as tasty and delightful for your Halloween festivities!
Spooky Black Halloween Milkshake Variations
Feel free to let your imagination run wild with these delightful twists on the classic milkshake!
-
Chocolate Ice Cream: Swap vanilla for chocolate ice cream to add a rich, indulgent depth that chocolate lovers will adore.
-
Dairy-Free Delight: Use almond or coconut milk along with dairy-free ice cream for a wholesome vegan option without sacrificing taste.
-
Candy Corn Twist: Blend orange sherbet with vanilla ice cream for a cheerful, candy corn-inspired version that’s sure to surprise your guests!
-
Galaxy Swirl: Combine black and purple milkshakes for a stunning galaxy effect. Just blend in a few tablespoons of blueberry flavored yogurt to add a pop of color.
-
Nutty Flavor: Stir in a spoonful of almond or hazelnut spread to the milkshake base for a deliciously nutty flavor that brings new life to your treat!
-
Spicy Kick: For the bold, a pinch of cayenne pepper or a few drops of hot sauce can add an unexpected kick to your spooky shake, perfect for adventurous palates!
-
Cheesecake Cream: Fold in some cheesecake-flavored yogurt or cream cheese for a unique, creamy texture that will leave everyone wanting more.
-
Colorful Sprinkles: Instead of just black and orange, introduce rainbow sprinkles for a festive look, making each sip a delightful surprise!
For even more creative ideas, consider trying our Blackberry Crisp Amp which showcases the beauty of seasonal ingredients or pair it with our tasty Sweet Potatoes Black dish for a complete Halloween feast. Enjoy your spooky culinary adventure!
Expert Tips for Spooky Black Halloween Milkshake
- Color Care: Use gel food coloring: It yields a vibrant black hue compared to liquid options. This ensures your milkshake stands out during the festivities.
- Blend Smartly: Gradually adjust ingredients: Instead of overdoing it, add more ice cream or milk slowly to achieve your desired consistency for the perfect spooky black Halloween milkshake.
- Chill for Success: Pre-chill glasses: Keeping your serving glasses in the freezer means longer-lasting cold shakes—no one wants a lukewarm treat at a Halloween party!
- Topping Fun: Create a toppings bar: Let guests customize their milkshakes with toppings of their choice. It adds excitement and personal flair to each delightful sip!
- Safety First: Ensure food-grade activated charcoal: If opting for this natural alternative, always verify it’s safe for edible use to keep your spooky recipes worry-free.
How to Store and Freeze Spooky Black Halloween Milkshake
Fridge: Store any leftover milkshake in an airtight container for up to 2 days. Stir well before serving as it may separate.
Freezer: Freeze leftover milkshake in a freezer-safe container for up to 1 month. Allow it to thaw slightly before enjoying, and stir to regain creaminess.
Reheating: As a milkshake, it’s best enjoyed cold. If frozen, let it sit at room temperature for a few minutes before blending again for a refreshing sip.
Make-Ahead: Consider pre-scooping the ice cream into glasses and storing them in the freezer. Blend the remaining ingredients when ready to serve your Spooky Black Halloween Milkshake!
Spooky Black Halloween Milkshake Recipe FAQs
How do I select the right vanilla ice cream for this milkshake?
Absolutely! For the best results, choose a high-quality vanilla ice cream for a creamy and sweet base. If you want a vegan option, look for dairy-free ice cream made from coconut or almond milk. This way, everyone can enjoy the festive treat!
What’s the best way to store leftovers from my milkshake?
Very easy! Store any leftover Spooky Black Halloween Milkshake in an airtight container in the fridge for up to 2 days. Just give it a good stir before serving, as it may separate. If you prefer to freeze it, use a freezer-safe container and keep it for up to 1 month. Let it thaw slightly before re-blending for a creamy texture.
Can I freeze my Spooky Black Halloween Milkshake? If so, how?
Certainly! To freeze, pour any leftover milkshake into a freezer-safe container and freeze it for up to 1 month. When you're ready to enjoy it again, allow it to thaw at room temperature for about 10-15 minutes, then stir well to regain some creaminess. This method will bring back the delightful texture you love!
Why did my milkshake turn out too thick/thin?
No worries! If your Spooky Black Halloween Milkshake is too thick, gradually add a splash of milk and blend until you reach your desired consistency. Conversely, if it's too thin, you can thicken it up by adding another scoop of ice cream. Just blend for a few seconds until perfectly smooth. It’s all about adjusting to your preference!
Are there any dietary considerations for this milkshake?
Absolutely! This recipe can be easily adjusted for dietary restrictions. For a dairy-free option, simply use dairy-free ice cream and almond or soy milk. Always check the ingredient labels for allergens such as gluten or nuts, especially in toppings like cookies and candy. Your Spooky Black Halloween Milkshake can be inclusive for all guests!
Can I use activated charcoal instead of food coloring?
Yes, you can! Make sure to use food-grade activated charcoal if you want a natural coloring alternative. Start by adding a small amount and then gradually increase until you achieve your desired black hue. Just be cautious and ensure it's safe for consumption. Enjoy experimenting with this spooky twist!
Spooky Black Halloween Milkshake: A Fun Treat for Kids
Ingredients
Equipment
Method
- In a blender, combine 4 cups of vanilla ice cream, 1 cup of whole milk, 1 teaspoon of vanilla extract, and 1 teaspoon of black gel food coloring. Blend on medium speed for about 30 seconds until the mixture is smooth and creamy.
- Taste the milkshake, and if you'd like it thicker, slowly add another scoop of vanilla ice cream and blend again for 15 seconds. Alternatively, if it's too thick, pour in a splash of milk until you reach your desired consistency.
- While adjusting the consistency, prepare your serving glasses by chilling them in the freezer for about 10 minutes.
- Carefully pour the blended mixture into your chilled glasses, filling them about three-quarters full. Top each milkshake with a generous swirl of whipped cream.
- Sprinkle a handful of black and orange sprinkles onto the whipped cream. Layer on some crushed chocolate cookies and add your favorite Halloween-themed candy.
- Insert black straws or spoons into each glass for easy sipping and serve immediately.