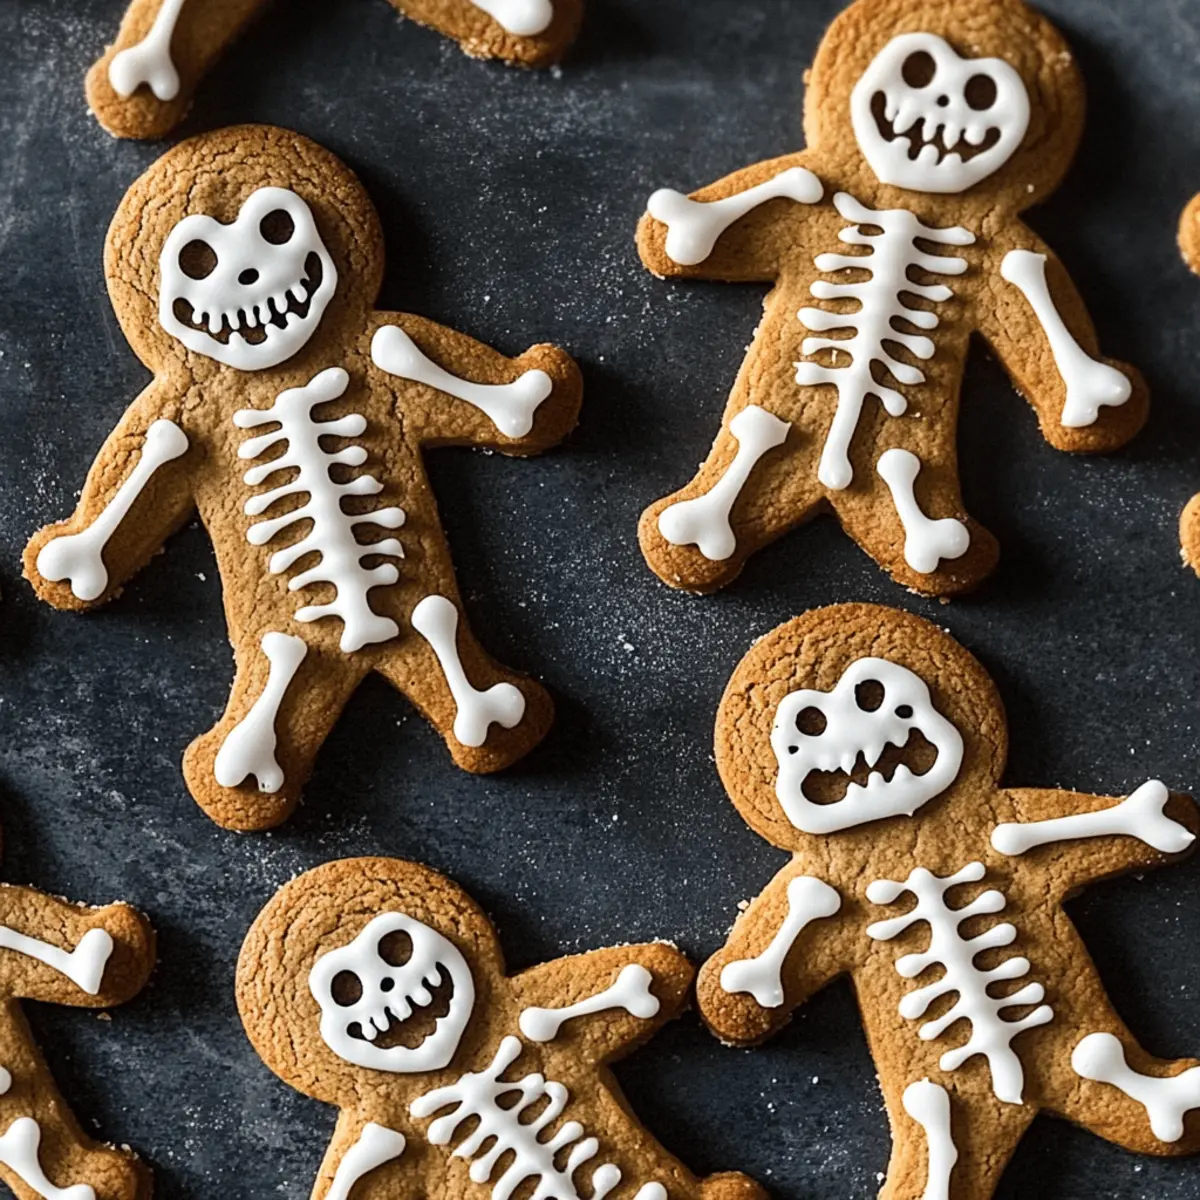
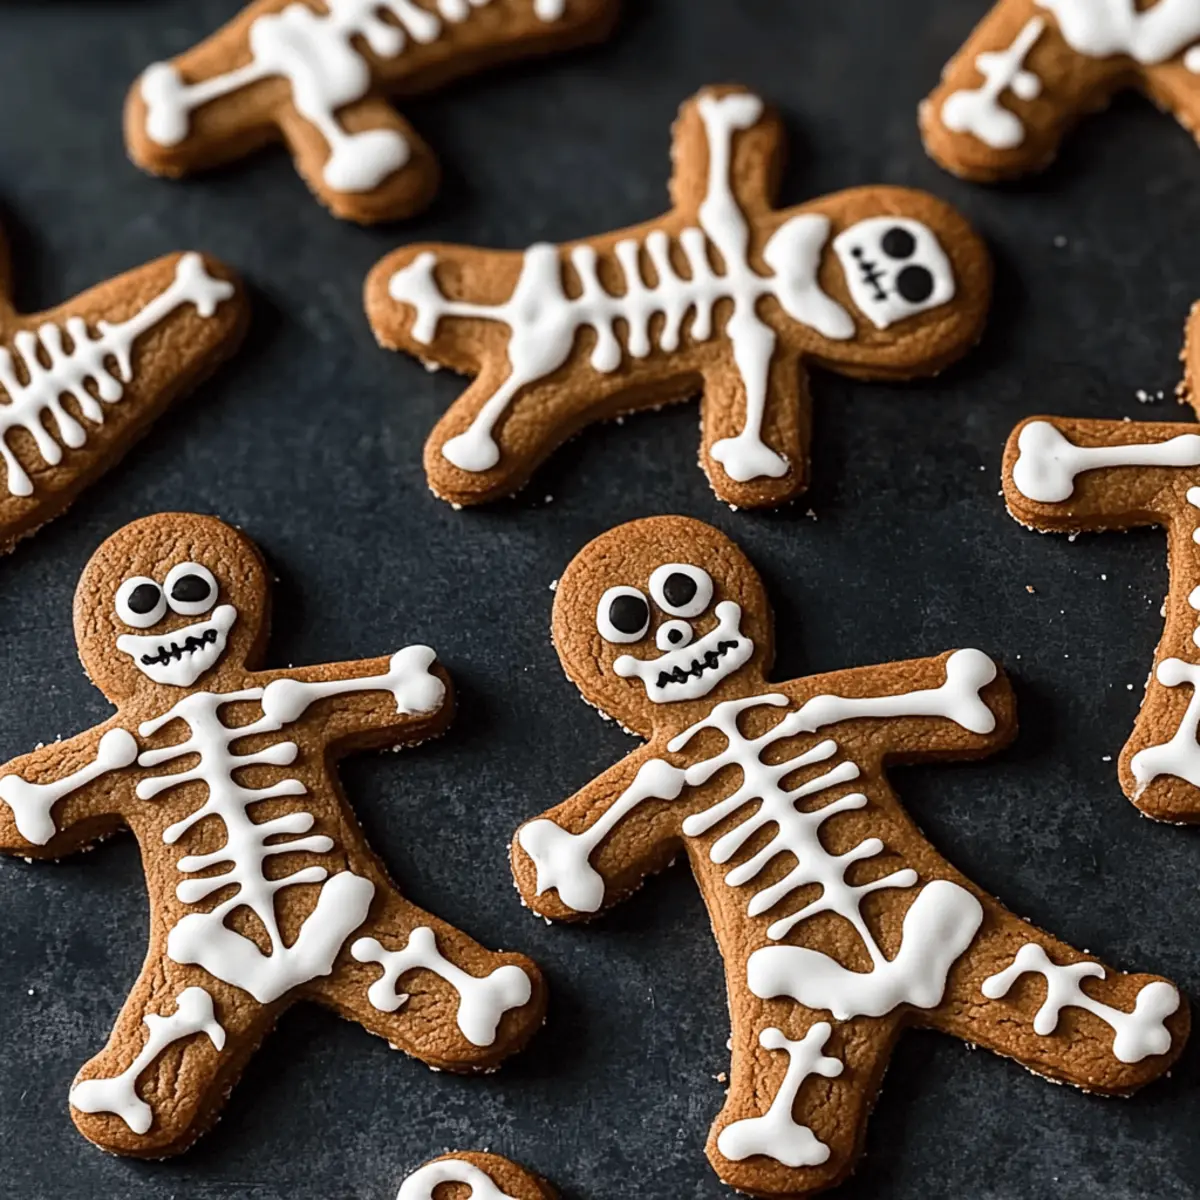
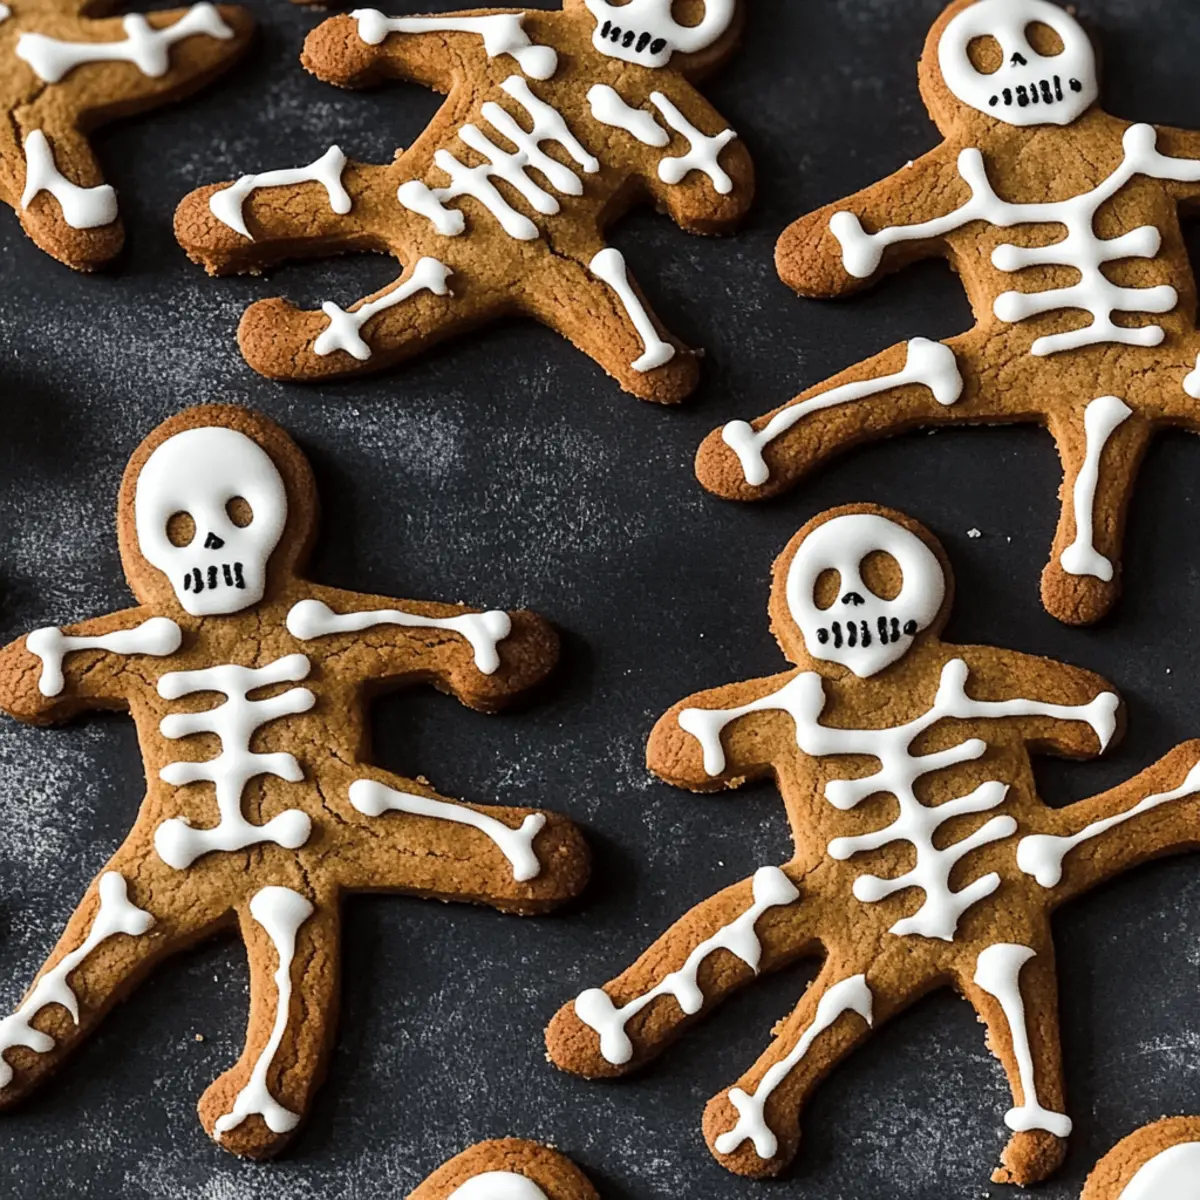
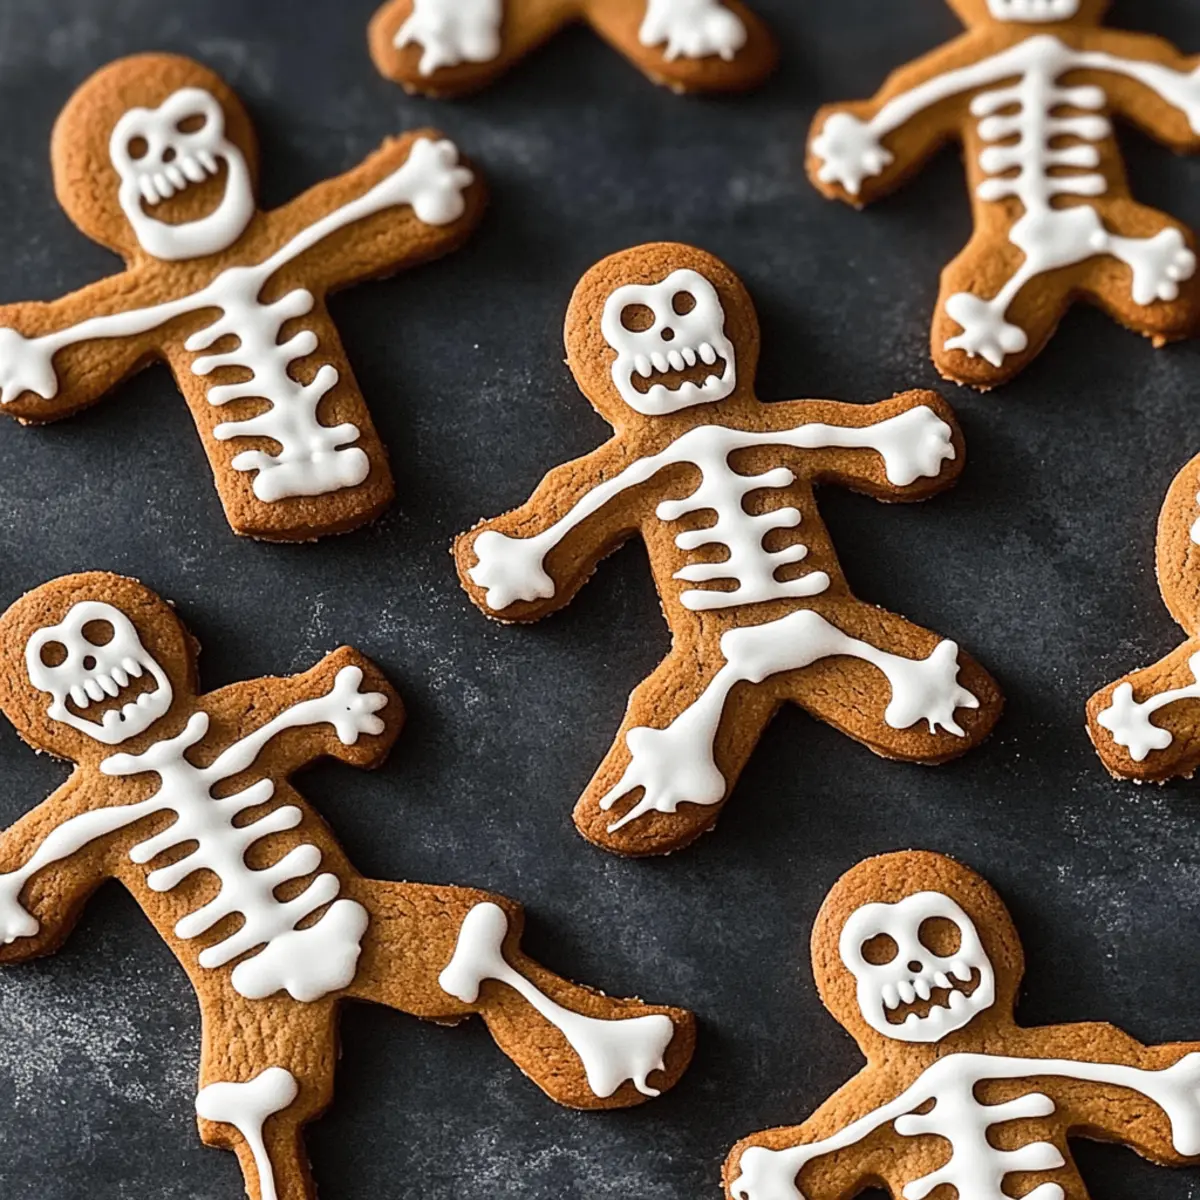
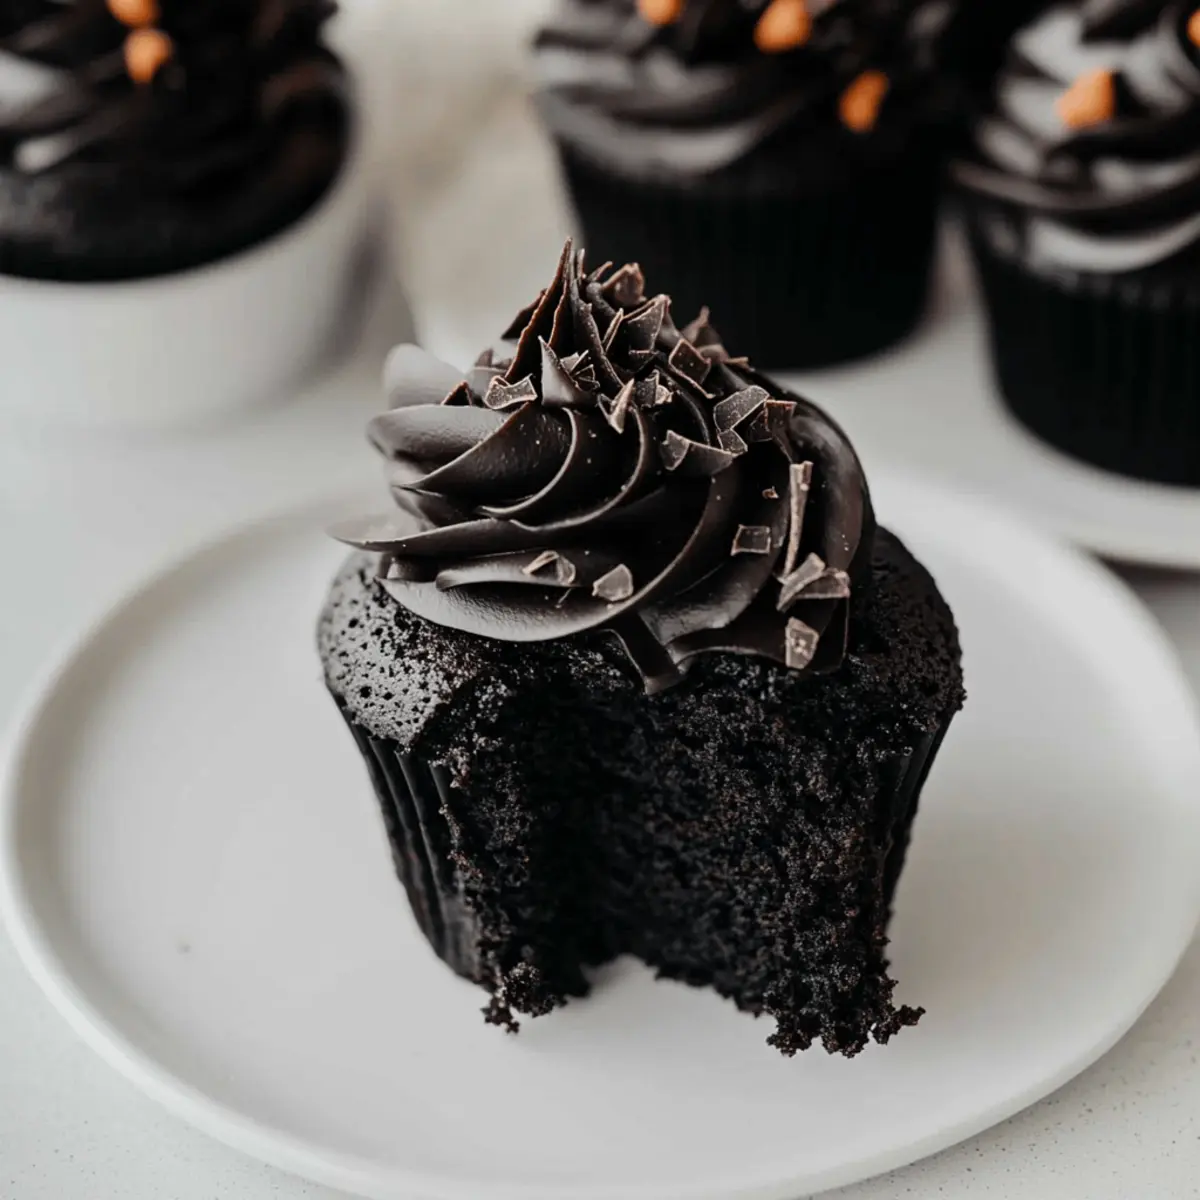
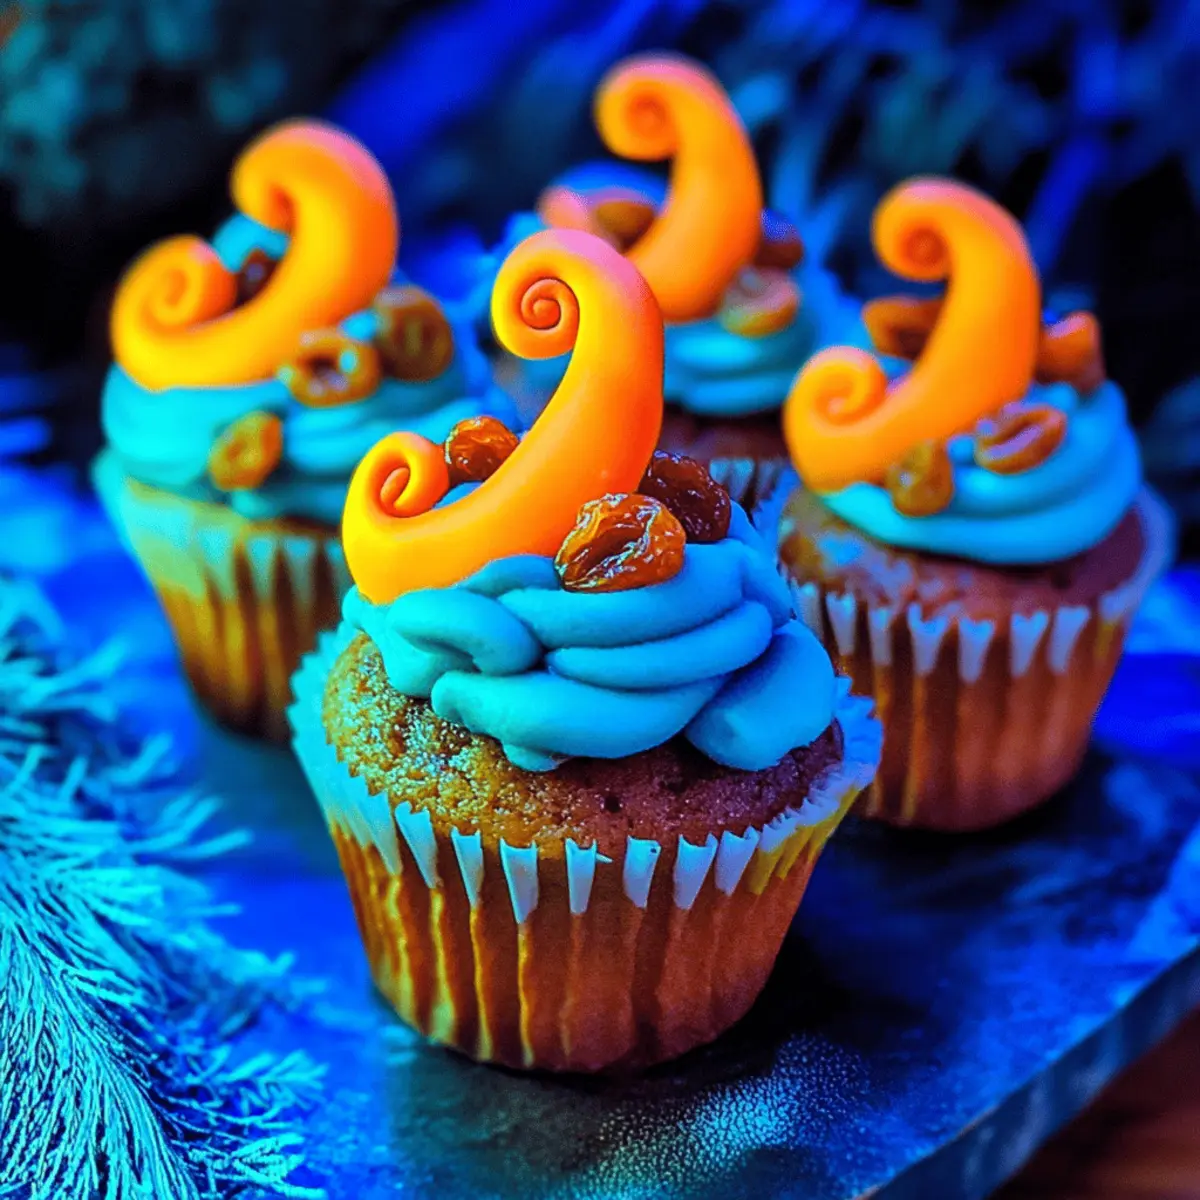
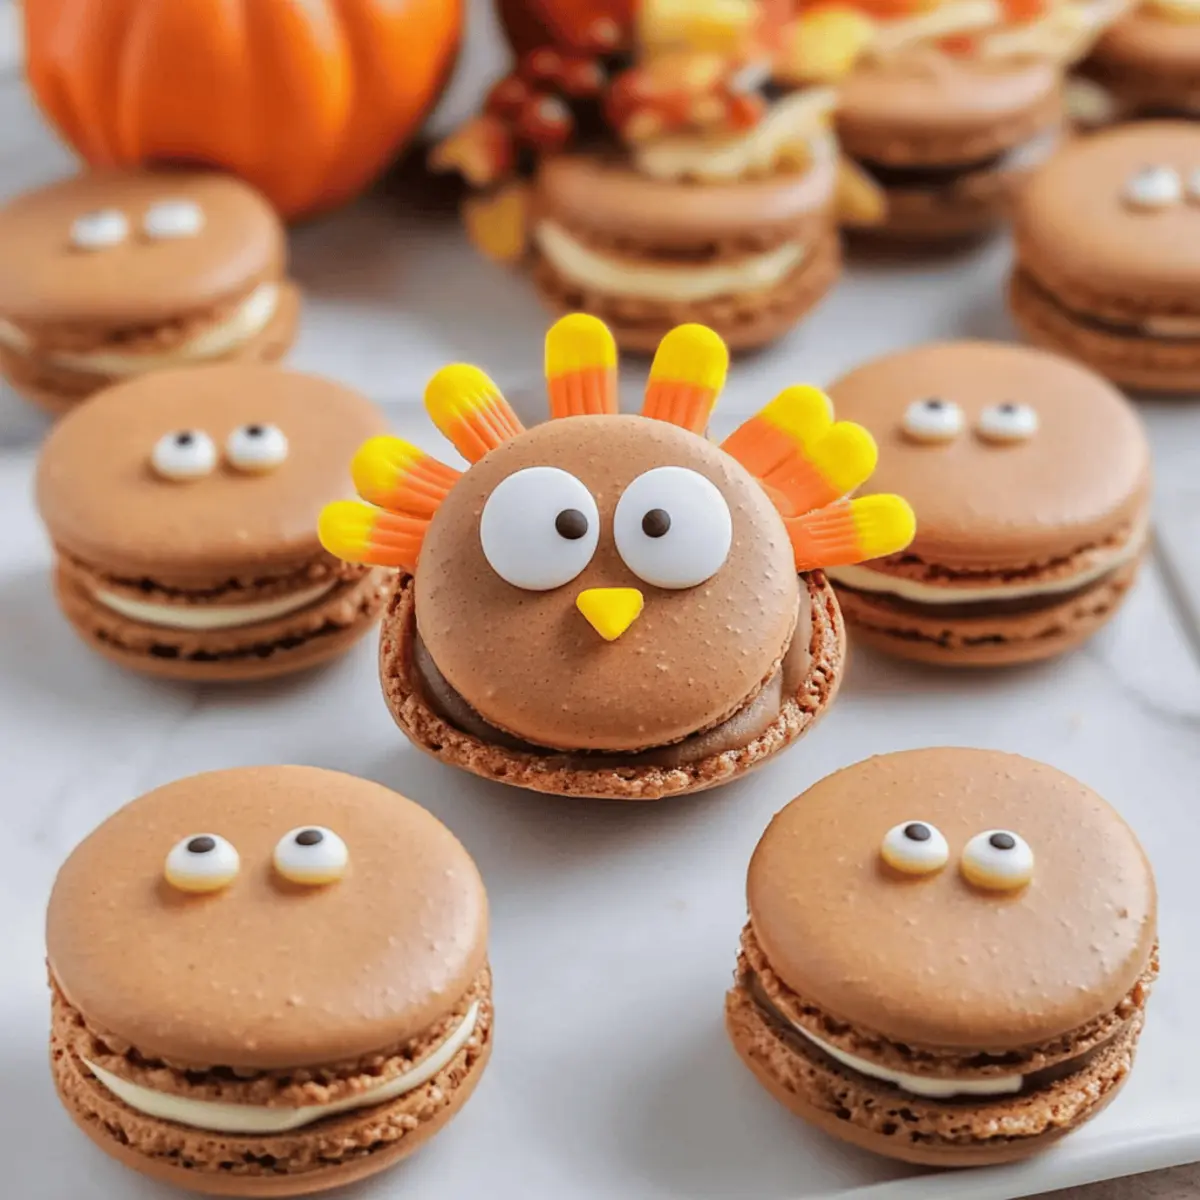
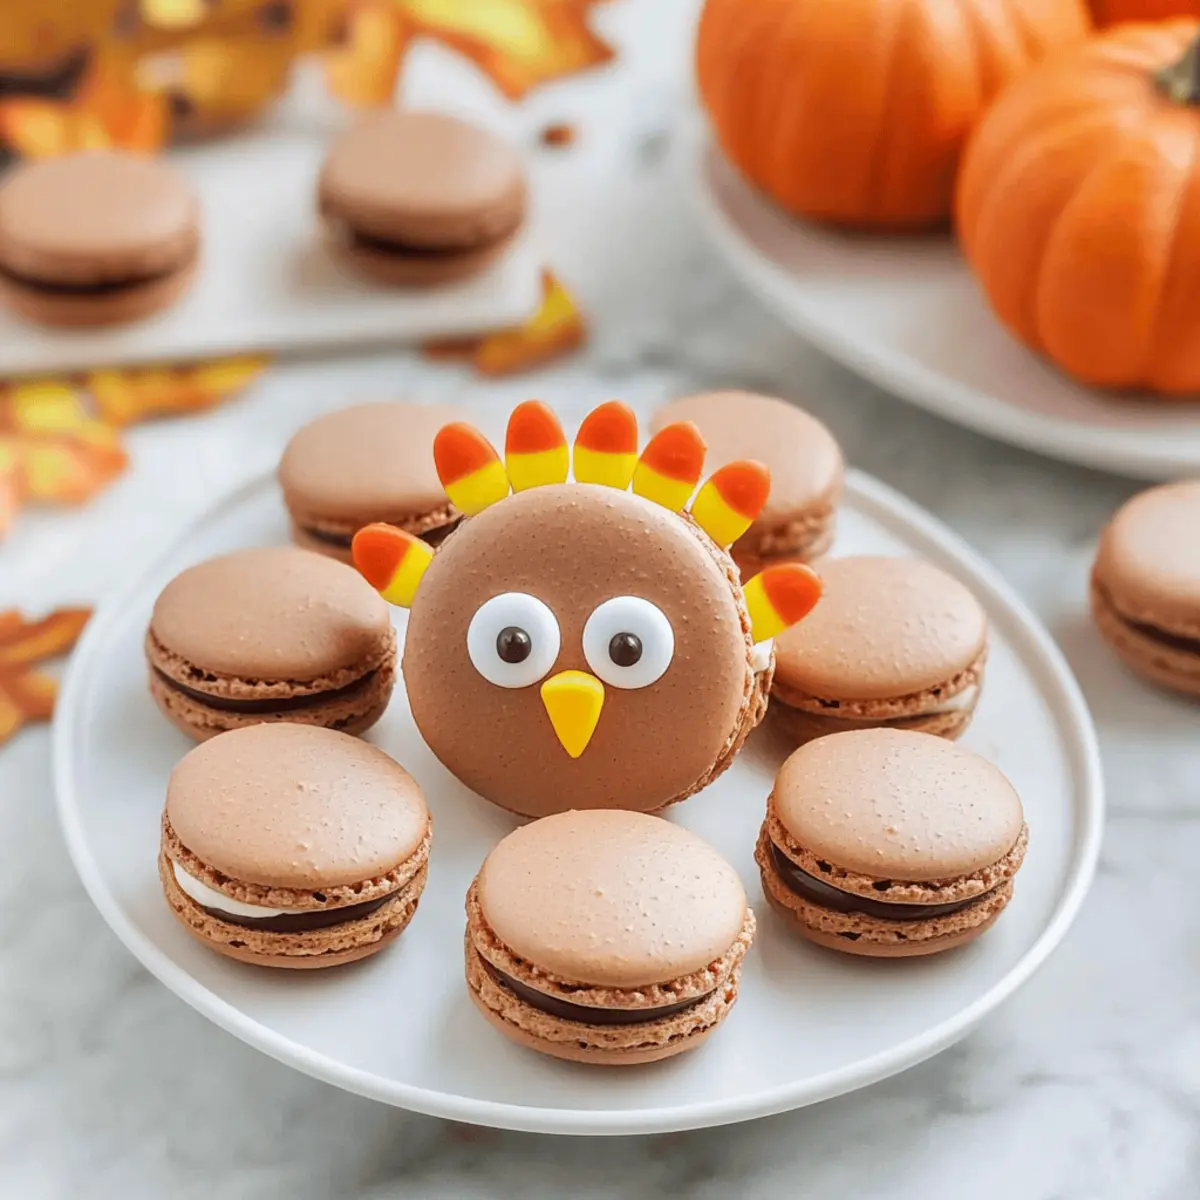
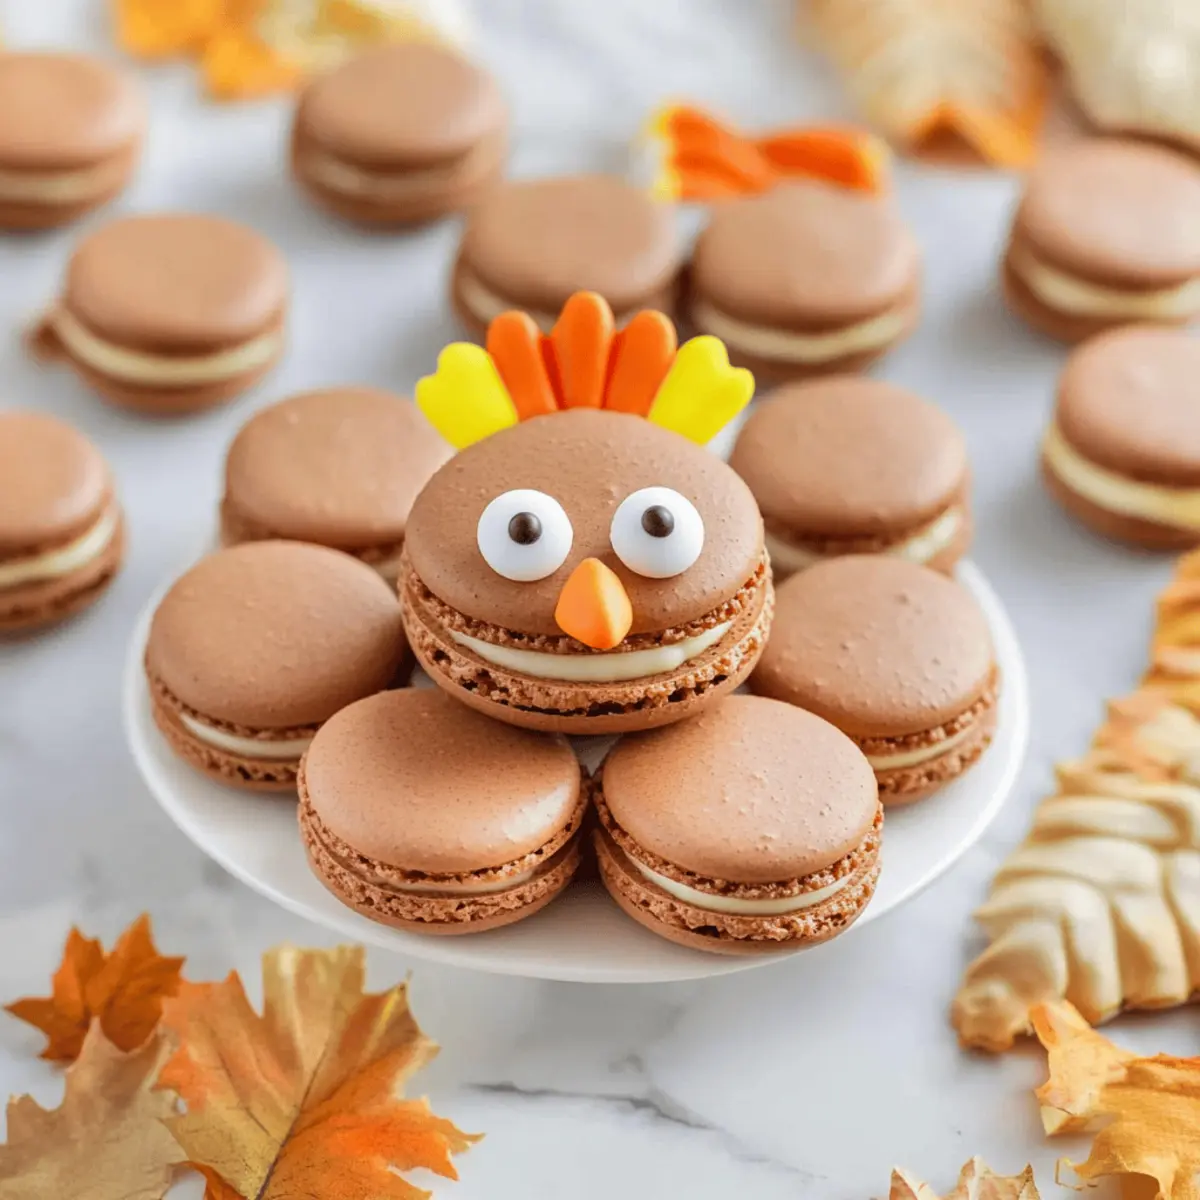
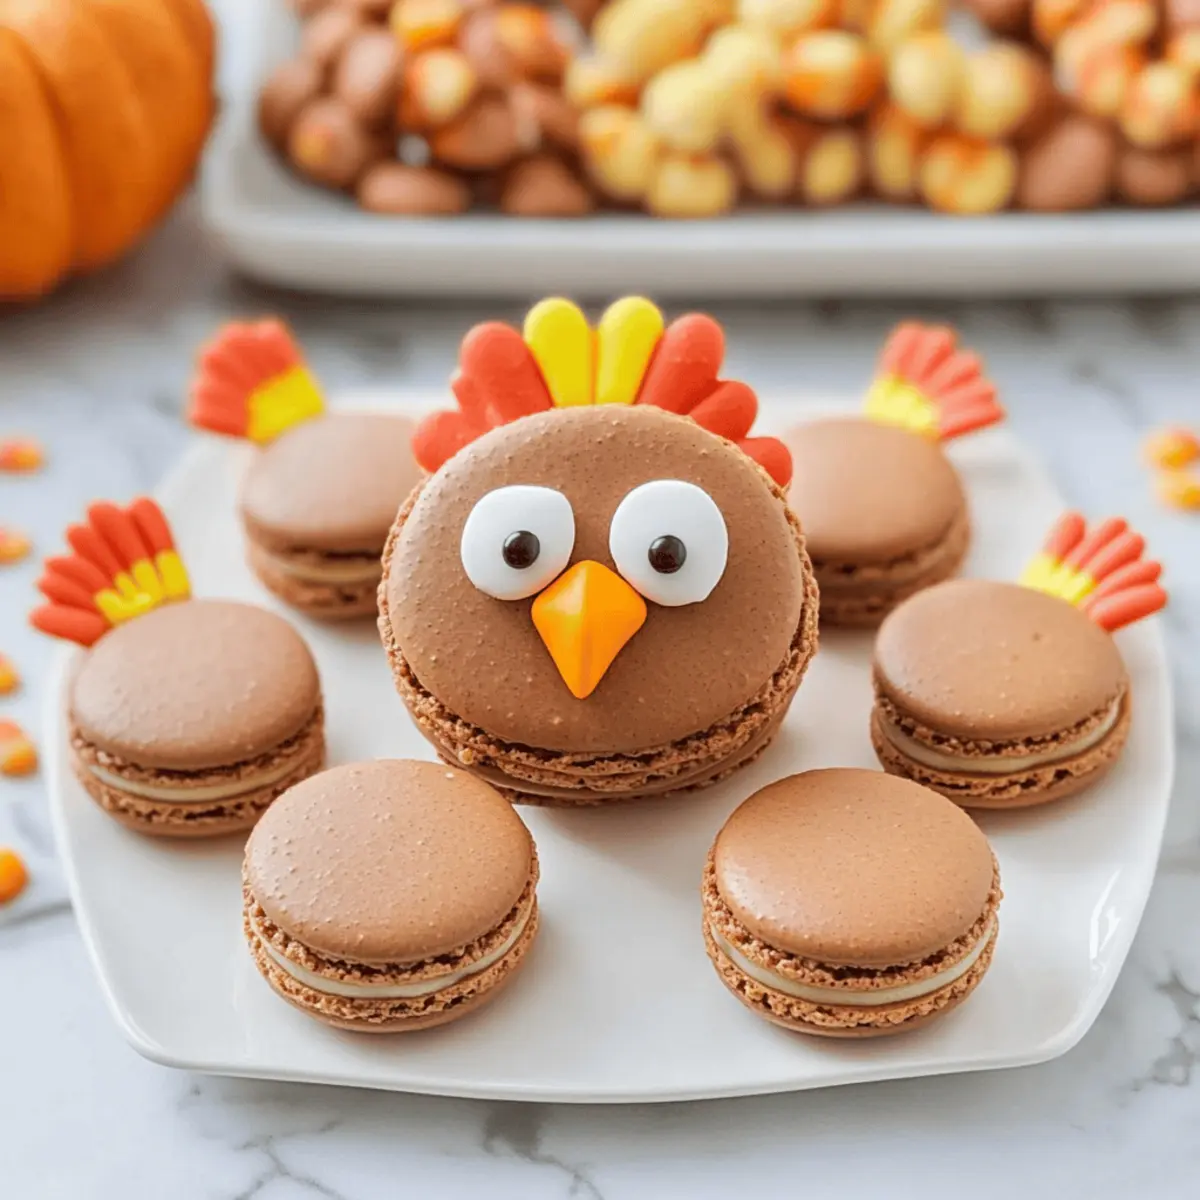
As I was bustling around the kitchen last Thanksgiving, I stumbled upon a delightful idea: why not combine the whimsical charm of macarons with the festive spirit of the holiday? Enter the Thanksgiving Turkey Macarons, a truly unique treat that’s sure to steal the show at your holiday gatherings. These gluten-free delights feature delicate almond flour shells bursting with rich pumpkin cream cheese buttercream, making them the perfect indulgence for pumpkin spice lovers. With vibrant decorations mimicking cute turkeys, they not only please the palate but also add a playful touch to your dessert table. Plus, they are a crowd-pleaser that even the kids will adore. Intrigued? Let’s dive into how to create these deliciously festive treats that will have everyone talking long after the meal is over!
Why Are These Turkey Macarons Special?
Whimsical Design: Their adorable turkey decorations add a playful touch, making them the star of your dessert table.
Festive Flavor: Rich pumpkin cream cheese buttercream inside almond flour shells captures the essence of the season.
Crowd-Pleasing Delight: Loved by guests of all ages, these treats bridge the gap between traditional desserts and modern whimsy.
Gluten-Free Goodness: Enjoy these delectable cookies worry-free, perfect for those with dietary restrictions.
Make Ahead: With the option to prepare in advance, these macarons will save you valuable time during hectic holiday preparations.
Pair them with classic desserts like Eggnog Cookies Soft or Mexican Wedding Cookies for an unforgettable feast!
Thanksgiving Turkey Cookies Ingredients
• Get ready to craft these festive delights!
-
For the Macaron Shells
-
Almond Flour – Provides a delightful nutty flavor; make sure to use finely sifted almond flour for the best texture.
-
Powdered Sugar – Sweetens the shells and ensures a smooth finish.
-
Ground Cinnamon – Adds a warm autumn flavor that enhances the macaron's seasonal appeal.
-
Egg Whites – Essential for achieving that perfect meringue structure; remember, room temperature whites yield the best results.
-
Cream of Tartar – Stabilizes your egg whites, aiding in reaching stiff peaks during whipping.
-
Granulated Sugar – Enhances sweetness and also helps to stabilize the meringue.
-
Gel Food Coloring – Use gel for vibrant colors in your macaron shells, as it won't alter the batter's consistency.
-
For the Pumpkin Buttercream Filling
-
Unsalted Butter – Creates a rich filling; ensure it is at room temperature for easier mixing.
-
Cream Cheese – Adds creaminess to the buttercream, beautifully complementing the pumpkin flavor.
-
Pumpkin Puree – Infuses a seasonal depth into the filling; be sure to drain excess moisture for the ideal consistency.
-
Brown Sugar – Contributes a deep caramel-like sweetness that pairs wonderfully with pumpkin.
-
Pumpkin Spice – Enhances the classic fall flavor profile of the filling.
-
More Powdered Sugar – Adjust to reach your desired buttercream consistency; this will ensure a perfect piping texture.
-
For Decorating
-
Butterscotch Chips – Melt these to create adorable turkey beaks; they add a fun twist to your presentation.
-
Candy Eyes & Candy Corn – Use these for a playful touch, transforming your macros into festive turkey faces!
These Thanksgiving Turkey Cookies are not only visually enchanting but also a delightful blend of flavors, sure to make your holiday gatherings extra special!
Step‑by‑Step Instructions for Thanksgiving Turkey Macarons
Step 1: Prepare Your Equipment
Start by thoroughly cleaning your mixing bowls, whisk, and utensils with vinegar to remove any grease. This will ensure perfect meringue while making your Thanksgiving Turkey Macarons. Lay out parchment paper or a silicone mat on your baking sheets, making it ready for piping those adorable macaron shells.
Step 2: Make the Macaron Batter
In a bowl, sift together the almond flour, powdered sugar, and ground cinnamon until well combined. Meanwhile, whip the egg whites and cream of tartar in a large mixing bowl until foamy. Gradually add granulated sugar while continuing to whip, until stiff peaks form. Carefully fold in the dry ingredients and add gel food coloring until the mixture is uniform and shiny.
Step 3: Pipe the Macaron Shells
Fill a piping bag with the macaron batter and pipe small circles onto the prepared silicone mat, about 1.5 inches in diameter and spacing them evenly. Once you've piped all the circles, gently tap the baking sheet on the counter to release any air bubbles. Allow the shells to sit at room temperature for 40-45 minutes until they develop a slight skin.
Step 4: Bake the Shells
Preheat your oven to 300°F (150°C). Once the macarons have rested, place the baking sheet in the oven and bake for 13-14 minutes, or until the shells have risen and their edges appear slightly crisp. After baking, let them cool completely on the mat before attempting to remove them, ensuring their delicate structure remains intact.
Step 5: Make the Pumpkin Buttercream
While the macaron shells cool, prepare the pumpkin buttercream filling. In a mixing bowl, combine drained pumpkin puree, unsalted butter, cream cheese, brown sugar, cinnamon, pumpkin spice, and more powdered sugar. Beat until smooth and creamy, ensuring it’s well mixed for a luscious filling that will complement your Thanksgiving Turkey Macarons perfectly.
Step 6: Assemble the Macarons
Once your macaron shells are cool, pair them up into matching sizes. Pipe a generous dollop of the pumpkin buttercream onto the flat side of one shell, then top it with another shell, pressing gently to create a sandwich. Repeat this process until all macarons are filled, giving you delightful treats ready for decoration.
Step 7: Decorate Your Turkeys
To create your turkey decorations, melt the butterscotch chips until smooth. Use a toothpick or piping bag to attach candy eyes onto the macaron tops and draw a small beak with the melted chips. Decorate with candy corn as tails, arranging them in a playful fashion for each Thanksgiving Turkey Macaron, turning each one into a festive masterpiece.
Expert Tips for Thanksgiving Turkey Cookies
-
Measure Accurately: Use a digital scale to ensure precise ingredient measurements, which is crucial for achieving perfect macaron texture.
-
Proper Egg Whites: Ensure your egg whites are at room temperature for optimal volume during whipping, giving your macaron shells that desired airy structure.
-
Avoid Overmixing: When folding the dry ingredients into the meringue, gently mix until just combined; overmixing can result in flat shells.
-
Oven Calibration: Test your oven temperature with an oven thermometer as variations can affect baking. Adjust as necessary if shells crack or spread during baking.
-
Cooling Time: Let the macarons cool completely on the baking mat before removing them; this helps maintain their delicate structure and prevents breakage.
-
Maturation Magic: For the best flavor and texture, allow the assembled Thanksgiving Turkey Cookies to mature in the refrigerator for at least 24 hours before serving.
Make Ahead Options
These Thanksgiving Turkey Macarons are perfect for busy home cooks looking to save time during the holiday rush! You can prepare the macaron shells and the pumpkin buttercream filling up to 24 hours in advance. Simply store the cooled macaron shells in an airtight container at room temperature, while refrigerating the buttercream. When you're ready to serve, assemble the macarons by piping the buttercream between two shells, and then decorate with melted butterscotch, candy eyes, and candy corn. This way, they will still taste just as delicious and maintain their delightful texture, making your holiday preparations a breeze!
Storage Tips for Thanksgiving Turkey Cookies
Fridge: Store assembled cookies in an airtight container for up to 5 days. This helps maintain their delightful texture and flavor, making sure you can enjoy them throughout the holiday week.
Freezer: For longer storage, freeze the macaron shells without filling for up to 1 month in an airtight container. When ready to serve, thaw them overnight in the refrigerator and then fill with the pumpkin buttercream.
Room Temperature: If you plan to serve them shortly after making, Thanksgiving Turkey Cookies can sit at room temperature for a few hours, but they are best enjoyed fresh.
Reheating: Avoid reheating macarons in the microwave as it can ruin their texture. If you must, a quick minute in a warm oven (200°F) can help refresh older macarons before serving.
What to Serve with Thanksgiving Turkey Macarons
These charming macarons are a delightful way to end your festive meal, inviting you to create a sensational dessert experience.
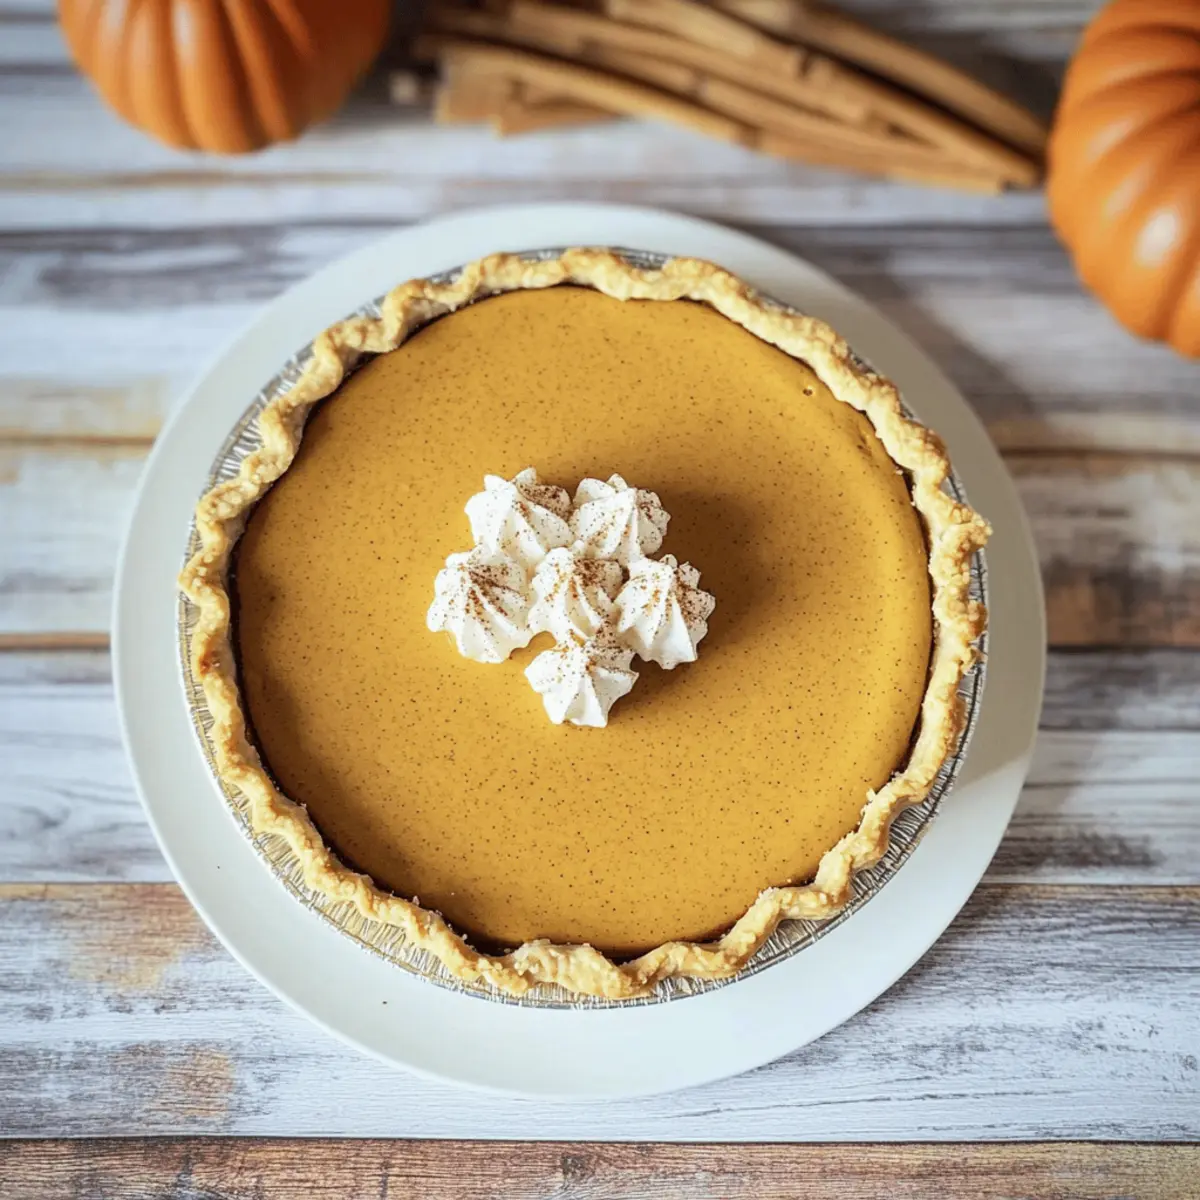
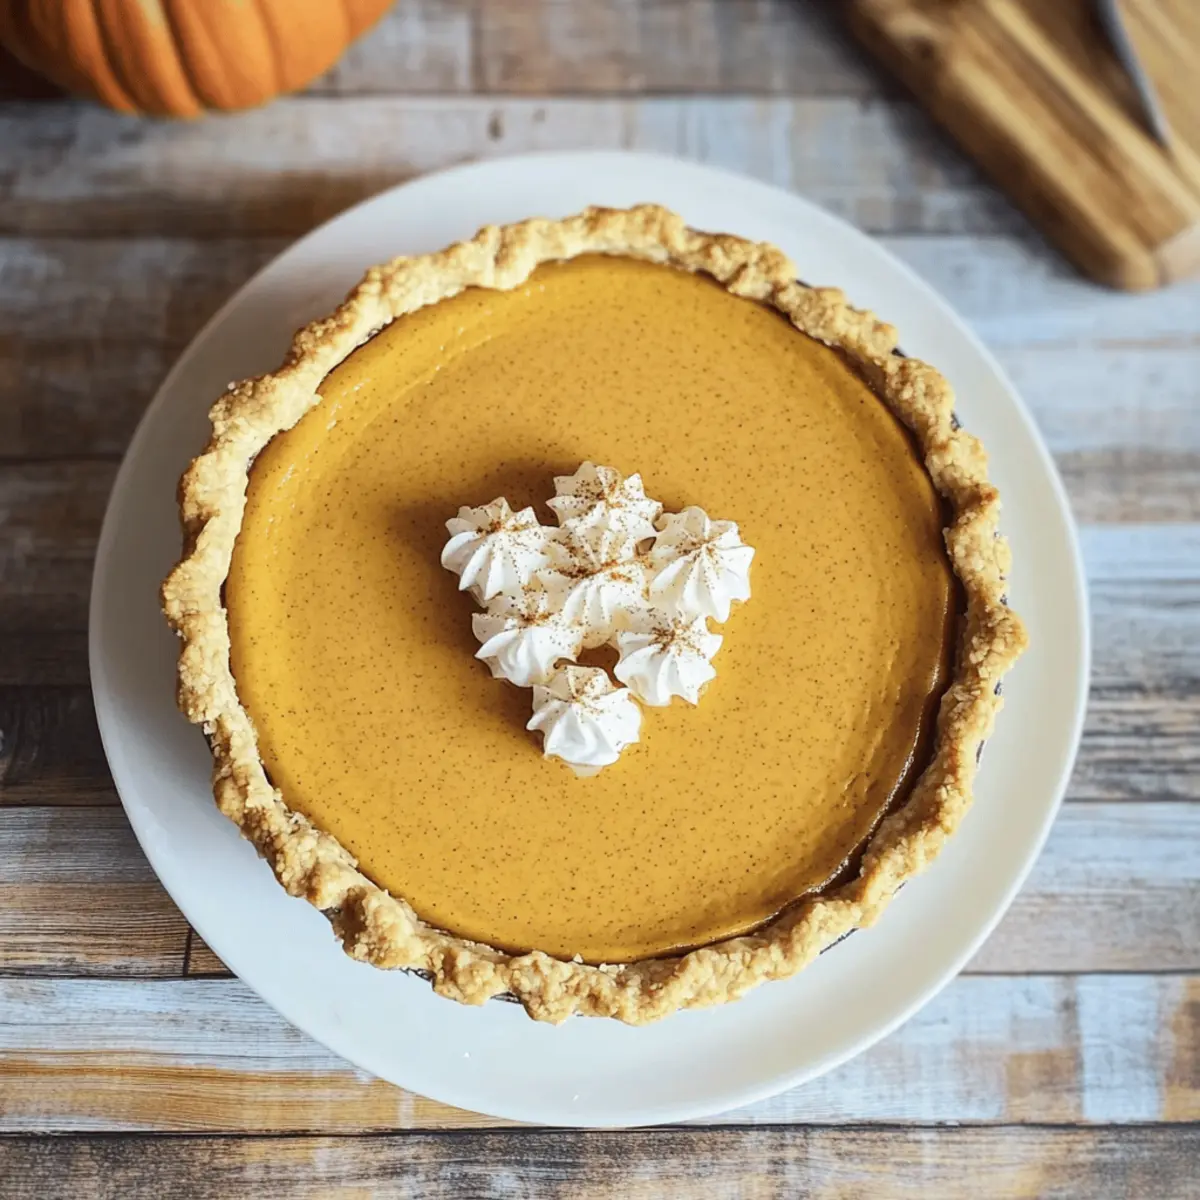
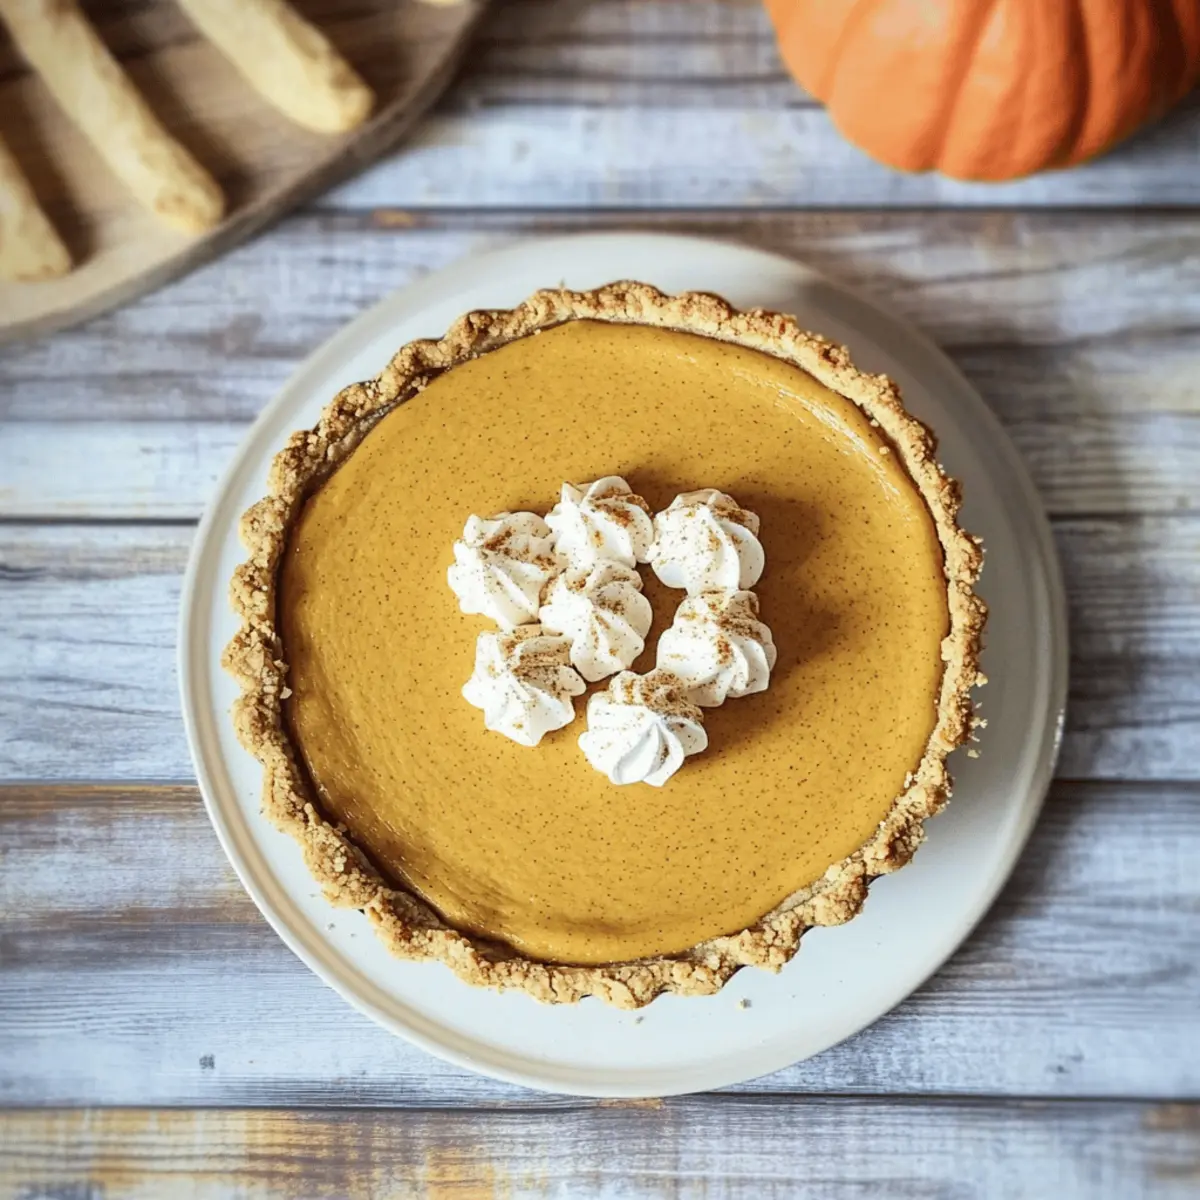
- Pumpkin Pie: This classic dessert adds a comforting, spiced element that perfectly echoes the flavors in the macarons.
- Caramel Apple Tarts: With their buttery crust and sweet apple filling, these tarts provide a lush contrast to the light texture of the macarons.
- Whipped Cream: A dollop of freshly whipped cream brings a creamy balance that enhances the sweetness of the pumpkin buttercream.
- Cinnamon Hot Chocolate: Cozy up with rich hot chocolate spiced with cinnamon for a warming drink that complements the autumnal essence of the macarons.
- Spiced Pecan Cookies: These nutty cookies offer a satisfying crunch and a sweetness that pairs harmoniously with the soft macarons.
- Apple Cider: A refreshing glass of warm apple cider can elevate your Thanksgiving gathering, enhancing the overall flavor experience.
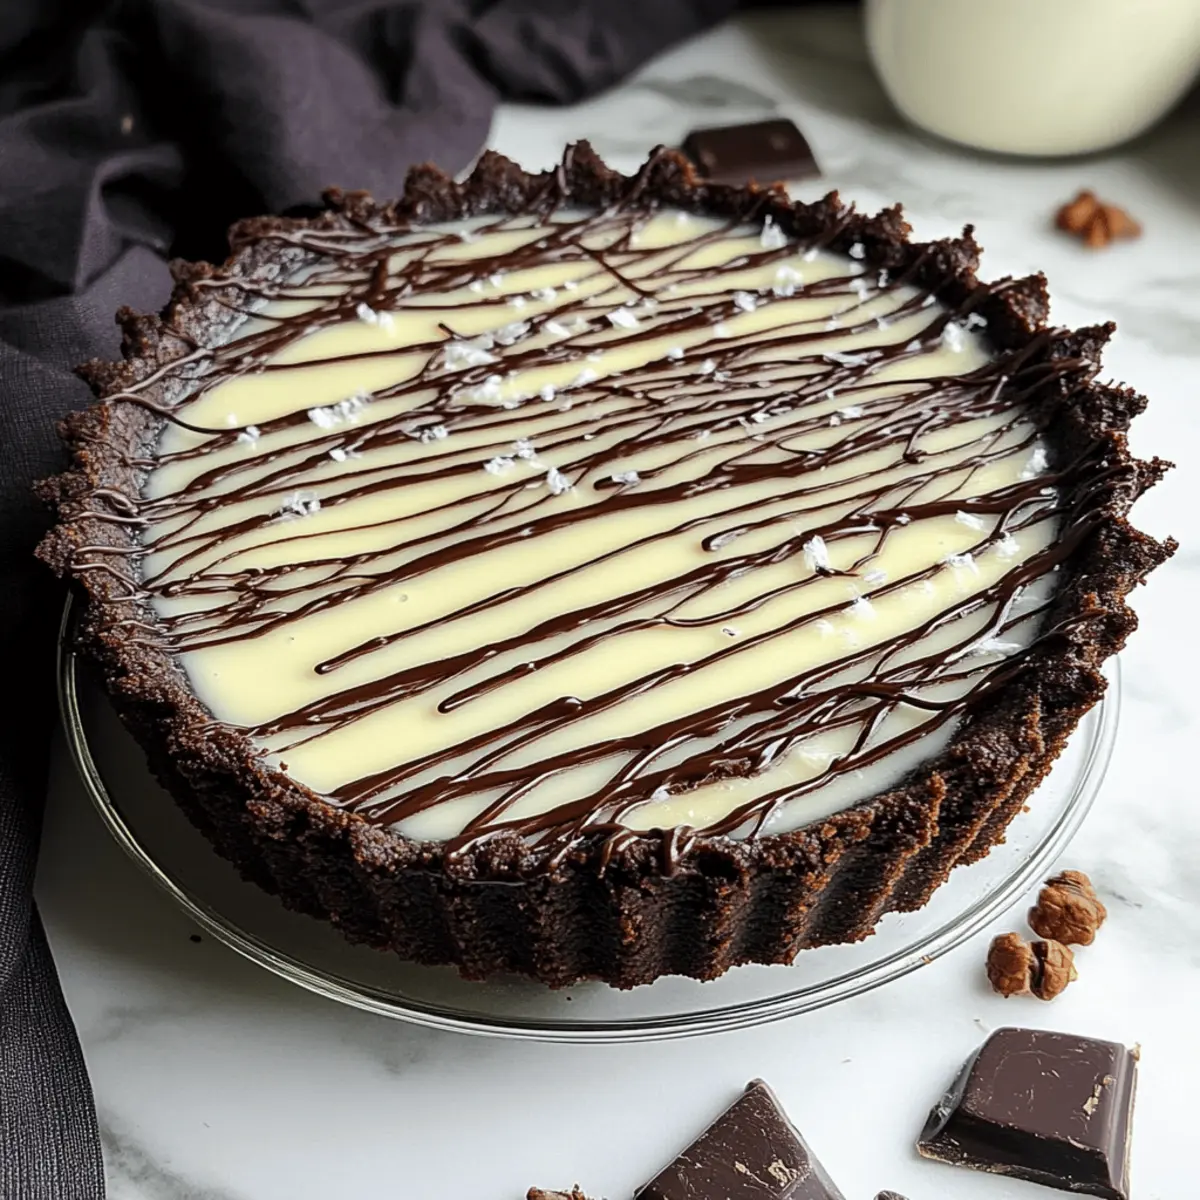
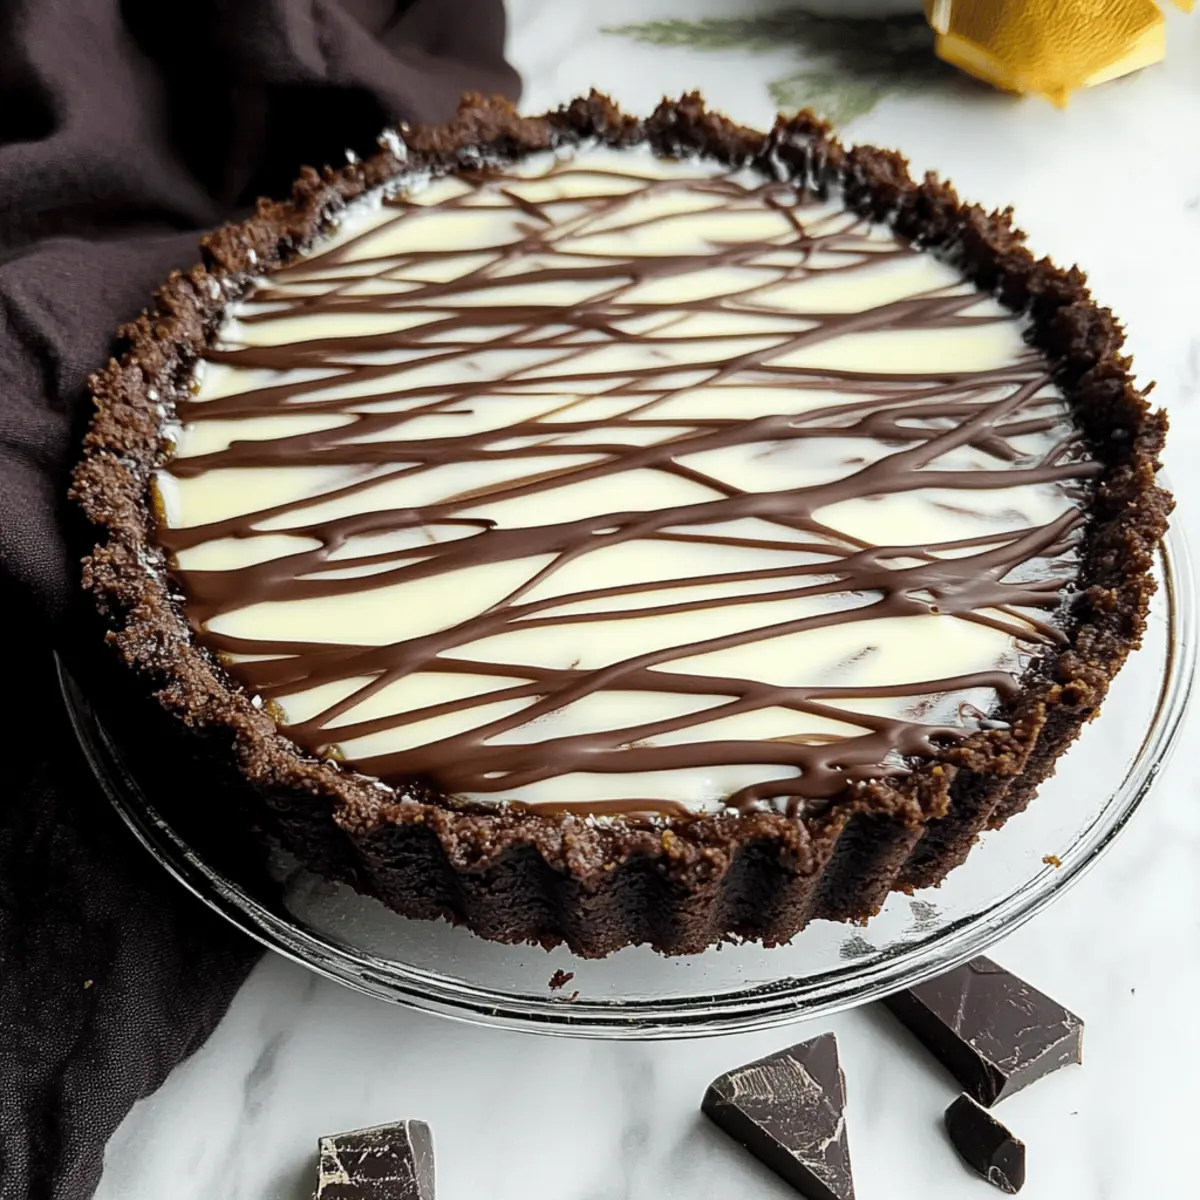
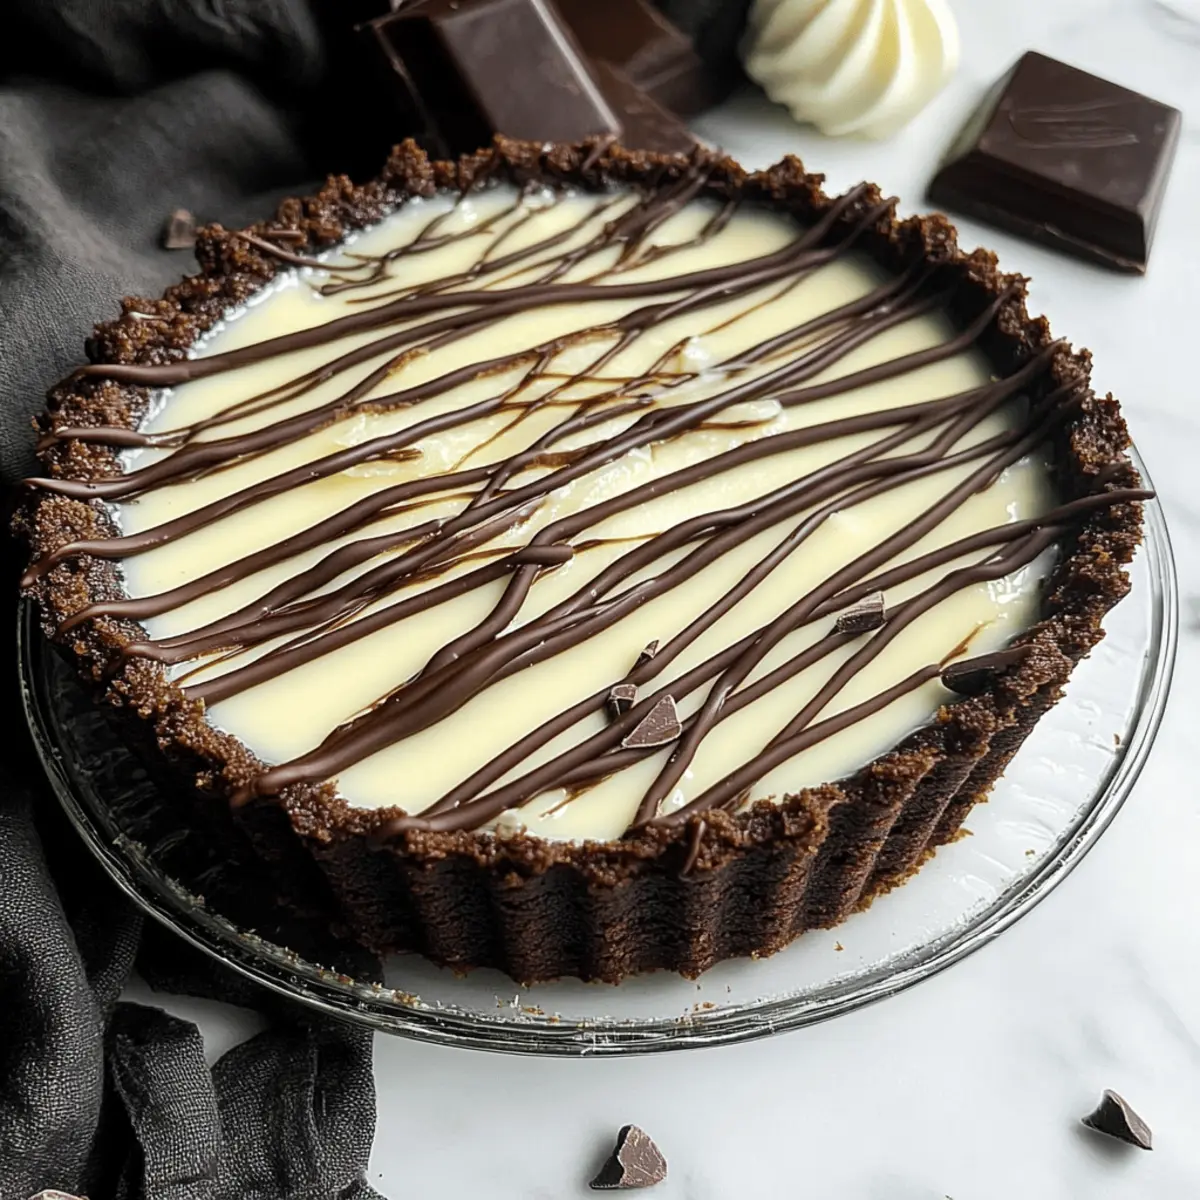
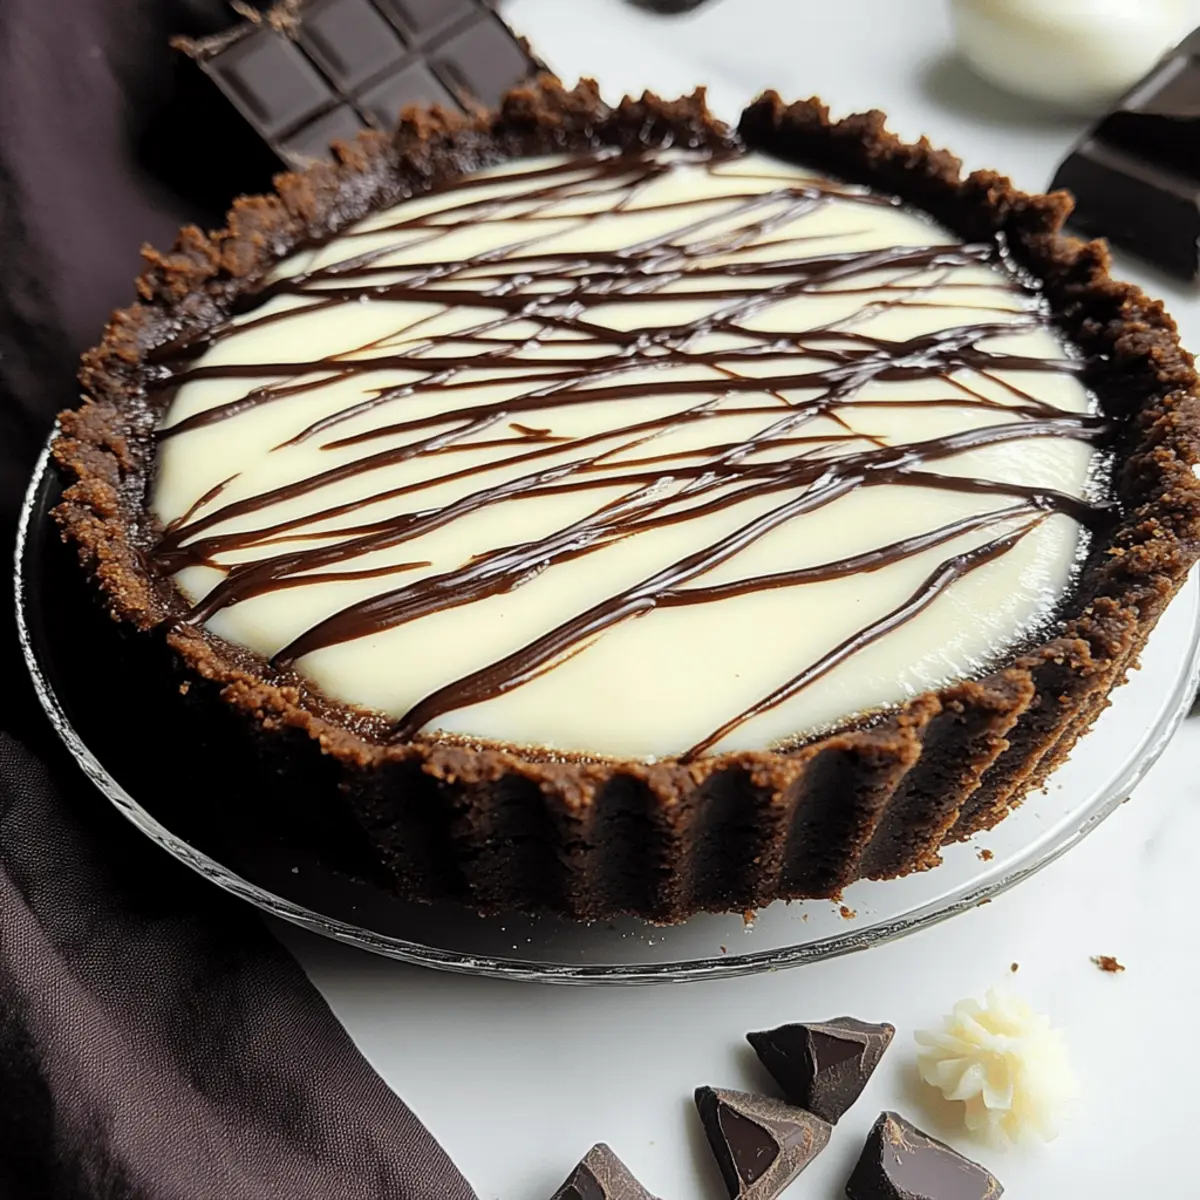
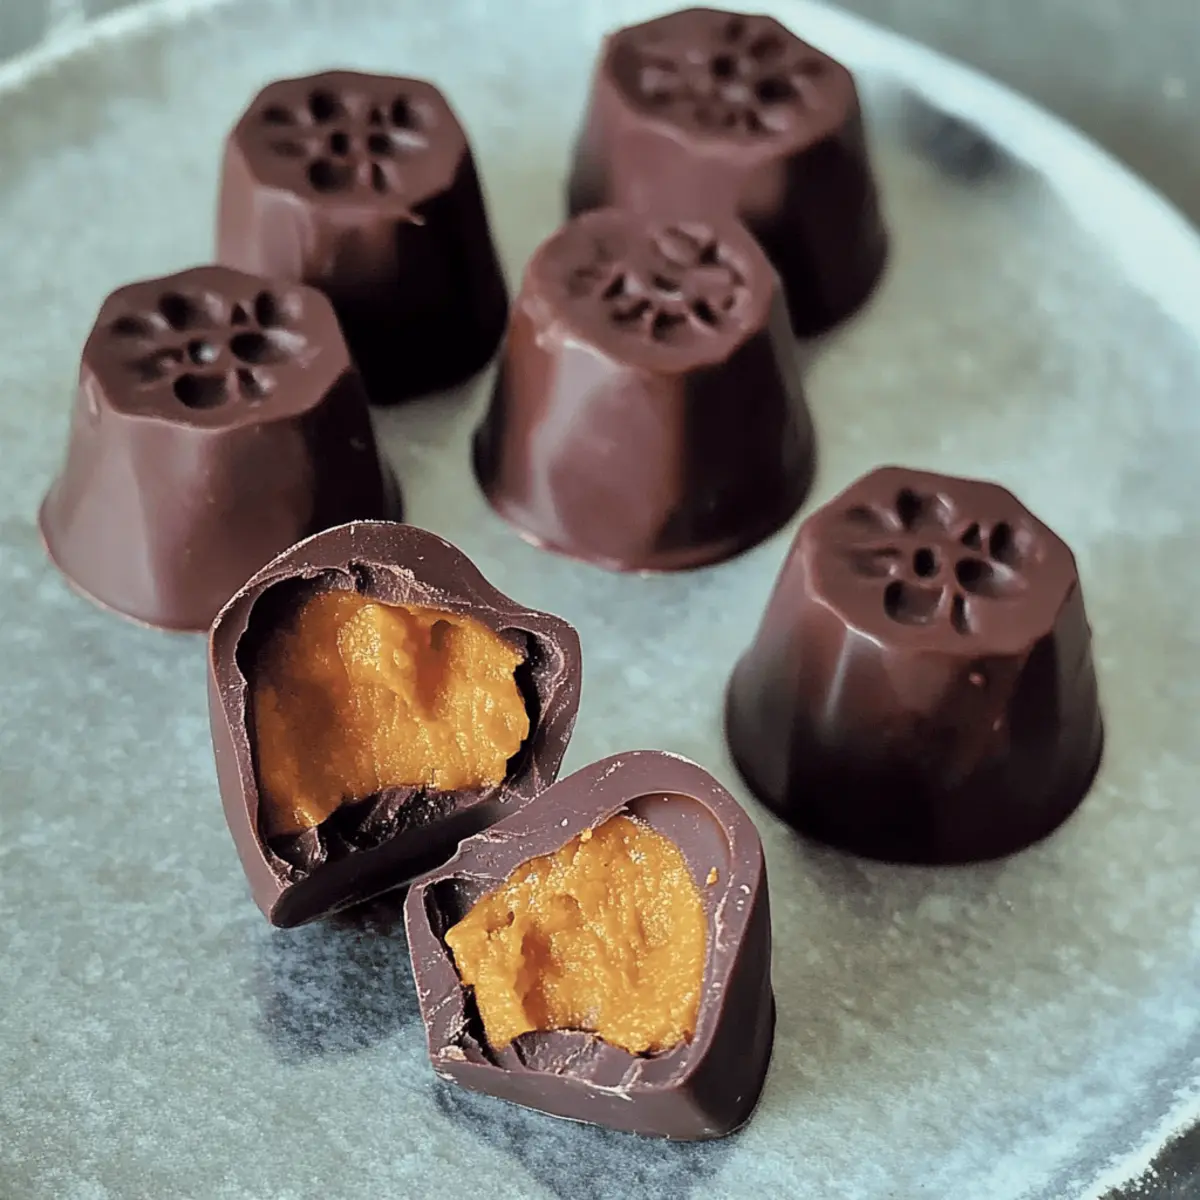
- Chocolate Ganache: Drizzle some velvety ganache over the macarons for an indulgent touch that will have guests reaching for more.
- Hazelnut Coffee: The nutty notes of hazelnut coffee act as a perfect pairing, grounding the dessert experience while enhancing flavors.
Embrace the festive spirit by offering these delightful accompaniments alongside your Thanksgiving Turkey Macarons!
Thanksgiving Turkey Cookies Variations
Feel free to get creative and customize these whimsical Thanksgiving turkey cookies to match your taste and style!
-
Sweet Potato Filling: Swap pumpkin puree for sweet potato puree for a similarly delightful, sweeter twist.
-
Rainbow Colors: Use a variety of gel food colorings to create a rainbow of turkey macaron shells for a fun and festive touch.
-
Spice It Up: Incorporate nutmeg or ginger into your buttercream for an extra layer of autumnal flavor that will warm your heart.
-
Nut-Free Option: Substitute almond flour with finely ground sunflower seeds for a nut-free version, keeping the flavors intact while catering to those with allergies.
-
Meringue Magic: Add a hint of vanilla extract to the meringue for a lovely aromatic note that complements the overall flavor beautifully.
-
Chocolate Drizzle: For chocolate lovers, drizzle melted dark chocolate over the filled macarons for an indulgent treat that adds rich complexity.
-
Caramel Crunch: Sprinkle some toffee bits or crushed caramel candies on top of the buttercream filling before sandwiching the shells for a sweet crunch.
Looking for another fantastic treat? Consider pairing these adorable cookies with some delightful Thumbprint Cookies Melt or serve them alongside festive Peaches Cream Cookies for a spread that celebrates the spirit of the season!
Thanksgiving Turkey Macarons Recipe FAQs
What type of almond flour should I use for the shells?
I recommend using finely sifted almond flour for the best texture in your macaron shells. Coarse almond flour can lead to a grainy texture, which won’t give you that lovely smooth finish you’re looking for in these Thanksgiving Turkey Macarons.
How do I store leftover Thanksgiving Turkey Macarons?
Store your assembled macarons in an airtight container in the fridge for up to 5 days. This method helps maintain their delightful flavor and texture. If you're keeping them longer, try freezing the unfilled macaron shells for up to 1 month.
Can I freeze Thanksgiving Turkey Macarons?
Absolutely! To freeze, place the macaron shells in a single layer in an airtight container, separating layers with parchment paper. They can stay in the freezer for up to 1 month. When you're ready to serve, thaw them overnight in the refrigerator before filling with pumpkin buttercream.
What should I do if my macaron shells crack?
If your macaron shells crack, it could be due to several factors, like the oven temperature being too high or not allowing enough resting time before baking. Ensure your oven is calibrated correctly, and let the piped shells sit until a skin forms, which typically takes 40-45 minutes.
Are these macarons safe for gluten-sensitive individuals?
Yes, these Thanksgiving Turkey Macarons are gluten-free! They are made primarily with almond flour, which is a great substitute for traditional flour, making them a wonderful treat for those with dietary restrictions. Just be cautious about cross-contamination if you’re serving it to someone with celiac disease.
Can I decorate my Thanksgiving Turkey Macarons differently?
Very! If you're feeling creative, you can use different colors of gel food coloring for the shells or try different types of candy for decoration. For instance, chocolate chips can be used instead of butterscotch for turkey beaks, or you might make tiny sugar flowers instead for a different festive touch. Have fun with it!
Thanksgiving Turkey Cookies: Delightful Festive Treats for All
Ingredients
Equipment
Method
- Start by thoroughly cleaning your mixing bowls, whisk, and utensils with vinegar to remove any grease.
- Lay out parchment paper or a silicone mat on your baking sheets, making it ready for piping the macaron shells.
- In a bowl, sift together the almond flour, powdered sugar, and ground cinnamon until well combined.
- In a large mixing bowl, whip the egg whites and cream of tartar until foamy.
- Gradually add granulated sugar while continuing to whip until stiff peaks form.
- Carefully fold in the dry ingredients and add gel food coloring until the mixture is uniform and shiny.
- Fill a piping bag with the macaron batter and pipe small circles onto the prepared silicone mat.
- Gently tap the baking sheet on the counter to release any air bubbles.
- Allow the shells to sit at room temperature for 40-45 minutes until they develop a slight skin.
- Preheat your oven to 300°F (150°C) and bake for 13-14 minutes.
- Let them cool completely before removing to ensure their structure remains intact.
- Prepare the pumpkin buttercream by combining pumpkin puree, unsalted butter, cream cheese, brown sugar, cinnamon, pumpkin spice, and more powdered sugar.
- Beat until smooth and creamy.
- Pair macaron shells and pipe a generous dollop of buttercream on one shell before topping with another.
- Melt the butterscotch chips until smooth and attach candy eyes onto the macaron tops.
- Draw a small beak with melted chips and decorate with candy corn.