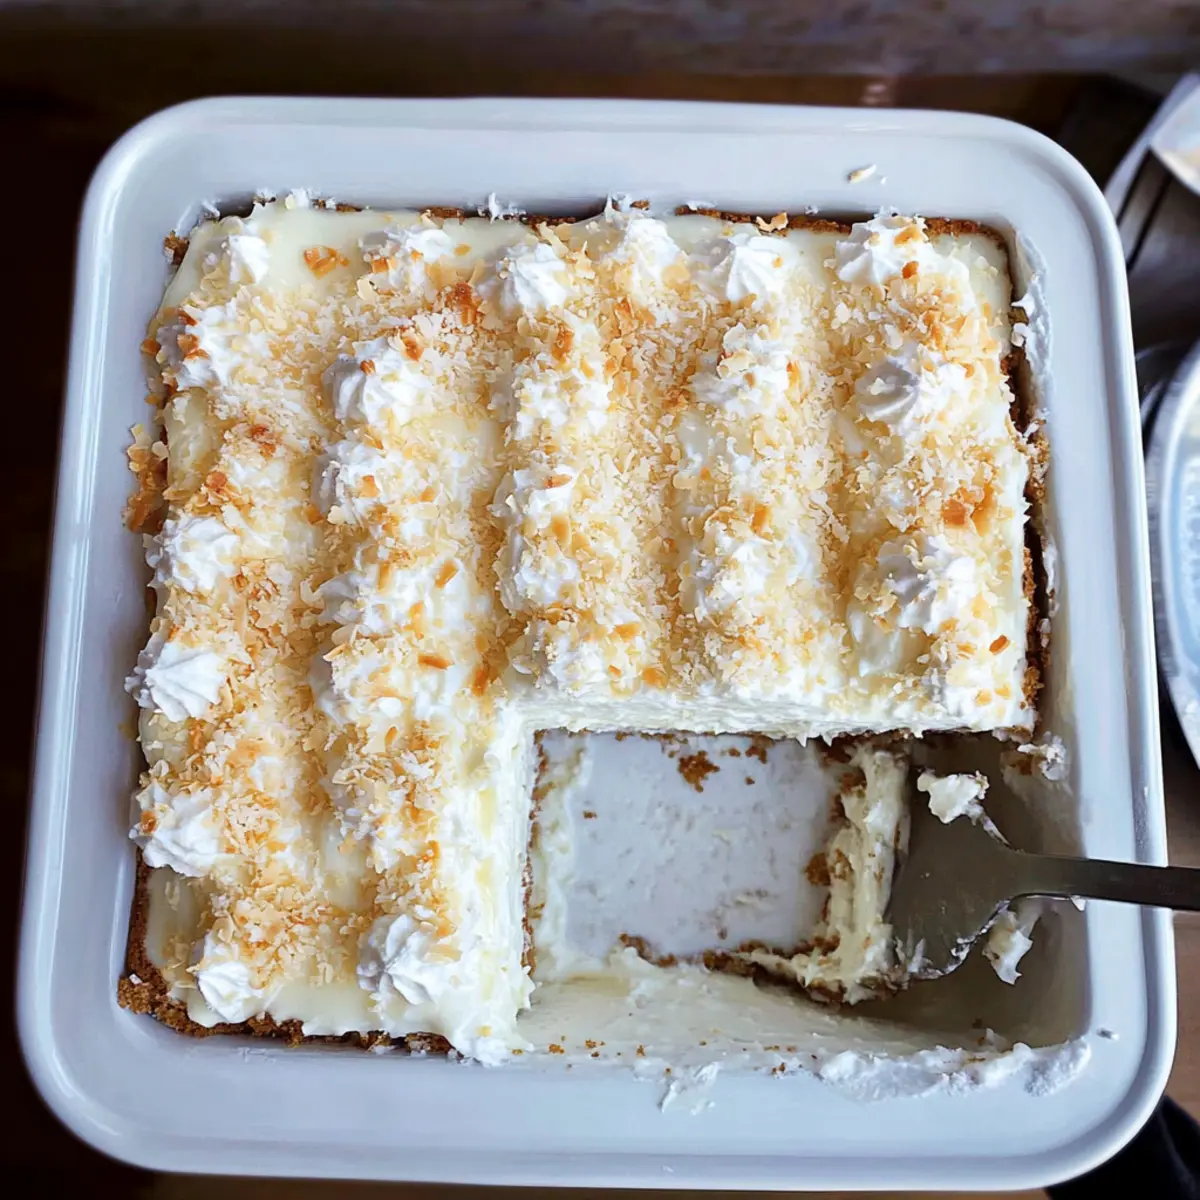
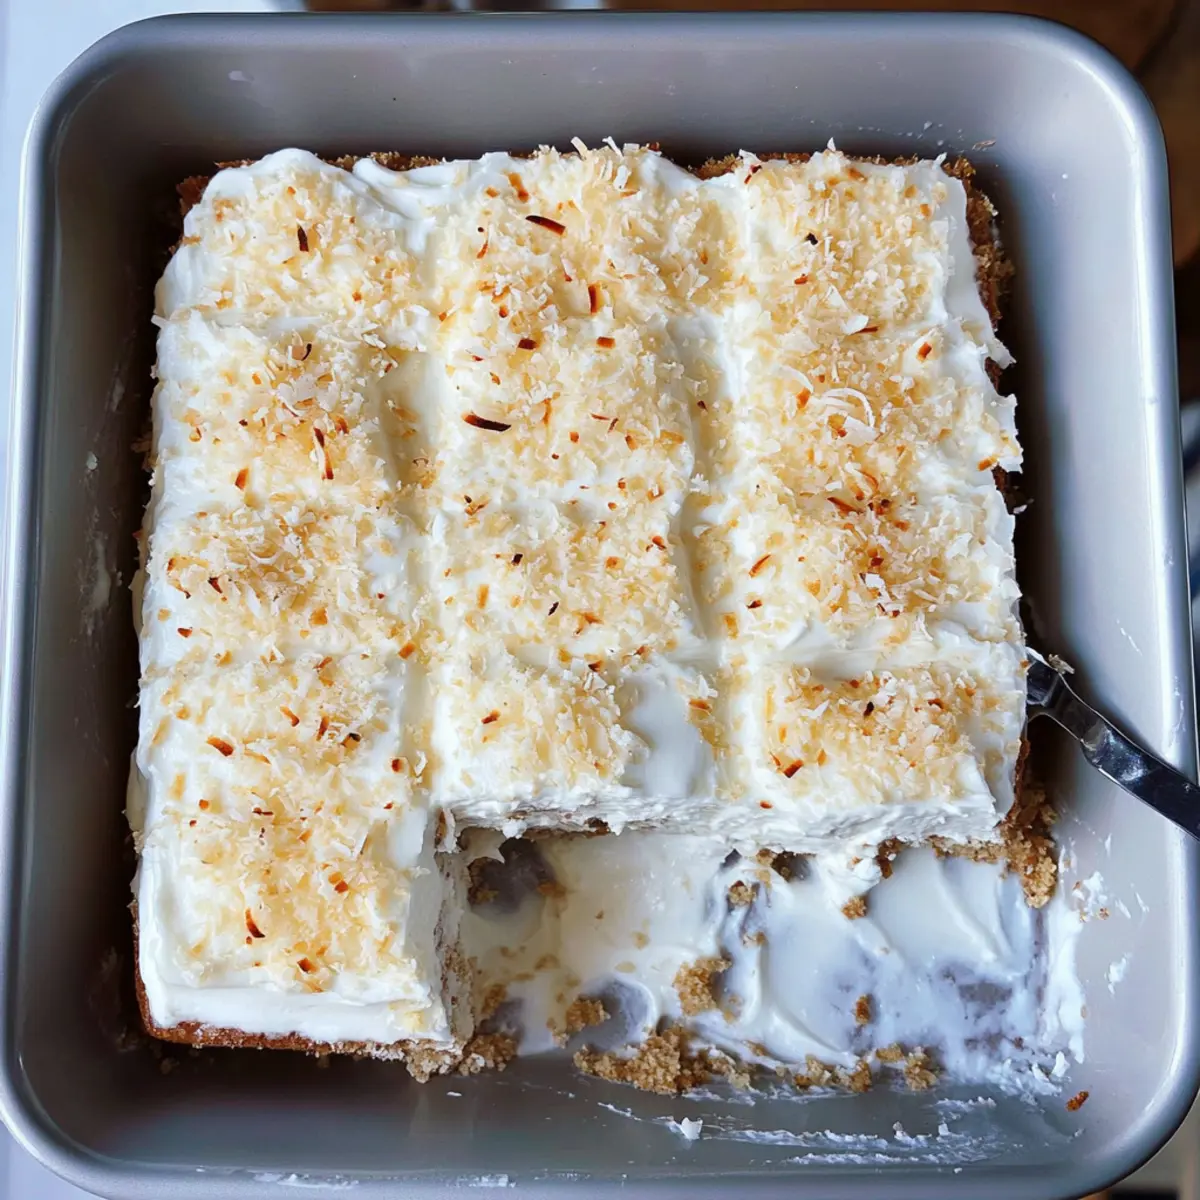
As I stood in my kitchen, the sweet scent of coconut began to wrap around me like a warm hug, transporting me to sun-kissed beaches and tropical getaways. This Coconut Tres Leches Cake, a delightful twist on the classic Mexican dessert, is not just a recipe—it's an experience that brings joy to any gathering. With its airy sponge soaked in luscious coconut milk and crowned with fluffy whipped cream, it's always a hit at birthdays and celebrations, proving to be a showstopper with minimal effort. Plus, the make-ahead convenience means you'll have more time to savor each moment with loved ones. Curious about how to whip up this dreamy treat that melts in your mouth? Let’s dive into this indulgent recipe together!
Why is Coconut Tres Leches Cake special?
Irresistible Flavor: The combination of rich coconut milk and fluffy cream creates a taste sensation that will transport you straight to a tropical paradise.
Effortlessly Elegant: This stunning dessert looks incredibly fancy, making it perfect for impressing guests at birthdays, holidays, or any celebration!
Make-Ahead Delight: Prep it in advance! The longer it chills, the more flavorful and moist it becomes.
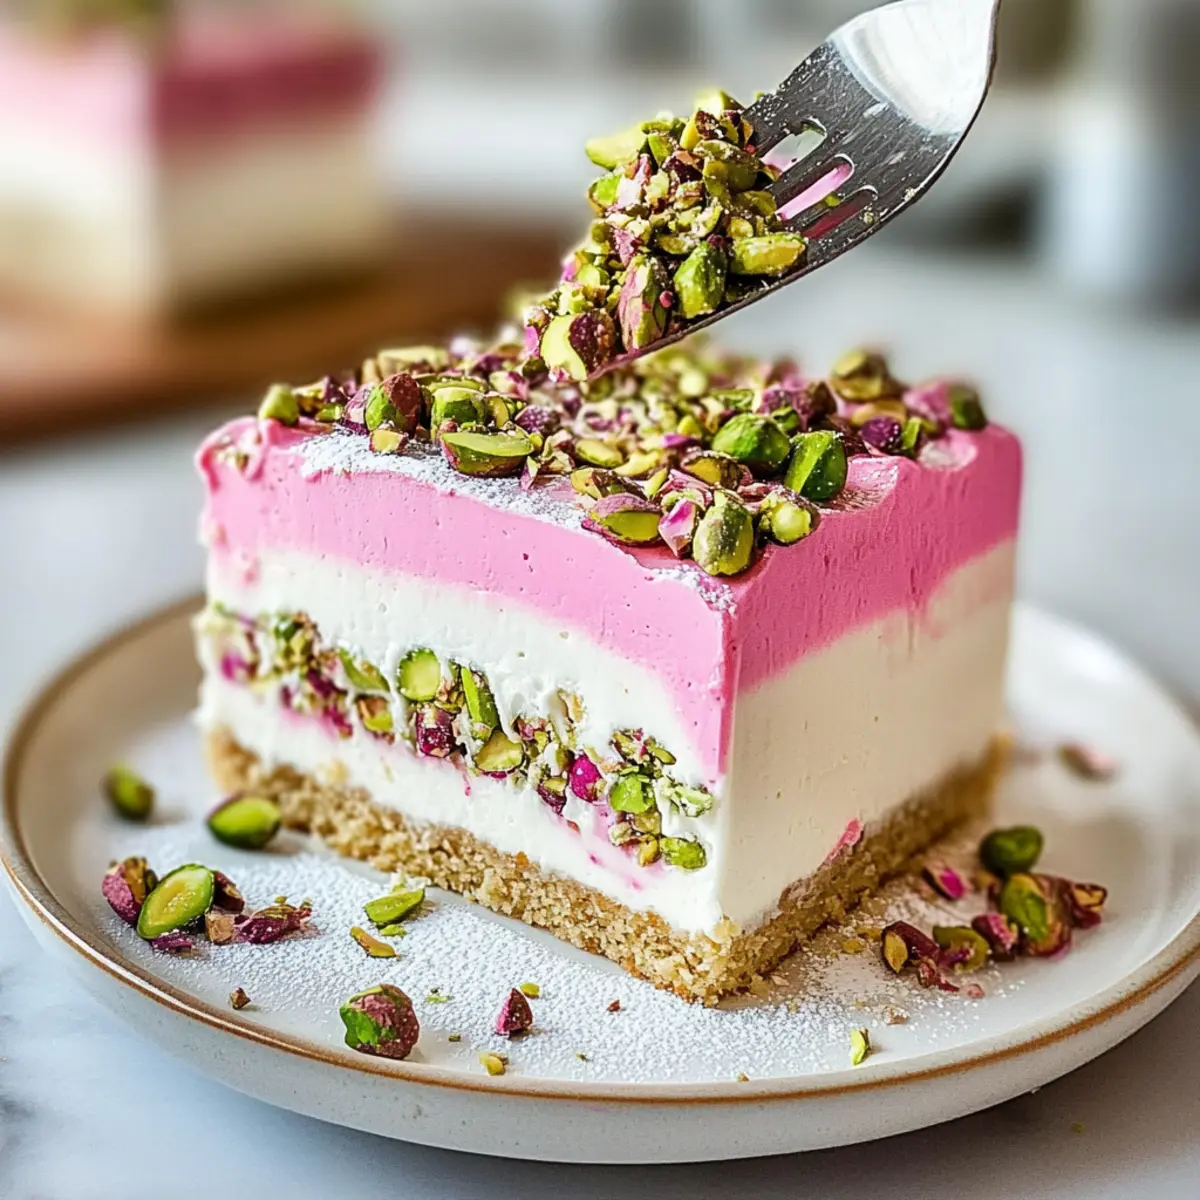
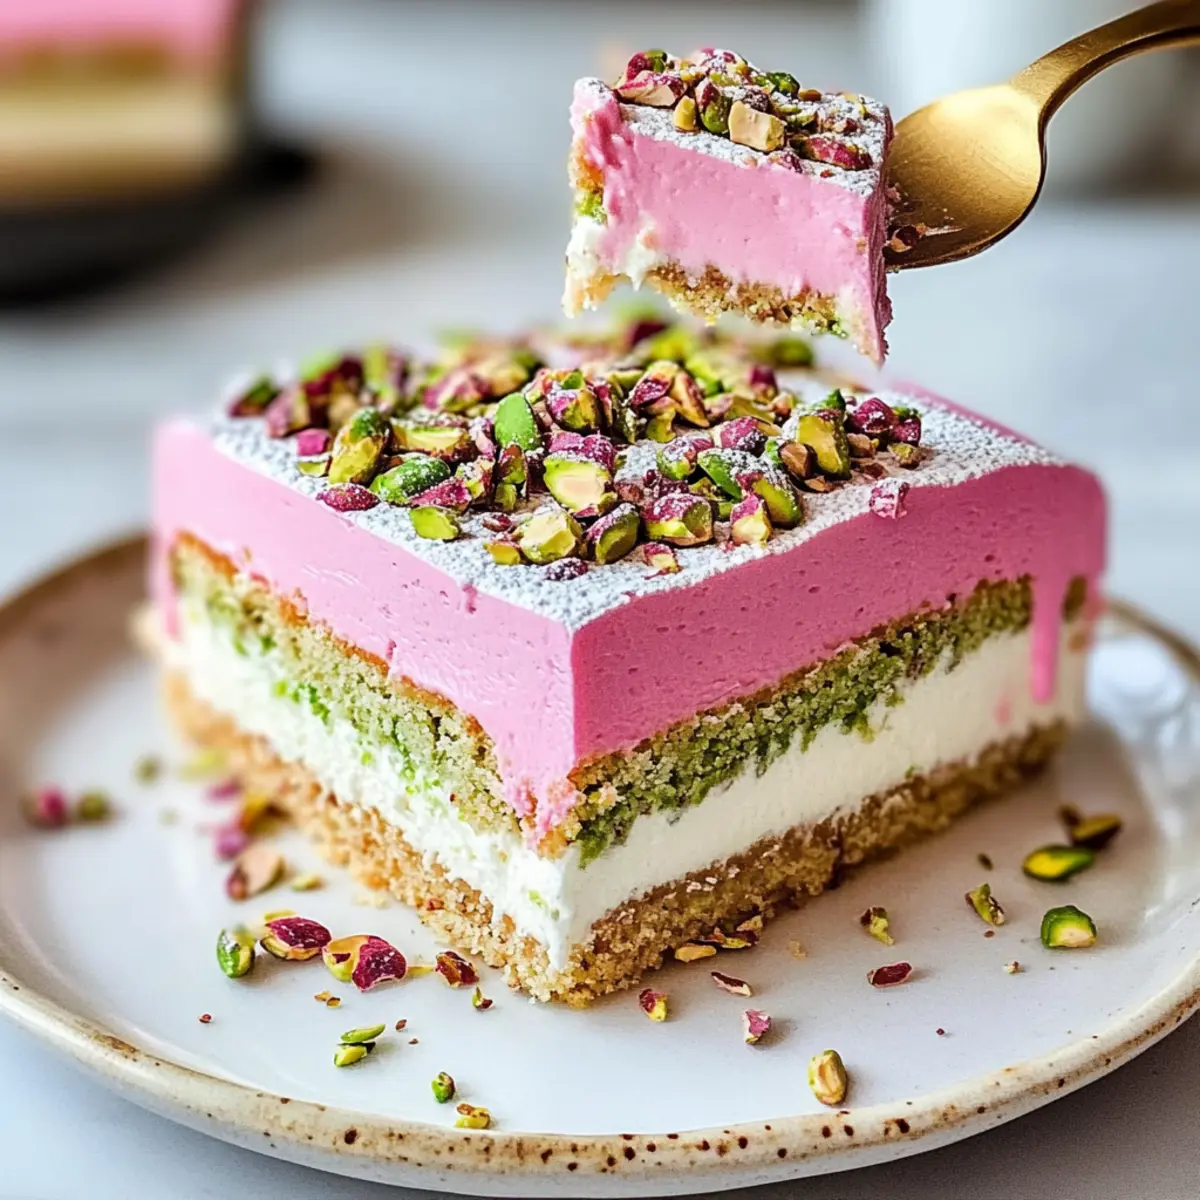
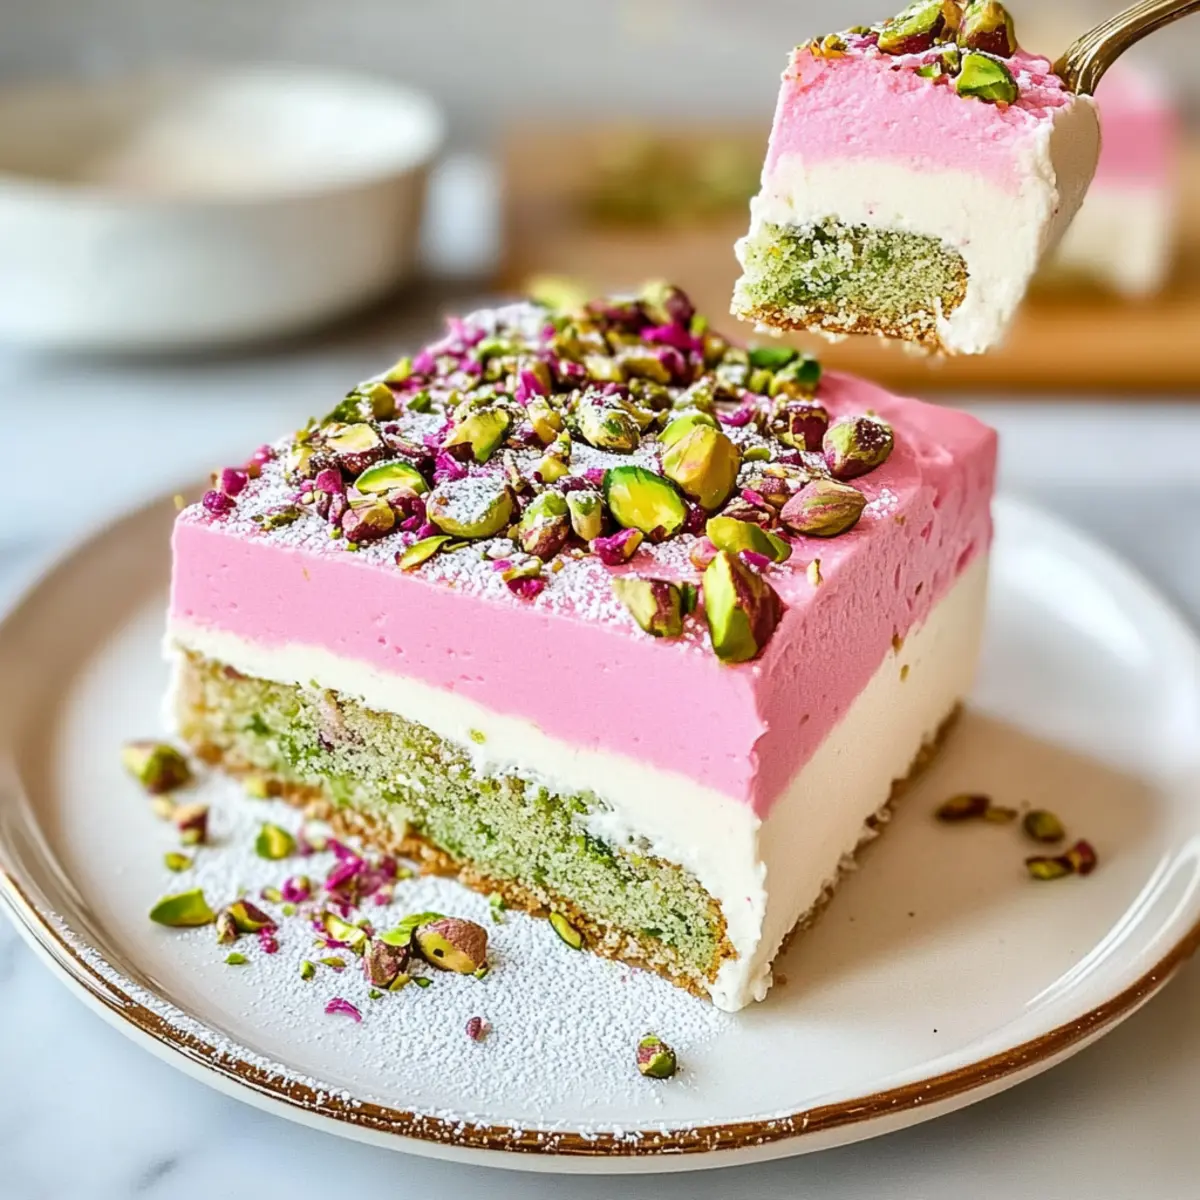
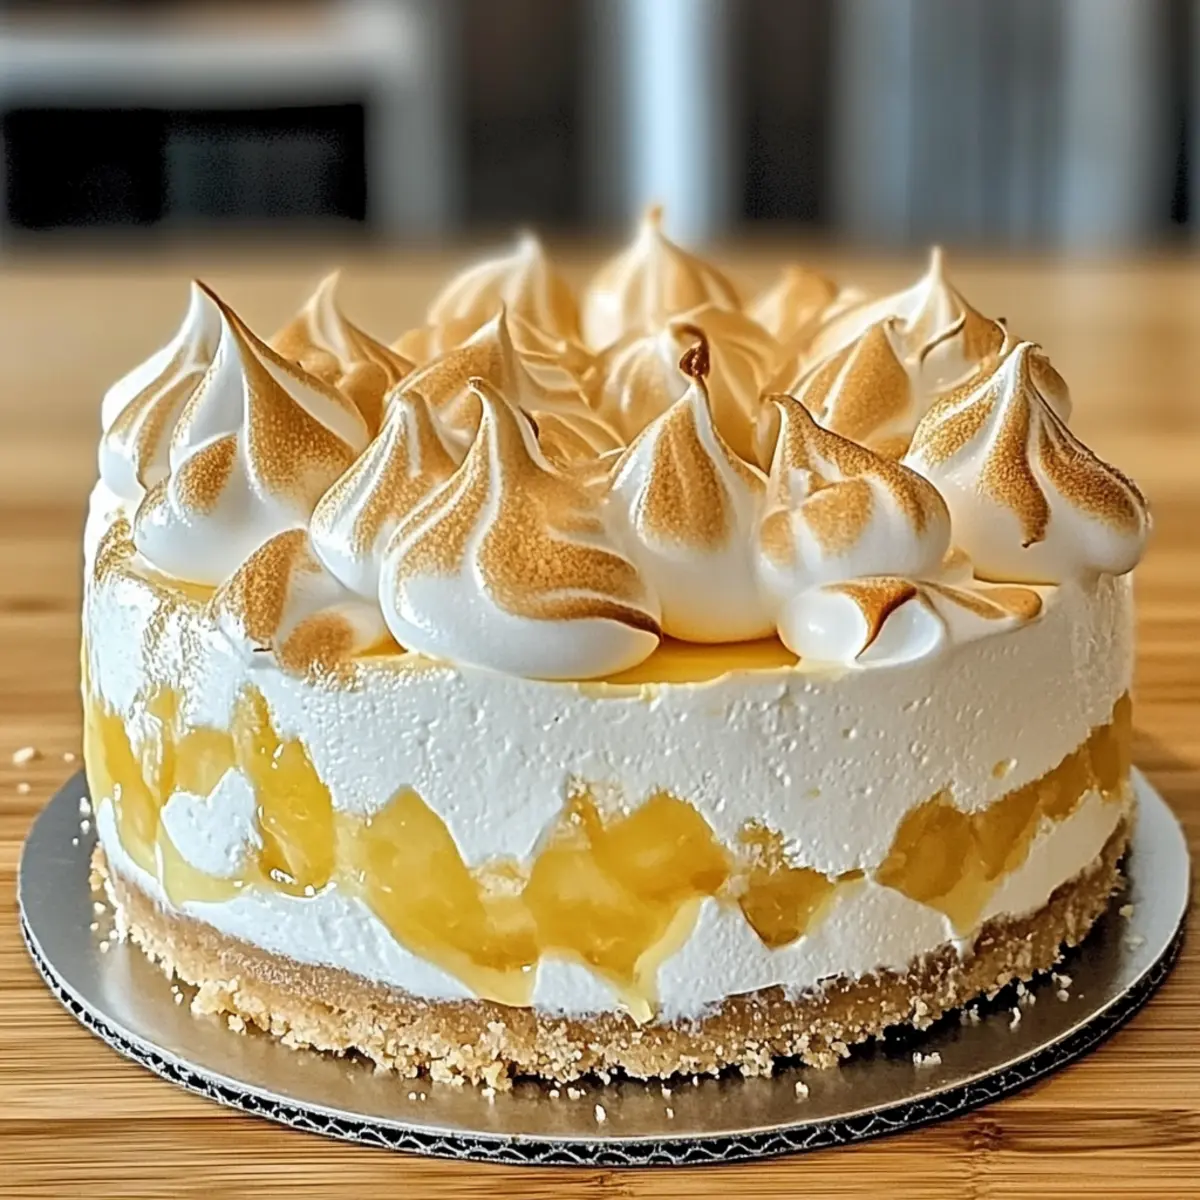
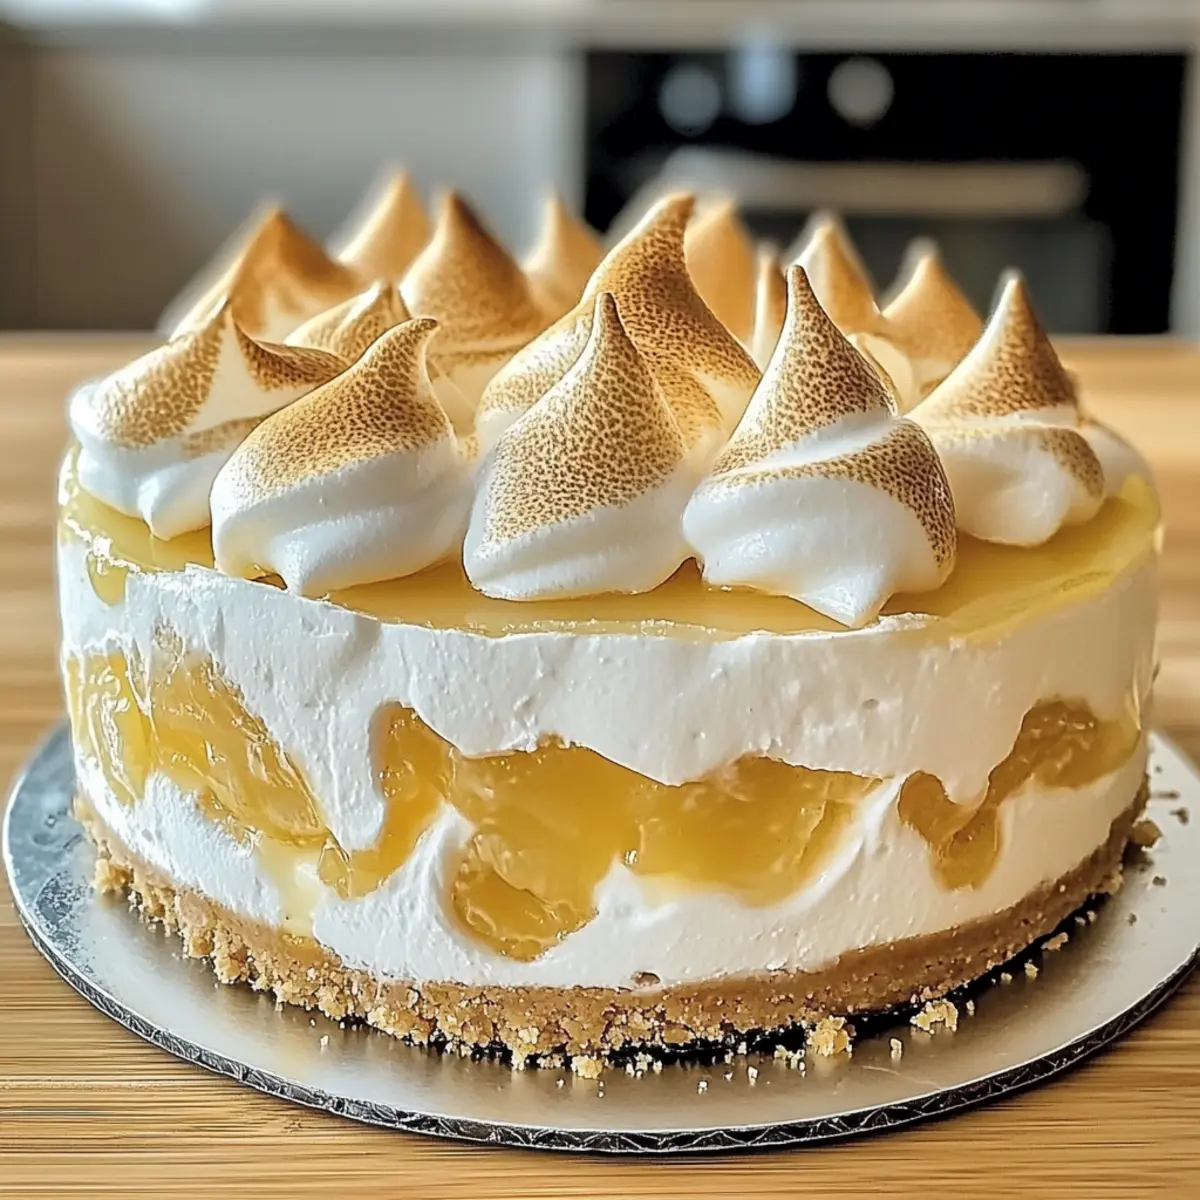
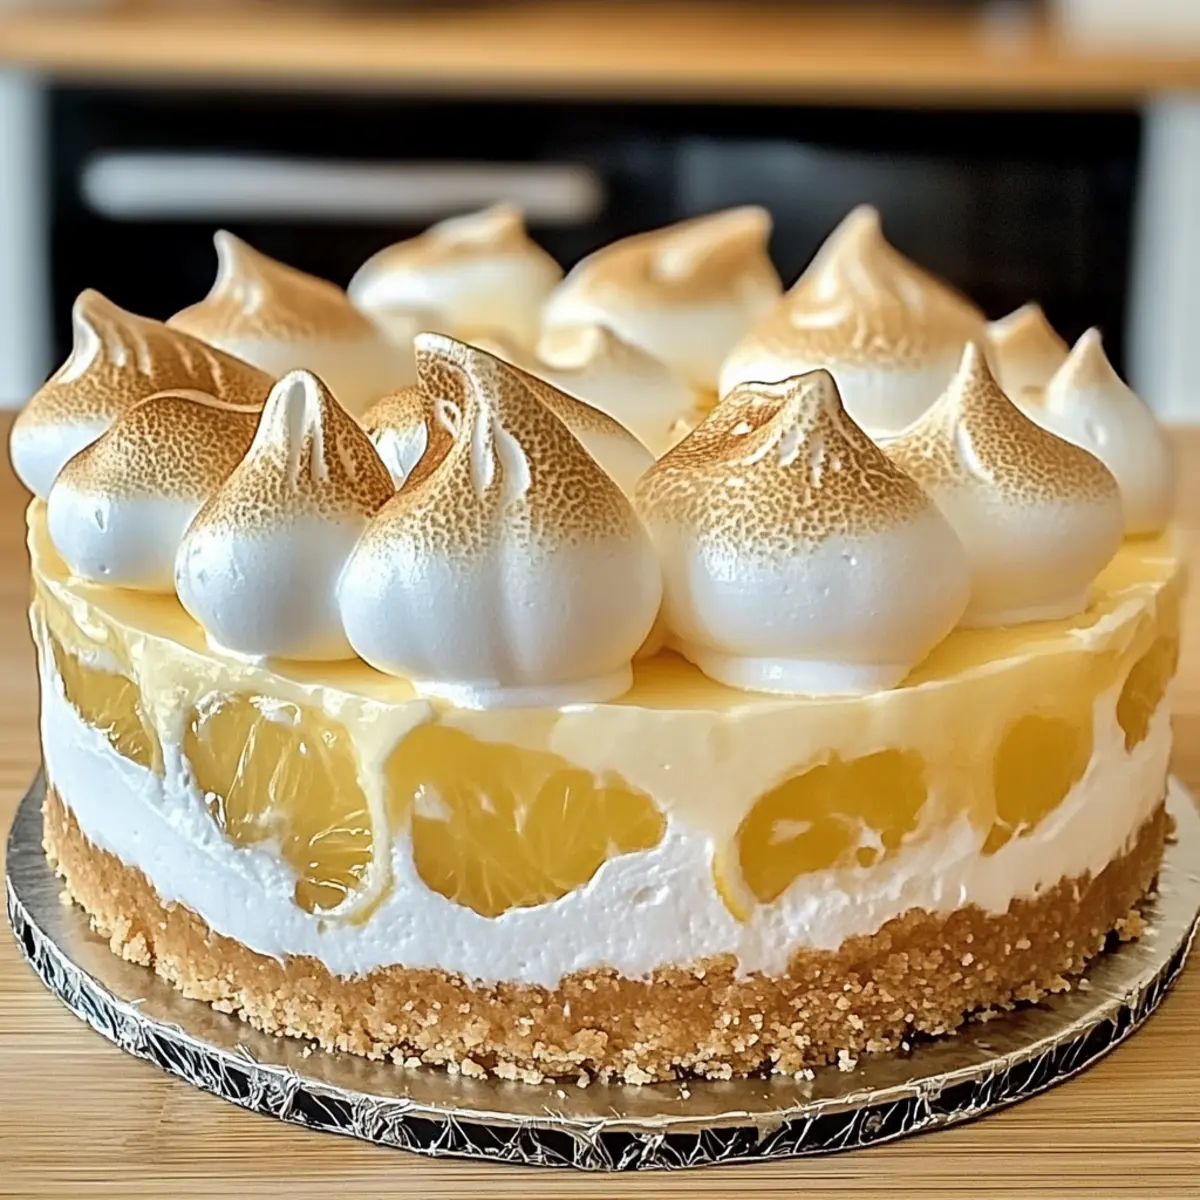
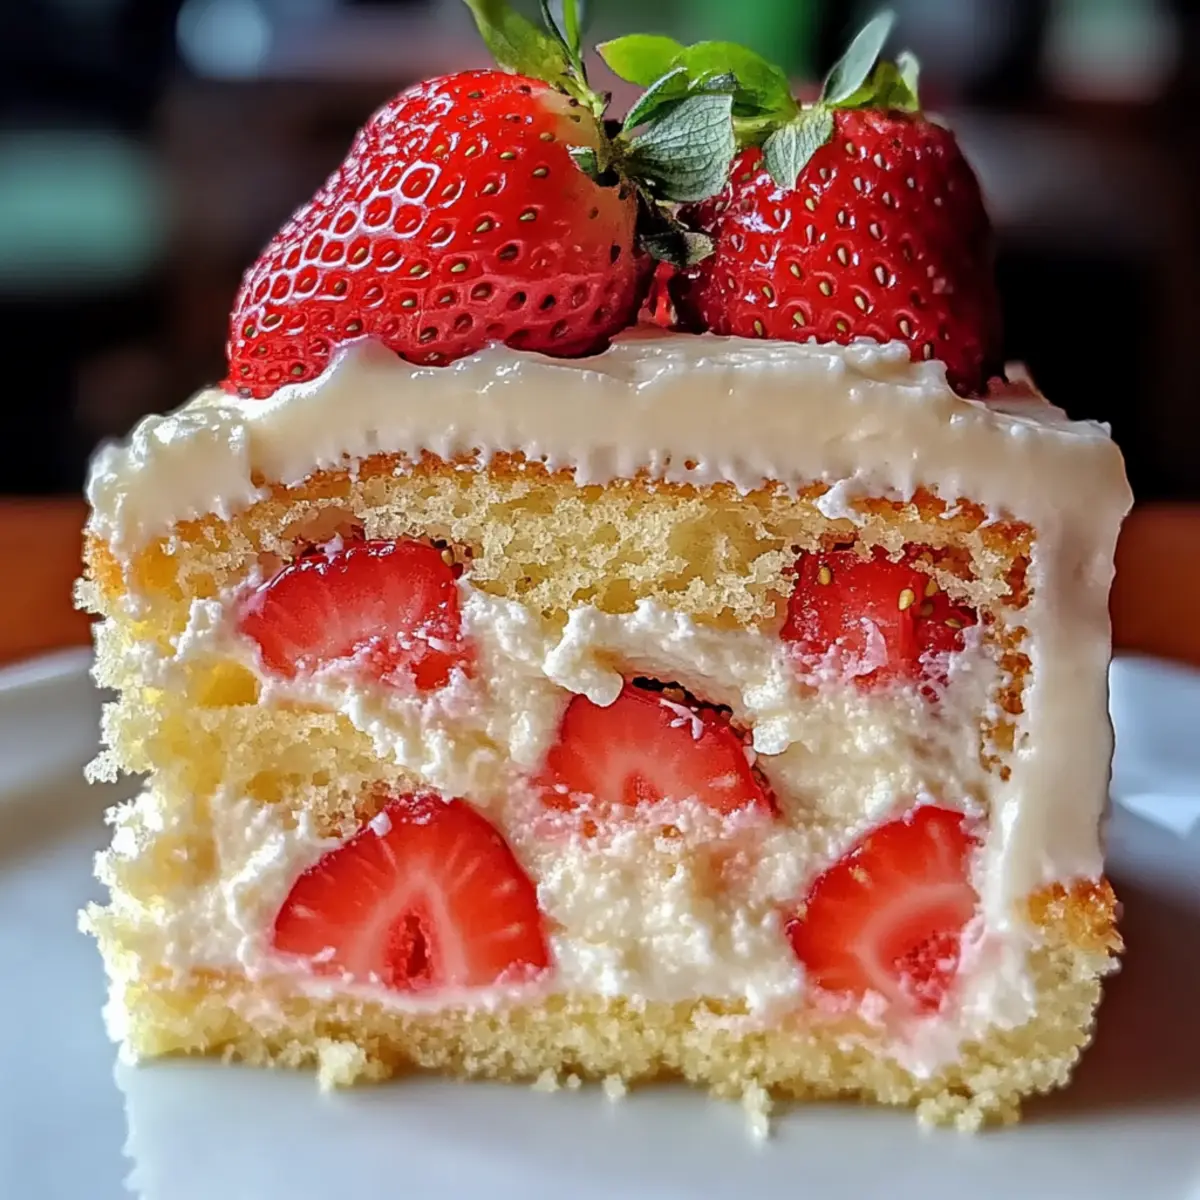
Versatile Variations: Don’t stop at coconut! Try experimenting with Strawberry Tres Leches or Meyer Lemon Tres Leches for a twist on the traditional flavor.
Family Favorite: With its crowd-pleasing taste and soft, pudding-like texture, this cake is sure to become a beloved staple in your dessert repertoire.
Prepare to indulge in a slice of heaven with this Coconut Tres Leches Cake that you can enjoy any day of the year!
Coconut Tres Leches Cake Ingredients
• Get ready to indulge in a dessert that’s simply divine!
For the Cake Base
- Large Eggs – Essential for that fluffy texture; separate when cold for easier handling.
- Granulated Sugar – Provides the perfect sweetness; using superfine sugar will ensure smooth incorporation.
- Almond Extract – Enhances the flavor beautifully; feel free to swap with vanilla extract for a different twist.
- All-Purpose Flour – Creates structure; it's vital for a light and airy sponge.
- Kosher Salt – Balances out the sweetness; just a pinch goes a long way.
For the Soaking Mixture
- Sweetened Condensed Milk – Adds both moisture and sweetness; opt for full-fat for the richest flavor.
- Evaporated Milk – Contributes to the cake's moistness; choosing full-fat vitamin D gives excellent results.
- Canned Coconut Milk – The star soaking liquid that infuses coconut flavor into every bite.
For the Topping
- Sweetened Flaked Coconut – Ideal for decoration; it adds delightful texture and a tropical flair.
- Heavy Whipping Cream – Forms the base for your luscious frosting; essential for a rich, airy topping.
- Powdered Sugar – Sweetens the whipped cream; adjust according to your sweetness preference!
Get excited to create this Coconut Tres Leches Cake, where each bite is a sweet tropical escape!
Step‑by‑Step Instructions for Coconut Tres Leches Cake
Step 1: Preheat and Prepare
Start by preheating your oven to 325°F (163°C). While the oven heats, grease a 9x13-inch or two 8-inch cake pans with butter or non-stick spray for easy release. Set the prepared pans aside as you move on to the cake batter, ensuring everything is ready for the Coconut Tres Leches Cake.
Step 2: Beat the Eggs
In a large mixing bowl, beat the egg yolks with granulated sugar and almond extract using an electric mixer on medium speed until the mixture is light and fluffy, about 5 minutes. Once fluffy, set this bowl aside. In a separate clean bowl, whip the egg whites until stiff peaks form, approximately 3-4 minutes, which will add extra airiness to your cake.
Step 3: Mix the Batter
Gently fold the whipped egg whites into the egg yolk mixture using a spatula, taking care not to deflate the mixture. Next, sift the all-purpose flour and kosher salt together, then fold them into the wet ingredients until just combined. This method ensures a tender, light cake that perfectly absorbs the milky coconut goodness later.
Step 4: Bake the Cake
Pour the batter into the prepared pans and spread it evenly with a spatula. Bake in the preheated oven for 20-25 minutes, or until the tops are golden and a toothpick inserted in the center comes out clean. Keep an eye on the cakes, as they should spring back lightly when touched, giving you that signature sponge texture for your Coconut Tres Leches Cake.
Step 5: Prepare the Milk Mixture
While the cake is baking, whisk together the sweetened condensed milk, evaporated milk, and canned coconut milk in a medium bowl until smooth. Set aside this luscious soaking mixture, which will deepen the coconut flavor and make every bite of your Tres Leches Cake a delightful experience.
Step 6: Soak the Cake
Once the cakes are done baking, remove them from the oven and allow them to cool in the pans for about 10 minutes. Poke holes all over the surface of the warm cakes using a fork, then slowly pour the milk mixture evenly over each cake. This soaking step is crucial, as it allows the coconut milks to infuse into the sponge, creating that characteristic moist texture.
Step 7: Chill and Set
Cover the cakes with plastic wrap and refrigerate for at least 4 hours, or preferably overnight. This chilling time allows the Coconut Tres Leches Cake to fully absorb the milk mixture, resulting in a soft and creamy dessert that’s perfect for any celebration. The waiting will surely be worth it!
Step 8: Frost and Garnish
When you're ready to serve, preheat your oven to 350°F (175°C) to toast the flaked coconut. Spread the sweetened coconut onto a baking sheet and toast in the oven for about 5-7 minutes, or until golden brown. While it's toasting, whip the heavy cream with powdered sugar until soft peaks form; this will be your luscious frosting for the cake.
Step 9: Serve and Enjoy
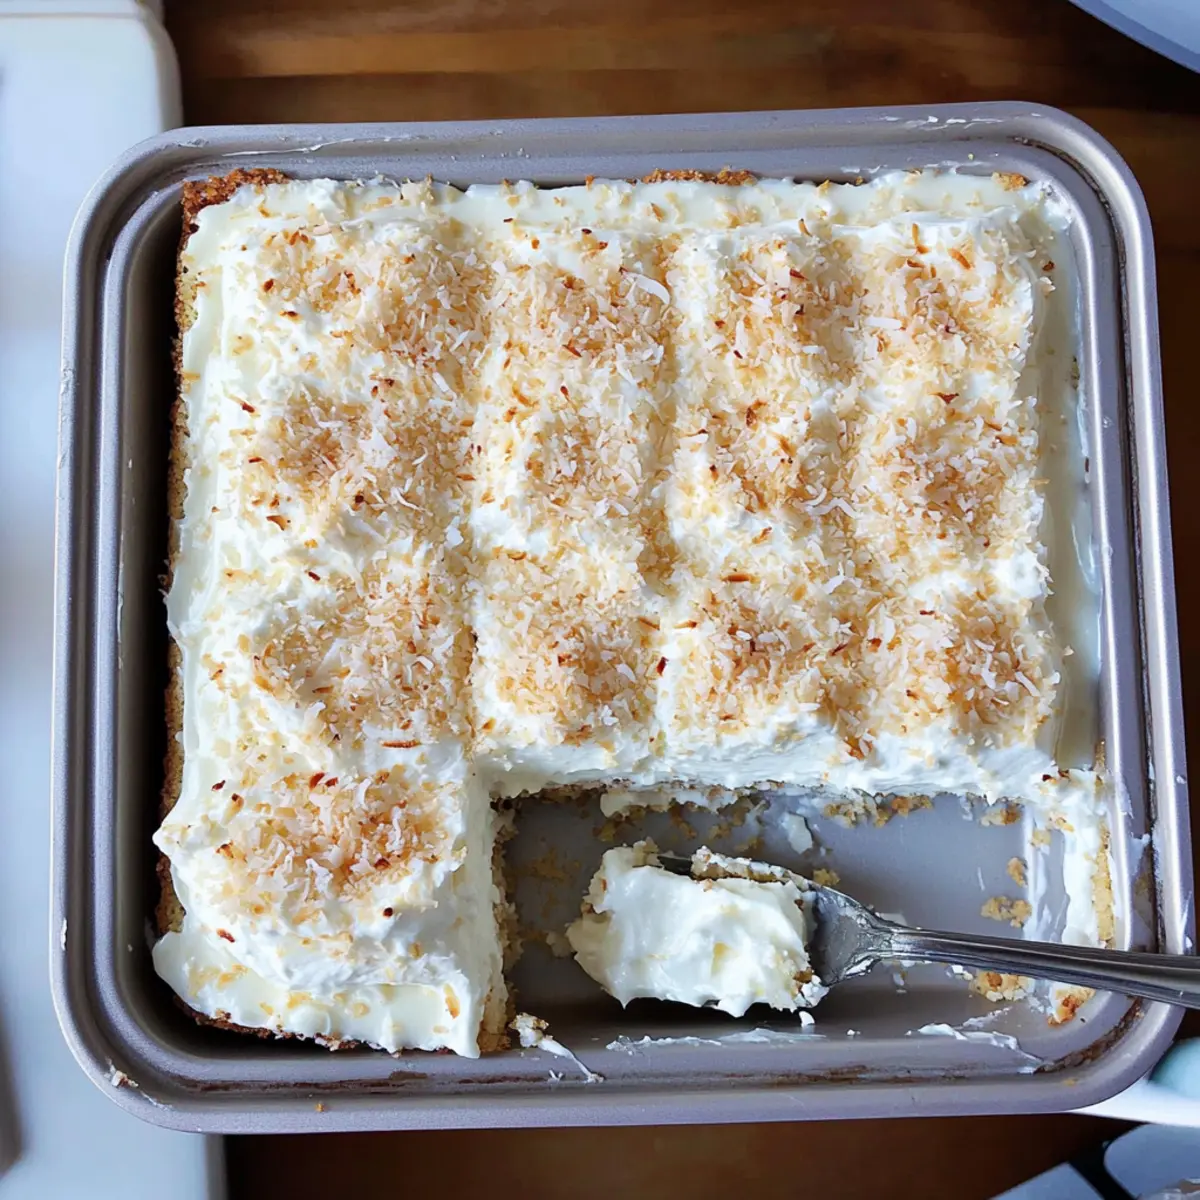
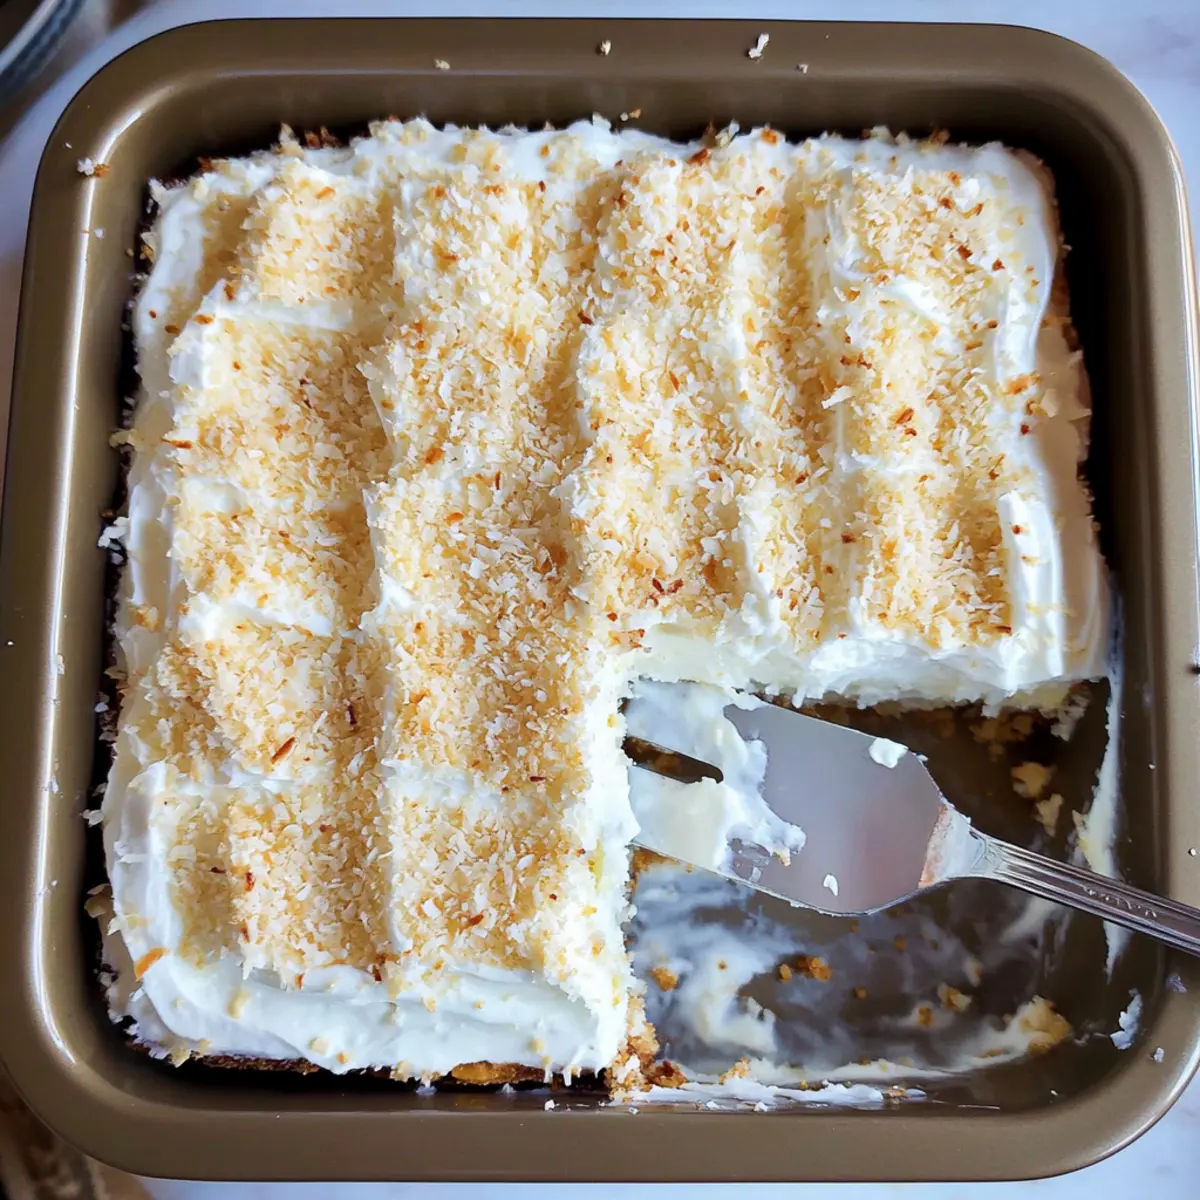
Once the cakes are chilled and the coconut is toasted, frost the top of the cake with whipped cream using a spatula for an elegant finish. Sprinkle the toasted coconut flakes generously over the whipped cream, giving your Coconut Tres Leches Cake a beautiful, textured look. Slice and serve this dreamy dessert to guests, and watch their faces light up with delight!
What to Serve with Coconut Tres Leches Cake?
Indulging in a slice of this dreamy dessert is just the beginning. Let’s create a delightful feast around it!
- Fresh Berries: A medley of strawberries, raspberries, and blueberries adds a burst of freshness that balances the rich cake.
- Spicy Mexican Hot Chocolate: The warmth and spices of this drink enhance the cake’s sweetness, creating a comforting combination.
- Coconut Sorbet: A refreshing, icy treat that echoes the coconut theme and provides a light-textured contrast to the cake.
- Churros with Chocolate Sauce: These crispy delights complement the soft texture of the cake, creating a dessert platter full of contrasts.
- Citrus Salad: A vibrant mix of oranges, grapefruit, and mint offers a zesty brightness that cuts through the cake's richness beautifully.
- Pineapple Colada Smoothie: Creamy and tropical, this drink pairs perfectly with the coconut flavor, creating an island-inspired experience.
- Margaritas: A classic lime margarita with salt enhances the sweetness of the cake while adding a festive touch to your meal.
- Chocolate Flan: For those craving decadence, this rich flan provides a luscious counterpart to the airy tres leches.
- Homemade Whipped Cream: Serve extra whipped cream on the side for guests who want to dive into indulgence with each slice!
Make Ahead Options
These Coconut Tres Leches Cakes are a lifesaver for busy home cooks looking to save time without compromising on flavor! You can bake the sponge cake up to 24 hours in advance; simply allow it to cool completely before soaking it in the milk mixture. After soaking, refrigerate the cake for at least 4 hours, ensuring it stays moist and flavorful. To maintain its delightful texture, cover it well with plastic wrap to prevent it from drying out. When ready to serve, whip the heavy cream and frost the cake just before your guests arrive, garnishing it with toasted coconut for an impressive touch. This preparation allows you to enjoy the celebration without spending the last minute in the kitchen!
Storage Tips for Coconut Tres Leches Cake
Fridge: Store your Coconut Tres Leches Cake in an airtight container, or cover it tightly with plastic wrap. It will stay fresh for up to 3 days, ensuring it remains creamy and moist.
Freezer: For longer storage, wrap individual slices in plastic wrap and place them in a freezer-safe container. This cake can be frozen for up to 2 months; just thaw it overnight in the fridge before enjoying.
Reheating: While best served chilled, you can microwave a slice for about 10-15 seconds to slightly warm it, enhancing that dreamy texture without drying it out.
Make-Ahead: This delightful cake can be made a day or two in advance; the flavors intensify as it sits, making it perfect for gatherings and celebrations!
Expert Tips for Coconut Tres Leches Cake
-
Egg Temperature Matters: Ensure your eggs are at room temperature for maximum volume when whipped, leading to a fluffier cake.
-
Soaking Time is Key: Don’t rush the soaking process! Allow the cake to chill for a minimum of 4 hours to achieve a wonderfully moist Coconut Tres Leches Cake.
-
Avoid Egg Yolk Mix-Up: When separating eggs, ensure no yolks mix with the whites. This step is crucial for achieving stiff peaks in the whipped egg whites.
-
Toast Coconut Carefully: Keep an eye on the coconut while toasting, as it can go from golden to burnt quickly. This adds a delightful crunch to your cake!
-
Customizable Flavors: Experiment with different extracts or mix-ins! Vanilla or coconut rum can add unique flavor variations to elevate your dessert.
Coconut Tres Leches Cake Variations
Feel free to make this Coconut Tres Leches Cake your own with delightful twists and substitutions that will bring out your creativity!
- Dairy-Free: Substitute all dairy with coconut-based alternatives like coconut cream and almond milk for a vegan-friendly version.
- Flavor Boost: Add a splash of dark rum to the soaking mixture for an adult twist that enhances the coconut flavor. Rum and coconut—what a perfect pair!
- Fruity Twist: Swap in pureed strawberries or Meyer lemon juice in the milk mixture for a fresh and vibrant take on traditional flavors. This adds a fruity zest that brightens each bite.
- Nutty Crunch: Stir in finely chopped nuts such as pecans or almonds into the cake batter for a delightful crunch and an extra layer of flavor. The nuts add texture and a whole new dimension to the cake.
- Cocoa Twist: Mix in a couple of tablespoons of cocoa powder to the cake batter for a chocolatey delight, creating a Coco Tres Leches that caters to chocolate lovers. Who says you can't have chocolate for dessert?
- Layered Delight: Create a layered version by preparing multiple cake bases, alternating with different flavors like vanilla and strawberry. It turns your cake into a showstopper worthy of any celebration!
- Reduction of Sweetness: Reduce the amount of sweetened condensed milk if you'd like a less sweet but equally delicious cake. Balancing sweetness allows the coconut flavor to shine even brighter.
Don't forget, you can also check out ideas for a delightful Ice Cream Cake or dive into the sumptuous world of Chocolate Pudding Cake for further inspiration. Each variation adds its own fun and flair, making every occasion a little more special!
Coconut Tres Leches Cake Recipe FAQs
How do I select the best ingredients for Coconut Tres Leches Cake?
Absolutely! For the best results, choose large, fresh eggs that are at room temperature for optimal volume when whipped. When it comes to coconut milk, look for canned varieties that are labeled as "full-fat" for a rich texture and flavor. Also, check for superfine granulated sugar, as it dissolves better, ensuring a smooth batter.
What’s the best way to store Coconut Tres Leches Cake?
You can store your Coconut Tres Leches Cake in the refrigerator in an airtight container or covered tightly with plastic wrap for up to 3 days. This method helps retain its moistness and flavor. Make sure to keep it chilled until servings to preserve that delightful creaminess!
Can I freeze Coconut Tres Leches Cake? How do I do it?
Absolutely! Freezing is a great option. To freeze your Coconut Tres Leches Cake, wrap individual slices tightly in plastic wrap. Then place them in a freezer-safe container or zip-top bag. It can be stored this way for up to 2 months. When you're ready to enjoy, simply thaw in the refrigerator overnight. This method helps maintain its texture and flavor.
What should I do if my cake is too dry?
If you find your Coconut Tres Leches Cake has turned out dry, don't worry! You can gently poke additional holes in the cake and pour a bit more of the milk mixture to enhance moisture. Let it chill again for a couple of hours. This will allow the cake to soak up the extra liquid, making it softer and more enjoyable.
Are there any dietary considerations for this recipe?
Very! This Coconut Tres Leches Cake contains dairy products, so it’s not suitable for those with lactose intolerance. However, you can use dairy-free alternatives like coconut cream for the whipped topping and non-dairy milk options in the soaking mixture. Additionally, be mindful of allergies to eggs or coconut. Always check labels if you're concerned about hidden allergens.
How long should I soak the cake for the best results?
The soaking time is crucial! It's best to allow the cake to chill in the refrigerator for at least 4 hours, but overnight is even better for maximizing flavor and moisture retention. This soaking period is essential to achieve that soft, pudding-like texture that makes Coconut Tres Leches Cake so delightful.
Coconut Tres Leches Cake: A Slice of Paradise Awaits
Ingredients
Equipment
Method
- Preheat your oven to 325°F (163°C) and grease cake pans.
- Beat egg yolks, sugar, and almond extract until light and fluffy.
- Whip egg whites until stiff peaks form and fold into yolk mixture.
- Fold sifted flour and salt into the batter until just combined.
- Pour the batter into pans and bake for 20-25 minutes until golden.
- Whisk together sweetened condensed milk, evaporated milk, and coconut milk.
- Poke holes in the cooled cakes and pour the milk mixture over them.
- Cover and refrigerate for at least 4 hours or overnight.
- Toast sweetened coconut flakes in a preheated oven at 350°F (175°C).
- Whip heavy cream with powdered sugar until soft peaks form; frost the cake.
- Garnish with toasted coconut and serve.