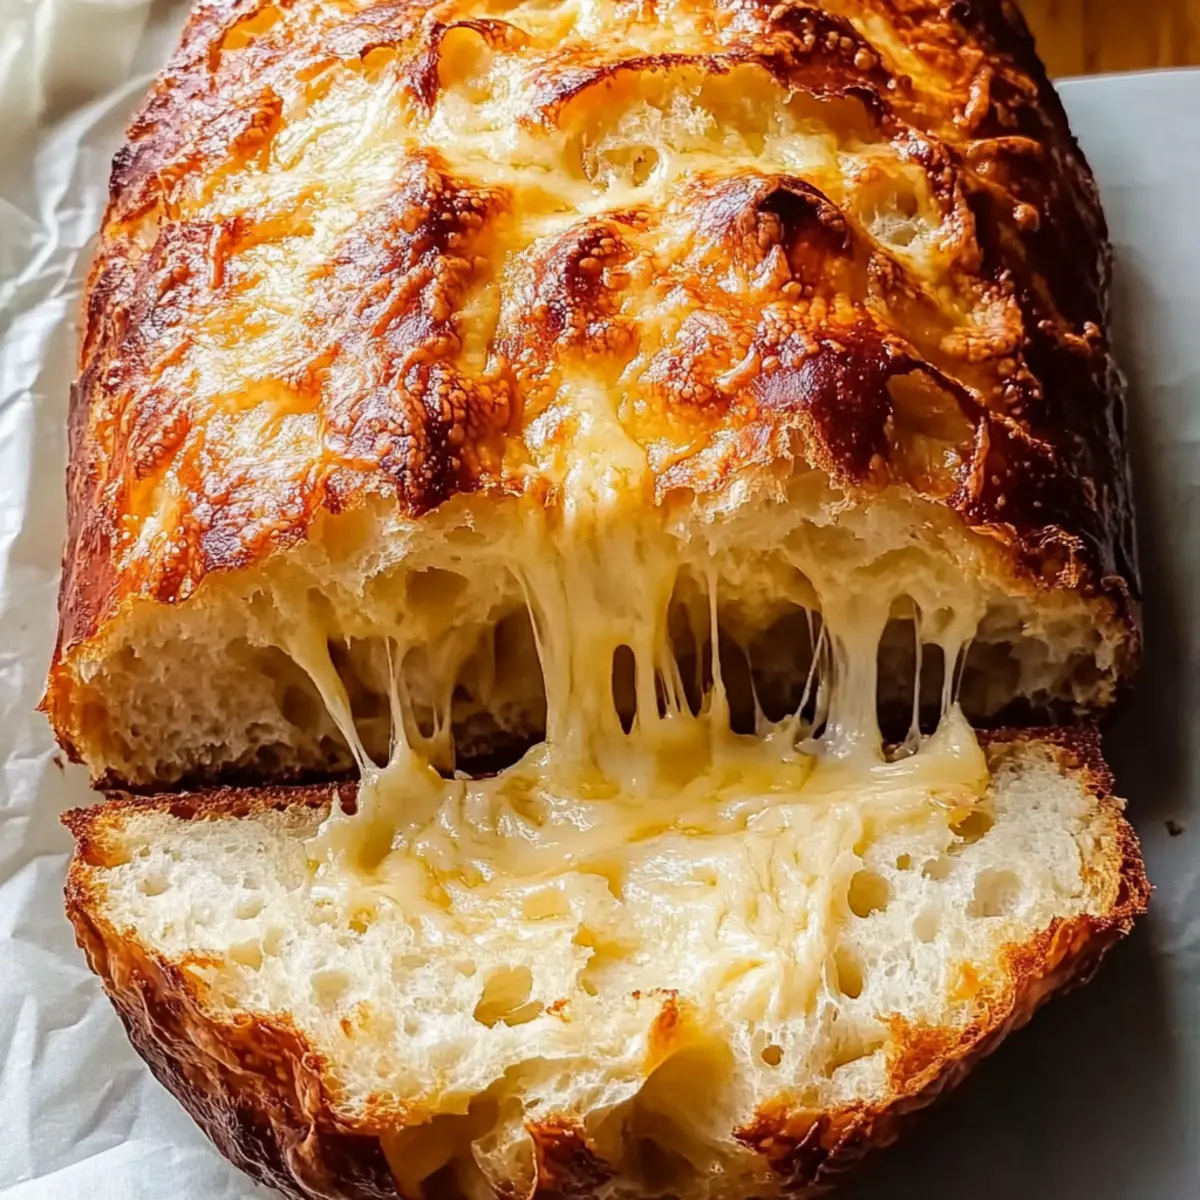
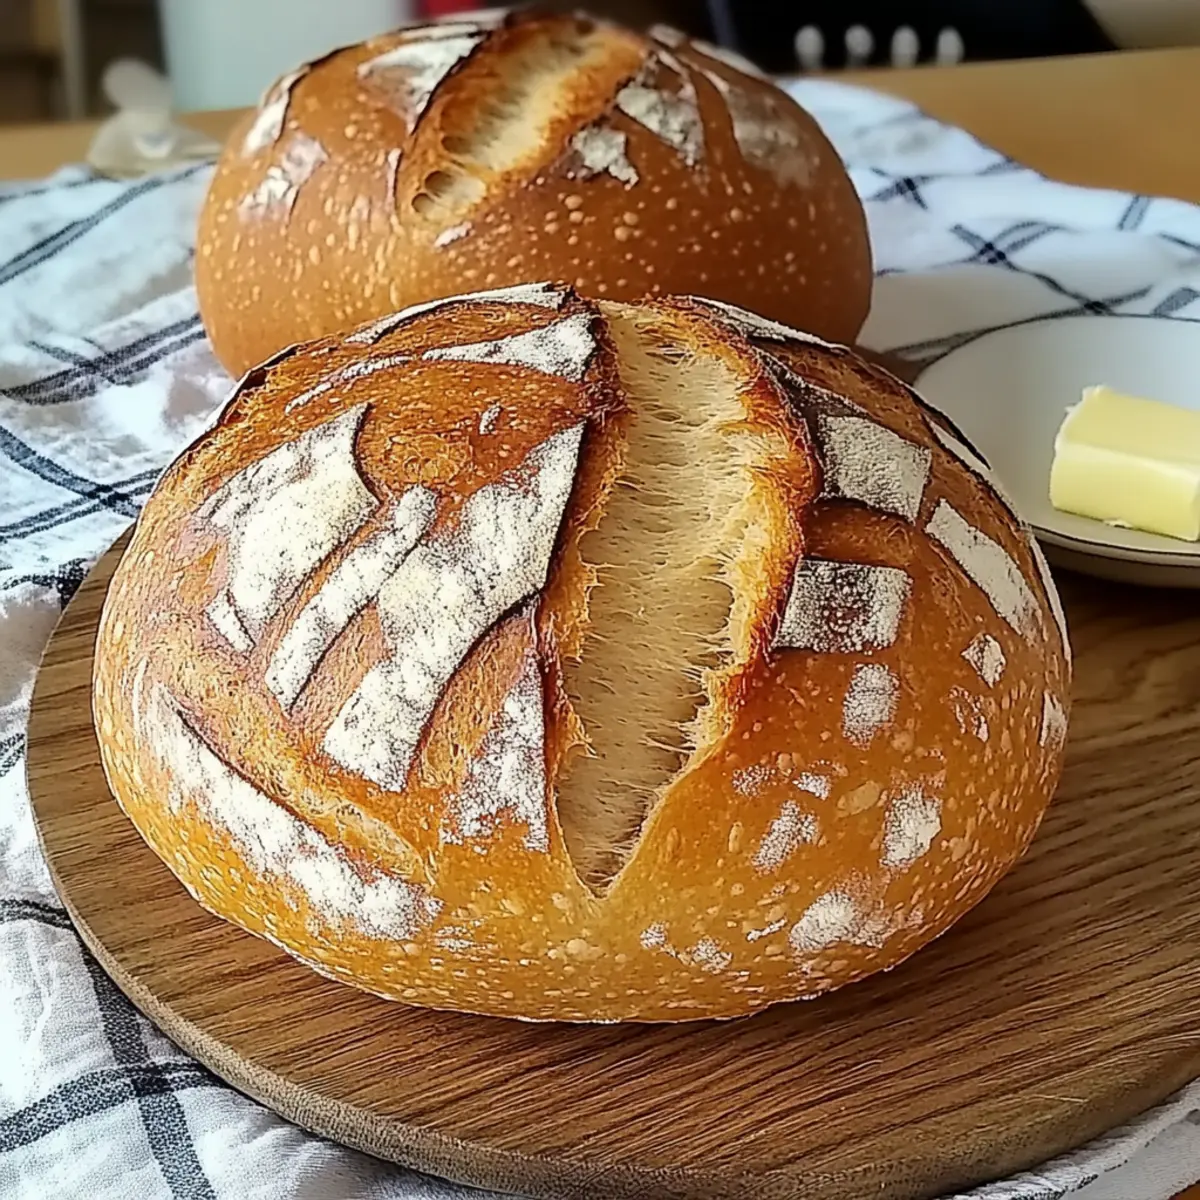
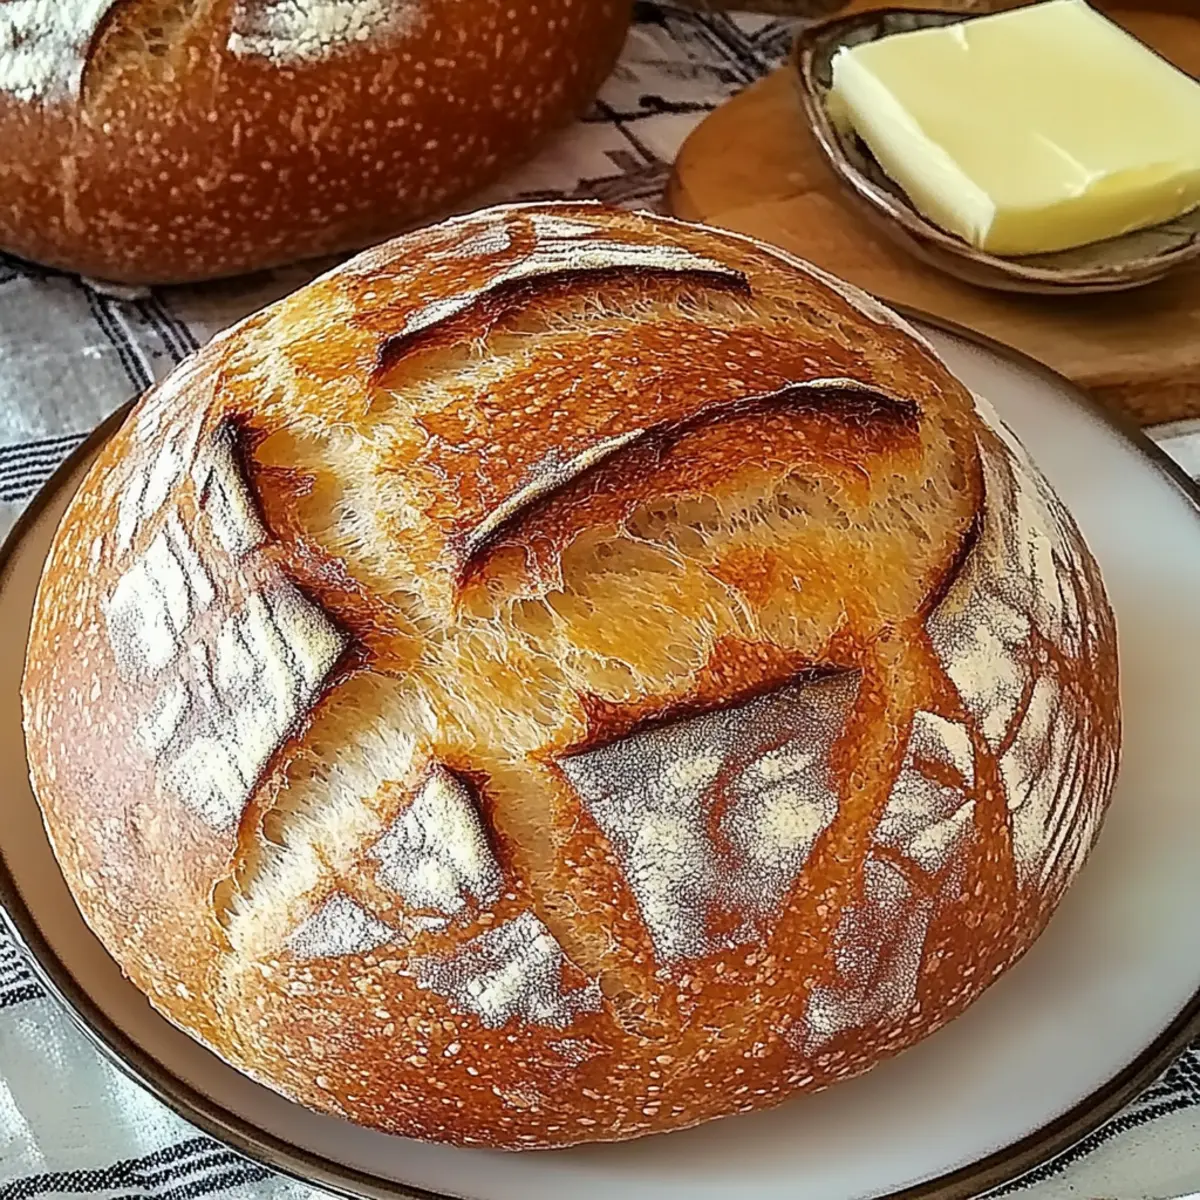
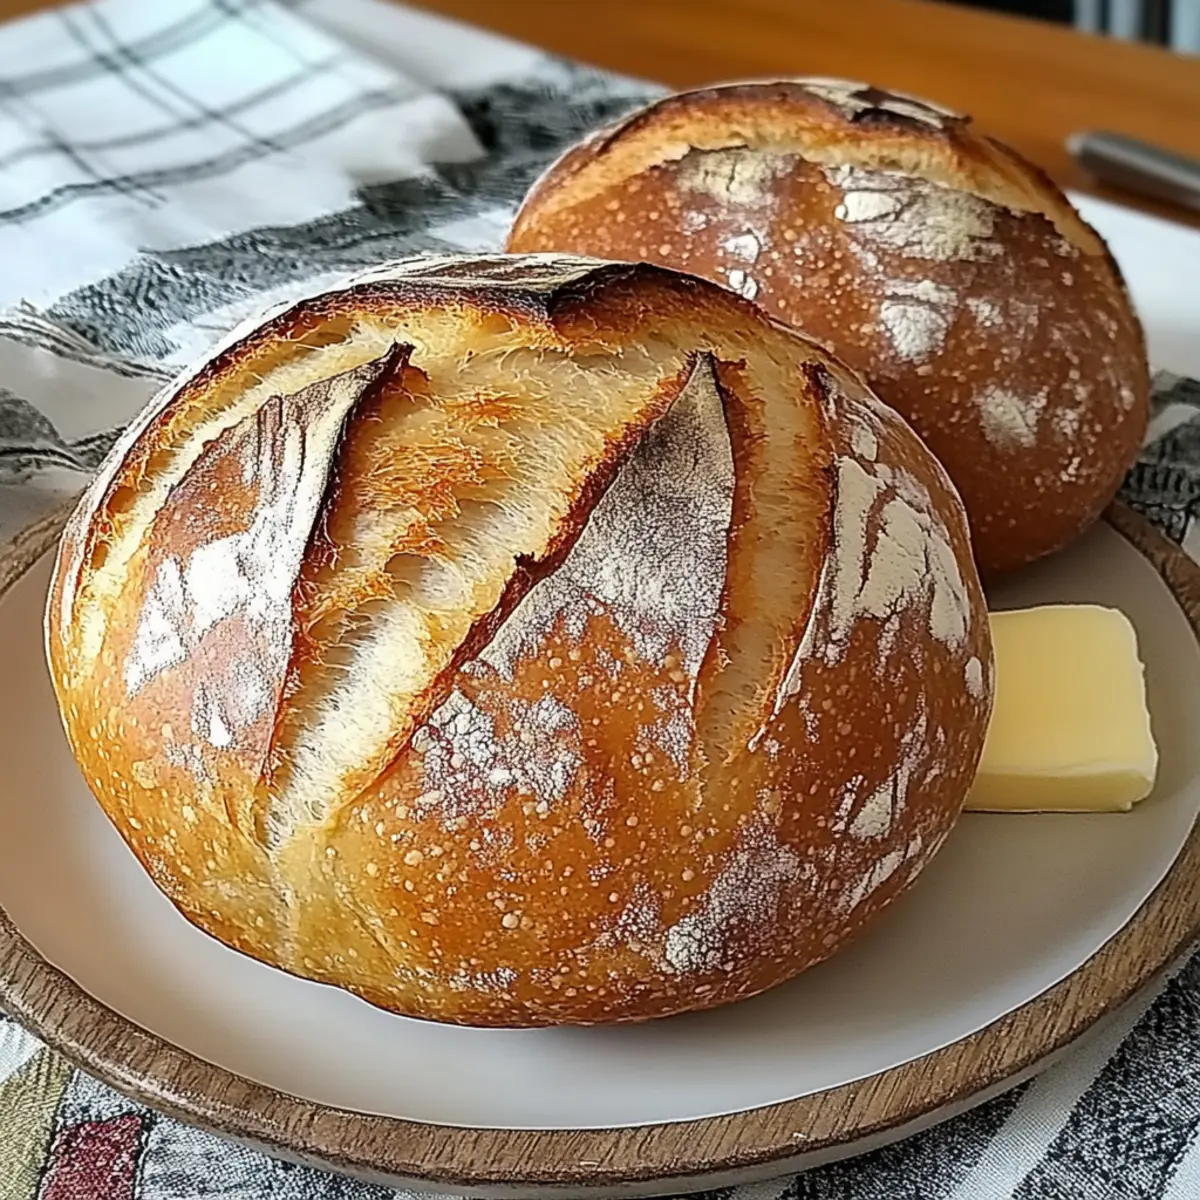
As the warm scent of baking bread wafts through my kitchen, I'm reminded of cozy family gatherings shared around the table. Today, I’m excited to share my recipe for Quick German Bread, a rustic loaf that you can whip up in just 5 minutes of prep! With its golden, crackly crust and soft, chewy interior, this homemade bread is a fantastic option for those busy weeknights when you crave a comforting touch. Plus, it’s incredibly versatile—use it for sandwiches, or enjoy a slice warm with butter. Not only does it embrace the heartiness of traditional German bread, but it also simplifies the process, making homemade goodness accessible to everyone. Are you ready to dive into this delicious adventure in baking?
Why is this German Bread so special?
Quick, No Fuss: In just 5 minutes of prep, you can create a stunning rustic loaf that impresses family and friends.
Amazing Aroma: The smell of freshly baked bread fills your home, bringing warmth and comfort to any occasion.
Endless Possibilities: This bread is a blank canvas! Mix it up with seeds, herbs, or even sun-dried tomatoes for a personal touch.
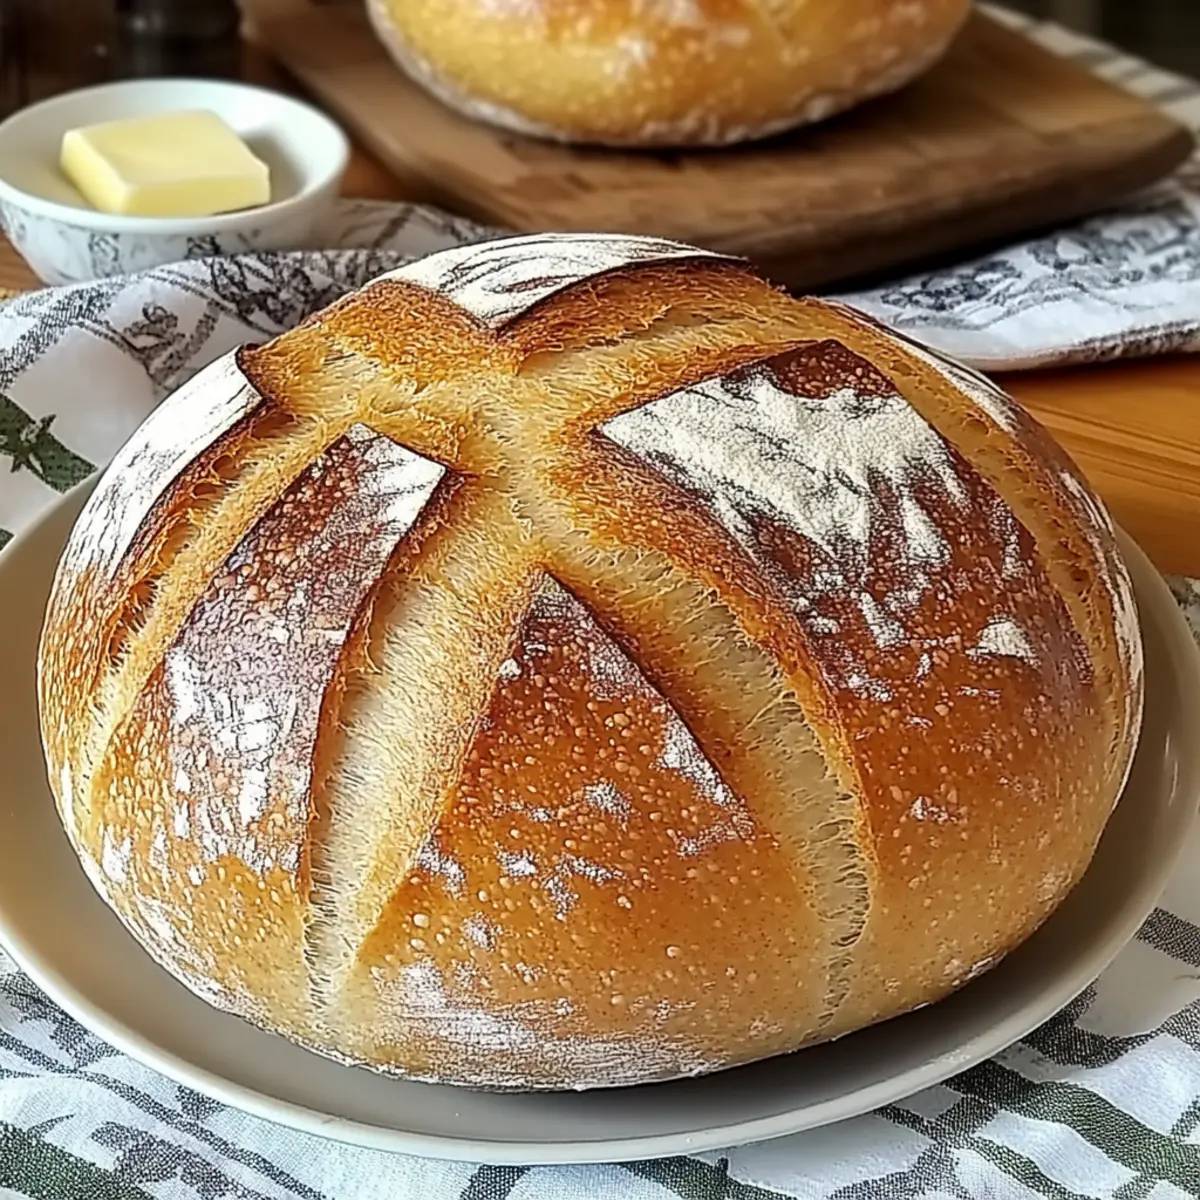
Perfect Texture: Enjoy a beautifully crackly crust with a soft, chewy interior that’s far from ordinary. It pairs perfectly with soups or can be transformed into delicious sandwiches.
Time-Saving Delight: Say goodbye to store-bought bread! With minimal ingredients and effort, this bread is your go-to for tasty homemade goodness.
Don't forget to check out German Potato Salad as a delightful side to complement your freshly baked bread!
German Bread Ingredients
For the Dough
- All-purpose flour or bread flour – Provides structure and chewiness; substitute with whole wheat flour for a nuttier flavor.
- Instant yeast – Leavens the bread quickly; you can use active dry yeast if activated in warm water first.
- Warm water (around 110°F / 45°C) – Hydrates the flour and activates the yeast; ensure it's warm but not hot to avoid killing the yeast.
- Salt – Enhances flavor and strengthens gluten structure; no substitutions recommended.
- Honey or sugar – Adds slight sweetness and aids browning; can be replaced with maple syrup or agave.
- Olive oil (optional) – Adds richness and moisture; this can be omitted without significant impact on the bread.
For the Toppings (optional)
- Flaky salt – Sprinkling on top creates a delightful contrast to the bread's texture.
- Everything bagel seasoning – Adds a flavorful twist for those who enjoy a bit more seasoning.
Let’s get started on baking that delicious German bread!
Step‑by‑Step Instructions for Quick German Bread
Step 1: Combine the Dry Ingredients
In a large mixing bowl, combine 3 cups of all-purpose flour, 2 teaspoons of instant yeast, and 1 teaspoon of salt. Stir the ingredients together until they are well mixed, creating a uniform dry mixture. This blend forms the essential foundation for your rustic German bread, ensuring even distribution of the yeast and enhancing the overall flavor.
Step 2: Mix in the Wet Ingredients
Pour in 1 and 1/4 cups of warm water (about 110°F / 45°C) and 1 tablespoon of honey into the dry ingredients. Using a wooden spoon or your hands, gently mix until a sticky dough begins to form. This should take about 1 to 2 minutes; the dough should hold together but remain slightly tacky, signaling that it’s ready for the next step.
Step 3: Knead the Dough
Transfer the sticky dough onto a well-floured surface. Knead it for 1 to 2 minutes, apply gentle pressure, and fold it over itself until it becomes smoother and slightly elastic. This brief kneading helps develop gluten, which is crucial for achieving that delightful chewy texture characteristic of homemade German bread.
Step 4: Let the Dough Rest
Place the kneaded dough back into the mixing bowl and cover it with a clean kitchen towel. Allow it to rest in a warm location for 5 to 10 minutes. This resting period will help the dough relax, making it easier to shape into a rustic loaf and ensuring a perfect rise during baking.
Step 5: Preheat the Oven
While the dough rests, preheat your oven to 425°F (220°C). Position a Dutch oven inside the oven as it heats. This step is essential for creating steam, which helps achieve that beautiful, crackly crust on your German bread, making it even more appealing once baked.
Step 6: Shape the Dough
After the rest period, gently punch down the dough to deflate it. Shape it into a rustic loaf that’s about the size of your Dutch oven. Using parchment paper can help in transferring it easily later. Just make sure your bread is not overly tight; it should still retain some airiness to allow proper expansion while baking.
Step 7: Score the Loaf
Carefully place the shaped dough onto parchment paper, then take a sharp knife and make a few slashes across the top of the loaf. This scoring not only enhances the presentation of your German bread but also allows for better expansion during baking, ensuring a beautifully risen loaf with a fantastic crust.
Step 8: Bake the Bread
Using oven mitts, remove the heated Dutch oven from the oven. Carefully lift the parchment paper with the dough and place it inside. Cover with the lid and bake for 20 minutes. After 20 minutes, uncover the Dutch oven and bake for an additional 5 to 10 minutes, until the top is golden brown and the bread sounds hollow when tapped on the bottom.
Step 9: Cool the Bread
Once baked, remove the Dutch oven from the oven and carefully take out the bread using the parchment paper. Let the bread cool on a wire rack for at least 10 minutes. Cooling is vital to allow the crust to set properly, and it also helps prevent the bread from becoming gummy when sliced.
German Bread Variations & Substitutions
Customize your German bread experience with these delightful twists and swaps that will elevate its flavor and texture!
- Whole Wheat: Substitute half of the all-purpose flour with whole wheat for a nutty taste and extra fiber.
- Rye Flour: Mix in half rye flour to create a denser, more traditional German flavor profile that both hearty and satisfying.
- Sweetness Switch: Replace honey with maple syrup for a unique touch of sweetness that pairs wonderfully with this rustic loaf.
- Herb Infusion: Add fresh herbs like rosemary or thyme into the dough for an aromatic twist that adds flavor depth.
Whether you’re experimenting with savory elements or exploring fragrant additions, the possibilities are endless! A sprinkle of everything bagel seasoning on top can add a delightful crunch to your loaf.
- Savory Add-ins: Fold in chopped olives, sun-dried tomatoes, or crumbled feta cheese to infuse vibrant flavors into each bite.
- Seed Variety: Toss in seeds like caraway or sesame for added texture and a delightful crunch, giving your bread a rustic flair.
- Spice it Up: For a little kick, mix in a dash of crushed red pepper flakes into the dough for unexpected warmth.
There you go! Personalizing your bread is as simple as picking a flavor direction you love. Happy baking! Don’t forget to pair your bread with a side of German Potato Salad for a hearty meal that'll warm your heart!
Make Ahead Options
These Quick German Bread loaves are a lifesaver for meal prep enthusiasts! You can prepare the dough up to 24 hours in advance by mixing the dry ingredients and adding the wet components, then storing the dough covered in the refrigerator. This allows the flavors to develop beautifully while saving you time on busy weeknights. To maintain the quality, let the dough warm up at room temperature for about 30 minutes before shaping it into a loaf. When you're ready to bake, simply shape the dough, preheat the oven, and follow the baking instructions as usual, ensuring you enjoy fresh, homemade German bread with minimal effort!
What to Serve with Quick German Bread in Just 5 Minutes
There's something special about pairing your freshly baked loaf with delightful accompaniments that elevate your dining experience.
- Creamy Tomato Soup: This classic pairing offers a warm, comforting experience, perfectly balancing the rustic texture of your bread.
- Savory Cheese Platter: A variety of cheeses—think sharp cheddar or creamy brie—create a delightful contrast to the bread's chewy bite.
- Herbed Olive Oil Dip: Drizzle this fragrant blend of olive oil and fresh herbs to enhance the bread's flavor and add a touch of Mediterranean flair.
- Roasted Vegetables: The caramelized sweetness of vegetables like carrots and bell peppers complements the hearty facets of the German bread.
- Crisp Green Salad: A fresh salad with tangy vinaigrette adds brightness to every bite, making for a balanced meal with texture and flavor.
- Homemade Jam: Spread a layer of fruit jam for a sweet juxtaposition to the bread's rustic notes, turning your loaf into a breakfast delight.
- German Potato Salad: This tangy, warm salad with crispy bacon ties back to traditional German cuisine, making it a perfect side addition.
- Fruity Iced Tea: Pair your meal with a refreshing glass of iced tea infused with fruits for a delightful, thirst-quenching finish.
- Decadent Chocolate Cake: For dessert, indulge in a rich chocolate cake to save the best for last, making every meal memorable and sweet.
Storage Tips for German Bread
Room Temperature: Store your German bread in an airtight container at room temperature for up to 3 days to maintain freshness and texture.
Freezer: For longer storage, wrap the loaf tightly in plastic wrap or aluminum foil, then place it in a freezer-safe bag. It can be frozen for up to 3 months.
Reheating: To restore the bread's crusty exterior, reheat slices in a warm oven (350°F/175°C) for about 5-10 minutes or until warmed through.
Cutting: Avoid slicing the bread until you're ready to eat it; this helps retain moisture and keeps the loaf fresher for longer.
Expert Tips for Quick German Bread
-
Fresh Yeast Required: Ensure your yeast is fresh and active; expired yeast can lead to dense bread that doesn’t rise well.
-
Monitor Dough Stickiness: If the dough is too sticky while kneading, sprinkle a bit more flour to make it manageable, but avoid adding too much.
-
Utilize Steam for Crust: For a beautifully crackly crust, place a shallow pan of water in the oven while it preheats. This steam enhances the baking process.
-
Perfect Bread Texture: Tap the bottom of the baked loaf—if it sounds hollow, your German bread is ready. This indicates a perfect bake inside!
-
Kneading Time: Don’t over-knead; a quick 1-2 minutes is sufficient for developing the right texture, ensuring the bread remains soft and chewy.
Quick German Bread Recipe FAQs
How do I choose the right flour for this German bread?
Absolutely! You can use either all-purpose or bread flour for your Quick German Bread. If you're looking for a nuttier flavor, I recommend trying whole wheat flour as a substitute. Just keep in mind that using whole wheat may alter the texture slightly, resulting in a denser loaf.
How should I store my German bread after baking?
To maintain its freshness, store your German bread in an airtight container at room temperature for up to 3 days. This keeps the texture soft and delightful. If you want to save it for longer, wrap the loaf tightly in plastic wrap or aluminum foil and place it in a freezer-safe bag where it can last for up to 3 months.
Can I freeze German bread? How?
Yes, you can freeze your delicious German bread! After cooling, wrap the entire loaf tightly in plastic wrap or aluminum foil to prevent freezer burn. Then, place it in a freezer-safe bag for added protection. When you're ready to enjoy it, simply thaw it at room temperature or reheat it directly from the freezer in a warm oven at 350°F (175°C) for about 10-15 minutes.
What should I do if my dough is too sticky?
If you find your dough is too sticky while kneading, don't worry! Just sprinkle a little more flour, about a tablespoon at a time, until it becomes manageable. Remember, it should remain slightly tacky but not overly sticky—this balance is key to achieving that perfect chewy texture in your German bread.
Are there any dietary considerations I should keep in mind?
Certainly! This Quick German Bread recipe contains gluten from the flour, so it's not suitable for those on a gluten-free diet. If you're looking to reduce sugar intake, you can use agave syrup or omit the sweetener altogether. For those with yeast sensitivities, consider experimenting with a sourdough starter; it may yield different, yet delightful results!
Delicious Homemade German Bread in Just 5 Minutes
Ingredients
Equipment
Method
- Combine the dry ingredients in a large mixing bowl: 3 cups of all-purpose flour, 2 teaspoons of instant yeast, and 1 teaspoon of salt.
- Mix in the wet ingredients: Pour in 1.25 cups of warm water and 1 tablespoon of honey.
- Knead the dough on a floured surface for 1 to 2 minutes until smoother.
- Let the dough rest covered in a warm place for 5 to 10 minutes.
- Preheat the oven to 425°F (220°C) with the Dutch oven inside.
- Shape the dough into a rustic loaf and place it on parchment paper.
- Score the top of the loaf with a sharp knife for better expansion.
- Bake the bread in the Dutch oven for 20 minutes covered, then 5-10 minutes uncovered until golden brown.
- Cool the bread on a wire rack for at least 10 minutes before slicing.