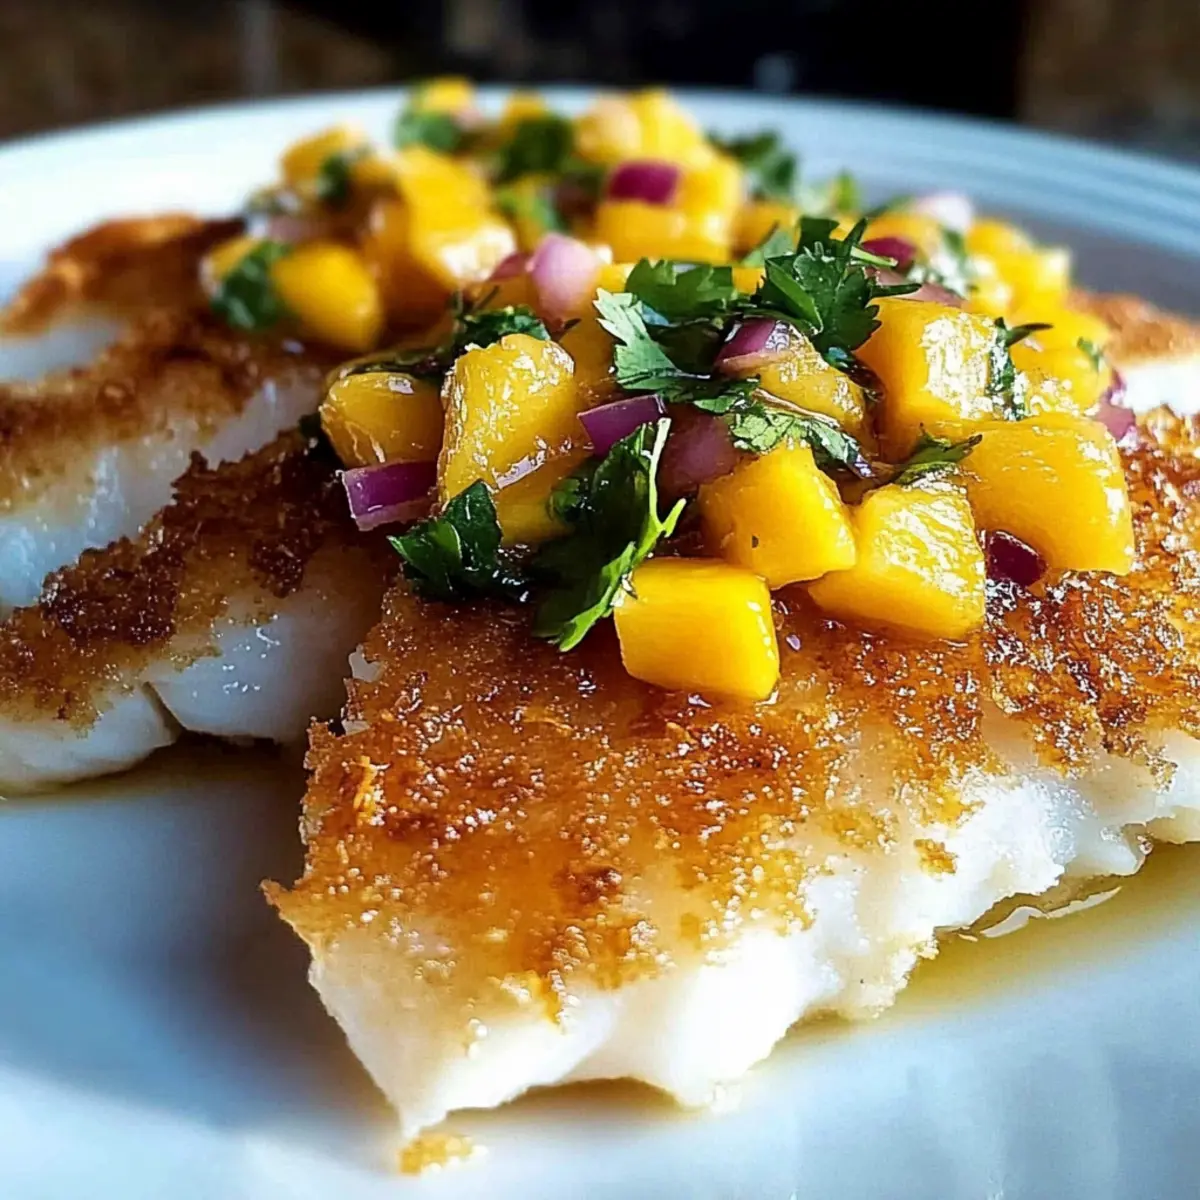
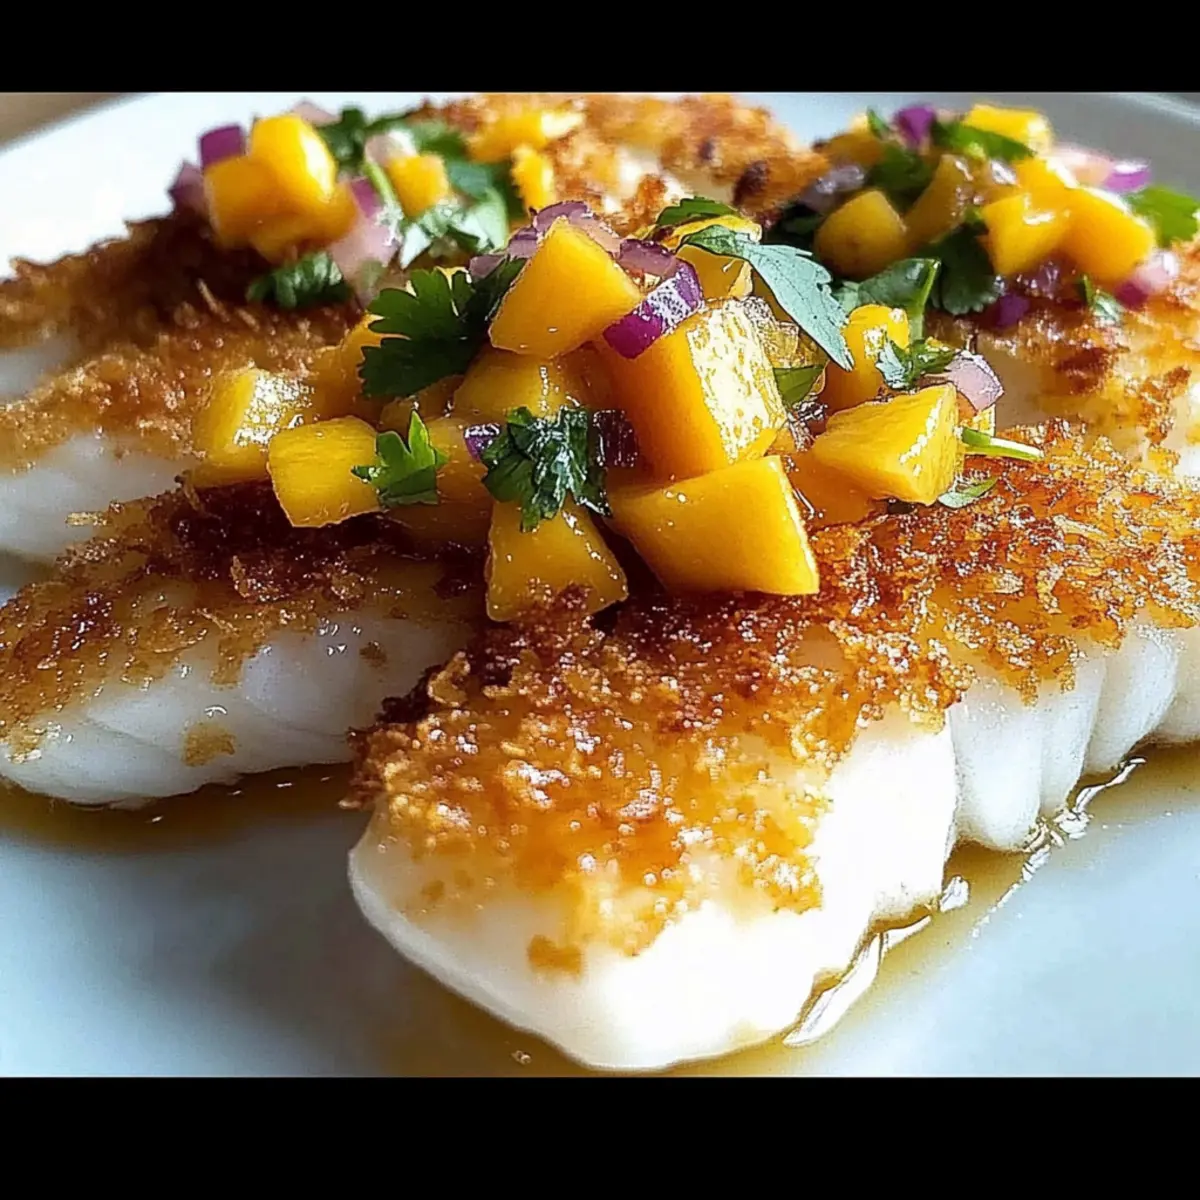
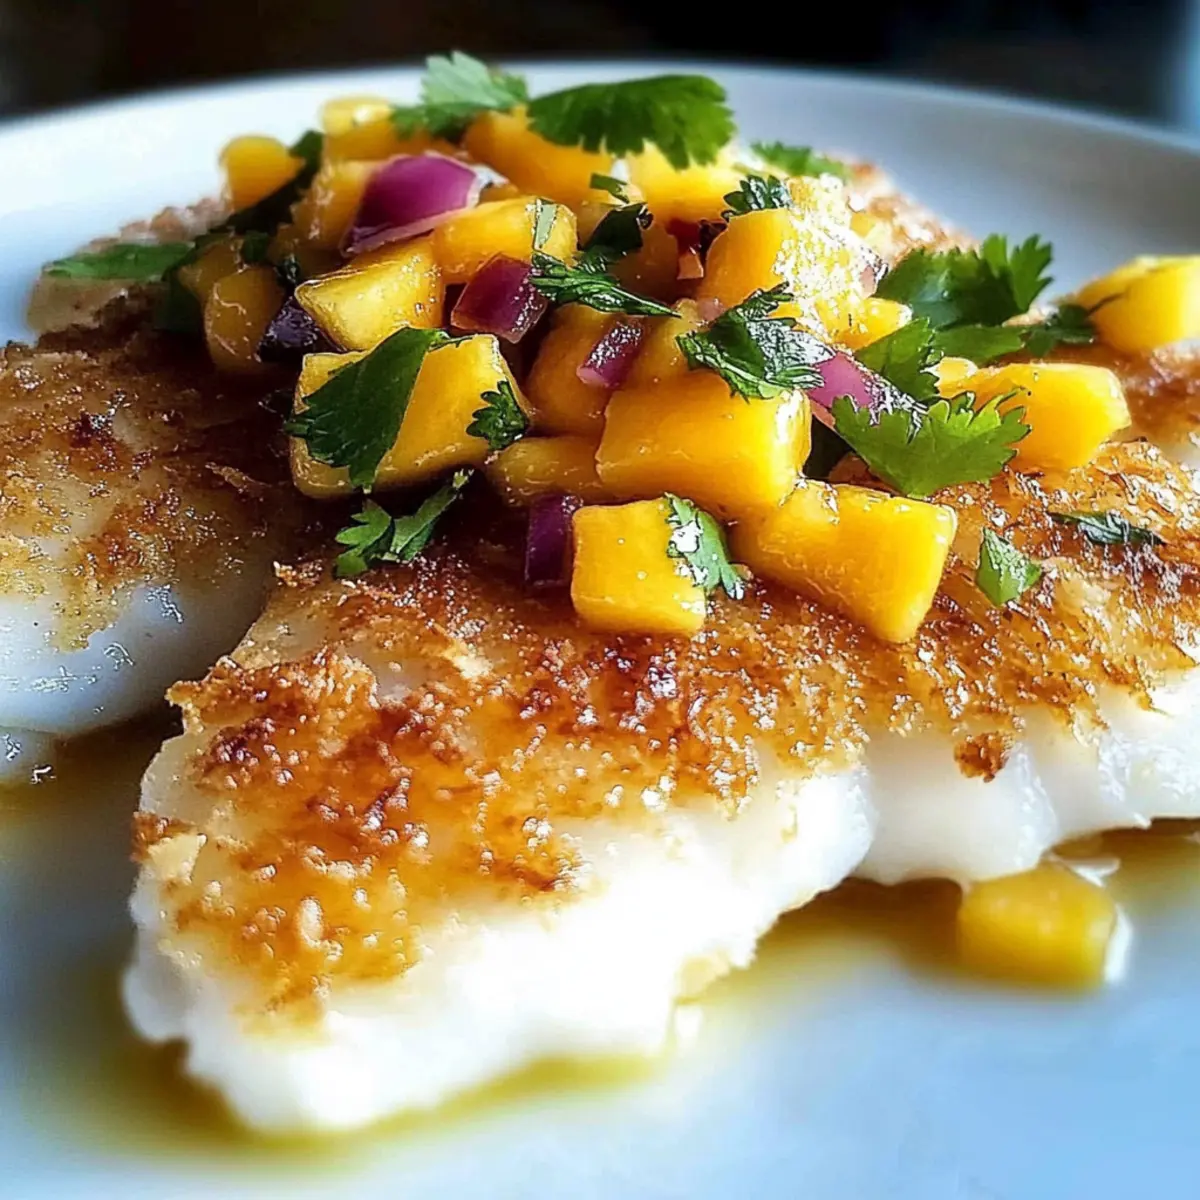
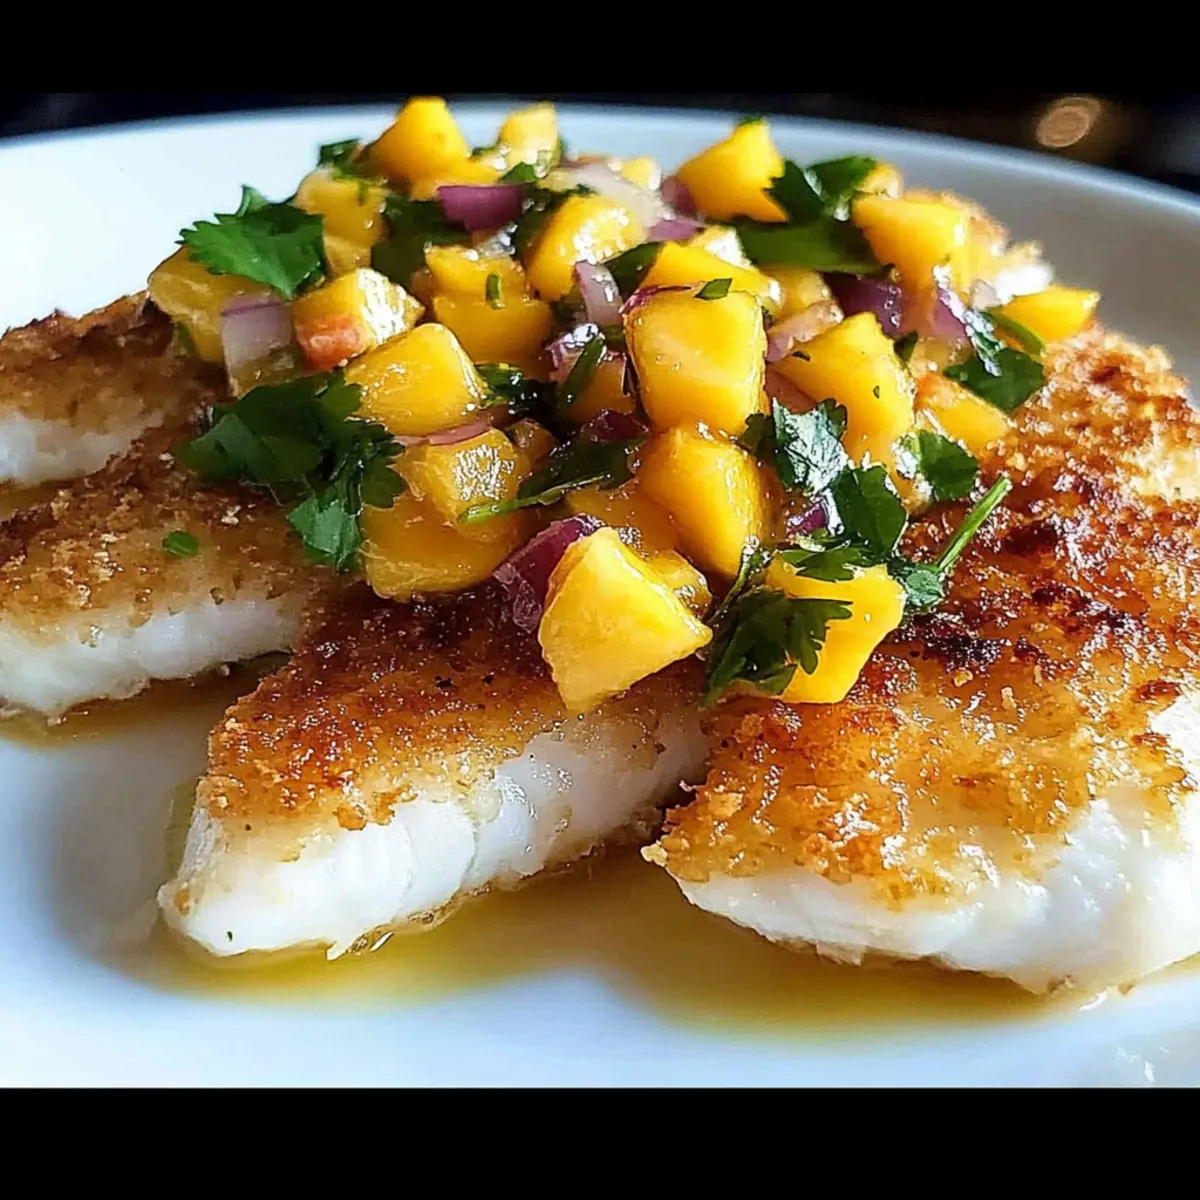
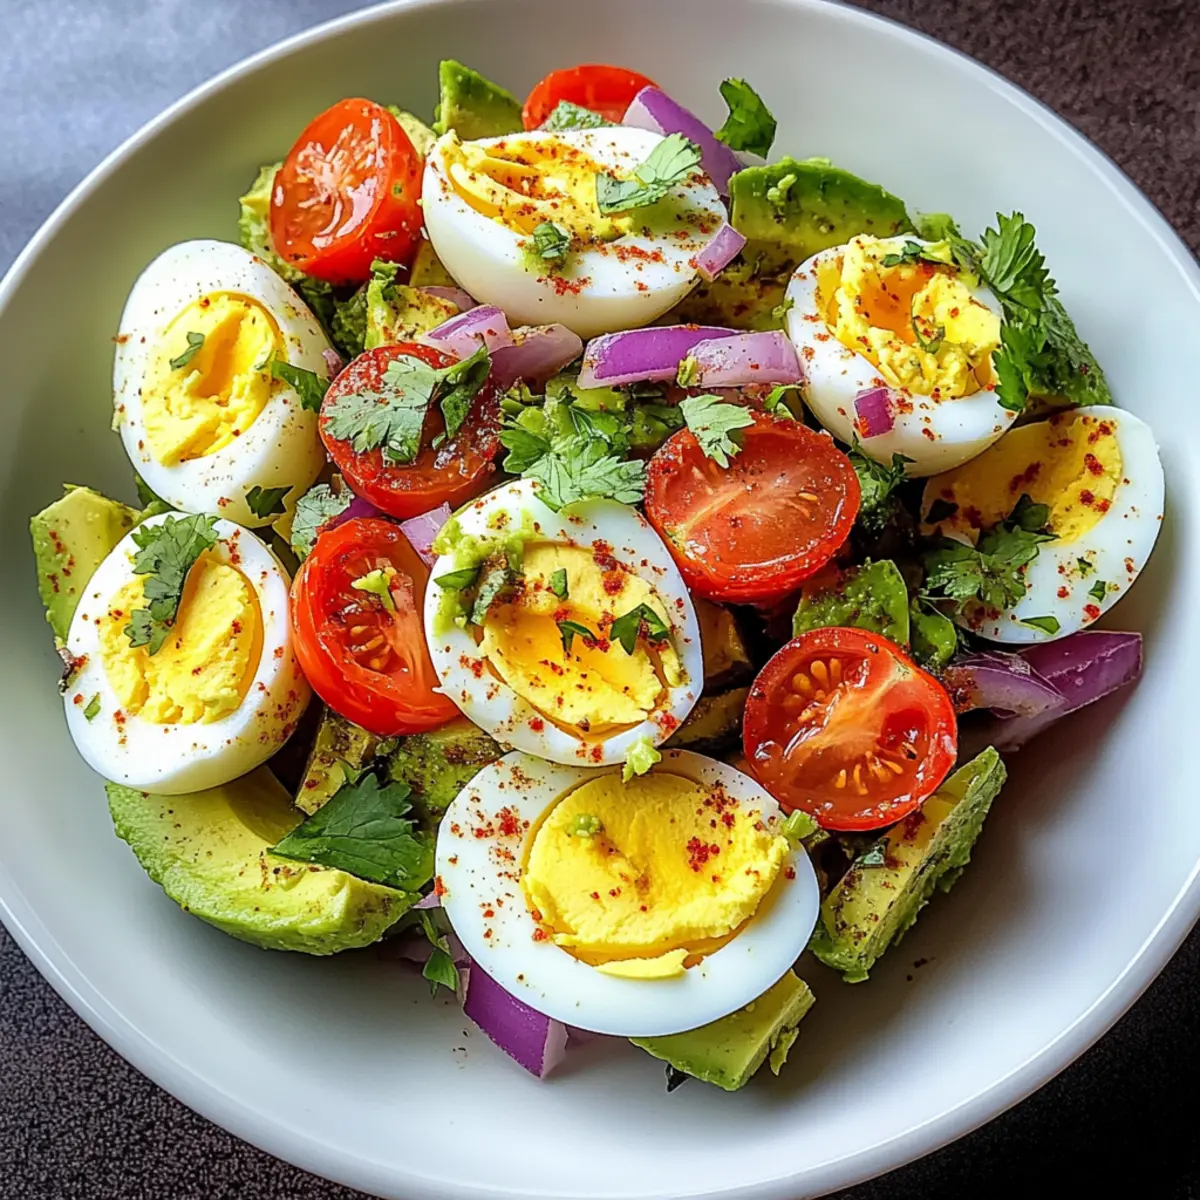
Have you ever craved something that’s both nourishing and quick to whip up after a workout? Enter my Protein-Packed Workout Egg Avocado Salad! This delightful dish combines the creaminess of ripe avocados with hard-boiled eggs for a satisfying meal that's rich in protein. In just 27 minutes, you can transform simple ingredients into a vibrant salad bursting with flavor, perfect for a quick lunch or a light dinner. Not only is it incredibly easy to make, but it’s also an ideal choice for anyone looking to ditch takeout in favor of something wholesome. Whether you’re a seasoned home chef or just starting out, this recipe ensures you can prepare a delicious and healthy meal effortlessly. Intrigued by how these flavors come together? Let’s dive into the recipe!
Why is this salad a must-try?
Nourishing and Quick: This salad is perfect for busy evenings when you need a nutritious meal in a hurry. Protein-Rich Ingredients: Packed with eggs and avocados, it fuels your recovery and keeps you satisfied. Flavorful Twist: The combination of fresh cilantro and zesty lime elevates each bite to lively perfection. Versatility at Its Best: Enjoy it on its own, as a filling in lettuce wraps, or spread on toasted bread for a complete meal. Looking for another healthy option? Try this delicious Avocado Egg Salad for a creamy delight!
Workout Egg Avocado Salad Ingredients
• Discover the essentials for a nourishing meal!
-
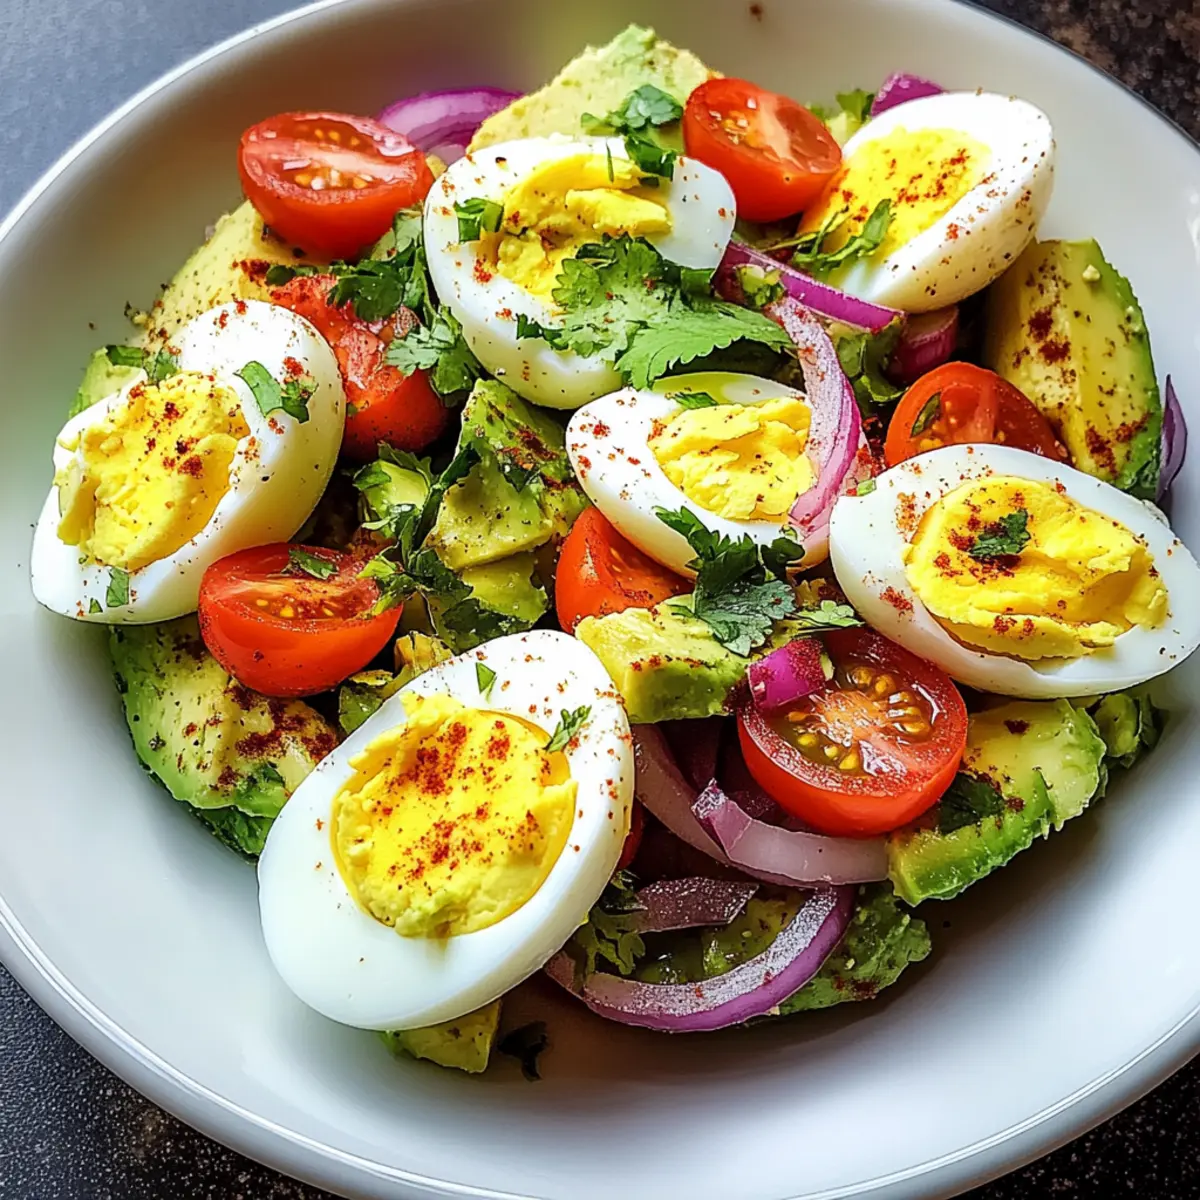
For the Salad Base
-
Large Eggs – Protein powerhouse providing richness and a firm texture; substitute with extra-firm tofu for a vegan option.
-
Ripe Avocados – Offers healthy fats that aid recovery and create a creamy base; choose avocados that yield slightly to pressure for optimal ripeness.
-
Red Onion – Adds sharpness and crunch; substitute with green onions for a milder flavor or omit for a less pungent taste.
-
Cherry Tomatoes – Contributes sweetness and acidity, balancing richness; use any small tomato variety, like grape tomatoes, if necessary.
-
Fresh Cilantro – Brings a burst of citrusy freshness; replace with parsley for a different herb flavor.
-
For the Dressing
-
Lime Juice – Enhances flavor with tanginess while helping prevent avocado browning; lemon juice can be a substitute if lime is unavailable.
-
Olive Oil – Adds silkiness to the texture and a fruity note; use avocado oil as an alternative for a similar flavor profile.
-
Salt and Pepper – Essential for flavor enhancement; adjust quantities to personal taste.
-
Red Pepper Flakes – Optional for spice; can be replaced with diced jalapeños for more heat.
Get ready to whip up a delicious Workout Egg Avocado Salad that’s not just delightful but incredibly nourishing!
Step‑by‑Step Instructions for Workout Egg Avocado Salad
Step 1: Boil Eggs
Place large eggs gently into a pot and fill it with enough water to cover them by at least an inch. Bring the water to a rolling boil over medium-high heat, then cover the pot and remove it from heat. Let the eggs sit in the hot water for 10–12 minutes for perfectly hard-boiled eggs.
Step 2: Prepare Ingredients
While the eggs are cooking, take ripe avocados and slice them in half. Scoop the flesh into a mixing bowl, using a fork to mash the avocados. Leave some chunks for added texture. This creates a creamy base that will complement the flavors in your Workout Egg Avocado Salad beautifully.
Step 3: Combine Vegetables
Next, chop the red onion, halve the cherry tomatoes, and roughly chop the fresh cilantro. Add all these vibrant veggies to the mashed avocado along with a generous drizzle of lime juice and olive oil. Gently mix everything together, ensuring the ingredients are evenly distributed while maintaining some delightful chunks.
Step 4: Cool Eggs
Once the eggs are done cooking, transfer them to a bowl of ice water. Allow them to cool for about 5 minutes, which makes peeling easier. This quick cooling method helps to prevent overcooking and keeps the egg yolks perfectly creamy rather than rubbery.
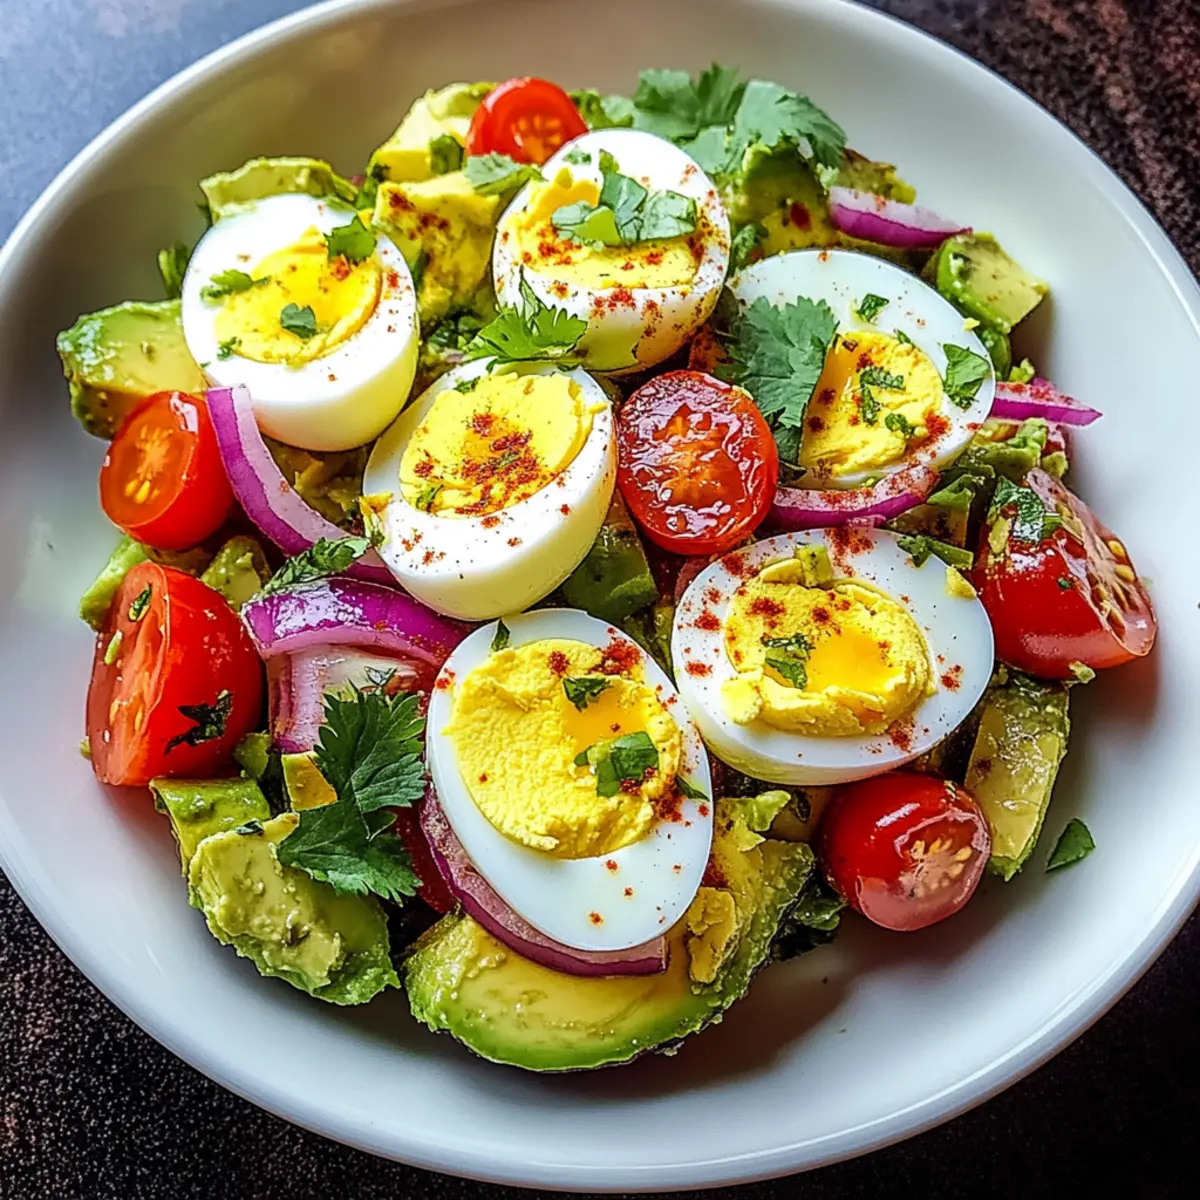
Step 5: Chop Eggs
After the eggs have cooled, peel off the shells and chop the eggs into bite-sized pieces. Carefully fold the chopped eggs into the salad mixture. Aim to combine without mashing everything together, retaining that lovely texture of the egg amidst the creamy avocado.
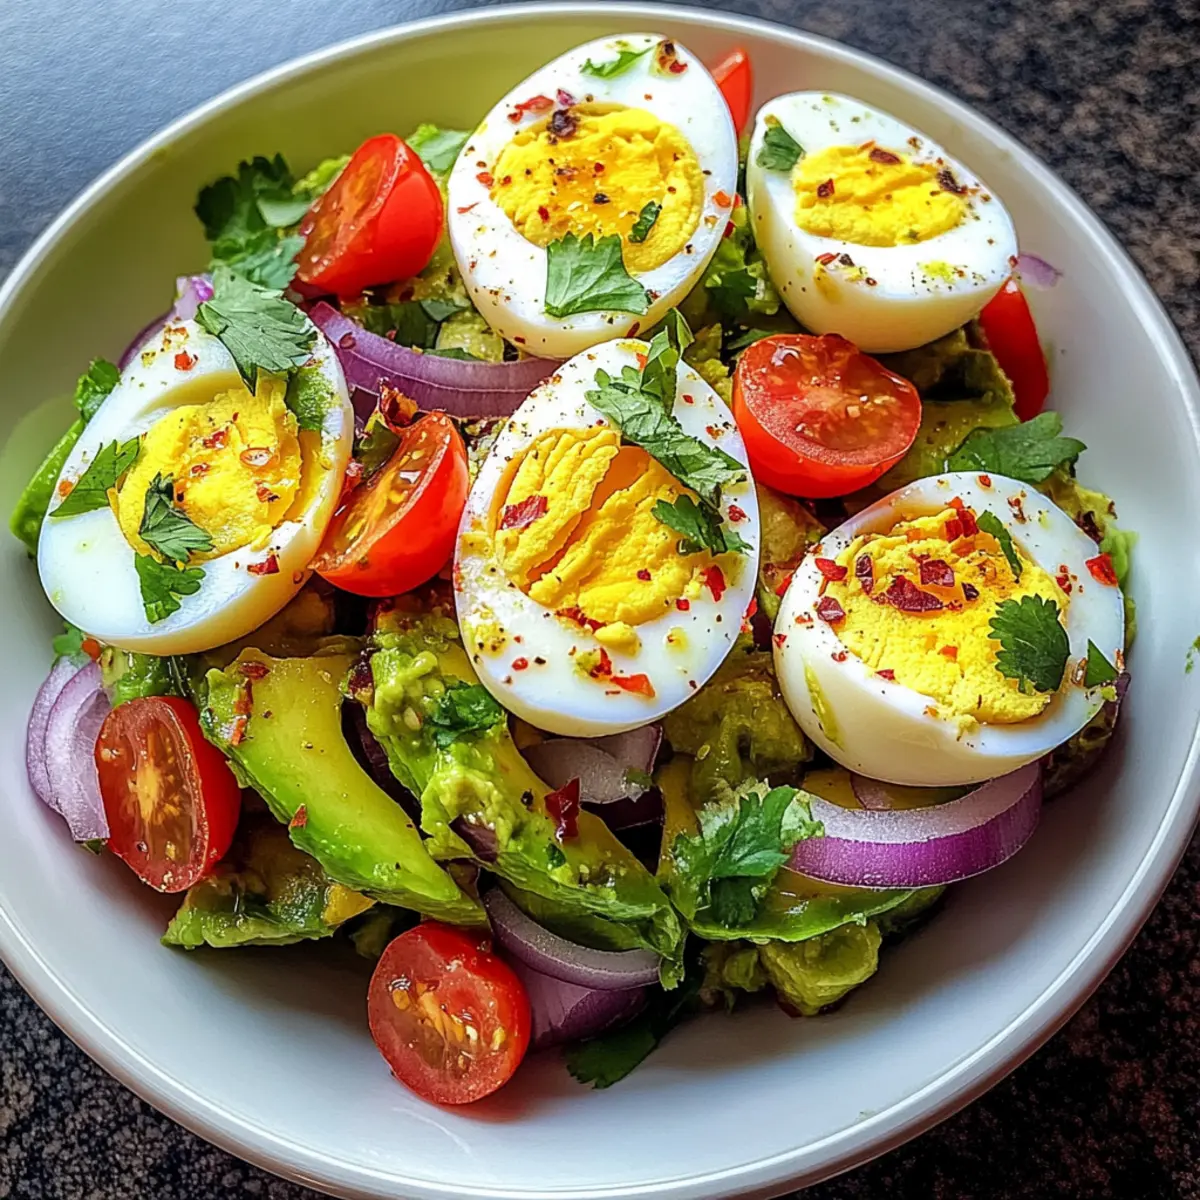
Step 6: Season Salad
Now it’s time to elevate the flavors! Season your Workout Egg Avocado Salad with salt, pepper, and a pinch of red pepper flakes if you crave some heat. Stir gently to ensure all the ingredients are perfectly coated with the seasoning, enhancing the taste of this wholesome dish.
Step 7: Taste Test
Finally, give your salad a taste. Adjust any seasonings as desired, adding more salt, pepper, or lime juice according to your preference. This final touch allows you to personalize the Workout Egg Avocado Salad to your liking, making every bite a delicious experience!
Workout Egg Avocado Salad Variations
Feel free to get creative with this recipe and make it your own by adding unique twists!
- Vegan: Substitute large eggs with extra-firm tofu for a plant-based protein boost. Simply crumble tofu and mix it in!
- Quinoa Boost: Add cooked quinoa for extra fiber and protein. It adds a fantastic nutty flavor to the salad.
- Add Crunch: Incorporate diced bell peppers or snap peas for a delightful crunch. They bring a pop of color and freshness as well!
- Creamy Twist: Swap olive oil for Greek yogurt for creaminess without the calories. It will add a lovely tang to your salad.
- Herb Variation: Replace cilantro with dill or mint for a refreshing herbal twist. Each herb brings a different nuance to the flavor profile.
- Heat Level: For an extra spicy kick, toss in diced jalapeños instead of red pepper flakes. Adjust to your heat preference!
- Nutty Flavor: Sprinkle in some toasted sunflower seeds or walnuts for added crunch and healthy fats. It’s an amazing texture contrast!
- Fruit Fusion: Mix in some diced mango or pineapple for a sweet touch that perfectly balances the richness of the avocado.
If you’re looking for more refreshing salad ideas, check out this Chicken Salad with Apples for a delightful fruit twist or our Grilled Balsamic Steak Salad for a hearty option! Enjoy experimenting!
What to Serve with Workout Egg Avocado Salad
Crafting the perfect meal alongside this vibrant salad can enhance your dining experience and bring a delightful balance of flavors and textures to your table.
-
Whole Grain Toast: A slice of toasted whole grain bread provides a hearty base that complements the creamy salad while adding fiber to keep you satisfied longer.
-
Crispy Sweet Potato Fries: These naturally sweet and crispy fries offer a satisfying crunch and a bit of sweetness that pairs wonderfully with the protein-rich salad.
-
Zesty Cucumber Salad: Light and refreshing, a cucumber salad with lime and mint adds a cool contrast, enhancing the flavors of the avocado while keeping it light.
-
Quinoa Pilaf: An earthy quinoa pilaf with herbs can elevate your meal, providing additional protein and a nutty flavor that complements the richness of the egg and avocado.
-
Grilled Veggie Skewers: Colorful skewers of grilled bell peppers and zucchini bring a smoky flavor that enhances the salad's freshness and makes a beautiful presentation.
-
Lemonade or Herbal Iced Tea: A refreshing drink like lemonade or iced herbal tea can cleanse the palate, offering a sweet and tangy contrast to the savory profile of the salad.
-
Fresh Fruit Bowl: A light fruit bowl with seasonal berries or citrus not only adds a refreshing touch but also serves as a perfect finish to your meal, brightening your day.
Make Ahead Options
Preparing your Workout Egg Avocado Salad ahead of time is a fantastic way to save precious minutes during your busy week! You can hard-boil the eggs and store them in the refrigerator for up to 7 days. Simply mash the ripe avocados and mix them with lime juice to prevent browning, refrigerating this mixture up to 24 hours in advance. Additionally, you can chop the veggies (red onion, tomatoes, cilantro) and store them in an airtight container for up to 3 days. When it's time to serve, just combine everything, fold in the chopped eggs, and season as desired. This way, your salad stays fresh and delicious with minimal effort, perfect for quick meal prep!
How to Store and Freeze Workout Egg Avocado Salad
Fridge: Store any leftovers in an airtight container for up to 2 days. Keep in mind that the avocado may brown over time, so consume soon for the best flavor.
Freezer: We recommend not freezing this salad as the texture of the avocado and eggs can be affected. Fresh ingredients work best in this protein-rich dish.
Reheating: If you've added any warm ingredients like quinoa, you can gently reheat them in the microwave but avoid reheating the entire salad to maintain texture and flavor.
Serving Suggestion: Enjoy your Workout Egg Avocado Salad fresh for a delightful meal; it’s best served shortly after preparation for the ultimate taste and texture experience!
Expert Tips for Workout Egg Avocado Salad
- Timely Boiling: Use a timer for cooking eggs; overcooking can lead to a greenish yolk. Aim for 10–12 minutes for perfect results.
- Mash Well: For a creamier texture, mash avocados thoroughly before mixing them with other ingredients. This enhances the overall mouthfeel of your salad.
- Watch the Lime: Add lime juice gradually—if you prefer a milder flavor, start with less and adjust to your taste. It complements the avocado beautifully in this Workout Egg Avocado Salad.
- Freshness Matters: Enjoy your salad fresh! Though it keeps for 1-2 days in the fridge, consume it soon for optimal flavor and prevent avocado browning.
- Customize Spices: Feel free to substitute red pepper flakes with diced jalapeños for an extra kick; customize the heat to suit your palate.
Workout Egg Avocado Salad Recipe FAQs
How do I choose ripe avocados for this salad?
Absolutely! When selecting avocados, look for fruits that yield slightly to gentle pressure. The skin should be dark green to black, indicating ripeness. If the avocados are hard, set them aside at room temperature for a couple of days until they soften.
How long can I store leftovers of the salad?
Very! You can store your Workout Egg Avocado Salad in an airtight container in the refrigerator for up to 2 days. Just remember that the avocado will start to brown over time, so it's best to enjoy it fresh for peak flavor.
Can I freeze the salad for later use?
Unfortunately, I recommend against freezing this salad. Freezing can significantly alter the texture of both the avocado and the eggs, resulting in a watery mess. Enjoy it fresh for the best taste and experience!
What if my boiled eggs are overcooked?
No worries! If you accidentally overcook your eggs and notice a greenish ring around the yolk, don’t fret—it's safe to eat! To achieve perfect hard-boiled eggs, try cooking them for 10-12 minutes and immediately placing them in cold water to halt the cooking.
Is this salad suitable for people with egg allergies?
Certainly! If you have an egg allergy, you can substitute the large eggs with extra-firm tofu, which provides a similar texture and adds protein. Another option is using chickpeas, which can create a hearty base while keeping your salad delicious.
Can I add more vegetables to the salad?
Absolutely! The more the merrier! You can include chopped bell peppers, cucumbers, or even leafy greens like spinach. This not only boosts the nutrient content but also adds delightful crunch and flavors to your Workout Egg Avocado Salad!
Energizing Workout Egg Avocado Salad for Simple Nourishment
Ingredients
Equipment
Method
- Place large eggs gently into a pot and fill it with enough water to cover them by at least an inch. Bring the water to a rolling boil, then cover the pot and remove it from heat. Let the eggs sit in the hot water for 10–12 minutes.
- While the eggs are cooking, slice ripe avocados in half and scoop the flesh into a mixing bowl, mashing with a fork and leaving some chunks for texture.
- Chop the red onion, halve the cherry tomatoes, and roughly chop the fresh cilantro. Add to the mashed avocado with lime juice and olive oil. Mix gently.
- Transfer eggs to a bowl of ice water and cool for about 5 minutes before peeling.
- Peel the eggs and chop into bite-sized pieces. Fold into the salad mixture gently.
- Season the salad with salt, pepper, and red pepper flakes, stirring to coat the ingredients.
- Taste and adjust seasonings according to your preference.