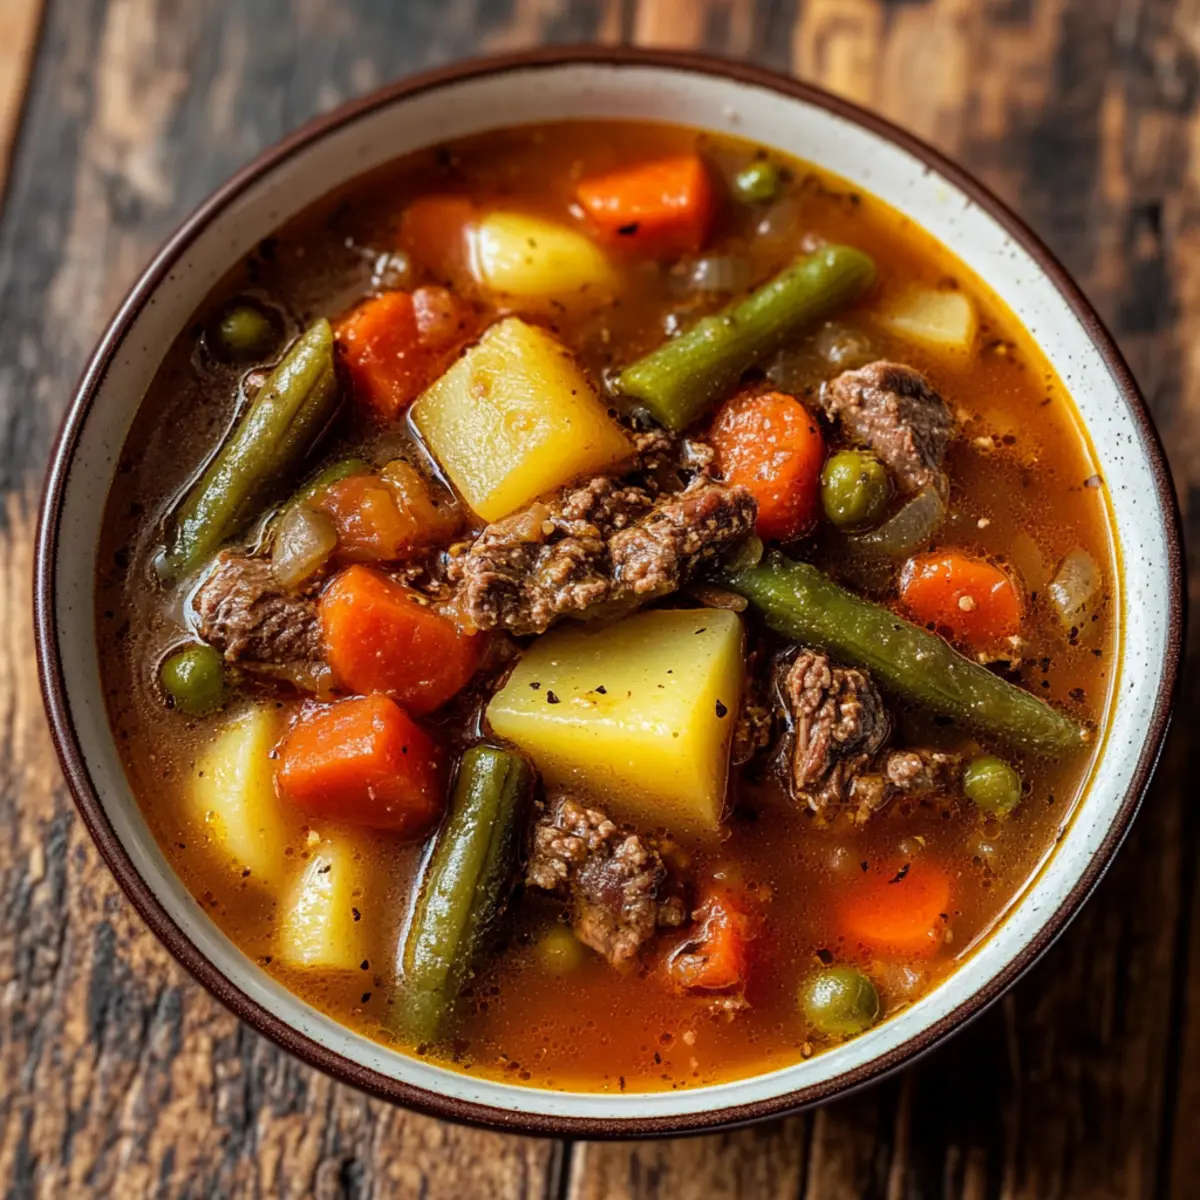
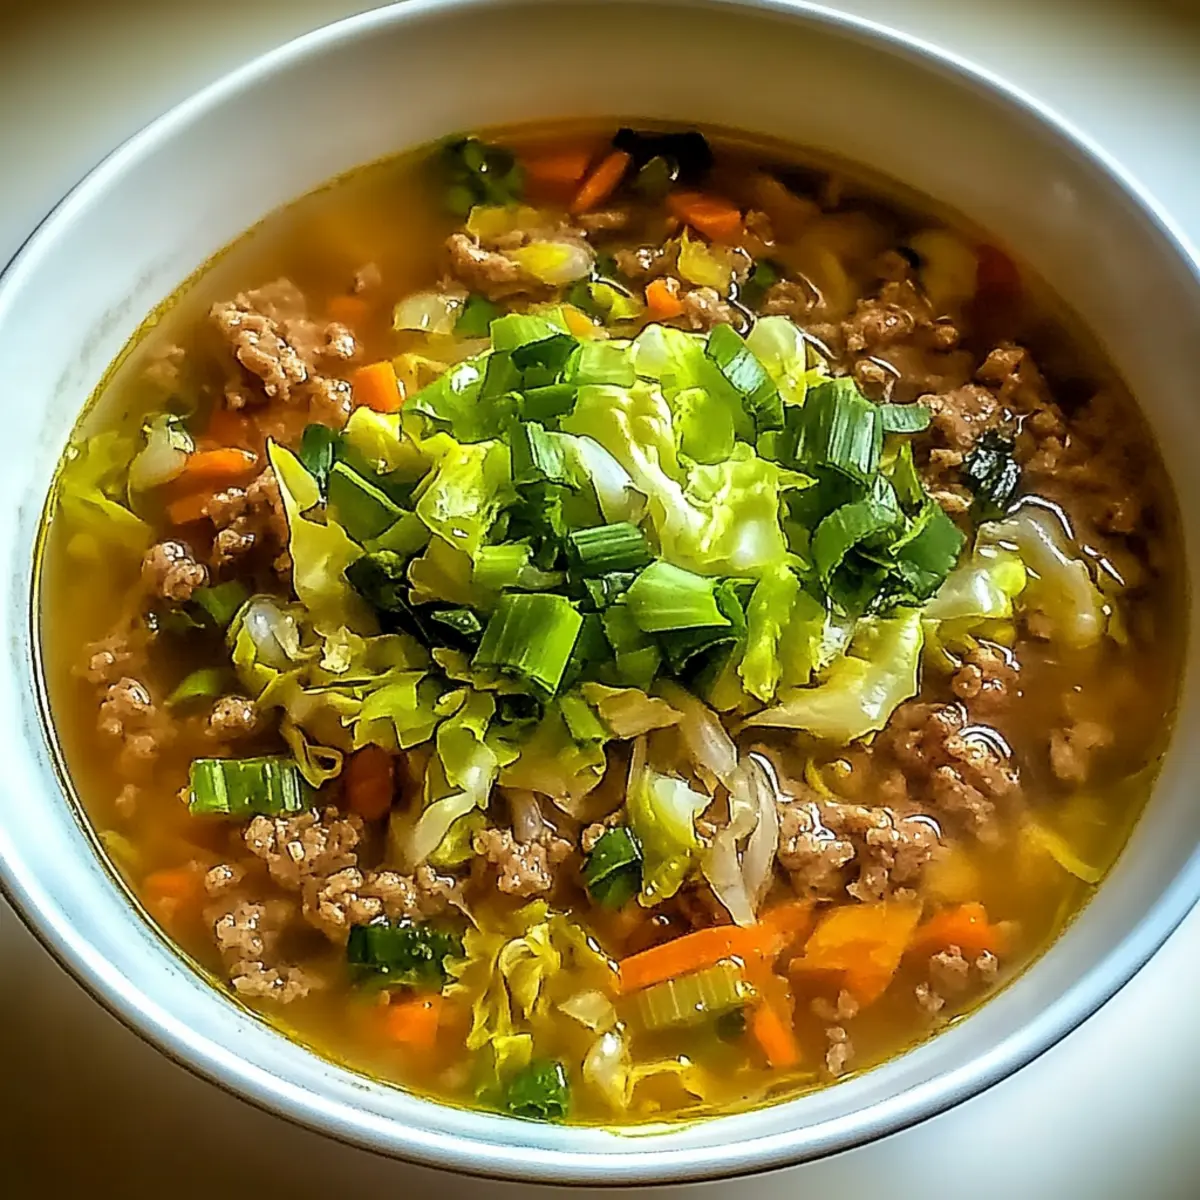
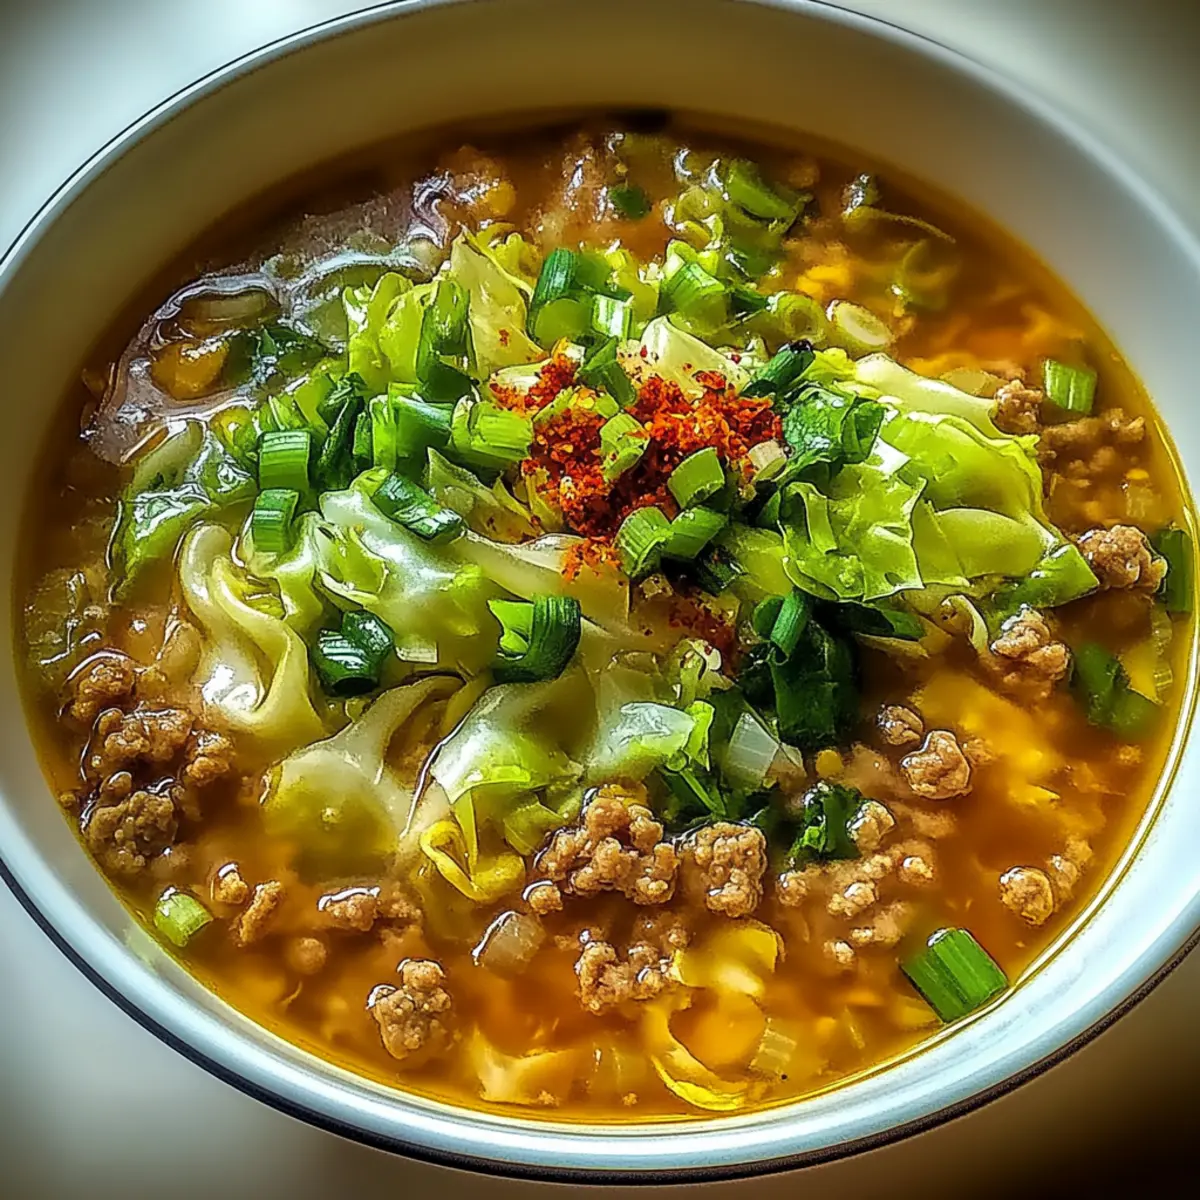
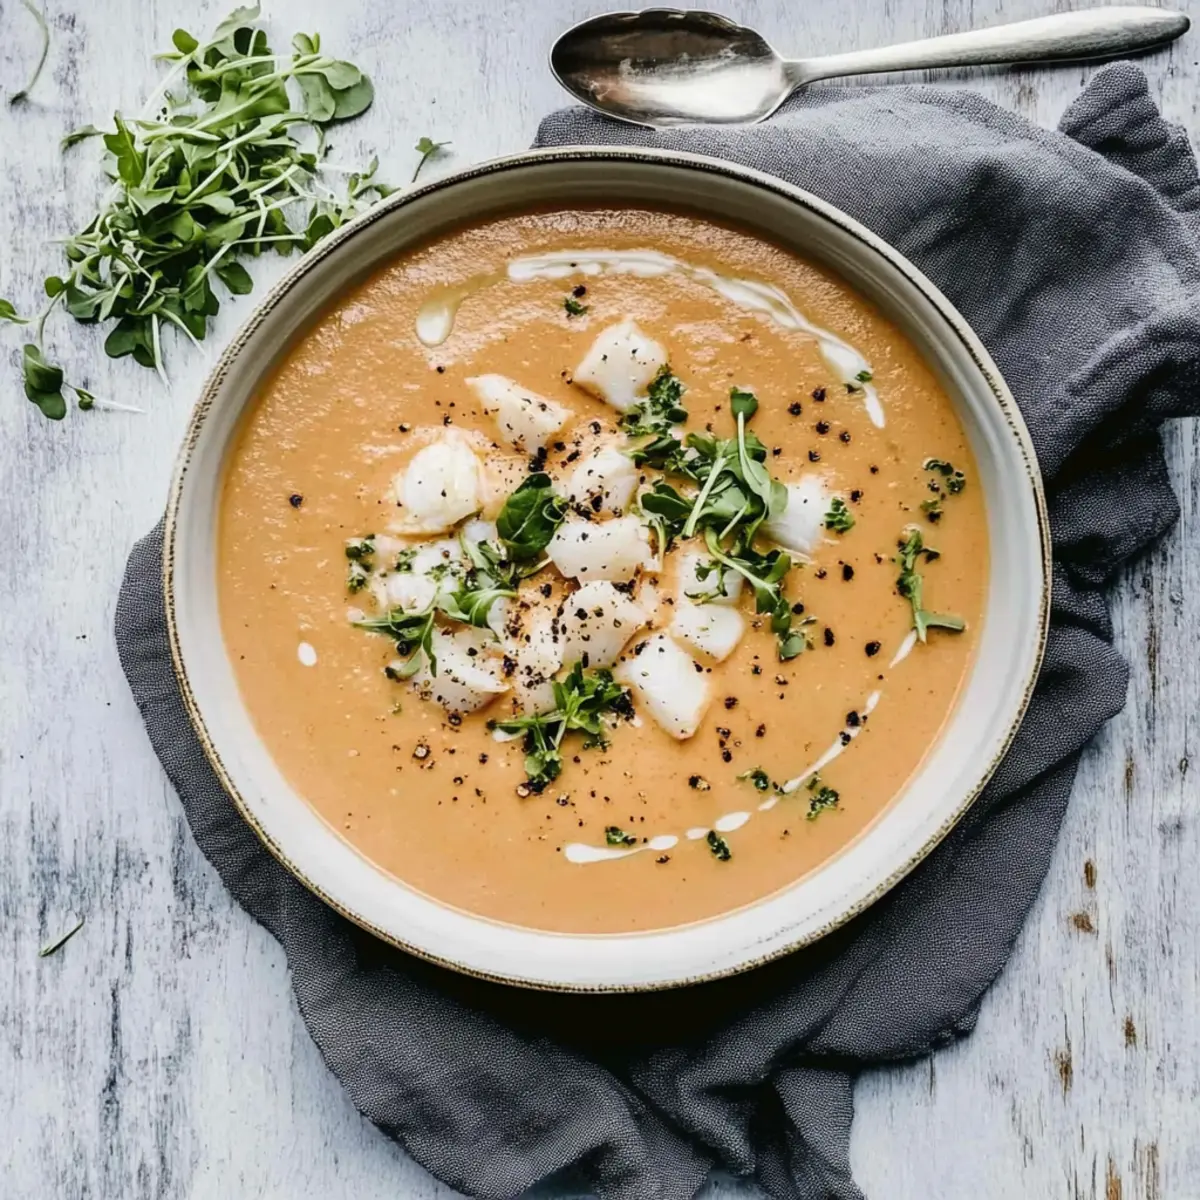
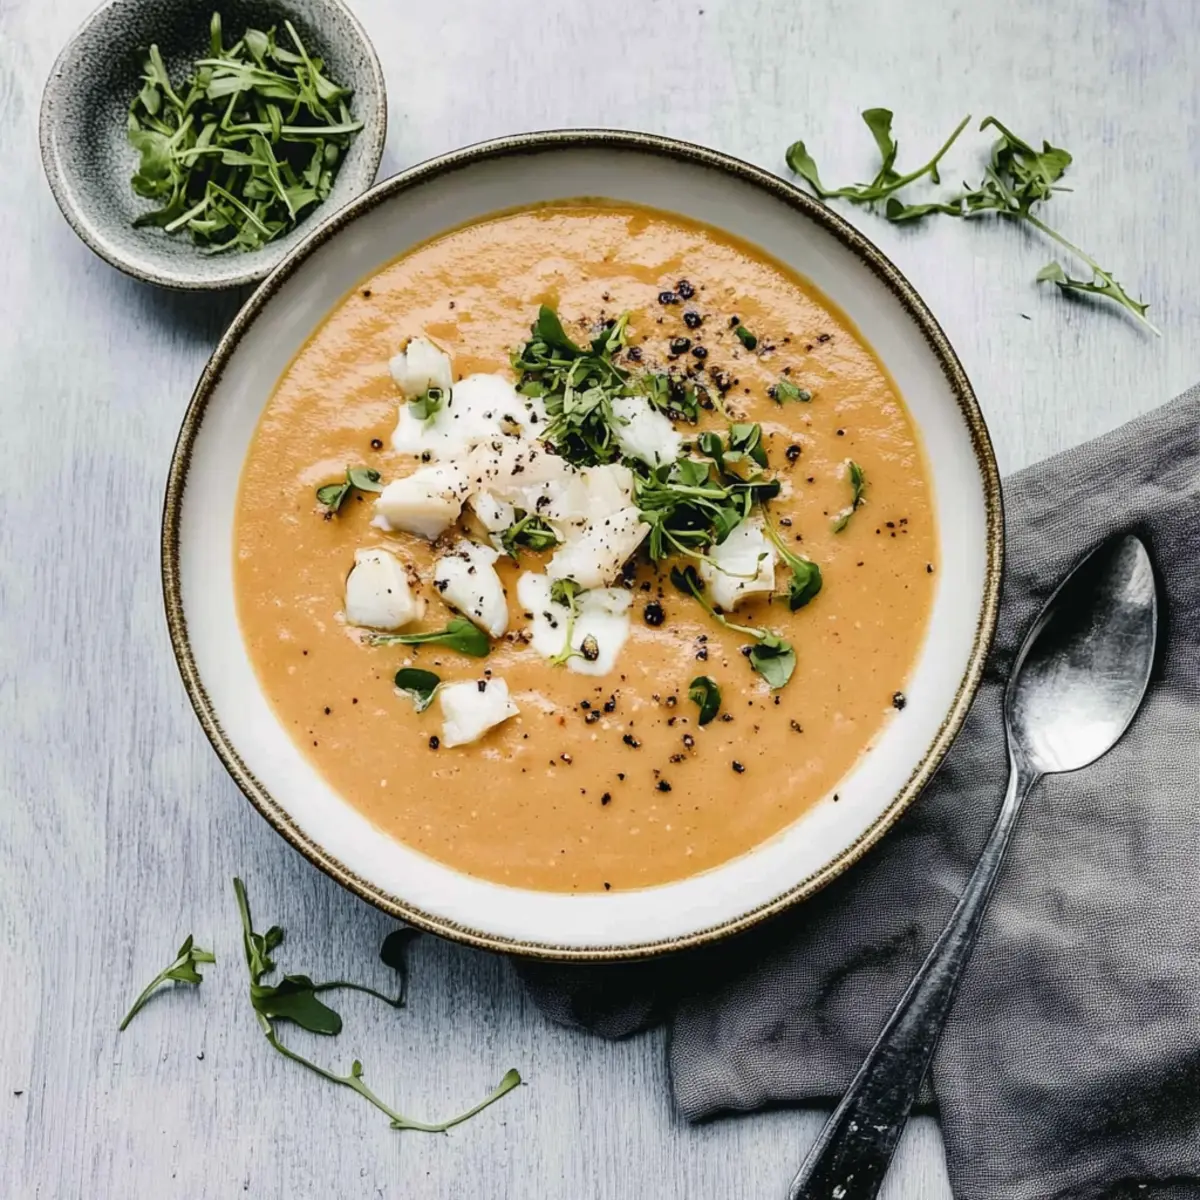
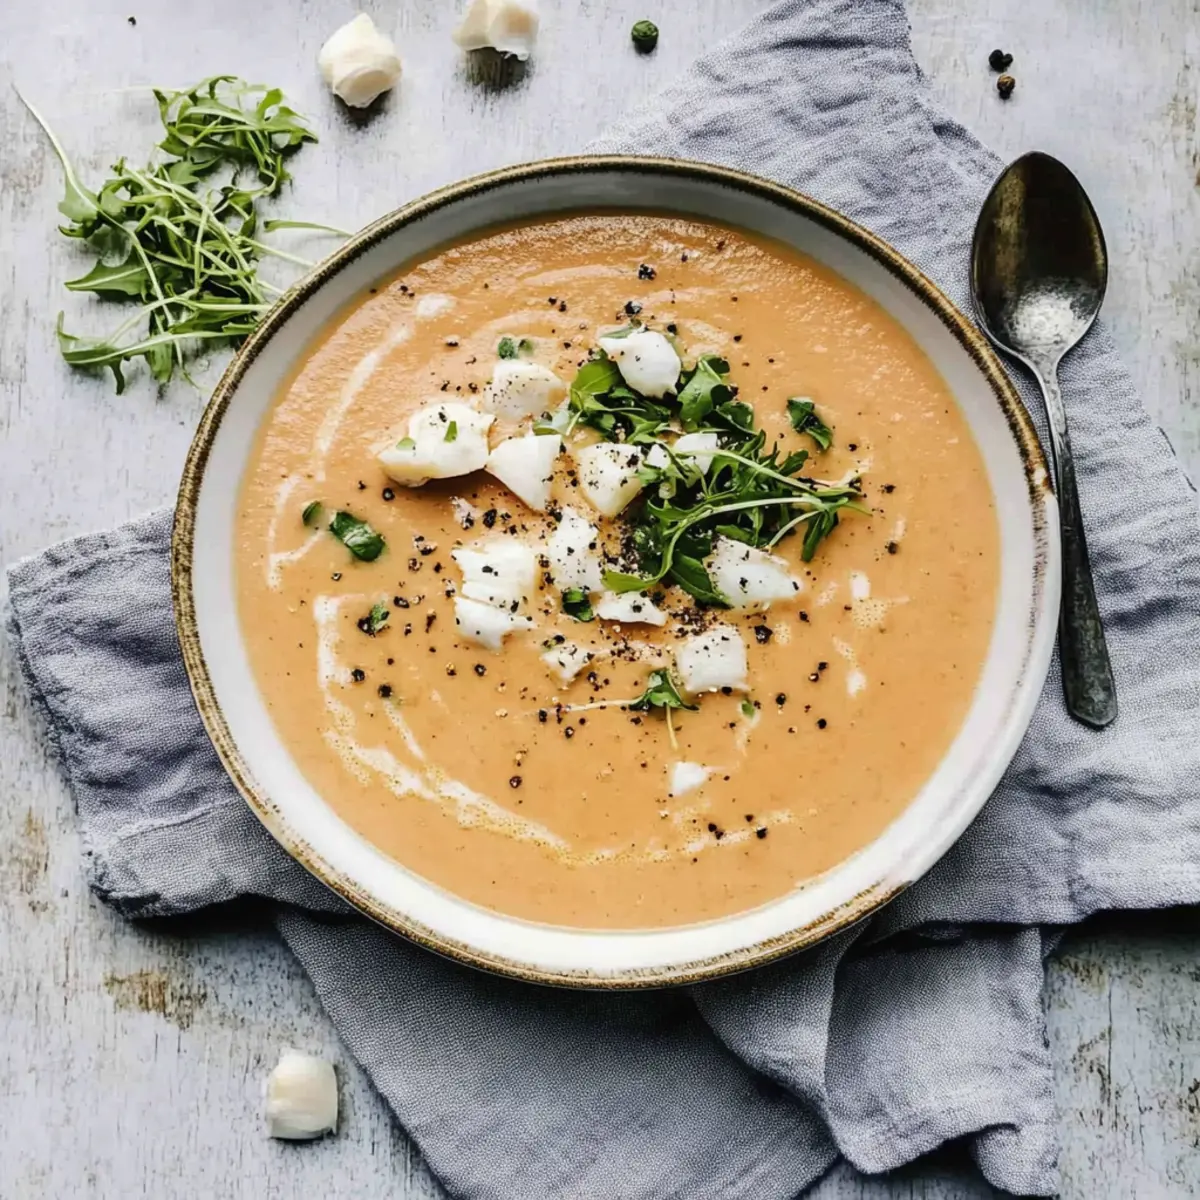
While sipping a warm cup of tea on a chilly day, I found myself craving comfort in a bowl. That’s when I decided to whip up a classic Borscht Soup with Beef, a heartfelt dish that never fails to wrap me in warmth. This vibrant beetroot soup is not only rich in flavors but also a feast for the eyes, making it a true favorite in my kitchen. What sets this recipe apart is its quick prep time and its ability to nourish both the body and soul, perfect for those of us who are tired of fast food but still want something cozy and satisfying. Plus, it’s a fantastic option for meal prep or sharing with loved ones. Are you ready to dive into a symphony of textures and tastes that will transport you right to Eastern Europe?
Why is Borscht Soup a Must-Try?
Comforting and Nourishing: Nothing beats the soothing goodness of warm Borscht Soup, especially on a cold day.
Vibrant Flavors: The combination of earthy beets, tender beef, and zesty citrus creates a delightful taste explosion.
Quick Preparation: With efficient prep time, this soup fits perfectly into your busy schedule while delivering homemade comfort.
Versatile Meal: Serve it as an appetizer, main dish, or even as part of a cozy dinner spread alongside a warm loaf of bread.
Meal Prep Friendly: Ideal for batch cooking, you can enjoy it throughout the week—just like my Lemon Chicken Soup or hearty Zuppa Toscana Soup!
Crowd-Pleasing Delight: With its stunning color and rich flavors, it’s sure to impress family and friends at your next gathering.
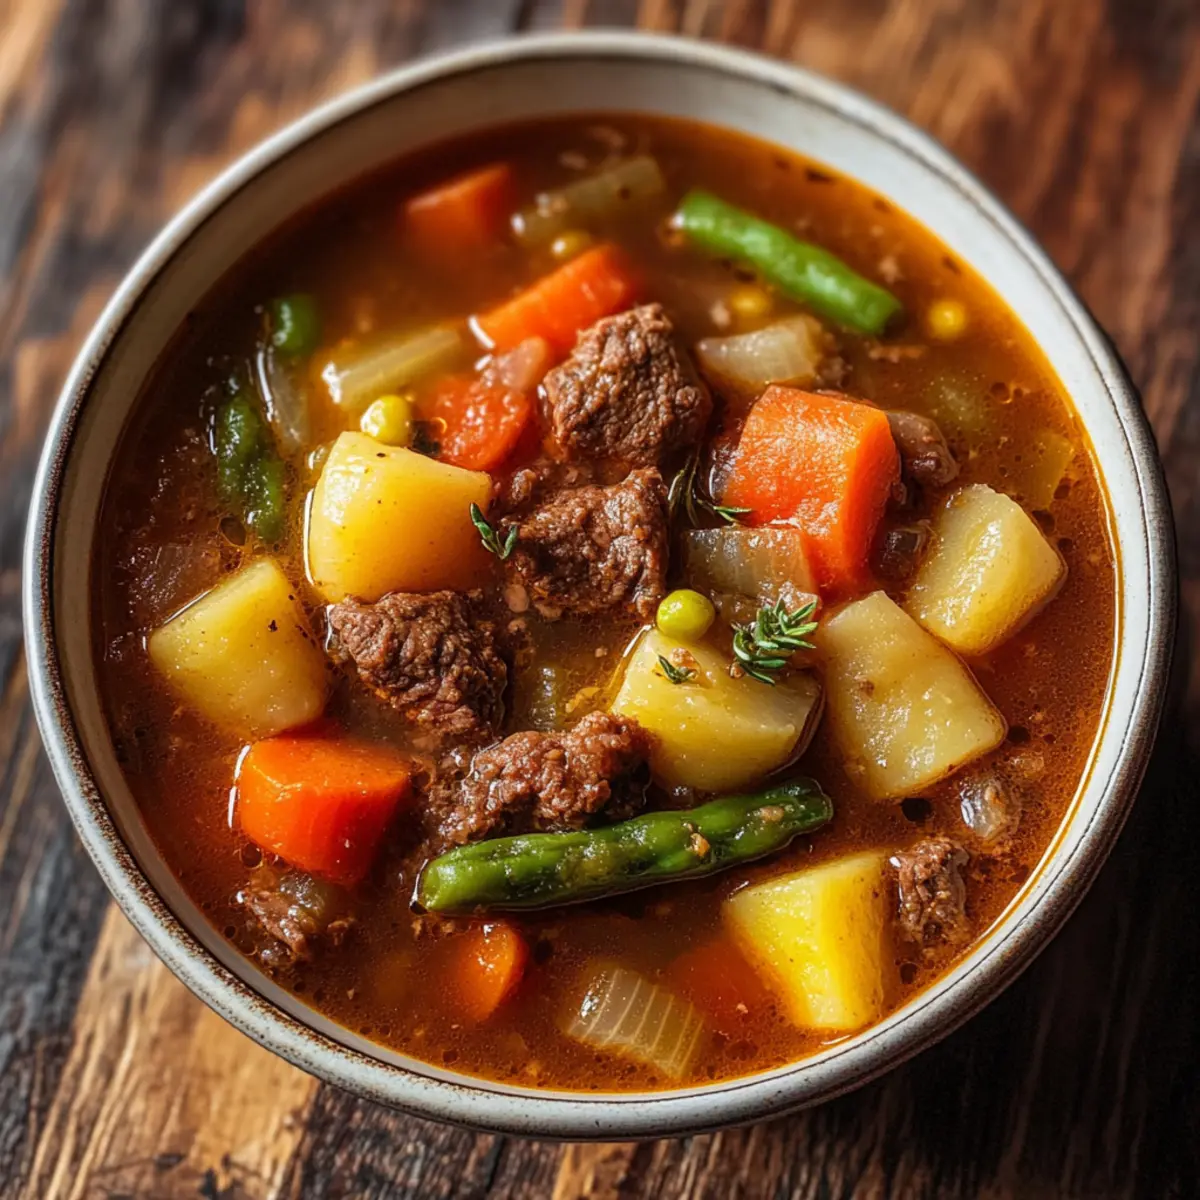
Borscht Soup with Beef Ingredients
For the Soup
• Beef Chuck or Brisket – this cuts beautifully tender when simmered and adds depth to your Borscht soup with beef.
• Beets – the star of the show, these vibrant roots bring sweetness and color to your comforting bowl.
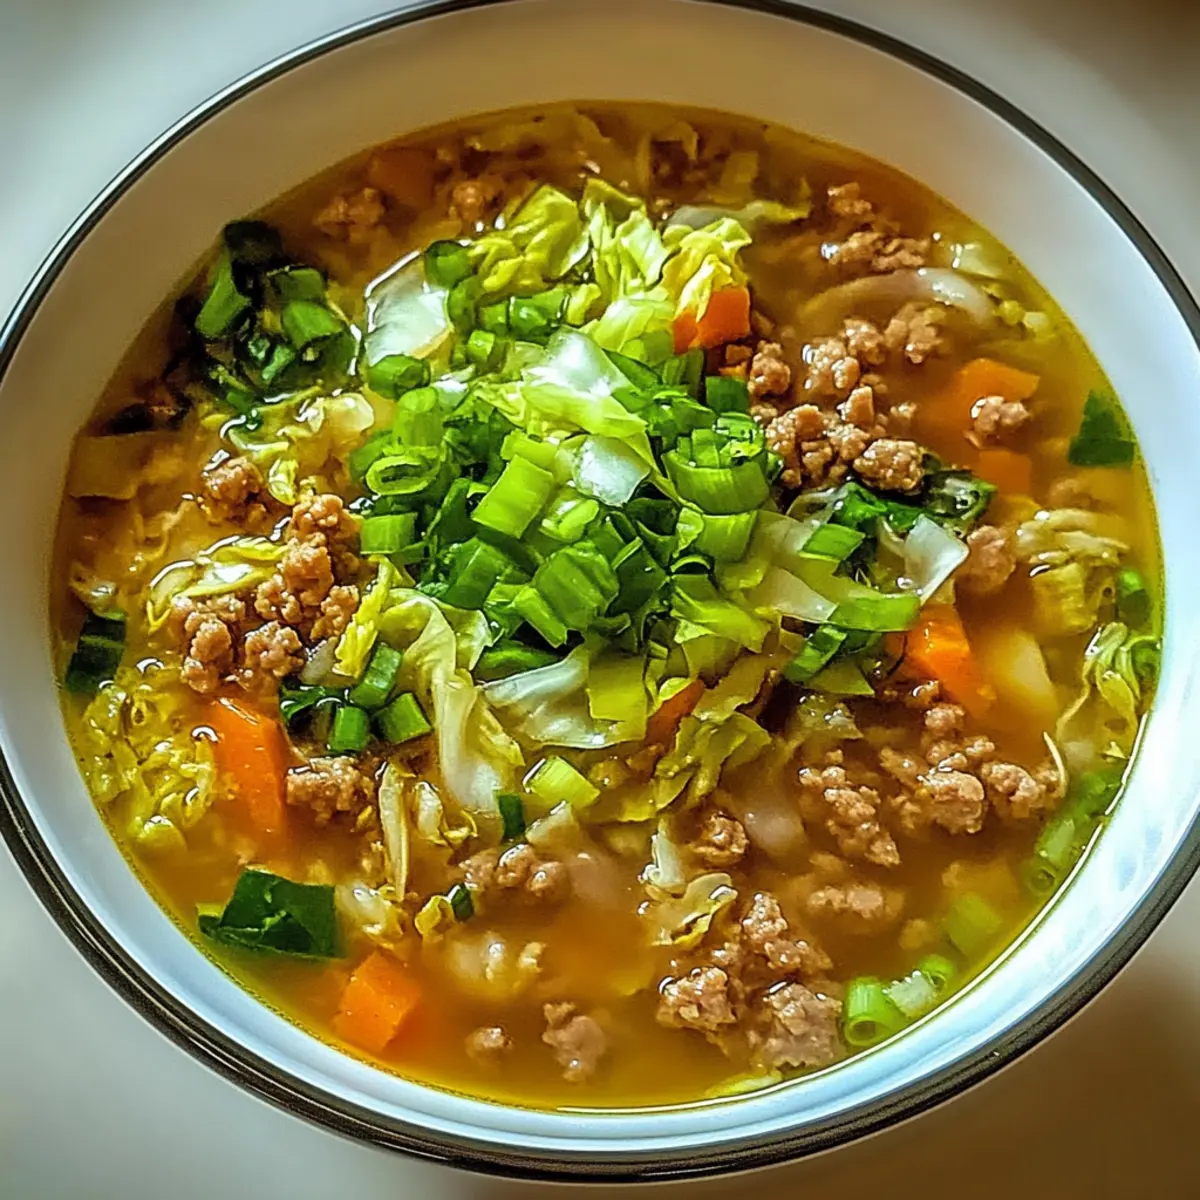
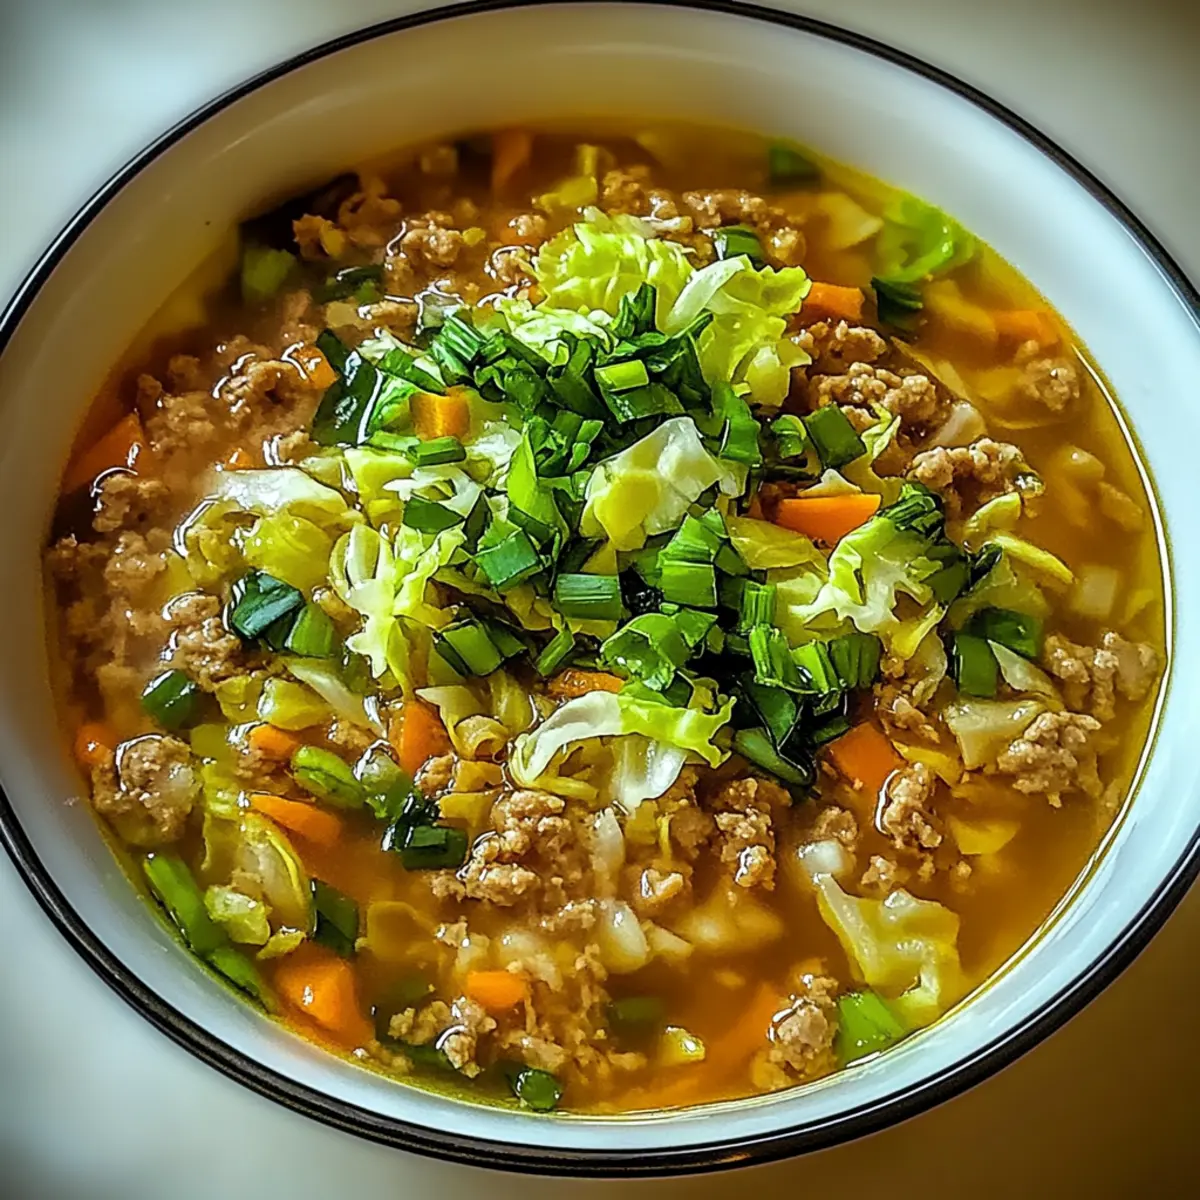
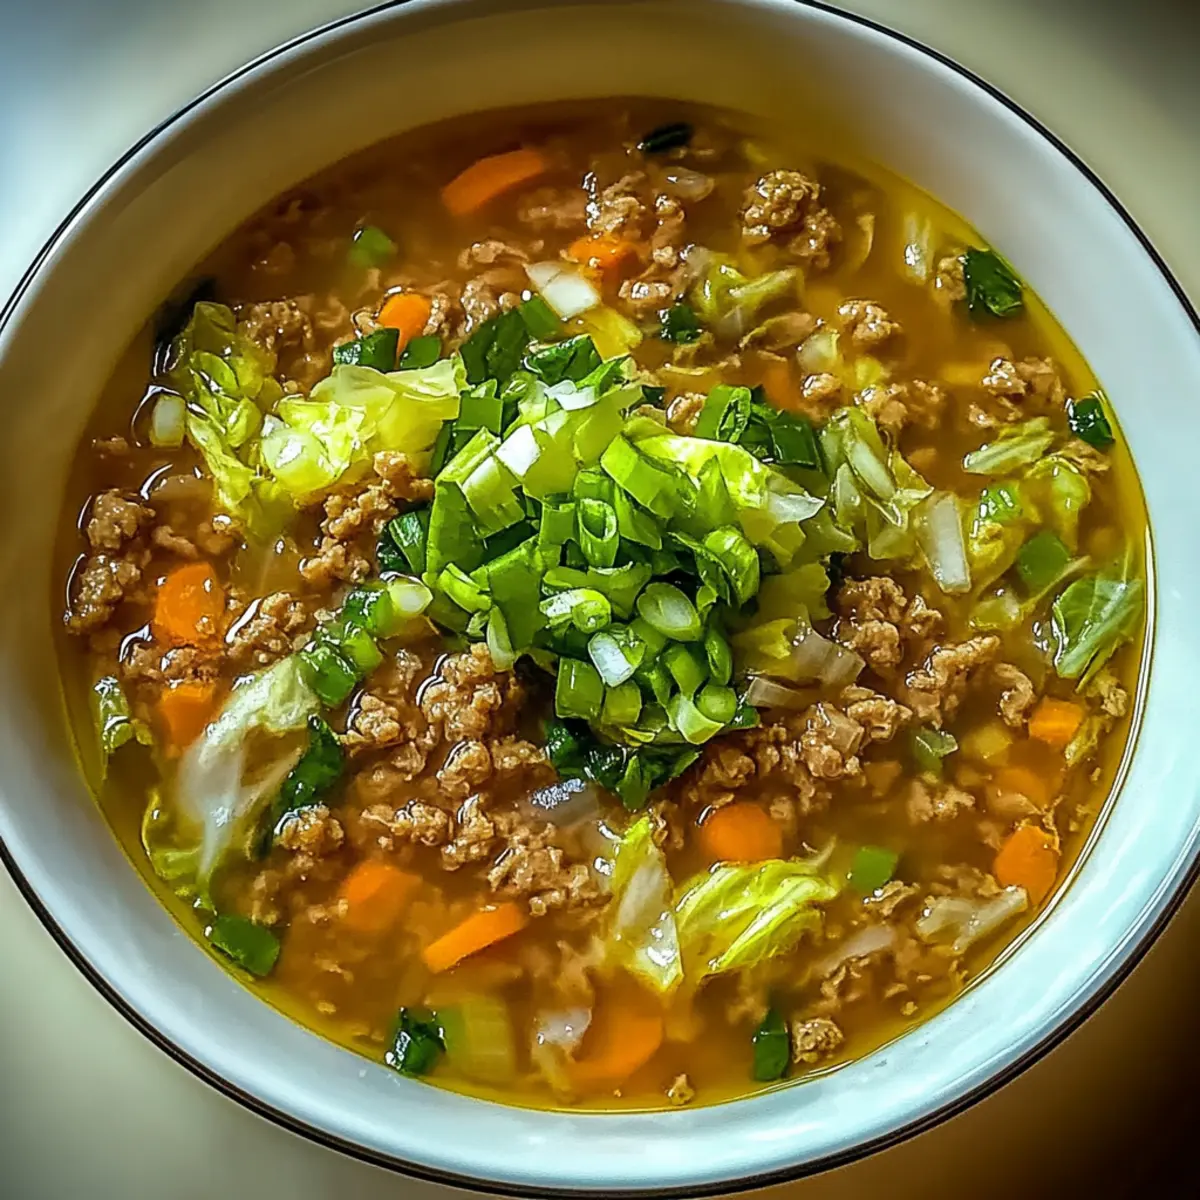
• Cabbage – adds a crunchy texture that balances the soup’s richness while enhancing the nutritional profile.
• Carrots – their natural sweetness complements the earthiness of the beets wonderfully.
• Onion – a must for a flavor base, sautéing it brings out a lovely sweetness and aroma.
• Garlic – infuses the soup with warmth, making every spoonful feel cozy.
• Vegetable or Beef Broth – choose high-quality broth for a deeper, richer flavor experience.
• Tomato Paste – intensifies the soup’s flavor with a slight acidity that balances sweetness.
• Bay Leaves – these aromatic leaves add a subtle depth, enhancing the overall taste.
• Salt and Pepper – essential for balancing flavors; adjust to your preference.
For the Garnish
• Sour Cream – adds a luxurious creaminess and tang that beautifully contrasts the soup’s sweetness.
• Fresh Dill – a sprinkle of this herb adds brightness and freshness to each bowl.
• Lemon Wedge – squeeze a little before serving for a zesty finish that elevates the flavors!
With these ingredients, you’ll create a Borscht Soup with Beef that's a true reflection of comfort and love!
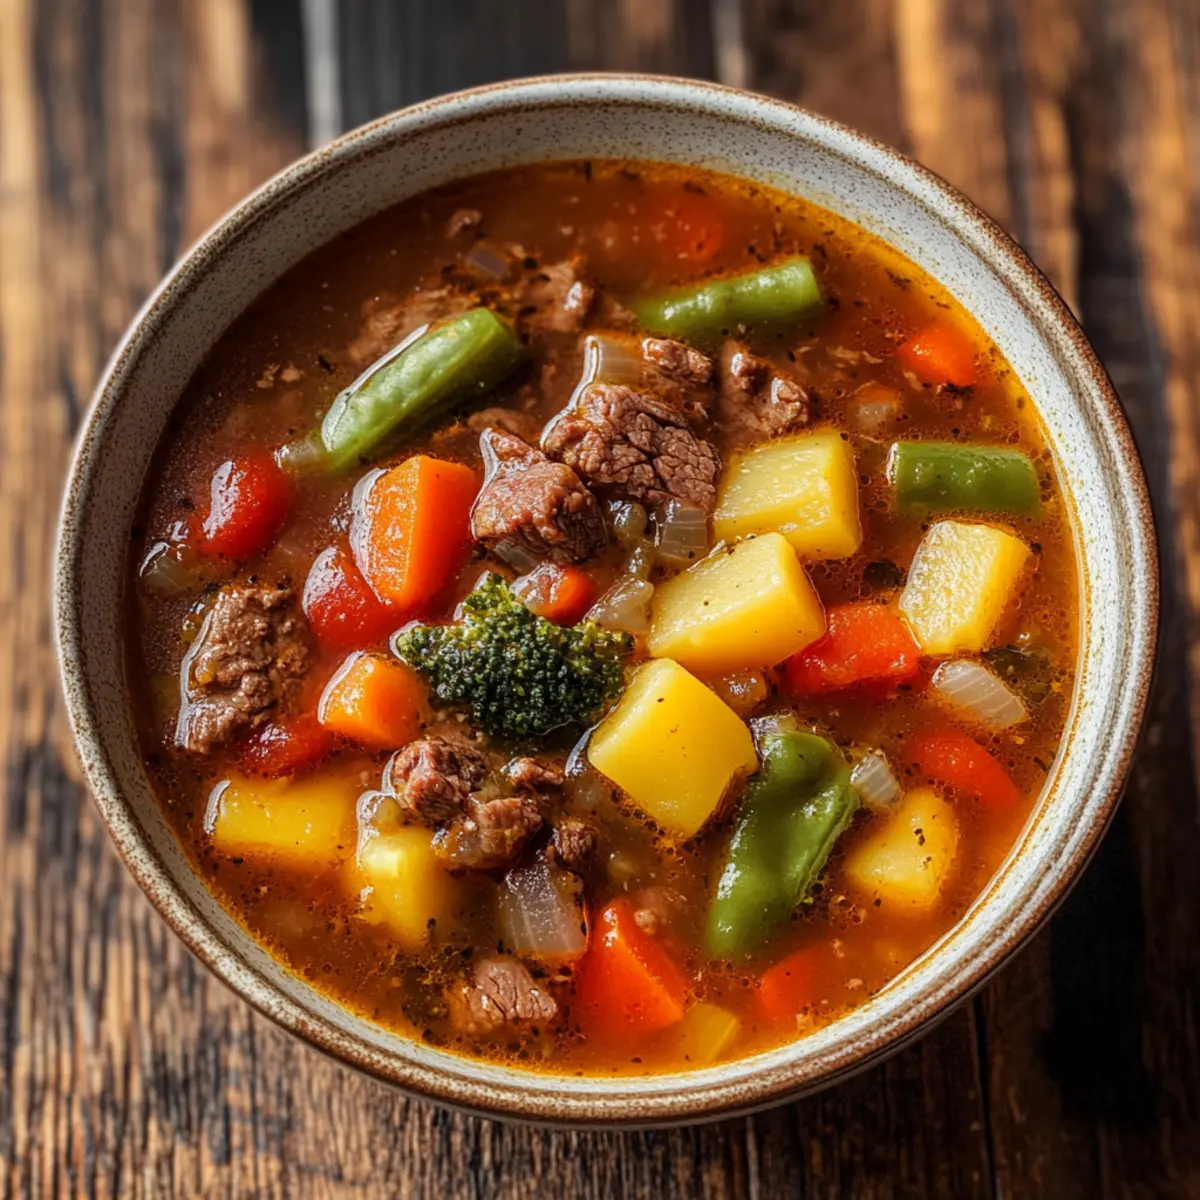
Step‑by‑Step Instructions for Borscht Soup with Beef
Step 1: Make the Broth
Begin by searing the beef short ribs in a large skillet over high heat for about 5 minutes per side, until they develop a rich, golden crust. Once seared, transfer the ribs to a large pot, add 16 cups of water, and bring to a vigorous boil. Reduce the heat and let it simmer on medium-low for approximately 2 hours, or until the meat is fork-tender.
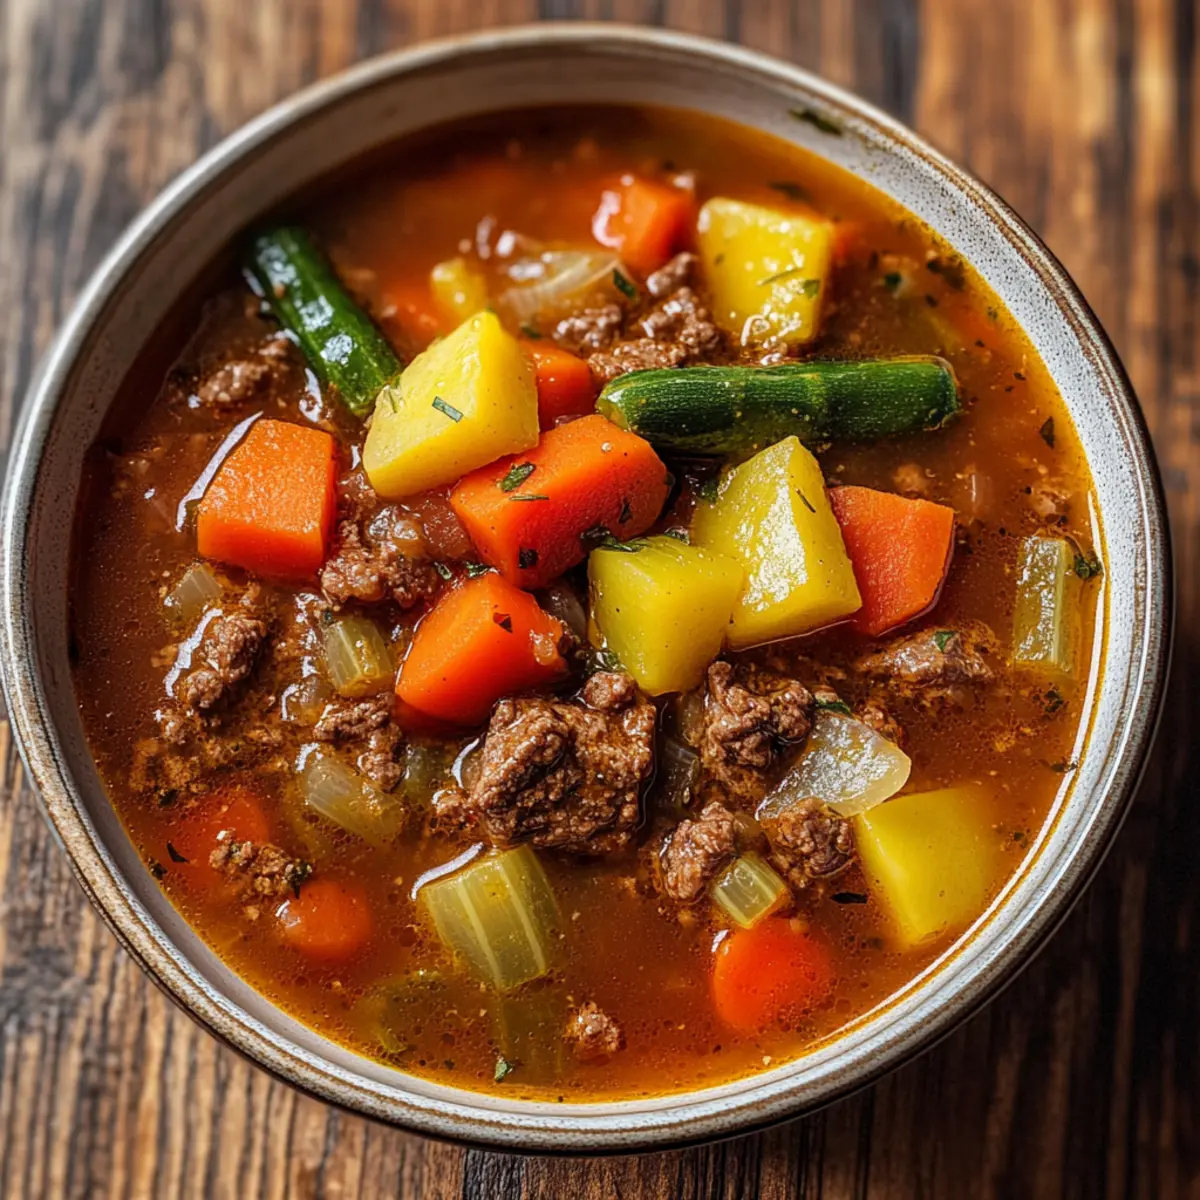
Step 2: Prepare Vegetables
While the broth simmers, chop the onion and grate the carrots and beets. In the same skillet used for the ribs, add the leftover beef fat and sauté the chopped onion over medium heat for 10 to 15 minutes, or until golden and fragrant. Next, stir in the grated carrots and beets, cooking for an additional 10 minutes until the vegetables soften beautifully.
Step 3: Combine Ingredients
Stir in the tomato paste, salt, and sugar into the sautéed vegetable mixture, enhancing the flavors as you cook for an extra 10 minutes. When the beef in your pot is tender, add diced potatoes and shredded cabbage to the broth, letting them cook for 15 to 20 minutes until the potatoes are soft and the soup becomes hearty.
Step 4: Finish the Soup
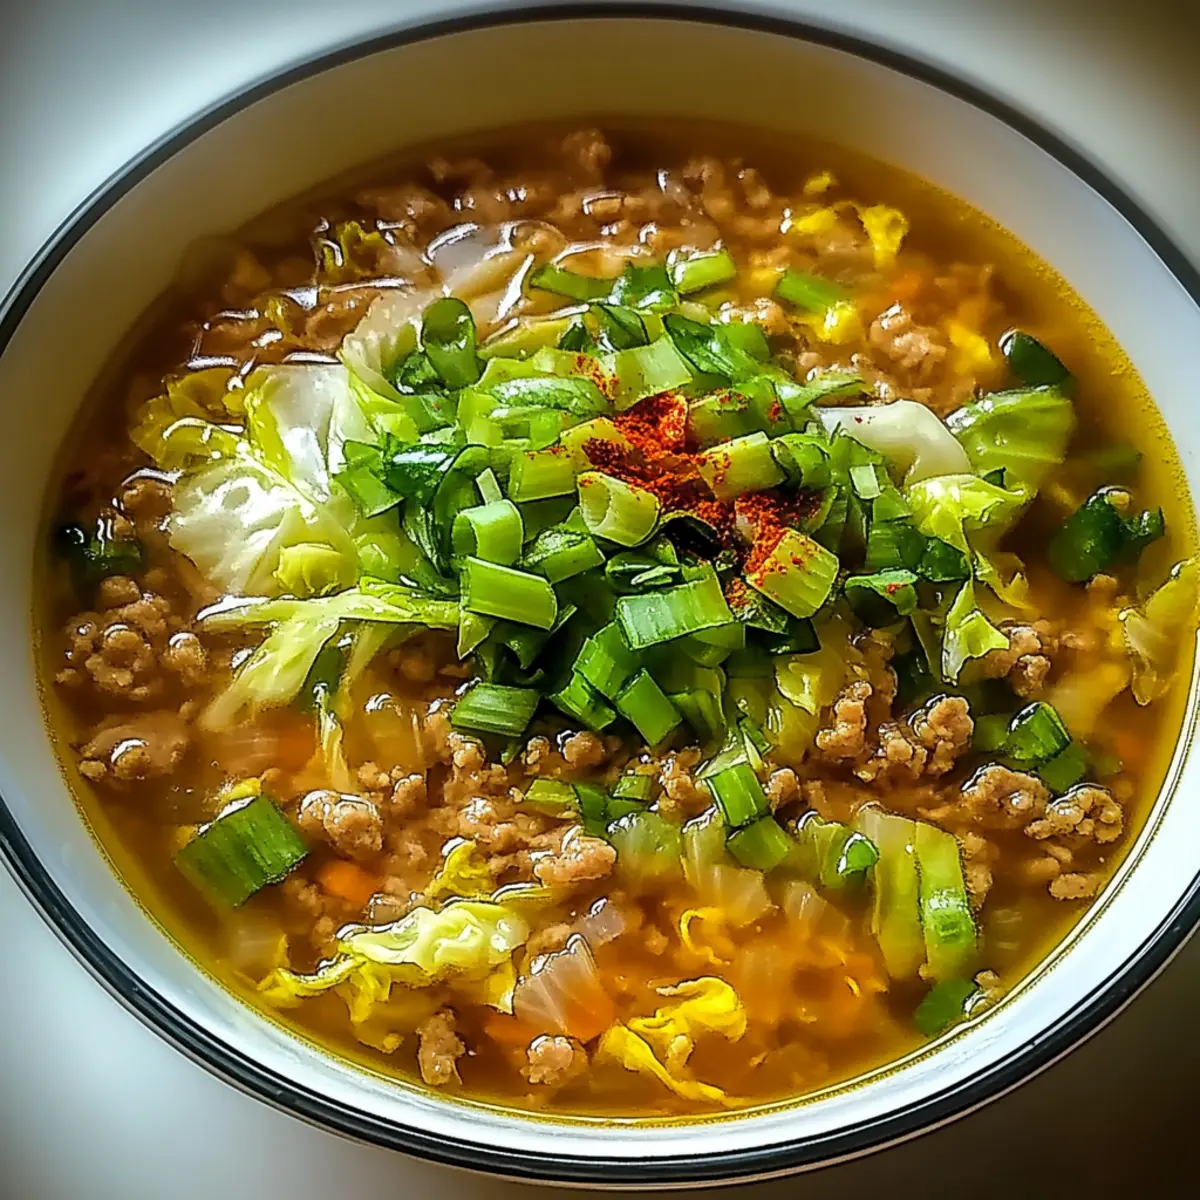
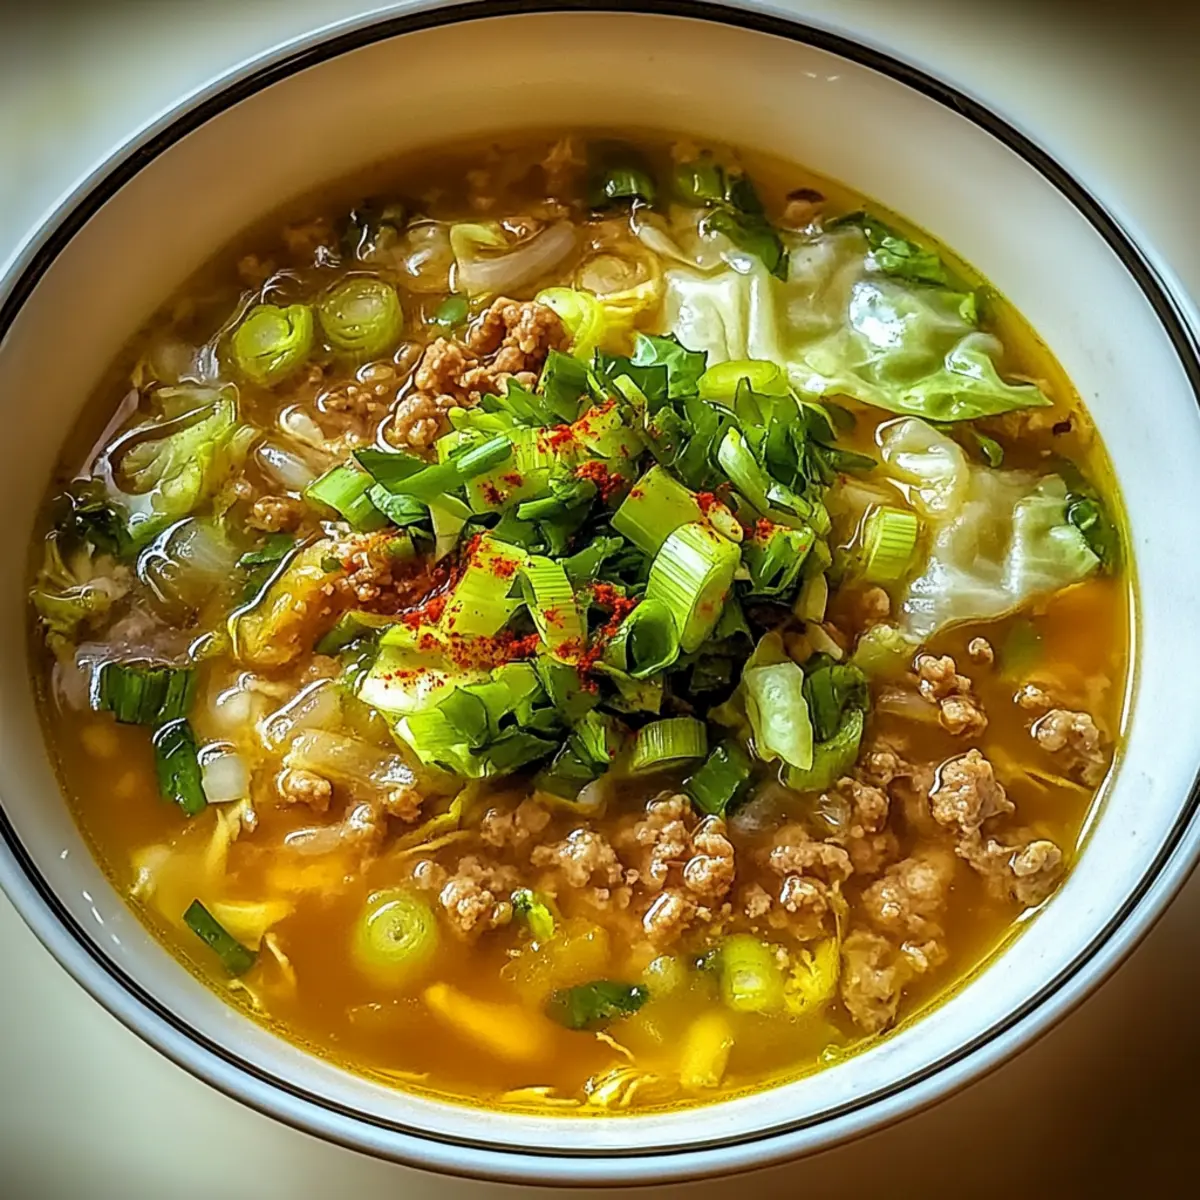
Combine the sautéed vegetable mixture with the simmering broth, stirring gently to mix the flavors. Carefully remove the beef short ribs, shred the meat, and return it to the pot, letting everything thicken together. Allow the soup to sit off the heat for about 10 to 15 minutes before serving, giving the flavors a chance to meld perfectly.
Storage Tips for Borscht Soup with Beef
Fridge: Store your Borscht Soup with Beef in an airtight container in the refrigerator for up to 5 days. This allows the flavors to deepen, making it even more delicious!
Freezer: For longer storage, freeze the soup in portioned containers for up to 2 months. Make sure to leave some space at the top for expansion as it freezes.
Reheating: To reheat, place the frozen soup in the refrigerator overnight to thaw, then warm it gently on the stove over low heat, stirring occasionally.
Refrigerate Leftovers: If you have leftovers, they can be refrigerated but consume them within 3 days for the best taste and freshness.
Make Ahead Options
These Beef Borscht Soup options are perfect for those who want to enjoy home-cooked goodness without the last-minute rush! You can chop the vegetables (onion, carrots, beets, and potatoes) and store them in an airtight container in the refrigerator up to 3 days before cooking. Additionally, the broth can be prepared up to 24 hours ahead; simply make it, let it cool, and refrigerate. When you're ready to serve, heat the broth, sauté the vegetables, and add them to the pot. To ensure the soup remains just as delicious, avoid adding the sour cream until serving. Embrace these make-ahead steps to delight in a comforting Borscht Soup with Beef on busy evenings!
Borscht Soup with Beef Variations
Feel free to make this vibrant Borscht Soup with Beef your own by trying out these delightful variations!
- Vegetarian Delight: Replace beef with cooked lentils or chickpeas and use vegetable broth for a savory twist.
- Tangy Addition: Stir in fresh sauerkraut for a burst of acidity that complements the soup's sweetness beautifully.
- Sweet Twist: Experiment with golden beets for a sweeter flavor and a less earthy taste, perfect if you're a beet novice.
- Herb Swap: Substitute dill for fresh thyme, adding a unique aroma that pairs delightfully with the soup.
- Creamy Alternative: For a dairy-free version, omit sour cream or try coconut cream for a luscious finish.
- Heat Factor: Add a pinch of cayenne pepper or red pepper flakes to infuse a gentle warmth into your Borscht.
- Texture Boost: Top with crispy fried onions for an added crunch that contrasts with the soup's softness.
- Bold Citrus: Squeeze a little lemon juice over the soup before serving for a refreshing burst of citrus that brightens the dish.
Whether you're in the mood for a cozy meal or want to explore different flavor profiles, these ideas can help tailor the classic Borscht to your taste. Plus, if you're looking for a different comforting soup, why not check out my Asparagus Soup Healthy or my hearty Santa Fe Soup Savory?
Tips for the Best Borscht Soup
-
Sear for Flavor: Searing the beef and vegetables is crucial for creating a rich flavor base in your Borscht Soup with Beef—don't skip this step!
-
Let it Rest: Allow your soup to sit off the heat before serving. This helps the flavors meld beautifully, enhancing overall taste.
-
Storage Savvy: Store leftovers in the refrigerator for up to 5 days or freeze for 2 months; soups often taste even better the next day!
-
Cut Evenly: Chop your vegetables into even pieces for consistent cooking; this ensures every bite is tender and delicious.
-
Beets Handling: Wear gloves when handling beets to prevent staining your hands—a simple trick to keep your kitchen clean!
-
Customize Wisely: Don’t hesitate to adjust ingredients according to your diet; Borscht Soup can be adapted for Whole 30 and dairy-free diets beautifully!
What to Serve with Borscht Soup with Beef
Bring your meal to life with tantalizing accompaniments that enhance the comforting essence of this hearty soup.
- Crusty Bread: A warm, rustic loaf is perfect for dipping, soaking up every drop of that rich, flavorful broth.
- Sour Cream & Dill Topping: A dollop of tangy sour cream with fresh dill balances the soup's earthiness, adding creaminess and flavor.
- Pickled Vegetables: A side of tart pickles or fermented vegetables brings a delightful crunch, cutting through the soup’s richness with zing.
- Roasted Potatoes: Crispy roasted potatoes provide a textural contrast and absorb all those comforting flavors from the soup wonderfully.
Pair your Borscht with a fresh salad for brightness. A simple mixed green salad dressed with lemon vinaigrette will refresh your palate and bring out the soup's depth.
- Citrusy Coleslaw: A crunchy coleslaw featuring citrus dressing offers a zestful crunch and pairs beautifully with the soup's warmth.
- Red Wine: A glass of light-bodied red wine, like Pinot Noir, complements the earthy flavors of beets and beef, enhancing the dining experience.
- Apple Pie: For dessert, a slice of warm apple pie brings a sweet touch to a hearty meal, rounding out your comforting feast.
These additions will embrace the spirit of the Borscht Soup with Beef and elevate your cozy dining experience!
Borscht Soup with Beef Recipe FAQs
What kind of beets should I use for Borscht Soup?
I recommend using traditional red beets for their vibrant color and sweetness, but you can also experiment with golden beets for a milder, sweeter flavor. Just remember to wear gloves when handling beets to avoid staining your hands!
How should I store leftovers of Borscht Soup with Beef?
Store your Borscht Soup with Beef in an airtight container in the refrigerator for up to 5 days. This allows the flavors to meld together nicely! If you have more soup than you can eat, you can freeze it for up to 2 months in portioned containers. Just leave some room for expansion as it freezes.
Can I freeze Borscht Soup with Beef?
Absolutely! To freeze Borscht Soup, ladle it into airtight containers, leaving some space for the soup to expand as it freezes. It can be stored for up to 2 months. When you're ready to enjoy it, simply transfer it to the refrigerator to thaw overnight and reheat it gently on the stovetop.
What if my Borscht Soup is too sweet?
If your Borscht Soup turns out sweeter than you'd like, a quick fix is to add a splash of vinegar or a squeeze of lemon juice to balance the sweetness. You can also increase the amount of salt slightly, which may help counteract the sweetness from the beets.
Is this Borscht Soup suitable for those with dietary restrictions?
Yes, indeed! This Borscht Soup with Beef can easily be adapted for Whole 30 and dairy-free diets. You can skip the sour cream and use vegetable broth instead of beef broth. Alternatively, for a vegetarian version, substitute beef with cooked lentils or chickpeas, and use vegetable broth to keep it hearty and satisfying.
How long does Borscht Soup stay fresh in the fridge?
Your Borscht Soup will stay fresh in the refrigerator for about 5 days. Soups often taste even better after a day or two, as the flavors continue to develop. Just be sure to store it in an airtight container for maximum freshness!
Heartwarming Borscht Soup with Beef to Brighten Your Day
Ingredients
Equipment
Method
- Begin by searing the beef short ribs in a large skillet over high heat for about 5 minutes per side, until they develop a rich, golden crust.
- Transfer the ribs to a large pot, add 16 cups of water, and bring to a vigorous boil. Reduce the heat and let it simmer on medium-low for approximately 2 hours, or until the meat is fork-tender.
- While the broth simmers, chop the onion and grate the carrots and beets. In the same skillet used for the ribs, add the leftover beef fat and sauté the chopped onion over medium heat for 10 to 15 minutes, or until golden and fragrant.
- Next, stir in the grated carrots and beets, cooking for an additional 10 minutes until the vegetables soften beautifully.
- Stir in the tomato paste, salt, and sugar into the sautéed vegetable mixture, enhancing the flavors as you cook for an extra 10 minutes.
- When the beef in your pot is tender, add diced potatoes and shredded cabbage to the broth, letting them cook for 15 to 20 minutes until the potatoes are soft and the soup becomes hearty.
- Combine the sautéed vegetable mixture with the simmering broth, stirring gently to mix the flavors.
- Carefully remove the beef short ribs, shred the meat, and return it to the pot, letting everything thicken together.
- Allow the soup to sit off the heat for about 10 to 15 minutes before serving, giving the flavors a chance to meld perfectly.