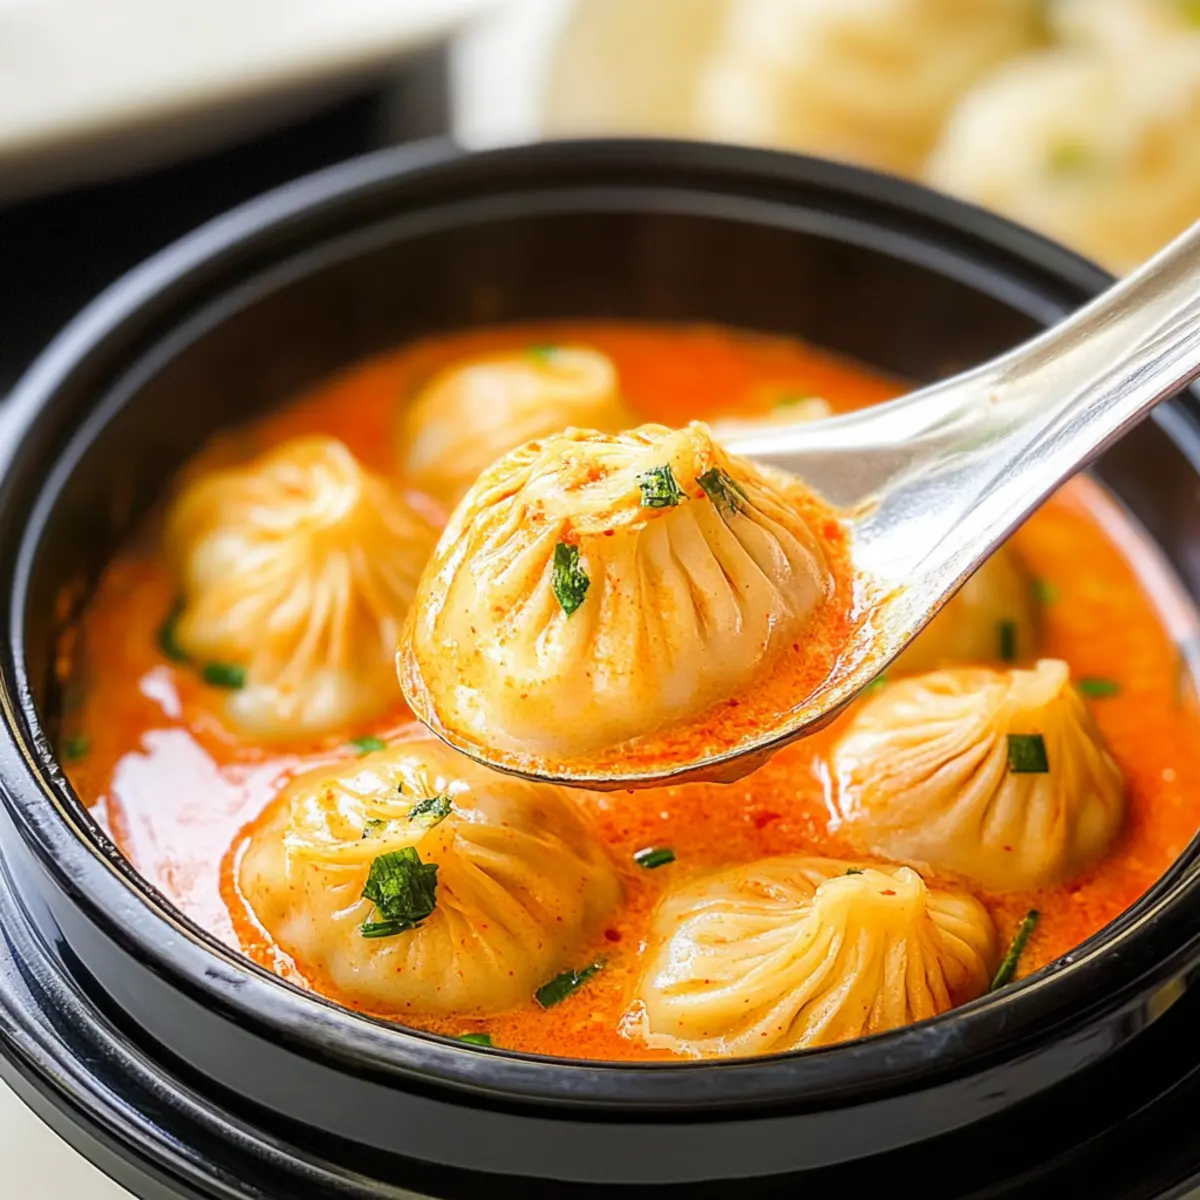
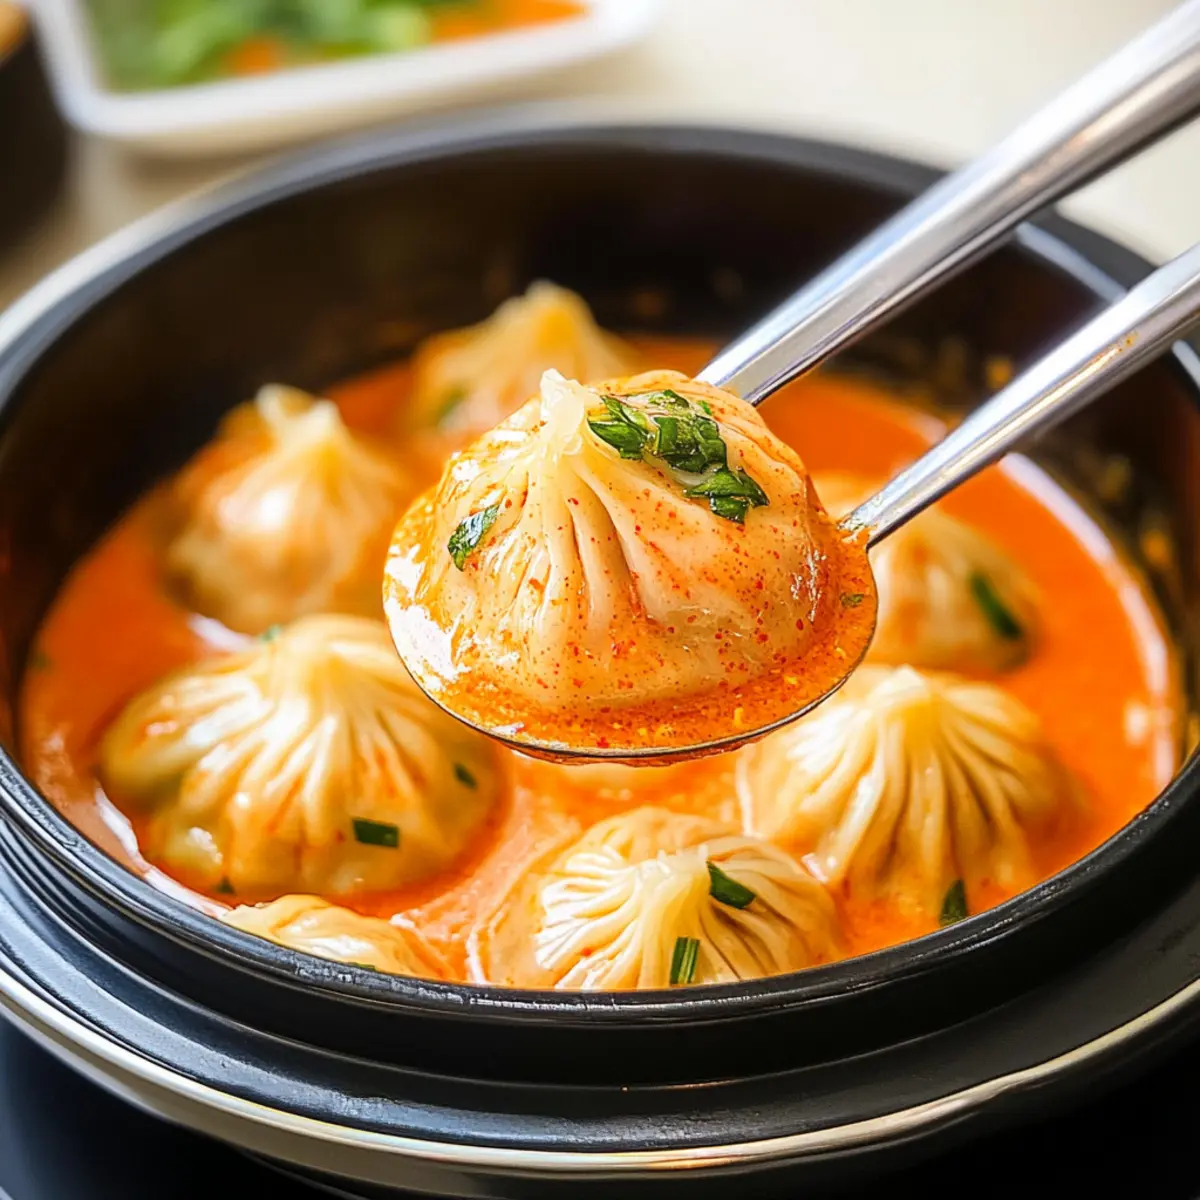
As I stood over the stove, the rich aroma of sautéed garlic filled my kitchen, a promise of something extraordinary. Enter my Creamy Gochujang Soup Dumplings, a delightful twist on the classic dish that marries juicy, savory dumplings with the creamy, spicy allure of Korean gochujang sauce. This recipe is not only quick to prepare, making it a perfect weeknight dinner, but it also comes with a crowd-pleasing charm that will have your family and friends clamoring for seconds. Whether you're looking to impress or simply enjoy a cozy meal, these dumplings are a fantastic way to indulge your cooking passions. Ready to explore this fusion of flavors that brings warmth to any table? Let’s dive in!
Why Are These Dumplings So Special?
Flavor Explosion: The combination of creamy heavy cream and spicy gochujang elevates the taste to new heights, making every bite an exciting experience.
Quick & Easy: With a straightforward cooking process, you'll have a comforting meal on the table in no time—perfect for busy weeknights.
Versatile Options: Feel free to experiment with different proteins or add veggies like spinach, just like in Chicken Dumplings Cozy.
Crowd-Pleasing: These dumplings are sure to impress family and friends, creating a dining experience everyone will rave about.
Cultural Fusion: This dish beautifully marries Korean and Chinese flavors, introducing a unique twist to your traditional soup dumpling recipes.
Soup Dumplings in Creamy Gochujang Sauce Ingredients
For the Sauce
• Butter – Adds richness and depth when sautéing garlic; substitute with olive oil for a dairy-free version.
• Minced Garlic – Essential for flavor; sauté until fragrant, and fresh garlic gives the best taste.
• Heavy Cream – Creates the creamy base for the sauce; swap with coconut cream for a dairy-free alternative.
• Water – Helps adjust the sauce consistency to your liking.
• Gochujang – Infuses the dish with spice and sweetness, the star ingredient in this soup dumpling recipe; try sriracha mixed with miso if needed.
For the Dumplings
• Frozen Soup Dumplings – Quick and flavorful; ensure they're properly spaced while cooking for even heating.
• Parmesan Cheese (optional) – Adds creaminess and a savory finish; can be omitted for a dairy-free option.
For Garnish
• Sage or Chives – Offers a fresh finish and visual appeal to your dish.
Step‑by‑Step Instructions for Soup Dumplings in Creamy Gochujang Sauce
Step 1: Sauté Garlic
Begin by melting 1 tablespoon of butter in a medium-sized pot over medium-high heat. Once the butter is bubbling, add 2 tablespoons of minced garlic and sauté for about 1–2 minutes until fragrant and lightly golden. This aromatic base will enhance the overall flavor of your soup dumplings in creamy gochujang sauce.
Step 2: Create the Sauce
Next, reduce the heat to medium and pour in 1 cup of heavy cream along with ¼ cup of water. Stir in 3 tablespoons of gochujang, ensuring it blends well into the creamy mixture. Allow the sauce to slowly come to a gentle simmer, which should take about 3 minutes, stirring occasionally until it thickens slightly.
Step 3: Cook the Dumplings
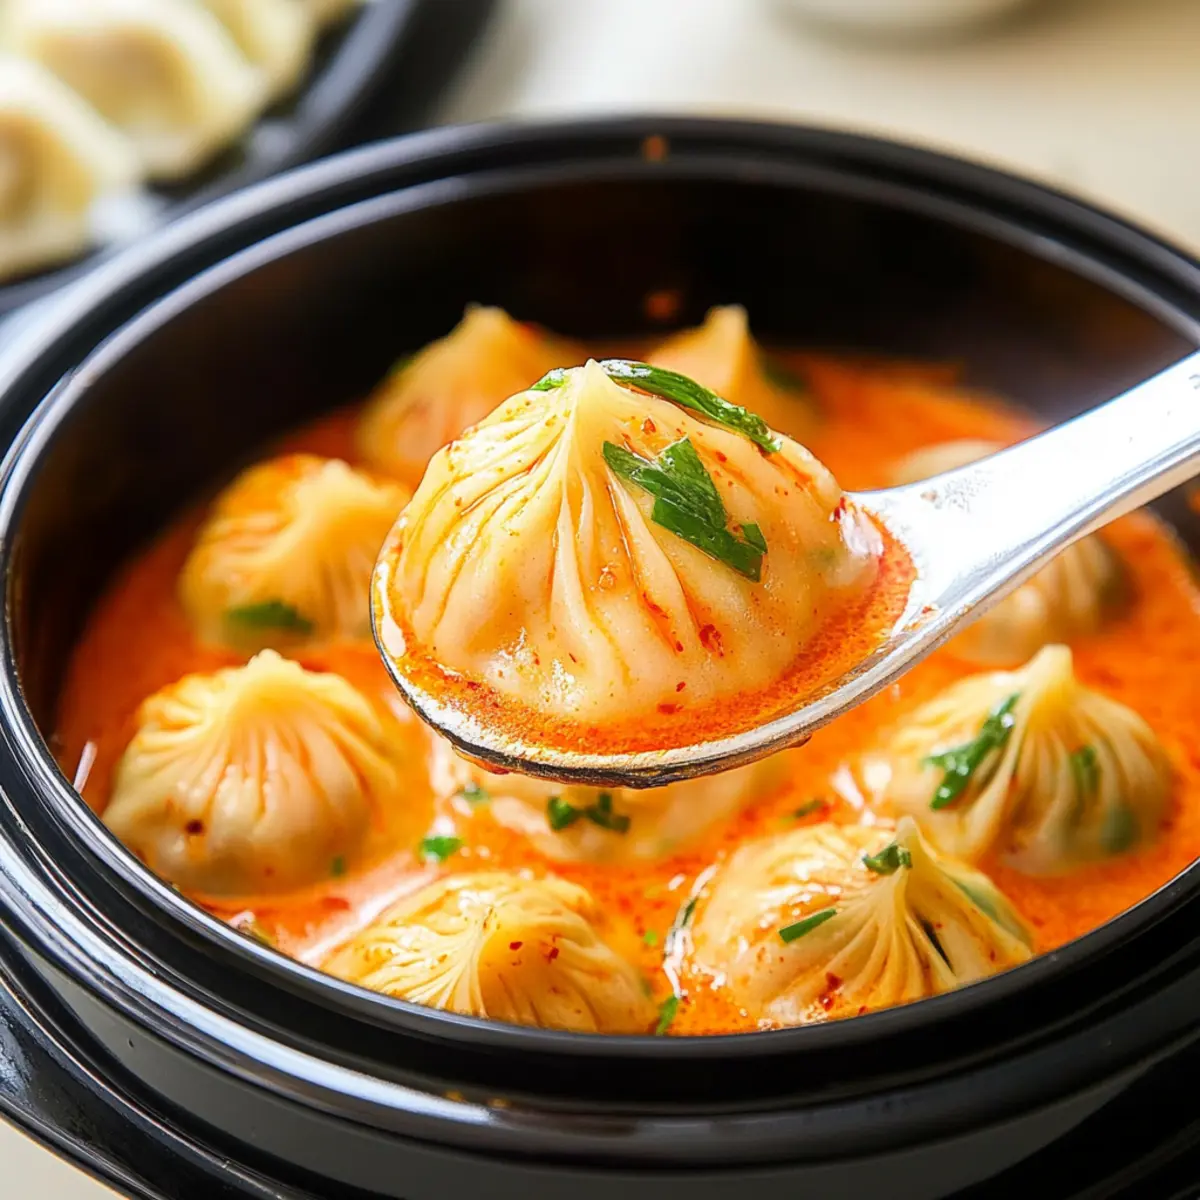
Carefully add the frozen soup dumplings to the hot sauce, ensuring they are spaced apart to avoid sticking. Cover the pot with a lid, and let the dumplings steam in the creamy sauce for about 12 minutes, or until they are cooked through and tender. You’ll know they are ready when the dumplings are plump and the sauce is bubbling gently.
Step 4: Add the Finishing Touches
Once the dumplings are cooked, remove the lid and turn off the heat. Sprinkle freshly grated Parmesan cheese on top, if using, letting it melt slightly into the sauce for added richness. This step brings an extra layer of flavor and creaminess to your soup dumplings in creamy gochujang sauce.
Step 5: Garnish and Serve
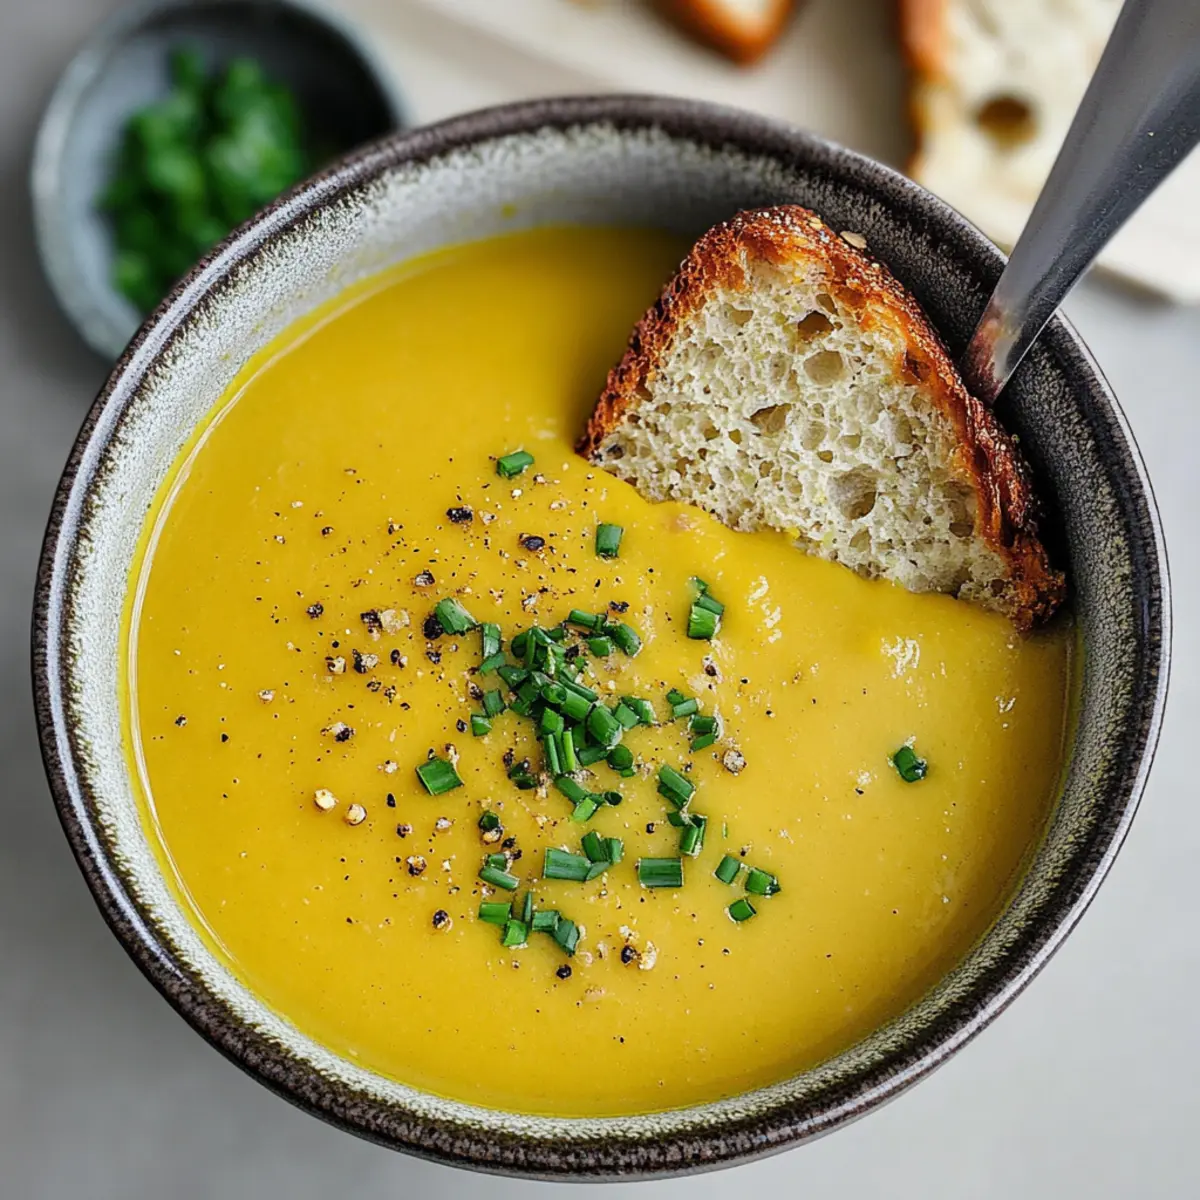
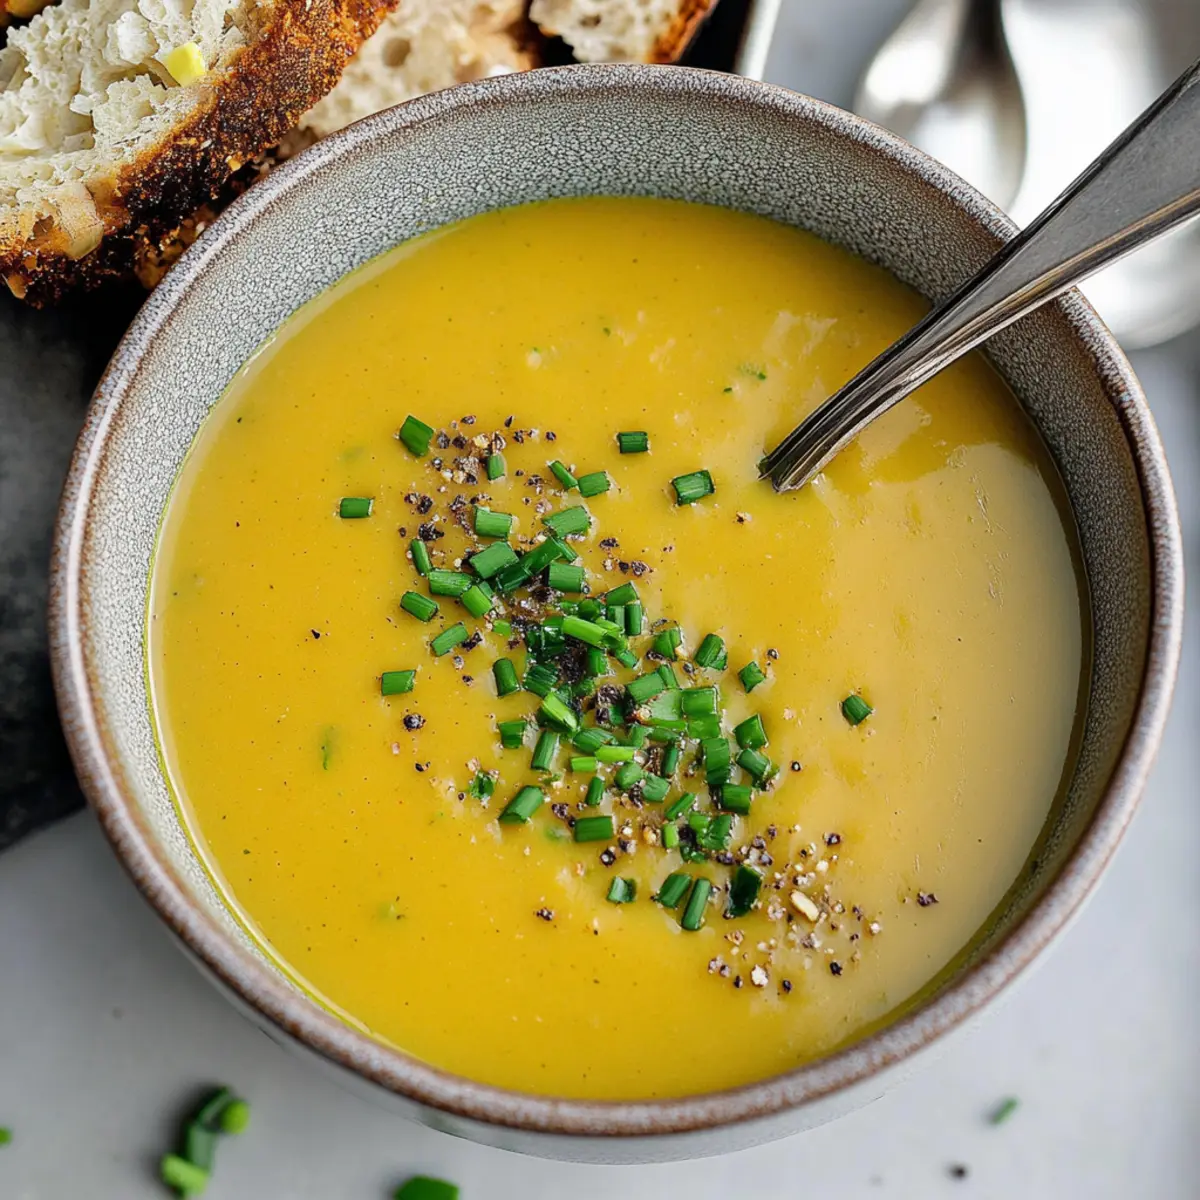
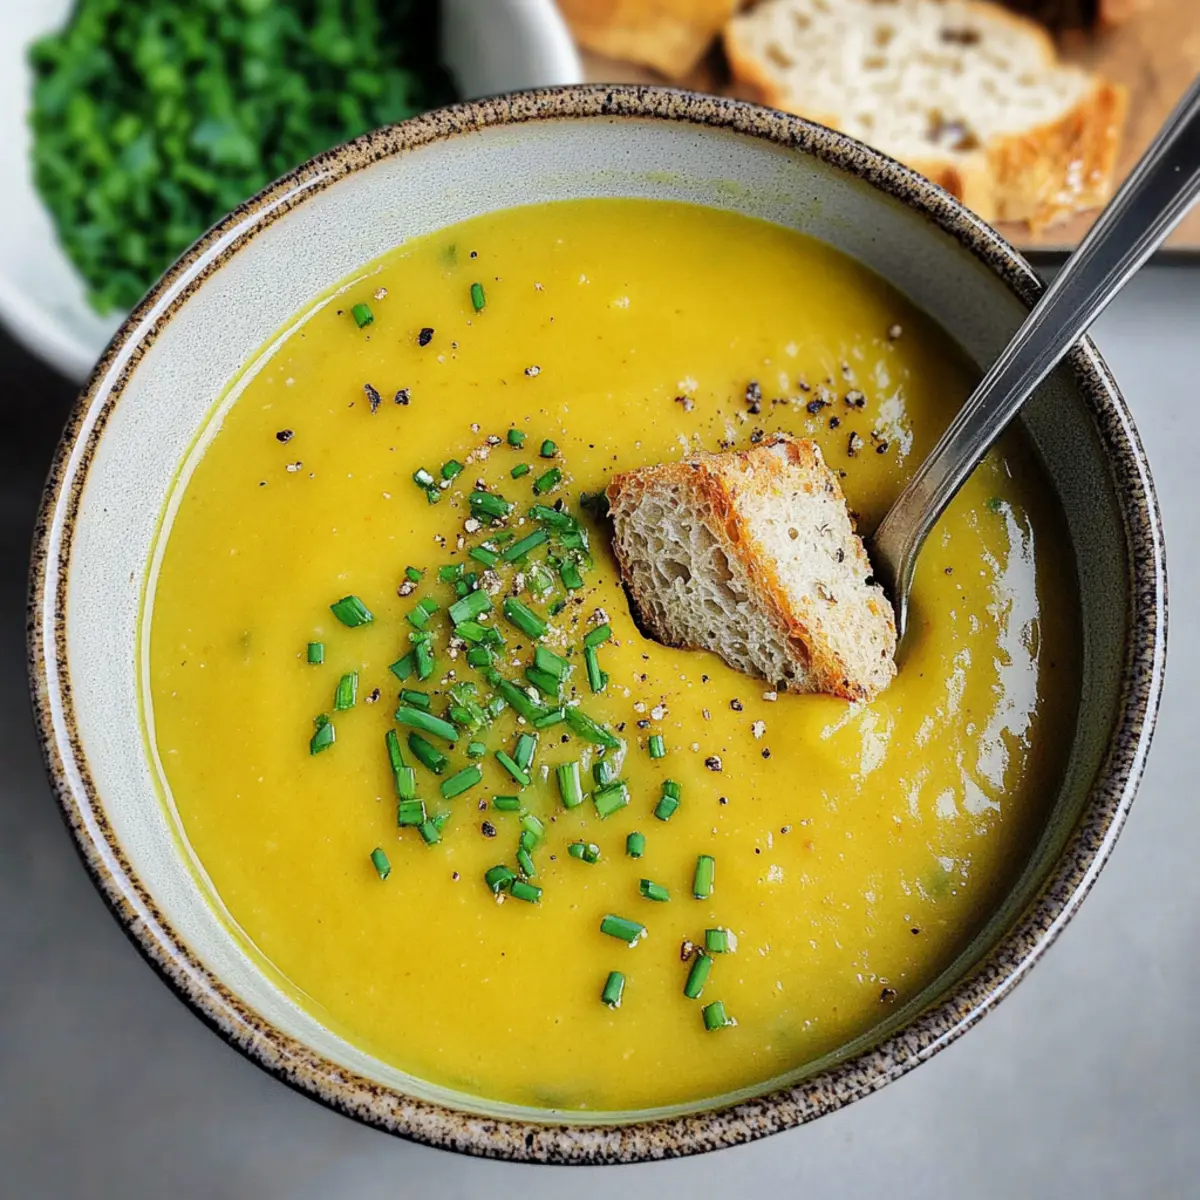
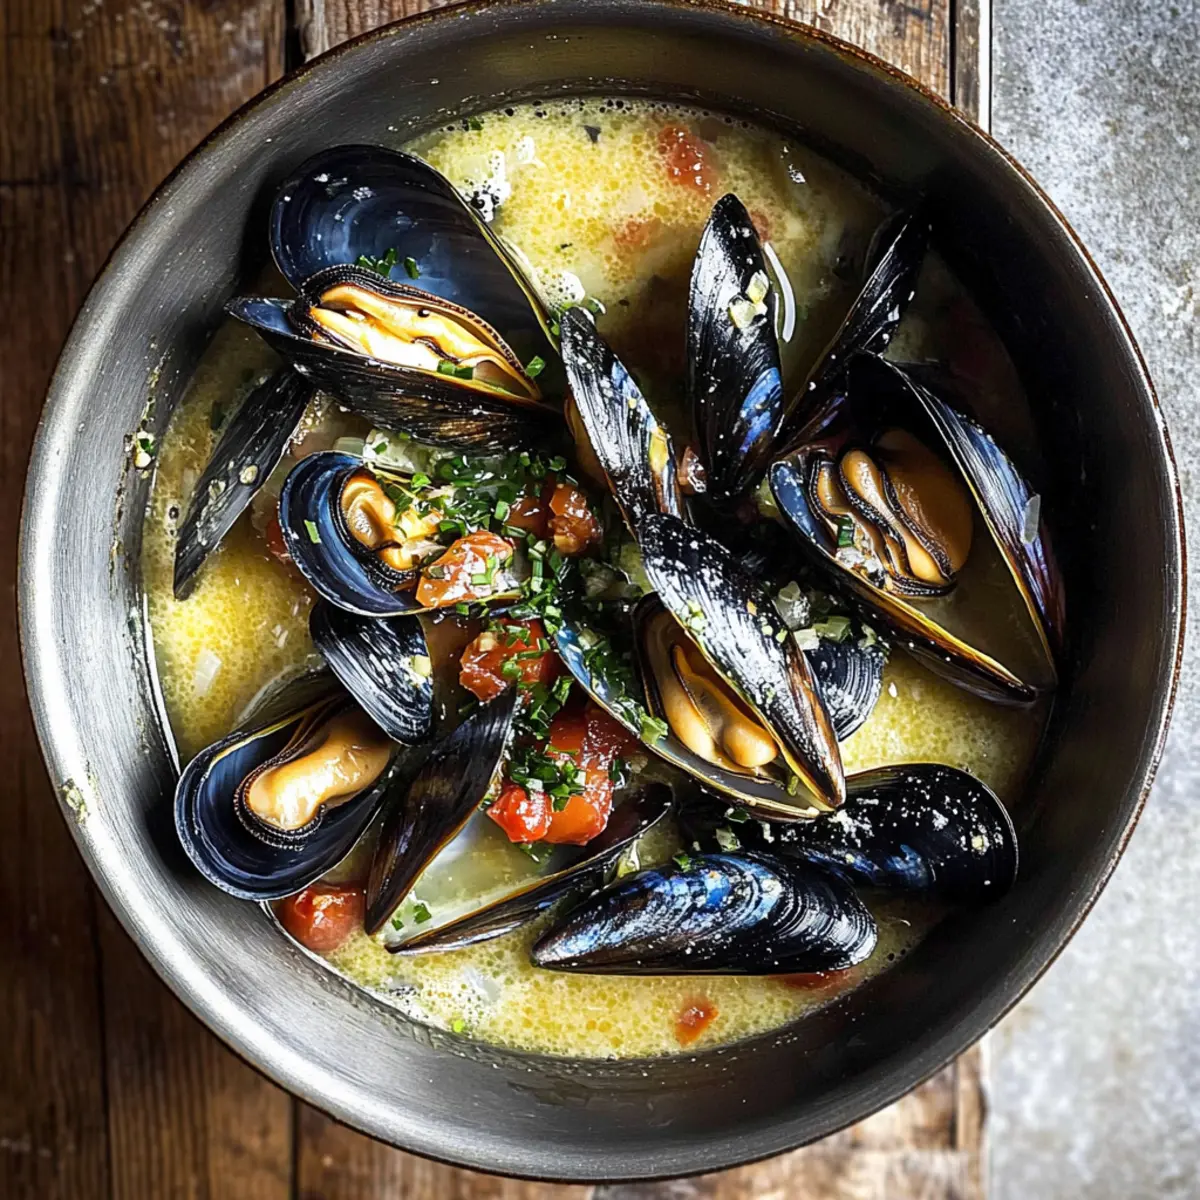
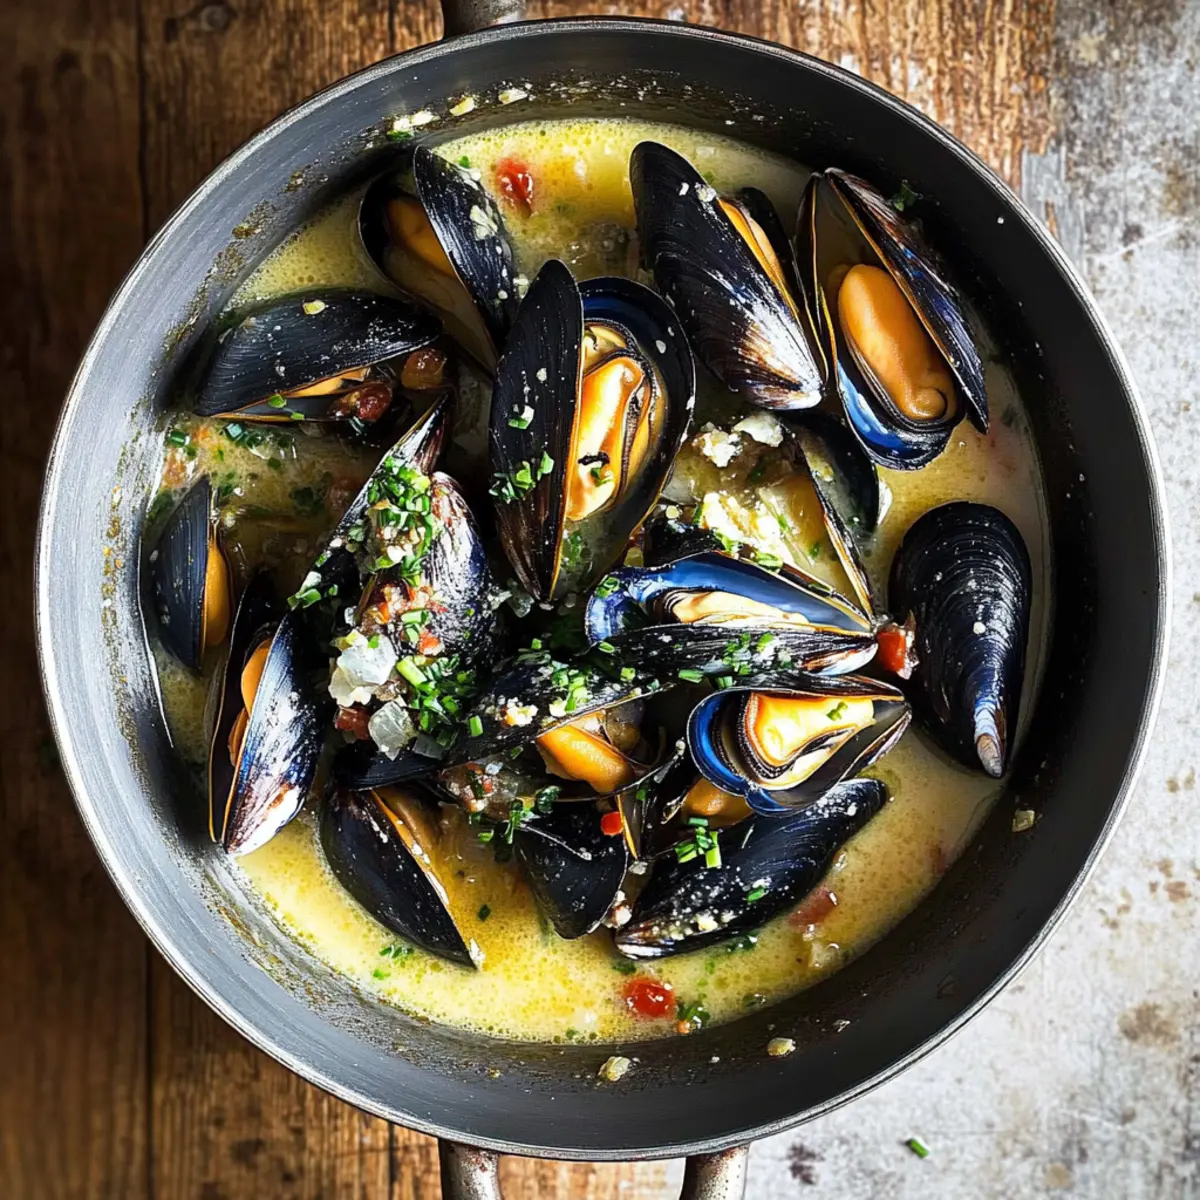
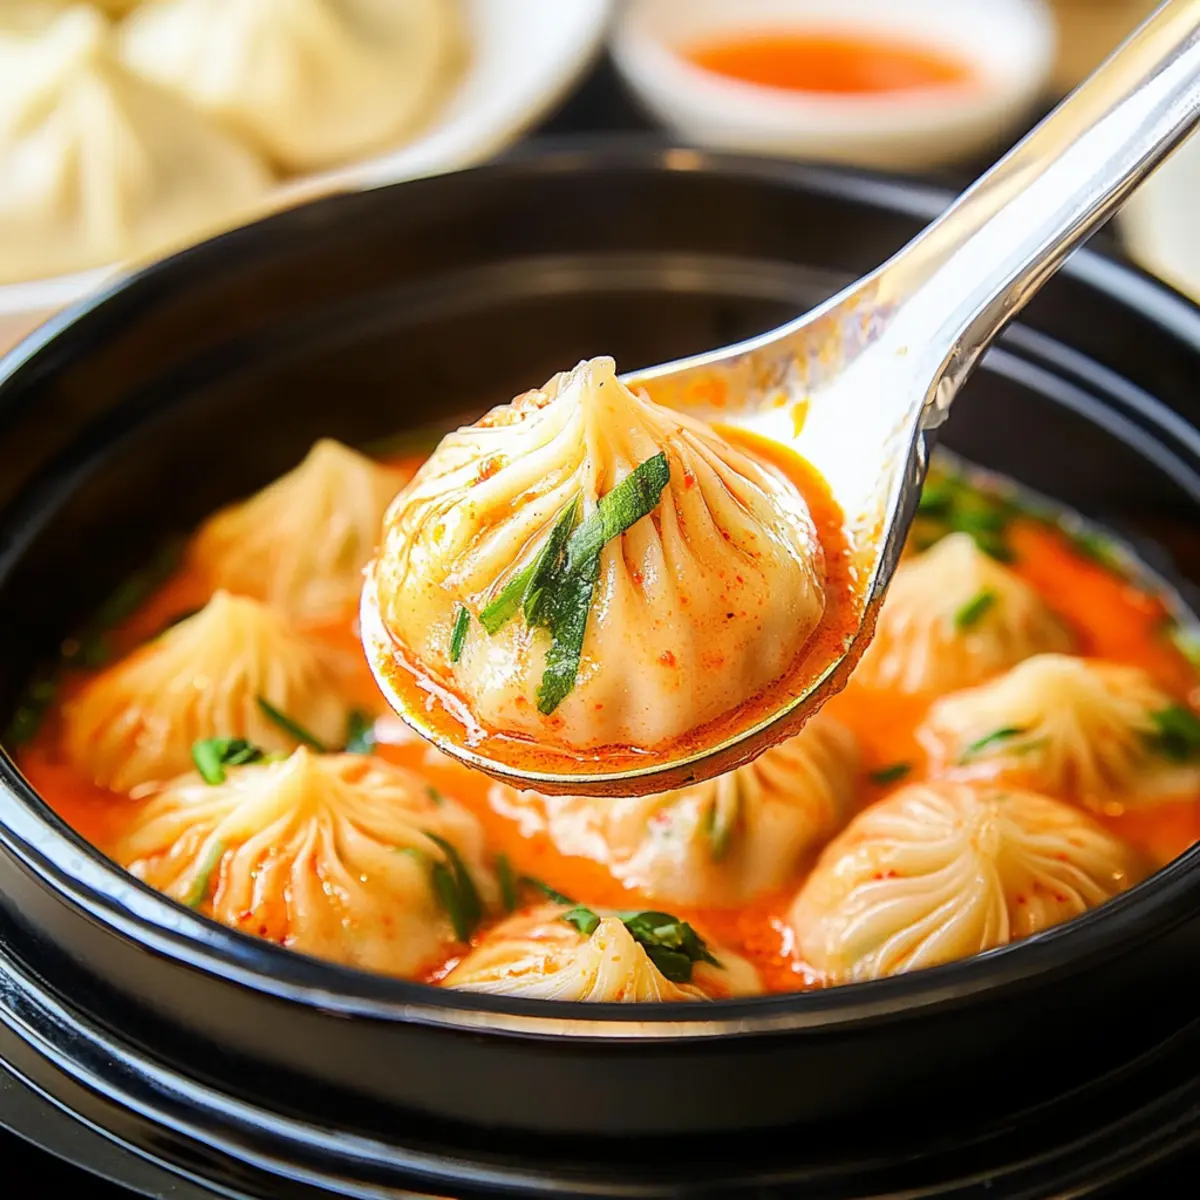
To finish, garnish your delicious soup dumplings with chopped sage or chives for a vibrant touch. Serve hot, allowing everyone to enjoy the beautiful contrast of creamy sauce and juicy dumplings right at the table. These comforting bites are sure to impress and satisfy!
Make Ahead Options
These Soup Dumplings in Creamy Gochujang Sauce are perfect for meal prep, allowing you to enjoy this delightful dish even on the busiest of nights! You can prepare the creamy gochujang sauce up to 24 hours ahead by sautéing the garlic and mixing in the cream and gochujang; just store it in an airtight container in the refrigerator. The frozen soup dumplings themselves can also be prepped and kept in the freezer for easy access. When ready to serve, simply reheat the sauce in a pot, add the frozen dumplings, and steam them in the sauce for about 12 minutes. This way, you maintain the flavors and textures, delivering a restaurant-quality meal with minimal effort!
Expert Tips for Soup Dumplings
- Space Matters: Ensure there’s enough room between the dumplings when cooking. This helps them cook evenly and prevents sticking.
- Watch the Heat: Keep an eye on the sauce as it simmers; reducing the heat can prevent it from boiling over.
- Quality Ingredients: For a rich and authentic flavor, use fresh garlic and high-quality gochujang in your soup dumplings in creamy gochujang sauce.
- Taste Testing: Towards the end, taste the sauce and tweak the seasoning as needed. Add a pinch of salt or a dash more gochujang for extra depth.
- Garnishing Tips: Fresh herbs, like chives or sage, not only enhance the presentation but also add a burst of freshness to the final dish.
Soup Dumplings in Creamy Gochujang Sauce Variations
Feel free to explore these delightful twists that can enhance your dumpling experience, inviting new flavors to your dinner table.
- Protein Swap: Use chicken or pork soup dumplings for a hearty variation. This adds a different flavor profile while maintaining that comforting essence.
- Veggie Boost: Incorporate fresh spinach or bok choy into the sauce for added nutrition and color. The veggies will soften beautifully, enhancing your dish's overall appeal.
- Dairy-Free Delight: Substitute heavy cream with coconut cream for a vegan-friendly option. You'll enjoy a hint of tropical flavor that beautifully complements the spicy gochujang.
- Flavor Enhancement: Mix in a splash of soy sauce or sesame oil for a deeper umami flavor. This additional layer will elevate your soup dumplings, making them even more irresistible.
- Cheesy Goodness: For a creamier texture, try blending different cheeses like cream cheese or gouda into your sauce. This twist will take the richness of your dish to the next level.
- Heat Lover's Choice: If you crave extra spice, add crushed red pepper flakes or even a dab of chili oil to the sauce. This way, you can customize the heat level to your liking.
- Quinoa Fusion: Swap out dumplings for quinoa-shaped alternatives for a gluten-free option. Quinoa's nutty flavor pairs surprisingly well with the creamy sauce.
- Asian Twist: Add a hint of kimchi to the final dish for a punchy probiotic kick. This garnish not only adds flavor but also a delightful crunch, enhancing the overall texture of your soup dumplings in creamy gochujang sauce.
Ready for more culinary inspiration? Try pairing these dumplings with a refreshing side of Egg Drop Soup or explore an enriching warm bowl of Zuppa Toscana Soup.
How to Store and Freeze Soup Dumplings in Creamy Gochujang Sauce
Fridge: Store any leftovers in an airtight container for up to 2 days. Reheat gently on the stove before serving to preserve the creamy sauce's texture.
Freezer: For long-term storage, freeze the soup dumplings separately from the sauce in a freezer-safe container. They can last up to 3 months. Thaw in the fridge before reheating.
Reheating: To reheat, gently simmer the dumplings in sauce over low heat until warmed through. Avoid rapid boiling to keep the dumplings intact.
Tip: Enjoy your delicious soup dumplings in creamy gochujang sauce fresh for the best taste, while leftovers can be a delightful reminder of this flavor-packed meal!
What to Serve with Soup Dumplings in Creamy Gochujang Sauce
Imagine a meal where each bite invites you to savor the warmth and excitement of fusion flavors, making every gathering special.
- Fluffy Rice: A perfect canvas to soak up the delicious creamy gochujang sauce, adding a comforting, filling element to your meal.
- Fresh Garden Salad: Crisp greens with a light vinaigrette provide a refreshing contrast to the rich dumplings, balancing textures beautifully.
- Steamed Bok Choy: The subtle bitterness of bok choy enhances the dish’s flavors, bringing a delightful crunch to accompany the creamy dumplings.
- Korean Pickled Cucumbers: These tangy, crunchy bites cleanse the palate and complement the spicy notes of the gochujang, making each course memorable.
- Sesame Noodles: Cold or warm, sesame noodles dressed with soy sauce and sesame oil offer a nutty flavor that pairs harmoniously with the vibrant dumpling sauce.
- Sooja Cocktail: A lightly carbonated drink with a hint of citrus brings a bright splash of refreshment, perfectly cutting through the richness of the dish.
Let these delightful pairings elevate your dining experience, ensuring no bite goes unappreciated at your table.
Soup Dumplings in Creamy Gochujang Sauce Recipe FAQs
How do I know if my ingredients, like gochujang, are fresh?
Absolutely! Check your gochujang for any off-smells or unusual colors. It should have a rich, deep red color and a slightly sticky texture. If you see dark spots or anything unusual, it’s best to discard it.
What’s the best way to store and reheat leftovers?
Very! Store any leftovers in an airtight container in the fridge for up to 2 days. When ready to enjoy, gently reheat the dumplings on the stove over low heat, adding a little extra cream or water to the sauce to restore its creamy texture. Avoid boiling to prevent the dumplings from breaking apart.
Can I freeze Soup Dumplings in Creamy Gochujang Sauce?
The more the merrier! To freeze, separate the dumplings from the sauce. Place the dumplings in a single layer on a baking sheet to freeze individually before transferring them to a freezer-safe container. They can be frozen for up to 3 months. When ready to use, thaw in the fridge overnight and reheat as mentioned above.
What if my dumplings are sticky together after cooking?
Don’t worry! If your dumplings stick together, gently separate them with a spatula or spoon. For next time, ensure there’s enough space between the dumplings when you add them to the sauce. This will help them cook evenly and reduce sticking.
Is this dish suitable for people with dietary restrictions?
Absolutely! If you have lactose intolerance or dairy allergies, substitute the heavy cream with coconut cream and skip the Parmesan cheese. For gluten-free options, ensure your dumplings are made with gluten-free flour. Always check the labels on your gochujang as some brands may contain gluten.
Can I use fresh dumplings instead of frozen ones?
Yes! If you’re using fresh dumplings, they will likely cook faster. Steam them in the sauce for about 8-10 minutes, checking for doneness when they are plump and heated through. Adjust the sauce ingredients accordingly for the best flavor.
Soup Dumplings in Creamy Gochujang Sauce for a Flavor Kick
Ingredients
Equipment
Method
- Begin by melting 1 tablespoon of butter in a medium-sized pot over medium-high heat. Once the butter is bubbling, add 2 tablespoons of minced garlic and sauté for about 1–2 minutes until fragrant and lightly golden.
- Next, reduce the heat to medium and pour in 1 cup of heavy cream along with ¼ cup of water. Stir in 3 tablespoons of gochujang, ensuring it blends well.
- Carefully add the frozen soup dumplings to the hot sauce, ensuring they are spaced apart to avoid sticking. Cover the pot with a lid, and let the dumplings steam for about 12 minutes.
- Once the dumplings are cooked, remove the lid and turn off the heat. Sprinkle freshly grated Parmesan cheese on top, if using.
- To finish, garnish your soup dumplings with chopped sage or chives and serve hot.