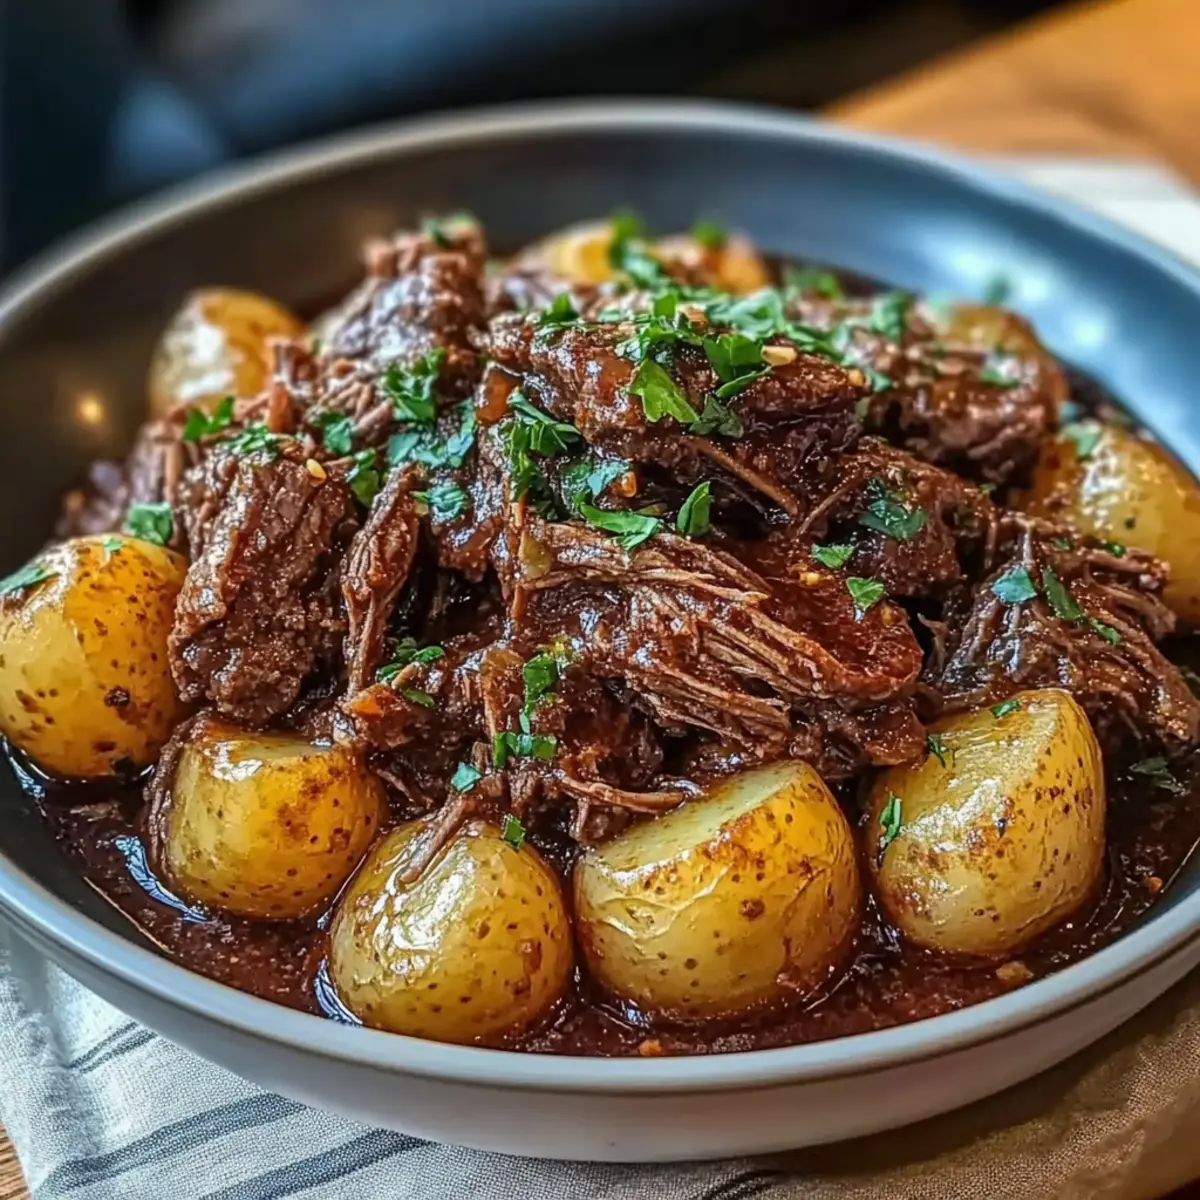
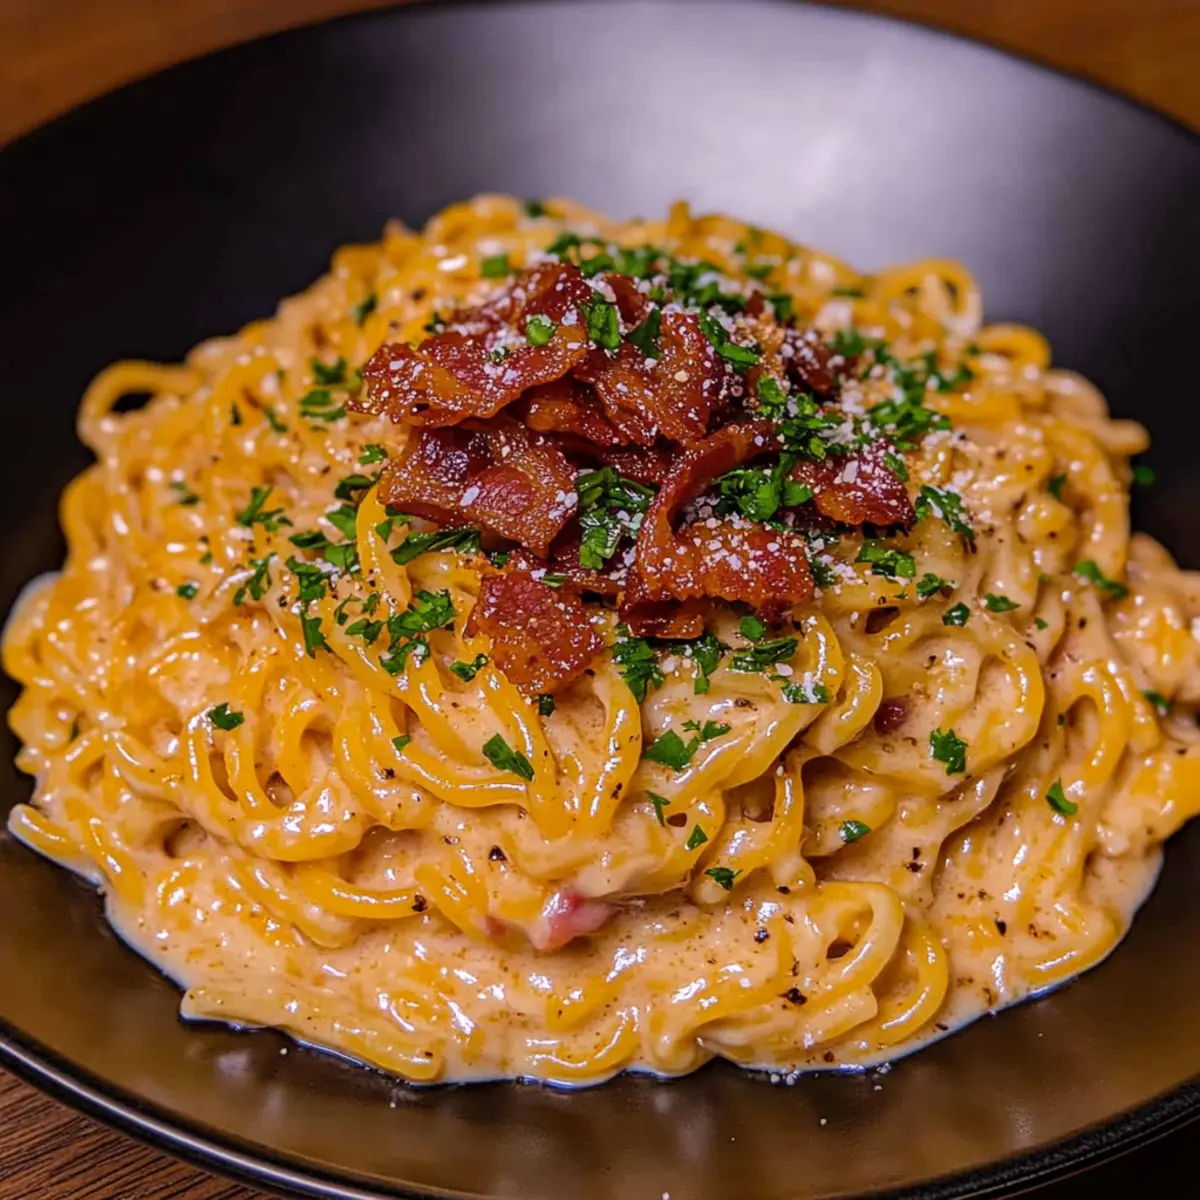
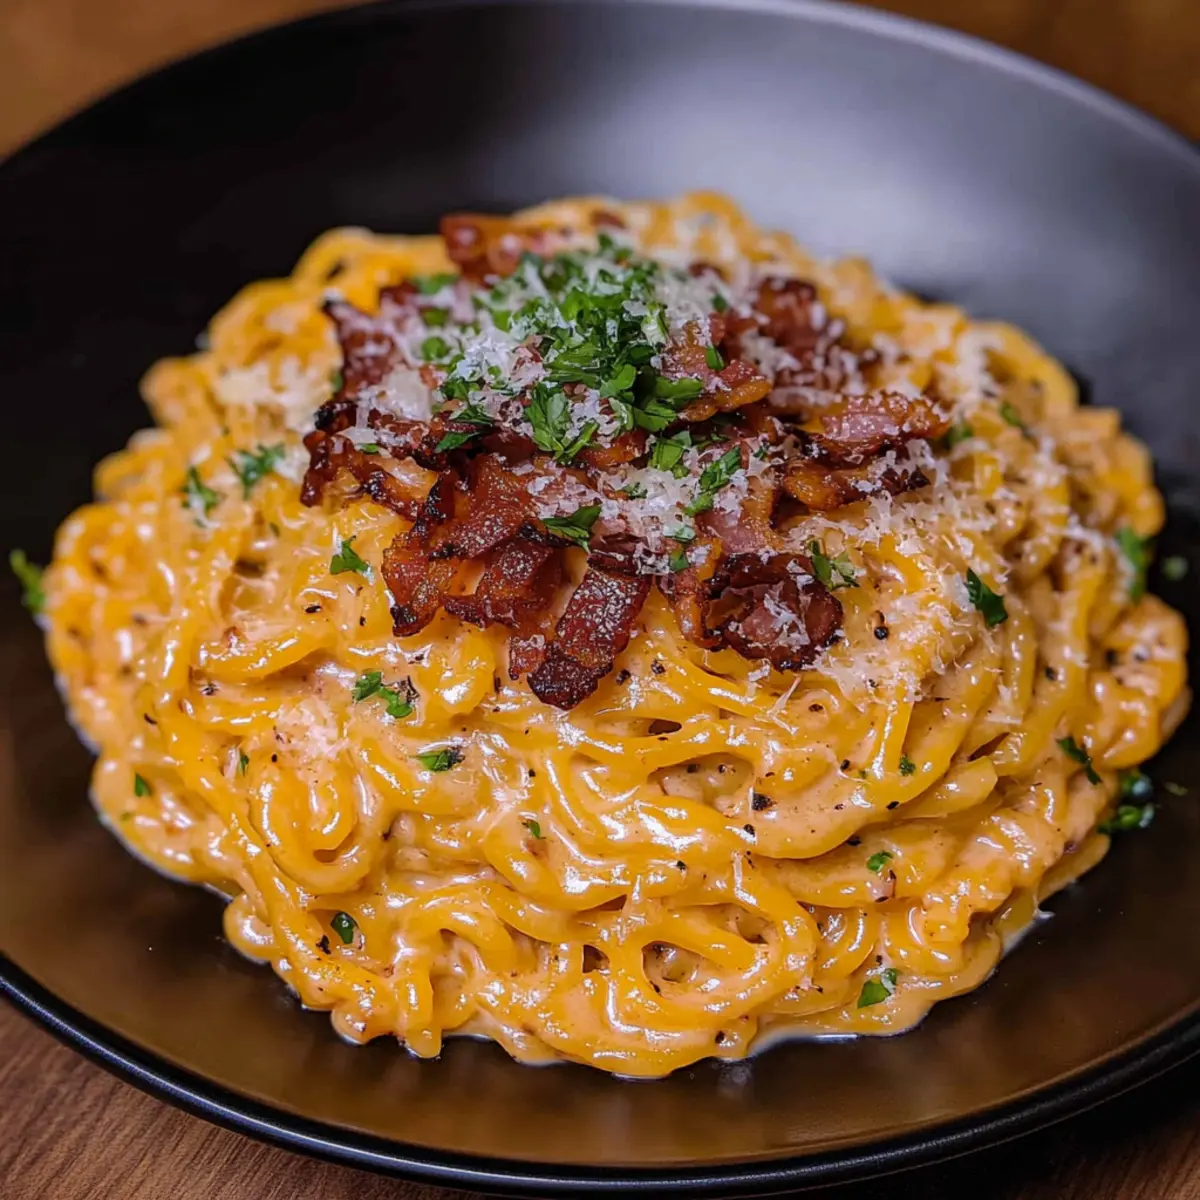
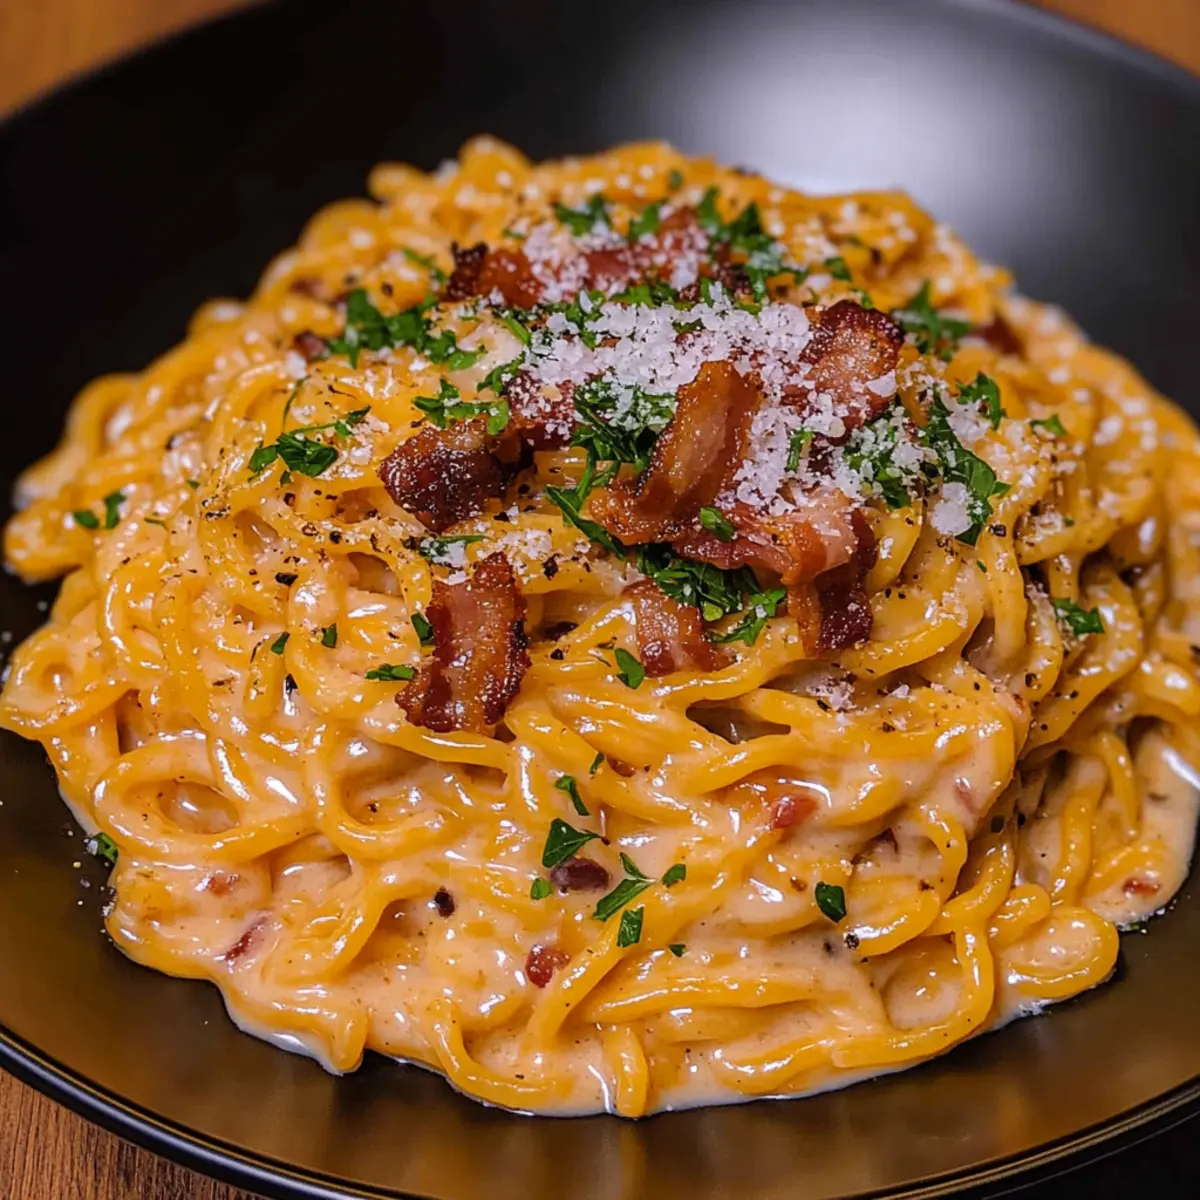
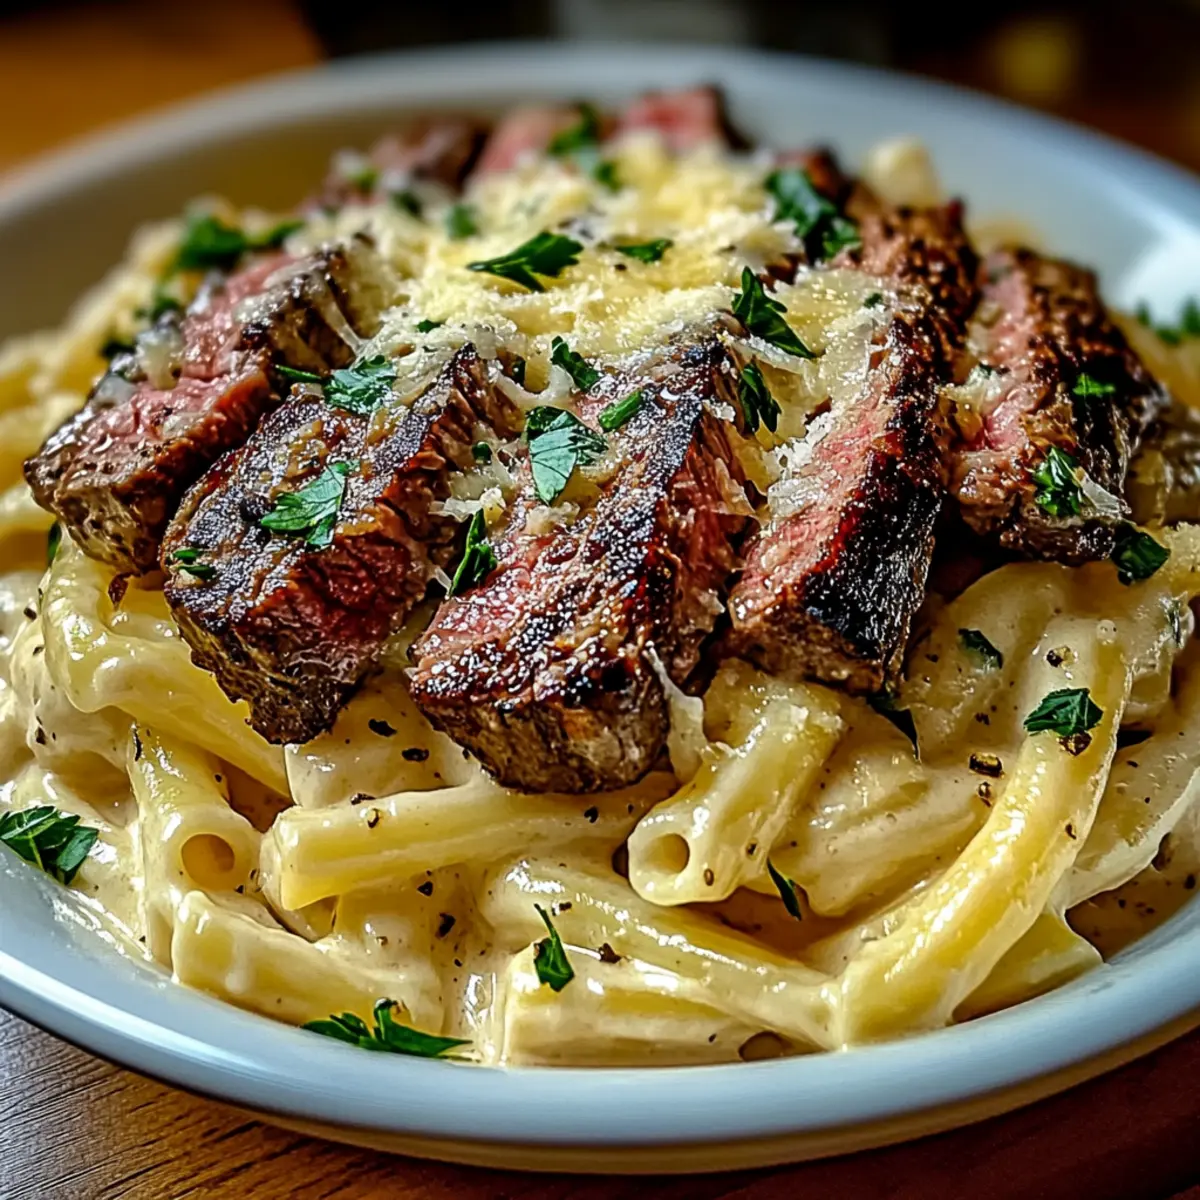
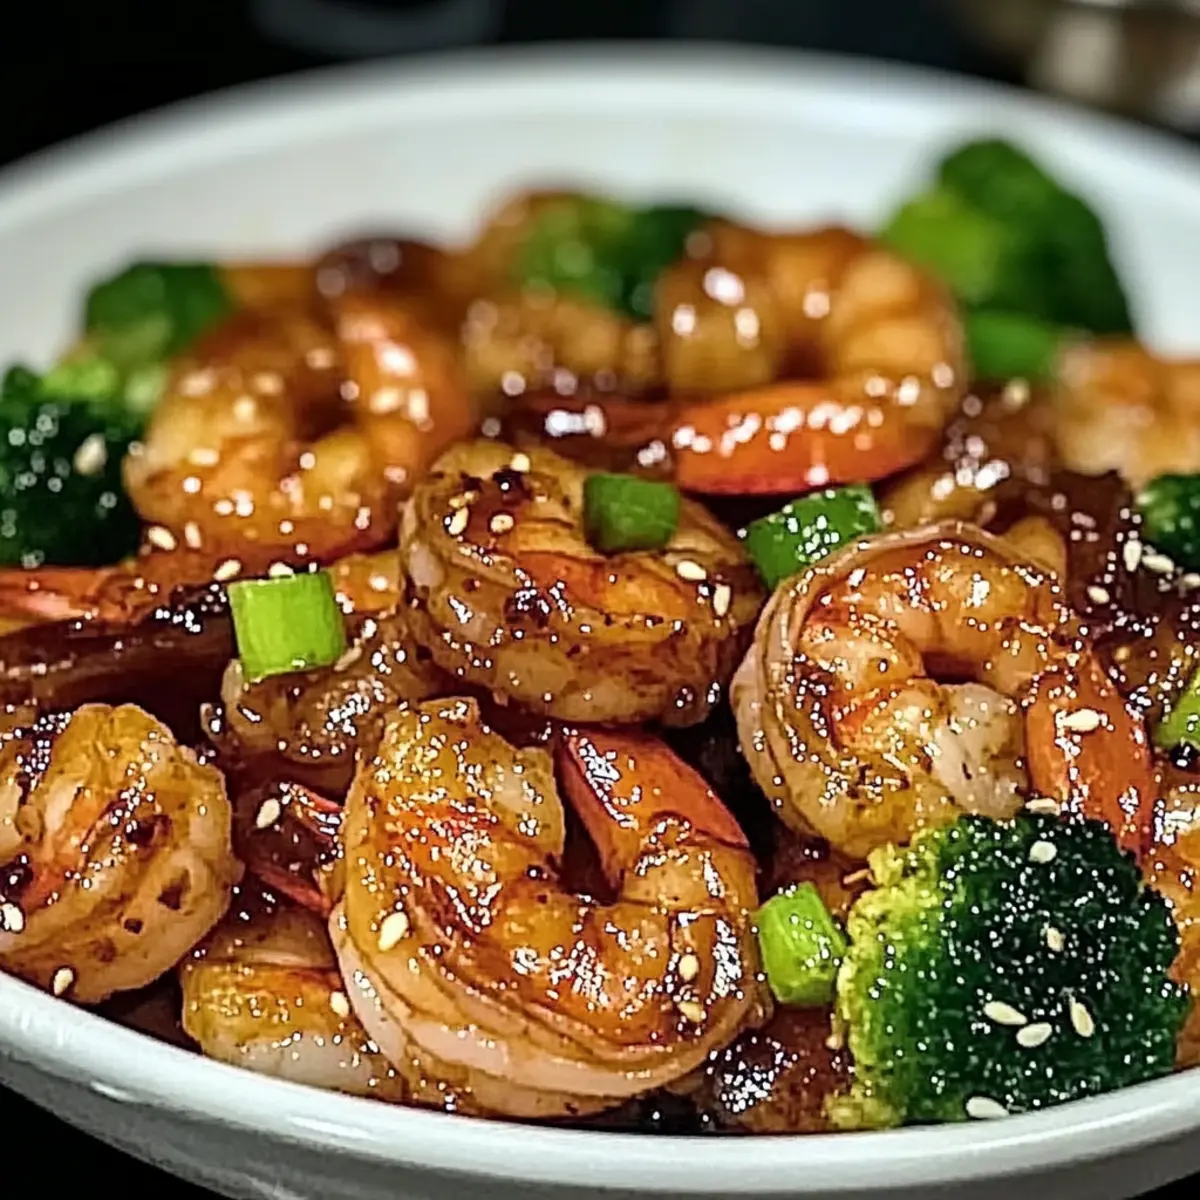
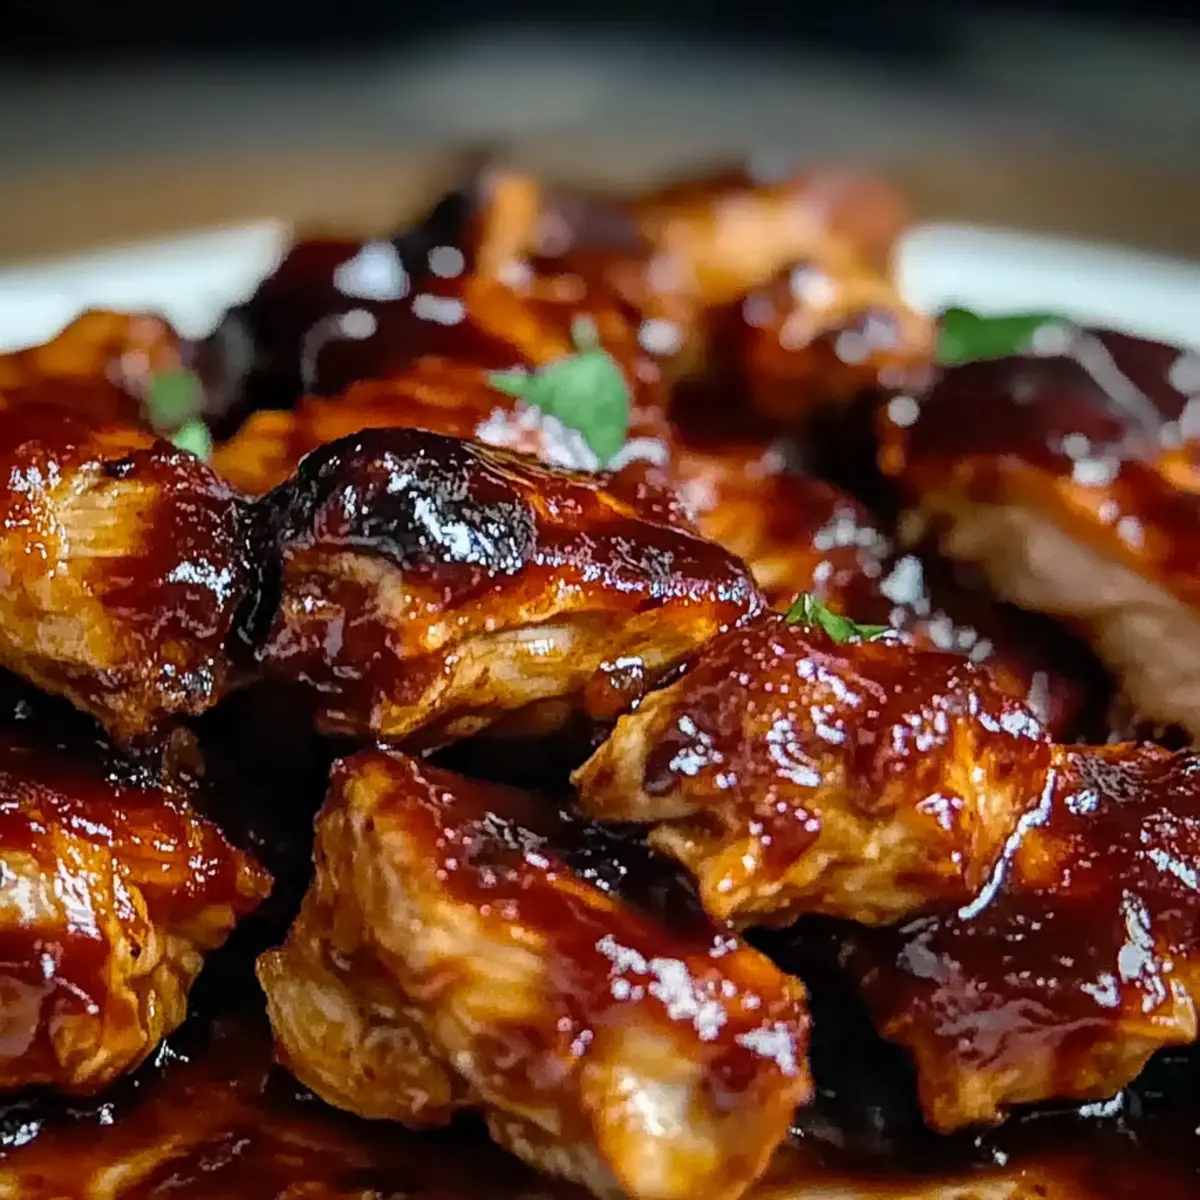
As the slow cooker hums gently in the background, the rich aroma of Sweet Baby Rays Crockpot Chicken fills my kitchen, creating an inviting atmosphere that beckons everyone to the table. This easy, family-friendly recipe is a game-changer for busy weeknights when you crave delicious comfort food without spending hours in the kitchen. With just a few simple ingredients, like juicy chicken breasts and the tangy goodness of Sweet Baby Rays BBQ sauce, this dish transforms a hectic day into a culinary triumph. Plus, the slow-cooked magic ensures that your chicken turns out tender and flavorful, making it perfect for shredding and piling onto sandwiches or serving over rice. Trust me, once you try this delightful BBQ chicken, you’ll wonder how you ever lived without it. So, are you ready to dive into a world of sweet, smoky goodness?
Why is Slow-Cooked Chicken So Irresistible?
Simplicity at Its Best: With minimal prep time, this recipe is perfect for those busy evenings when you crave homemade goodness without the fuss.
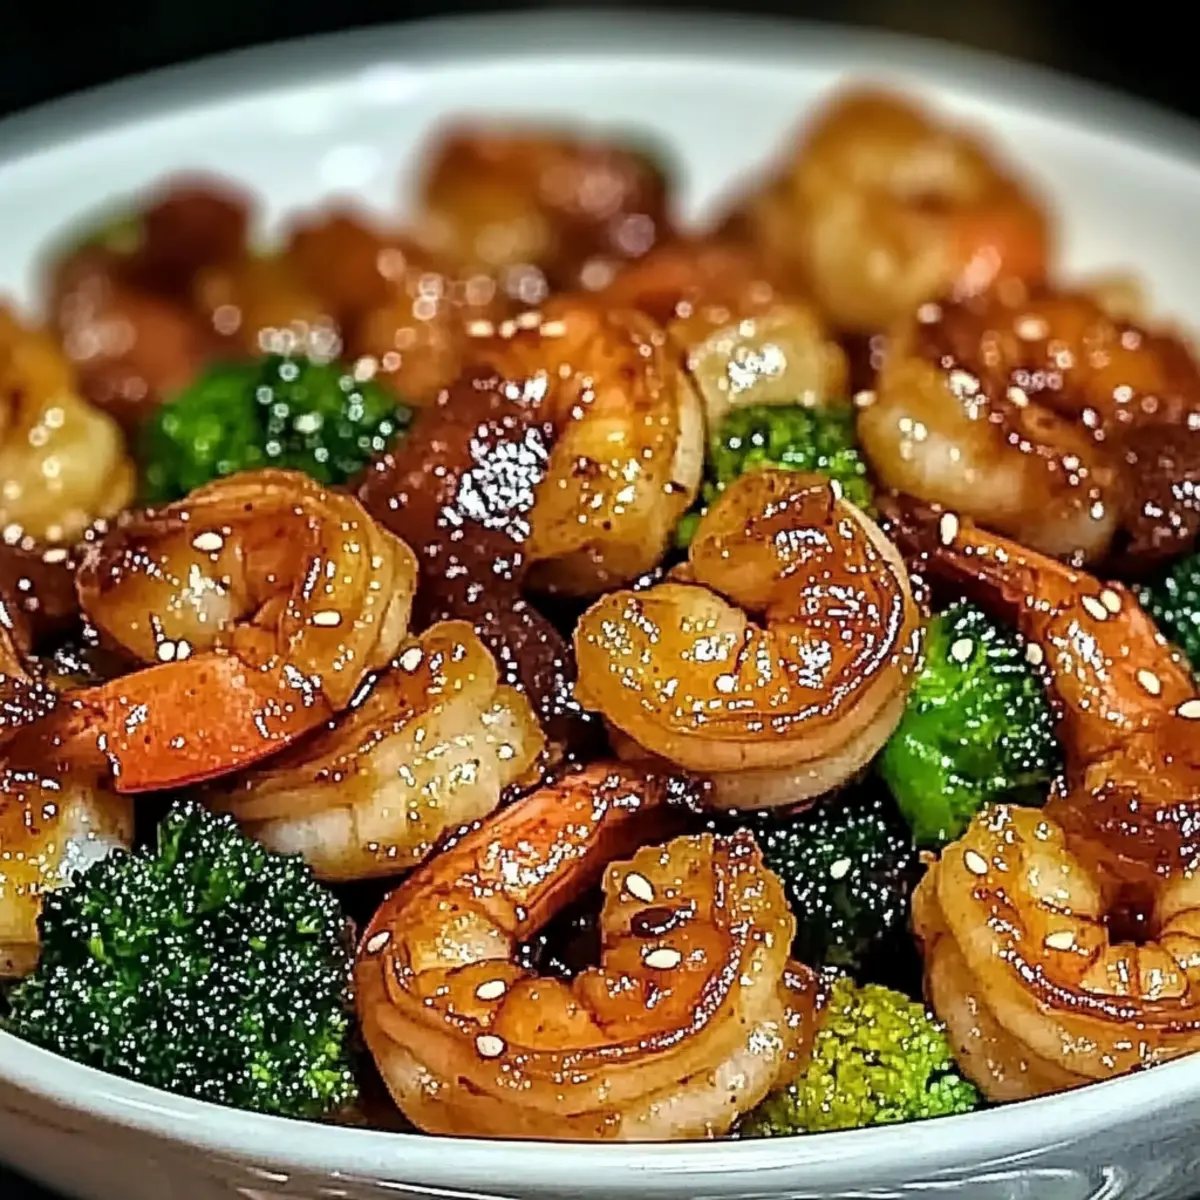
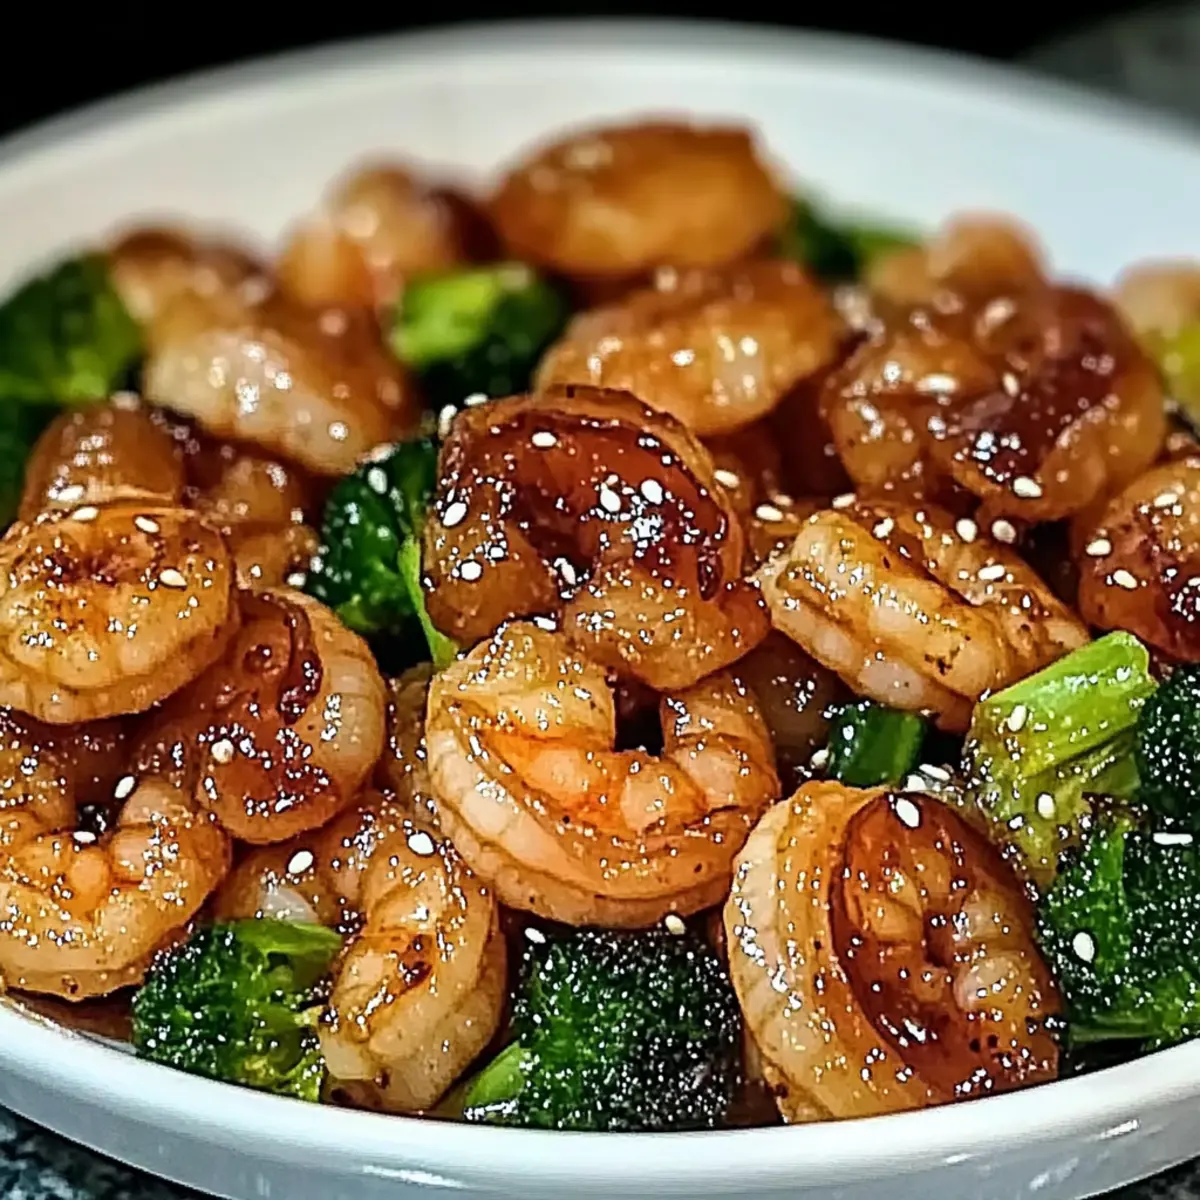
Flavor Explosion: The tangy Sweet Baby Rays BBQ sauce melds beautifully with tender chicken, ensuring every bite bursts with flavor.
Family-Friendly Fun: It's a crowd-pleaser, appealing to both kids and adults alike. Serve it on sandwiches or over rice, and everyone will be asking for seconds!
Versatile Variations: Explore different BBQ sauce flavors or add veggies for a personalized twist. The adaptability keeps meals exciting, whether you’re making Chipotle Lime Chicken or adding seasonal veggies.
Time-Saving Delight: Cooked in a slow cooker, this dish allows you to set it and forget it—perfect for multitasking in the kitchen.
Heartwarming Comfort: Rich in flavor and history, this dish embodies the essence of BBQ culture, making it a go-to for gatherings or family dinners.
Sweet Baby Rays Crockpot Chicken Ingredients
For the Chicken
- Chicken Breasts – Tender and juicy, boneless and skinless is easiest, but bone-in adds flavor.
For the Sauce
- Sweet Baby Rays BBQ Sauce – The star of the dish, bringing a delightful sweet and tangy flavor; don’t hesitate to try different variations like honey or hickory.
- Brown Sugar – Enhances the sweetness; adjust to your taste for a less sugary dish.
- Apple Cider Vinegar – Adds a necessary acidity to balance the sweetness; if unavailable, white vinegar is a decent substitute.
- Olive Oil – Keeps the chicken moist and enriches the sauce; feel free to swap with vegetable oil if preferred.
- Garlic Powder – Brings aromatic supremacy; fresh garlic can be used for a more robust flavor.
- Salt and Pepper – Vital for proper seasoning; add to your liking for the perfect taste.
Optional Add-Ins
- Diced Onions and Bell Peppers – For added flavor and crunch; these veggies elevate the dish’s texture.
- Spices – Smoked paprika or cayenne pepper can be added for those who like a spicy kick!
With these simple yet flavorful ingredients, you’re all set for a cozy, satisfying dinner. Enjoy the journey of creating your Sweet Baby Rays Crockpot Chicken!
Step‑by‑Step Instructions for Sweet Baby Rays Crockpot Chicken
Step 1: Season the Chicken
Begin by seasoning the boneless, skinless chicken breasts with garlic powder, salt, and pepper. Ensure each piece is evenly coated for maximum flavor. This initial step sets the stage for the delicious Sweet Baby Rays Crockpot Chicken. Once seasoned, set the chicken aside while you prepare the sauce.
Step 2: Whisk Together the Sauce
In a medium bowl, combine Sweet Baby Rays BBQ sauce, brown sugar, apple cider vinegar, and olive oil. Whisk these ingredients together until they form a cohesive mixture. This step is crucial as the sauce not only enhances the chicken's flavor but also helps maintain its moisture during cooking.
Step 3: Combine in the Crockpot
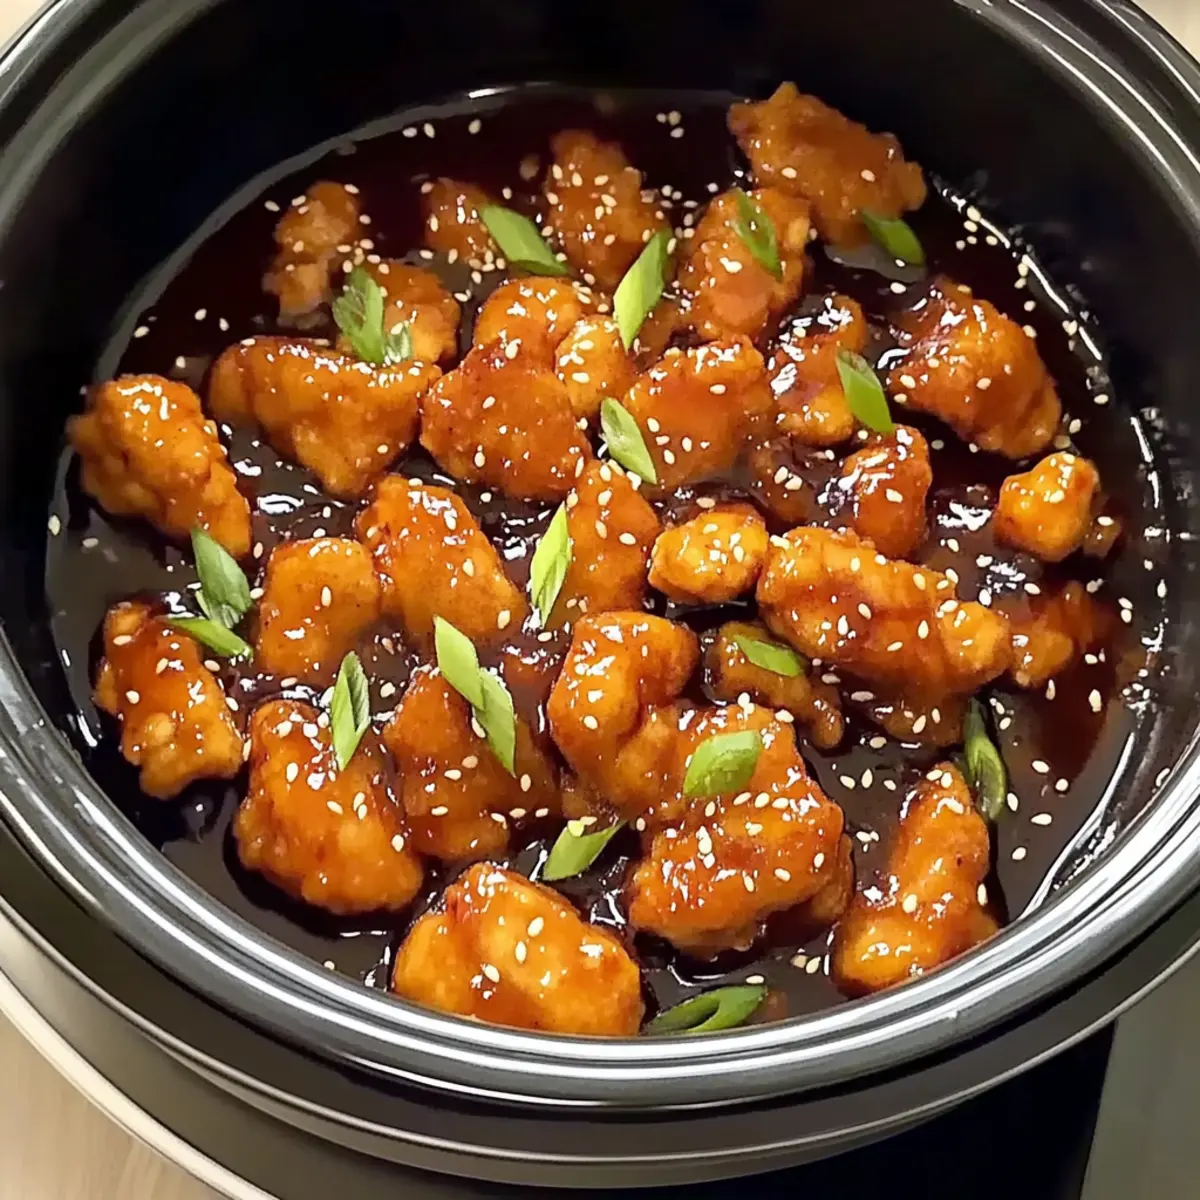
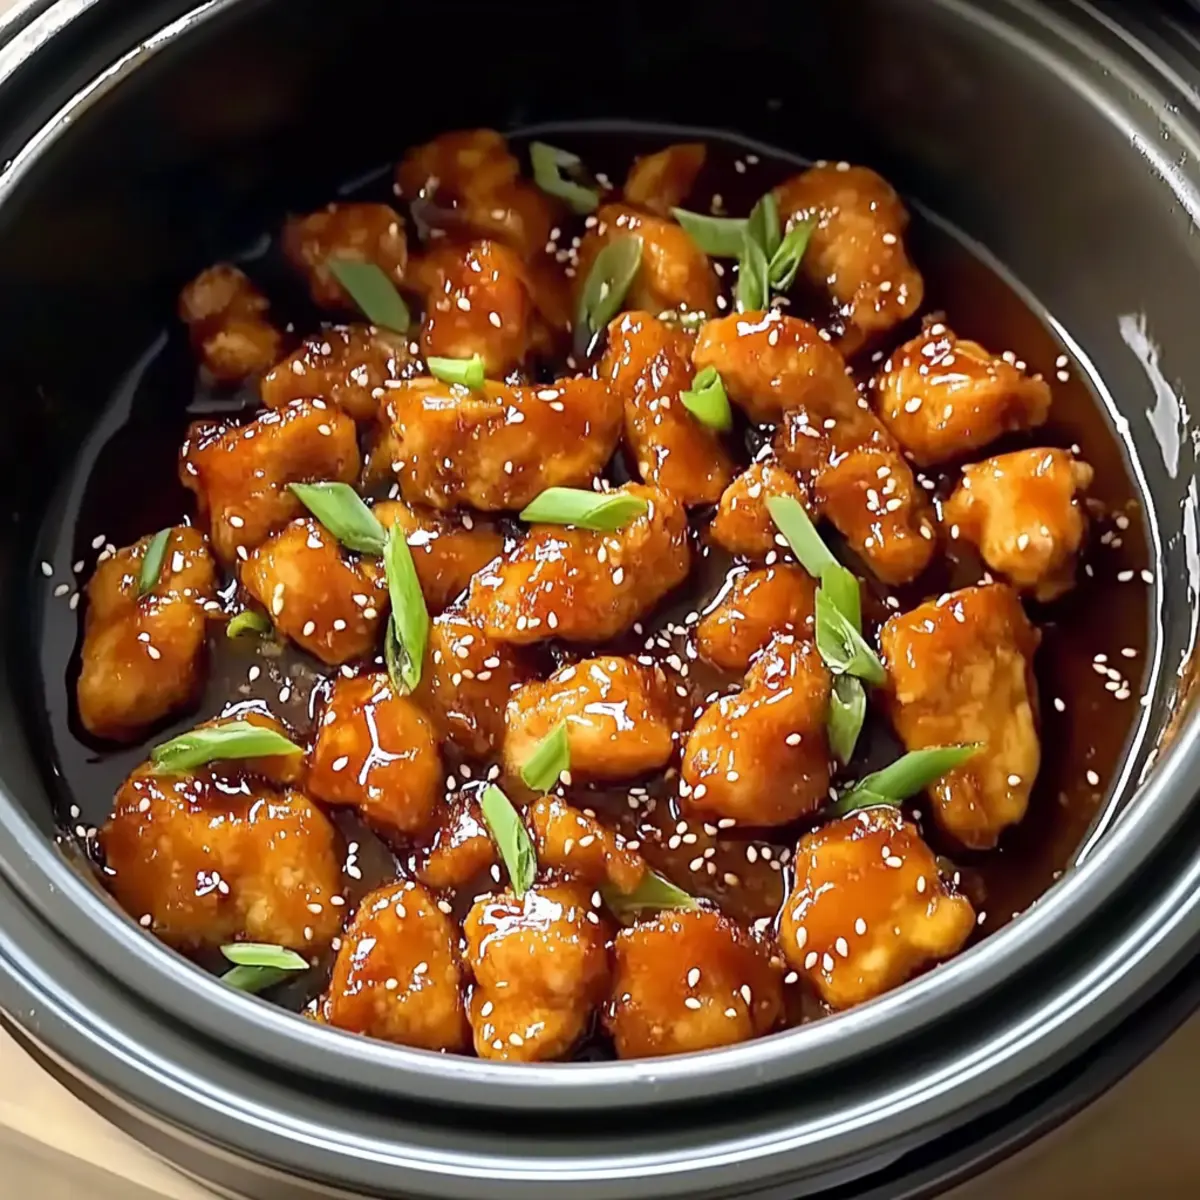
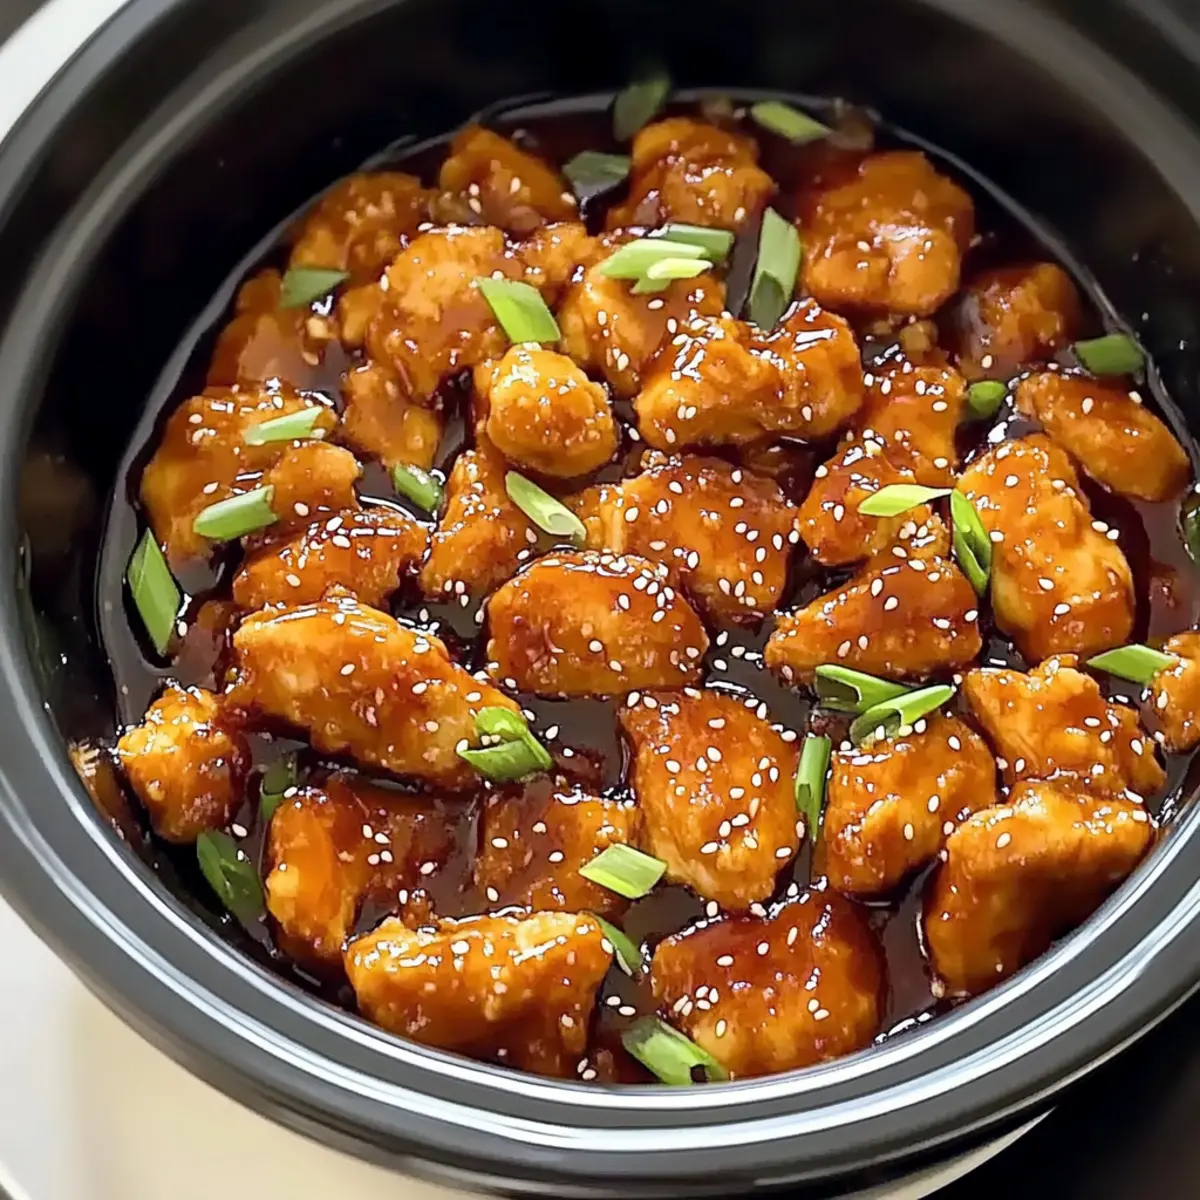
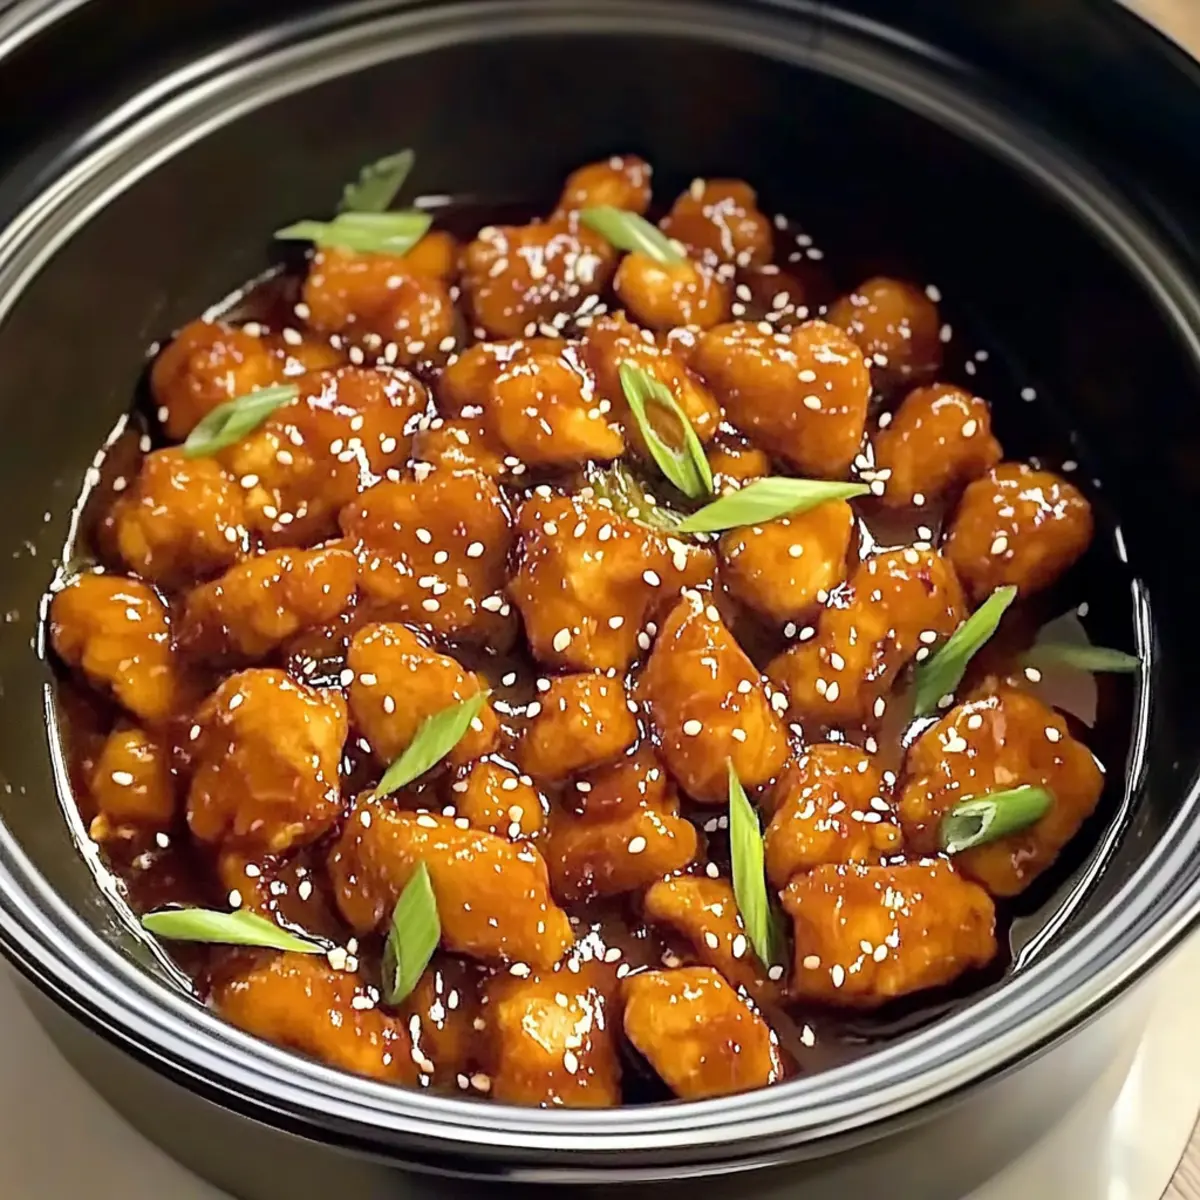
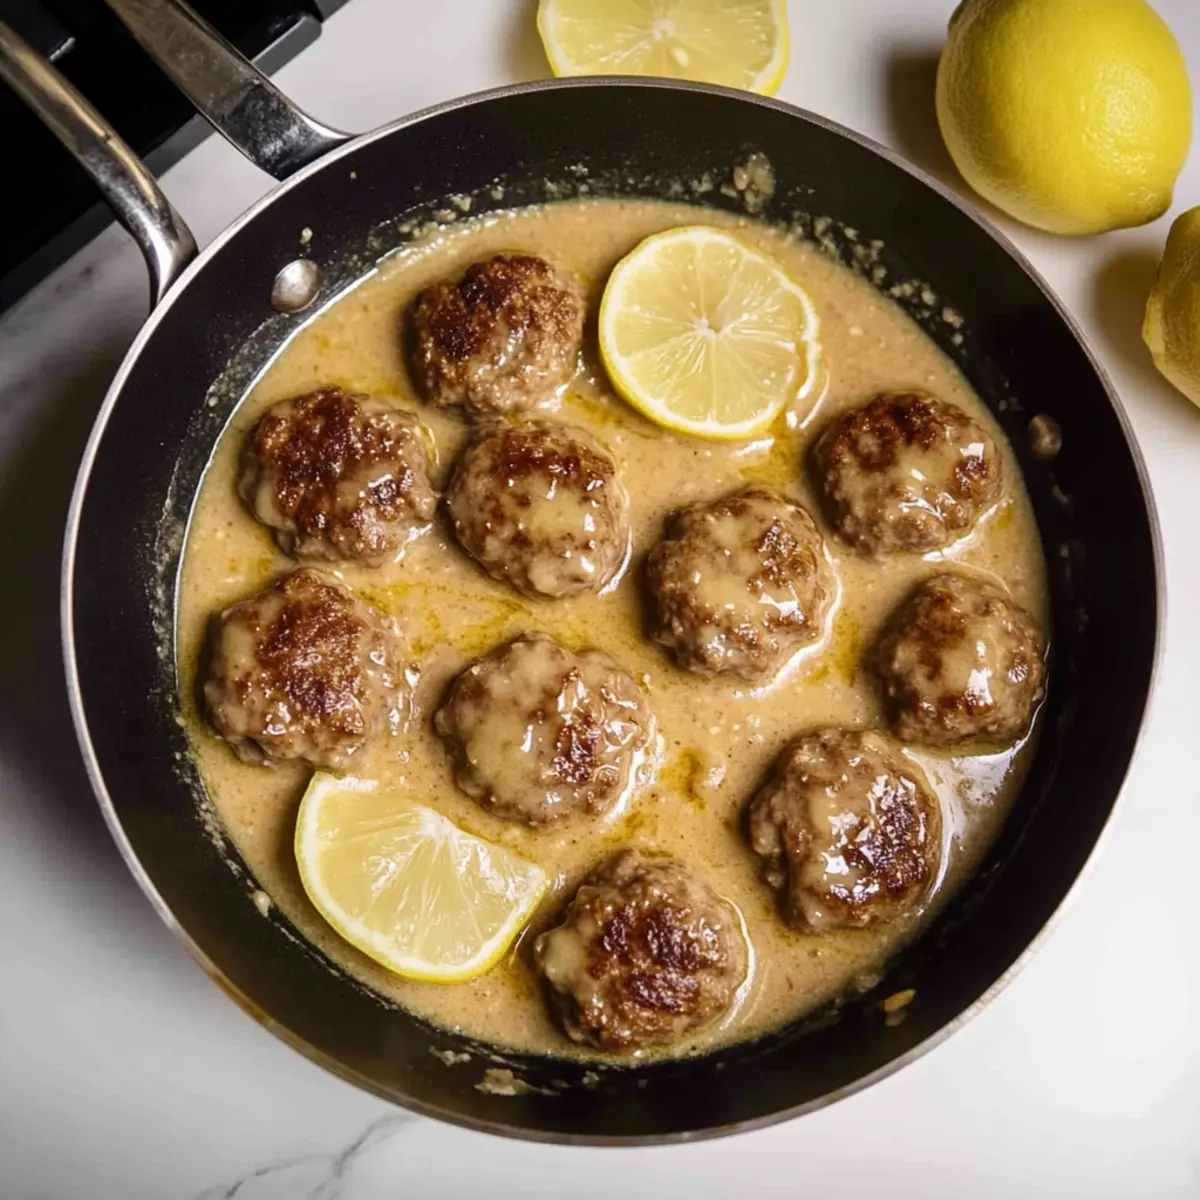
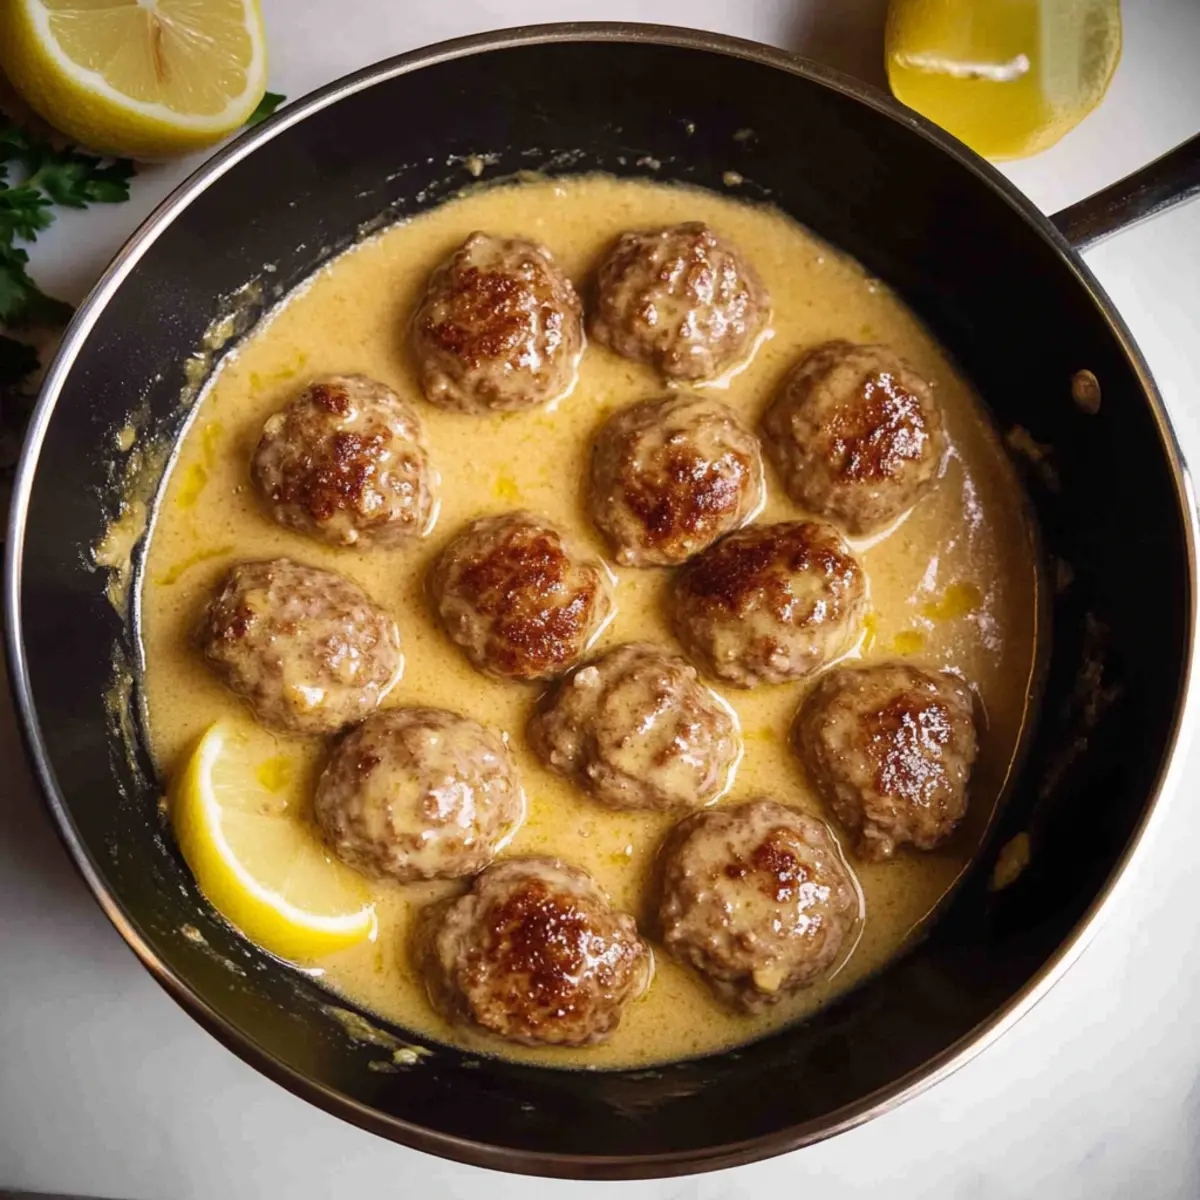
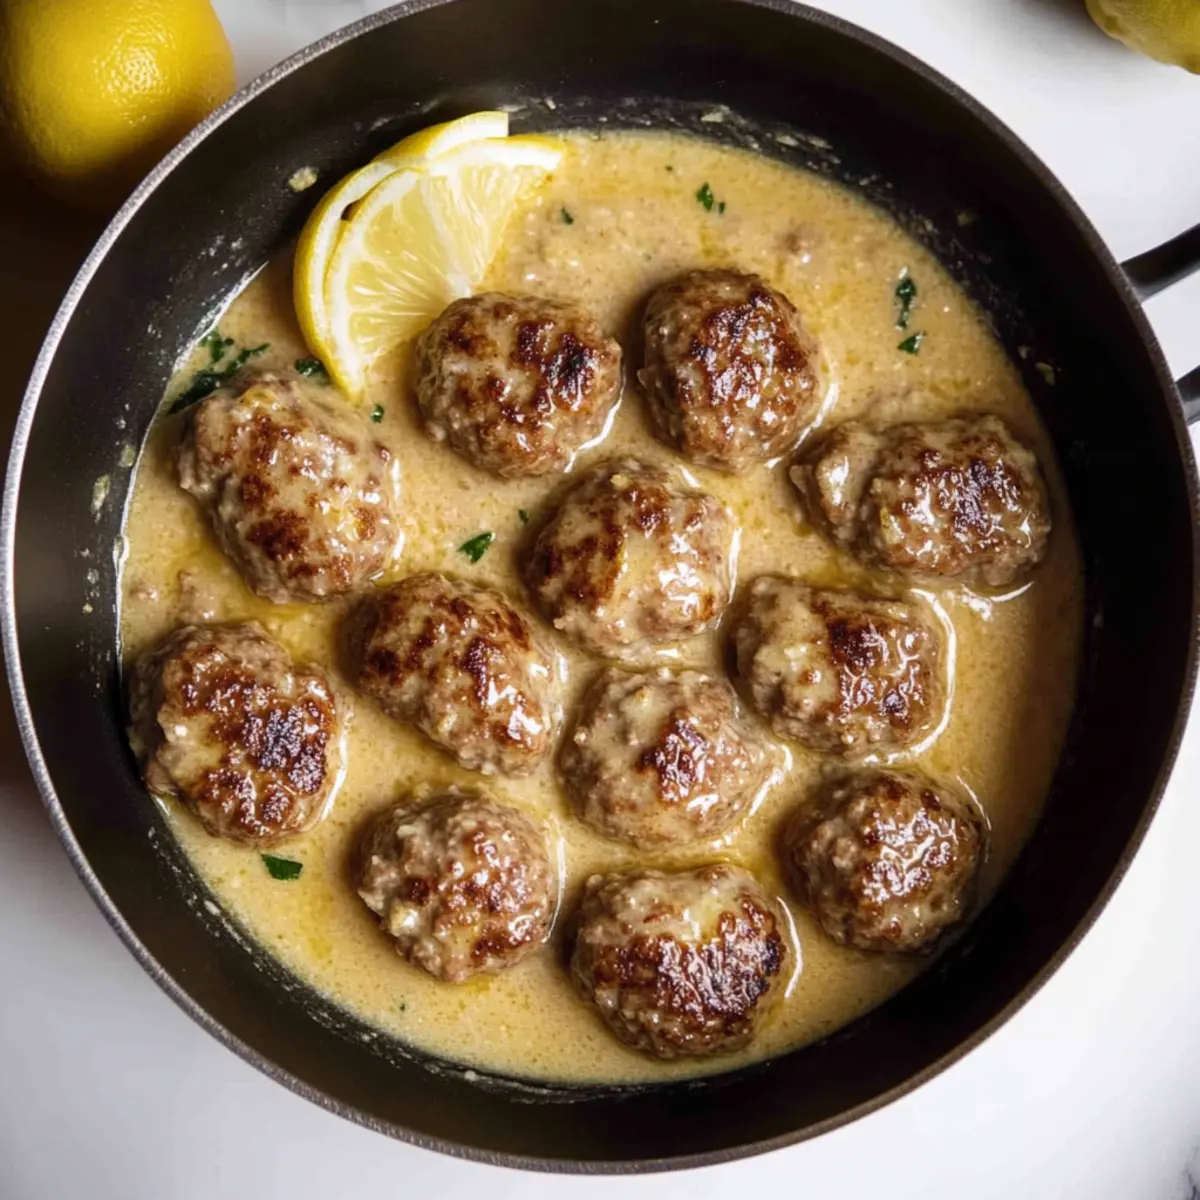
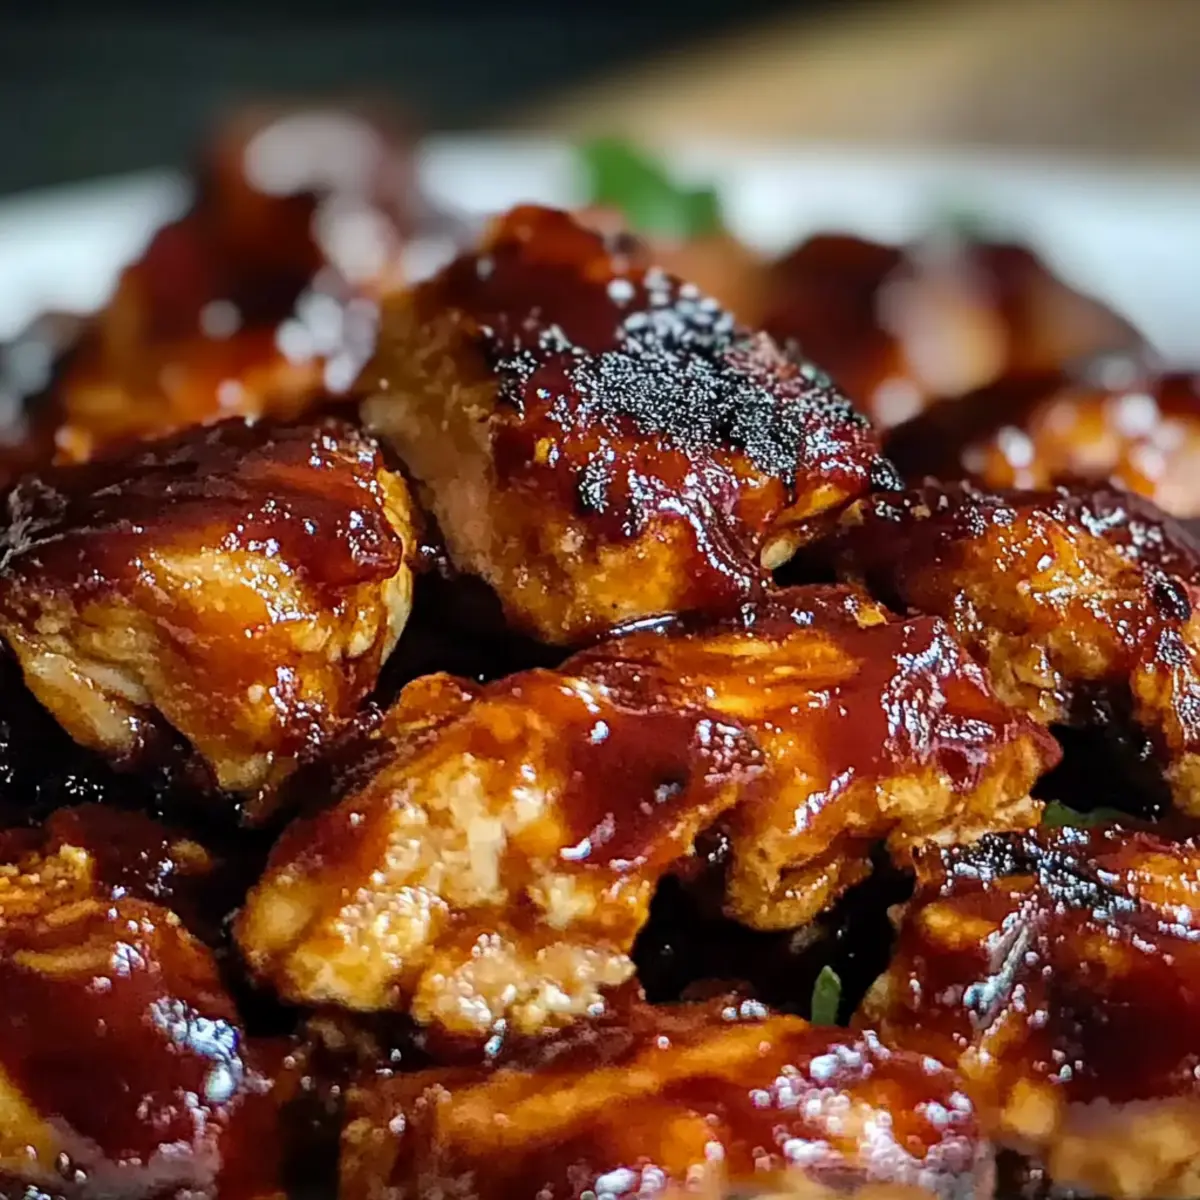
Place the seasoned chicken breasts into the crockpot, arranging them in a single layer for even cooking. Pour the BBQ sauce mixture over the chicken, ensuring every piece is well coated. The rich sauce will infuse the chicken with a sweet and tangy flavor as it cooks slowly.
Step 4: Set the Cooking Time
Cover the crockpot and set it to cook on low for 4 to 6 hours or on high for 2 to 3 hours. The chicken is done when it is tender and easily shredded with a fork. Make sure to check for doneness toward the end of the cooking time, as slow cooker models can vary.
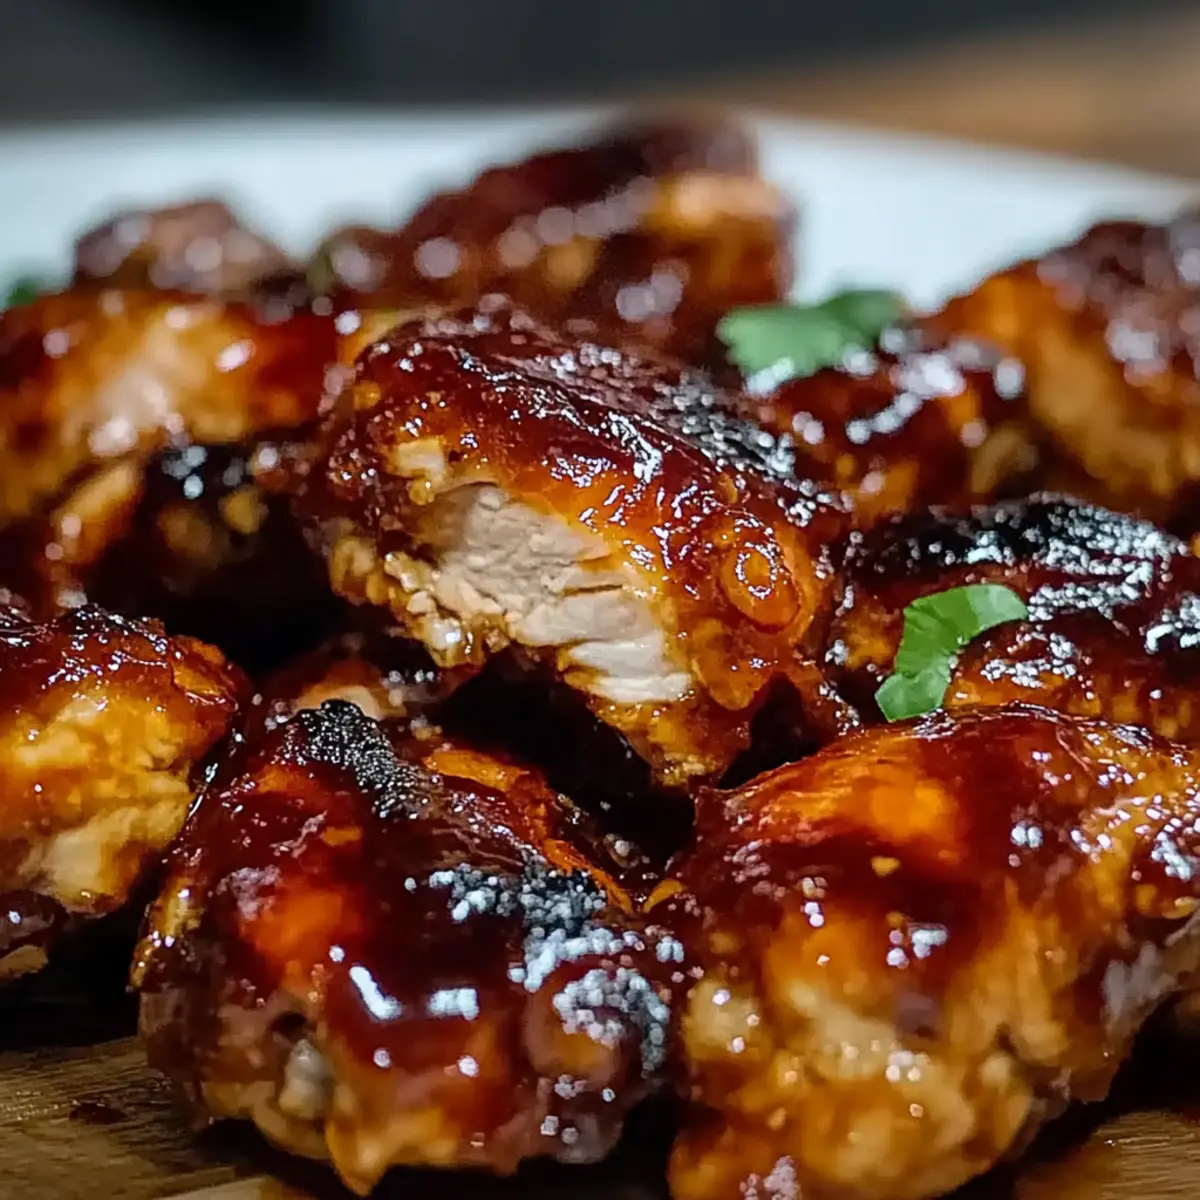
Step 5: Shred the Chicken
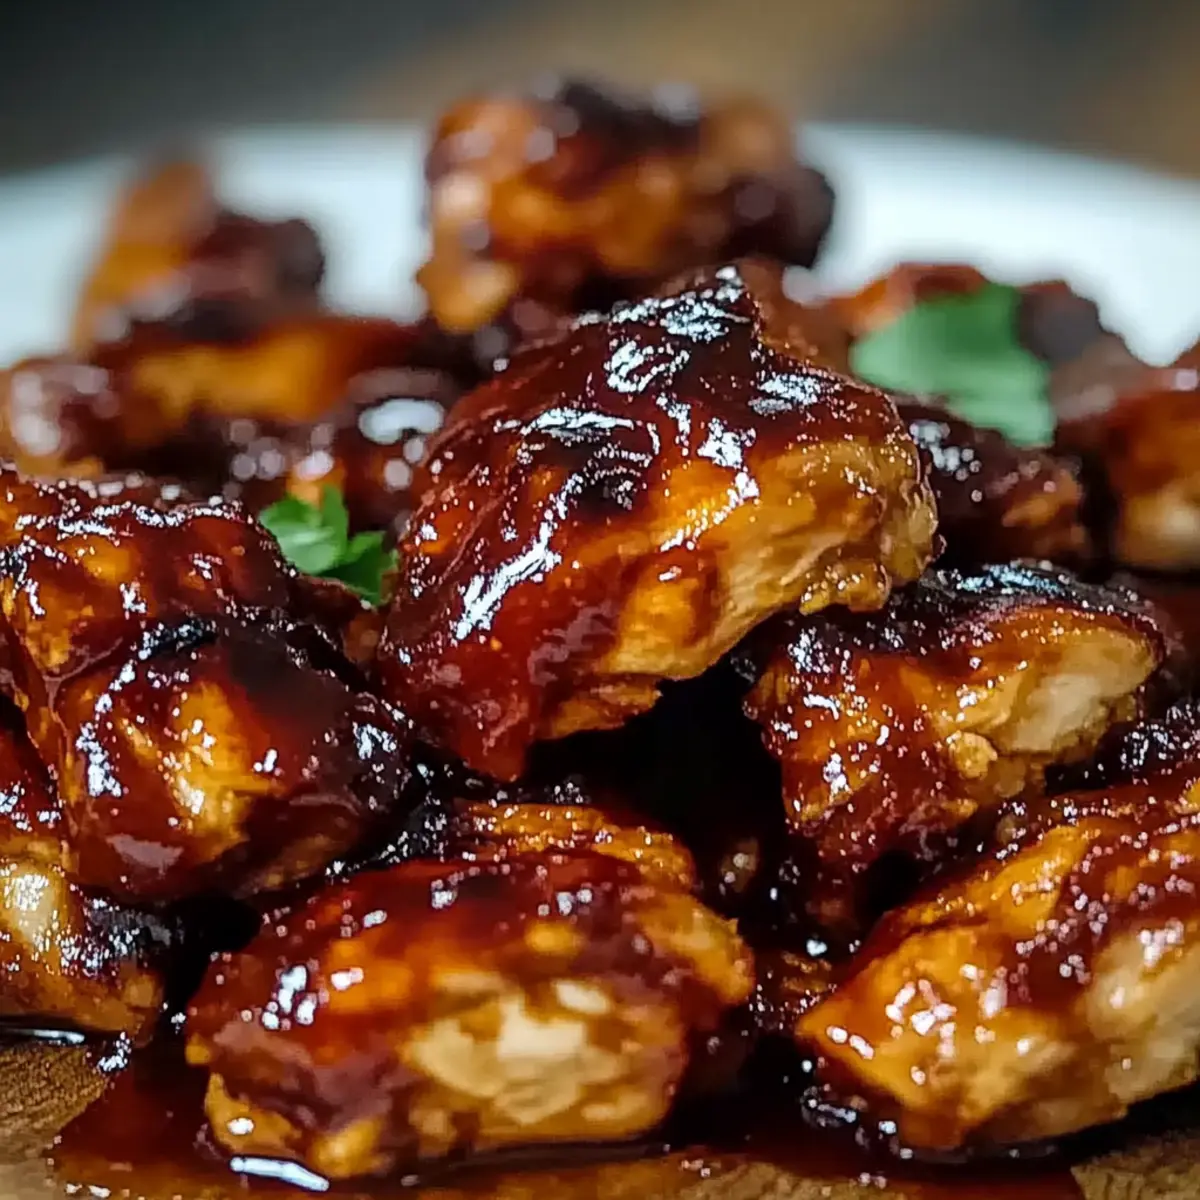
Once the cooking time is up, carefully remove the chicken from the crockpot and place it on a cutting board. Using two forks, shred the chicken into bite-sized pieces. This step allows the sweet BBQ sauce to blend seamlessly with the chicken, creating a perfect bite of your Sweet Baby Rays Crockpot Chicken.
Step 6: Mix with Sauce
Return the shredded chicken to the crockpot and stir it into the remaining sauce. This ensures every piece is deliciously coated, enhancing the overall flavor of the dish. Allow it to sit for a few minutes on the warm setting to soak up the sauce flavors before serving.
Step 7: Serve and Enjoy
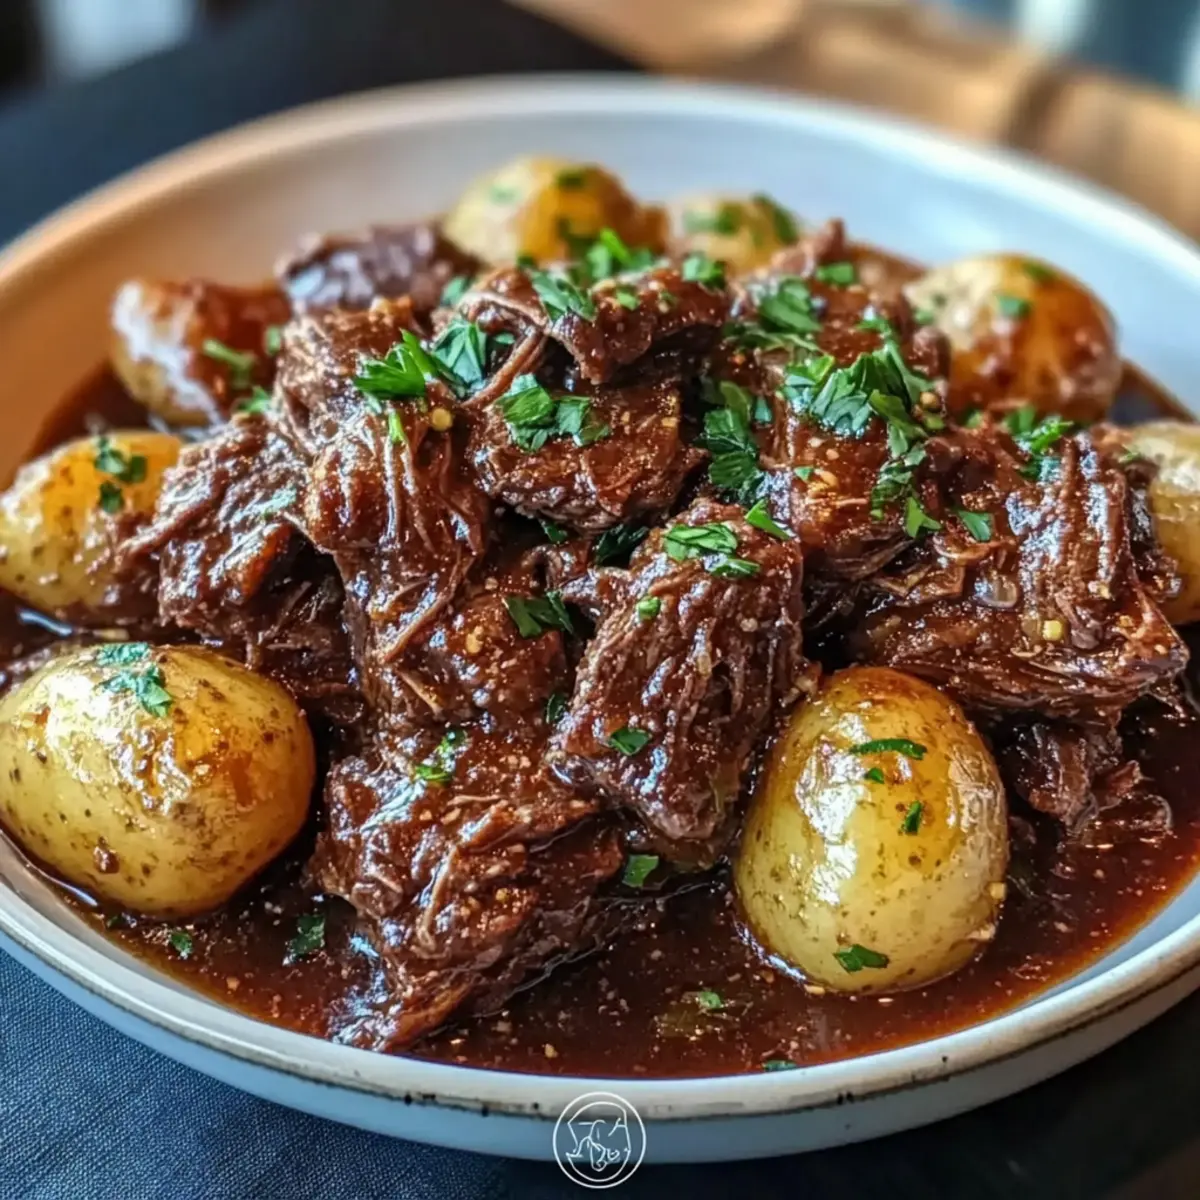
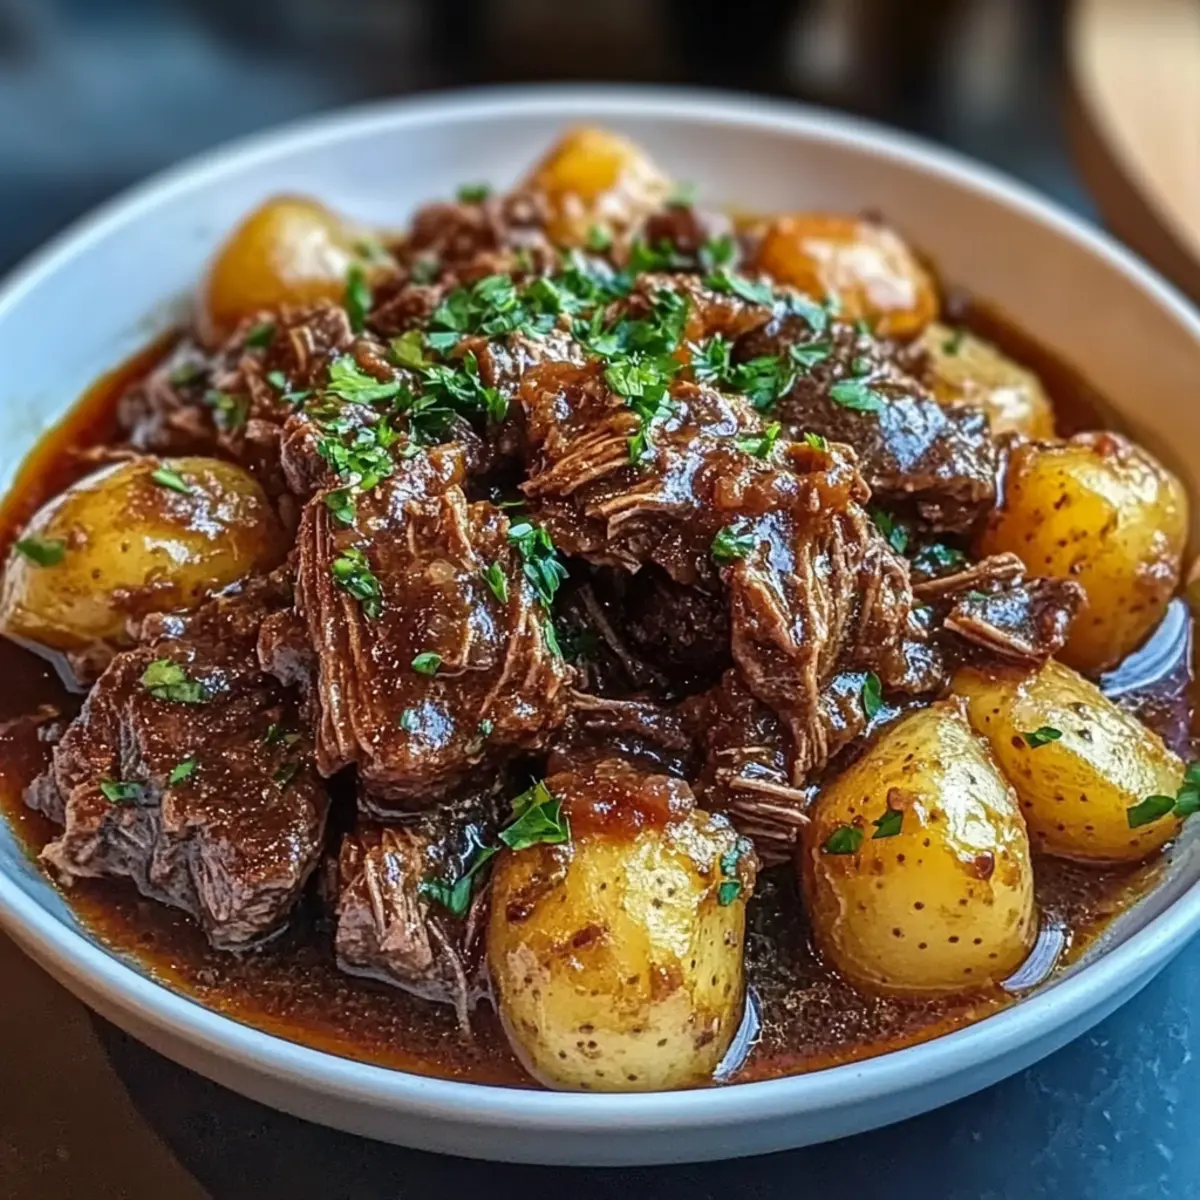
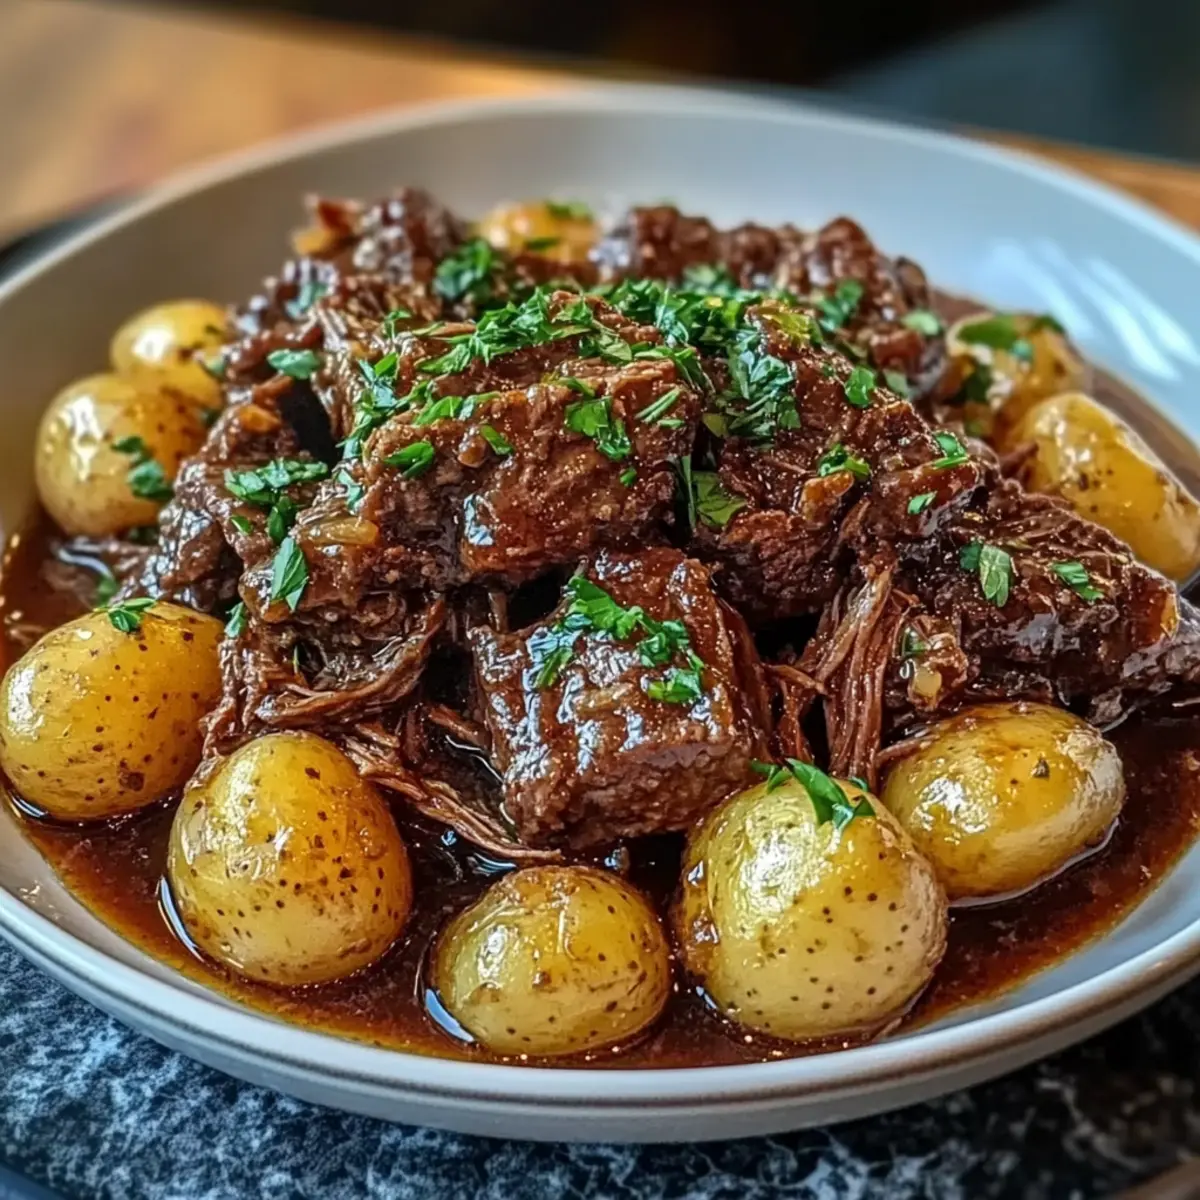
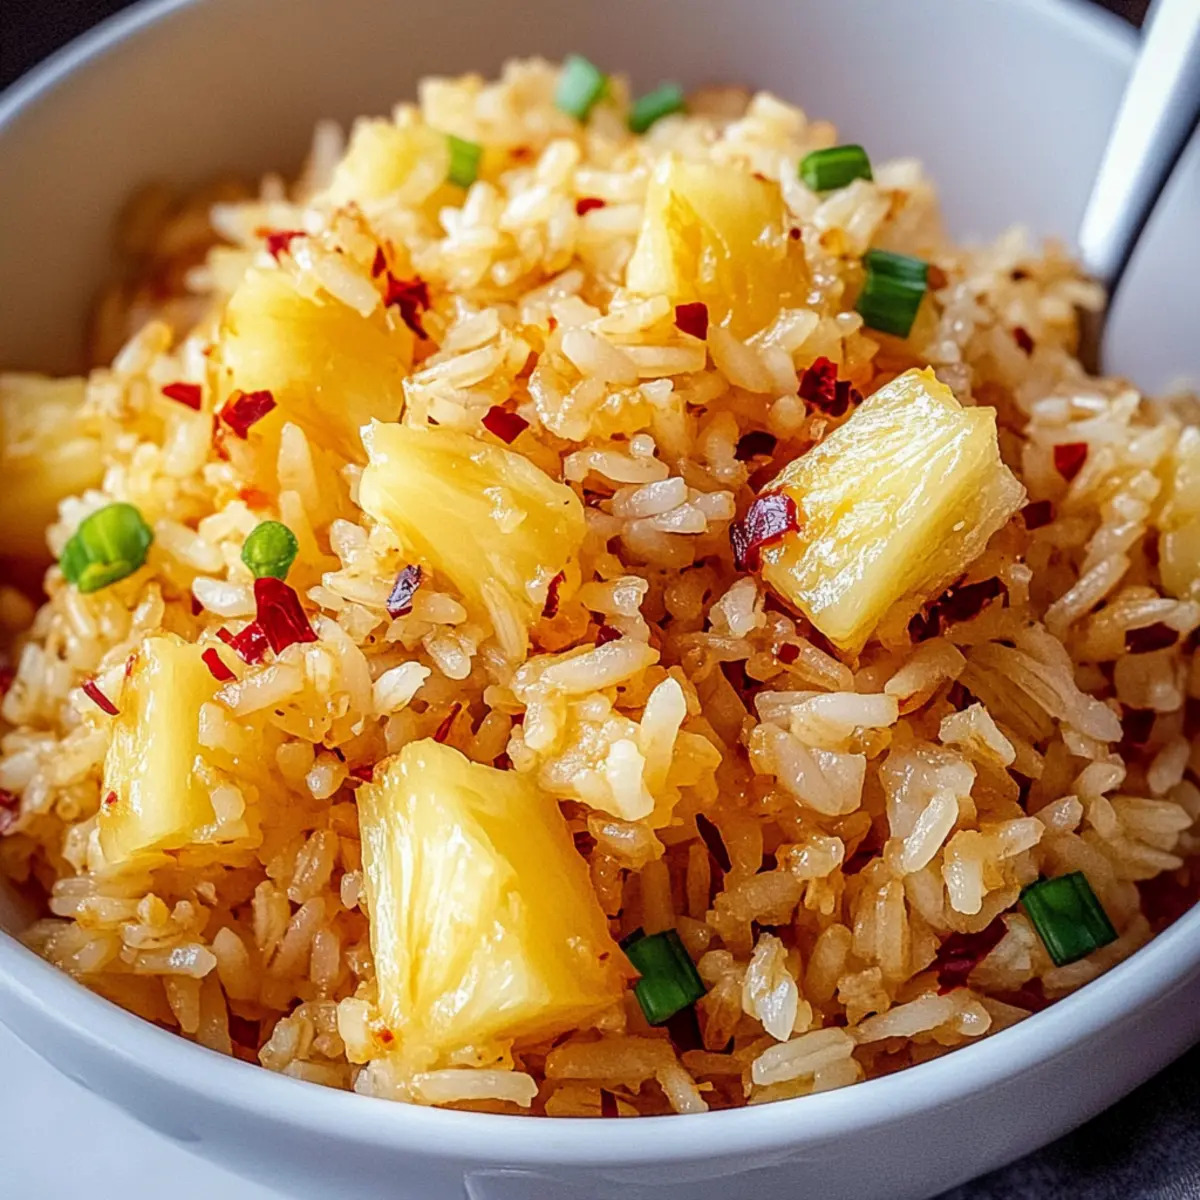
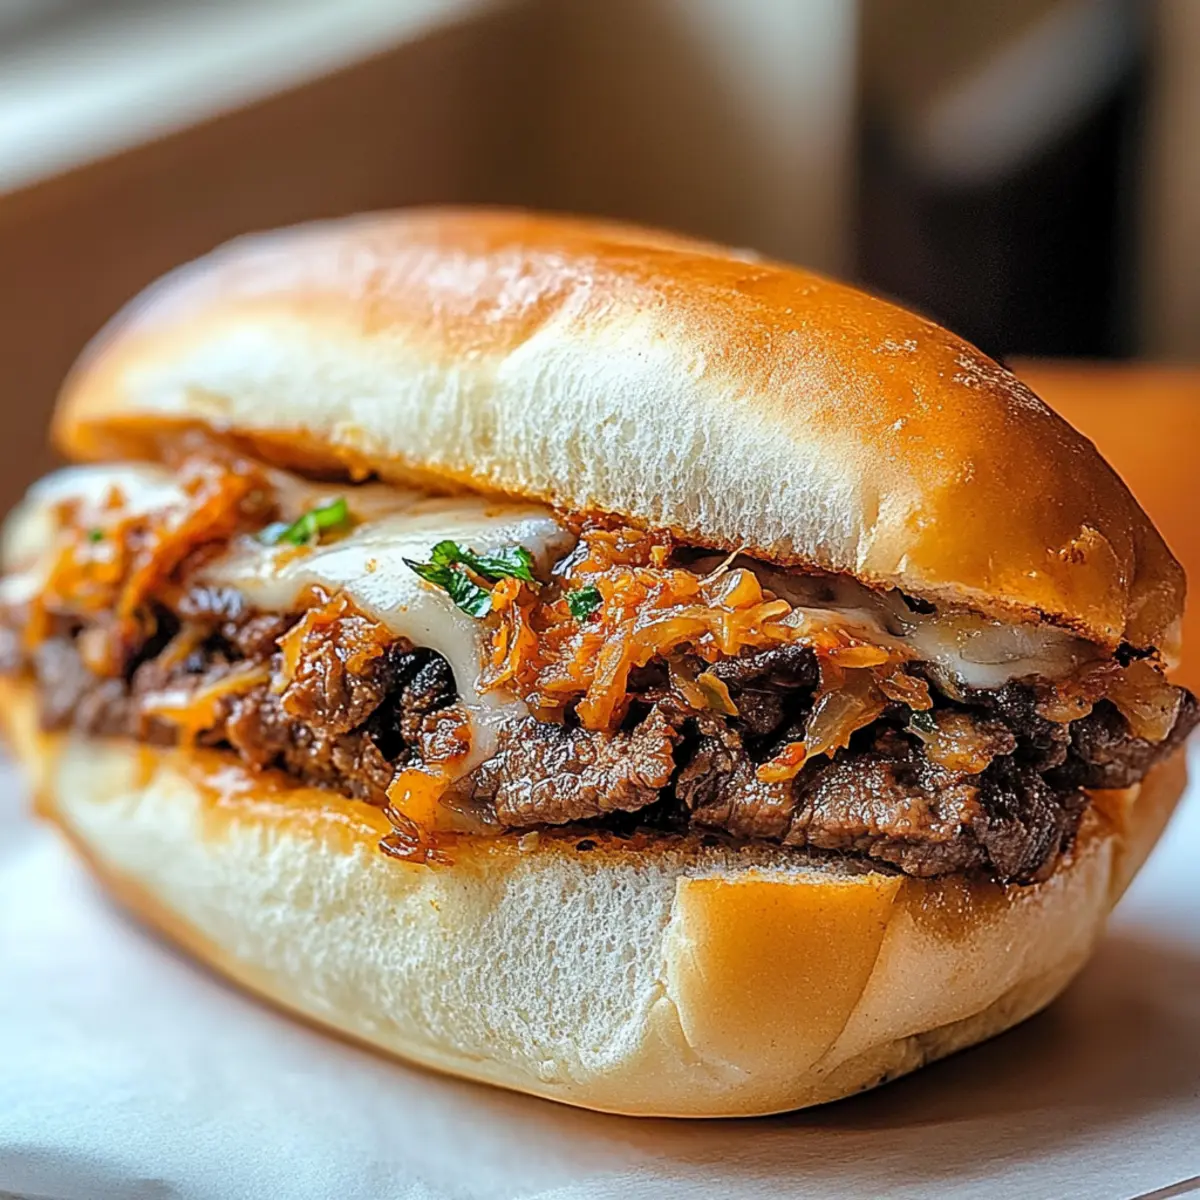
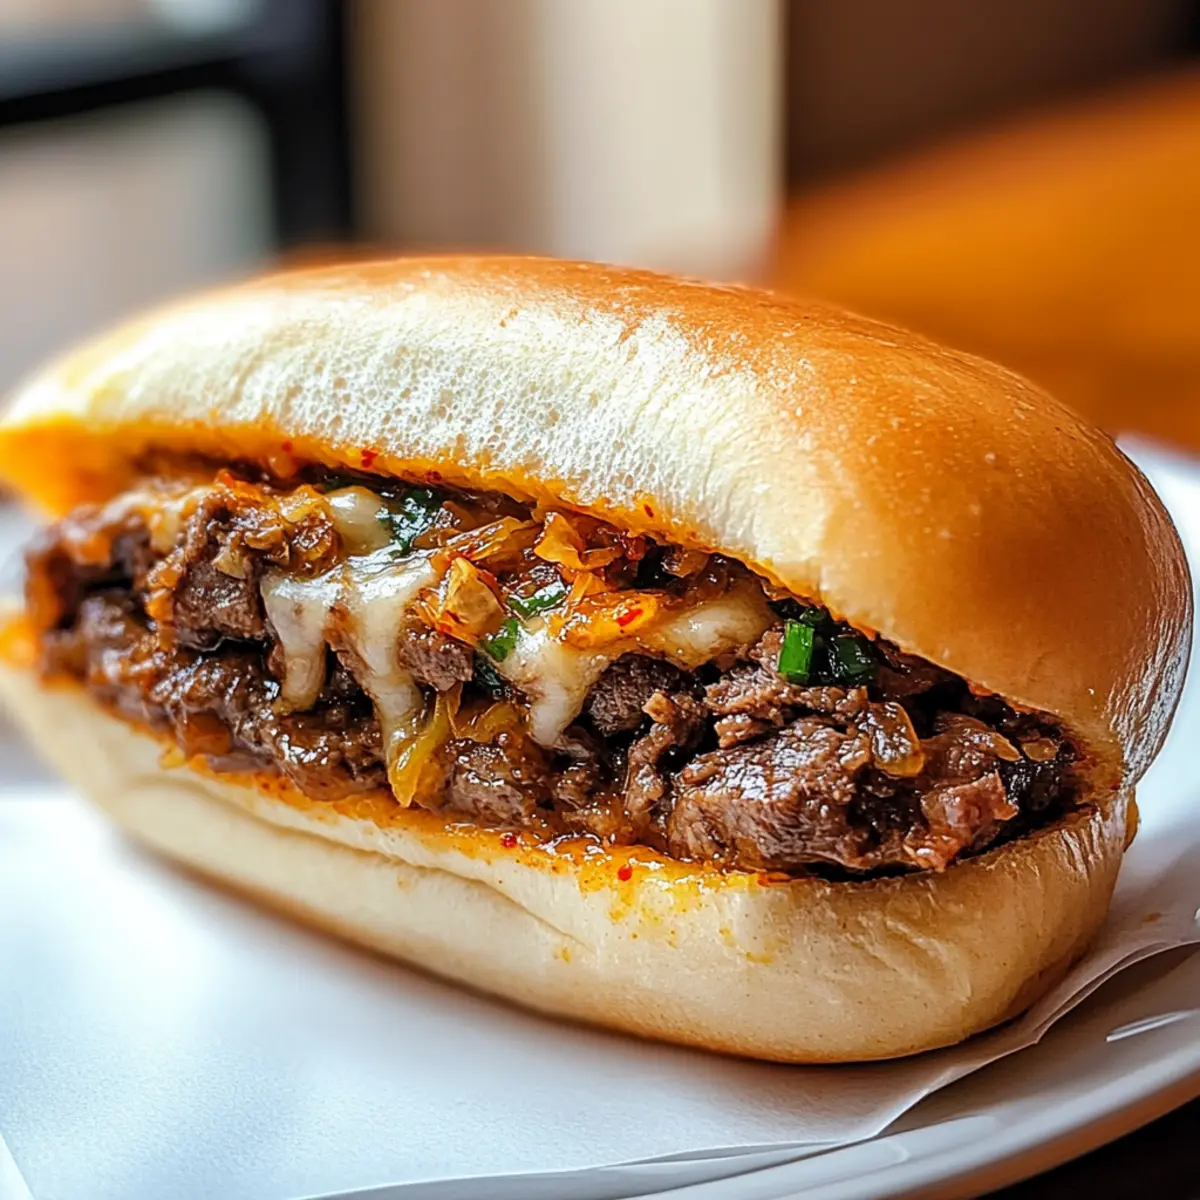
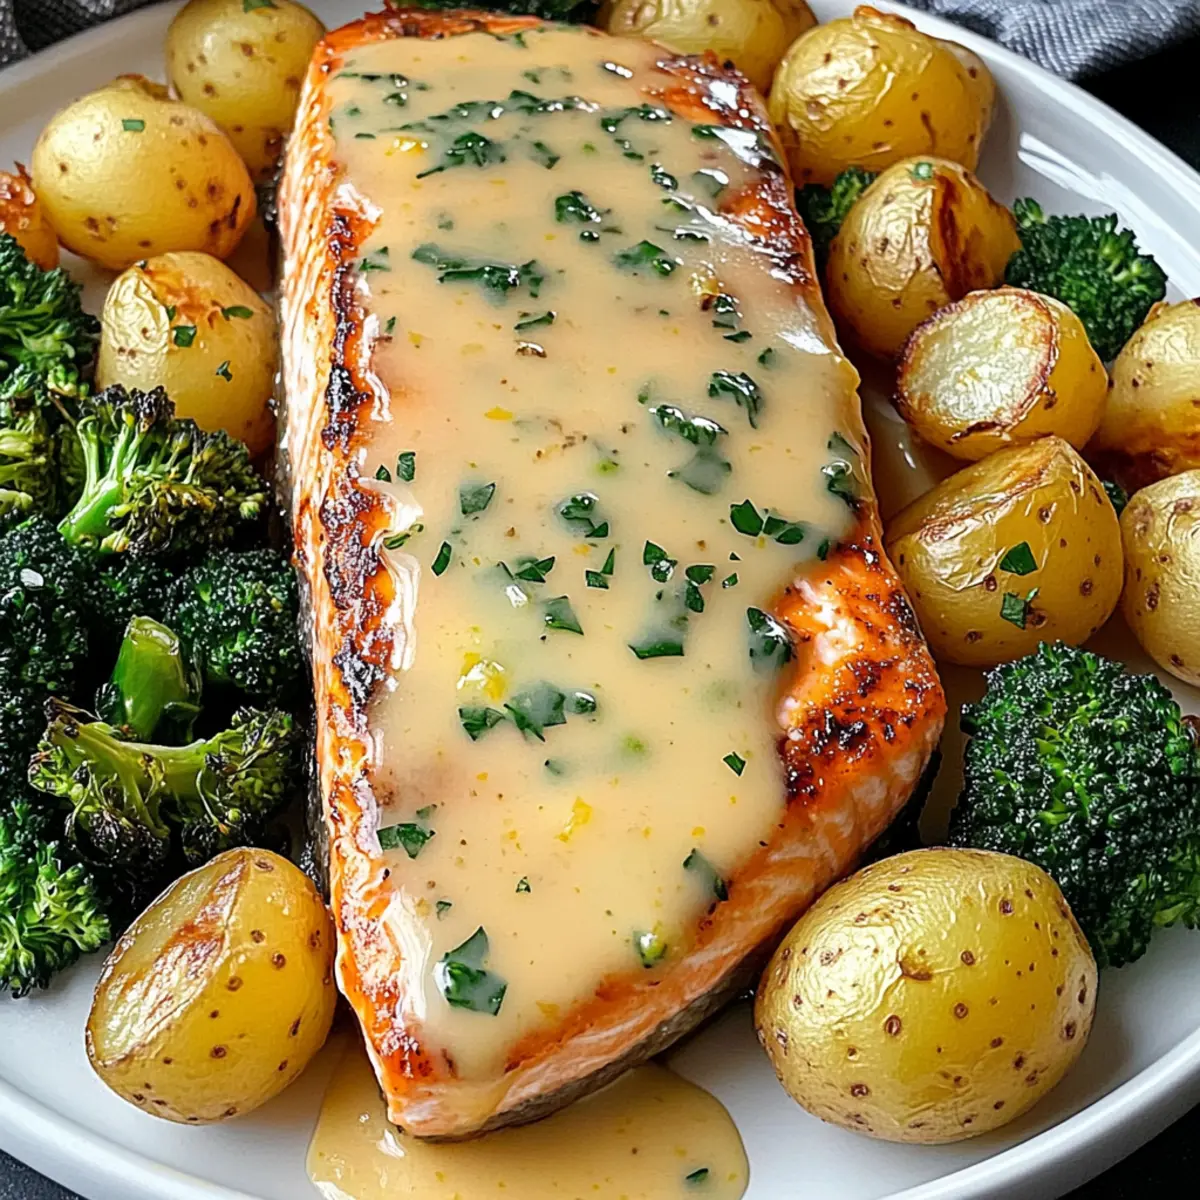
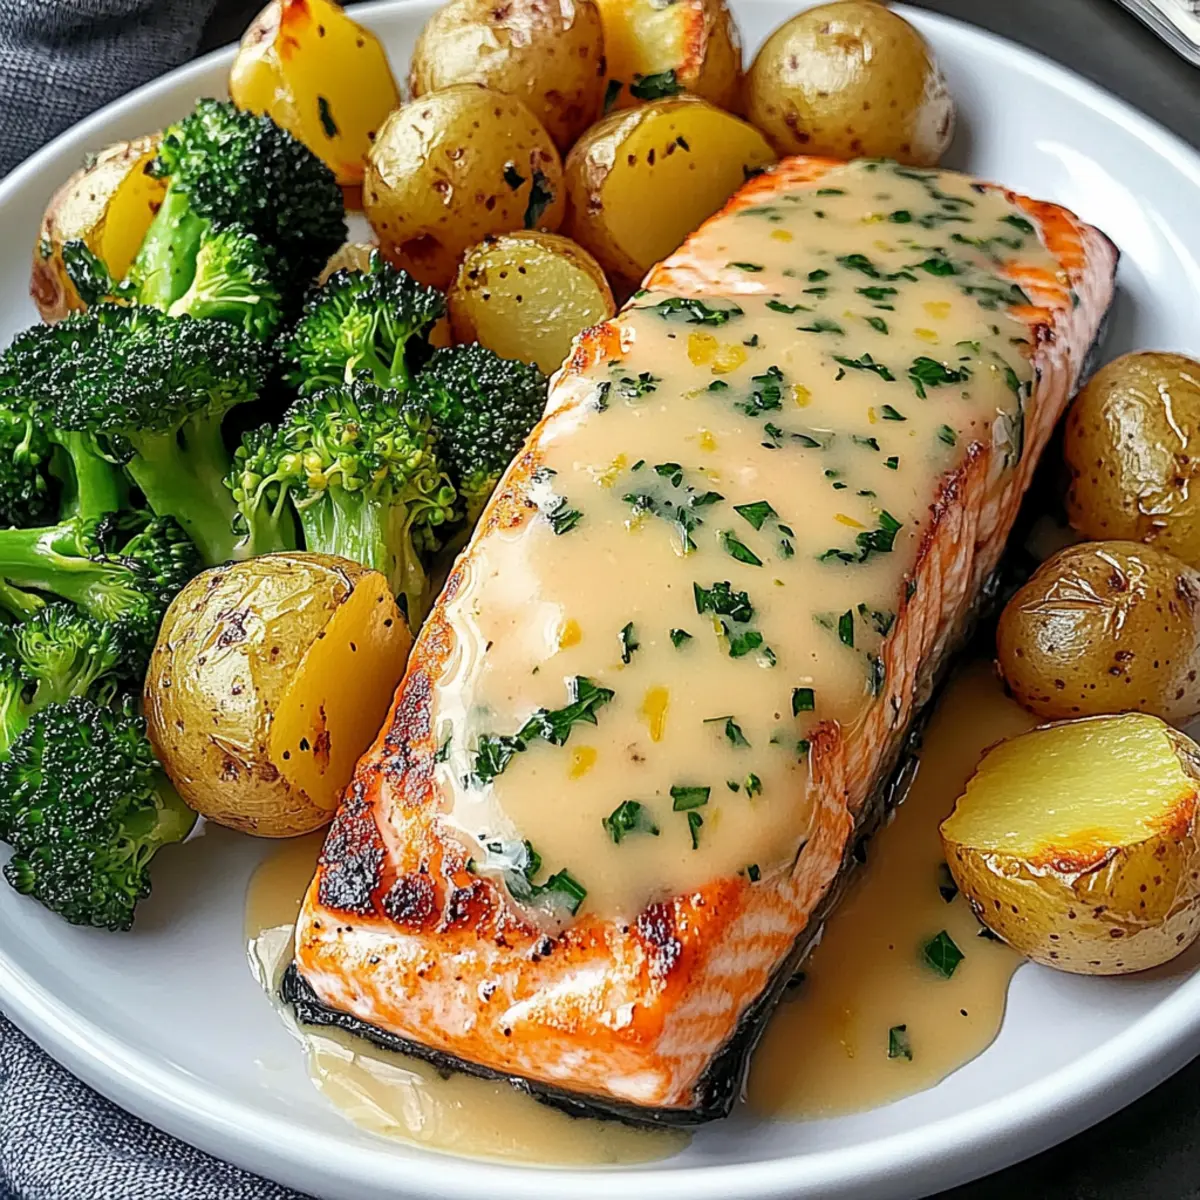
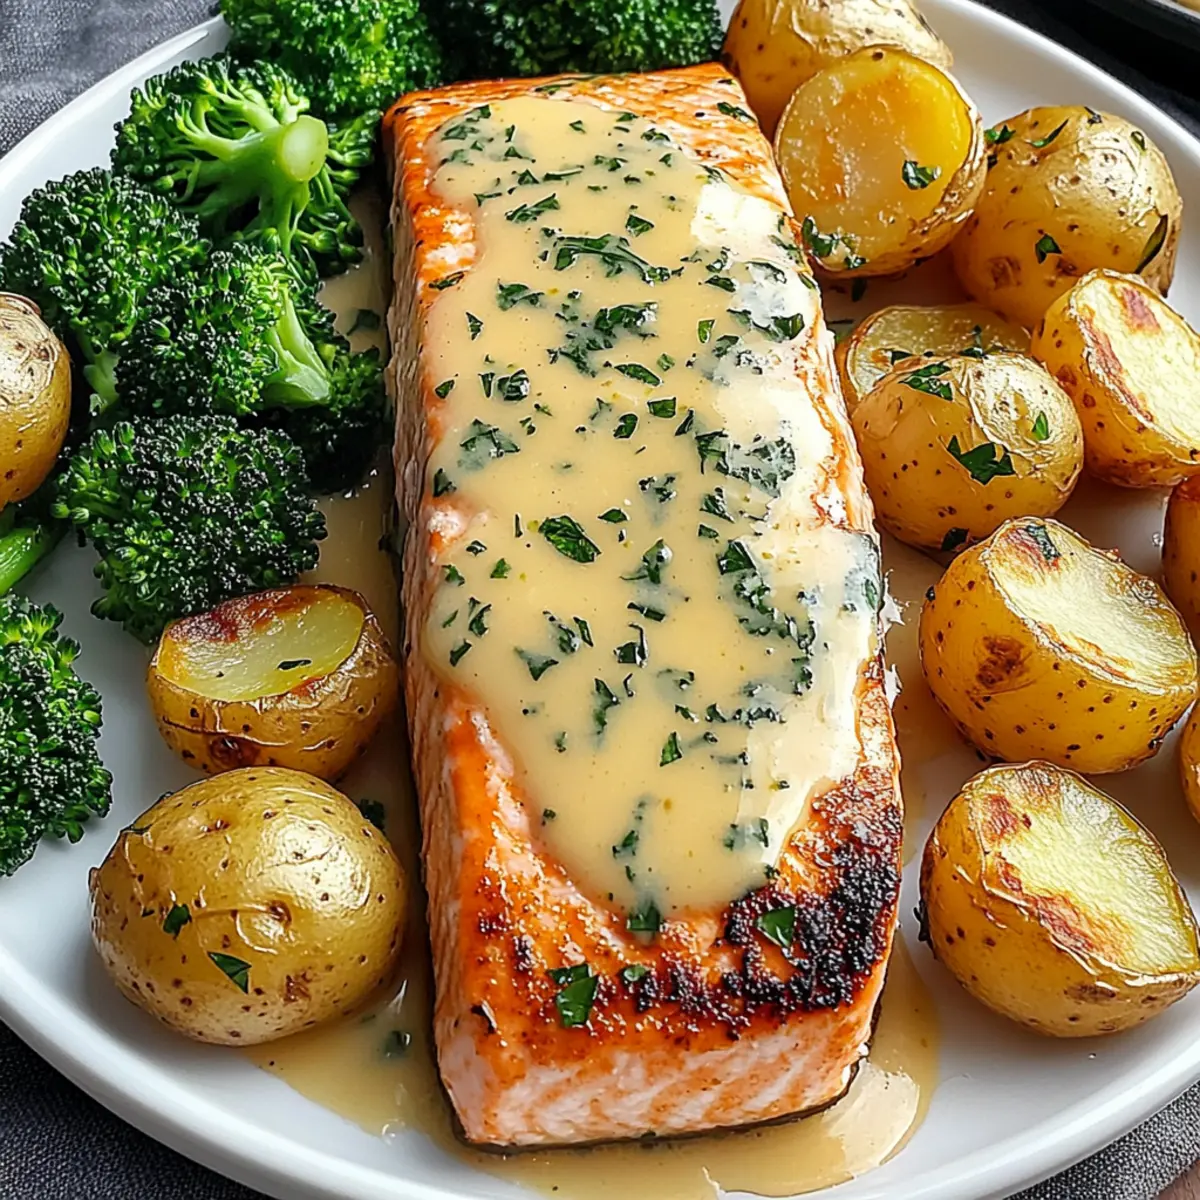
Your Sweet Baby Rays Crockpot Chicken is now ready to serve! Enjoy it hot over rice, piled high in a sandwich, or alongside your favorite side dishes. This comforting meal is perfect for busy weeknights and will surely be a hit with the whole family!
Make Ahead Options
These Sweet Baby Rays Crockpot Chicken meal prep options are perfect for busy home cooks seeking to save time! You can season the chicken and prepare the BBQ sauce mixture up to 24 hours in advance. Simply store the seasoned chicken in an airtight container or resealable bag in the refrigerator, and whisk together the sauce ingredients to keep in a separate container. When you're ready to cook, just combine them in the crockpot and set to low for 4-6 hours or high for 2-3 hours. This method not only simplifies your evening but also ensures that the flavors meld beautifully, allowing you to enjoy a delicious meal with minimal effort. Enjoy hassle-free family dinners with your flavorful Sweet Baby Rays Crockpot Chicken!
Expert Tips for Sweet Baby Rays Crockpot Chicken
Perfectly Seasoned: Ensure your chicken is seasoned evenly with garlic powder, salt, and pepper to enhance flavor throughout the dish.
Check the Sauce Consistency: If your Sweet Baby Rays BBQ sauce is too thin, simmer it on the stovetop for a few minutes to thicken it before serving.
Avoid Overcooking: Cooking times can vary depending on the crockpot model. Always check for doneness by shredding the chicken at the end of cooking.
Flavor Boost: For an extra depth of flavor, consider marinating the chicken in the sauce overnight before cooking. It’s optional but can be a delightful enhancement!
Make-Ahead Friendly: Double the recipe and freeze leftovers in portions for easy meals later; simply reheat and enjoy your Sweet Baby Rays Crockpot Chicken anytime.
Customize to Taste: Experiment with additional ingredients, like diced onions or bell peppers, for more texture and flavor variations that everyone will love!
What to Serve with Sweet Baby Rays Crockpot Chicken
As the sweet, smoky aroma fills the air, it’s time to think about the perfect accompaniments that will elevate your meal experience.
-
Creamy Coleslaw: The crisp, cool textures provide a refreshing contrast against the tender, BBQ-laden chicken, adding a delightful crunch.
-
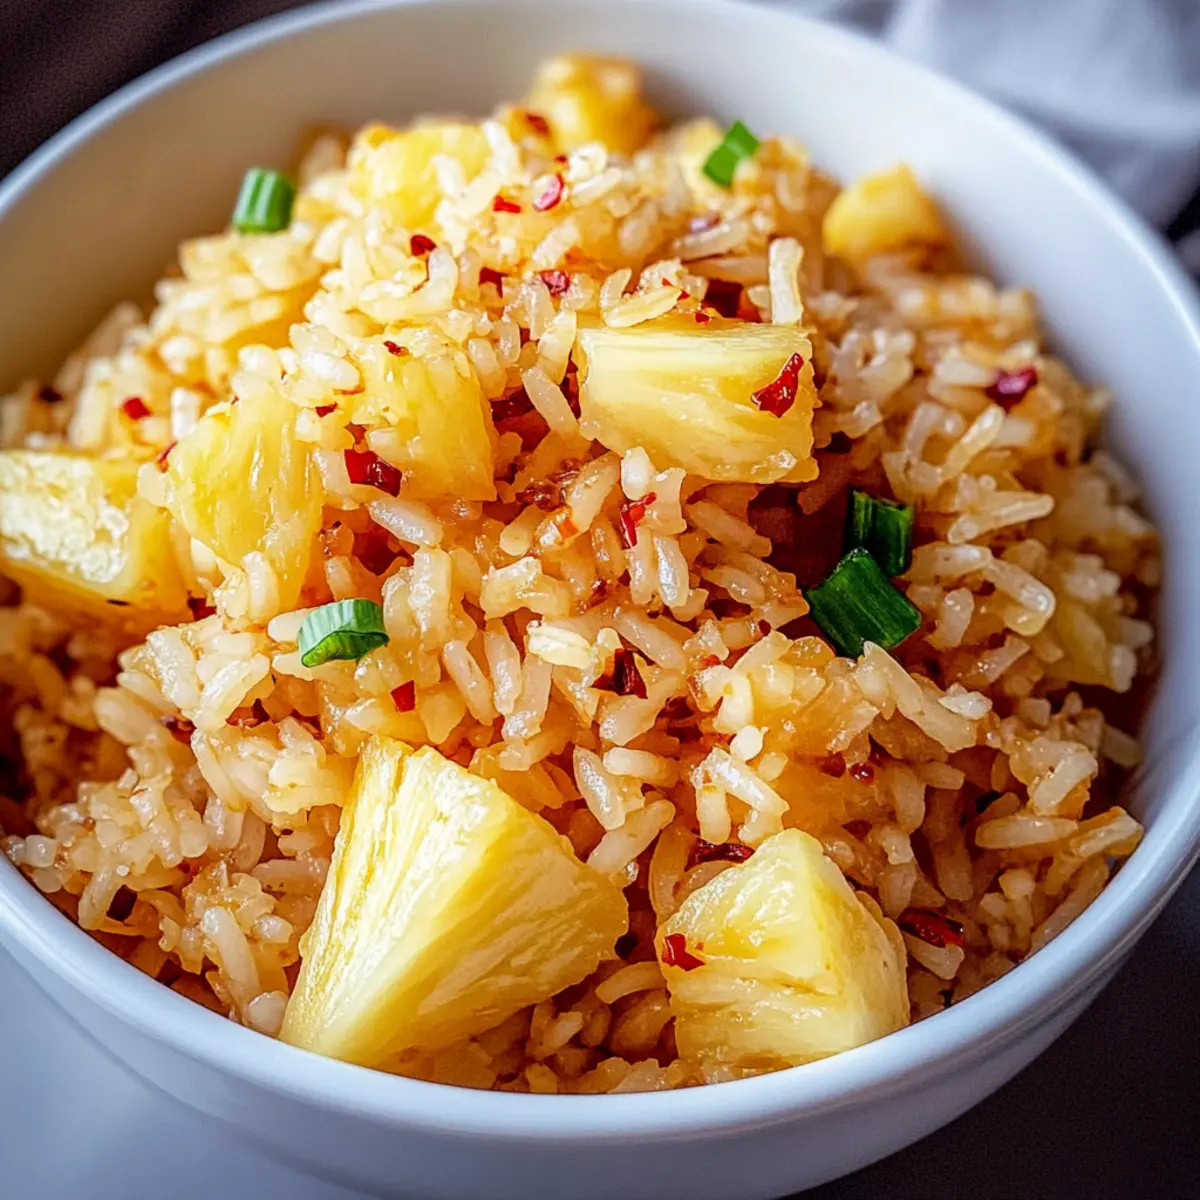
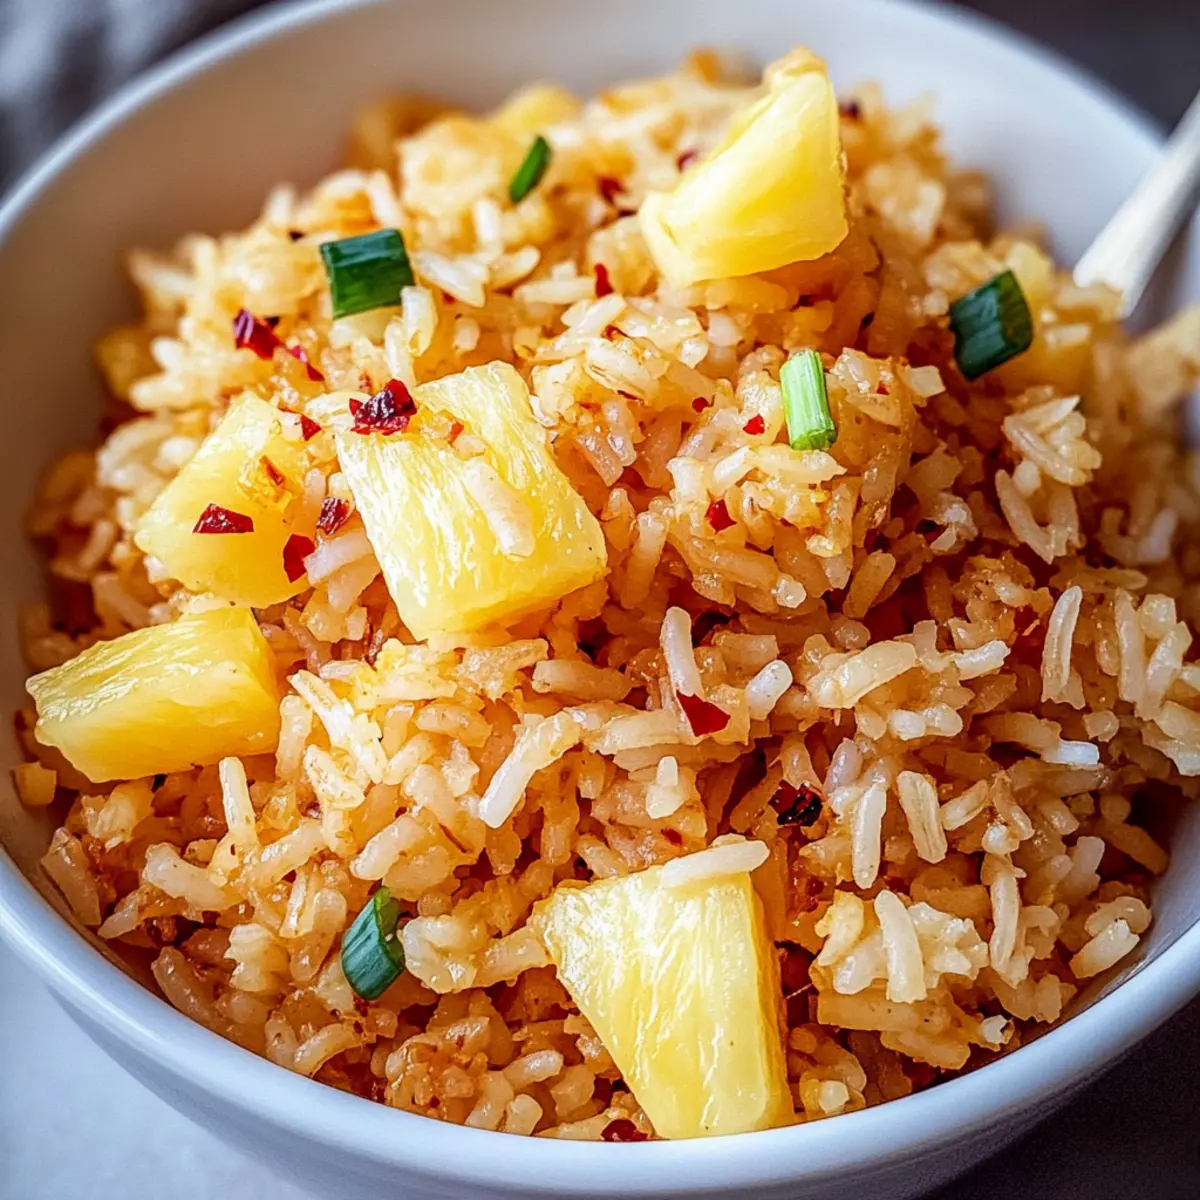
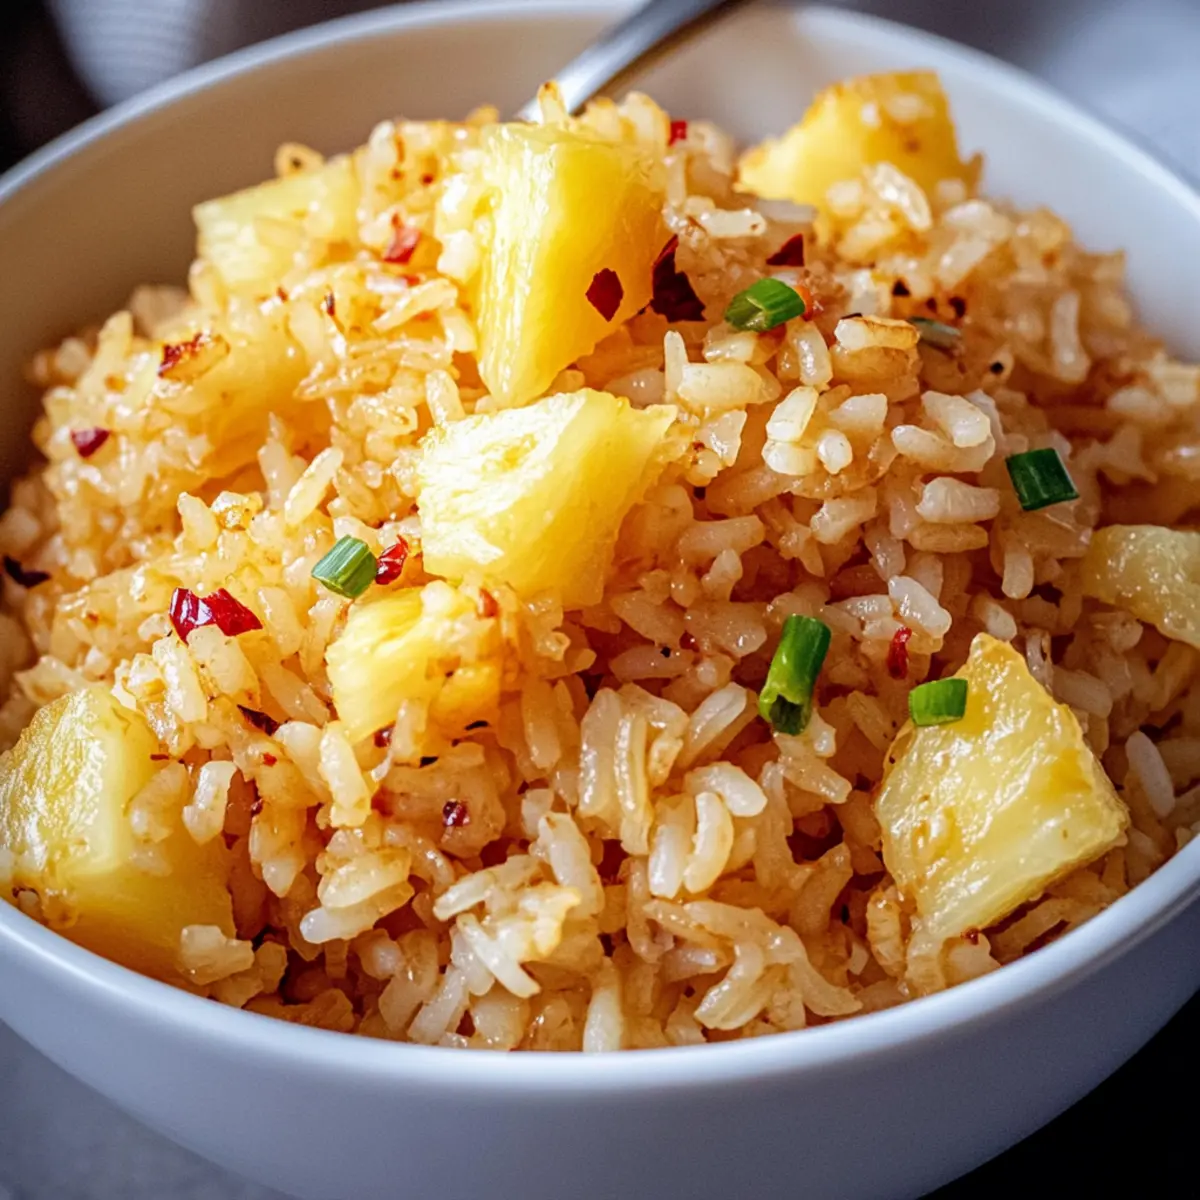
Fluffy Rice: A perfect base to soak up the rich BBQ sauce, fluffy rice elevates your meal while bringing a comforting element. Pair it with cilantro for an added burst of flavor!
-
Buttery Cornbread: This warm, slightly sweet bread complements the savory taste of the chicken beautifully, creating a homestyle feel that warms the heart. Enjoy slices with a pat of butter melting over the top.
-
Sweet Potato Fries: The natural sweetness of the fries harmonizes with the BBQ chicken’s flavor, providing a fun and satisfying crunch. Their golden color adds a vibrant touch to your plate, and they pair well with a zesty dip.
-
Pickled Jalapeños: For those who seek a little heat, pickled jalapeños introduce a spicy kick, balancing the sweetness of the dish. Their tangy flavor can awaken your taste buds in every bite!
-
Cold Beer or Iced Tea: To wash it all down, a cold brew or refreshing iced tea complements the meal perfectly, offering a soothing contrast to the richness of the crockpot chicken.
-
Peach Cobbler: End your meal on a sweet note with this classic dessert. The warm, gooey peaches and flaky crust provide a delightful finish that feels like a warm hug!
Storage Tips for Sweet Baby Rays Crockpot Chicken
Fridge: Keep leftovers in an airtight container for up to 3-4 days. This helps maintain the flavor and moisture of your Sweet Baby Rays Crockpot Chicken.
Freezer: For longer storage, freeze portions in airtight containers or freezer bags for up to 2-3 months. Make sure to label them for easy identification later!
Reheating: Thaw frozen chicken in the fridge overnight before reheating. Reheat in the microwave or stovetop until heated through; add a splash of water if needed to maintain moisture.
Make-Ahead Meals: This dish is great for meal prep; cook in advance and store for easy weeknight dinners without the hassle of cooking from scratch each night.
Sweet Baby Rays Crockpot Chicken Variations
Feel free to make this comforting dish your own with these exciting variations!
-
Spicy Twist: Add a teaspoon of cayenne pepper or hot sauce to the BBQ sauce mix for a zesty kick. Perfect for heat lovers!
-
Sweet Citrus: Replace apple cider vinegar with freshly squeezed orange juice for a fruity tang that complements the BBQ beautifully.
-
Diced Veggies: Toss in chopped onions and bell peppers before cooking to add both flavor and texture. They’ll soften and infuse the dish with their sweetness.
-
Herb Infusion: For an aromatic twist, add fresh herbs like thyme or rosemary to the sauce. Their earthy notes will elevate the overall flavor profile!
-
Smoky Flavor: Incorporate smoked paprika into the seasoning mix to give your chicken a delightful smoky vibe without the grill. Ideal for fans of BBQ culture!
-
Creamy BBQ: Stir in a dollop of cream cheese to the shredded chicken before serving, creating a rich and creamy texture. It’s a decadent touch!
-
Healthy Swap: Use skinless chicken thighs instead of breasts for a juicier result; they hold up beautifully under slow cooking and have a richer flavor.
Feeling adventurous? Try combining different variations! For instance, you could create a zesty, creamy concoction by using orange juice and cream cheese together, similar to how you might enjoy Maple Roasted Sweet Potatoes with Pecans as a side. Whatever direction you choose, your Sweet Baby Rays Crockpot Chicken will surely be a hit!
Sweet Baby Rays Crockpot Chicken Recipe FAQs
What type of chicken is best for this recipe?
Absolutely! For the best results, boneless, skinless chicken breasts are recommended as they cook evenly and stay moist. If you prefer more flavor, bone-in chicken breasts or thighs can be used; just keep in mind to adjust the cooking time slightly longer.
How should I store leftovers of Sweet Baby Rays Crockpot Chicken?
Store any leftovers in an airtight container in the refrigerator for up to 3-4 days. This will help preserve the juiciness and flavor of the chicken. If you're not planning to eat it within that timeframe, freezing is a great option.
Can I freeze Sweet Baby Rays Crockpot Chicken?
Absolutely! To freeze, allow the chicken to cool completely, then transfer it into freezer-safe containers or bags, ensuring you remove as much air as possible. It can be frozen for up to 2-3 months. When you're ready to enjoy it again, thaw it overnight in the fridge and reheat until warmed through.
What should I do if the sauce is too thin after cooking?
If you find the sauce too thin, no worries! Simply pour it into a saucepan and simmer on medium heat for about 5-10 minutes until it thickens to your desired consistency. Stir occasionally to prevent it from burning. This step really brings out the flavor!
Is this recipe safe for people with allergies?
It's important to consider the ingredients! This recipe contains common allergens like garlic and potentially hidden ingredients in the BBQ sauce (like soy or gluten). For those with garlic or other specific allergies, feel free to skip the garlic powder and look for allergy-friendly BBQ sauce options or make your own!
Can I add vegetables to the crockpot?
Very! You can certainly add diced onions, bell peppers, or even carrots for added flavor and texture. Just chop them into bite-sized pieces and add them to the crockpot alongside the chicken and the sauce. They will cook down nicely and mix well with the flavors. This is a great way to sneak in some extra nutrients while keeping the dish hearty!
Tender Sweet Baby Rays Crockpot Chicken for Busy Nights
Ingredients
Equipment
Method
- Season the chicken breasts with garlic powder, salt, and pepper, ensuring they are evenly coated.
- In a bowl, whisk together the Sweet Baby Rays BBQ sauce, brown sugar, apple cider vinegar, and olive oil.
- Place the seasoned chicken in the crockpot and pour the sauce mixture over it, coating every piece.
- Cover and set the crockpot to cook on low for 4-6 hours or on high for 2-3 hours.
- Once done, shred the chicken using two forks.
- Return the shredded chicken to the crockpot, mixing it with the remaining sauce.
- Serve hot over rice or in sandwiches.