As I sifted through my spice cabinet, a forgotten jar of curry powder caught my eye, evoking the aroma of vibrant market days during my travels. That delightful memory inspired me to whip up a Comforting Chickpea Curry—a dish that’s not only packed with flavor but also a quick solution for those chaotic weeknights when cooking feels like a mini crisis. This recipe is a crowd-pleaser, bringing warmth and spice to your dinner table in just 30 minutes, all while being nourishing and satisfying. Plus, it's vegan and can easily be made gluten-free, making it a versatile go-to for family and friends. Curious to see how easy it is to elevate your weeknight meals with this soulful delight? Let’s dive in!
How can dinner be this quick and delicious?
Speedy Preparation: With a cooking time of just 30 minutes, this chickpea curry is perfect for busy weeknights when you're short on time.
Flavor Explosion: The blend of spices transforms simple ingredients into a mouthwatering dish that will have everyone asking for seconds.
Vegan and Gluten-Free: This recipe is not only plant-based but also easily adapted for gluten-free diets, making it a hit for all guests.
Crowd-Pleasing Comfort: Whether you're feeding your family or hosting friends, this curry promises to warm hearts and satisfy cravings—perfect for those who are tired of fast food! For additional inspiration, check out my ideas for easy weeknight dinners.
Nourishing Ingredients: Chickpeas provide protein and fiber, while vegetables lend their nutritional goodness, ensuring this meal is as wholesome as it is delightful.
Chickpea Curry Ingredients
For the Curry Base
• Chickpeas – canned or cooked, these little powerhouses are the star of your dish, rich in protein and fiber.
• Onion – finely chopped, it adds a sweet, aromatic base that enhances the overall flavor.
• Garlic – minced, it brings in those delightful warming notes that make your kitchen smell heavenly.
• Ginger – freshly grated for an extra zing, enriching the dish with its earthy warmth.
• Curry Powder – a vibrant blend that transforms ordinary ingredients into an exotic delight, making this chickpea curry unforgettable.
• Coconut Milk – creamy and luscious, it adds richness and balances the spices beautifully.
• Diced Tomatoes – fresh or canned, they contribute acidity and a touch of sweetness to round out the flavors.
For the Vegetables
• Spinach – fresh or frozen, it wilts down beautifully, adding color and nutrients to your curry.
• Bell Peppers – diced, they provide a sweet crunch and a pop of color to the dish.
• Carrots – sliced, they add natural sweetness and a bit of texture to the mix.
For Garnish
• Fresh Cilantro – chopped, it brings a fresh brightness that elevates the curry to a whole new level.
• Lime Wedges – serving on the side, they give a zesty kick that enhances the flavors of the chickpea curry.
With these ingredients, you’re already on your way to enjoying a hearty home-cooked meal that can easily replace fast food!
Step‑by‑Step Instructions for Comforting Chickpea Curry
Step 1: Sauté the Aromatics
Heat a tablespoon of oil in a large skillet over medium heat. Add the finely chopped onion and cook for about 5 minutes, stirring occasionally until translucent and slightly caramelized. Stir in the minced garlic and freshly grated ginger, allowing them to sauté for another minute until fragrant. The warm, inviting scents will begin to fill your kitchen!
Step 2: Add the Spices
Sprinkle in the vibrant curry powder, stirring well to coat the onions, garlic, and ginger. Continue cooking for 1-2 minutes, until the spices become fragrant and slightly darkened in color. This step is crucial for a depth of flavor in your Comforting Chickpea Curry.
Step 3: Incorporate the Tomatoes
Pour in the diced tomatoes, allowing them to blend with the spice mixture. Cook for about 3-4 minutes, letting the tomatoes soften and release their juices as they simmer. You’ll notice the mixture thickening slightly, creating a luscious base for the curry.
Step 4: Stir in the Coconut Milk
Slowly pour in the creamy coconut milk, stirring continuously to combine everything evenly. Bring the mixture to a gentle simmer and let it cook for 5 minutes. The beautiful blend of colors and aromas will surely tempt your taste buds, enhancing the richness of your chickpea curry.
Step 5: Add the Chickpeas and Vegetables
Gently fold in the drained chickpeas, diced bell peppers, and sliced carrots. Stir well, ensuring the vegetables are evenly distributed throughout the curry. Cover the skillet and allow it to simmer for an additional 10 minutes, or until the carrots are tender and the flavors meld together beautifully.
Step 6: Finish with Spinach
Finally, stir in the fresh spinach and cook for another 2-3 minutes until wilted. The vibrant green color will brighten the dish and add nutritious goodness to your Comforting Chickpea Curry.
Step 7: Prepare for Serving
Remove the skillet from heat and taste for seasoning. Adjust with salt if needed. Serve the chickpea curry warm in bowls with fresh cilantro on top and lime wedges on the side for an added zesty kick. The delicious home-cooked meal is now ready to be enjoyed!
Make Ahead Options
These Comforting Chickpea Curries are perfect for meal prep enthusiasts! You can chop the onions, garlic, and ginger up to 24 hours in advance and store them in an airtight container in the refrigerator to maintain freshness. Additionally, drain and rinse the chickpeas, as well as prepare all your vegetables, on the same day, ensuring they're ready to go. When you're ready to serve, simply sauté the aromatics and follow the remaining steps of the recipe. This method not only saves you precious time during busy weeknights, but it also guarantees that your curry turns out just as delicious and comforting as ever!
Chickpea Curry Variations & Substitutions
Feel free to explore different flavors and ingredients, making this chickpea curry truly your own!
- Spicy Kick: Add diced fresh chili or a spoonful of chili paste to crank up the heat. Enjoy the warmth and zest explode on your palate!
- Creamy Twist: Swap coconut milk for cashew cream for a richer, nutty flavor. This swap takes your curry experience to another level.
- Extra Veggies: Toss in zucchini or cauliflower for added texture and nutrition. Each bite will surprise you with its delightful crunch and color!
- Curry Blend: Experiment with different curry powders or blends—try garam masala for a unique twist. Your chickpea curry is sure to shine with new flavors!
- Protein Boost: Mix in cooked lentils or chicken for an added protein punch, giving your curry an extra satisfying element. Combined flavors will create a hearty experience!
- Zesty Additions: Include a splash of lemon juice or zest for a fresh, tangy brightness that enhances the overall flavor profile nicely. It’s like a burst of sunshine!
- Herb Variation: Instead of cilantro, use fresh basil or mint for a different green note that elevates your dish to a whole new level of freshness.
- Sweetness: For a hint of sweetness, add raisins or mango chunks. Their natural sugars provide a delightful contrast to the spices while enhancing the meal’s complexity.
From cozy weeknight dinners to meal prep for a busy week, this chickpea curry can adapt to any occasion! For more tips on customizing recipes, check out how to make simple substitutions in your favorite dishes.
How to Store and Freeze Chickpea Curry
Fridge: Store your chickpea curry in an airtight container for up to 5 days. This dish tastes even better the next day as the flavors meld together!
Freezer: Portion out the cooled chickpea curry into freezer-safe containers or bags. It can be frozen for up to 3 months, making it a perfect meal prep option.
Reheating: When ready to enjoy, thaw in the fridge overnight, then reheat gently on the stove or in the microwave until heated through. Enjoy the hearty comfort of homemade meals!
Avoid Freezer Burn: Make sure to seal your containers tightly, removing as much air as possible to prevent freezer burn and preserve the delightful flavors of your chickpea curry.
Expert Tips for Chickpea Curry
• Ingredient Freshness: Always use fresh spices and ingredients for maximum flavor. Dried spices lose potency over time, which can dull your chickpea curry.
• Don’t Rush the Sauté: Take your time in the sautéing step. This caramelizes the onions and enhances flavors, making your curry richer and more delicious.
• Customize Your Veggies: Feel free to swap in your favorite vegetables for a personal touch. Just ensure they cook to a tender texture for a fantastic chickpea curry.
• Taste As You Go: Always taste and adjust seasoning, especially before serving. This ensures your dish is perfectly balanced and keeps you engaged in the cooking process.
• Meal Prep Friendly: Make a double batch and freeze leftovers. Chickpea curry tastes even better the next day, making it an ideal meal prep option for those busy weeks!
What to Serve with Comforting Chickpea Curry
As the rich aroma of your chickpea curry fills the kitchen, it's time to consider what delectable sides can elevate this meal even further.
-
Coconut Rice: Fluffy rice cooked in coconut milk enhances the curry's richness and balances the spices beautifully. A luxurious, creamy base awaits!
-
Naan Bread: Soft and pillowy naan is perfect for scooping up the luscious chickpea curry, adding a comforting touch to your meal. Serve it warm for that heavenly experience.
-
Roasted Cauliflower: Crispy, spiced roasted cauliflower complements the curry's flavors while providing a delightful crunch. The charred edges bring an irresistible depth to your plate.
-
Green Salad: A crisp salad with fresh greens, cucumbers, and a tangy vinaigrette adds a refreshing contrast, brightening the meal and cutting through the curry's creaminess.
-
Chutney: Sweet mango or spicy mint chutney introduces a burst of flavor, making every bite an exciting journey of taste. A small dollop can elevate your curry experience.
-
Iced Hibiscus Tea: The floral notes of hibiscus tea create a cooling pairing that refreshes your palate between bites, making it a delightful, thirst-quenching companion.
-
Chocolate Avocado Mousse: For dessert, serve up a rich and creamy chocolate avocado mousse. Its smooth texture and deep chocolate flavor make for a dreamy ending that keeps your evening indulgent yet wholesome.
Chickpea Curry Recipe FAQs
What type of chickpeas should I use?
Absolutely! You can use canned chickpeas for convenience, giving you a tender texture right away. If you're feeling adventurous or want to control the texture, you can cook dried chickpeas. Soak them overnight in water, then cook them in boiling water for about 1 to 1.5 hours until tender. Both options work beautifully in this recipe!
How long can I store leftover chickpea curry?
Very! Your leftover chickpea curry can be stored in an airtight container in the fridge for up to 5 days. This dish usually tastes even better the next day since the flavors meld beautifully overnight. However, be sure to enjoy it within that timeframe to keep it fresh and tasty!
Can I freeze chickpea curry?
Absolutely! To freeze, allow the chickpea curry to cool completely. Portion it into freezer-safe containers or resealable bags, leaving some space for expansion. It can be frozen for up to 3 months. When ready to reheat, simply thaw in the fridge overnight and warm it up on the stove or in the microwave. Voila, a quick homemade meal awaits!
What if my chickpea curry is too thick?
Oh no! If you find your chickpea curry a tad too thick for your liking, just add a splash of water or vegetable broth to loosen it up. Stir it in gradually and let it simmer for a few more minutes to incorporate the added liquid into the curry. Remember, it’s all about balance, and you’re in control of your creation!
Are there any allergens in chickpea curry?
Very! This chickpea curry is naturally vegan and gluten-free, making it suitable for various dietary needs. However, double-check your curry powder for potential allergens, as some blends may contain gluten or other allergens. If you're serving guests with specific dietary restrictions, I recommend keeping any high-allergy ingredients—like nuts—out of the recipe to ensure everyone can enjoy a bowlful of comfort.
How can I customize my chickpea curry?
The more the merrier! You can easily customize your chickpea curry by adding different vegetables like zucchini, peas, or even cauliflower. For added texture and flavor, consider incorporating some cooked lentils or beans. Just ensure the cooking times allow for a tender finish. And don’t be shy with experimenting—your personal touches can cook up delightful surprises in every bowl!
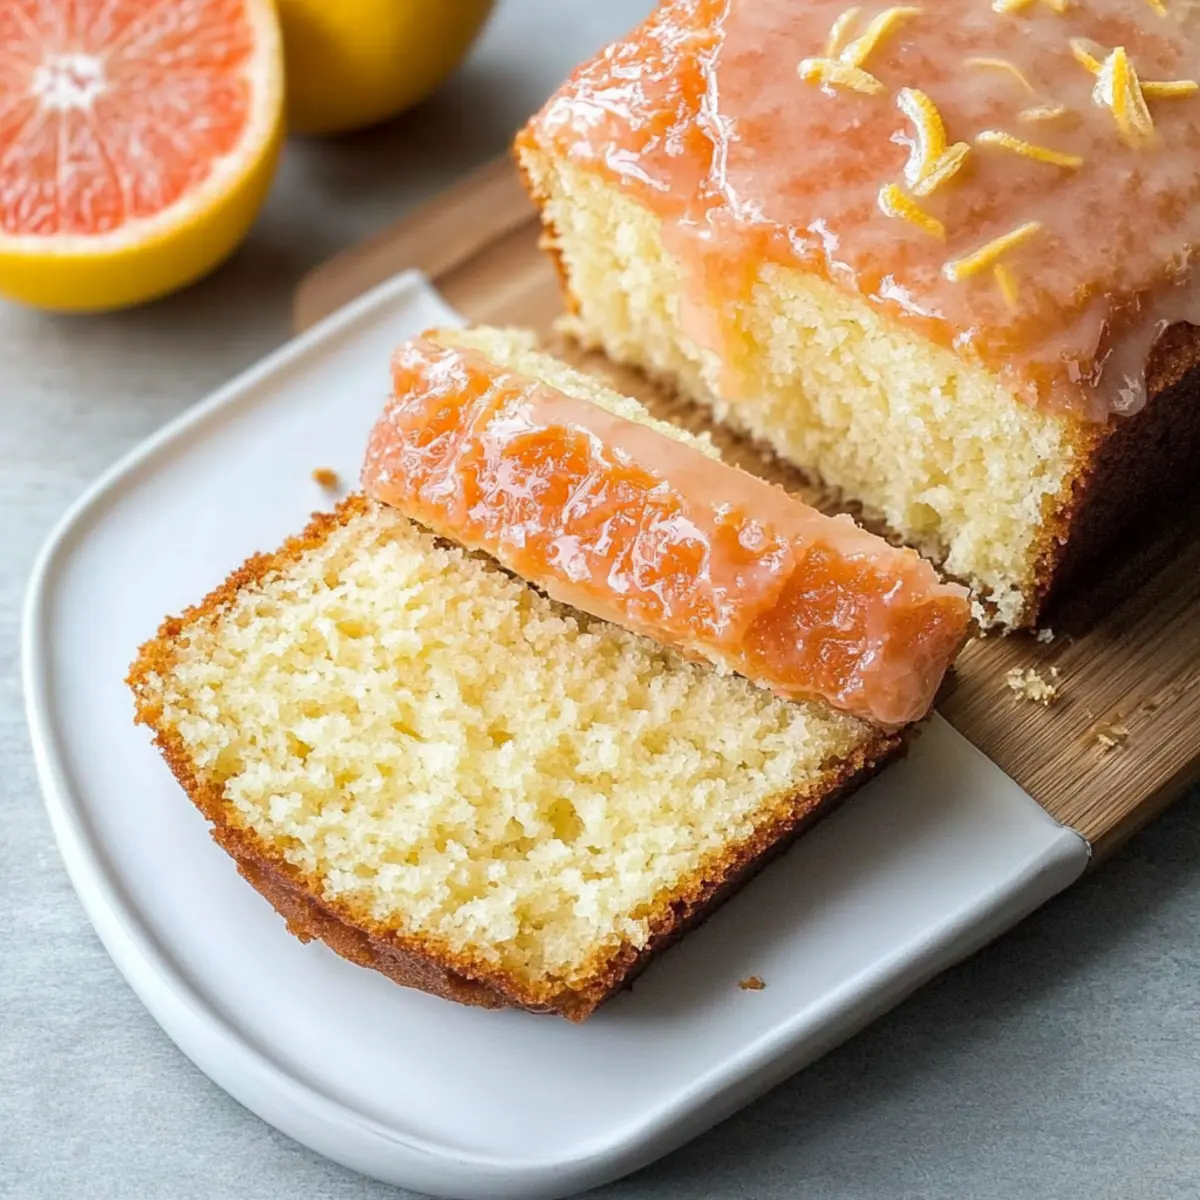
Delicious Home-Cooked Meals to Ditch Fast Food Forever
Ingredients
Equipment
Method
- Heat a tablespoon of oil in a large skillet over medium heat. Add the finely chopped onion and cook for about 5 minutes, stirring occasionally until translucent and slightly caramelized.
- Stir in the minced garlic and freshly grated ginger, allowing them to sauté for another minute until fragrant.
- Sprinkle in the vibrant curry powder, stirring well to coat the onions, garlic, and ginger.
- Continue cooking for 1-2 minutes, until the spices become fragrant and slightly darkened in color.
- Pour in the diced tomatoes, allowing them to blend with the spice mixture. Cook for about 3-4 minutes.
- Slowly pour in the creamy coconut milk, stirring continuously to combine everything evenly.
- Bring the mixture to a gentle simmer and let it cook for 5 minutes.
- Gently fold in the drained chickpeas, diced bell peppers, and sliced carrots. Stir well.
- Cover the skillet and allow it to simmer for an additional 10 minutes, or until the carrots are tender.
- Finally, stir in the fresh spinach and cook for another 2-3 minutes until wilted.
- Remove the skillet from heat, taste for seasoning, and adjust with salt if needed.
- Serve the chickpea curry warm in bowls with fresh cilantro on top and lime wedges on the side.