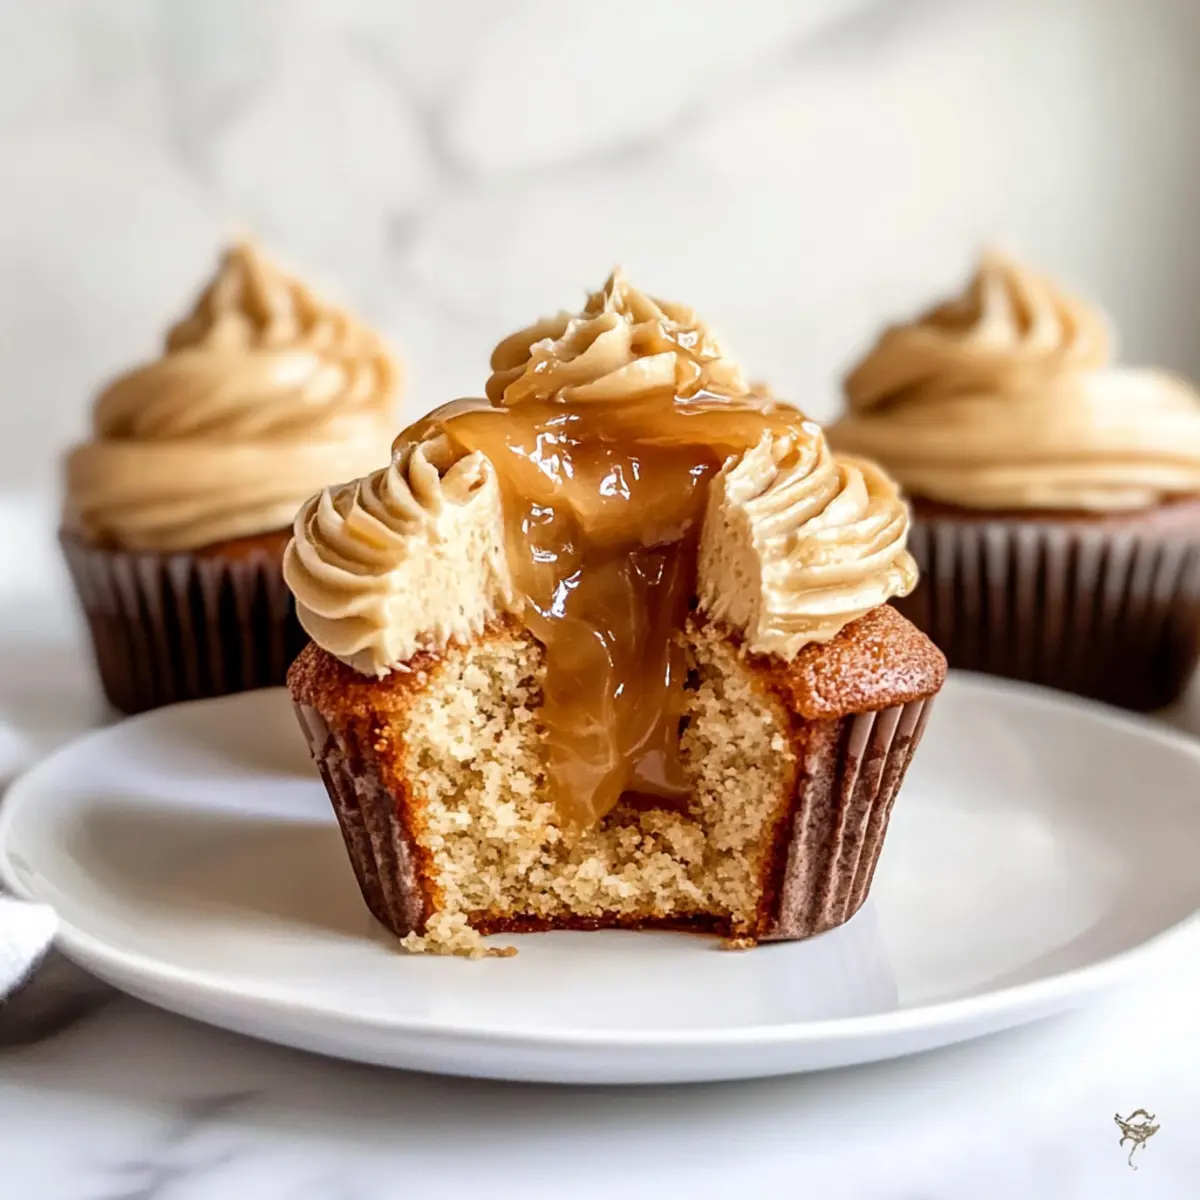
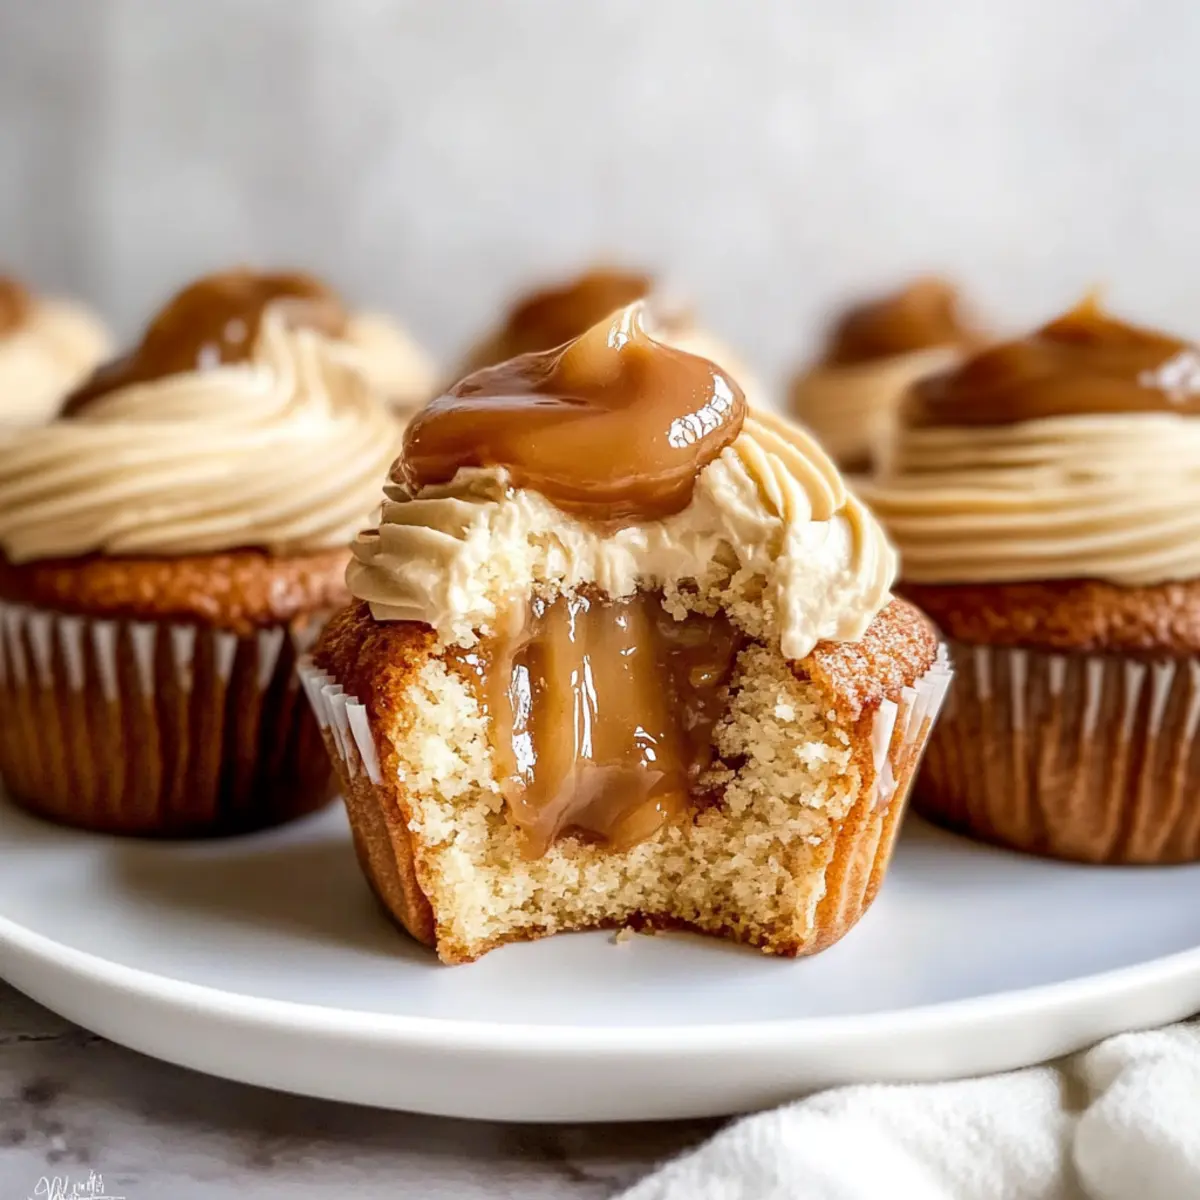
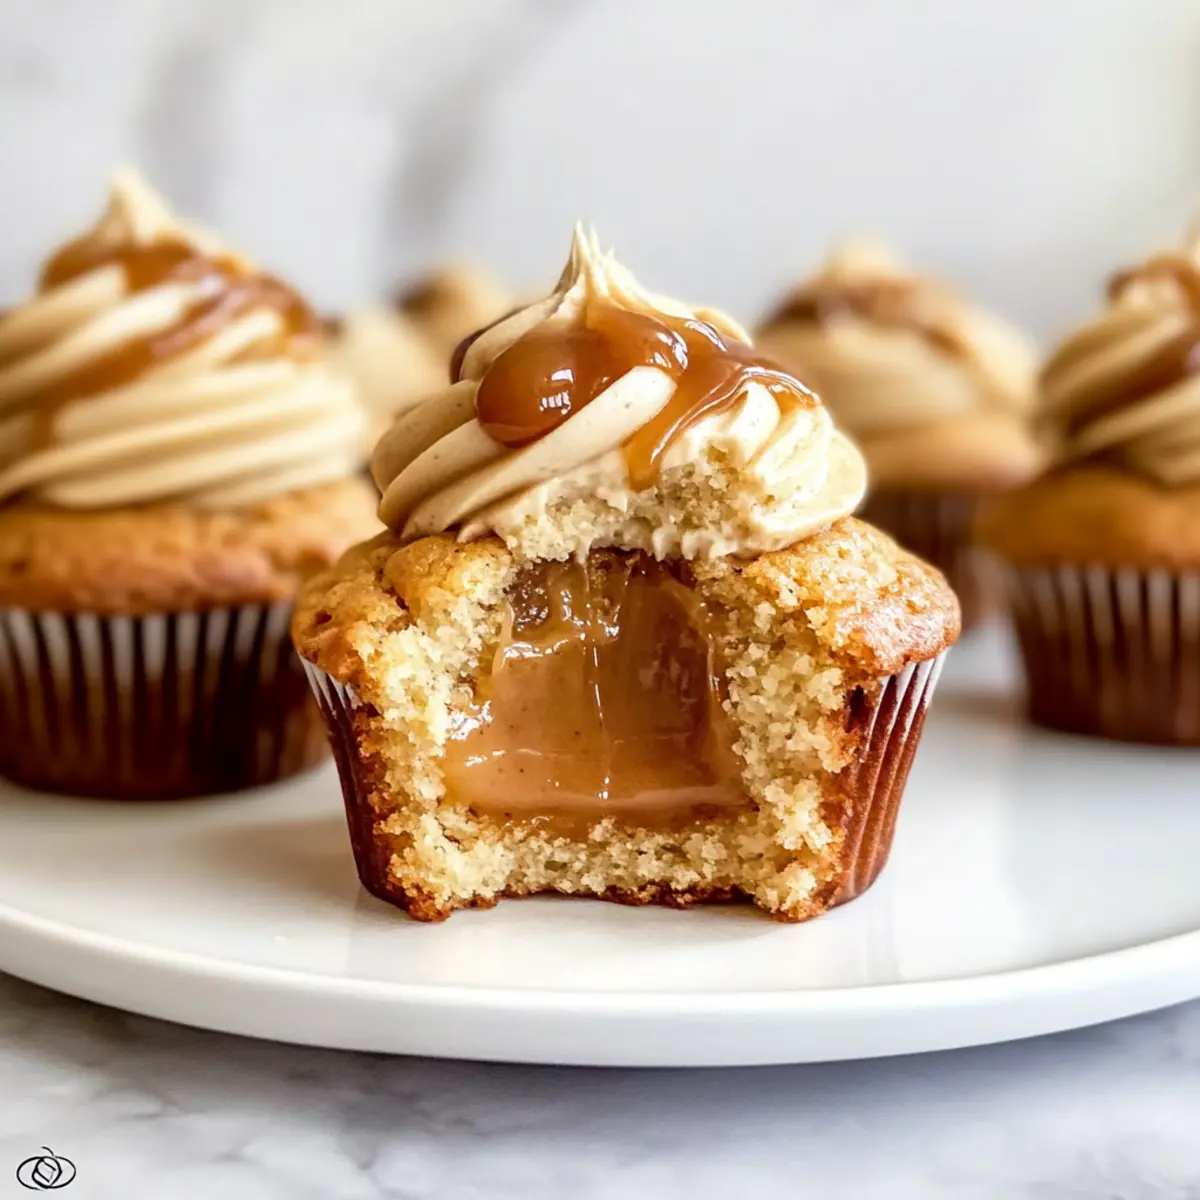
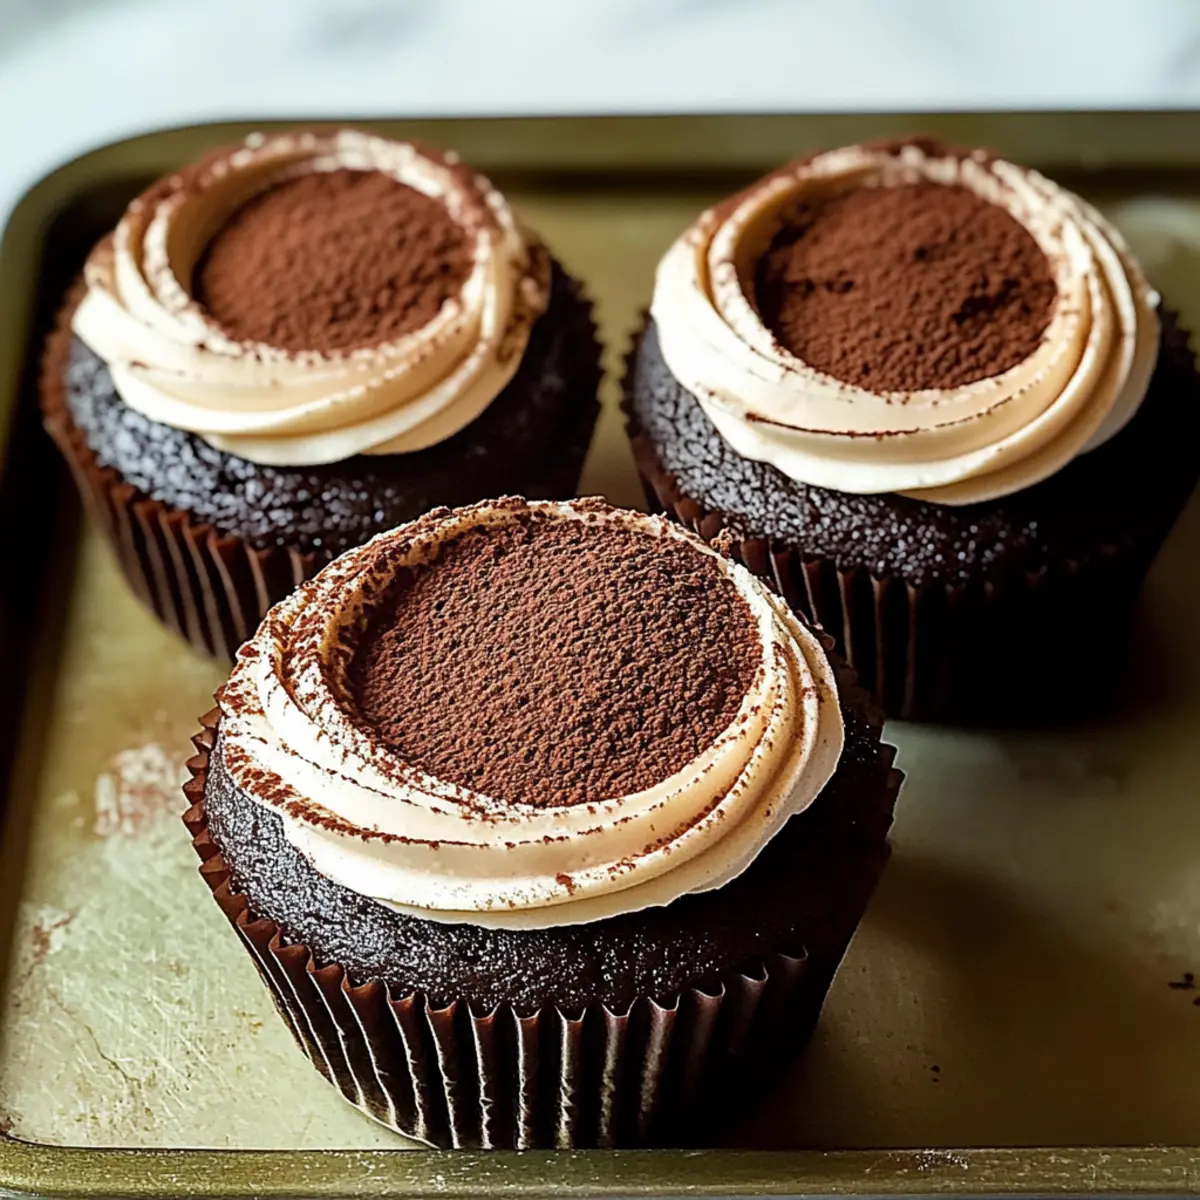
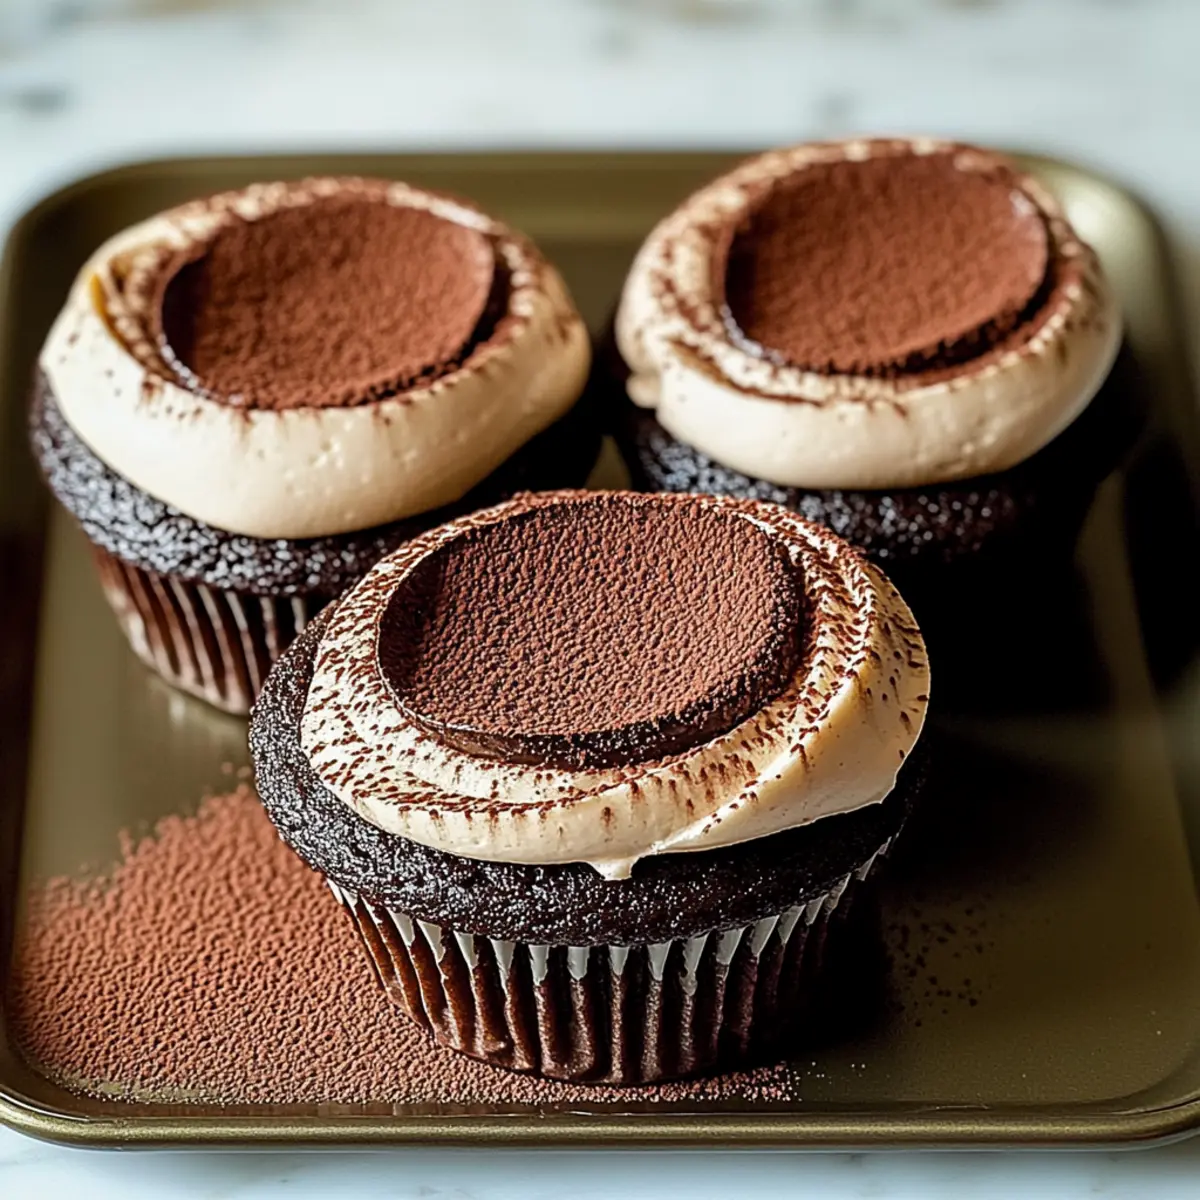
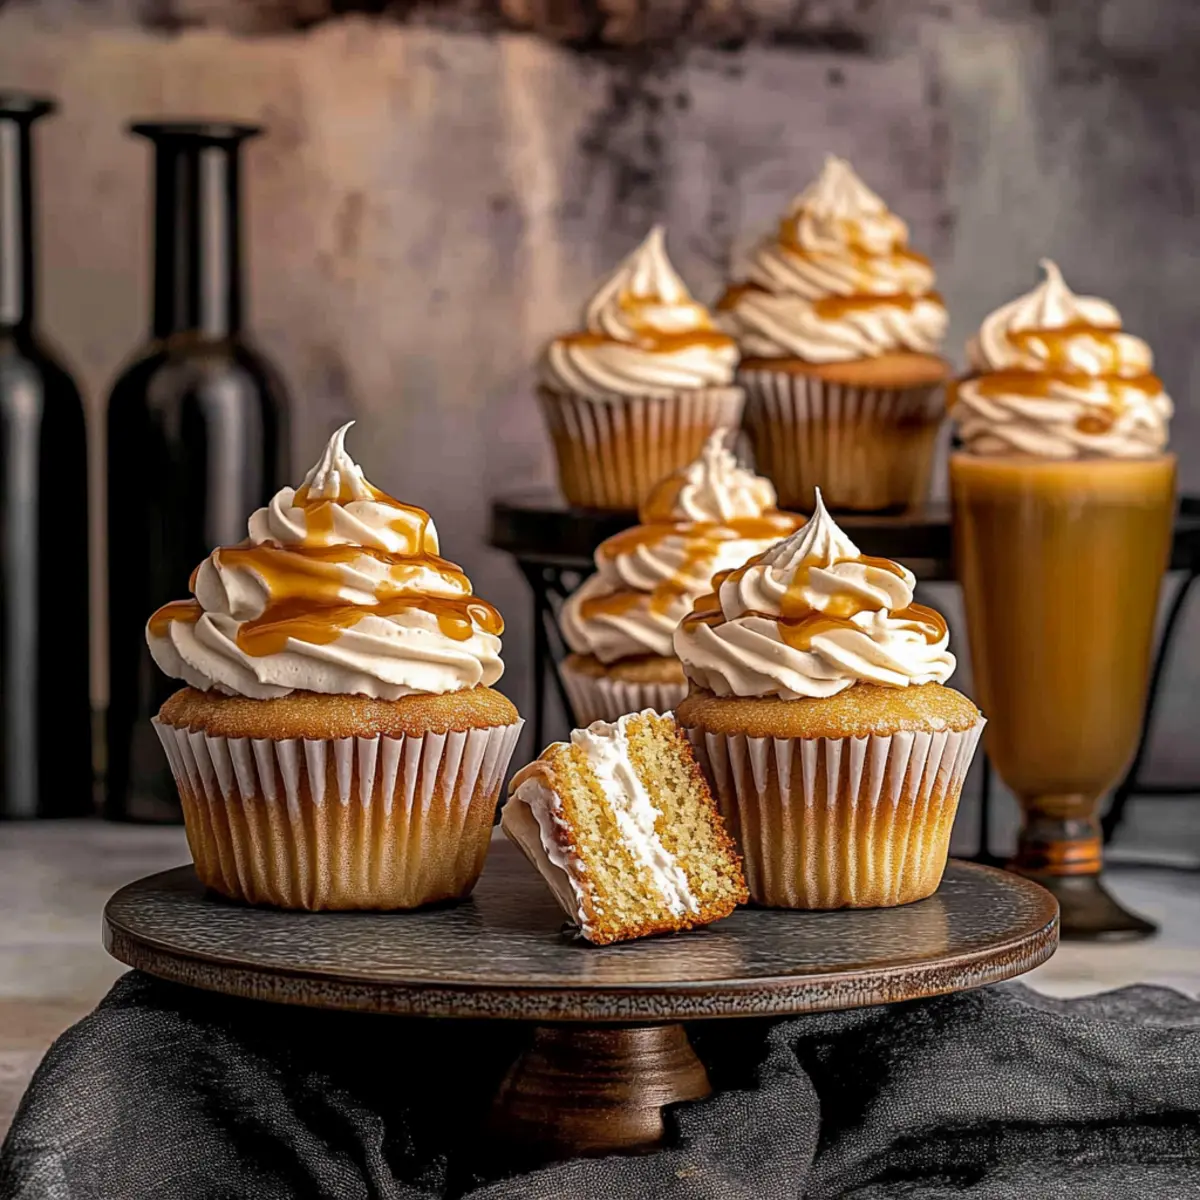
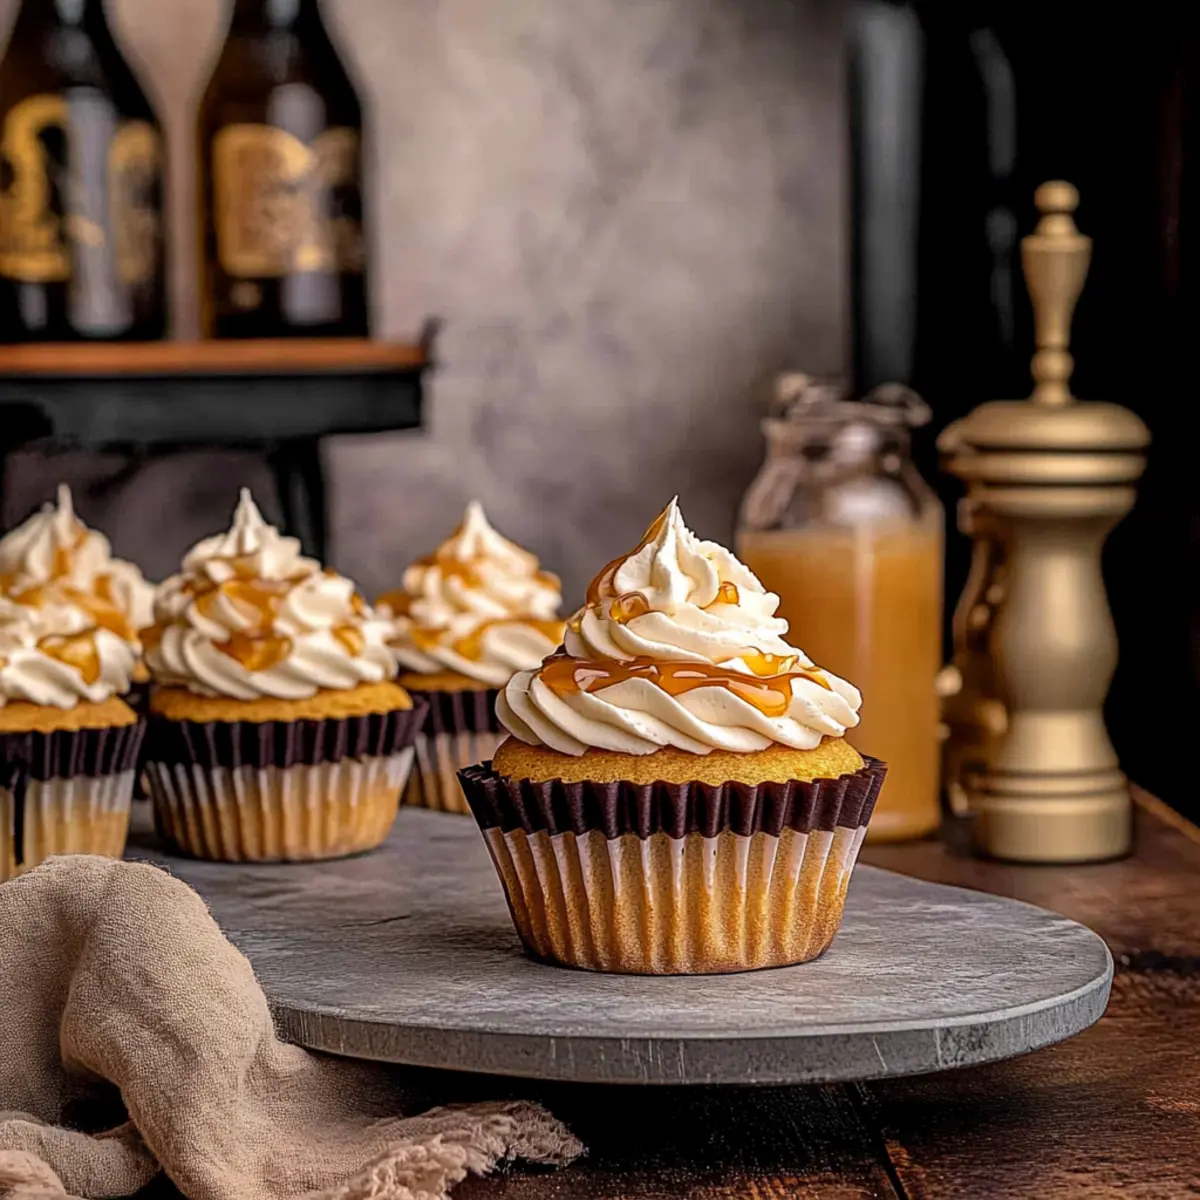
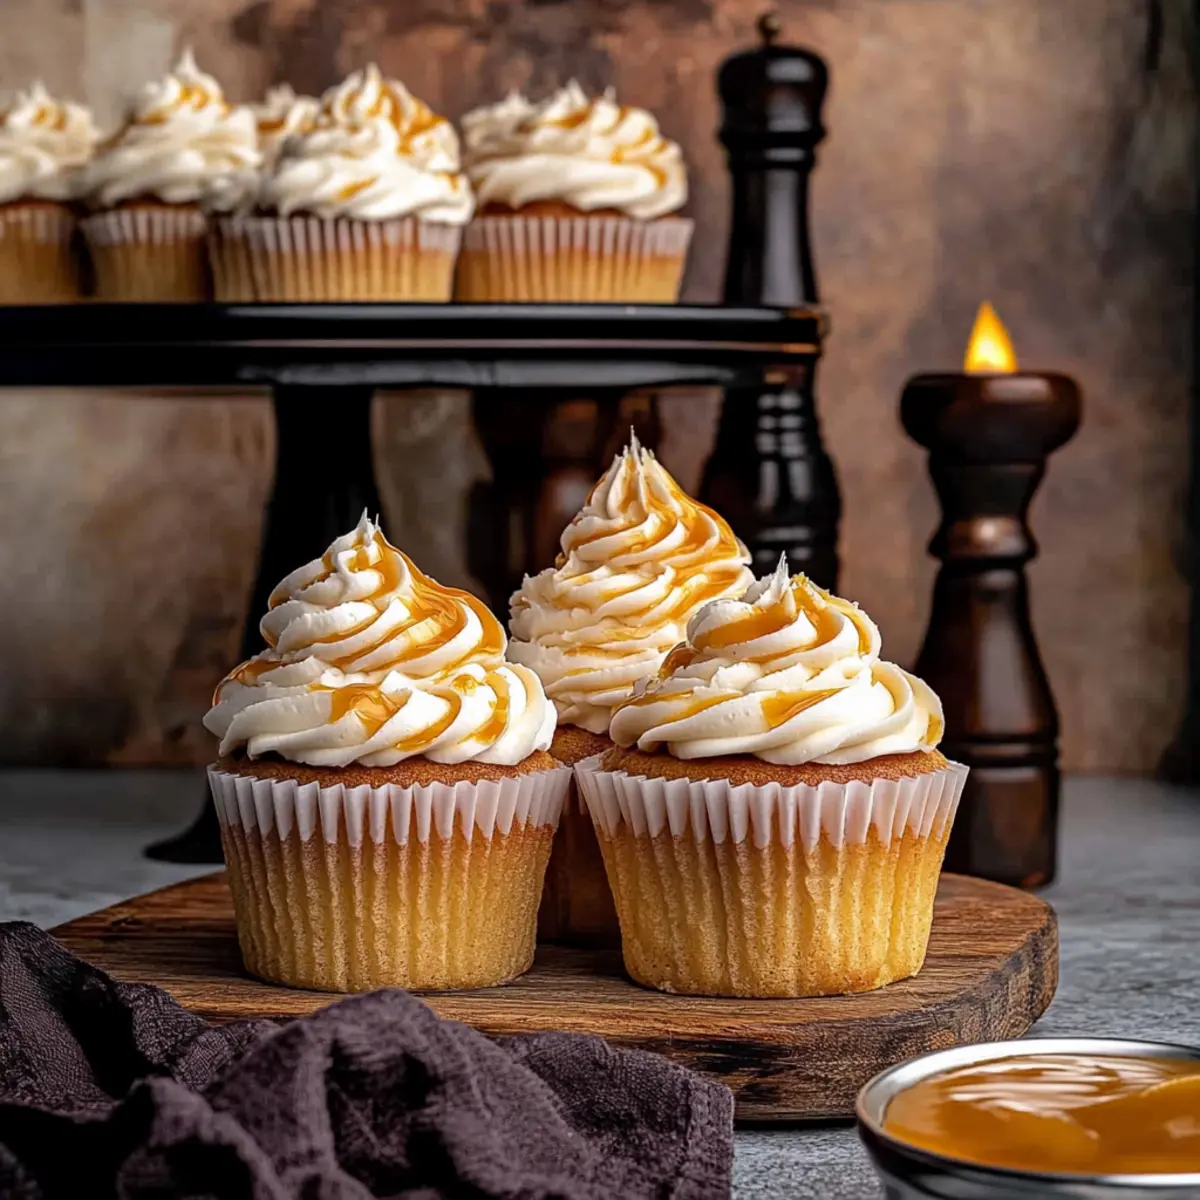
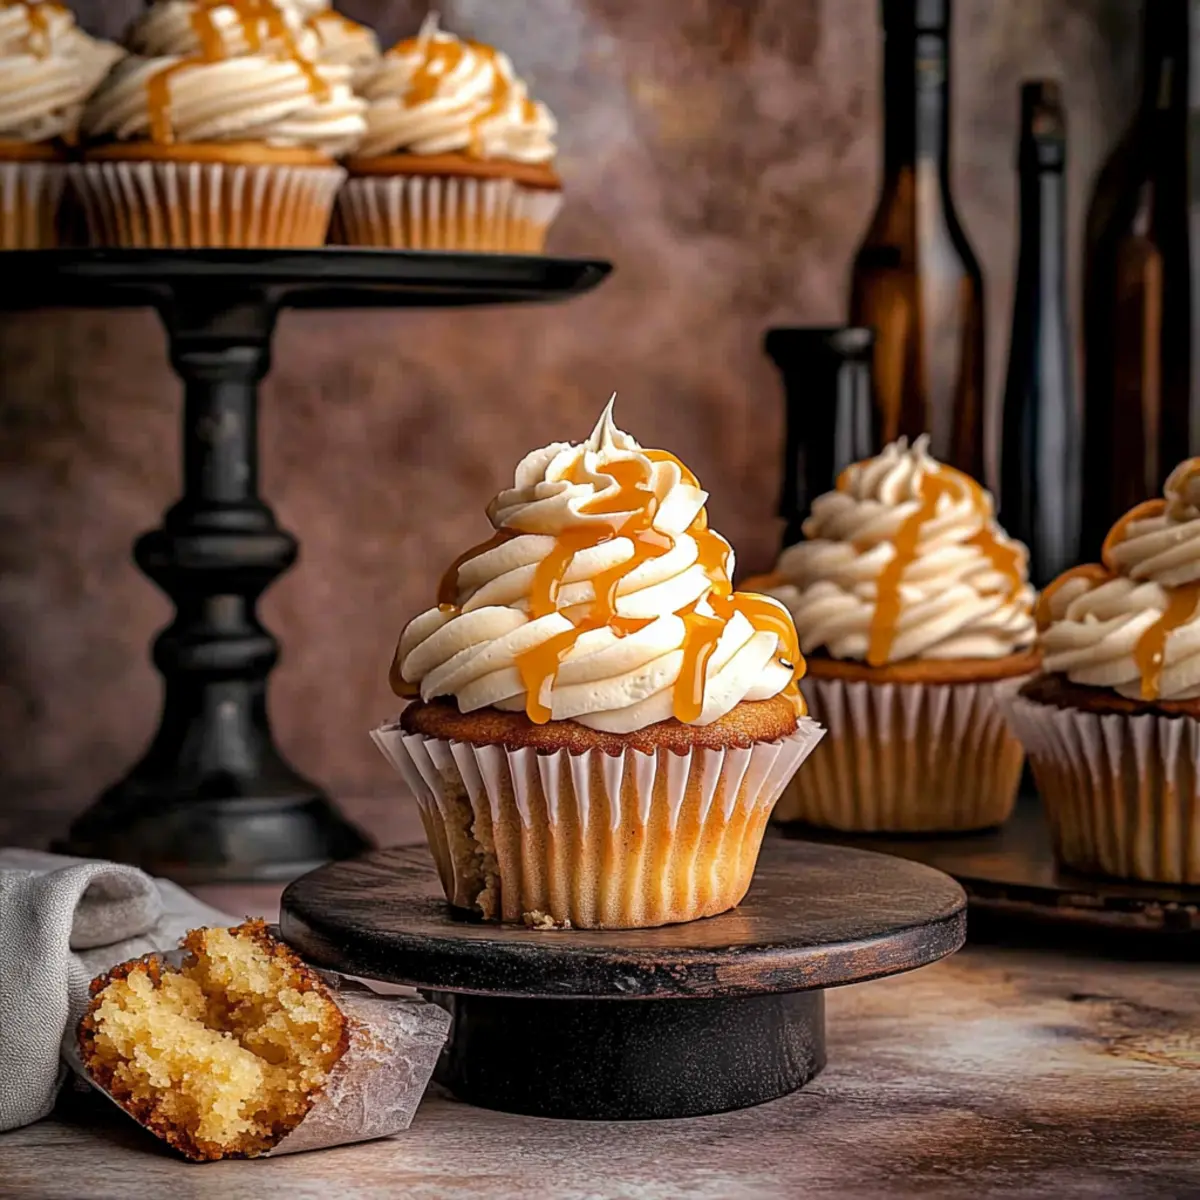
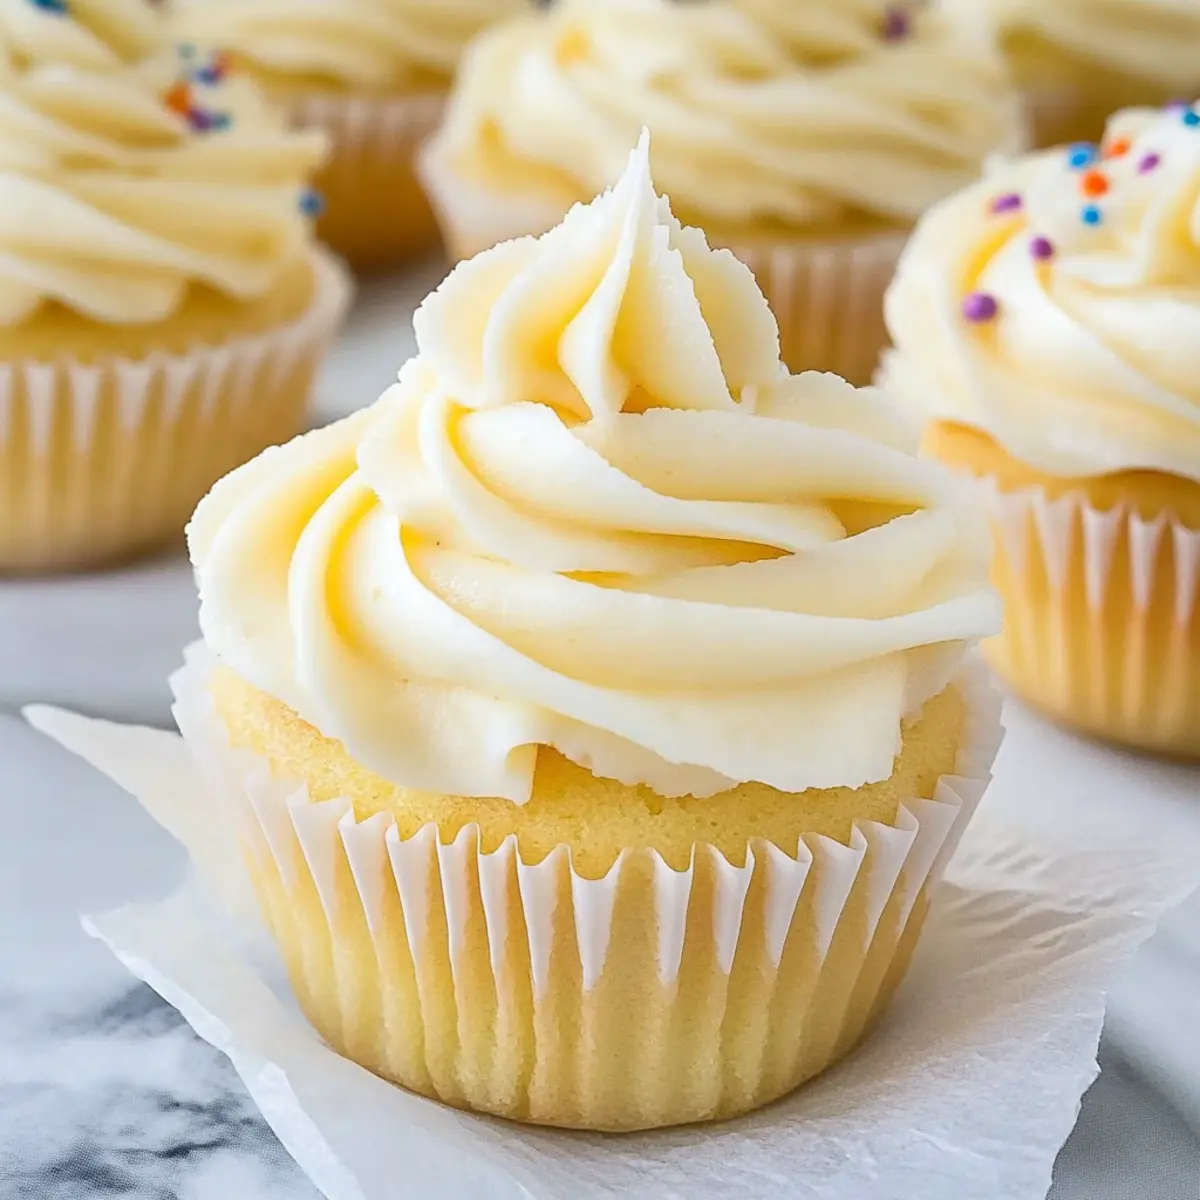
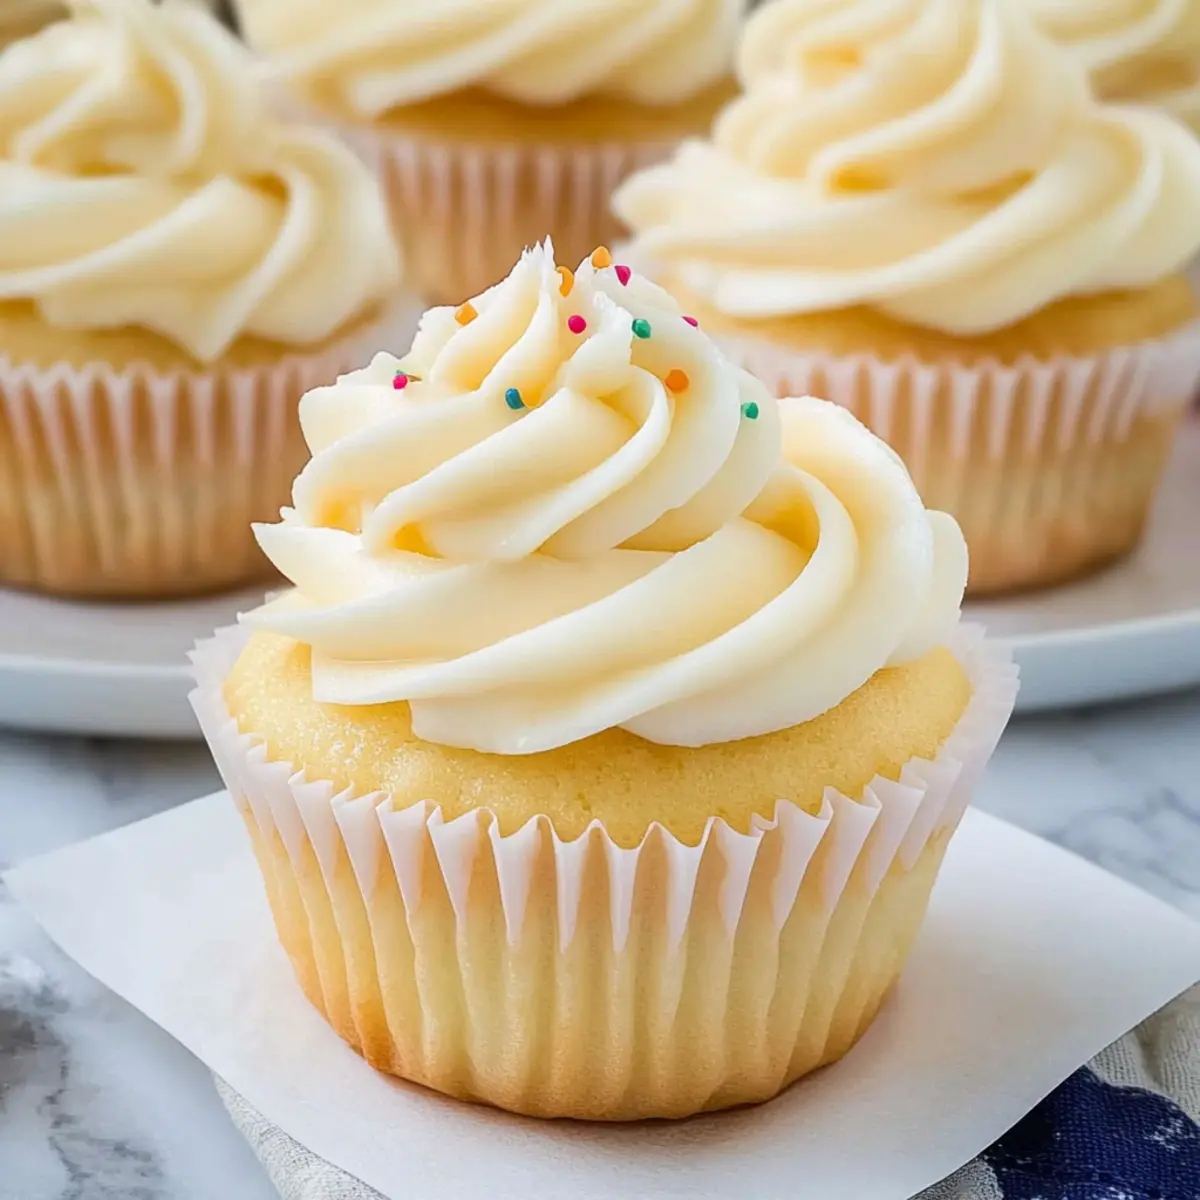
As I sifted flour in my kitchen one rainy afternoon, a sudden urge to bake hit me like a wave. The sweet scent of vanilla lingered in the air as I prepared to whip up a batch of Vanilla Cupcakes—those light and fluffy morsels that make any day feel like a celebration. Crafted from everyday ingredients, these delightful cupcakes are ridiculously simple to make, turning any gathering into a sweet affair, whether it's a cozy brunch or a festive birthday. With a luscious buttercream frosting that's as dreamy as it sounds, these treats will charm everyone at your table. Curious about how to elevate your homemade dessert game? Let’s dive into this recipe!
Why are these Vanilla Cupcakes irresistible?
Light and Fluffy: Experience the airy texture that melts in your mouth, making each bite feel like a hug!
Effortless Baking: With simple ingredients and straightforward steps, these cupcakes are perfect for both beginners and seasoned bakers.
Endless Variations: Feel free to experiment with flavors, like almond or citrus extracts, to keep your cupcake game fresh and exciting.
Crowd Pleaser: Suitable for any occasion, these cupcakes are sure to impress guests at brunches or parties, becoming the star of the dessert table.
Quick Treat: Ready in just 30 minutes, you won’t have to wait long to indulge in your sweet creations—ideal for spontaneous cravings!
With these delightful Vanilla Cupcakes, you'll elevate your baking repertoire and satisfy any sweet tooth.
Vanilla Cupcake Ingredients
• Let’s gather everything you need to create these scrumptious Vanilla Cupcakes!
For the Cupcake Batter
- All-purpose Flour – Provides structure to the cupcakes; for gluten-free options, use a gluten-free flour blend.
- Baking Powder – Ensures the cupcakes rise beautifully, keeping them light and fluffy.
- Salt – Enhances flavor; never skip it, even in sweet recipes.
- Eggs (room temperature) – Adds rich moisture; tip: room temperature eggs incorporate better into the batter.
- Sugar – Sweetens your cupcakes, assisting in achieving that lovely golden-brown color.
- Unsalted Butter (melted) – Adds flavor and moisture; can be swapped with melted coconut oil for a unique twist.
- Vanilla Extract – The star of the show for essential flavor; pure vanilla extract will deliver the best results.
- Milk – Adds moisture to your batter; feel free to use any milk variety you prefer, like 2% or whole milk.
For the Frosting
- Confectioners Sugar – A must-have for frosting, providing a smooth and sweet finish.
- Unsalted Butter (softened) – Forms the creamy base for the frosting, ensuring it’s rich and delicious.
- Heavy Whipping Cream – Adds lightness and richness to the frosting; can be replaced with milk for a lighter texture.
Now that you have all the ingredients, you're well on your way to creating delightful Vanilla Cupcakes!
Step‑by‑Step Instructions for Vanilla Cupcakes
Step 1: Preheat the Oven and Prepare the Pan
Preheat your oven to 350°F (175°C) and line a muffin tin with cupcake liners, ensuring each liner is snug in the cups. This step sets the stage for perfectly baked Vanilla Cupcakes, creating a warm environment that encourages them to rise beautifully.
Step 2: Sift the Dry Ingredients
In a large mixing bowl, sift together the all-purpose flour, baking powder, and salt. The sifting process aerates the flour and ensures an even distribution of the leavening agent, which is essential for achieving light and fluffy cupcakes. Set this mixture aside for later.
Step 3: Beat the Eggs and Sugar
In another bowl, combine the room-temperature eggs and granulated sugar. Using an electric mixer, beat on medium speed for about 1-2 minutes until the mixture is pale yellow and slightly thickened. This adds air to the batter, an important factor in making your Vanilla Cupcakes airy and soft.
Step 4: Incorporate the Butter and Vanilla
Slowly pour in the melted unsalted butter and the fragrant vanilla extract while continuing to mix on low speed. This will create a creamy, luscious base for your batter, enriching the flavor profile of your Vanilla Cupcakes and giving them that delightful buttery goodness.
Step 5: Combine the Wet and Dry Ingredients
Gradually add the sifted dry ingredients to the wet mixture, alternating with milk. Start and end with the dry ingredients, mixing just until combined. Be cautious not to overmix; the goal is a smooth batter that retains some airiness, leading to that coveted fluffy texture.
Step 6: Fill the Cupcake Liners
Spoon the batter into each cupcake liner, filling them about 3/4 full to allow for proper rising. A small cookie scoop can help ensure uniform portions, leading to evenly baked Vanilla Cupcakes that are visually appealing and consistent in size.
Step 7: Bake the Cupcakes
Carefully place the muffin tin in the preheated oven and bake for 15-18 minutes, or until a toothpick inserted into the center comes out clean. The tops should be lightly golden and spring back when touched gently, indicating the perfect level of doneness.
Step 8: Cool the Cupcakes
Once baked, remove the cupcakes from the oven and allow them to cool in the tin for about 5 minutes. Then, transfer them to a wire rack to cool completely. This prevents them from becoming soggy and prepares them for the luscious frosting that will follow.
Step 9: Make the Buttercream Frosting
In a mixing bowl, cream together the softened unsalted butter and confectioners sugar until smooth. Add in the vanilla extract and heavy whipping cream, continuing to mix until the frosting is light and fluffy. This frosting will beautifully complement your Vanilla Cupcakes.
Step 10: Frost the Cupcakes
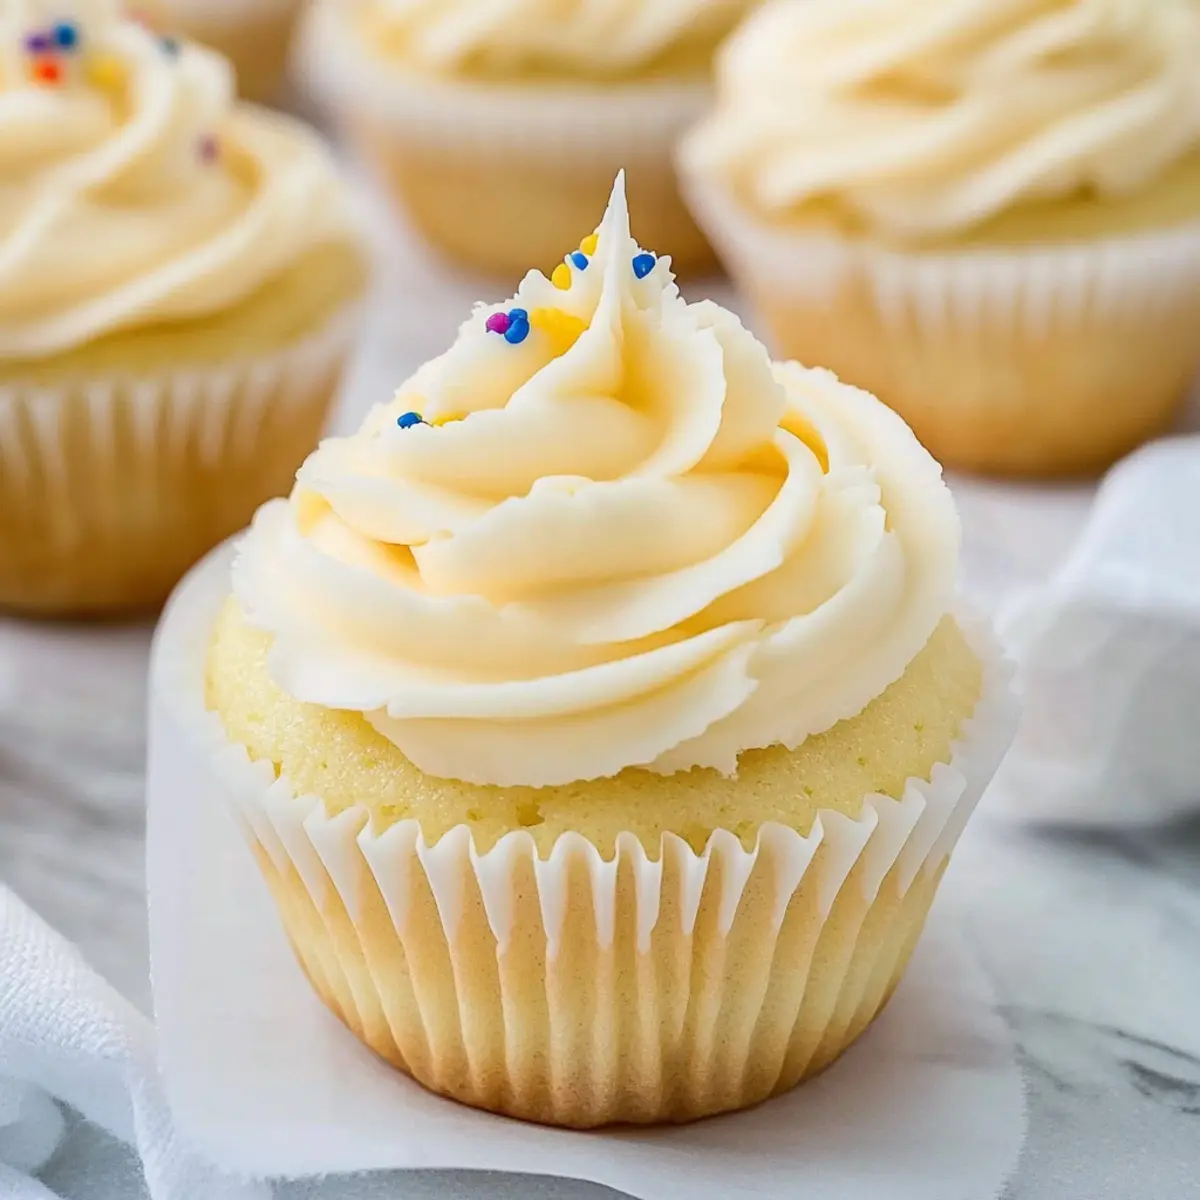
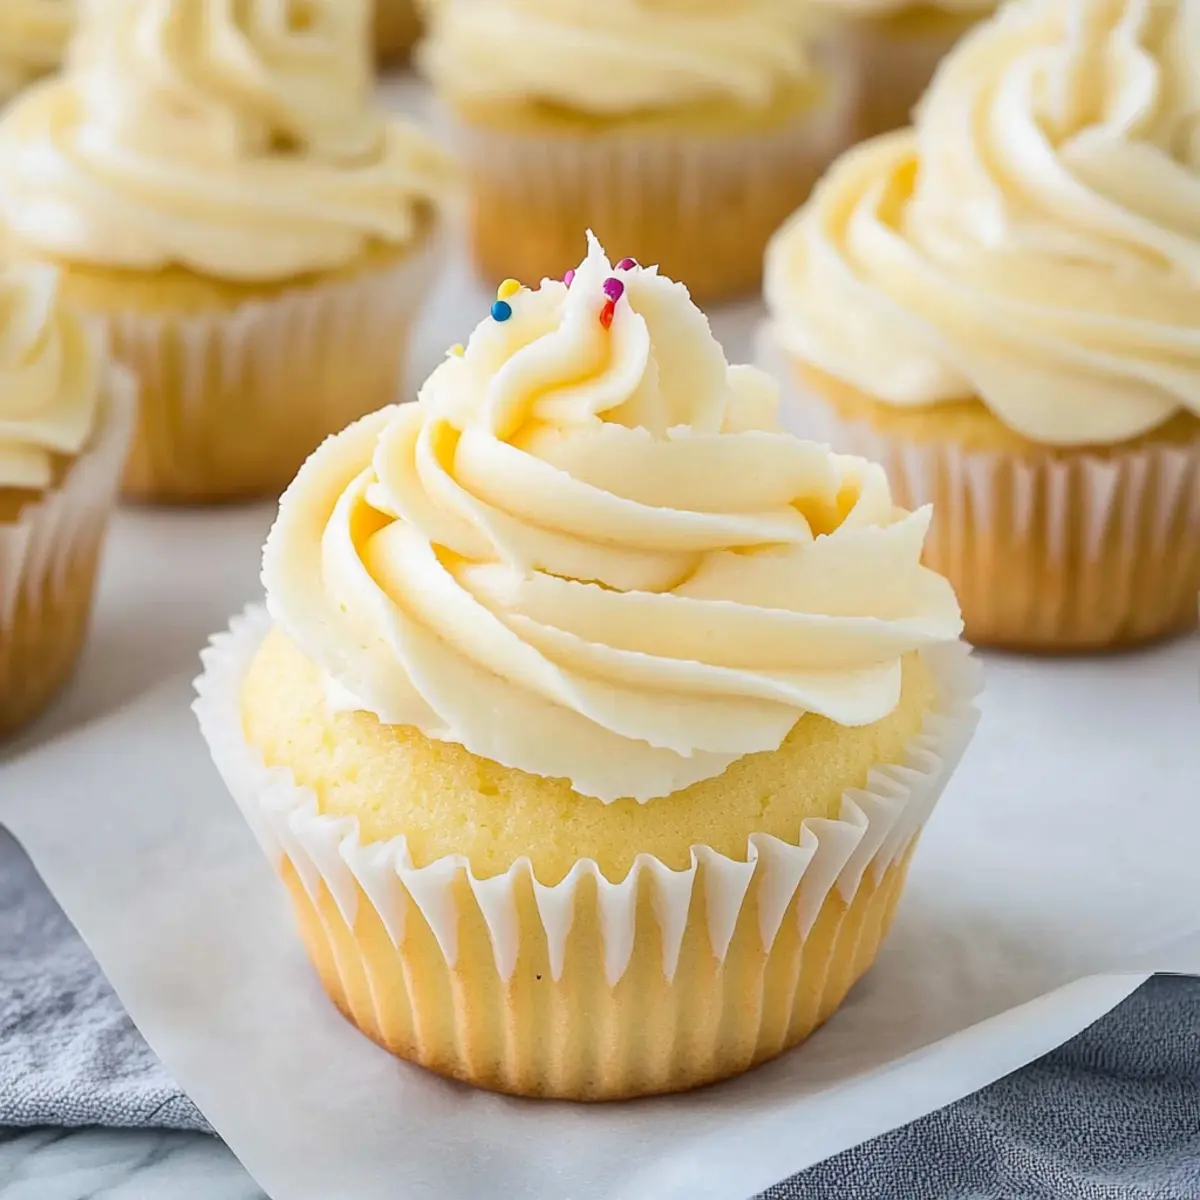
Once the Vanilla Cupcakes have cooled completely, use a piping bag to frost them with the creamy buttercream. Feel free to get creative with the frosting design, whether it’s a classic swirl or a fun pattern—this is your chance to showcase these delightful treats!
Expert Tips for Vanilla Cupcakes
-
Room Temperature Ingredients: Always use room temperature eggs and milk for a smoother batter that mixes evenly and yields light and fluffy vanilla cupcakes.
-
Don’t Overmix: Gently combine your wet and dry ingredients to avoid developing gluten, which can lead to denser cupcakes. Aim for a smooth batter without lumps.
-
Check for Doneness: Use a toothpick to test if the cupcakes are done; it should come out clean or with a few crumbs, but not wet batter. This ensures they maintain their lightness.
-
Cool Completely Before Frosting: Let the cupcakes cool completely on a wire rack to prevent the frosting from melting off. This step is crucial for the perfect presentation!
-
Experiment with Flavors: To elevate your vanilla cupcakes, feel free to add a splash of almond extract or citrus zest. These tweaks can make a delightful difference in flavor!
Enjoy your baking journey with these expert tips ensuring your vanilla cupcakes are always a hit!
What to Serve with Perfectly Light and Fluffy Vanilla Cupcakes
Indulging in sweet, fluffy cupcakes opens up a world of delightful accompaniments to enhance your dessert experience.
-
Fresh Berries: Juicy strawberries or raspberries add a pop of brightness and acidity, balancing the sweetness of the cupcakes beautifully. Consider garnishing your plate with a few for a stunning presentation.
-
Whipped Cream: A generous dollop of freshly whipped cream brings a light and airy texture that echoes the cupcakes’ fluffiness, making every bite feel indulgent.
-
Chocolate Sauce: Drizzling warm chocolate sauce over your cupcakes creates an irresistible sweet-salty contrast that's perfect for chocolate lovers. Each bite will be a decadent treat!
-
Coffee or Tea: A warm cup of coffee or tea complements the sweetness of the cupcakes, enhancing their flavor while providing a comforting contrast that's perfect for an afternoon break.
-
Lemon Curd: This tangy addition cuts through the sweetness, adding a bright and refreshing element that elevates the overall experience of your dessert. Serve it alongside for dipping!
-
Ice Cream: A scoop of vanilla or even a fruity sorbet serves as a delightful contrast in temperature and texture, making an unforgettable dessert combo that will satisfy any sweet tooth.
-
Fruit Salad: A colorful fruit salad filled with seasonal fruits adds freshness and a nutritional component, creating a light contrast that keeps the dessert feeling balanced and joyful.
-
Chocolate Chip Cookies: For a nostalgic twist, serve mini chocolate chip cookies alongside your cupcakes for a delightful assortment of baked treats that everyone will love.
-
Sparkling Lemonade: This refreshing drink will elevate your dessert experience with its sparkly texture and citrus notes, making it a fun and festive pairing for gatherings!
Make Ahead Options
These Vanilla Cupcakes are ideal for busy home cooks looking to save time during hectic weeks! You can prepare the cupcake batter and refrigerate it for up to 24 hours prior to baking. Just be sure to store it in an airtight container to maintain freshness. Additionally, you can bake and cool the cupcakes ahead of time; they'll stay delicious in an airtight container at room temperature for up to 3 days. For the frosting, feel free to make it in advance and keep it refrigerated; just re-whip it before frosting the cooled cupcakes. This way, when you're ready to serve, you simply frost and enjoy freshly made Vanilla Cupcakes with minimal effort!
How to Store and Freeze Vanilla Cupcakes
Room Temperature: Store your cupcakes in an airtight container at room temperature for up to 3 days. This keeps them fresh and soft, ready for indulgence anytime!
Fridge: If you want to extend their life, place them in the refrigerator for up to a week. Just be sure to keep them covered to prevent drying out.
Freezer: For longer storage, freeze unfrosted cupcakes in an airtight container for up to 3 months. Thaw in the fridge overnight before frosting and enjoying!
Reheating: If you prefer them warm, pop cupcakes in the microwave for about 10-15 seconds. This will bring back that fresh-baked sensation, especially delightful with a bit of buttercream on top!
Vanilla Cupcake Variations & Substitutions
Feel the freedom to make these Vanilla Cupcakes your own—get creative and let your taste buds lead the way!
- Almond Extract: Swap vanilla extract with almond extract for a nutty twist that adds warmth to the flavor profile. This variant can transport you to a quaint bakery with each bite!
- Citrus Zest: Add lemon or orange zest to the batter for a refreshing zesty finish that brightens the flavors and adds a lovely aroma. Perfect for a sunny day!
- Chocolate Chips: Mix in mini chocolate chips to the batter for a delightful surprise in every bite, turning your vanilla staple into a chocolate lover's dream.
- Dairy-Free: Substitute milk with almond milk or coconut milk and use dairy-free butter for a deliciously inclusive treat everyone can enjoy. The lightness remains intact while accommodating dietary needs!
- Funfetti Style: Incorporate colorful sprinkles into the batter to create vibrant, festive cupcakes that will bring joy to any celebration or gathering. Everyone loves a pinch of whimsy!
- Nutty Crunch: Fold in some finely chopped nuts, such as pecans or walnuts, for added texture and flavor. Their crunchiness blends beautifully with the soft cupcakes for a delightful contrast.
- Cream Cheese Frosting: For a tangy twist, swap butter in frosting with cream cheese. It pairs beautifully with the sweet vanilla and adds a richness that's hard to resist.
- Spicy Kick: Incorporate a pinch of cinnamon or even a touch of cayenne pepper in the batter for a surprisingly delicious warm spice that pairs wonderfully with vanilla. Feel free to explore flavors beyond traditional limits!
These variations can elevate your baking experience and keep the joy of Vanilla Cupcakes alive no matter the occasion! If you're looking for more creative ideas, check out my guide on frosting varieties and add-ins for sweetness.
Vanilla Cupcakes Recipe FAQs
How do I choose the perfect eggs for my cupcakes?
Absolutely! When selecting eggs for your Vanilla Cupcakes, go for large, fresh eggs, preferably organic. Fresh eggs will provide better flavor and moisture, leading to fluffier results. Keep in mind that eggs should be at room temperature for the best incorporation into your batter, so take them out of the fridge about 30 minutes before baking.
What’s the best way to store leftover cupcakes?
Certainly! To store your cupcakes, keep them in an airtight container at room temperature for up to 3 days. If you want to keep them fresher for longer, place them in the refrigerator for up to a week. Just make sure they're covered to prevent drying out and losing that delightful texture!
Can I freeze Vanilla Cupcakes?
Very much! To freeze your Vanilla Cupcakes, first ensure they are unfrosted. Place them in an airtight container or wrap them tightly in plastic wrap, then pop them into the freezer for up to 3 months. When you're ready to enjoy them, thaw cupcakes in the refrigerator overnight, and then frost as desired for freshness.
What if my cupcake batter is too thick?
If you find that your batter is thicker than intended, don’t worry! Simply add a tablespoon or two of milk gradually until you achieve a smooth, pourable consistency. Mix gently to blend the milk in without overworking the batter; this will help you maintain those fluffy cupcakes.
Are these Vanilla Cupcakes safe for pets or people with allergies?
While these Vanilla Cupcakes are delicious for humans, they aren’t suitable for pets, especially dogs, due to sugar and potential high-fat content. For those with allergies, you can modify the recipe using gluten-free flour, dairy-free milk, and egg substitutes; just be mindful of specific ingredients that might pose a risk. Always check for cross-contamination if you're baking for someone with food allergies.
How do I know when my cupcakes are done baking?
To check if your Vanilla Cupcakes are done, insert a toothpick into the center of one. If it comes out clean or with a few crumbs, they’re ready! Avoid opening the oven door too soon, as this can cause them to sink. Wait until about 15 minutes of baking has passed for best results!
Light and Fluffy Vanilla Cupcakes You’ll Love to Bake
Ingredients
Equipment
Method
- Preheat your oven to 350°F (175°C) and line a muffin tin with cupcake liners.
- In a large mixing bowl, sift together the all-purpose flour, baking powder, and salt.
- In another bowl, combine the room-temperature eggs and granulated sugar, and beat until pale yellow and slightly thickened.
- Slowly pour in the melted unsalted butter and vanilla extract while mixing on low speed.
- Gradually add the sifted dry ingredients to the wet mixture, alternating with milk, mixing until just combined.
- Spoon the batter into each cupcake liner, filling them about 3/4 full.
- Bake for 15-18 minutes, or until a toothpick inserted comes out clean.
- Allow to cool in the tin for about 5 minutes, then transfer to a wire rack to cool completely.
- For the frosting, cream together the softened butter and confectioners sugar until smooth, then add vanilla and heavy cream.
- Frost the cooled cupcakes using a piping bag.