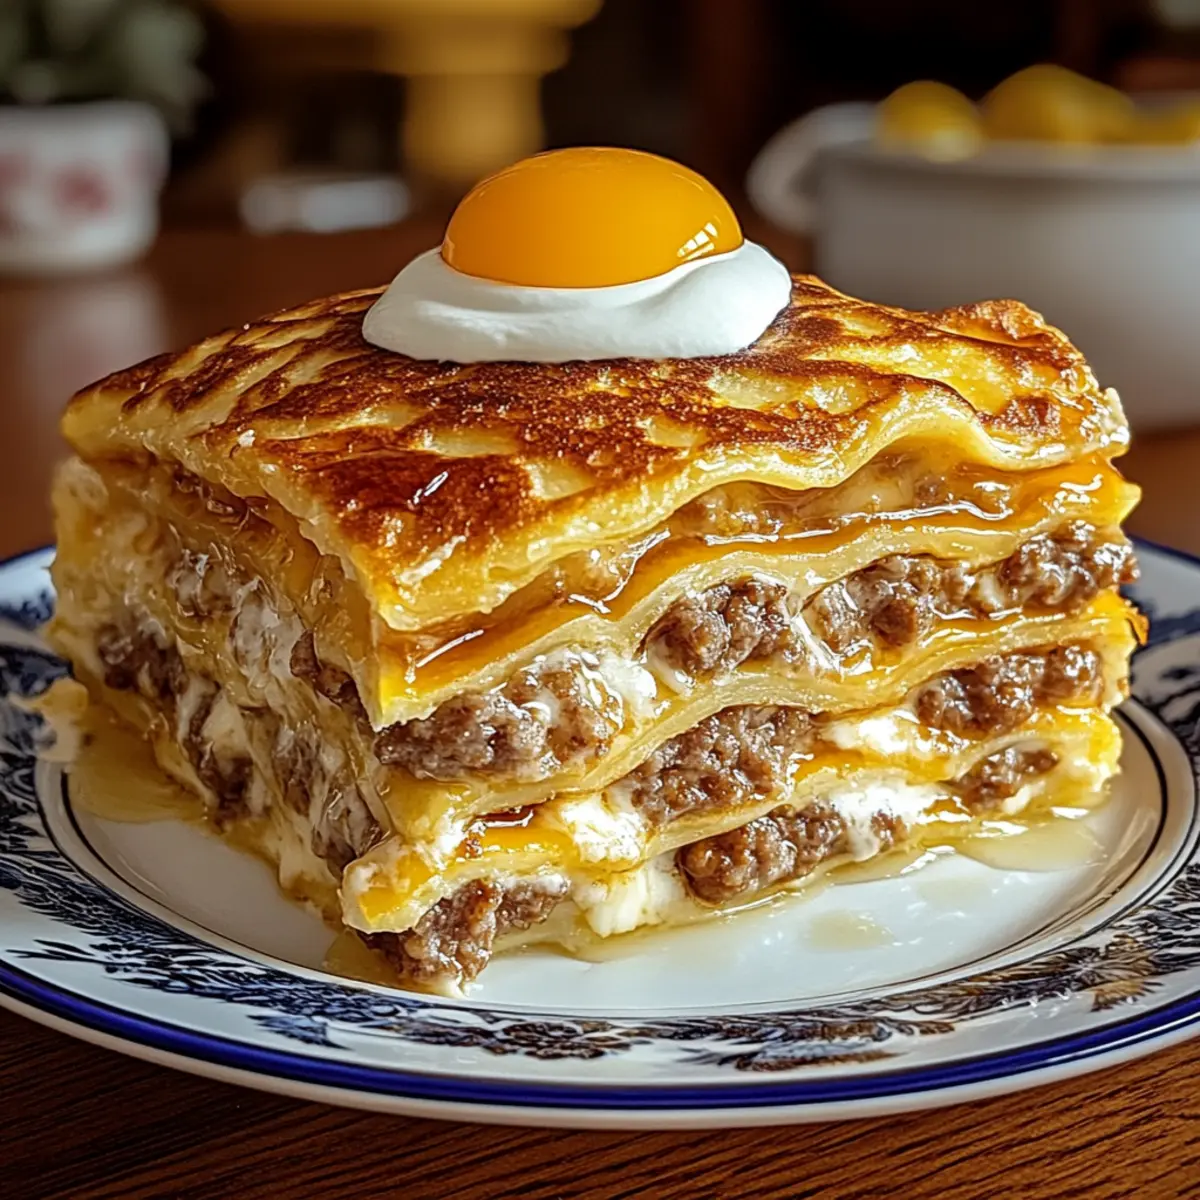
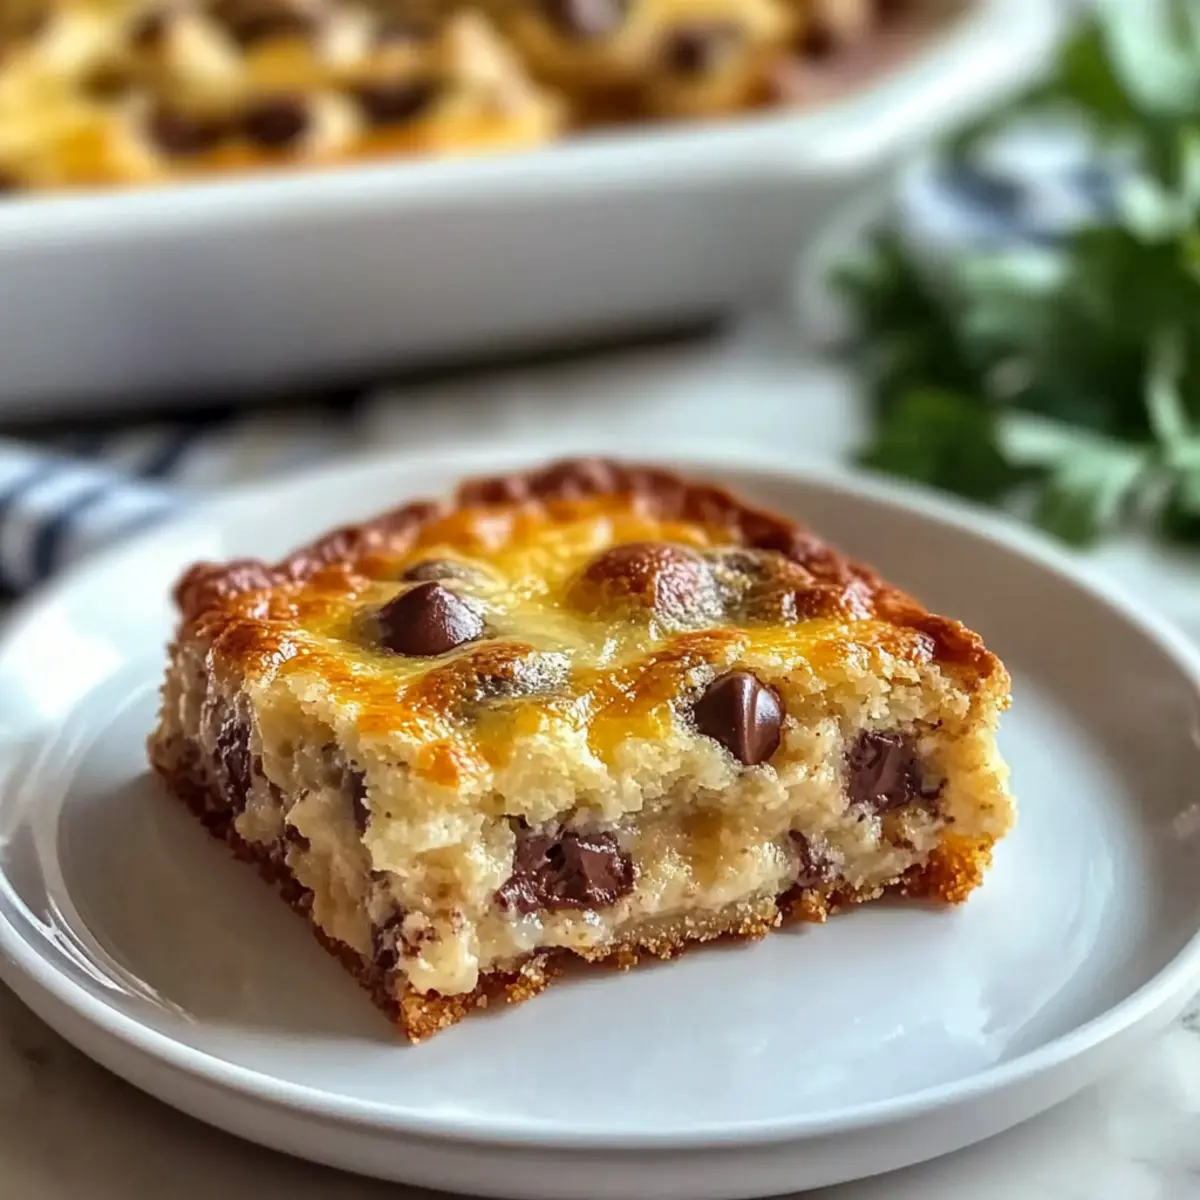
The moment I pulled my Easy Eggs Benedict Casserole out of the oven, the tantalizing aroma filled the kitchen, creating an irresistible pull for everyone around. A family-favorite brunch recipe, this delightful casserole combines crunchy English muffins, savory Canadian bacon, and a velvety custard, all capped with melted cheddar cheese. It’s the perfect make-ahead dish, allowing you to savor precious time with your loved ones instead of being stuck in the kitchen. Plus, it’s immensely customizable—whether you’re looking to swap out the meat or make it gluten-free, this recipe adapts to your needs, ensuring everyone gets to enjoy a slice. Ready to see how easy it is to create this deliciousness for your next gathering? Let's dive in!

Why is this Eggs Benedict Casserole a must-try?
Irresistible Aroma: The moment it bakes, your kitchen will be filled with a mouthwatering scent that draws everyone in.
Customizable Delight: Easily swap ingredients like Canadian bacon for smoked salmon or ditch gluten with a different bread option—this recipe caters to everyone!
Time-Saving Magic: Prep the night before to enjoy quality time with your guests at brunch, making it a stress-free experience for hosts!
Family-Friendly: Kids and adults alike will adore this comforting dish that brings everyone to the table, echoing the warmth of homemade meals.
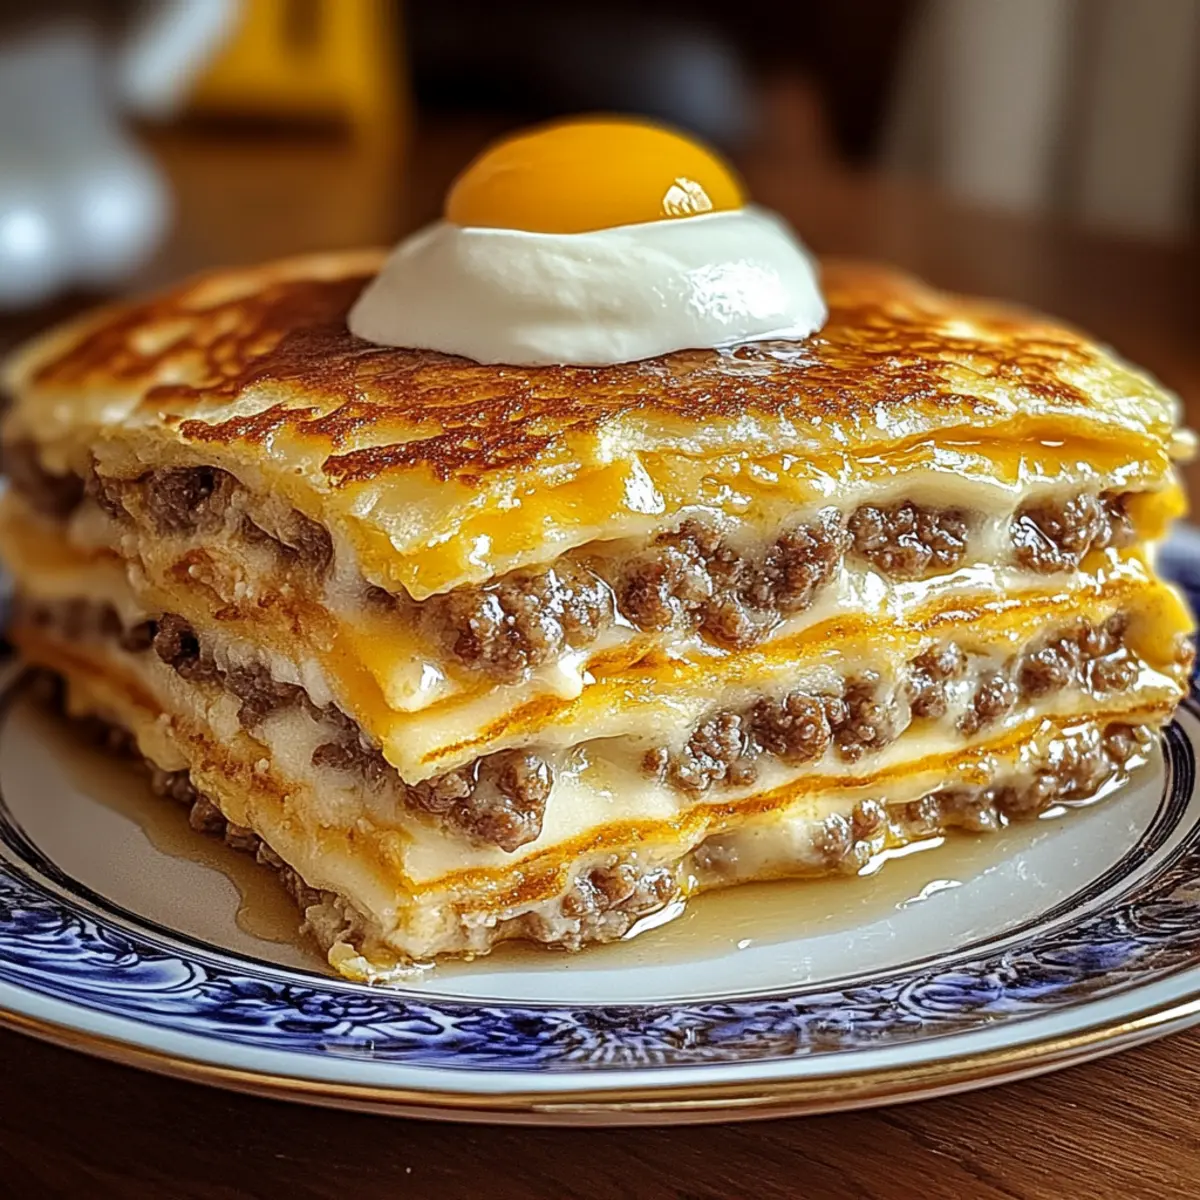
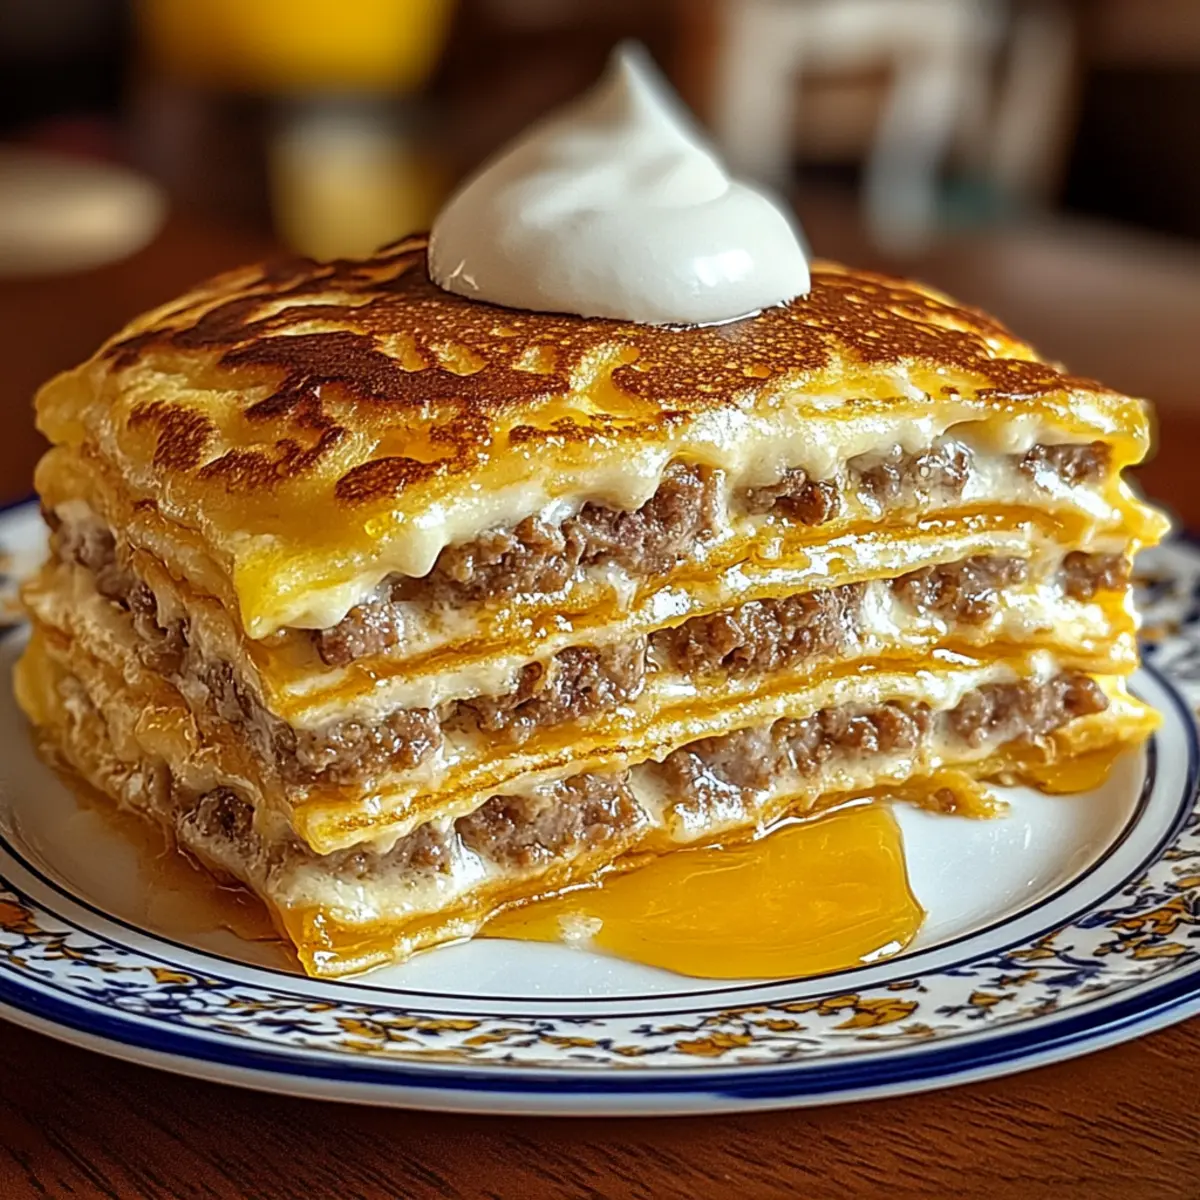
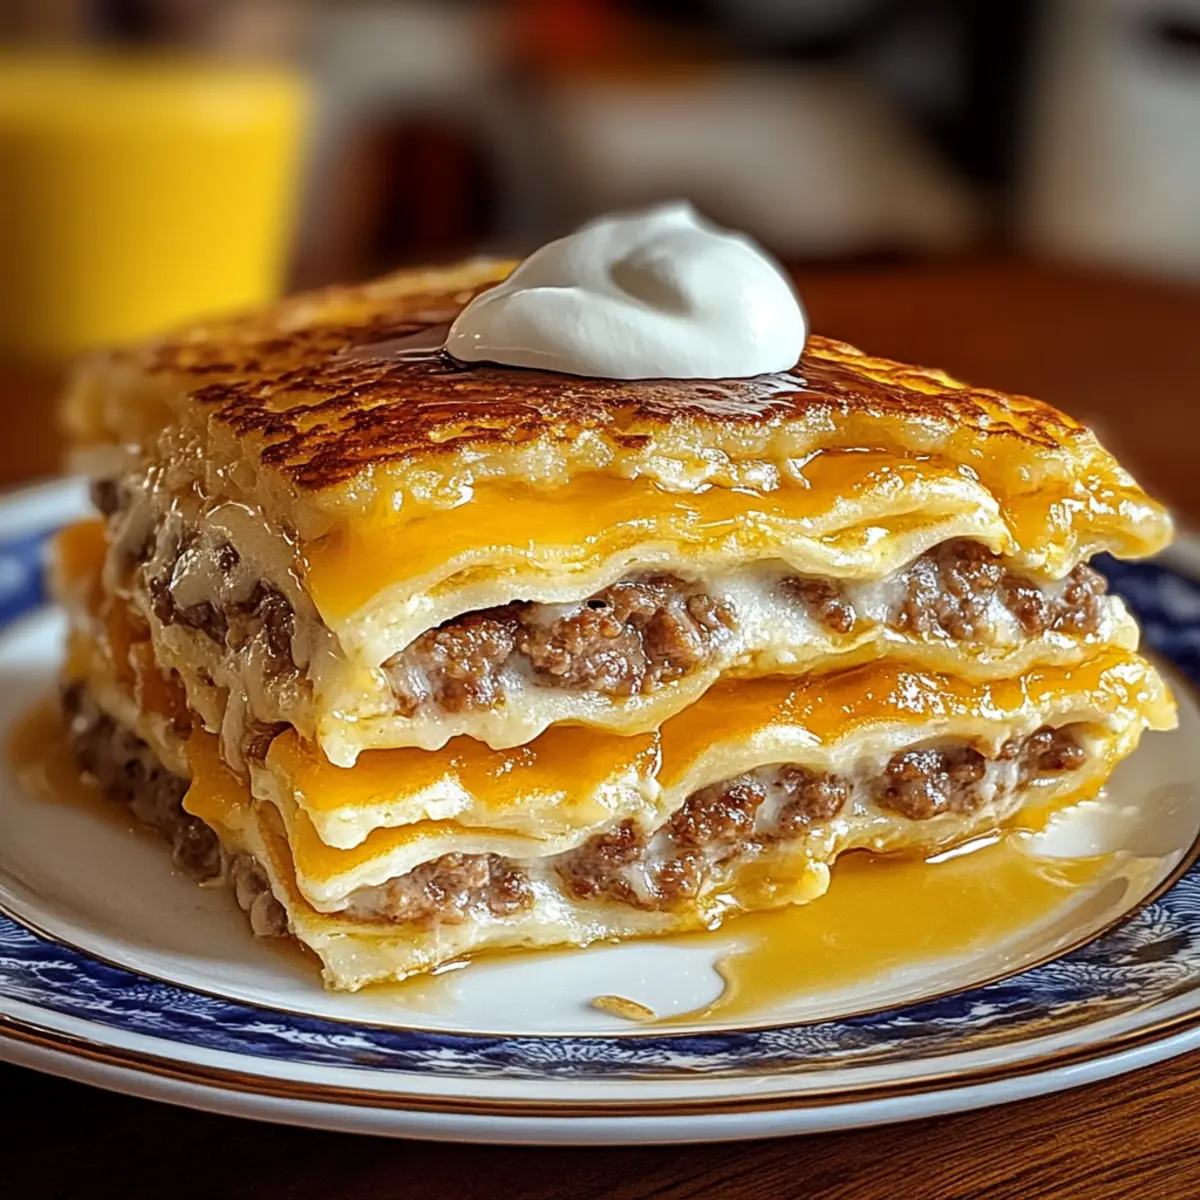
Perfect Portions: Each slice showcases a beautiful layer of flavors—creamy custard and crispy edges for a crowd-pleasing brunch dish.
Savory Variations: Experiment with veggies or cheeses for a unique twist—so delicious, you'll want to keep this recipe on repeat!
Easy Eggs Benedict Casserole Ingredients
For the Custard
- Large Eggs – Provides a rich base for custard; ensure they are fresh for the best flavor.
- Whole Milk – Adds creaminess; can substitute with low-fat milk if desired.
- Salt – Essential for enhancing overall flavor; don’t skip this important seasoning.
- Black Pepper – Adds a mild heat; adjust according to your preference.
- Cayenne Pepper – Optional spice; a little goes a long way to add warmth.
- Dijon Mustard – Brings a tangy kick to the custard mixture; feel free to use more for extra flavor.
For the Base
- English Muffins (quartered) – The golden base of this casserole; brioche or sourdough can also work for a different texture.
- Canadian Bacon or Ham – Offers savory depth; switch to turkey bacon for a lighter option.
For Topping
- Shredded Cheddar Cheese – The melty finish everyone loves; experiment with different cheeses for unique flavors.
- Hollandaise Sauce – Traditional creamy topping; use store-bought or whip up your own for a special touch.
- Chopped Chives or Parsley – Fresh garnish; adds color and enhances the flavor profile of the dish.
Feel free to get creative with your Easy Eggs Benedict Casserole by adapting these ingredients to fit your taste and dietary needs!
Step‑by‑Step Instructions for Easy Eggs Benedict Casserole
Step 1: Preheat Oven
Start by preheating your oven to 350°F (175°C). This ensures your Easy Eggs Benedict Casserole will bake evenly and thoroughly. While the oven heats up, gather your ingredients and prepare any equipment you'll need, such as a large mixing bowl and a greased baking dish.
Step 2: Prepare Custard Mixture
In a large bowl, whisk together the eggs, whole milk, salt, black pepper, cayenne pepper, and Dijon mustard until the mixture is well blended and frothy. This step is essential for creating the smooth custard base that will envelop the layers in your casserole. Set this mixture aside while you layer the other ingredients.
Step 3: Layer Ingredients
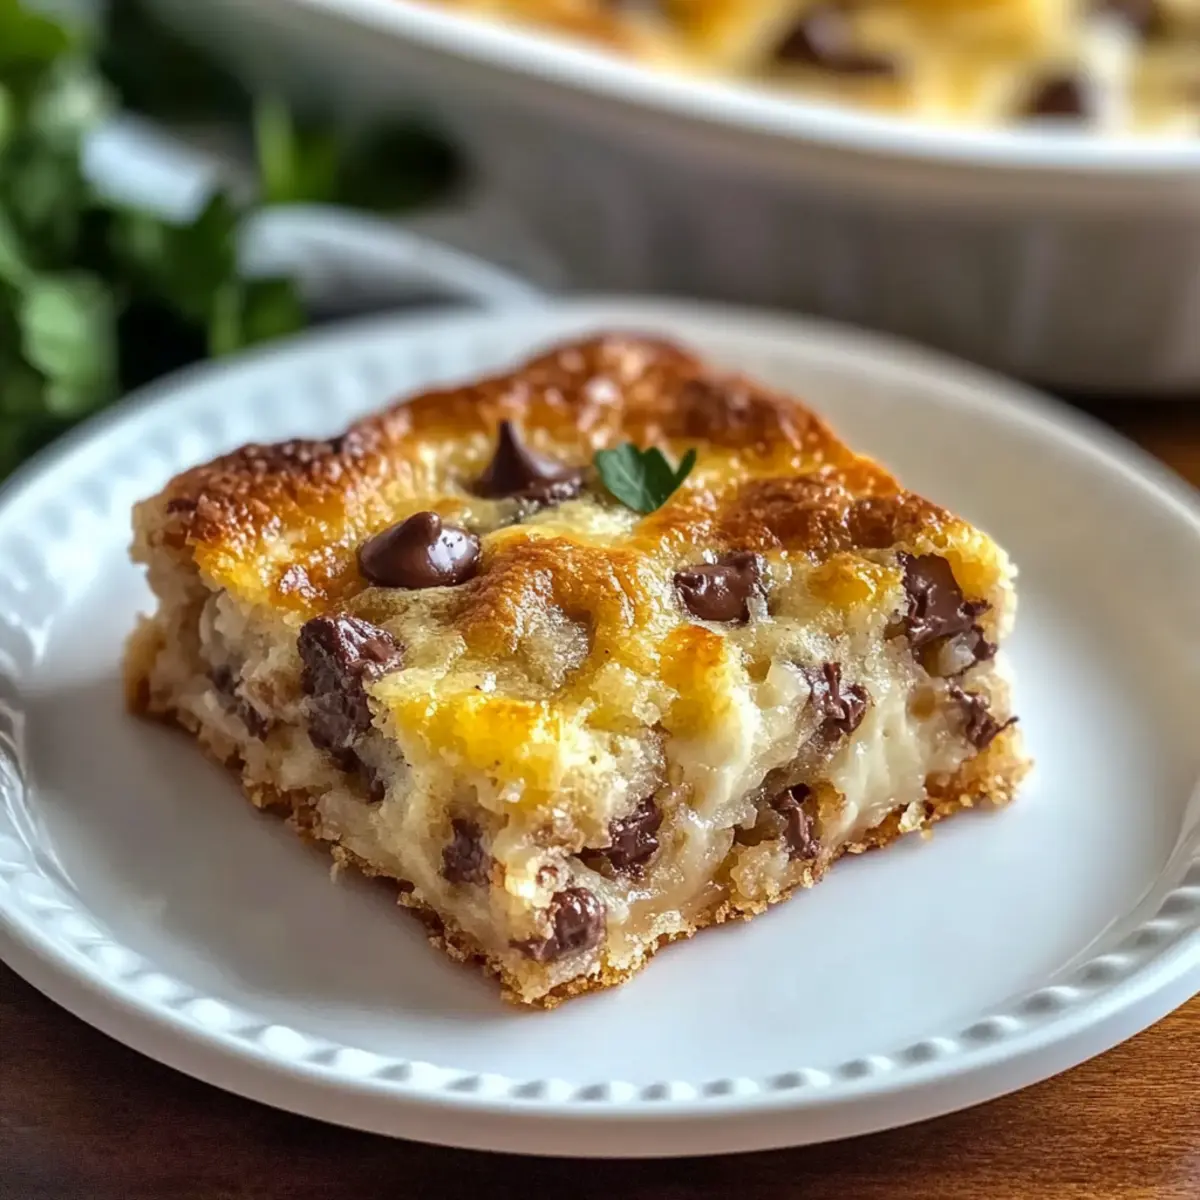
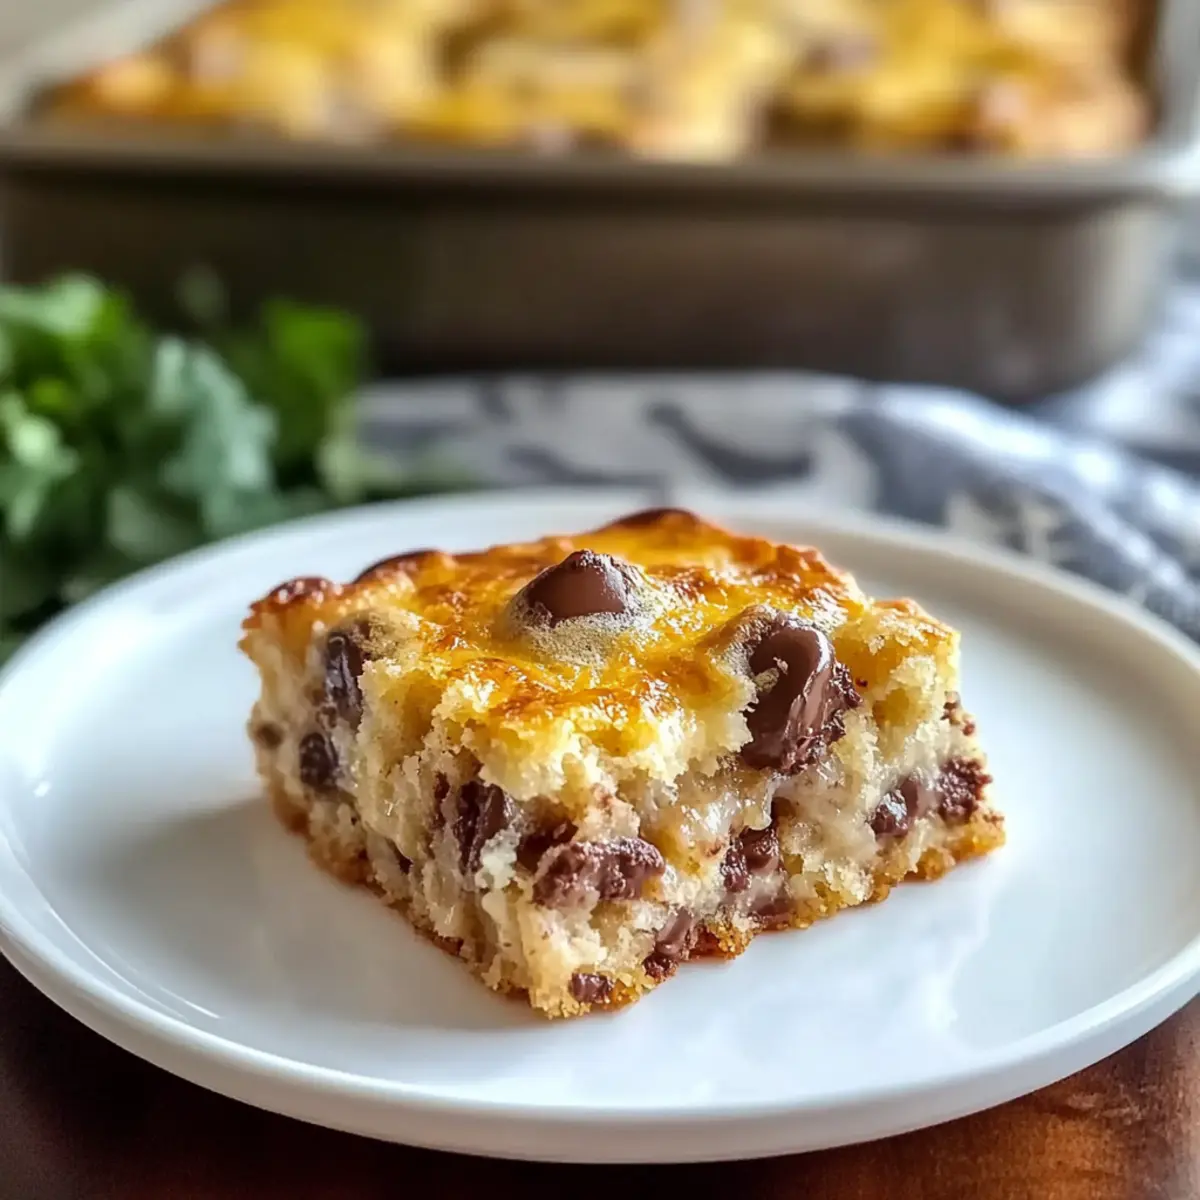
Grease your baking dish generously to prevent sticking. Begin by placing the quartered English muffins evenly as the base layer, ensuring they cover the bottom. Next, sprinkle in the Canadian bacon or ham, distributing it evenly across the muffins. Carefully pour the prepared custard mixture over the layers, allowing it to soak in, and finish by generously sprinkling the shredded cheddar cheese on top.
Step 4: Bake
Cover the baking dish with aluminum foil and place it in the preheated oven. Bake the casserole for 30 minutes to allow the custard to set. After this initial timeframe, remove the foil and continue to bake for an additional 15-20 minutes. Keep an eye on the casserole—it should emerge golden brown and firm to the touch.
Step 5: Cool and Serve
Once baked, take the casserole out of the oven and let it cool for about 5–10 minutes. This resting time helps the layers set and makes it easier to slice. Drizzle warm hollandaise sauce over each serving and garnish with freshly chopped chives or parsley for a burst of color and flavor. Now your Easy Eggs Benedict Casserole is ready to share and enjoy!

What to Serve with Easy Eggs Benedict Casserole
Indulging in a slice of this creamy casserole is just the beginning of your delightful brunch experience.
- Crispy Hash Browns: Golden and crunchy, these potatoes provide a satisfying contrast to the creamy texture of the casserole, making every bite a delight.
- Fresh Fruit Medley: Bright, juicy fruits offer a refreshing palate cleanser and a pop of color on your brunch table, balancing the savory flavors beautifully.
- Light Garden Salad: Crisp greens with a tangy vinaigrette enhance the meal with a crunchy, refreshing element, rounding out the comfort of the casserole.
- Sweet Cinnamon Rolls: These soft, fluffy treats add a sweet dimension to your brunch spread; their warmth harmonizes wonderfully with the savory notes of the casserole.
- Mimosas or Bellinis: Bubbly and fruity, these festive drinks elevate your brunch experience, providing a celebratory touch alongside the rich flavors of the casserole.
- Classic Pancakes: Stack these golden delights with maple syrup for a sweet addition, offering a delicious contrast to the savory and creamy casserole.
- Savory Sausage Links: Juicy and flavorful, they add a hearty protein option that can satisfy any hungry guest, perfect for those who crave a traditional breakfast touch.
- Baked Tomatoes: Roasted with herbs and a sprinkle of cheese, their acidity complements the richness of the casserole, adding a burst of freshness.
- Herbed Yogurt Dip: A cool and tangy dip, it serves as a delightful accompaniment option for those desiring a lighter, refreshing bite alongside the casserole.
How to Store and Freeze Easy Eggs Benedict Casserole
Fridge: Store leftovers in an airtight container for up to 3-4 days. Just reheat in the oven or microwave before serving to enjoy that fresh taste again.
Freezer: Freeze portions of the Easy Eggs Benedict Casserole in airtight containers for up to 2 months. For best results, wrap in plastic wrap followed by aluminum foil to prevent freezer burn.
Reheating: When ready to eat, thaw in the fridge overnight and reheat in the oven at 350°F (175°C) for about 20-25 minutes, or until heated through.
Make-Ahead: You can assemble the casserole up to 24 hours in advance, keeping it refrigerated until baking—perfect for stress-free brunch preparation!
Make Ahead Options
These Easy Eggs Benedict Casserole are perfect for meal prep enthusiasts! You can prepare the entire casserole up to 24 hours in advance, simply covering it tightly with plastic wrap or foil and storing it in the refrigerator. Additionally, you can assemble the base layers of English muffins and Canadian bacon, then pour the custard over it right before baking. To maintain quality and prevent sogginess, avoid adding the cheese until you're ready to bake. When you're ready to serve, just bake it straight from the fridge; you might need to add an extra 5-10 minutes to the baking time for a tasty, golden result. Enjoy a delicious brunch with minimal kitchen stress!
Easy Eggs Benedict Casserole Variations
Inviting flavors and personal touches make this casserole an absolute delight—let your creativity shine as you customize your dish!
-
Protein Swap: Replace Canadian bacon with smoked salmon for a seafood twist that adds a luxurious flavor.
-
Veggie Boost: Toss in fresh spinach or sun-dried tomatoes for vibrant color and nutritious goodness throughout the casserole.
-
Cheese Alternatives: Experiment with creamy goat cheese or sharp feta to elevate your dish’s flavor profile with richness and depth.
-
Gluten-Free Option: Make your brunch accessible by using gluten-free bread or cornbread instead of English muffins; nobody will miss the wheat!
-
Add Heat: Spice things up by incorporating diced jalapeños or a splash of hot sauce, bringing a bold kick that ignites the taste buds.
-
Herb Infusion: Mix in fresh thyme or dill to introduce aromatic layers that complement the richness of the custard beautifully.
-
Sweet Twist: For an unexpected delight, drizzle with maple syrup for sweet-savory bites that your guests will love.
-
Nutty Crunch: Top your casserole with toasted walnuts or pecans for added texture and a nutty flavor that rounds out the dish wonderfully.
For more delicious brunch ideas, check out Turkish Eggs Discover or for a different flavor profile, try the Cornbread Breakfast Casserole. Your family will thank you for these tasty creations!
Expert Tips for Easy Eggs Benedict Casserole
- Whisk Thoroughly: Ensure you whisk the eggs and milk until frothy for a smooth custard; this enhances the overall texture and flavor.
- Lightly Toast Muffins: A quick toasting prevents the English muffins from becoming soggy, ensuring a delightful crunch in every bite.
- Watch Your Oven: Baking times can vary; keep an eye on the casserole for a golden top and set center—using a toothpick can help check for doneness.
- High-Quality Ingredients: Using fresh, high-quality eggs and other components greatly boosts the flavor of your Easy Eggs Benedict Casserole.
- Customize Wisely: Feel free to swap meats or cheeses, but keep the overall balance in mind—make adjustments slowly to maintain harmony in flavors.

Easy Eggs Benedict Casserole Recipe FAQs
What kind of eggs should I use for the casserole?
I recommend using large eggs with clean shells for the best flavor and texture in your Easy Eggs Benedict Casserole. Fresh eggs will help create a richer custard base that enhances the overall dish.
How should I store leftovers of the Easy Eggs Benedict Casserole?
Store any leftovers in an airtight container in the fridge, where they will keep well for 3-4 days. When you’re ready to enjoy another slice, simply reheat it in the oven at 350°F (175°C) for about 15-20 minutes for that fresh-baked taste.
Can I freeze this casserole for future use?
Absolutely! You can freeze portions of your Easy Eggs Benedict Casserole in airtight containers for up to 2 months. For best results, wrap each portion tightly in plastic wrap and then in aluminum foil to prevent freezer burn. When you're ready to enjoy it, just thaw overnight in the fridge and reheat it in the oven.
What if the casserole is too soggy?
If you find your Easy Eggs Benedict Casserole is soggy, it may be due to using insufficiently toasted English muffins. To prevent this, lightly toast them before assembling the casserole. Also, ensure the eggs and milk are well-balanced in ratios, as too much liquid can contribute to a soggy texture.
Are there any dietary considerations for pets or allergies?
While the ingredients are safe for humans, this casserole contains dairy and possibly gluten, so it should be kept away from pets. For allergies, always double-check ingredient labels, particularly with Dijon mustard or processed cheeses, as they might contain allergens. If you're preparing it for guests, ensure you ask about any dietary restrictions beforehand.
Can I make this casserole gluten-free?
Yes, you can make a gluten-free version of the Easy Eggs Benedict Casserole by swapping out the English muffins for gluten-free bread or cornbread. Just verify that all other ingredients, like the Canadian bacon and cheese, are gluten-free to keep the entire dish compatible with gluten-free diets.

Easy Eggs Benedict Casserole for a Cozy Brunch Delight
Ingredients
Equipment
Method
- Preheat your oven to 350°F (175°C). Gather your ingredients and prepare equipment.
- In a large bowl, whisk together eggs, whole milk, salt, black pepper, cayenne pepper, and Dijon mustard until well blended.
- Grease your baking dish. Place the quartered English muffins evenly as the base layer, then sprinkle the Canadian bacon or ham.
- Pour the custard mixture over the layers and sprinkle shredded cheddar cheese on top.
- Cover with foil and bake for 30 minutes. Remove foil and bake for another 15-20 minutes until golden brown.
- Let cool for 5-10 minutes. Drizzle with hollandaise sauce and garnish with chives or parsley.