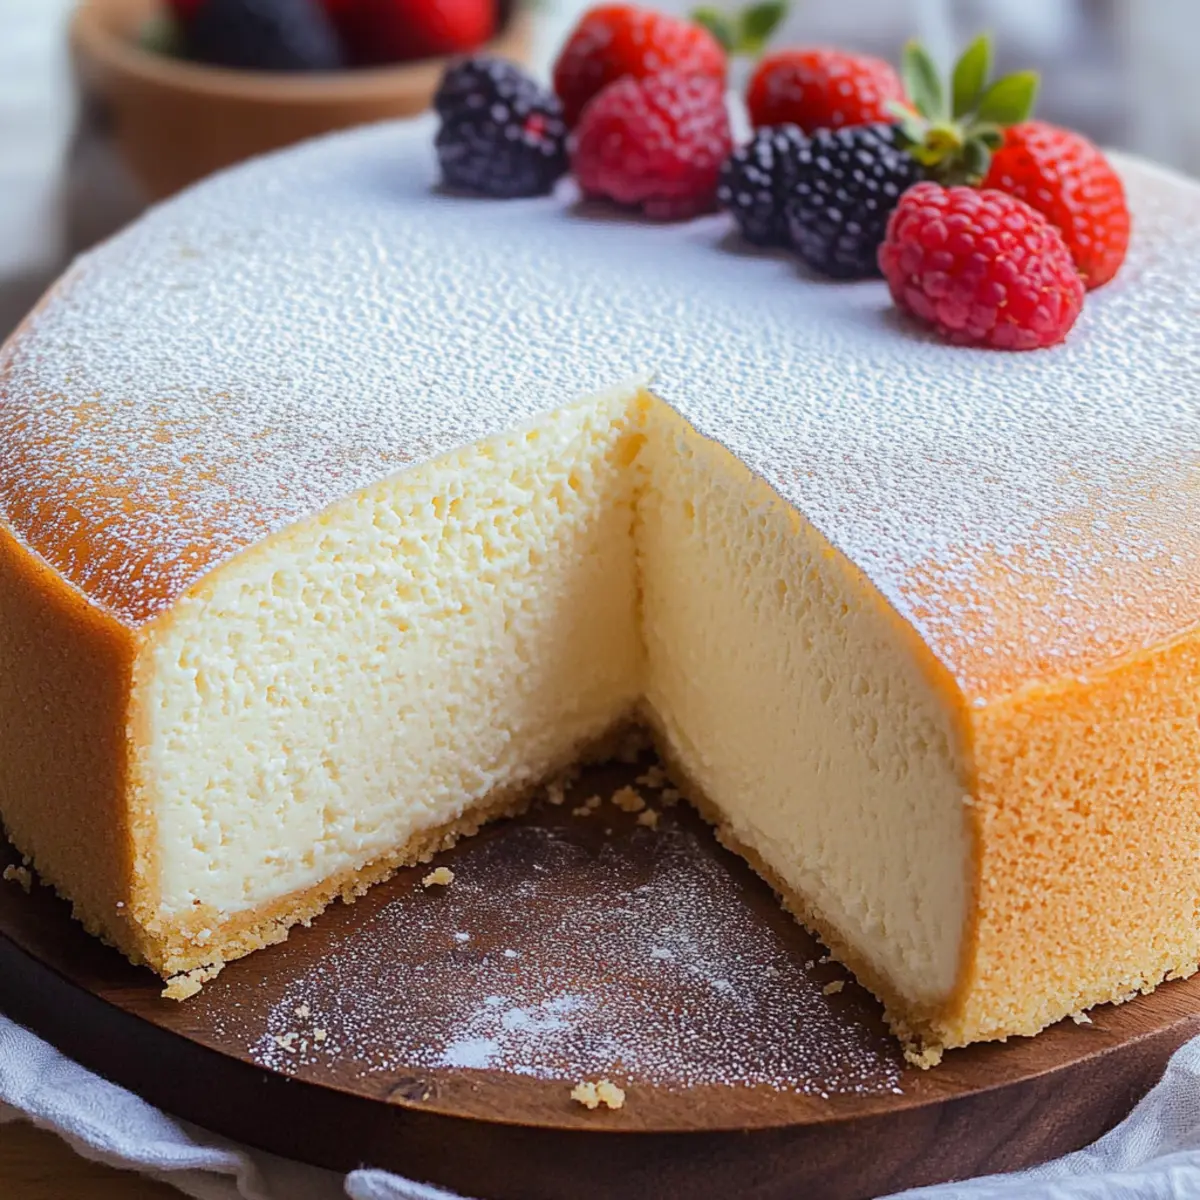
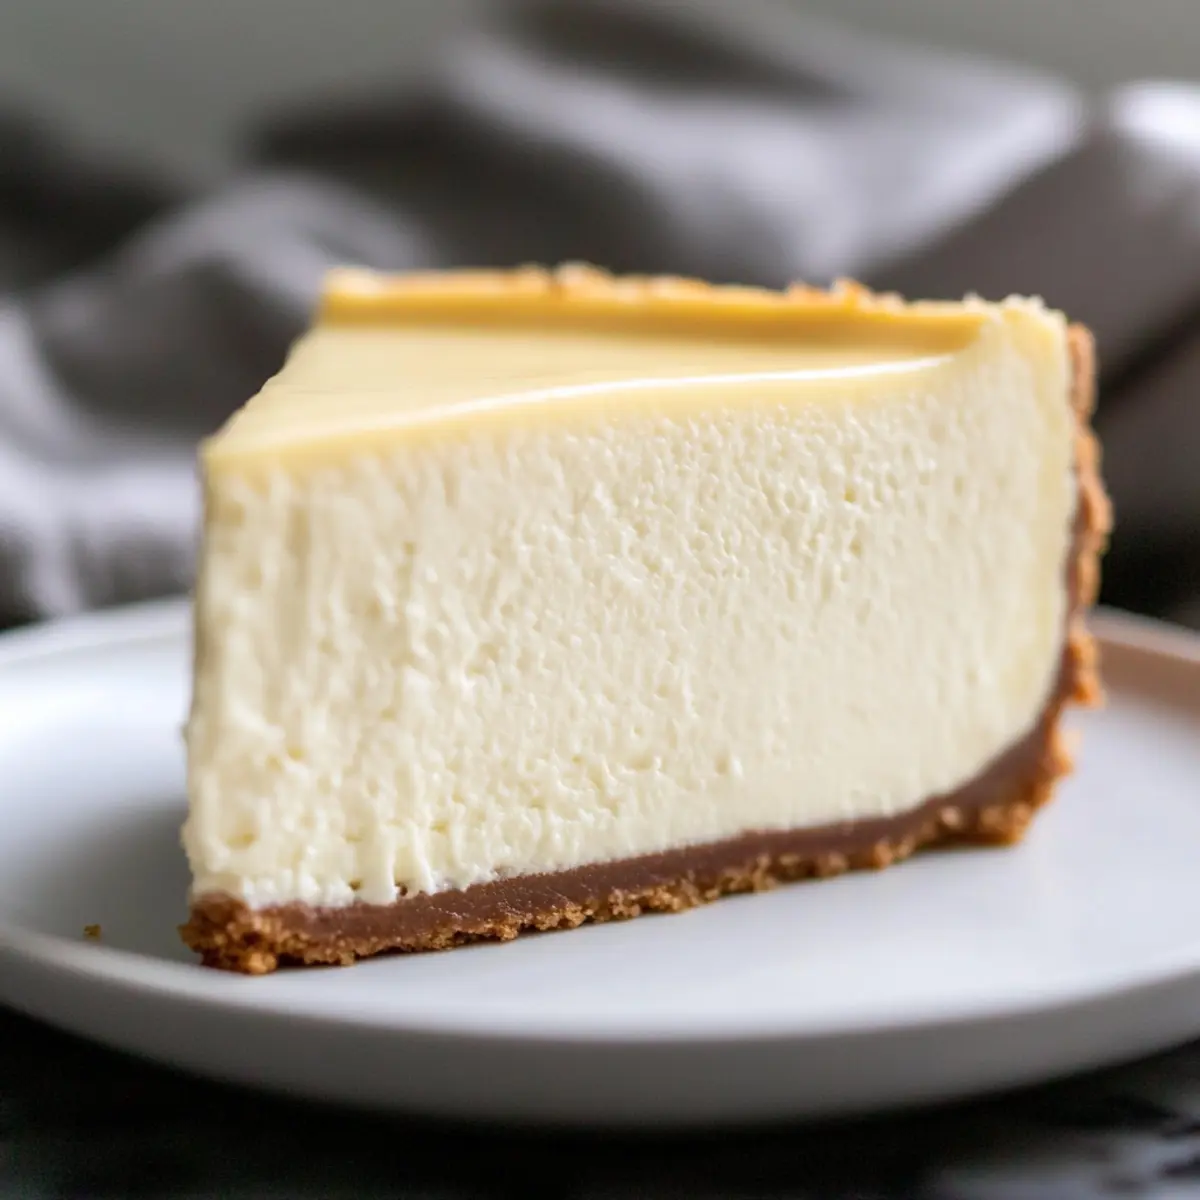
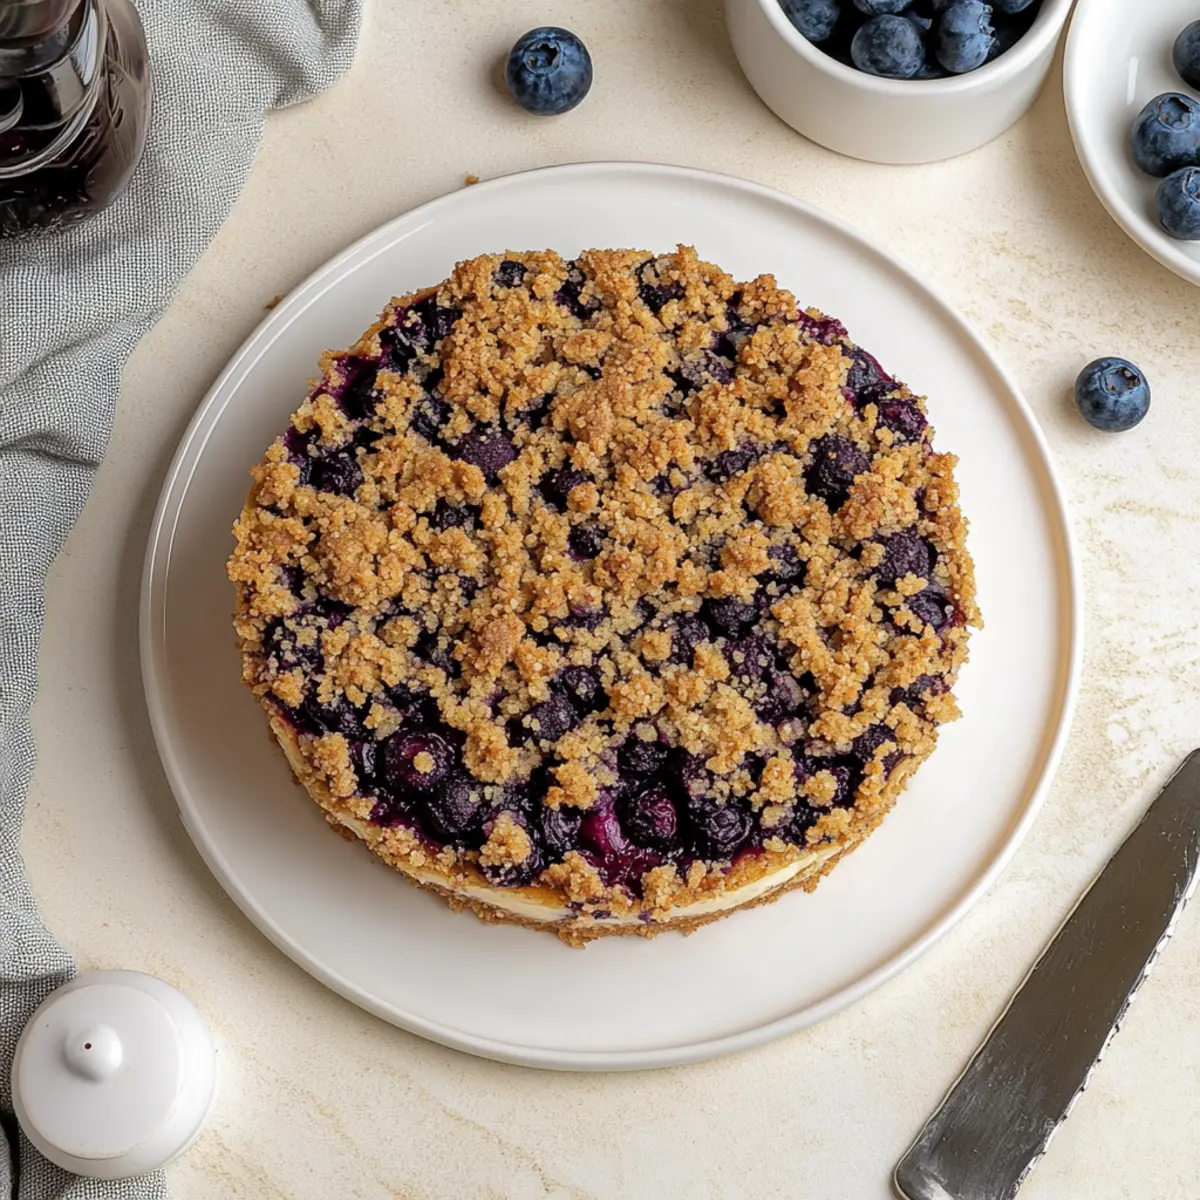
Have you ever taken a bite of dessert that made you feel like you were wrapped in a warm, comforting hug? That’s exactly how I feel about this Blueberry Crumble Cheesecake. It beautifully marries the luscious creaminess of cheesecake with the vibrant pop of juicy blueberries and a delightful crunchy topping. Not only is this recipe an absolute showstopper for any gathering, but it's also surprisingly easy to whip up, making it perfect for those busy weekdays when you crave something sweet. Whether you’re serving it at a special event or treating yourself after a long day, this cheesecake is sure to impress. Are you ready to dive into a world of creamy, fruity bliss? Let’s get baking!
Why Is This Cheesecake a Must-Try?
Ease of Preparation: You don’t need to be a master chef to create this delightful dessert; it’s designed for all skill levels!
Decadent Flavor: With rich cream cheese, fresh blueberries, and a hint of sweetness, every bite is a taste sensation you won’t forget.
Versatile Ingredients: Whether you're a fan of blueberries or want to experiment with other fruits, this recipe allows for substitutions to match your cravings.
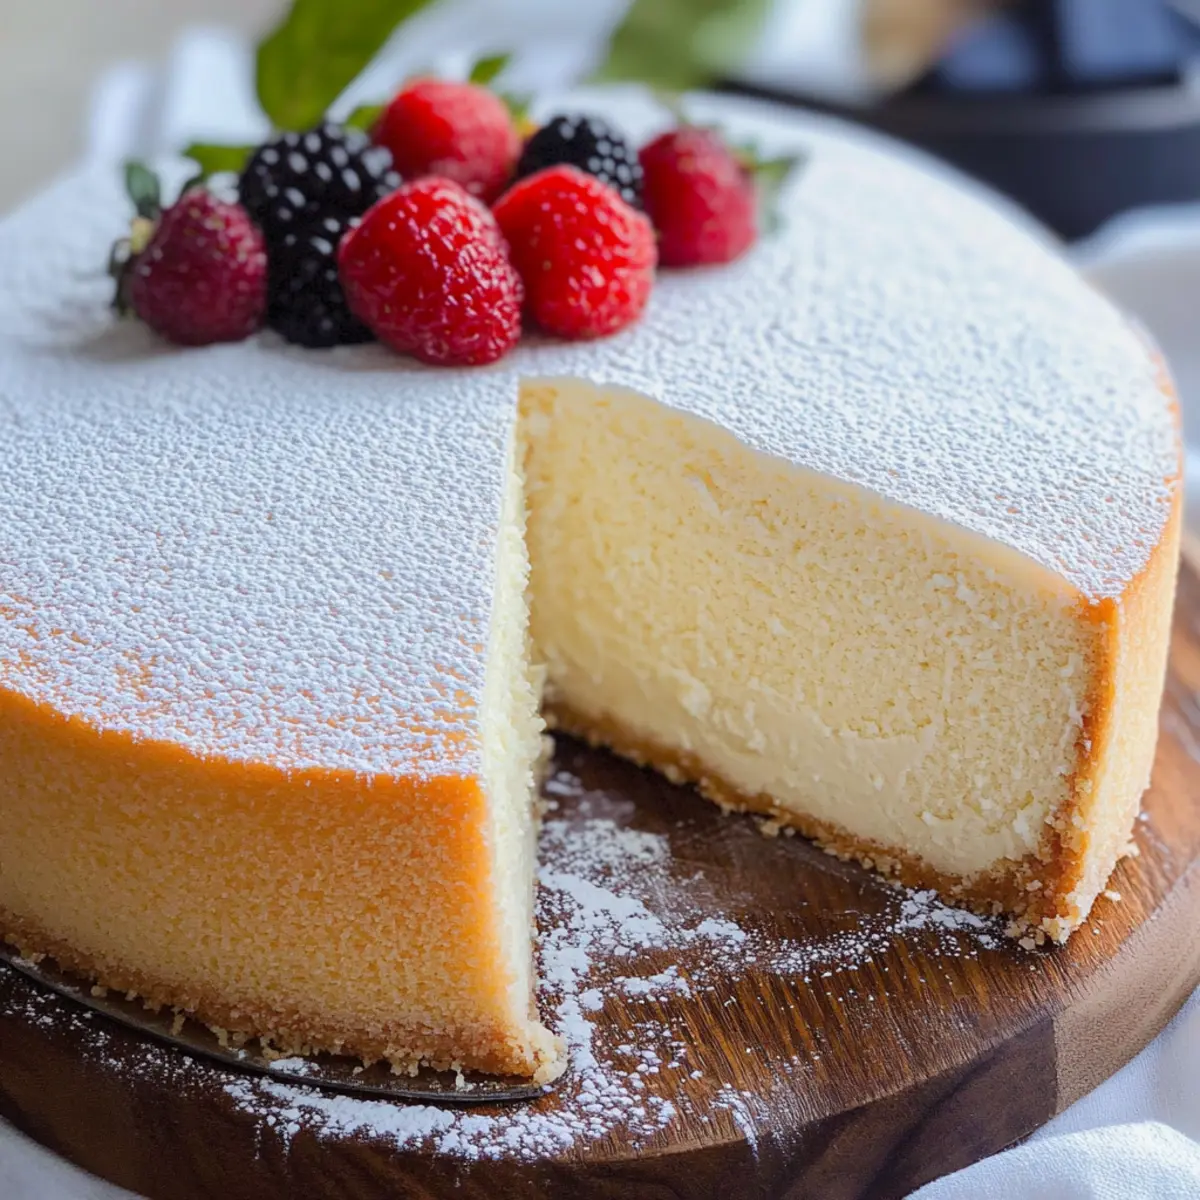
Crowd-Pleasing Appeal: Perfect for gatherings and special occasions, this Blueberry Crumble Cheesecake always garners rave reviews!
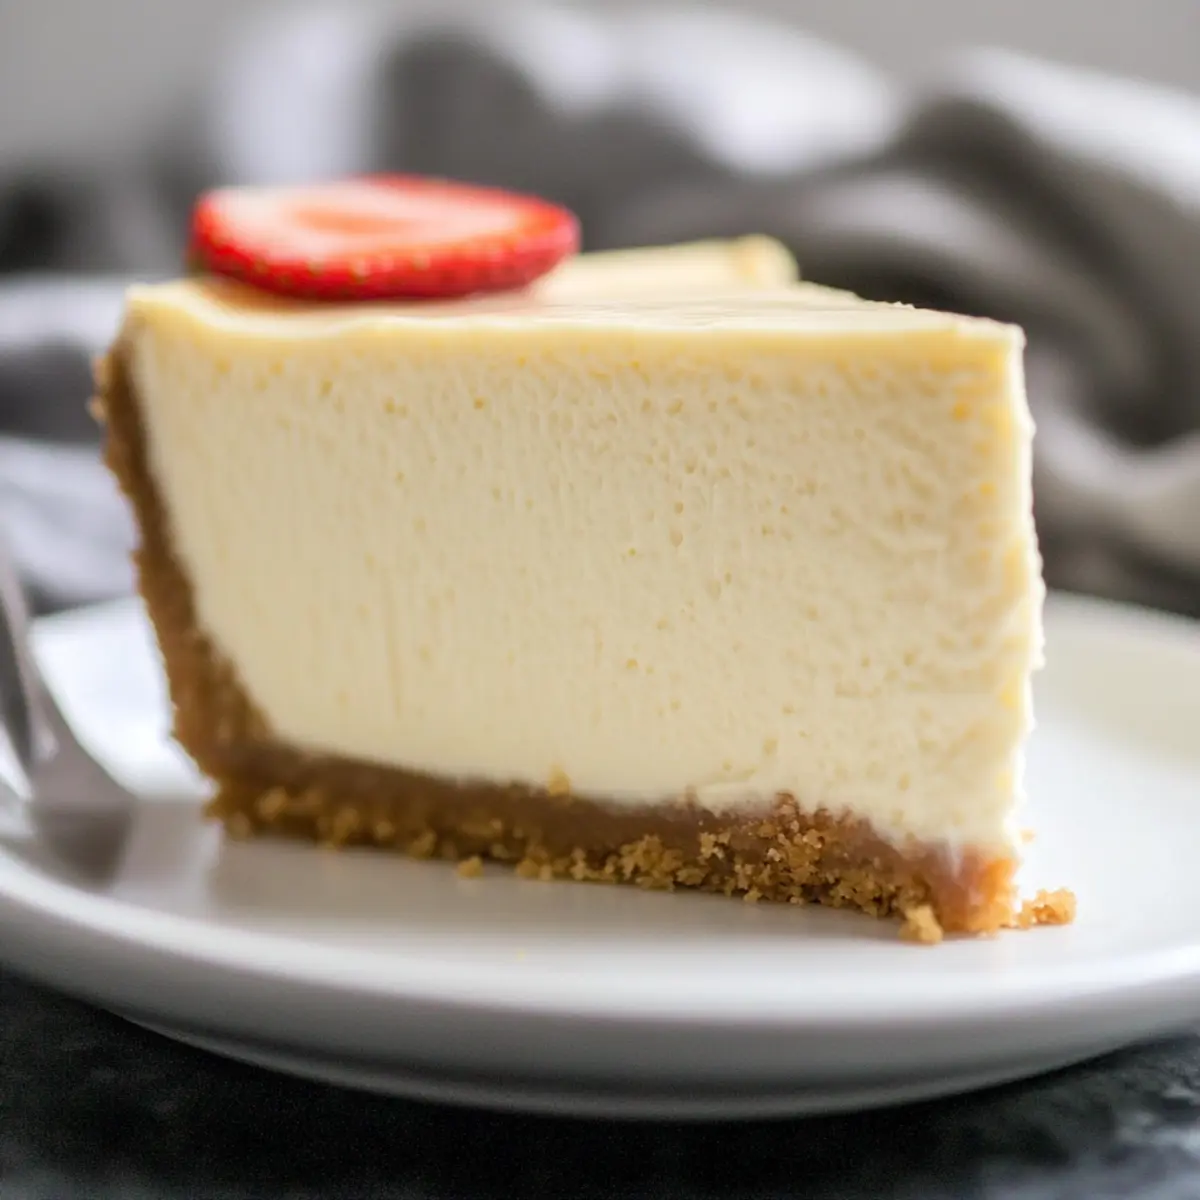
Texture Contrast: The creamy cheesecake paired with the crunchy crumble and juicy berries offers an enticing combination that’s simply irresistible.
Make it your go-to dessert and discover why everyone falls in love with this delicious twist on a classic favorite!
Blueberry Crumble Cheesecake Ingredients
• Dive into making this delightful dessert with essential ingredients that harmonize perfectly.
For the Crust
- Digestive or Graham Crackers – Provides texture and sweetness; swap with gluten-free cookies for a GF version.
- Granulated Sugar – Sweetens the crust while helping to macerate the blueberries; reduce for a lighter sweetness.
- Butter – Binds crust ingredients together; coconut oil is a great dairy-free substitute.
For the Blueberry Mixture
- Fresh Blueberries – Adds natural sweetness and vibrant color; feel free to replace with peaches or pears for a fun twist.
- All-Purpose Flour – Gives structure to the topping; for gluten-free, use almond or coconut flour.
For the Crumble Topping
- Dark Brown Sugar – Infuses richness and moisture into the crumble; light brown sugar works just as well.
- All-Purpose Flour – Again, provides structure—gluten-free options are available if needed.
- Butter – Helps achieve a delightful crumble texture when blended with sugars and flour.
For the Cheesecake Filling
- Full Fat Cream Cheese – Essential for that creamy cheesecake texture; low-fat cream cheese can be used but may alter texture.
- Sour Cream – Adds tanginess and creaminess; Greek yogurt is an excellent alternative.
- Cornstarch – Stabilizes the cheesecake to prevent cracking; no substitutes recommended for best results.
- Vanilla Extract – Elevates the overall flavor; opt for pure vanilla for the finest taste.
- Large Eggs – Act as emulsifiers for a smooth filling; consider egg substitutes for vegan options.
Let’s gather our ingredients and get ready to create a stunning Blueberry Crumble Cheesecake that will steal the show at any gathering!
Step‑by‑Step Instructions for Blueberry Crumble Cheesecake
Step 1: Prepare the Crust
Preheat your oven to 160ºC (325ºF). In a food processor, blend the digestive or graham crackers with granulated sugar until fine. Pour in melted butter and pulse until mixed. Press this mixture evenly into the bottom of a lined springform pan, creating a firm crust. Bake for 10 minutes or until lightly golden. Let it cool completely while preparing the filling.
Step 2: Prepare the Blueberry Mixture
In a medium bowl, combine fresh blueberries, a sprinkle of sugar, all-purpose flour, and a splash of lemon juice. Gently toss the mixture until the blueberries are well-coated. Set this vibrant blueberry mixture aside to let the flavors meld while you focus on the crumble and cheesecake filling.
Step 3: Prepare the Crumble Topping
In a separate mixing bowl, combine all-purpose flour and dark brown sugar, stirring to mix thoroughly. Melt some butter and pour it into the dry ingredients, then use your fingers to blend until the mixture resembles coarse crumbs. Set the crumble aside as you move on to creating the cheesecake filling—a key element of the Blueberry Crumble Cheesecake.
Step 4: Make the Cheesecake Filling
In a large bowl, beat the full-fat cream cheese and granulated sugar until the mixture is smooth and creamy. In another bowl, mix sour cream and cornstarch together until combined. Gradually add this to the cream cheese, beating well between each addition, then blend in the eggs one at a time. Finally, stir in the vanilla extract, ensuring everything is well incorporated.
Step 5: Assemble the Cheesecake
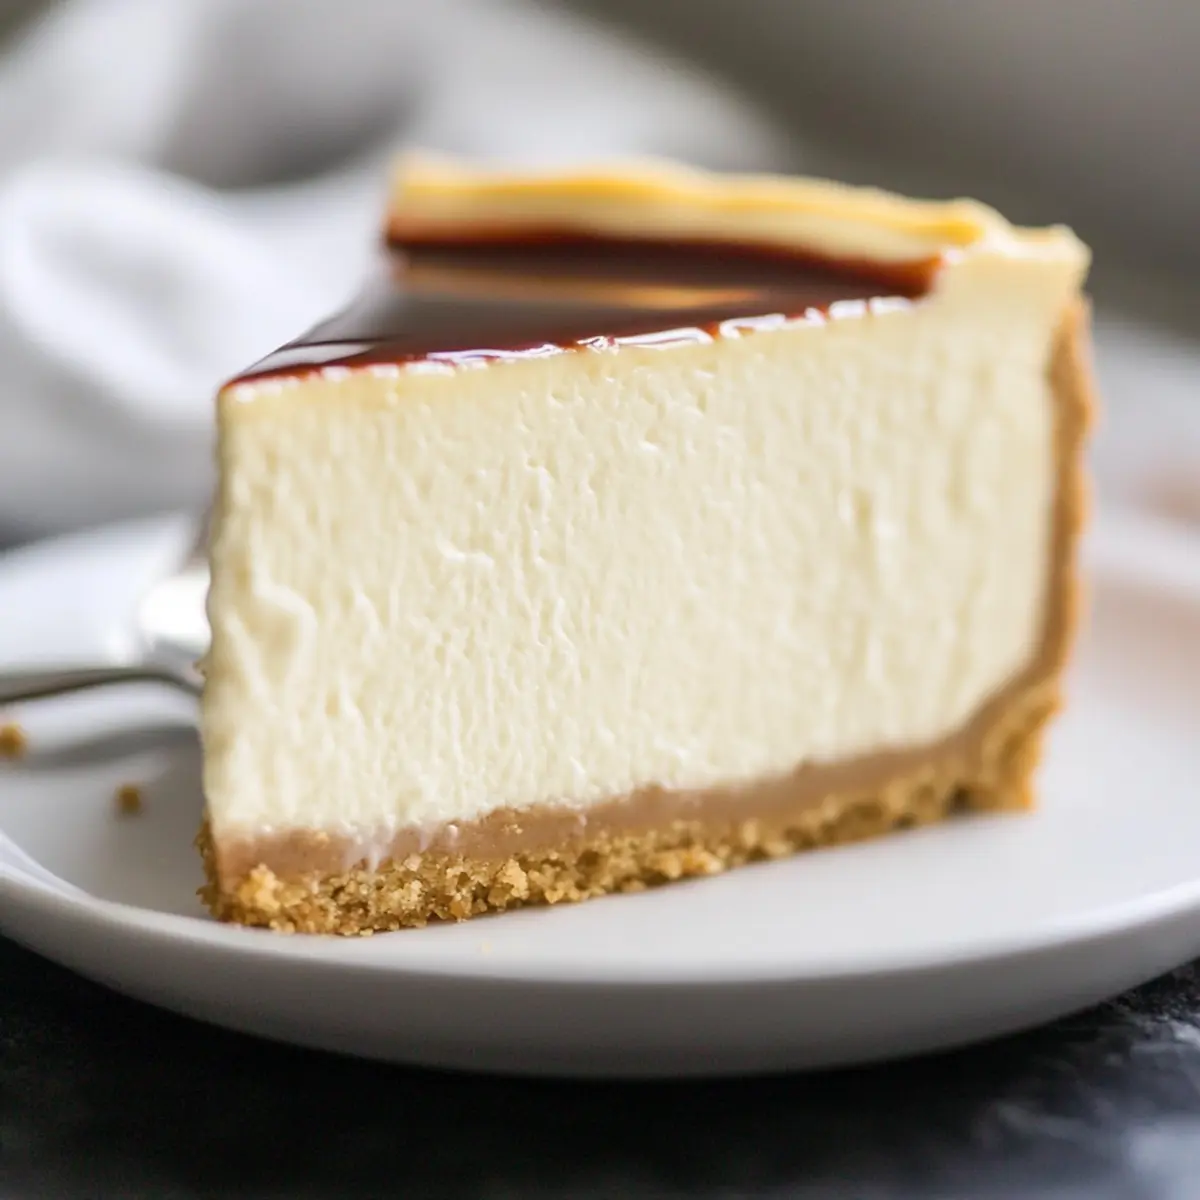
Pour the creamy cheesecake filling into the cooled crust, spreading it evenly. Layer the blueberry mixture over the top, and gently press it down with a spatula to help it sink into the filling. Finally, sprinkle the prepared crumble topping generously over the blueberries, creating a delightful contrast for your Blueberry Crumble Cheesecake.
Step 6: Bake the Cheesecake
Set your springform pan in a large baking dish and create a water bath by adding hot water to the dish until it reaches halfway up the sides of the pan. Bake for 1 hour and 20-30 minutes, or until the center jiggles slightly when shaken. This gentle baking helps prevent cracking, ensuring a decadent final product.
Step 7: Cool and Chill
Once baked, turn off the oven and leave the cheesecake inside with the door slightly ajar for 1 hour. This cooling method reduces the risk of cracks. Afterward, allow it to cool to room temperature for another hour, and then refrigerate the cheesecake for at least 6 hours or overnight. A proper chill ensures the best texture and flavor before serving your Blueberry Crumble Cheesecake.

What to Serve with Blueberry Crumble Cheesecake?
Treat yourself to a delightful spread that perfectly complements the rich, creamy cheesecake and zesty blueberries.
-
Whipped Cream: A light dollop of freshly whipped cream adds an airy touch that balances the cheesecake's richness. It's a simple yet elegant addition that feels indulgent.
-
Vanilla Ice Cream: Serve alongside a scoop of velvety vanilla ice cream for a classic, comforting pairing that enhances each luscious bite. The cold ice cream against the warm crumble creates a dreamy experience.
-
Fresh Berries Salad: A bright mix of strawberries, raspberries, and blueberries adds freshness and bursts of flavor that cut through the cheesecake's sweetness, making each bite a refreshing delight.
-
Coffee or Espresso: A steaming cup of rich coffee or a shot of espresso beautifully enhances the flavors while providing a satisfying contrast that makes this dessert an elevated end to your meal.
-
Chocolate Drizzle: For the chocolate lovers, a drizzle of dark chocolate across each slice adds a luxurious layer of flavor that perfectly complements the sweet and tart notes of the cheesecake.
-
Citrus Zest Garnish: A sprinkle of lemon or lime zest over the top adds a bright pop of flavor and color while elevating the overall taste of the dessert.
Each suggestion beautifully enhances the indulgence of the Blueberry Crumble Cheesecake, turning a delightful treat into a memorable feast!
Blueberry Crumble Cheesecake Variations
Feel free to let your imagination run wild with this recipe and make it truly your own!
-
Fruit Swap: Replace blueberries with your choice of ripe peaches, juicy raspberries, or sweet strawberries for a fruity twist.
-
Nutty Crunch: Add chopped walnuts or almonds to the crumble topping for an extra layer of texture and flavor. The nutty aroma will elevate your cheesecake experience!
-
Dairy-Free Delight: Use coconut cream and almond milk cream cheese for a delicious dairy-free option. It maintains the creaminess while being completely plant-based.
-
Zesty Lemon: A touch of lemon zest in the cheesecake filling enhances its flavor beautifully, bringing a bright, citrusy balance to the dessert. It’s like sunshine on a plate!
-
Chocolate Drizzle: Drizzle melted dark chocolate over the cheesecake before serving for a luxurious chocolate twist. It pairs wonderfully with the blueberries' tanginess, creating a decadent treat.
-
Spicy Cinnamon: Sprinkle a dash of cinnamon or nutmeg into the crumble for a warm, spicy flavor note. This adds a cozy touch that feels like home!
-
Vegan Alternative: Use silken tofu blended until smooth in place of cream cheese, and aquafaba for the eggs, creating a delightful vegan version that everyone will enjoy.
-
Gluten-Free Version: Substitute all-purpose flour for almond flour or gluten-free flour blend, as well as using gluten-free cookies for the crust. This way, no one misses out on this scrumptious dessert!
By incorporating these variations, your Blueberry Crumble Cheesecake will cater to a wider audience, ensuring every guest leaves with a smile. And if you're feeling particularly adventurous, consider whipping up a lovely pairing by making some homemade whipped cream or a berry compote to serve alongside!
How to Store and Freeze Blueberry Crumble Cheesecake
Fridge: Store your Blueberry Crumble Cheesecake covered in an airtight container in the refrigerator for up to 5 days for optimal freshness and flavor.
Freezer: If you want to keep it longer, wrap individual slices or the whole cheesecake tightly in plastic wrap and then aluminum foil. It can be frozen for up to 3 months.
Thawing: To enjoy your frozen cheesecake, transfer it to the fridge for 6–8 hours or overnight to thaw gradually. This helps maintain its creamy texture.
Reheating: If preferred, you can enjoy it chilled or at room temperature. Avoid reheating in the microwave, as it can alter the texture.
Expert Tips for Blueberry Crumble Cheesecake
-
Finer Crust: Use a food processor for a finer crust that holds together better. This avoids crumbling when slicing your Blueberry Crumble Cheesecake.
-
Water Bath Best Practice: Ensure the springform pan is tightly wrapped in foil to prevent water from seeping in during baking. This keeps your cheesecake creamy and prevents cracks.
-
Baking Time Variability: Ovens can have different heat levels, so start checking your cheesecake a few minutes before the suggested baking time. Look for a slight jiggle in the center.
-
Chill Properly: Allow at least 6 hours of chilling time after baking. This essential step helps the cheesecake set perfectly and enhances its rich flavor.
-
Flavor Substitutions: Feel free to experiment with flavored extracts like almond or lemon, or try substituting blueberries with other fruits for a unique twist on this classic dessert.
Make Ahead Options
These Blueberry Crumble Cheesecake preparations are perfect for busy home cooks looking to save time! You can prepare the crust, blueberry mixture, and crumble topping up to 24 hours in advance. Simply make each component and store them separately in airtight containers in the refrigerator to maintain their fresh flavors. When you're ready to finish, assemble the cheesecake by pouring the cheesecake filling into the pre-baked crust, layering with the prepared blueberries, and topping with the crumble. Bake as directed, and enjoy a delightful dessert that’s just as delicious as if made fresh the same day!
Blueberry Crumble Cheesecake Recipe FAQs
How do I select the best blueberries for my cheesecake?
Absolutely! When choosing fresh blueberries, look for ones that are plump, firm, and have a deep blue color. Avoid berries with dark spots or wrinkles, as they may be overripe or beginning to spoil. If you can, buy organic blueberries to avoid pesticides, and always wash them gently before using to maintain their integrity.
How should I store my Blueberry Crumble Cheesecake for freshness?
To keep your cheesecake fresh, store it in an airtight container in the refrigerator. It will remain delicious for up to 5 days. If you want to enjoy it later, consider covering it in plastic wrap and foil before placing it in the fridge to minimize any absorption of other flavors.
Can I freeze my Blueberry Crumble Cheesecake? What are the best practices?
Yes, you can! To freeze your Blueberry Crumble Cheesecake, wrap individual slices or the entire cheesecake tightly in plastic wrap and then in aluminum foil to protect it from freezer burn. It can be stored in the freezer for up to 3 months. When you’re ready to enjoy it, allow it to thaw in the refrigerator for 6-8 hours or overnight for the best texture.
Why did my cheesecake crack, and how can I prevent this?
Oh no! Cracking can happen for a few reasons, including sudden temperature changes or overbaking. To help prevent cracking, always use a water bath when baking your cheesecake—make sure to seal your springform pan well to keep moisture out. Also, bake it at a lower temperature and check for doneness earlier to ensure a slight jiggle in the center when it's finished baking.
Is this cheesecake suitable for people with dietary restrictions?
Yes! If you have dietary concerns, it's easy to customize this Blueberry Crumble Cheesecake. You can substitute the cream cheese with a dairy-free alternative, sour cream with Greek yogurt, and eggs can be replaced with flaxseed or applesauce for a vegan version. If gluten is a concern, swap the graham crackers and flour for gluten-free options. Always check labels for potential allergens!
How long should I let the cheesecake cool before serving?
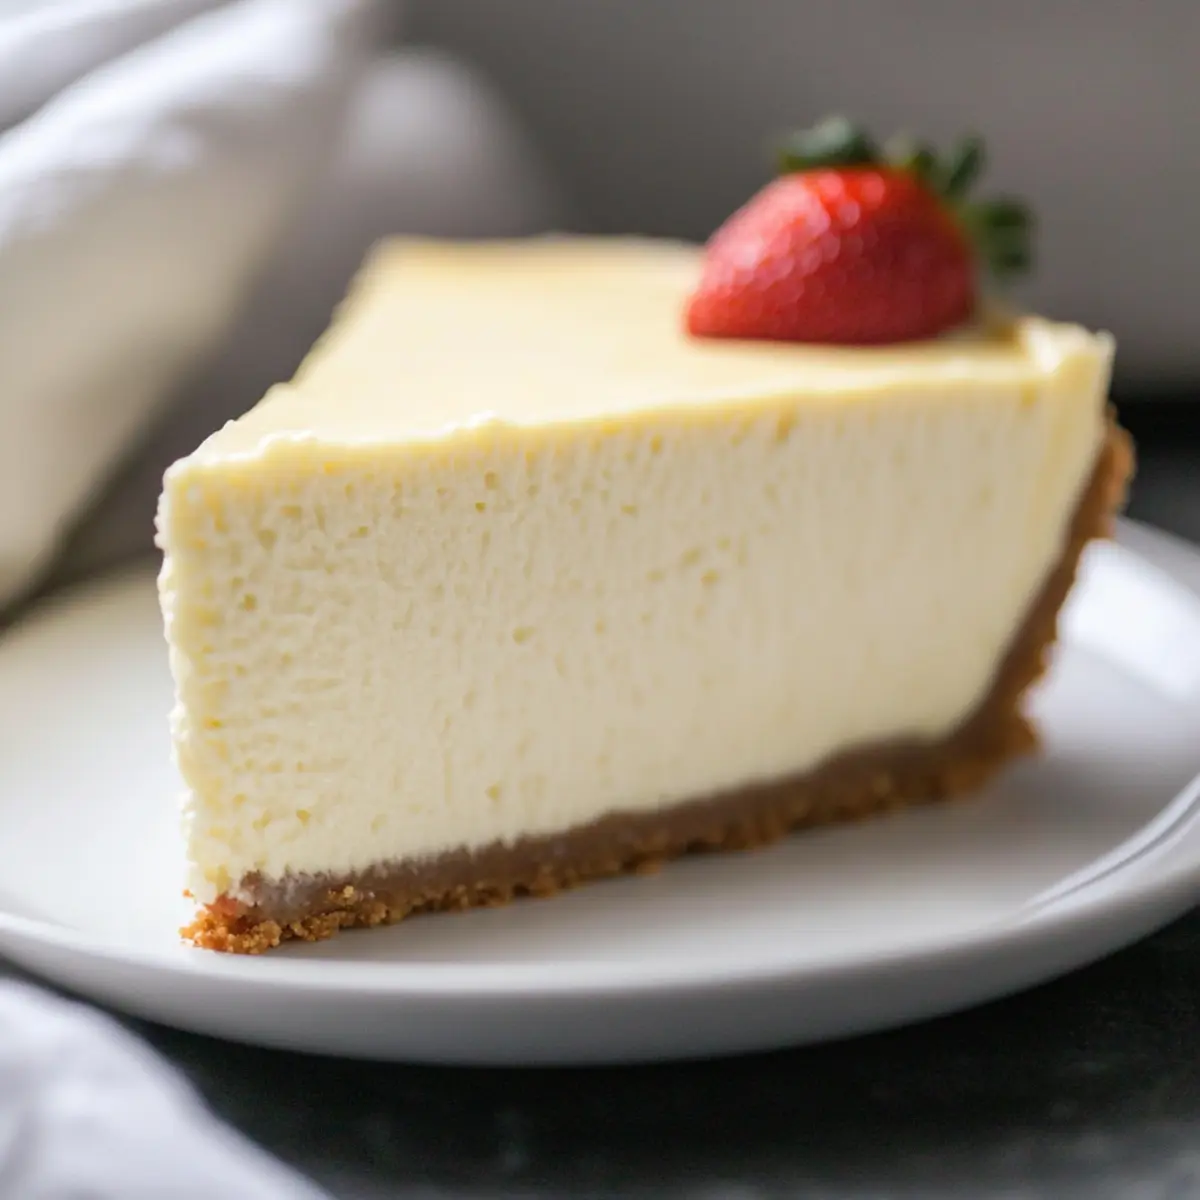
After baking, allow your cheesecake to cool in the oven with the door ajar for about 1 hour. Then, let it rest at room temperature for an additional hour before refrigerating it for at least 6 hours or overnight. This cooling process helps to firm up the cheesecake and enhances its texture, making each slice a creamy delight!
Blueberry Crumble Cheesecake: Your New Favorite Dessert Delight
Ingredients
Equipment
Method
- Preheat your oven to 160ºC (325ºF). Blend digestive or graham crackers with granulated sugar until fine. Mix in melted butter and press into a springform pan. Bake for 10 minutes and let cool.
- In a bowl, combine blueberries, sugar, flour, and lemon juice. Toss gently until coated.
- Mix flour and dark brown sugar in a separate bowl. Melt butter, add to dry ingredients, and blend until crumbly.
- Beat cream cheese and sugar until smooth. Mix sour cream and cornstarch, then blend into cream cheese. Add eggs one at a time, then stir in vanilla.
- Pour cheesecake filling into the cooled crust. Layer the blueberry mixture on top and press down gently. Sprinkle with crumble topping.
- Create a water bath by placing the springform in a larger baking dish with hot water. Bake for 80-90 minutes until center jiggles slightly.
- Cool cheesecake in the oven with the door ajar for 1 hour, then at room temperature for an additional hour, and refrigerate for at least 6 hours.