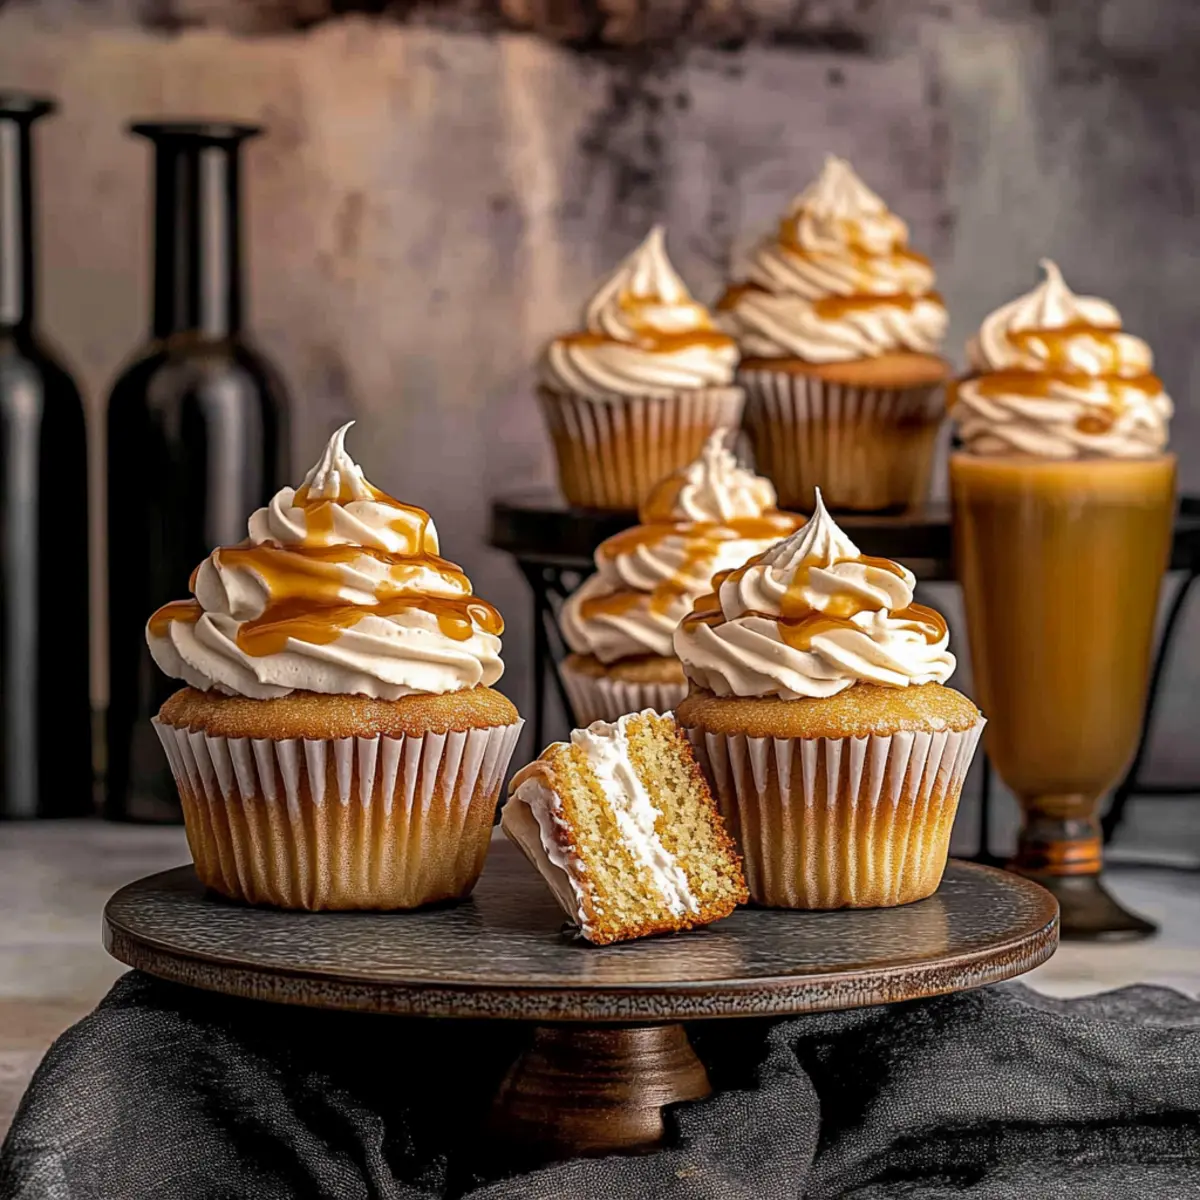
As I savored the last sip of butterbeer at a theme park, I couldn't help but dream of recreating its enchanting flavor in my kitchen. That moment sparked my quest to create the perfect Harry Potter Butterbeer Cupcakes, and I'm excited to share the magic with you! These delightful cupcakes boast a soft, fluffy texture infused with a rich butterscotch flavor, making them an irresistible treat for any occasion. Plus, they're a fantastic way to impress your friends and family or simply add a touch of whimsy to your dessert table. Ready to join me on this sweet adventure? Let’s dive into the enchanting world of these cupcakes that are sure to be a hit!
Why are these cupcakes so magical?
Enchanting Flavors: These cupcakes are infused with a rich butterscotch flavor that mirrors the beloved butterbeer from Hogsmeade.
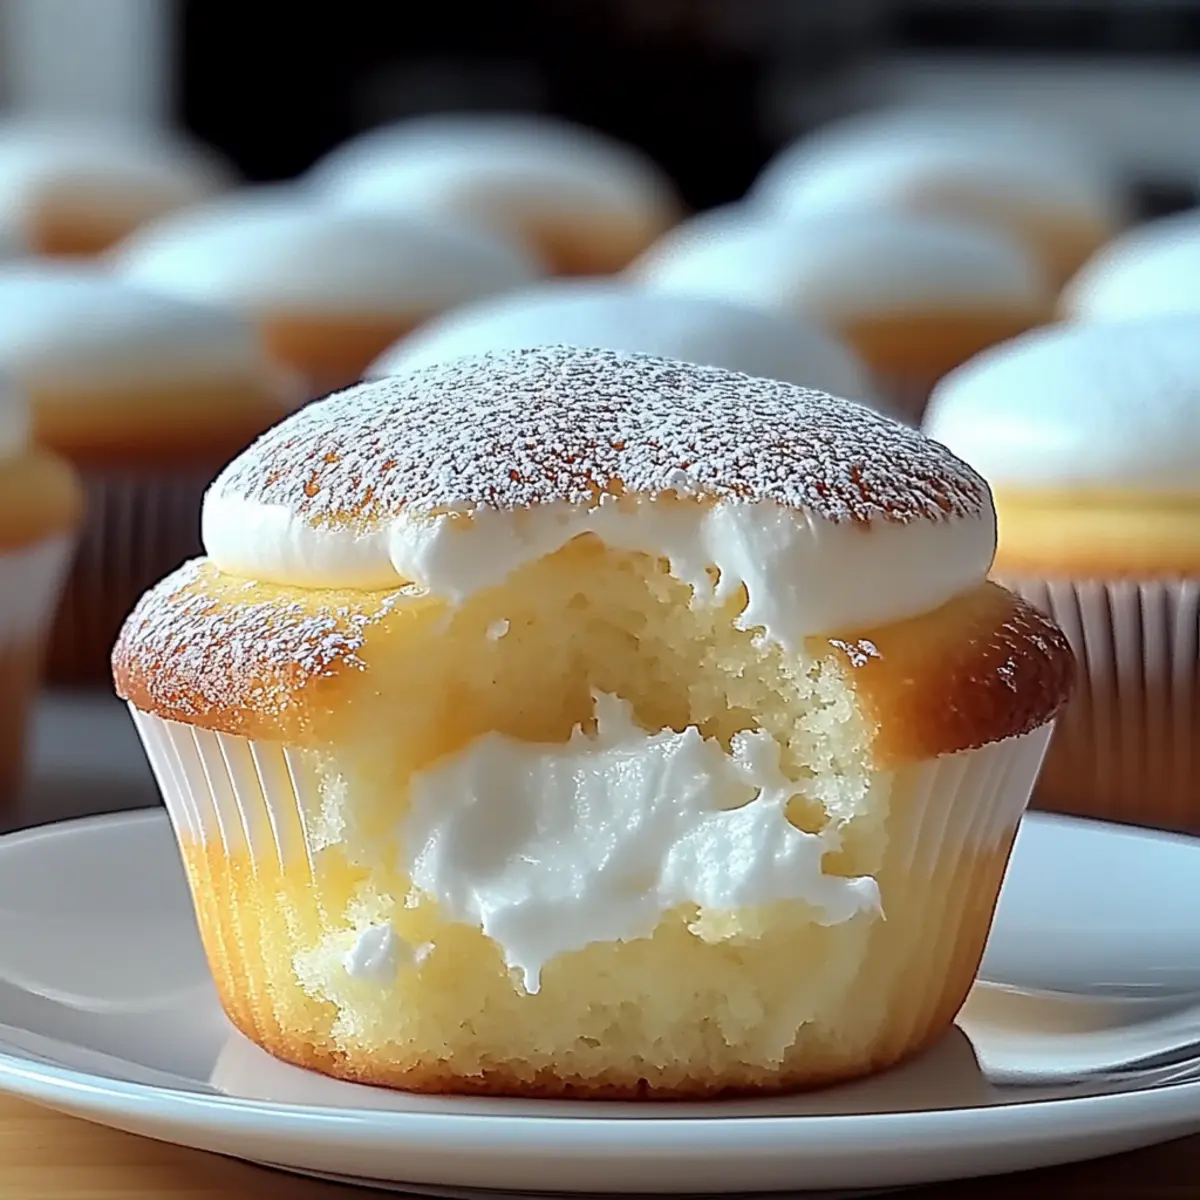
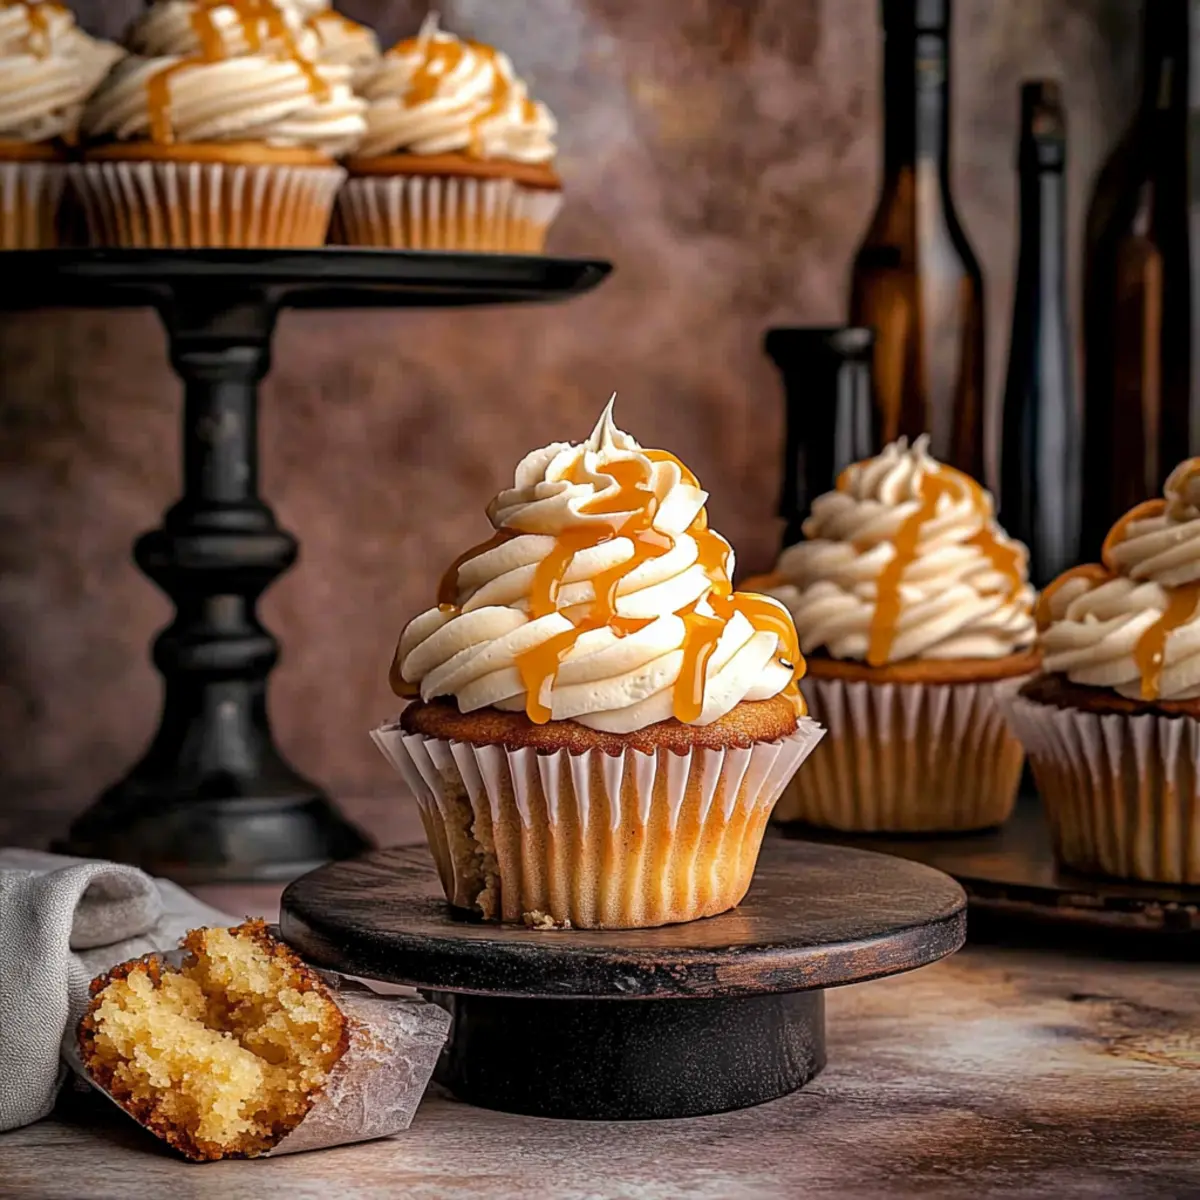
Soft and Fluffy: The texture is a delightful combination of lightness and indulgence, guaranteeing a mouthwatering experience with every bite.
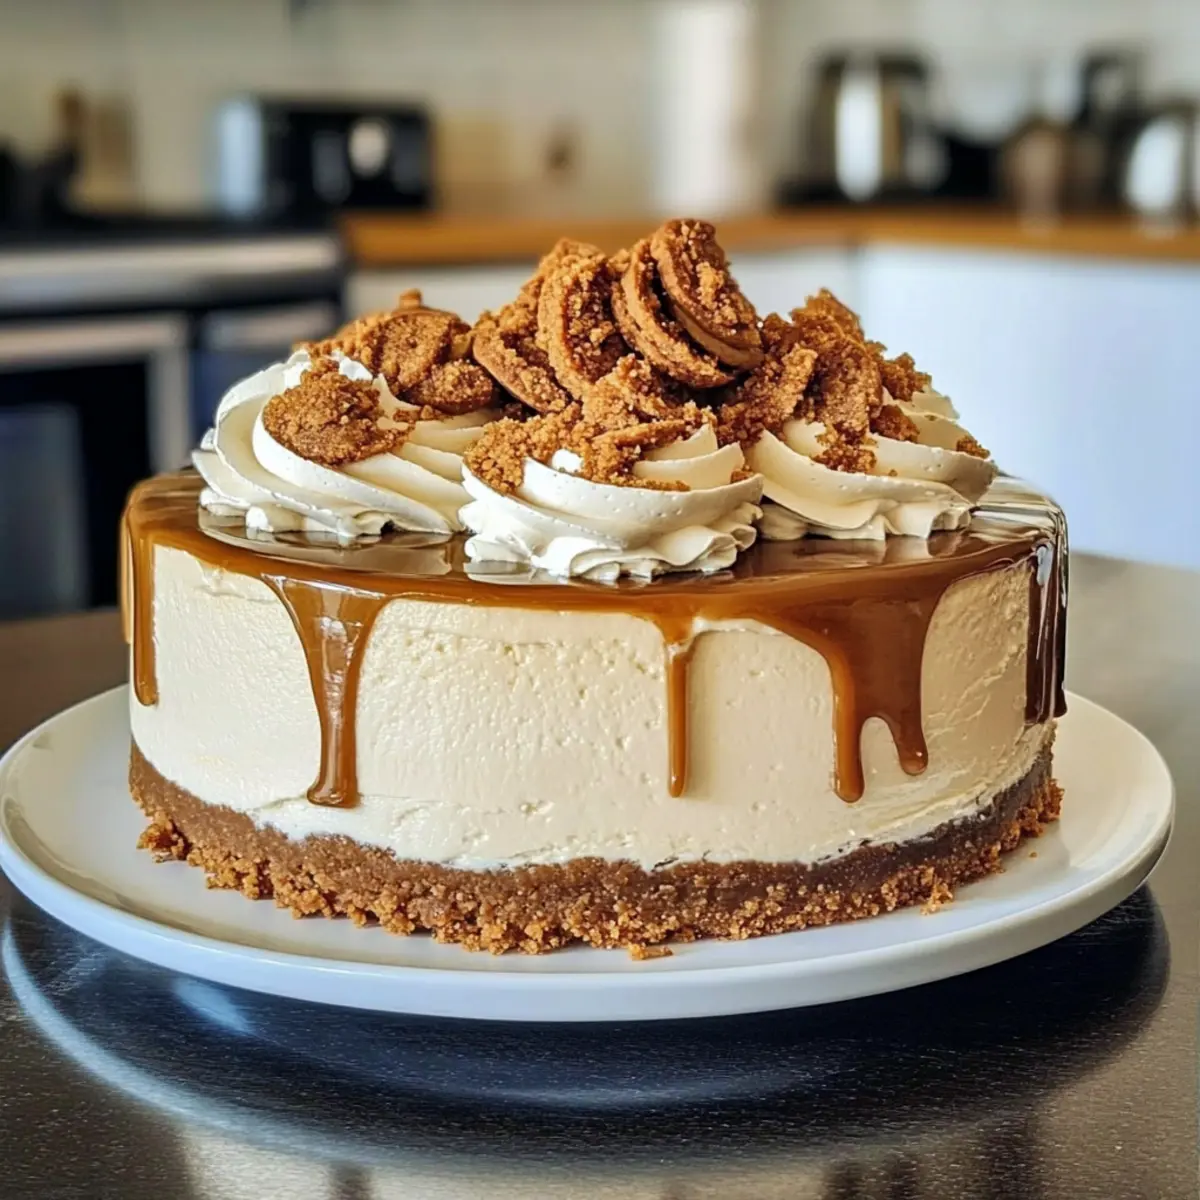
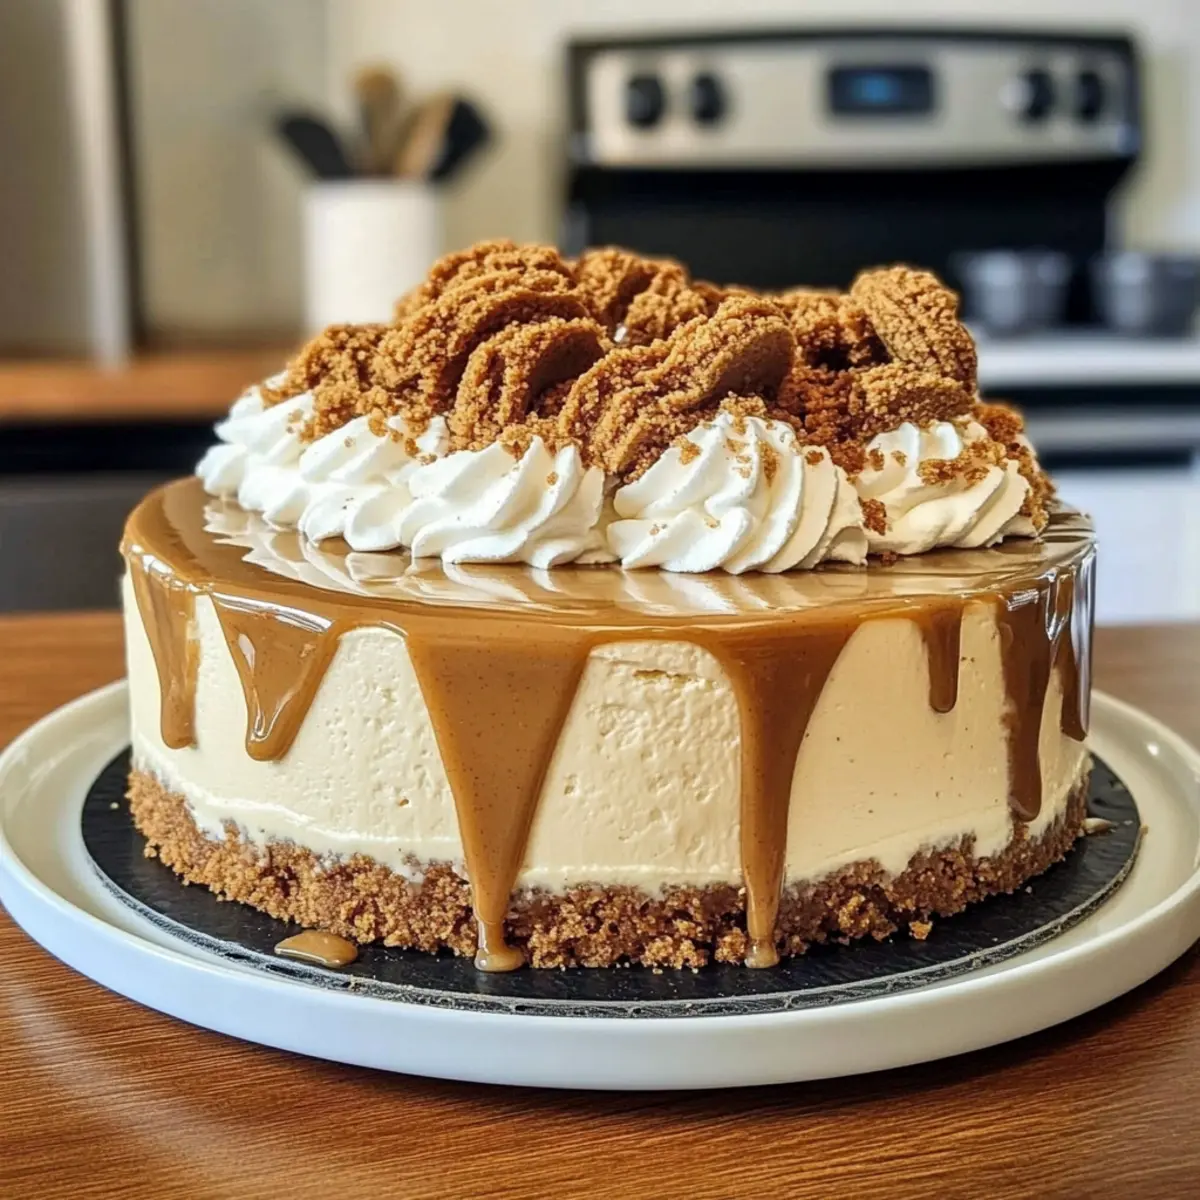
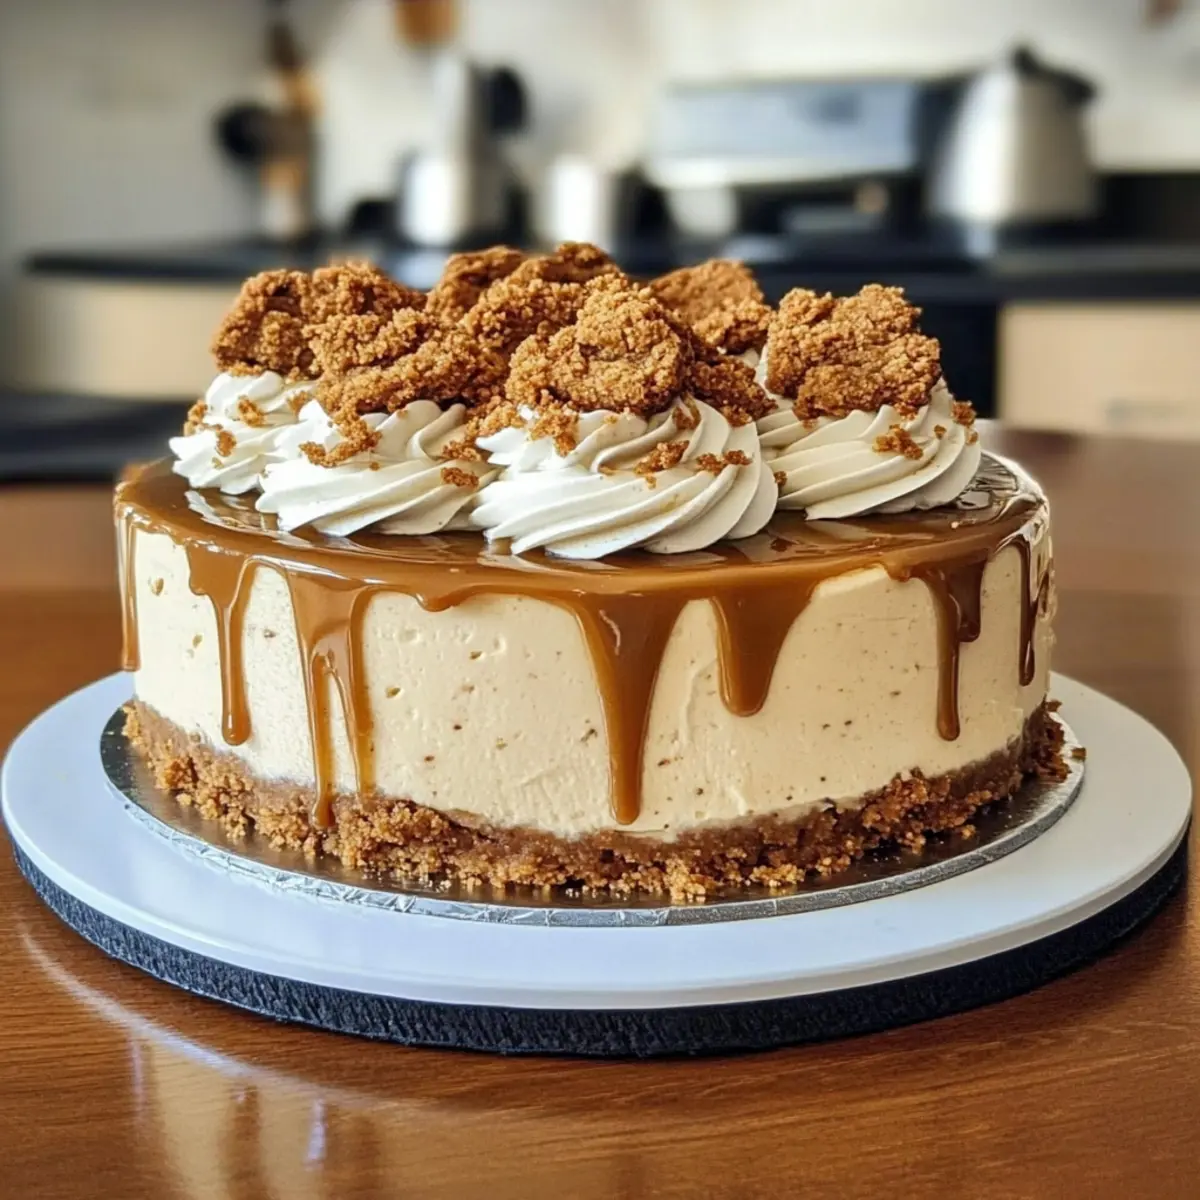
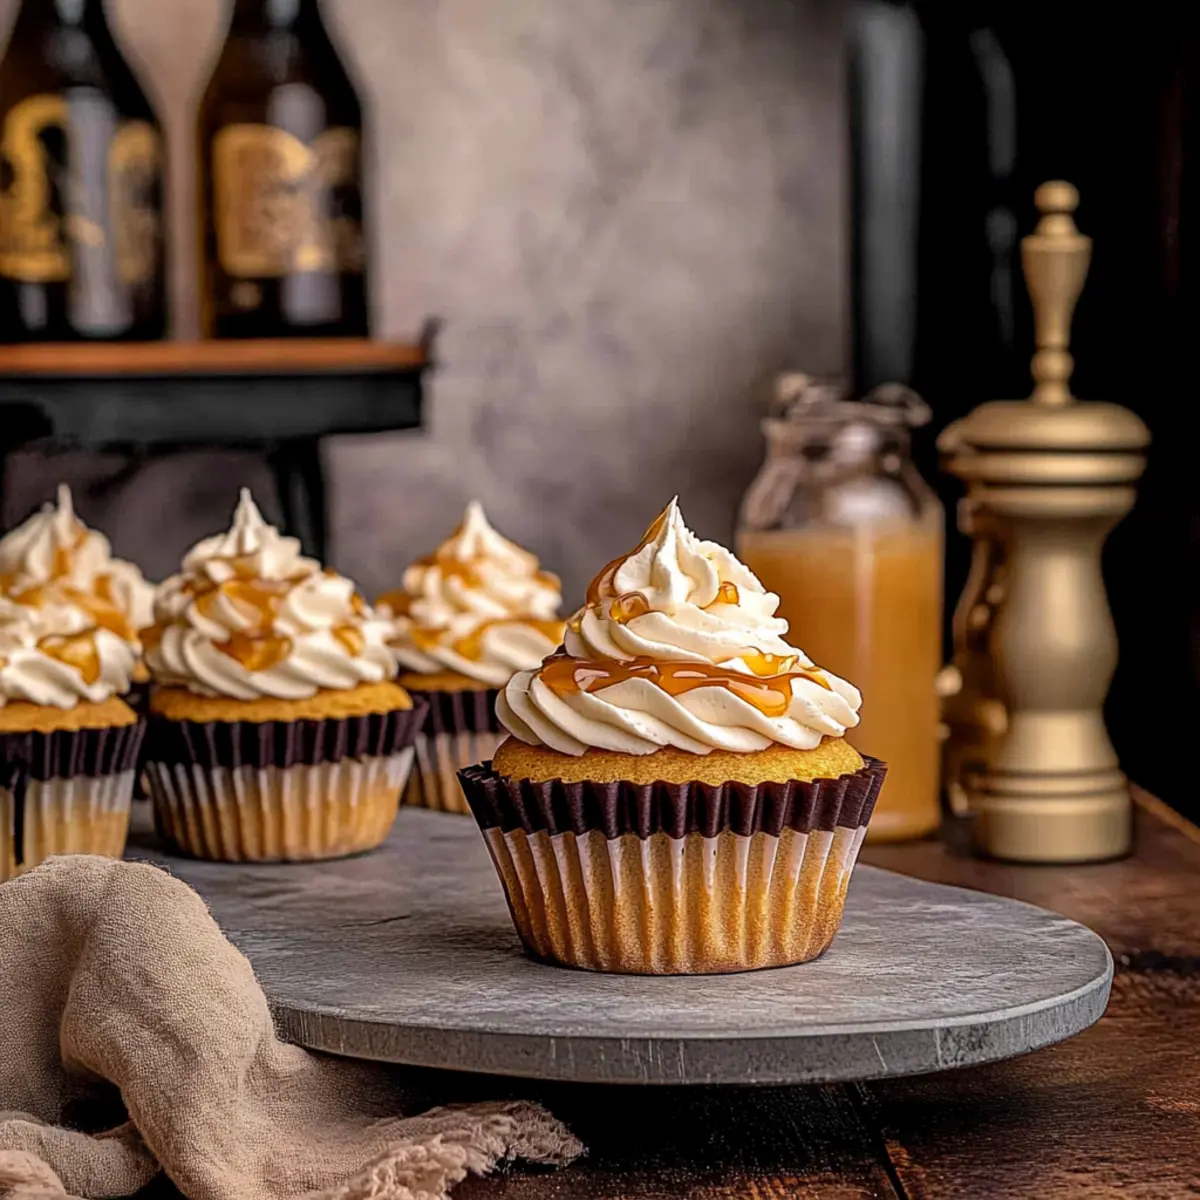
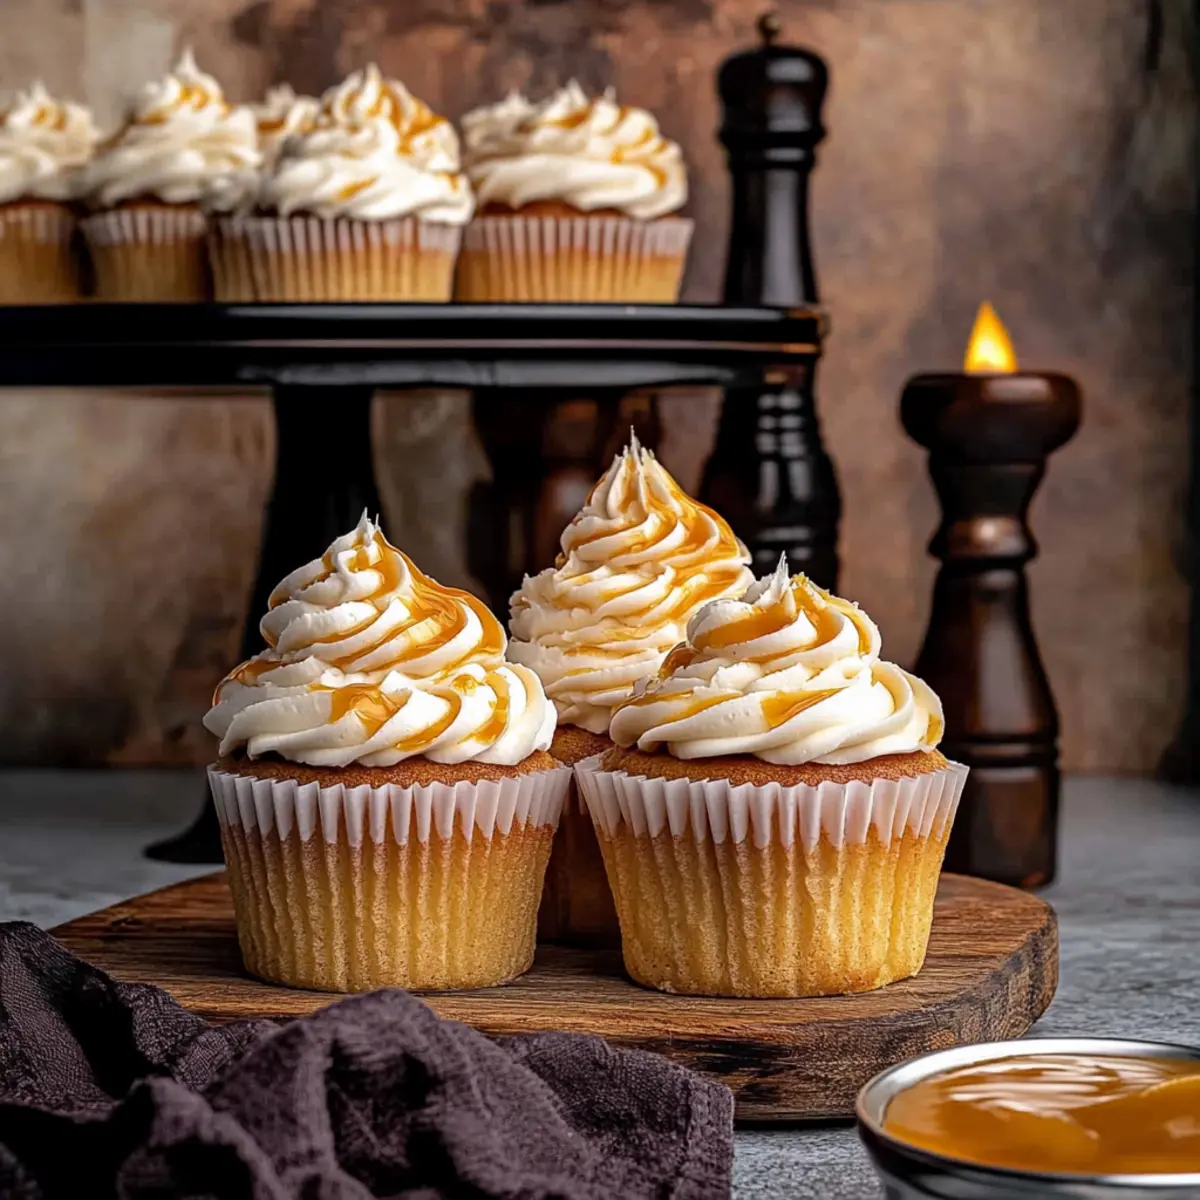
Whimsical Presentation: Topped with creamy butterscotch buttercream and a drizzle of ganache, they’re as beautiful as they are delicious.
Perfect for Any Occasion: Whether it’s a themed party or a casual gathering, these Harry Potter Butterbeer Cupcakes are destined to impress guests of all ages.
Easy to Make: Even novice bakers can whip these up without hassle, resulting in a treat that feels both special and approachable.
Harry Potter Butterbeer Cupcake Ingredients
• Gather all the magical components to create these delightful cupcakes!
For the Cupcakes
- Butterscotch Beer – Provides the unique butterbeer flavor; cream soda can be a tasty substitute.
- Unsalted Butter – Adds richness and moisture; ensure it’s softened for smooth mixing.
- Light Brown Sugar – Contributes sweetness and depth; choose light for a gentle butterscotch note.
- Granulated White Sugar – Adds sweetness and aids in achieving a fluffy texture.
- Eggs (Room Temperature) – Essential for texture and moisture; ensure they’re at room temperature for best results.
- Vanilla Bean Paste/Extract – Enhances the overall flavor with an aromatic touch.
- Butter Extract – Intensifies the buttery flavor profile for a richer taste.
- Butterscotch Chips (Melted) – Infuses butterscotch richness; they should be melted and slightly cooled before use.
- Buttermilk (Room Temperature) – Keeps cupcakes moist and adds a tender crumb.
- All-Purpose Flour – The main structure builder; remember to spoon and level before measuring.
- Baking Powder & Baking Soda – Ensure a fluffy texture by adding leavening.
- Salt – Balances the sweetness and heightens flavor.
For the Buttercream
- Unsalted Butter – Whip it to create a fluffy base for the frosting.
- Butterscotch Chips – Melted for a creamy, rich flavor that blends beautifully in the frosting.
- Powdered Sugar – Sweetens the buttercream and helps achieve the perfect texture.
- Butter Extract & Vanilla – Incorporate for that extra depth in flavor.
For the Ganache
- Butterscotch Chips – They create a luscious ganache; opt for quality for the best results.
- Heavy Cream – Provides the perfect consistency to drizzle; microwave gently.
- Honey – Adds a touch of sweetness and gloss to the ganache.
These Harry Potter Butterbeer Cupcakes will surely add a sprinkle of enchantment to any gathering!
Step‑by‑Step Instructions for Harry Potter Butterbeer Cupcakes
Step 1: Prepare Butterbeer Reduction
In a small saucepan, pour in the butterscotch beer or cream soda over medium heat. Allow it to simmer gently for 20-30 minutes, stirring occasionally, until it reduces to about 1/2 cup. Remove from heat and let it cool to a slightly warm temperature, as this adds a rich flavor to your Harry Potter Butterbeer Cupcakes.
Step 2: Preheat Oven
While the butterbeer reduction cools, preheat your oven to 350°F (175°C). Prepare your cupcake pans by lining them with cupcake liners, which will not only aid with easy removal but also add a cheerful touch to your magical desserts.
Step 3: Mix Dry Ingredients
In a large mixing bowl, whisk together the all-purpose flour, baking powder, baking soda, and salt. This essential step ensures even distribution of the leavening agents for a perfect rise in your Harry Potter Butterbeer Cupcakes, yielding a soft and fluffy texture.
Step 4: Cream Butter and Sugars
In a separate bowl, beat the softened unsalted butter with both light brown and granulated sugars using an electric mixer. Continue mixing on medium speed for about 1-2 minutes, or until the mixture becomes light and fluffy, which is key for a tender cupcake structure.
Step 5: Incorporate Eggs & Extracts
Add the room-temperature eggs, vanilla bean paste, and butter extract to the butter-sugar mixture. Mix on low until well combined, scraping down the sides of the bowl as needed. After about 1-2 minutes, the mixture should appear pale and smooth, setting the stage for your flavorful Harry Potter Butterbeer Cupcakes.
Step 6: Combine Wet Ingredients
Pour the cooled butterbeer reduction and melted butterscotch chips into the batter. Stir gently until fully incorporated, ensuring every bit of the sweet butterscotch flavor permeates the cupcake mixture, delivering a taste of Hogsmeade with each bite.
Step 7: Add Dry Ingredients & Buttermilk
Gradually fold in the flour mixture alternating with the room-temperature buttermilk. Begin and end with flour, mixing just until the ingredients are combined and the batter is smooth. This careful integration keeps the cupcakes airy and moist, the perfect combination for your Harry Potter Butterbeer Cupcakes.
Step 8: Fill Cupcake Liners
Using a cookie scoop or a measuring cup, divide the batter evenly among the prepared cupcake liners, filling each about 2/3 full. This will allow room for rising without spilling over, resulting in cute, domed cupcakes that are ready for baking.
Step 9: Bake
Place the filled cupcake pans in the preheated oven and bake for 14-18 minutes. Keep an eye on them, and they are done when a toothpick inserted into the center comes out clean. The aroma of butterscotch will fill your kitchen, hinting at the sweet delight to come.
Step 10: Cool
After baking, remove the cupcake pans from the oven and let them cool in the pans for about 5 minutes. Then, carefully transfer the cupcakes to a wire rack to cool completely. This step is essential to avoid sogginess and prepare your cupcakes for the heavenly buttercream topping.
Step 11: Whip Butter
While the cupcakes cool, make the buttercream frosting. In a mixing bowl, beat the softened unsalted butter on high speed for 5-10 minutes, until it becomes pale and fluffy. This whipped butter will serve as a rich base for your butterscotch buttercream.
Step 12: Mix in Butterscotch Chips
Once fluffy, pour in the melted butterscotch chips into the whipped butter. Mix until well integrated, creating a luscious, creamy base that’s perfect for frosting your Harry Potter Butterbeer Cupcakes with a dreamy, sweet layer.
Step 13: Add Powdered Sugar & Flavorings
Gradually add the powdered sugar to the mixture while mixing at low speed. After it is incorporated, pour in the butter extract and vanilla, continuing to beat until the frosting is light, fluffy, and holds stiff peaks, ready to adorn your magical treats.
Step 14: Prepare Ganache
For the butterscotch ganache, microwave butterscotch chips with heavy cream in a bowl for 30-45 seconds. Stir until smooth, then add a drizzle of honey for added sweetness and shine. This decadent layer will elevate your cupcakes to a whole new level of indulgence.
Step 15: Assemble Cupcakes
Once the cupcakes are completely cooled, pipe the butterscotch buttercream onto each one in a swirling motion. Then, drizzle the prepared ganache over the top. Relish the captivating presentation as you bring your Harry Potter Butterbeer Cupcakes to life!
Harry Potter Butterbeer Cupcakes Variations
Feel free to sprinkle your culinary magic and personalize these cupcakes to suit your tastes and preferences!
- Gluten-Free: Swap all-purpose flour for a gluten-free blend to cater to dietary needs while keeping the flavor intact.
- Toffee Twist: Substitute butterscotch chips with toffee chips for a delightful crunch and a sweet twist that enhances each bite.
- Maple Magic: Use maple extract instead of vanilla in the buttercream for a warm, cozy flavor that adds a unique touch to the frosting.
- Chocolate Drizzle: For an ultra-decadent treat, drizzle melted chocolate ganache over the butterscotch ganache, heightening the flavor profile.
- Nutty Surprise: Add crushed walnuts or pecans into the cupcake batter for added texture and a delightful nutty flavor that pairs beautifully with butterscotch.
- Spiced Delight: Incorporate a pinch of cinnamon or nutmeg in the batter for a warm spice note that dances beautifully with the butterscotch flavors.
- Caramel Buttercream: Mix in a few tablespoons of caramel sauce to your buttercream for an irresistibly sweet and creamy frosting.
- Heat It Up: Add a touch of cayenne pepper or cinnamon for a spicy kick that balances the sweetness of the cupcakes perfectly.
These Harry Potter Butterbeer Cupcakes are as versatile as they are delicious, so don’t hesitate to experiment and create a version that’s just right for you!
What to Serve with Harry Potter Butterbeer Cupcakes?
Elevate your dessert experience further with delightful pairings that will whisk you away to Hogsmeade!
-
Hot Cocoa: This warm drink, infused with a hint of vanilla, offers a cozy balance to the sweet, buttery flavors of the cupcakes.
-
Vanilla Ice Cream: A scoop of smooth vanilla ice cream adds creamy contrast, enhancing the butterscotch notes and creating a delectable texture combination.
-
Caramel Drizzle: A light drizzle of caramel sauce adds an extra layer of sweetness, perfectly complementing the buttery goodness of the cupcakes.
-
Spiced Apple Cider: The warming spices of apple cider create a festive atmosphere, making every bite of the cupcakes feel like a magical moment.
-
Chocolate Milk: A childhood favorite that pairs beautifully with desserts, its rich chocolate flavor harmonizes wonderfully with the cupcakes' sweetness.
-
Rainbow Fruit Salad: Fresh, juicy fruit adds a refreshing contrast and elevates the dining experience, balancing the indulgence of the butterbeer cupcakes with bright, zesty flavors.
-
Coffee: A smooth cup of coffee brings out the sweetness while offering a comforting, bitter note that helps mitigate the dessert's richness.
-
Pumpkin Pie: The warm spices of pumpkin pie echo the comforting flavors in the cupcakes, making them a perfect duo for autumn gatherings.
-
Butterscotch Pudding: Enhance the butterscotch experience by adding a rich, creamy pudding, bringing indulgence to a whole new level alongside the cupcakes.
Tips for the Best Harry Potter Butterbeer Cupcakes
-
Room Temperature Ingredients: Ensure your eggs and buttermilk are at room temperature for optimal mixing and a smooth batter, crucial for your cupcakes’ fluffiness.
-
Careful Chip Melting: Melt butterscotch chips gently; they should be warm, not hot. This prevents the butter from melting when added to your frosting, keeping it light and airy.
-
Measuring Flour: Spoon and level your all-purpose flour when measuring to avoid packing it down. This simple step ensures your Harry Potter Butterbeer Cupcakes remain soft and fluffy.
-
Don’t Skimp on Sugar: Reducing the sugar affects both moisture and texture. Stick to the recipe for the ultimate indulgent treat.
-
Cooling Time Matters: Allow your cupcakes to cool completely before frosting. This ensures the butterscotch buttercream holds its shape without melting into a puddle.
Make Ahead Options
These delightful Harry Potter Butterbeer Cupcakes are perfect for busy home cooks looking to save time! You can prepare the butterbeer reduction and the cupcake batter up to 24 hours in advance by storing them separately in the refrigerator. To maintain their fluffy texture, allow the batter to come to room temperature before baking. The baked cupcakes can be stored in an airtight container for up to 3 days; simply frost with the butterscotch buttercream and drizzle ganache right before serving to keep them just as delicious. This way, you can effortlessly step into a magical world of flavors whenever you're ready!
Storage Tips for Harry Potter Butterbeer Cupcakes
Fridge: Store your cupcakes in an airtight container in the refrigerator for up to 3 days. This keeps them fresh while preventing them from drying out.
Freezer: For longer storage, freeze the cooled cupcakes (without frosting) in an airtight container for up to 2 months. Thaw in the fridge before adding frosting.
Reheating: To enjoy them warm, place cupcakes in a microwave for about 10-15 seconds. This elevates the butterscotch flavor and is perfect for a comforting treat.
Room Temperature: If you prefer to serve them cold, allow the cupcakes to come to room temperature after refrigerating for the best texture and taste of your Harry Potter Butterbeer Cupcakes.
Harry Potter Butterbeer Cupcakes Recipe FAQs
How can I select ripe ingredients for my cupcakes?
Absolutely! When picking eggs, choose large ones with clean, uncracked shells. For butterscotch chips, look for brands that list butterscotch as the first ingredient to ensure rich flavor. As for buttermilk, check the expiration date, and it should smell fresh.
What is the best way to store leftover cupcakes?
To keep your Harry Potter Butterbeer Cupcakes fresh, store them in an airtight container in the refrigerator for up to 3 days. This prevents them from drying out. When you're ready to serve, let them come to room temperature for optimal flavor and texture - just about 20-30 minutes should do the trick.
Can I freeze these cupcakes, and how?
Absolutely, freezing is a great way to save your Harry Potter Butterbeer Cupcakes! Start by allowing the cupcakes to cool completely. Next, place them in an airtight container or wrap each one tightly in plastic wrap. They can be frozen for up to 2 months. To enjoy, simply thaw them in the refrigerator overnight, then frost as desired.
What should I do if my cupcakes don’t rise properly?
A common solution for dense cupcakes is to check your leavening agents: baking powder and baking soda. Ensure they're fresh; expired ones won't provide the lift you need. Also, be cautious when mixing the batter—overmixing can lead to tough cupcakes. When folding in your dry ingredients, mix just until combined for that fluffy texture!
Are these cupcakes suitable for pets, and what about allergies?
Not for pets! The butterscotch, sugar, and butter in these cupcakes aren’t suitable for dogs or cats. If anyone at your gathering has allergies, consider making a separate batch using allergen-free ingredients, such as gluten-free flour and dairy-free alternatives like coconut milk. This way, everyone can enjoy the magic without worry!
How long can I keep these cupcakes before they start to dry out?
After making your Harry Potter Butterbeer Cupcakes, they can last in the fridge for up to 3 days. To keep them as moist as possible, store them in an airtight container, and avoid exposing them to air, which can dry them out. If you need to keep them longer, freeze them as mentioned—just ensure they are completely cooled and stored properly!
Magical Harry Potter Butterbeer Cupcakes for Sweet Delights
Ingredients
Equipment
Method
- In a small saucepan, simmer the butterscotch beer over medium heat until it reduces to about 1/2 cup. Let it cool.
- Preheat your oven to 350°F (175°C) and line cupcake pans with liners.
- In a large bowl, whisk together flour, baking powder, baking soda, and salt.
- Beat together the softened unsalted butter with light brown and granulated sugars until light and fluffy.
- Add the eggs, vanilla bean paste, and butter extract to the butter-sugar mixture. Mix until combined.
- Pour in the cooled butterbeer reduction and melted butterscotch chips, stirring gently.
- Fold in the flour mixture alternating with buttermilk, mixing just until combined.
- Divide the batter among the cupcake liners, filling each about 2/3 full.
- Bake for 14-18 minutes or until a toothpick comes out clean. Cool the cupcakes.
- Beat the softened unsalted butter for the buttercream until pale and fluffy. Mix in melted butterscotch chips.
- Gradually add powdered sugar, then mix in butter extract and vanilla until light and fluffy.
- Make the ganache by microwaving butterscotch chips with heavy cream until smooth, then add honey.
- Pipe the buttercream onto the cooled cupcakes and drizzle with ganache. Enjoy!