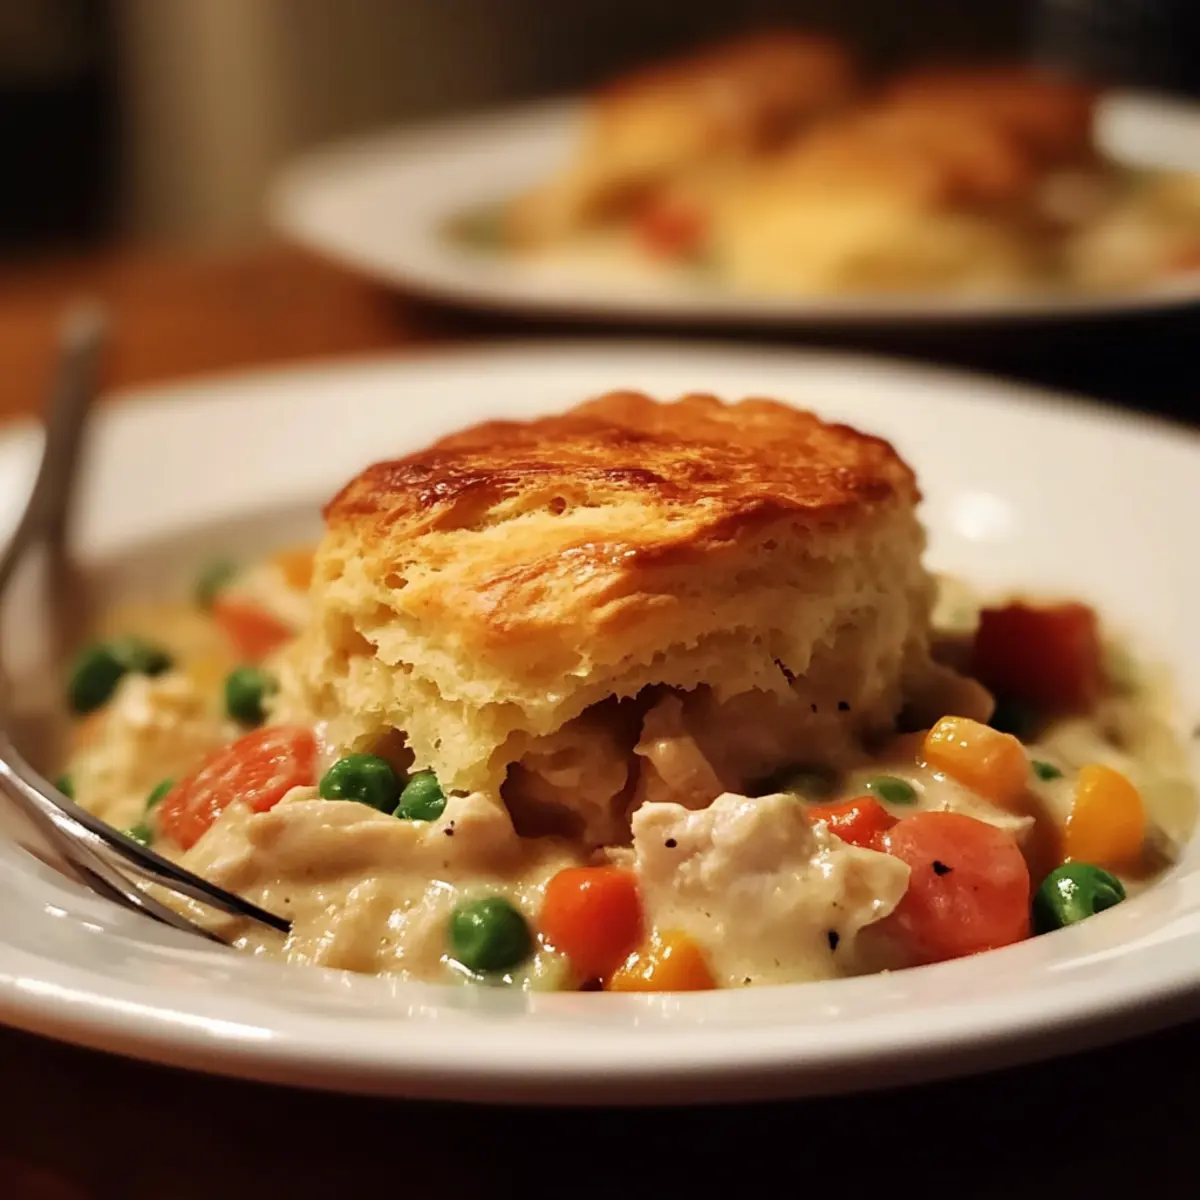
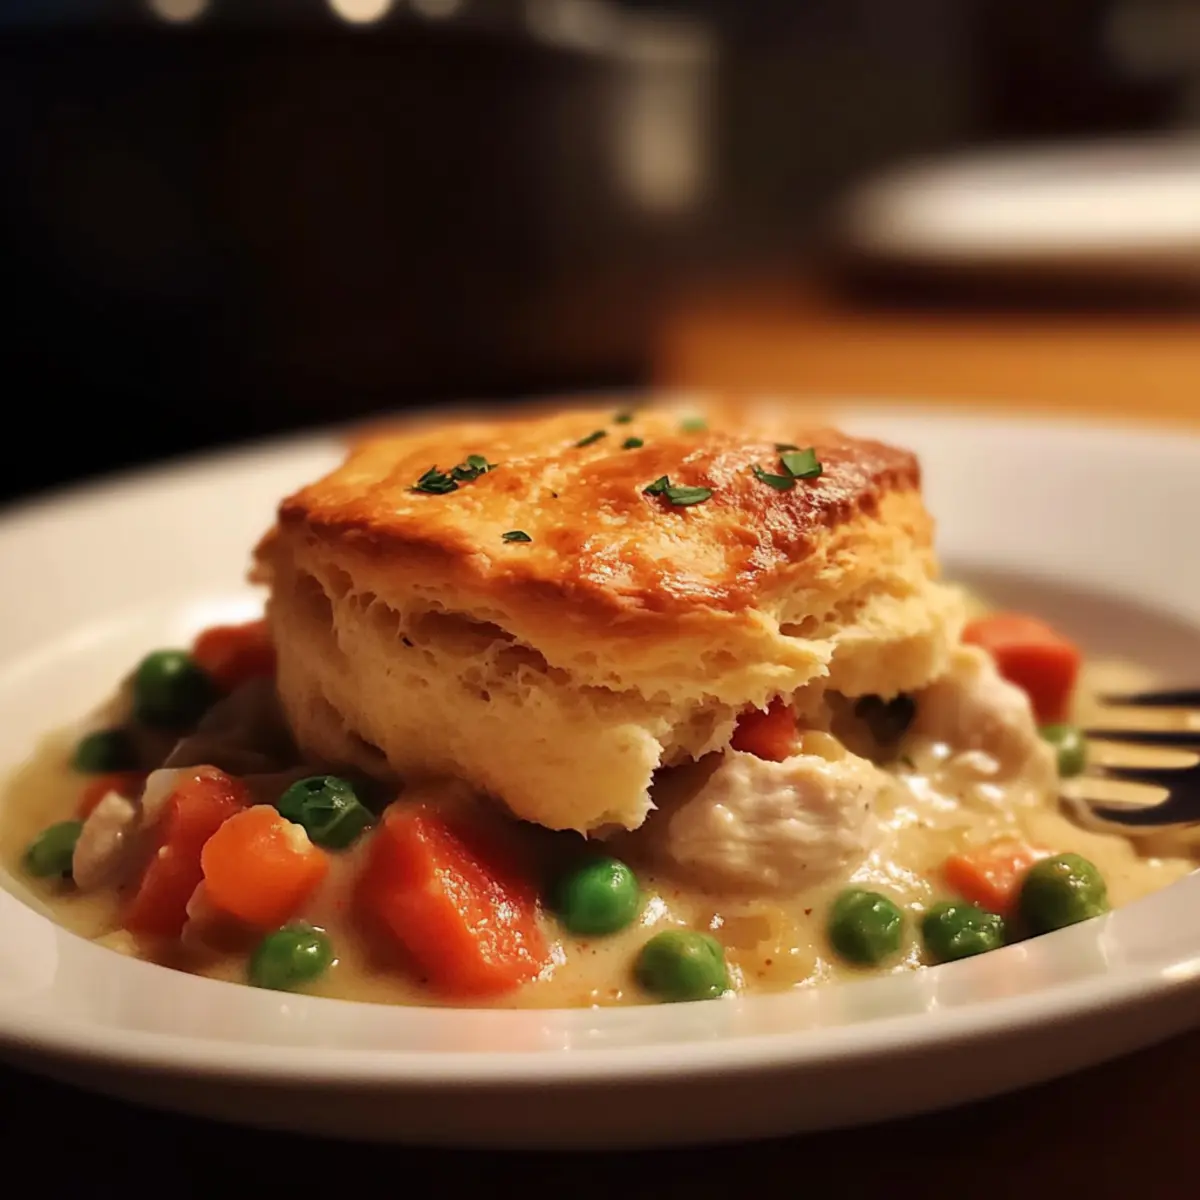
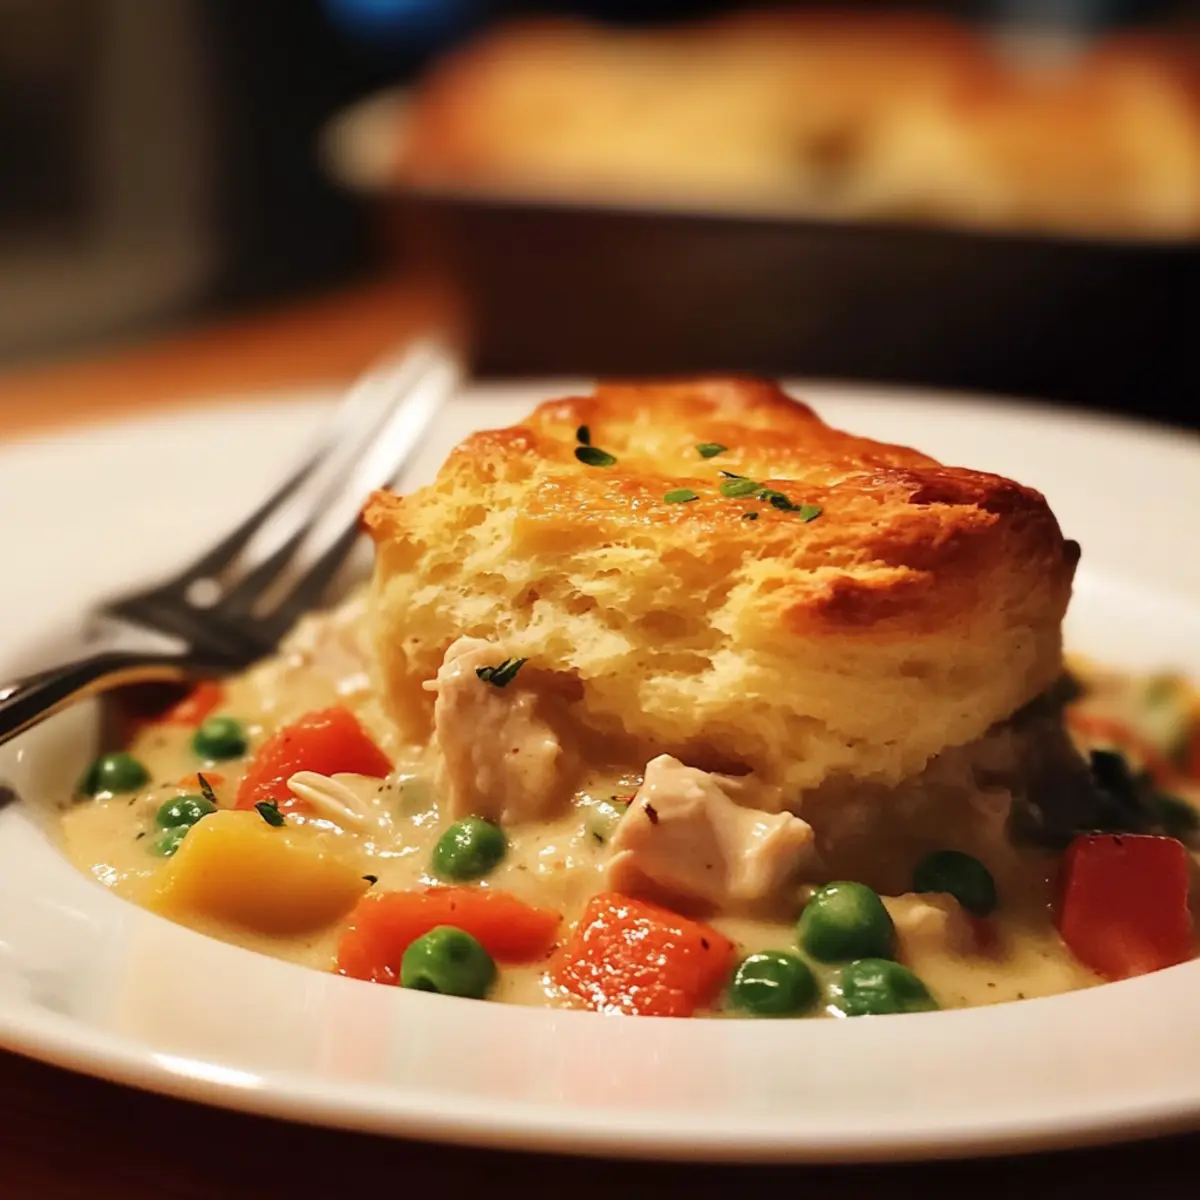
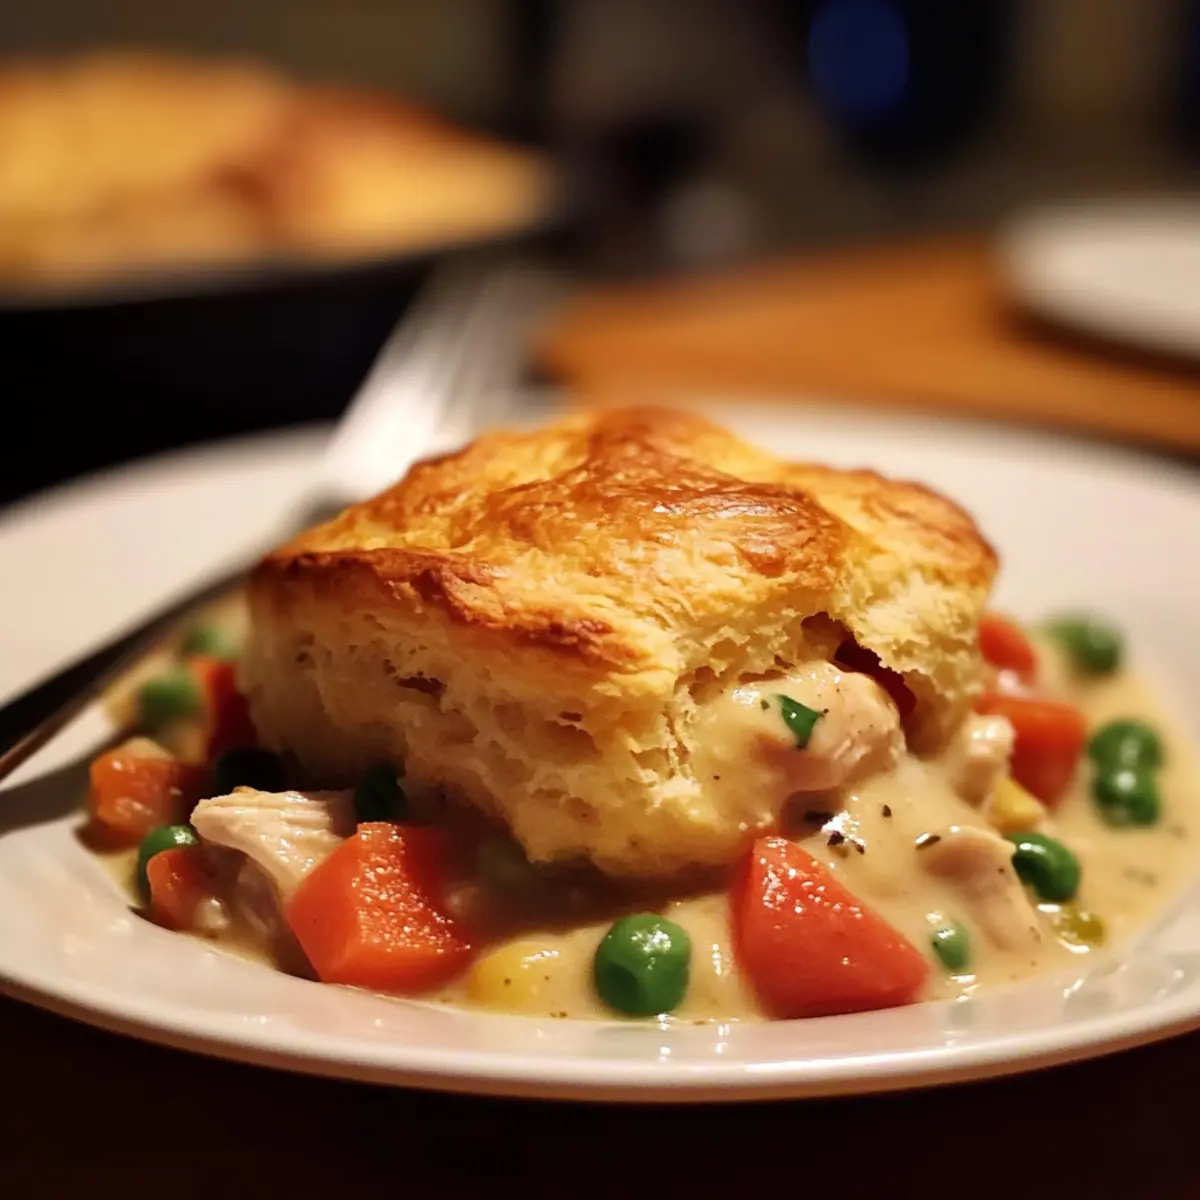
As I stood in my kitchen one chilly evening, the comforting aroma of garlic and butter wafted through the air, instantly transporting me back to family dinners filled with laughter and warmth. That’s when I decided to recreate a dish that marries the cozy essence of homemade cooking with a delightful twist: the Red Lobster Biscuit Chicken Pot Pie. This delectable recipe brings together tender chicken, vibrant vegetables, and a creamy sauce, all sheltering under a golden, flaky biscuit topping inspired by those beloved biscuits. Not only does it make for an effortless weeknight meal, but it also beats the fast-food routine and impresses family and friends, leaving them craving more. Who could resist a comforting, hearty pot pie that’s quick to prepare and equally enjoyable for momentous gatherings? Curious how to whip up this satisfying dish? Let’s dive into the recipe!
Why is This Pot Pie a Must-Try?
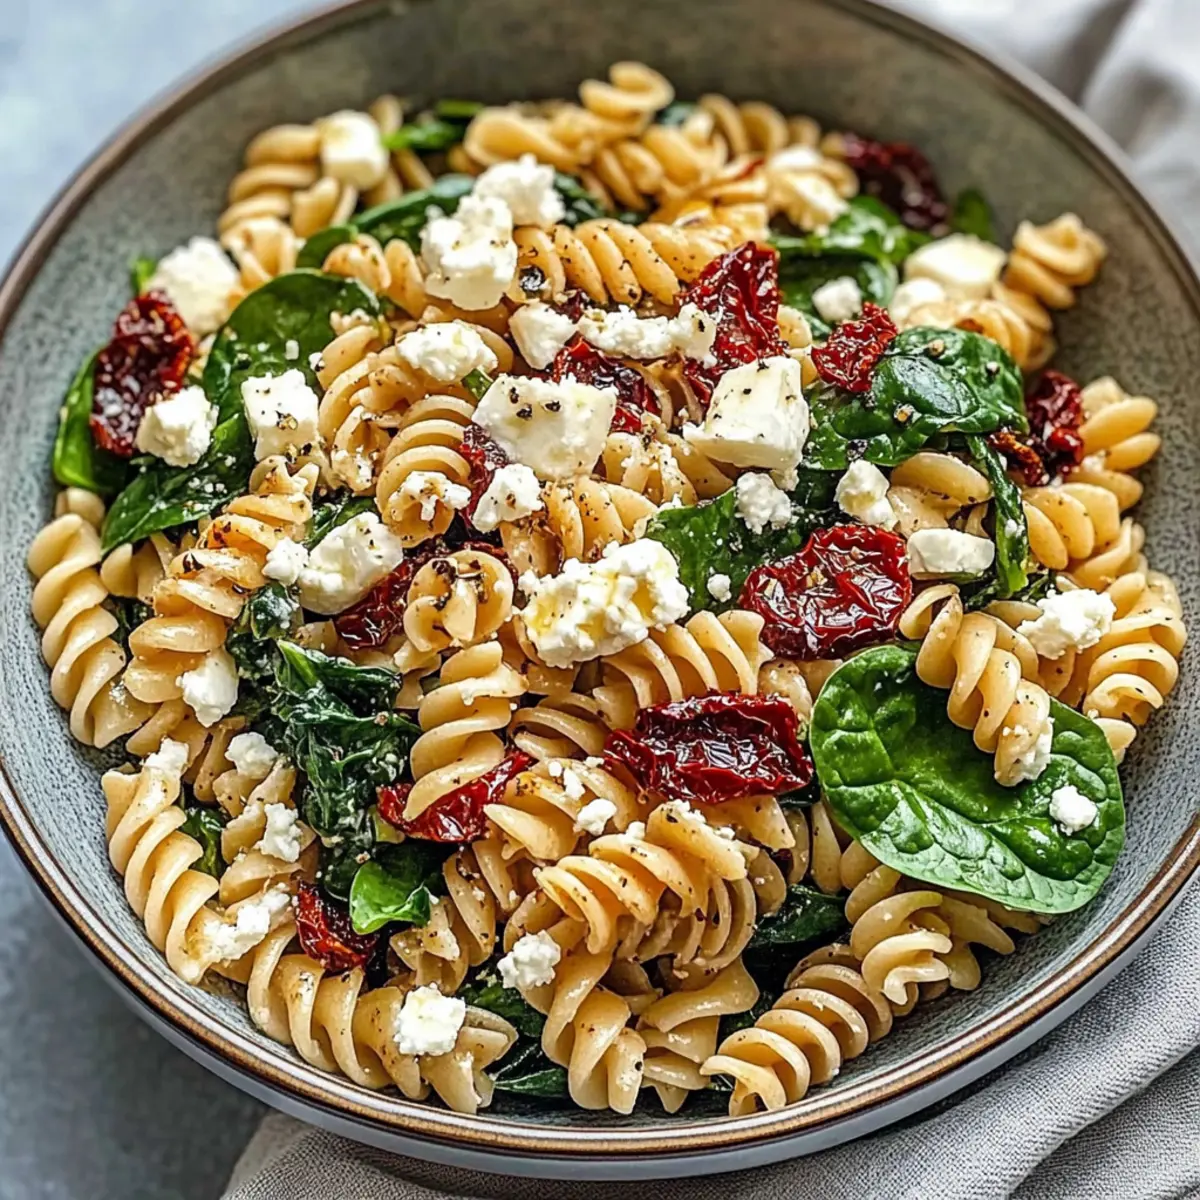
Comforting and Hearty: This dish combines tender chicken and a creamy sauce, paired with mixed vegetables, resulting in a meal that hugs your taste buds.
Signature Biscuit Topping: The Red Lobster-style biscuits create a flaky, buttery crown that elevates the pot pie, offering a delightful twist on a classic.
Easy Prep: With simple steps and minimal cleanup, you’ll be enjoying this homemade goodness in no time, making it perfect for busy weeknights.
Customizable Offerings: Whether you're looking for gluten-free or plant-based options, this recipe adapts effortlessly to suit every dietary need—try it as vegan chicken pot pie or use your favorite seasonal veggies!
Crowd-Pleasing Appeal: Perfect for family gatherings, it's sure to impress everyone from kids to adults, transforming any meal into a cozy occasion. Experience comfort food bliss with every savory bite!
Red Lobster Biscuit Chicken Pot Pie Ingredients
For the Filling
• 3 cups cooked chicken, diced – This is the main protein; rotisserie chicken works wonderfully for convenience.
• 1 cup frozen mixed vegetables – Adds nutrition and vibrant color; feel free to swap in your favorites!
• 1 cup cream of chicken soup – This ingredient provides that rich and creamy texture we crave.
• 1 teaspoon garlic powder – Don't skip this—it enhances the flavor beautifully! Use in both the filling and biscuit topping.
• 1 teaspoon onion powder – Adds a depth of flavor to the filling.
• ½ cup chicken broth – Helps to adjust the consistency of the filling; customize with low-sodium broth if preferred.
For the Biscuit Topping
• 2 ½ cups all-purpose flour – The cornerstone of the biscuits; gluten-free flour can be used for a tasty alternative.
• 1 tablespoon baking powder – Key for making the biscuits rise to fluffy perfection!
• 1 teaspoon salt – Enhances the overall flavor of the topping.
• ½ cup unsalted butter, cold and cubed – Cold butter is essential for creating those flaky biscuits you’ll love.
• 1 cup shredded cheddar cheese – Adds that irresistible cheesy flavor you associate with Red Lobster biscuits.
• ¾ cup milk – This binds the biscuit mixture; try low-fat or dairy-free options if needed.
Remember, each ingredient plays a big role in making this Red Lobster Biscuit Chicken Pot Pie a comforting dish that’s sure to be cherished by family and friends!
Step‑by‑Step Instructions for Red Lobster Biscuit Chicken Pot Pie
Step 1: Preheat the Oven
Begin by preheating your oven to 375°F (190°C). This temperature is crucial for achieving the perfect flaky biscuits and bubbling filling. As the oven warms up, gather your ingredients, preparing yourself for a delightful cooking experience that’s reminiscent of a warm family kitchen.
Step 2: Prepare the Filling
In a large mixing bowl, combine 3 cups of diced cooked chicken, 1 cup of frozen mixed vegetables, and 1 cup of cream of chicken soup. Add in 1 teaspoon of garlic powder, 1 teaspoon of onion powder, salt, pepper, and ½ cup of chicken broth. Mix everything thoroughly until well combined. The mixture should look creamy and hearty, perfect for our Red Lobster Biscuit Chicken Pot Pie.
Step 3: Transfer the Filling
Once your filling is ready, transfer it evenly into a greased casserole or pie dish. Make sure to spread the mixture out evenly to ensure every bite is filled with that savory goodness. A 9x13-inch dish works wonderfully for this recipe, allowing ample space for the biscuit topping to rise beautifully.
Step 4: Make the Biscuit Dough
In a separate bowl, whisk together 2 ½ cups of all-purpose flour, 1 tablespoon of baking powder, and 1 teaspoon of salt. Next, use a pastry cutter or your fingers to cut in ½ cup of cold, cubed unsalted butter until the mixture resembles coarse crumbs. The cold butter is key for flaky biscuits, so keep it chilled while you work.
Step 5: Add Cheese and Liquid
To the flour mixture, add 1 cup of shredded cheddar cheese and 1 teaspoon of garlic powder, mixing gently with a spatula. Gradually pour in ¾ cup of milk, mixing until just combined; be careful not to overmix as we want our biscuits light and fluffy. The dough should be slightly sticky but workable.
Step 6: Top the Filling
Using a spoon, drop large spoonfuls of the biscuit dough over the chicken filling. Aim to cover the filling as much as possible without pressing it down. The uneven tops will create delightful textures when baked, adding visual appeal to your Red Lobster Biscuit Chicken Pot Pie.
Step 7: Bake the Pot Pie
Place the assembled pot pie in your preheated oven and bake for about 30 minutes. Keep an eye on it—the biscuits should turn golden brown and the filling should be bubbly. This is where the magic happens, transforming the dish into a comforting culinary masterpiece.
Step 8: Cool and Serve
Once the biscuits are perfectly browned, remove the pot pie from the oven and let it cool for a few minutes. This rest period allows the filling to firm up slightly, making it easier to serve. Slice into portions and enjoy your comforting Red Lobster Biscuit Chicken Pot Pie filled with love and nostalgia.
Expert Tips for Red Lobster Biscuit Chicken Pot Pie
- Mixing Matters: Avoid overmixing the biscuit dough, as this can lead to toughness rather than the desired tenderness.
- Perfectly Creamy: To ensure the filling isn’t runny, cook it a bit longer to allow the sauce to thicken properly before baking.
- Resting is Key: Let the pot pie rest for a few minutes post-baking; this helps the filling set and makes serving easier.
- Chill Your Butter: Always use cold butter in the biscuit dough to achieve those wonderfully flaky layers in your biscuits.
- Storage Savvy: If preparing ahead, store the filling and biscuit dough separately to maintain texture, making your Red Lobster Biscuit Chicken Pot Pie even more delightful when you’re ready to bake!
What to Serve with Red Lobster Biscuit Chicken Pot Pie?
A comforting pot pie deserves sides that elevate the meal and tantalize your taste buds!
-
Simple Side Salad: A fresh mix of greens, cucumbers, and cherry tomatoes tossed in a light vinaigrette adds crispness and balances the rich flavors of the pot pie.
-
Garlic Bread: The warm, buttery aroma of garlic bread paired with your pot pie enhances the meal, inviting you to soak up every bit of that creamy filling.
-
Roasted Vegetables: Seasonal roasted veggies bring vibrant colors and earthy flavors that perfectly complement the comforting creaminess of your dish.
-
Sweet Potato Mash: This slightly sweet and creamy side contrasts beautifully with the savory pot pie, creating a well-rounded, satisfying meal.
-
Coleslaw: A crunchy, tangy coleslaw adds a refreshing bite to your pot pie experience, enhancing the overall texture and taste.
-
Sparkling Lemonade: A fizzy, citrusy drink cleanses the palate between bites, offering a bright contrast to the hearty richness of the pot pie.
-
Chocolate Chip Cookies: Round off your dinner with warm, gooey cookies that play off the pot pie's comforting essence, delighting your sweet tooth.
-
Apple Pie: A classic dessert that ties the meal together, the warm, spiced apple filling offers a delightful harmony of flavors with your pot pie.
Make Ahead Options
These Red Lobster Biscuit Chicken Pot Pies are perfect for meal prep enthusiasts seeking to save time during busy weeknights! You can make the filling up to 3 days in advance, storing it in an airtight container in the refrigerator to keep it fresh. Additionally, you can prepare the biscuit dough and refrigerate it for up to 24 hours as well. When you’re ready to serve, simply pour the chilled filling into your casserole dish, drop the biscuit dough on top, and bake as directed. This way, you'll enjoy just as delicious results with minimal effort, all while impressing your family with a hearty and comforting meal!
Storage Tips for Red Lobster Biscuit Chicken Pot Pie
Fridge: Store any leftover pot pie in an airtight container for up to 3-4 days. Make sure to cool it completely before sealing to maintain freshness.
Freezer: If you're looking to freeze this delightful dish, assemble it but do not bake. Wrap tightly in plastic wrap and foil for up to 2 months. Thaw overnight in the fridge before baking for best results.
Reheating: To reheat, place the pot pie in a preheated oven at 350°F (175°C) for 20-25 minutes or until heated through, ensuring the biscuit topping retains its fabulous texture.
Make-Ahead Tips: You can prepare the filling and biscuit dough separately, storing them in the fridge for up to 2 days in advance. Just combine and bake whenever you’re ready to enjoy your Red Lobster Biscuit Chicken Pot Pie!
Red Lobster Biscuit Chicken Pot Pie Variations
Feel free to embrace your creativity and customize this recipe to suit your tastes and dietary needs!
-
Plant-Based Option: Substitute the chicken with tofu, tempeh, or chickpeas for a hearty, plant-based twist. This can still deliver that comforting flavor you're after.
-
Gluten-Free Delight: Use gluten-free flour and a dairy-free cream of chicken soup to make this dish suitable for gluten-sensitive or vegan diets. It's comforting without the gluten!
-
Cheesy Upgrade: Elevate the biscuit topping by adding extra cheddar cheese into the dough. A little more cheese never hurts, right?
-
Seasonal Veggies: Swap out the frozen mixed veggies for fresh, in-season produce like asparagus or zucchini. Fresh ingredients bring a lovely visual and flavor boost.
-
Spicy Kick: If you enjoy a bit of heat, toss in a pinch of red pepper flakes or diced jalapeños into the chicken filling. This will add a delightful and unexpected zing!
-
Creamy Variation: For an even creamier filling, fold in some cream cheese or sour cream just before baking. The richness will make every bite extra indulgent.
-
Herb Infusion: Add fresh herbs such as thyme or rosemary to the filling for added aroma and flavor. It transforms simple ingredients into something gourmet.
Feel free to explore these variations or create your own unique versions. You might also enjoy trying this concept with other recipes like Crock Pot Chicken or Honey Garlic Chicken for more culinary inspiration!
Red Lobster Biscuit Chicken Pot Pie Recipe FAQs
How do I choose the right chicken for this recipe?
Absolutely! For the best flavor and convenience, I recommend using rotisserie chicken as it’s already cooked and seasoned. This saves time and provides a tender, juicy texture. If you're cooking the chicken yourself, poached or baked chicken thighs are excellent options due to their moisture.
How long can I store the pot pie in the refrigerator?
You can store any leftover pot pie in an airtight container for up to 3-4 days. Just make sure it has cooled completely before sealing it up; this helps preserve its delightful textures and flavors.
Can I freeze the Red Lobster Biscuit Chicken Pot Pie?
Yes, indeed! To freeze, assemble the pot pie but do not bake it. Wrap it tightly in plastic wrap followed by foil to prevent freezer burn, and it can be frozen for up to 2 months. Thaw it overnight in the fridge before baking for the best results, and you’ll have a comforting meal ready to go!
What if the biscuit topping turns out tough?
Very! If your biscuit topping ends up tough, it’s likely due to overmixing the dough. Aim to mix just until combined, leaving it slightly sticky. For an airy biscuit, always use cold butter and avoid pressing the dough down onto the filling. Remember, tender care is key!
Are there any dietary considerations for this recipe?
Absolutely, this recipe can be made gluten-free by substituting all-purpose flour with a gluten-free blend designed for baking. For dairy-free options, try plant-based milk and cheese—both provide lovely flavors and textures. Also, if you want a plant-based version, swapping chicken with tofu, tempeh, or chickpeas works beautifully!
How can I spice it up?
If you’re looking to enhance the flavors even more, consider adding some fresh herbs like thyme or rosemary to the filling! A sprinkle of cayenne pepper or paprika can also give it a little kick. Feel free to personalize the recipe with your favorite spices!
Irresistible Red Lobster Biscuit Chicken Pot Pie Delight
Ingredients
Equipment
Method
- Preheat your oven to 375°F (190°C).
- In a large mixing bowl, combine chicken, mixed vegetables, cream of chicken soup, garlic powder, onion powder, and chicken broth. Mix well until combined.
- Transfer the filling into a greased casserole or pie dish, spreading evenly.
- In a separate bowl, whisk together flour, baking powder, and salt. Cut in cold butter until it resembles coarse crumbs.
- Add cheese and garlic powder to the flour mixture, then gradually pour in milk while mixing gently.
- Drop spoonfuls of biscuit dough over the filling, covering it as much as possible.
- Bake for about 30 minutes, until biscuits are golden brown and filling is bubbly.
- Let the pot pie cool for a few minutes before serving.