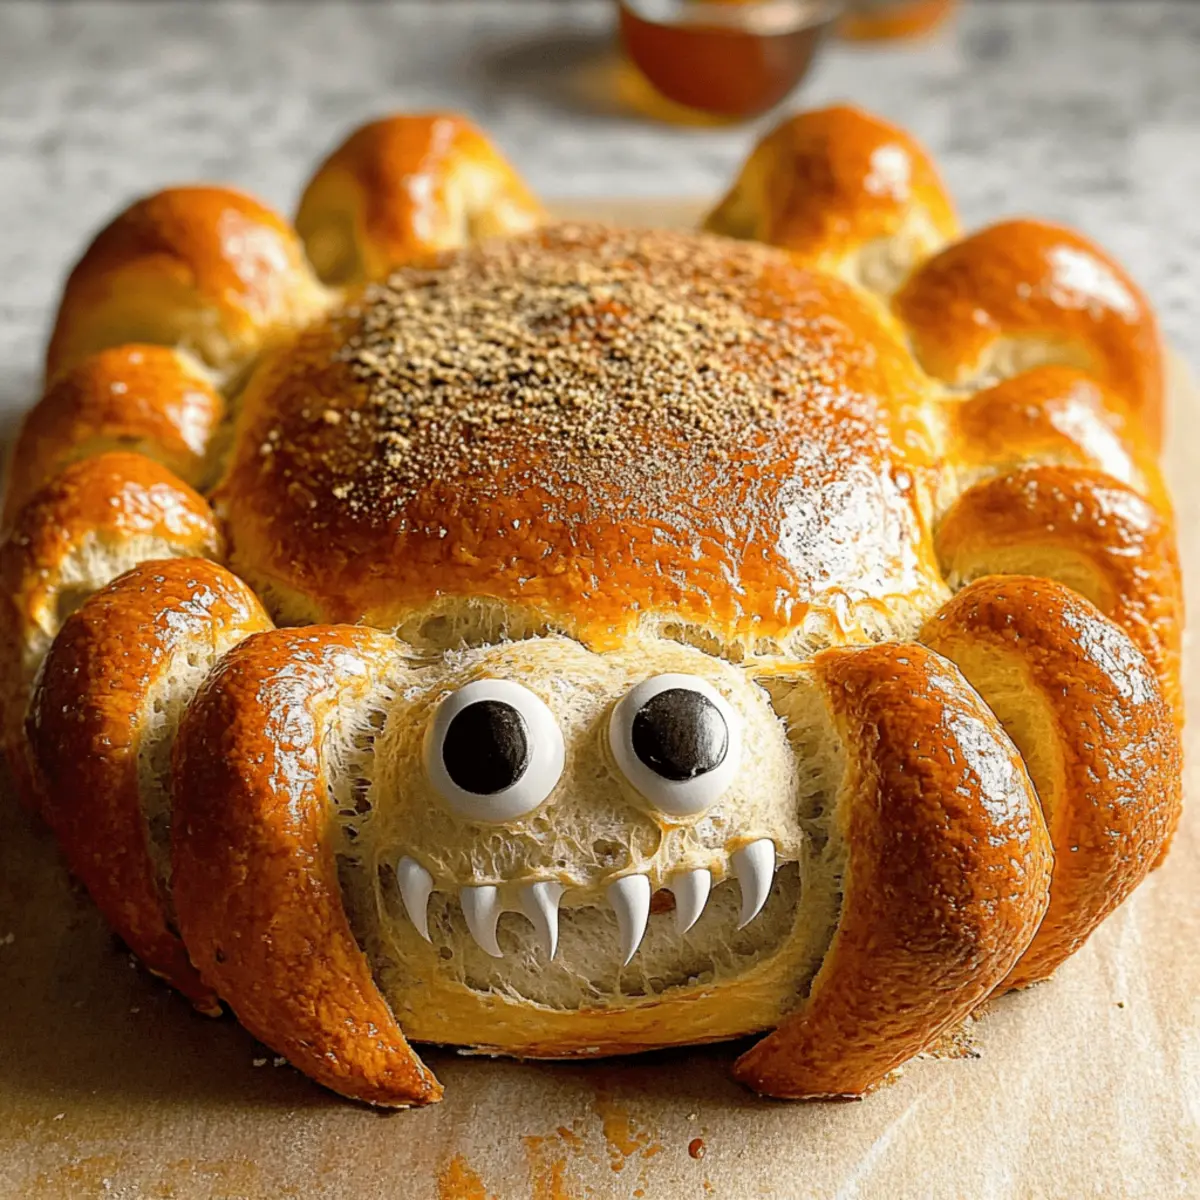
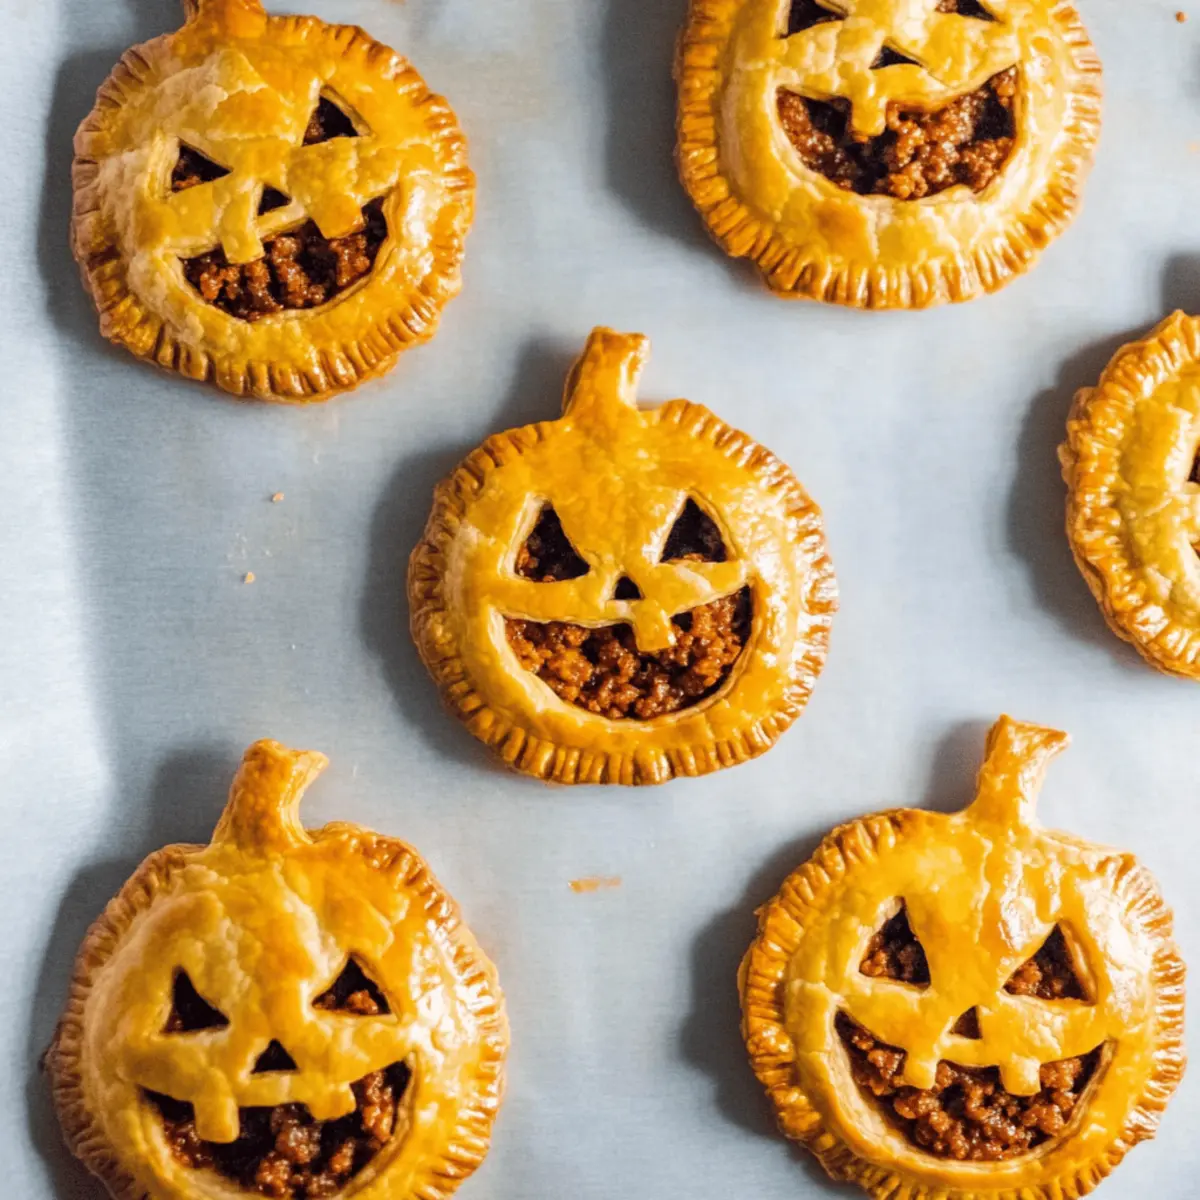
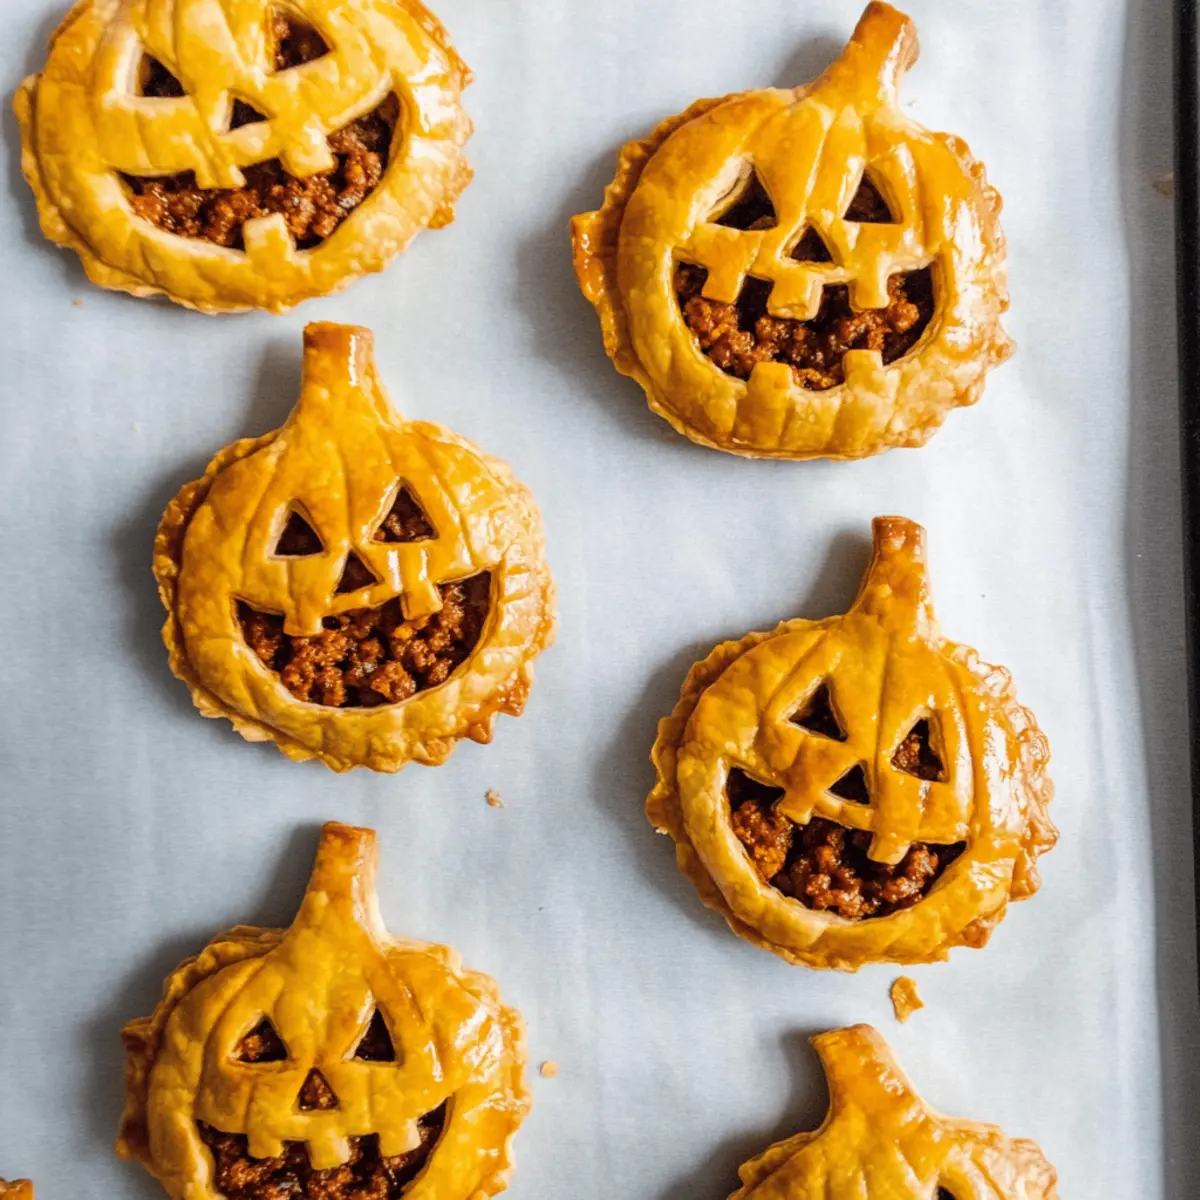
Every October, as the leaves turn crisp and the air fills with excitement, my kitchen transforms into a hub of spooky creativity. This year, I’m thrilled to share my Spooky Chorizo Hand Pies—fun, savory snacks that are sure to delight both kids and adults. With a flaky, golden crust enveloping a perfectly spicy and cheesy filling, these hand pies not only bring a festive flair to any Halloween gathering but also make for an enjoyable cooking project to tackle with family. They're easy to whip up and can even be made ahead of time, allowing you to focus on the fun of trick-or-treating and spooky celebrations. Curious to learn how to bring a little Halloween magic into your kitchen? Let’s dive into this delicious recipe!
Why Are Spooky Chorizo Hand Pies Delicious?
Savory Satisfaction: The rich combination of spicy chorizo and creamy cheese makes for a filling snack that is bursting with flavor.
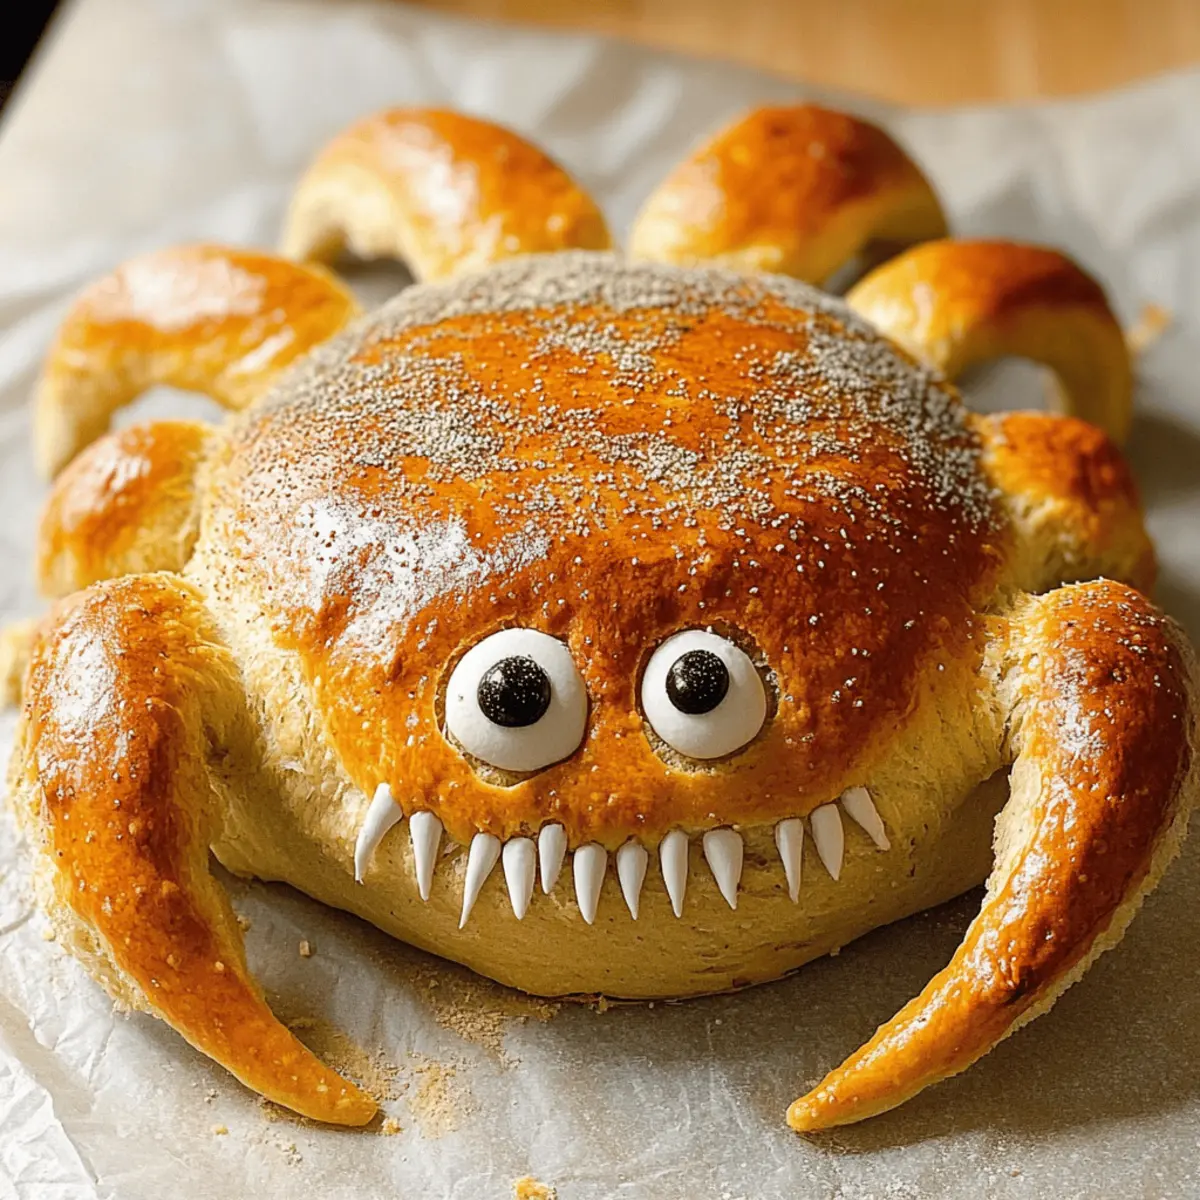
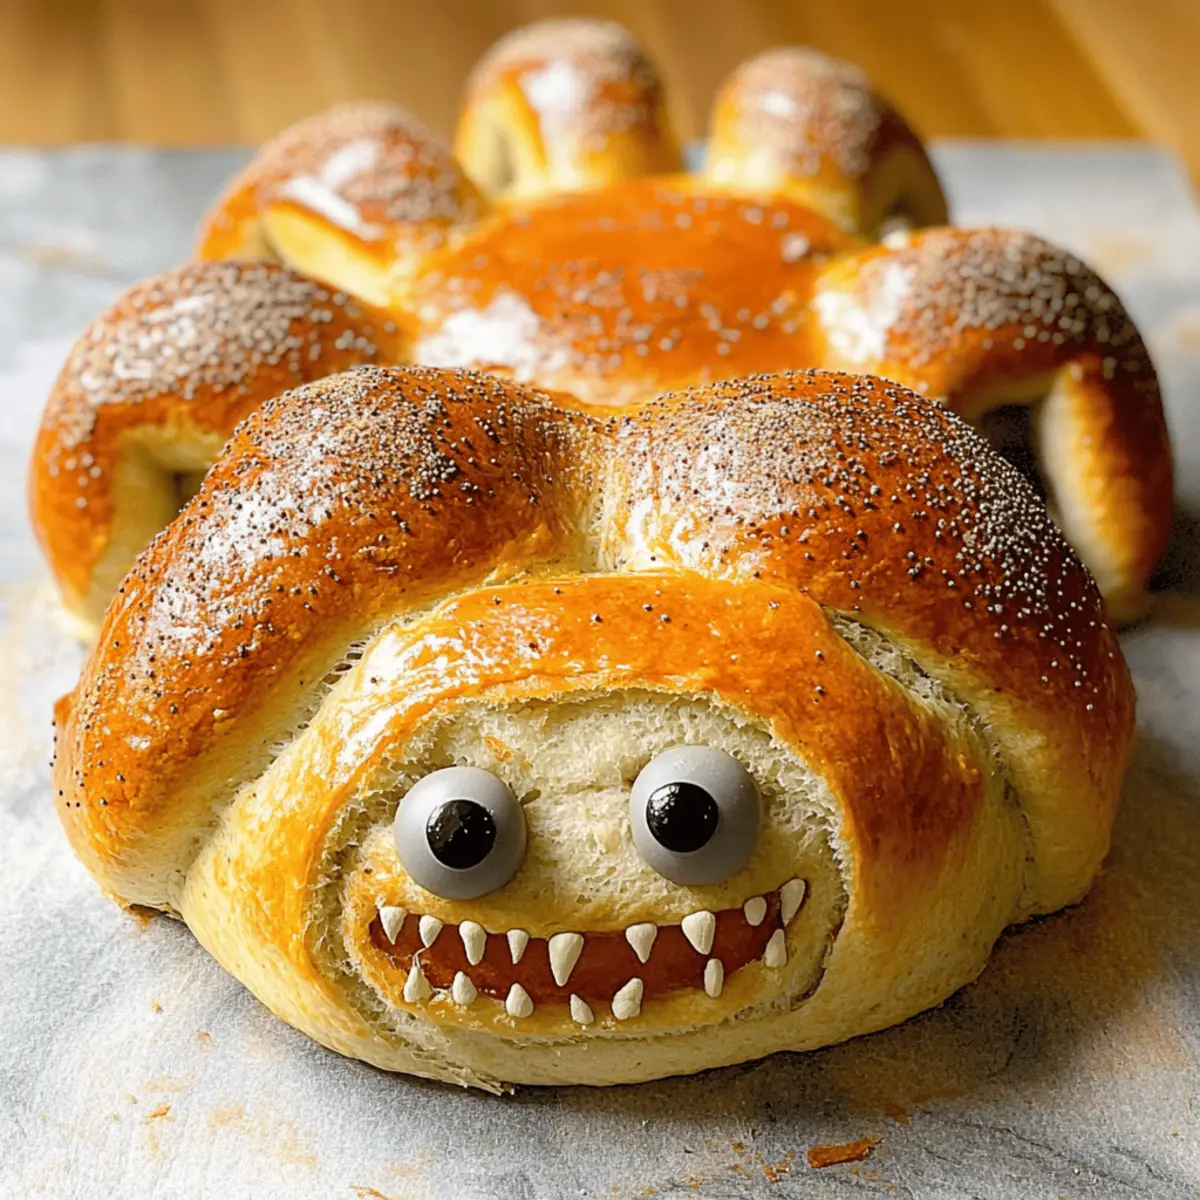
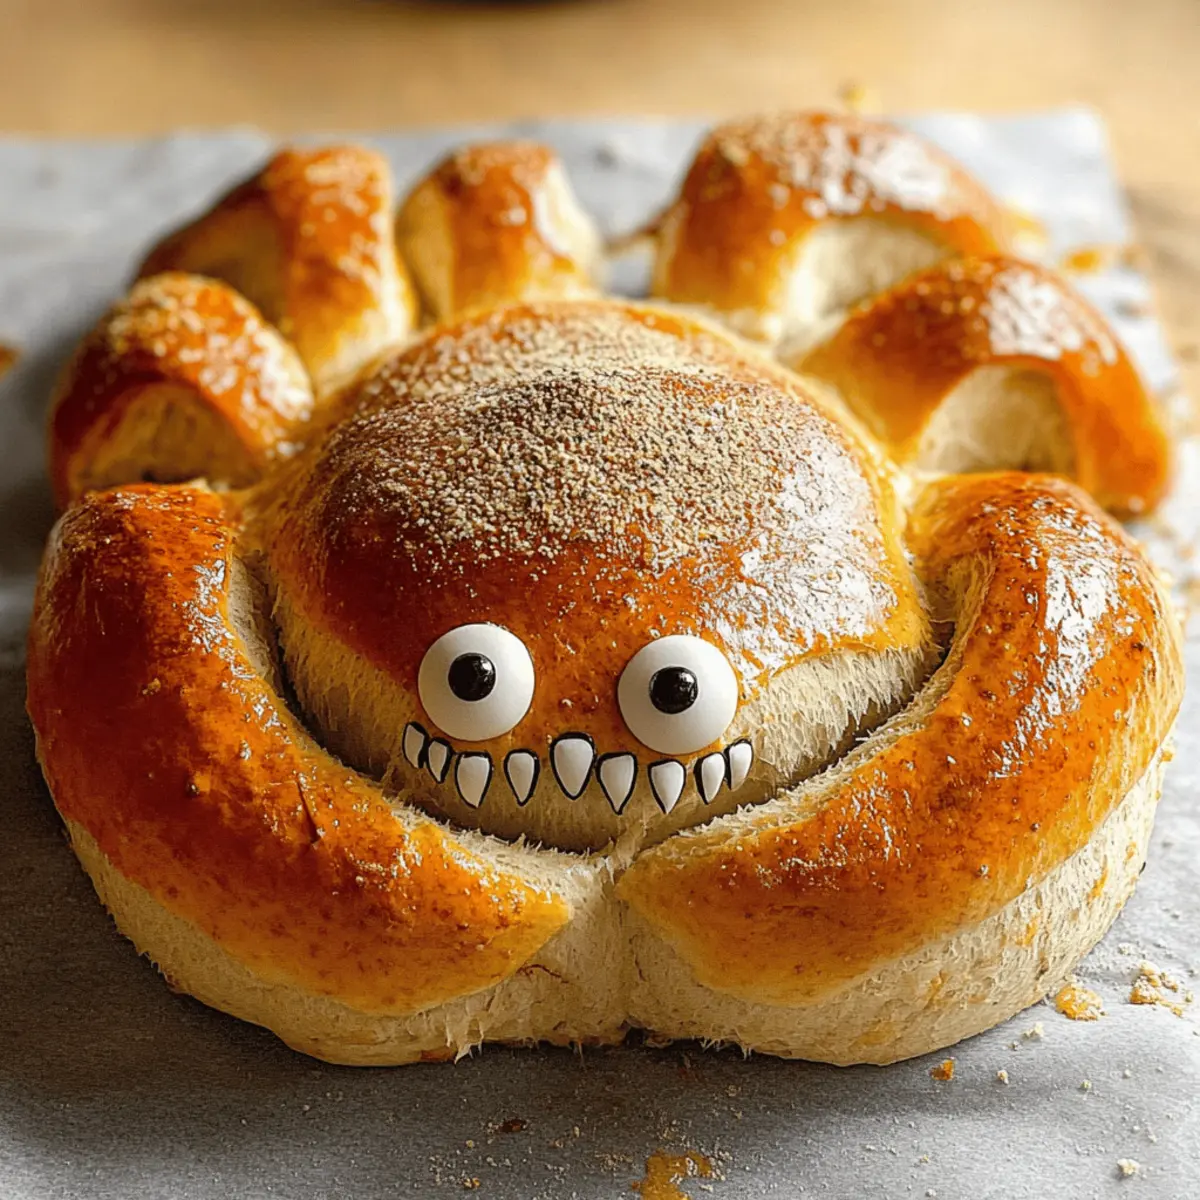
Fun to Make: It's a fantastic cooking project to share with kids or friends—shaping the pies into festive pumpkin faces adds playful creativity!
Perfect for Sharing: These hand pies are best served warm, making them a crowd-pleaser during Halloween parties, and they pair wonderfully with your favorite dipping sauces like salsa or guacamole.
Make Ahead Convenience: They can be prepared in advance, allowing you to save time on the big night—just bake fresh before serving for the ultimate crispy texture.
Versatile Choices: Feel free to experiment with various fillings or cheese alternatives, making these hand pies suitable for any palate.
Embrace the spirit of the season and check out other delicious Halloween recipes, like easy homemade empanada dough, to keep the festivities rolling!
Spooky Chorizo Hand Pie Ingredients
For the Dough
• All-Purpose Flour – Provides structure to the dough; can substitute with gluten-free flour for a gluten-free version.
• Sea Salt – Enhances overall flavor, making each bite more satisfying.
• Unsalted Butter – Contributes to a flaky texture; use chilled butter for best results.
• Chilled Water – Essential for forming the dough; adjust water amount as needed for the right consistency.
• Egg – Acts as a binding agent and helps achieve a golden-brown finish when used for egg wash.
• Apple Cider Vinegar or Lemon Juice – Adds slight acidity which improves the dough's texture.
For the Filling
• Ground Chorizo – The key ingredient that adds spice and flavor to the filling; choose beef or pork chorizo based on preference.
• Minced Pork – Adds texture and protein; can easily be swapped with beef, chicken, or turkey if desired.
• Paprika – Deepens the flavor of the filling, enhancing its savory profile.
• Onion – Provides a base flavor; finely chop for even cooking and distribution.
• Garlic – Complements the chorizo with aromatic notes.
• Cayenne Pepper (optional) – Adds an extra kick; adjust the amount based on your spice preference.
• Oaxaca Cheese – Delivers a creamy, melty texture; substitute with Monterey Jack if needed.
• Manchego Cheese – Offers a nutty flavor; can be replaced with any aged cheese that shares a similar flavor profile.
For Assembly
• Room Temperature Water – Used for sealing the edges of the pies to ensure a tight closure.
With these ingredients ready to go, you'll be well on your way to creating delightful Spooky Chorizo Hand Pies that will impress your guests this Halloween!
Step‑by‑Step Instructions for Spooky Chorizo Hand Pies
Step 1: Prepare the Dough
In a large mixing bowl, whisk together 2 cups of all-purpose flour and 1 teaspoon of sea salt. Cut in 1 cup of chilled unsalted butter using a pastry cutter until the mixture resembles coarse crumbs. In a separate bowl, combine 1 beaten egg, 6 tablespoons of chilled water, and a splash of apple cider vinegar. Create a well in the flour mixture and pour in the egg mixture, mixing gently until a dough forms. Wrap the dough in plastic and chill for at least 1 hour.
Step 2: Make the Filling
While the dough chills, heat a skillet over medium heat. Add 1 finely chopped onion and sauté until translucent, about 5 minutes. Next, stir in 6 ounces of ground chorizo and ½ cup of minced pork, cooking until browned, approximately 7-10 minutes. Add 1 teaspoon of paprika, 2 minced garlic cloves, and optional cayenne pepper to taste, mixing well. Remove from heat and let the filling cool.
Step 3: Assemble the Hand Pies
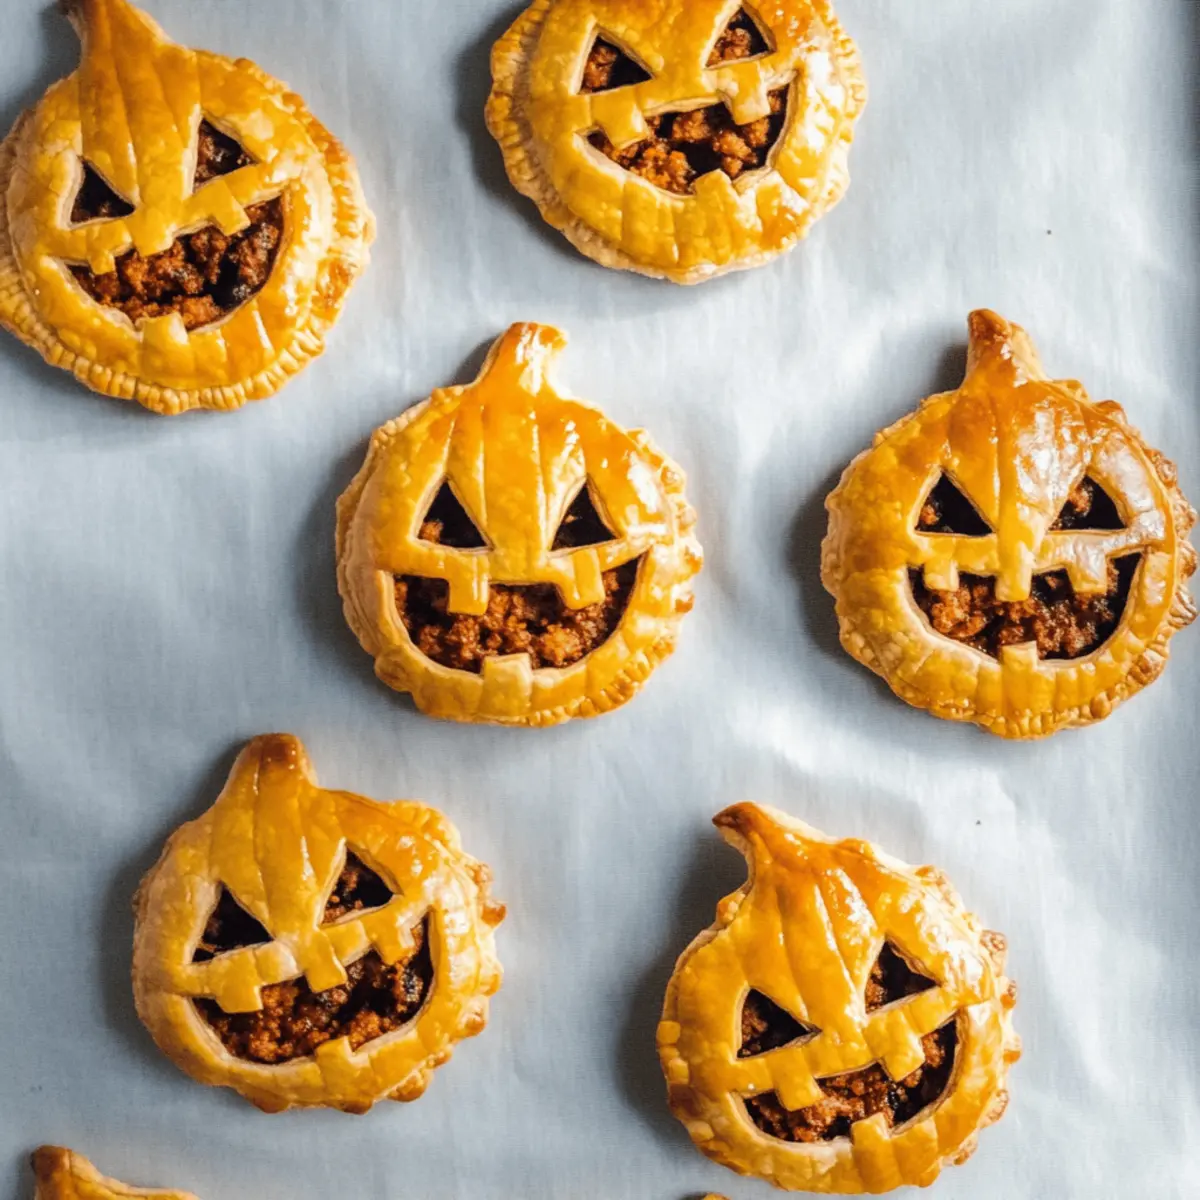
Once the dough is chilled, preheat your oven to 375°F (190°C) and prepare a baking tray lined with parchment paper. Roll out the dough on a floured surface to about ¼ inch thick. Using a pumpkin-shaped cookie cutter, cut out shapes, reserving half for the tops. On each base shape, place a spoonful of the chorizo filling and a sprinkle of Oaxaca and Manchego cheese. Moisten the edges with water, then top with a cutout and press to seal tightly. Crimp the edges for an extra touch!
Step 4: Bake the Hand Pies
Arrange the assembled Spooky Chorizo Hand Pies on the prepared baking tray. For a beautiful golden finish, brush them with egg wash made from 1 beaten egg. Bake in the preheated oven for 20-30 minutes, or until the tops are golden brown and flaky. Keep an eye on them to ensure they don’t over-bake. Once done, remove them from the oven and let cool slightly before serving.
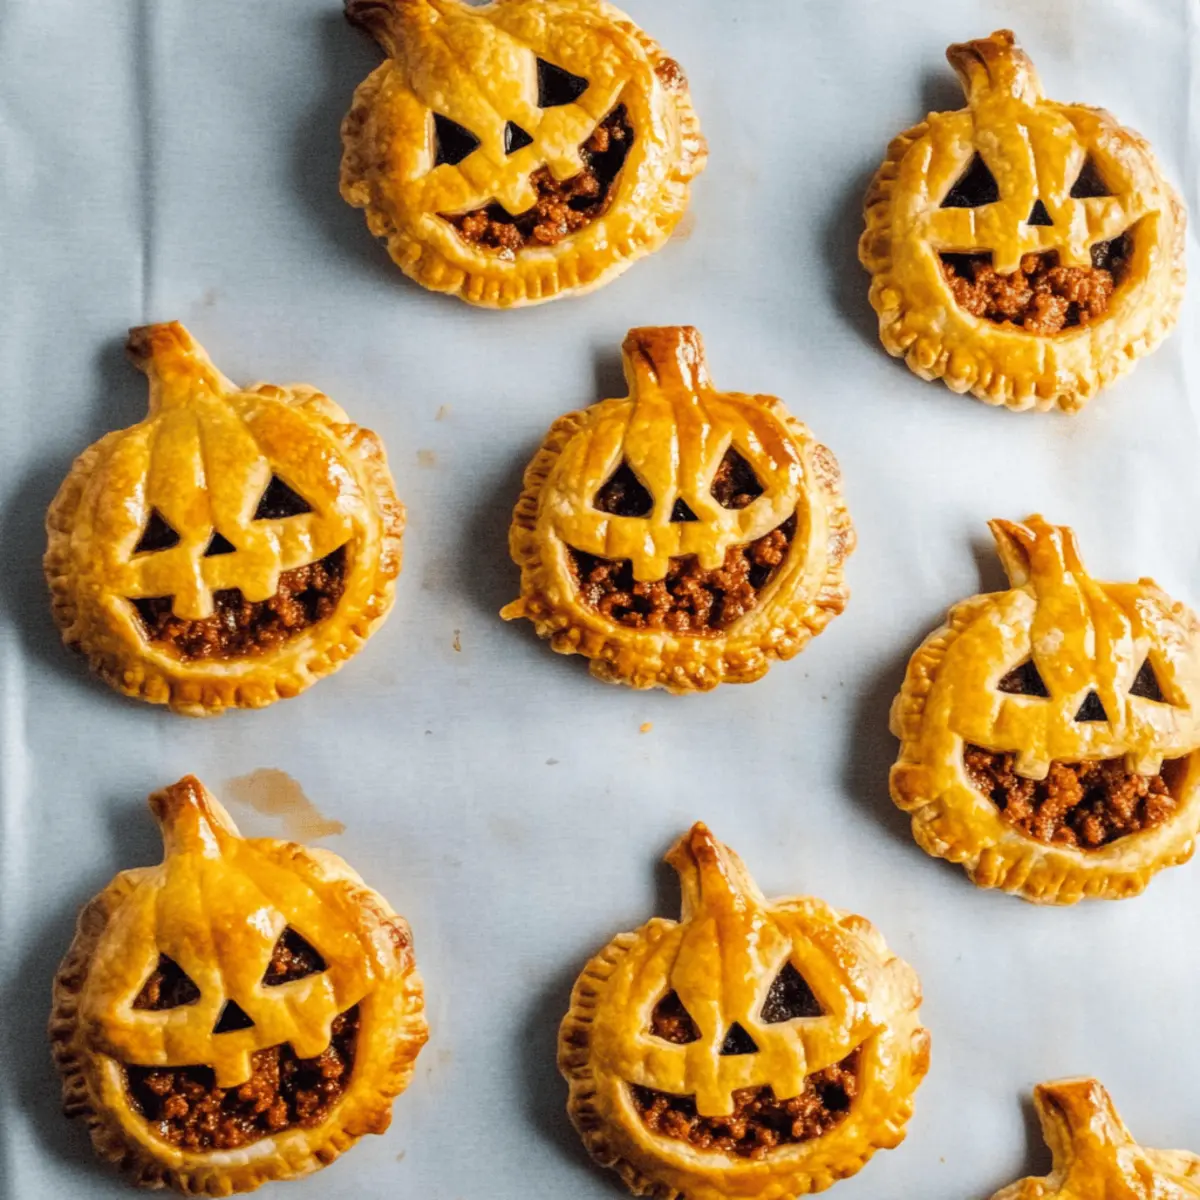
Step 5: Serve Warm
Serve the Spooky Chorizo Hand Pies warm, showcasing their crispy, flaky crust and spicy filling. Pair them with your favorite dipping sauces like salsa or sour cream for added flavor. These delightful hand pies make a perfect Halloween treat, ready to be enjoyed by kids and adults alike.
Make Ahead Options
These Spooky Chorizo Hand Pies are perfect for meal prep, making your Halloween festivities smoother! You can prepare the dough and filling up to 3 days in advance. Simply follow the initial steps for making the dough and storing it wrapped in plastic in the refrigerator. For the filling, cool it thoroughly before placing it in an airtight container. Then, when it’s time to bake, roll out the chilled dough, assemble the hand pies, and brush them with egg wash. Bake them fresh for 20-30 minutes until golden and flaky, ensuring they remain just as delicious as if they were made on the spot!
How to Store and Freeze Spooky Chorizo Hand Pies
Room Temperature: Store baked hand pies at room temperature in an airtight container for up to 2 days. This keeps them fresh without losing their delightful crispiness.
Fridge: If you have leftovers, refrigerate the hand pies in an airtight container for up to 3 days. Reheat in the oven to regain their flaky texture.
Freezer: These Spooky Chorizo Hand Pies can be frozen before or after baking. Wrap each pie in plastic wrap and store in a freezer-safe bag for up to 3 months.
Reheating: To reheat, place frozen pies directly in a preheated oven at 375°F (190°C) for about 25-30 minutes, or until heated through and crispy. Enjoy these savory snacks any time!
Spooky Chorizo Hand Pies Variations
Feel free to unleash your creativity in the kitchen with these fun twists and substitutions to personalize your hand pies!
-
Shredded Chicken: Swap chorizo for shredded chicken mixed with taco seasoning for a milder, yet flavorful filling.
-
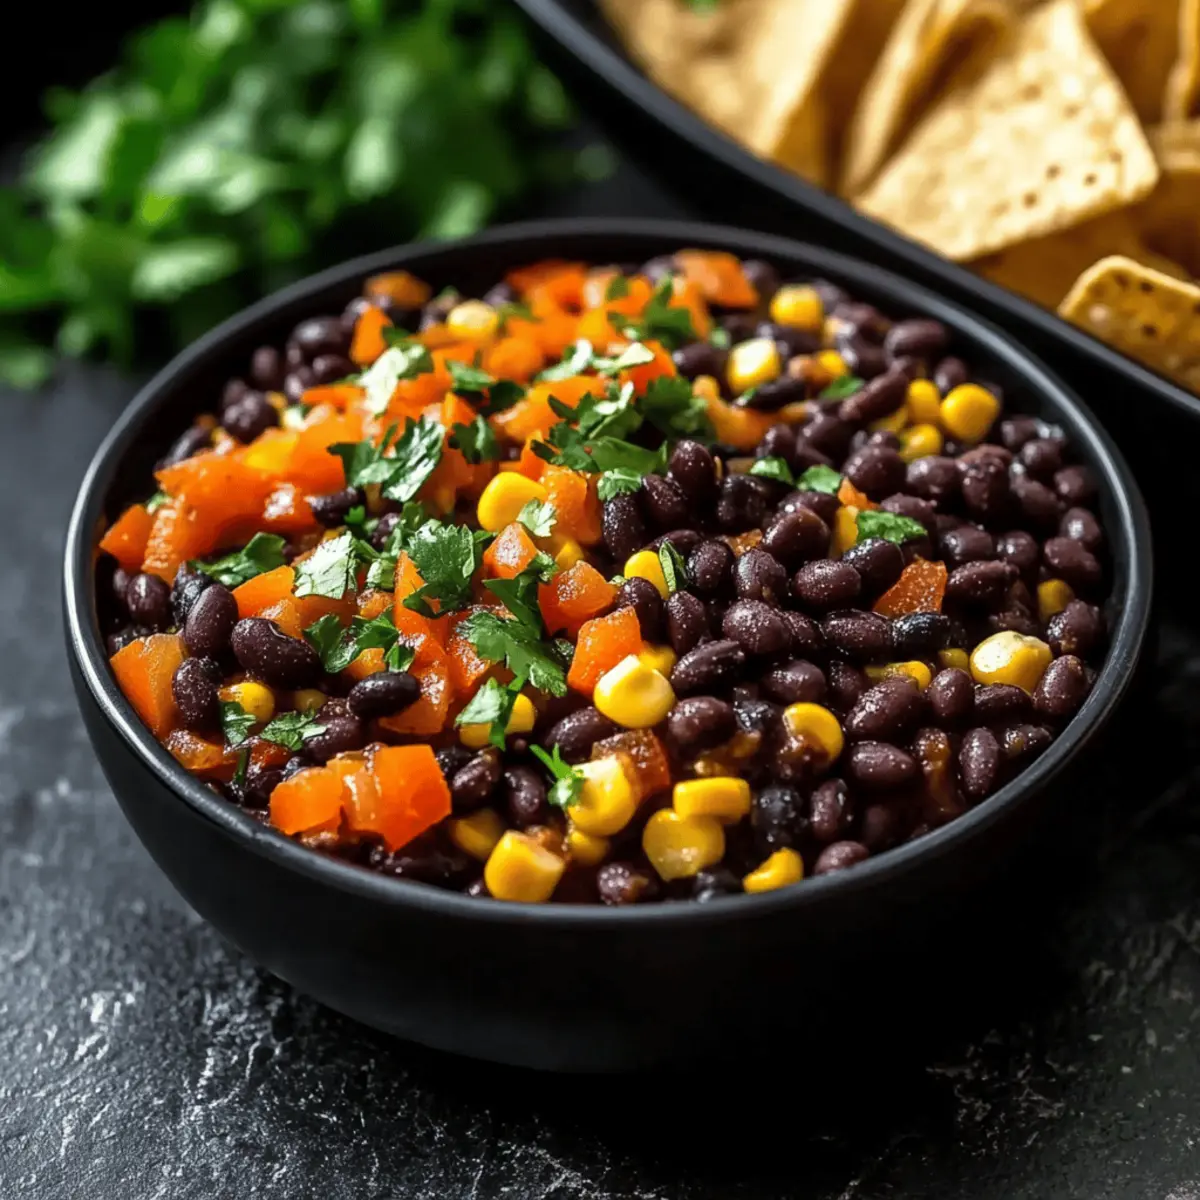
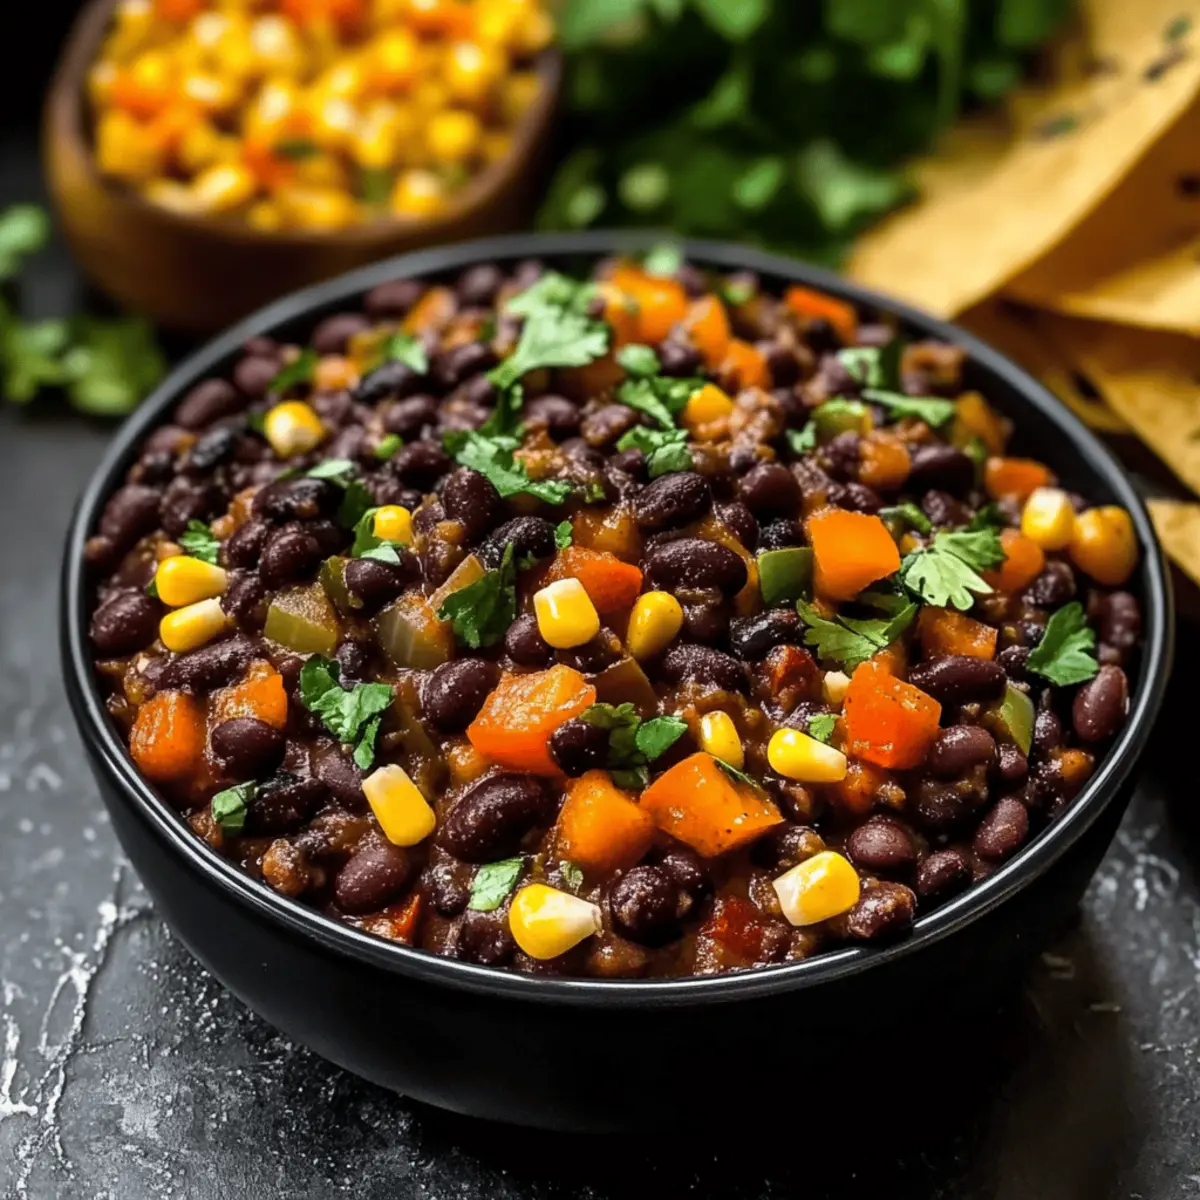
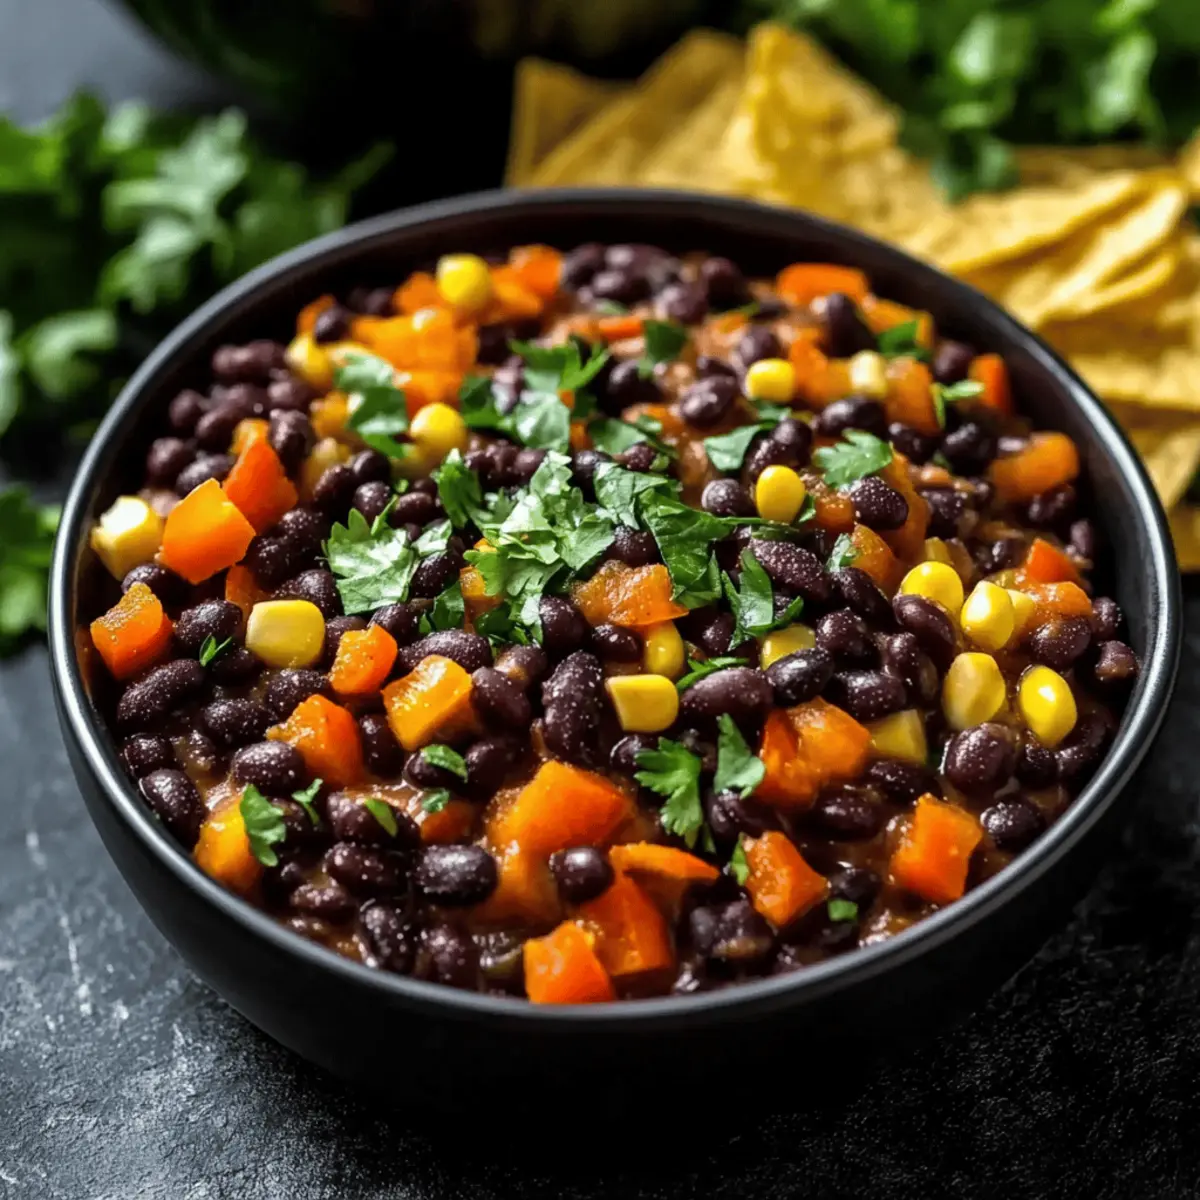
Vegetarian Option: Use spiced black beans or lentils instead of meat for a delicious veggie-packed alternative that’s satisfying and wholesome.
-
Cheese Combo: Try pepper jack cheese in place of Oaxaca for a zesty kick that adds extra excitement to each bite.
-
Add Veggies: Incorporate finely chopped bell peppers or corn into the filling for a burst of color and texture; it rounds out the flavors beautifully!
-
Gluten-Free Dough: Substitute all-purpose flour with a gluten-free blend to keep these tasty hand pies accessible for everyone at your gathering.
-
Heat Boost: Add jalapeños or crushed red pepper flakes to the filling to turn up the heat and excite taste buds—perfect for spice lovers!
-
Sweet Twist: For a sweeter version, mix in a dollop of pumpkin puree or applesauce with your chorizo filling for a delightful autumn-inspired twist.
-
Nutty Flavor: Opt for aged Gouda instead of Manchego to introduce a unique, nutty flavor that complements the spiciness of the chorizo.
With these variations, there’s a Spooky Chorizo Hand Pie for everyone! And for more culinary inspirations, don’t miss out on other:easy homemade empanada dough to keep the festivities rolling.
Expert Tips for Spooky Chorizo Hand Pies
-
Chilled Ingredients: Always use chilled butter and water for your dough to achieve that flaky texture everyone loves in Spooky Chorizo Hand Pies.
-
Don’t Overfill: Avoid the temptation to fill your pies too much! Overfilling can lead to bursting during baking, so stick to a spoonful for the best results.
-
Creative Shapes: Use various cookie cutters to create fun shapes, not just pumpkins. This will elevate your presentation and keep your family engaged in the cooking process.
-
Watch the Bake: Keep an eye on your hand pies as they bake. The baking time can vary, so look for a beautiful golden brown to ensure they don’t overcook.
-
Adjust Spice Levels: If you're cooking with kids, consider reducing the cayenne pepper so everyone can enjoy the smoky chorizo flavor without too much heat.
-
Make Ahead: These hand pies can be made in advance! Assemble them and freeze until you're ready to bake for a fresh, crowd-pleasing snack whenever you need it.
What to Serve with Spooky Chorizo Hand Pies
Transform your Halloween celebration into a culinary feast by pairing these delightful hand pies with complementary bites and sips!
-
Creamy Guacamole: This smooth avocado dip adds a cool, creamy contrast to the spicy filling of the hand pies, enhancing every bite.
-
Salsa Verde: A zesty green salsa packs a punch of flavor that balances the richness of the chorizo, making for a refreshing accompaniment.
-
Crispy Tortilla Chips: Perfect for dipping into salsa or guacamole, crunchy tortilla chips add a satisfying texture that enhances the overall snacking experience.
-
Sweet Corn Salad: This fresh, sweet salad brings contrasting flavors to the savory pies, with bursts of sweetness that play beautifully off the spices.
-
Roasted Vegetables: A medley of sweetness from roasted bell peppers, zucchini, and onions offers a colorful and flavorful side that rounds out your meal.
-
Hot Apple Cider: Warm, spiced apple cider is a comforting drink choice, infusing the spirit of fall into your Halloween gathering and providing a lovely contrast to the hand pies.
Serving these delightful options alongside your Spooky Chorizo Hand Pies creates a festive and memorable Halloween feast that everyone will enjoy!
Spooky Chorizo Hand Pies Recipe FAQs
What should I look for when selecting chorizo?
Absolutely! When choosing chorizo, look for quality brands with a high meat content. The color should be vibrant red, indicating good seasoning. Avoid chorizo with excessive fat or fillers. Fresh chorizo can also have a softer texture, while cured Spanish chorizo will be firmer and ready to eat.
How should I store my Spooky Chorizo Hand Pies?
To enjoy your hand pies at their best, store them in an airtight container at room temperature for up to 2 days. If you have leftovers, place them in the refrigerator for up to 3 days. To maintain their crispiness, it's best to reheat them in the oven!
Can I freeze the Spooky Chorizo Hand Pies?
Yes! You can freeze them before or after baking. For freezing before baking, wrap each assembled pie in plastic wrap and place them in a freezer-safe bag. They’ll stay fresh for up to 3 months. When you're ready to bake, remove the plastic wrap and bake directly from frozen, adding an extra 5-10 minutes to the baking time.
What if my dough is too crumbly?
If your dough is too crumbly, don't worry! Add a tablespoon of chilled water gradually while mixing to help bring it together. Make sure the butter is cold and you're mixing just until combined to achieve that flaky texture.
Are these hand pies suitable for gluten-free diets?
Absolutely! To make these Spooky Chorizo Hand Pies gluten-free, simply substitute the all-purpose flour with a 1:1 gluten-free flour blend. I highly recommend checking the label to ensure it includes xanthan gum for the best results in texture.
Can I make these in advance?
Very! You can prepare the hand pies ahead of time. Assemble them, then either freeze them for later baking or refrigerate them for baking the next day. Bake just before your gathering for that fresh, warm deliciousness!
Spooky Chorizo Hand Pies That Will Wow Your Halloween Guests
Ingredients
Equipment
Method
- In a large mixing bowl, whisk together flour and sea salt. Cut in chilled unsalted butter until mixture resembles coarse crumbs. In another bowl, combine beaten egg, chilled water, and vinegar. Pour into flour mixture and mix gently until dough forms. Wrap in plastic and chill for at least 1 hour.
- Heat a skillet over medium heat. Sauté finely chopped onion until translucent, about 5 minutes. Add ground chorizo and minced pork, cooking until browned, approximately 7-10 minutes. Mix in paprika, minced garlic, and cayenne pepper to taste. Remove from heat and let cool.
- Preheat oven to 375°F (190°C). Roll out chilled dough on floured surface to about ¼ inch thick. Cut out pumpkin shapes, reserving half for tops. On each base, place a spoonful of filling and a sprinkle of cheeses. Moisten edges, top with cutout, and seal tightly.
- Arrange hand pies on baking tray. Brush with egg wash made from beaten egg. Bake for 20-30 minutes until tops are golden brown and flaky. Let cool slightly before serving.
- Serve warm with favorite dipping sauces like salsa or sour cream.