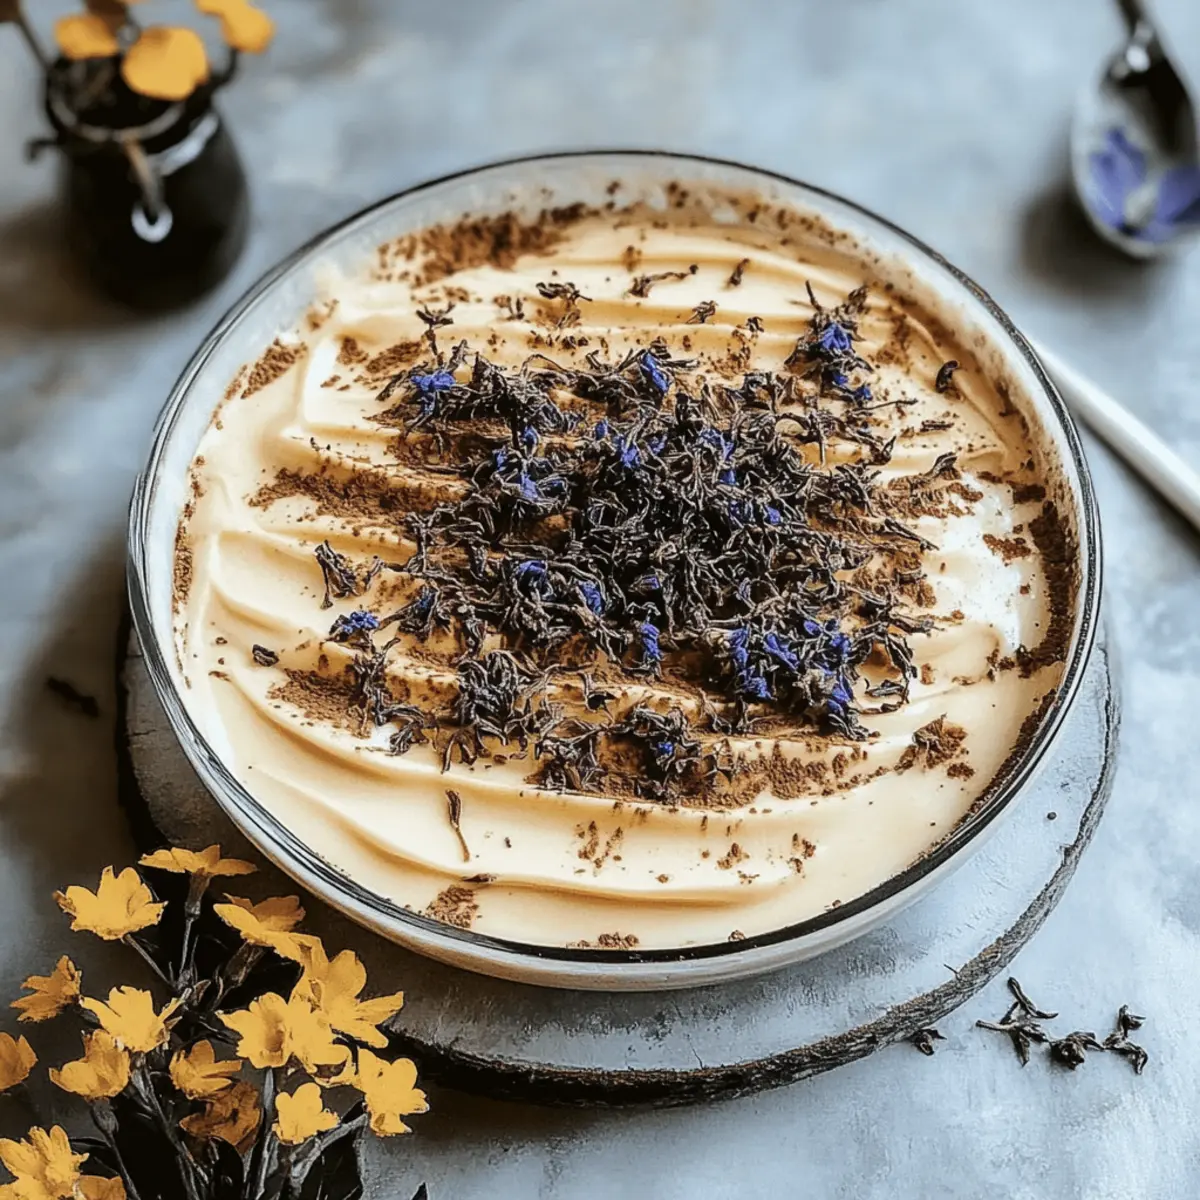
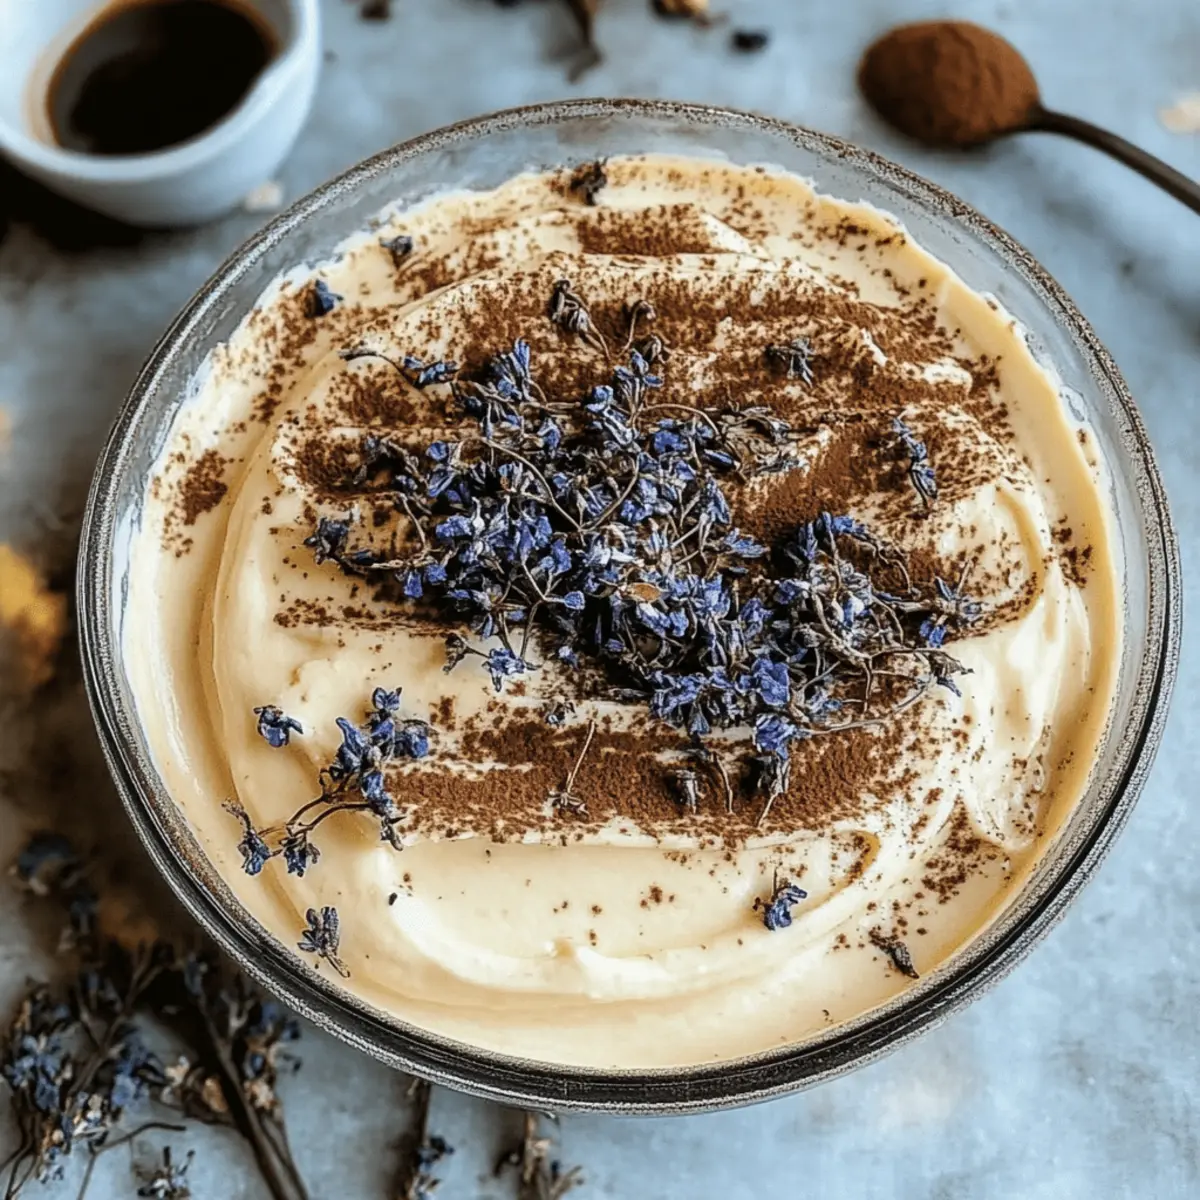
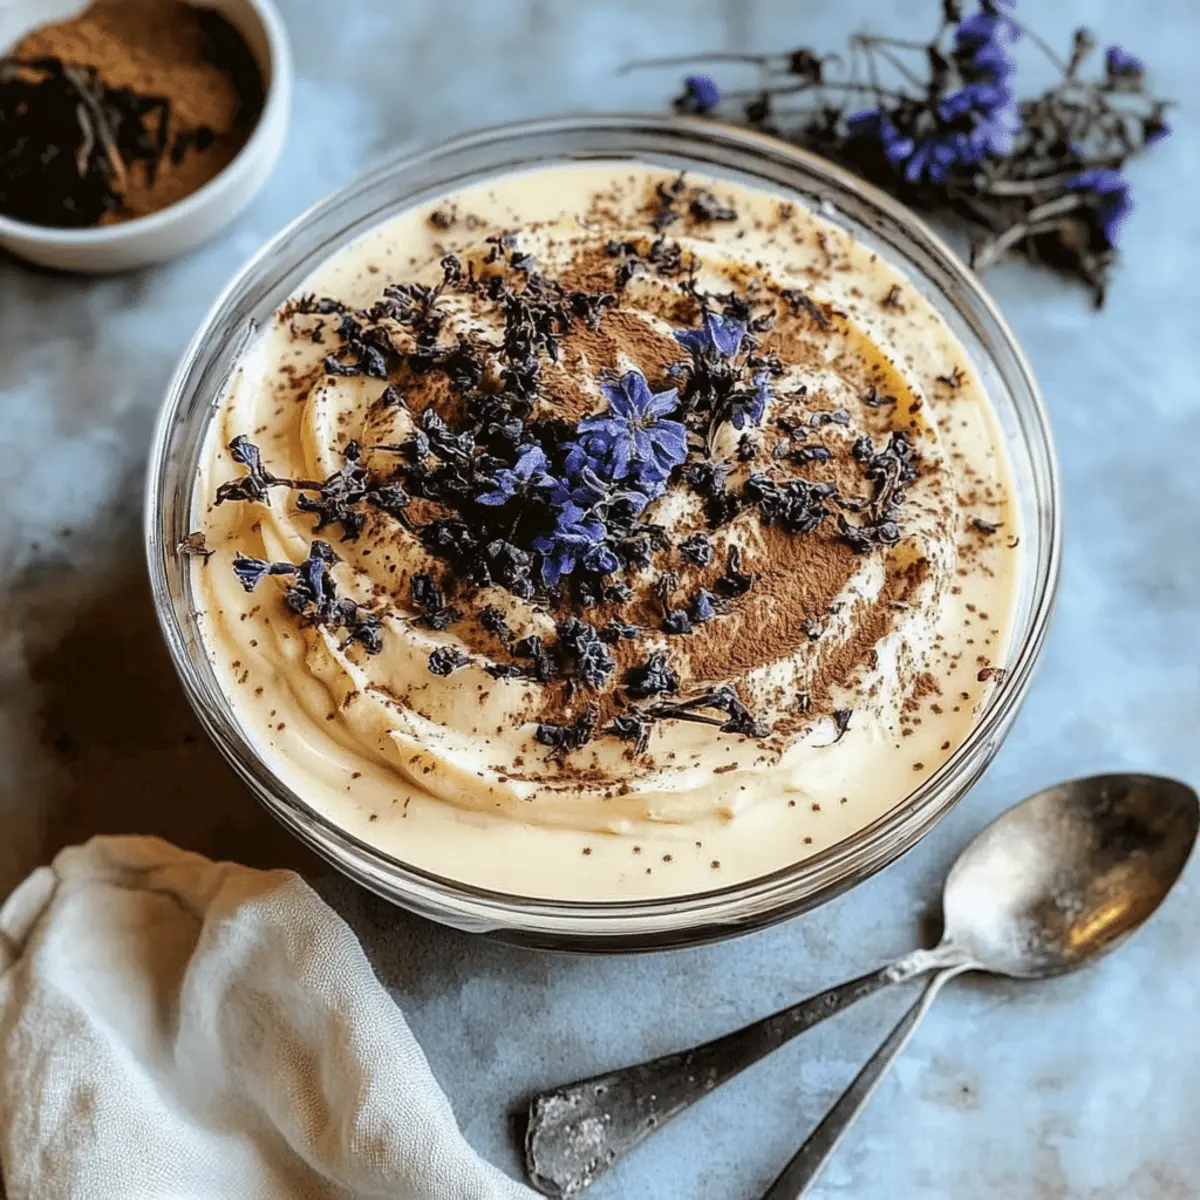
As I savored each spoonful of this elegant dessert, I couldn't help but appreciate how the classic tiramisu got a delightful makeover with the infusion of Earl Grey tea. The luscious mascarpone mingles perfectly with the fragrant notes of bergamot, transforming an already beloved treat into a sophisticated experience. This Earl Grey Tiramisu is not just a feast for the senses but also incredibly easy to prepare, making it the ideal sweet sensation for impressing guests at your next gathering. Plus, it can be made ahead of time, leaving you free to relax and enjoy the company of friends and family. Curious about how a simple twist can elevate your dessert game? Let’s dive in!
Why is Earl Grey Tiramisu unique?
Elegance in Every Bite: This recipe transforms traditional tiramisu into something truly special by introducing aromatic Earl Grey tea, adding rich floral and citrus notes.
Effortless Preparation: With straightforward steps and simple ingredients, you can easily impress your guests without spending hours in the kitchen.
Perfect for Any Occasion: Whether it’s a festive gathering or a cozy dinner party, this dessert's sophisticated flavor makes it a crowd-pleaser.
Make-Ahead Convenience: Prepare it in advance for a stress-free entertaining experience, allowing the flavors to meld beautifully overnight.
Endless Variations: Feel free to explore different tea flavors or garnishes to personalize your creation, ensuring each serving is uniquely yours.
Eager to elevate your dessert repertoire? Try pairing this delightful dish with chocolate shavings for an extra layer of indulgence!
Earl Grey Tiramisu Ingredients
For the Creamy Filling
• Mascarpone Cheese – Essential for the creamy filling; no direct substitutes recommended, but cream cheese can be used for a tangier taste.
• Egg Yolks – Provides stability and richness to the filling; can use egg substitutes if necessary for dietary restrictions, though the result may differ.
• Sugar – Adds sweetness; substitute with powdered sugar for a smoother blend in the cream.
For the Infused Base
• Earl Grey Tea – Provides the signature floral and citrus notes; use loose tea leaves or tea bags.
• Coffee – Offers moisture and flavor; standard brewed coffee can be substituted with decaf or flavored coffee if preferred.
For Layering
• Ladyfingers – Essential for structure; traditional sponge cake strips work best, though homemade savoiardi can also be made.
For the Finish
• Cocoa Powder – Adds a delightful chocolatey finish; Dutch-processed cocoa adds richness.
Explore the delightful world of Earl Grey Tiramisu and see how easy it is to elevate your dessert game!
Step‑by‑Step Instructions for Earl Grey Tiramisu
Step 1: Brew the Tea
Begin by brewing a strong cup of Earl Grey tea using about 1 cup of freshly boiled water and 2 tea bags or 2 teaspoons of loose tea leaves. Allow it to steep for 5 minutes for a robust flavor, then remove the tea bags or strain the leaves. Set the tea aside to cool completely before using it for layering.
Step 2: Prepare the Cream Mixture
In a mixing bowl, whisk together 4 egg yolks and ½ cup of granulated sugar until the mixture is pale and creamy, about 3 to 5 minutes. This will help create a rich filling for your Earl Grey Tiramisu. Gradually fold in 1 cup of mascarpone cheese until fully combined and smooth, ensuring there are no lumps.
Step 3: Set Up Dipping Stations
Next, prepare your dipping stations by separating the cooled coffee and the brewed Earl Grey tea into two shallow dishes. Use about 1 cup of brewed coffee for dipping. This method allows you to create distinct layers in your tiramisu, enhancing the unique flavors of the dessert as you assemble it.
Step 4: Dip the Ladyfingers
Take your ladyfingers and quickly dip each one, about 2 seconds per side, into the brewed coffee to avoid sogginess. Make sure not to let them soak too long as you want them to maintain some structure. Arrange the dipped ladyfingers in a single layer at the bottom of a glass dish or individual serving glasses, forming the base for your Earl Grey Tiramisu.
Step 5: Add the First Layer of Cream
Once the ladyfingers are laid out, spread half of the mascarpone mixture over the ladyfingers evenly. Use a spatula to smooth it out to the edges of your dish, creating a luscious layer. The creamy, velvety filling shall envelop the ladyfingers beautifully, asserting the classic tiramisu essence with a twist of Earl Grey.
Step 6: Layer Tea-Soaked Ladyfingers
Now, dip a second batch of ladyfingers quickly in the cooled Earl Grey tea and layer them over the mascarpone cream. Just as before, be careful not to soak them too long. This step introduces the fragrant floral notes of the Earl Grey, harmonizing perfectly with the other ingredients in your delightful dessert.
Step 7: Finish with Remaining Cream
Finally, spread the remaining mascarpone mixture over the tea-soaked ladyfingers. Again, smooth it out to cover the dessert evenly. This final touch completes the layering process, ensuring that every spoonful of your Earl Grey Tiramisu is rich and creamy, with a perfect balance of coffee and tea flavors.
Step 8: Chill to Set
Cover your dish with plastic wrap and place it in the refrigerator to chill for at least 4 hours, or ideally overnight. This chilling time is crucial as it allows the flavors of the Earl Grey Tiramisu to meld beautifully, resulting in a harmonious, sophisticated dessert that’s sure to impress.
Step 9: Dust with Cocoa Powder
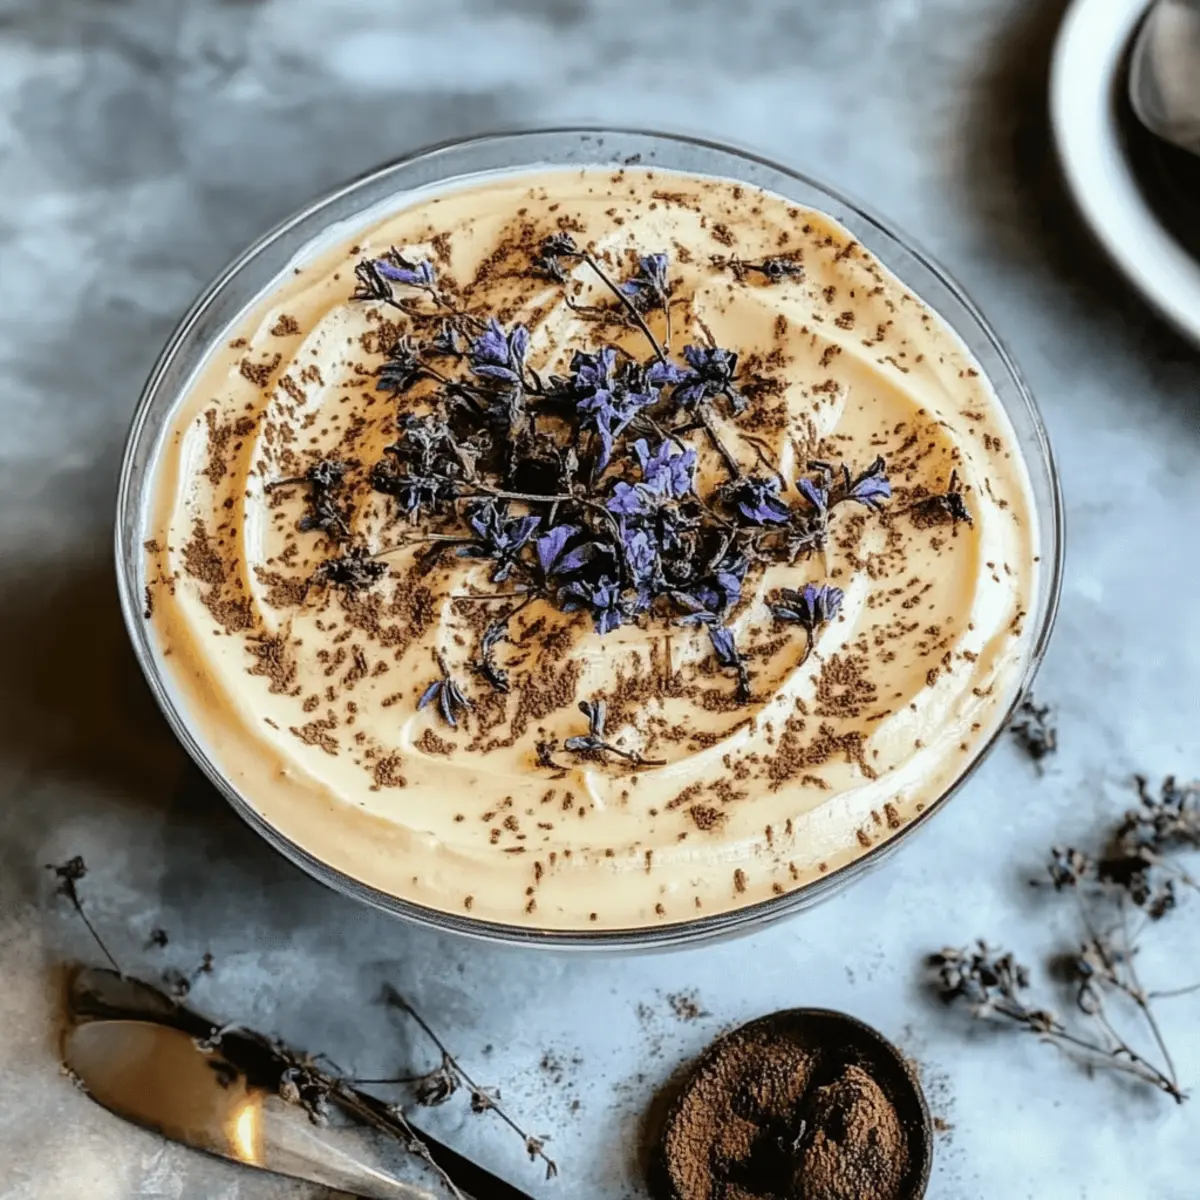
Just before serving, gently remove the plastic wrap and dust the top of your chilled Earl Grey Tiramisu with cocoa powder using a fine sieve. This finishing touch adds an elegant, chocolatey aroma, complementing the creamy layers beneath. Serve chilled, either directly from the dish or in individual dessert glasses for a delightful presentation.
Make Ahead Options
Earl Grey Tiramisu is a fantastic dessert to prepare ahead of time, making it perfect for busy weeknights or special occasions! You can assemble the entire tiramisu and refrigerate it for up to 3 days before serving, allowing the flavors to meld beautifully. To maintain quality, be sure to cover the dish tightly with plastic wrap to prevent any absorption of odors. When you're ready to serve, simply dust the top with cocoa powder right before presentation to keep the finishing touch fresh. This way, you’ll have a luxurious dessert that tastes just as delicious as if it were made on the same day, saving you precious time for hosting!
Earl Grey Tiramisu Variations & Substitutions
Feel free to get creative with your Earl Grey Tiramisu and make it your own with these delightful twists!
- Chai Infusion: Substitute Earl Grey with chai tea for a spicy, aromatic profile. Perfect for warming flavors on a chilly evening!
- Matcha Layer: Replace the Earl Grey tea with matcha for a vibrant green dessert that adds an earthy tone to the sweetness. This unique swap can surprise and delight your guests.
- Dairy-Free Delight: Use coconut cream instead of mascarpone for a decadent dairy-free option that brings a hint of tropical flavor. The creaminess remains intact, making every bite luscious!
- Chocolate Twist: Fold in dark chocolate shavings into the mascarpone mixture for an indulgent chocolaty layer. It creates a beautiful richness and pairs wonderfully with the tea notes.
- Citrus Zest: Add a teaspoon of lemon or orange zest into the mascarpone mix to brighten flavors and add freshness. The citrus lifts the dish beautifully, creating a lovely contrast.
- Kahlua Kick: For coffee lovers, consider adding a splash of Kahlua to the coffee before dipping ladyfingers. The coffee liqueur enhances both the flavor and the indulgence of your dessert!
- Nutty Crunch: Sprinkle some crushed pistachios or hazelnuts on top of the cocoa powder for an added crunch. This texture twist not only looks gorgeous but also elevates the tasting experience.
- Fruity Finish: Garnish with fresh berries, like raspberries or strawberries, just before serving to add a vibrant splash of color and a tart contrast to the creamy layers.
So whether you opt for a coffee liqueur or a nutty crunch, let your creativity soar!
Storage Tips for Earl Grey Tiramisu
Fridge: Store your Earl Grey Tiramisu in an airtight container for up to 2 days to maintain its freshness and delightful flavors.
Freezer: If you need to store it for a longer period, you can freeze the tiramisu for up to 1 month. Wrap it tightly in plastic wrap and then in aluminum foil.
Reheating/Thawing: To enjoy, thaw in the refrigerator overnight. Avoid refreezing after thawing to maintain texture and flavor integrity.
Serving: Always serve chilled, and dust fresh cocoa powder on top just before serving to keep that beautiful presentation.
Expert Tips for Earl Grey Tiramisu
-
Avoid Soggy Layers: Dip ladyfingers quickly in coffee and tea for 2 seconds each side; too long can make them mushy, ruining the texture.
-
Chill for Flavor: Refrigerate the tiramisu for at least 4 hours—or overnight to enhance the flavors and allow the dessert to set beautifully.
-
Personalize It: Feel free to experiment! Try using different flavored teas, like chai or matcha, to add unique twists to your Earl Grey Tiramisu.
-
Layer Smoothly: When spreading the mascarpone mixture, use a spatula to create even layers; this ensures a lovely presentation and consistent flavor in every bite.
-
Use Quality Ingredients: Opt for high-quality mascarpone and fresh coffee for the best flavor; they make a significant difference in this sophisticated dessert.
What to Serve with Earl Grey Tiramisu?
Elevate your dessert experience by complementing the delightful layers of Earl Grey Tiramisu with these mouthwatering pairings.
- Fresh Berries: Their natural tartness balances the sweet creaminess, adding a vibrant splash of color and freshness to your plate.
- Whipped Cream: Light and airy, a dollop of freshly whipped cream enhances the richness of the tiramisu and adds a fluffy texture. Consider a lightly sweetened version to keep it simple.
- Dark Chocolate Shavings: Sprinkle dark chocolate on top for an elegant touch that deepens flavors and adds a luscious bite. This flavor contrast harmonizes beautifully with the bergamot notes.
- Mint Leaves: Fresh mint leaves provide a refreshing touch, cutting through the sweetness and adding a pop of color to your presentation.
- Espresso: A strong shot of espresso is an excellent pairing, offering a bold flavor that complements the coffee layers in the tiramisu.
- Almond Biscotti: Enjoying crunchy almond biscotti alongside your dessert can provide a pleasing textural contrast, perfect for dipping into the creamy layers.
- Chai Tea: For those who want to maintain the tea theme, a warm cup of chai tea enhances the flavors of the tiramisu while adding a cozy vibe to your gathering.
- Prosecco: A chilled glass of prosecco brings a celebratory feel and effervescence, creating a delightful experience for any occasion.
- Vanilla Ice Cream: A scoop of creamy vanilla ice cream melting alongside the tiramisu enhances the dessert's luxurious feel, making every bite even more indulgent.
Earl Grey Tiramisu Recipe FAQs
What kind of Earl Grey tea should I use?
You can use either loose Earl Grey tea or tea bags, depending on your preference. Loose leaf tends to provide a fresher flavor, while tea bags are more convenient. Look for high-quality blends that highlight the bergamot for the best results.
How can I store leftover Earl Grey Tiramisu?
Store your Earl Grey Tiramisu in an airtight container in the refrigerator for up to 2 days. It's important to keep it sealed to preserve its luscious creaminess and prevent it from absorbing any odors from your fridge.
Can I freeze Earl Grey Tiramisu?
Absolutely! To freeze, wrap the tiramisu tightly in plastic wrap and then in aluminum foil. It can be frozen for up to 1 month. When you're ready to enjoy it, just thaw in the refrigerator overnight. This step is crucial to help maintain the dessert's delicate texture and flavors.
What if my ladyfingers become too soggy?
If your ladyfingers become soggy, it can negatively affect the texture of your tiramisu. To prevent this, dip them quickly—just 2 seconds per side in coffee and tea. Additionally, ensure your dips are cool; warm dips absorb more moisture quickly!
Is there a way to make Earl Grey Tiramisu suitable for vegans?
Yes! For a vegan version, you can replace the mascarpone with a coconut cream alternative or a cashew cream. Use chia eggs or flaxseed eggs as an alternative to the egg yolks, and ensure the ladyfingers you use are vegan-friendly. Each of these changes will slightly alter the taste and texture, but it will still be delicious!
What is the best way to serve Earl Grey Tiramisu?
Serve your Earl Grey Tiramisu chilled, ideally in elegant glasses or dessert dishes. Dust the top with cocoa powder just before serving to enhance presentation. You can also garnish with fresh mint or berries for a vibrant touch.
Earl Grey Tiramisu: An Elegant Twist on a Classic Favorite
Ingredients
Equipment
Method
- Brew a strong cup of Earl Grey tea using about 1 cup of freshly boiled water and 2 tea bags or 2 teaspoons of loose tea leaves. Allow it to steep for 5 minutes and then set aside to cool.
- In a mixing bowl, whisk together 4 egg yolks and ½ cup of sugar until the mixture is pale and creamy, then fold in 1 cup of mascarpone cheese until smooth.
- Prepare your dipping stations by separating the cooled coffee and brewed Earl Grey tea into two shallow dishes.
- Quickly dip each ladyfinger into the brewed coffee for about 2 seconds per side and arrange them in a single layer at the bottom of a glass dish.
- Spread half of the mascarpone mixture over the ladyfingers evenly using a spatula.
- Dip a second batch of ladyfingers quickly in the cooled Earl Grey tea and layer them over the mascarpone cream.
- Spread the remaining mascarpone mixture over the tea-soaked ladyfingers evenly.
- Cover the dish with plastic wrap and refrigerate for at least 4 hours or overnight.
- Dust the top of your chilled tiramisu with cocoa powder just before serving.