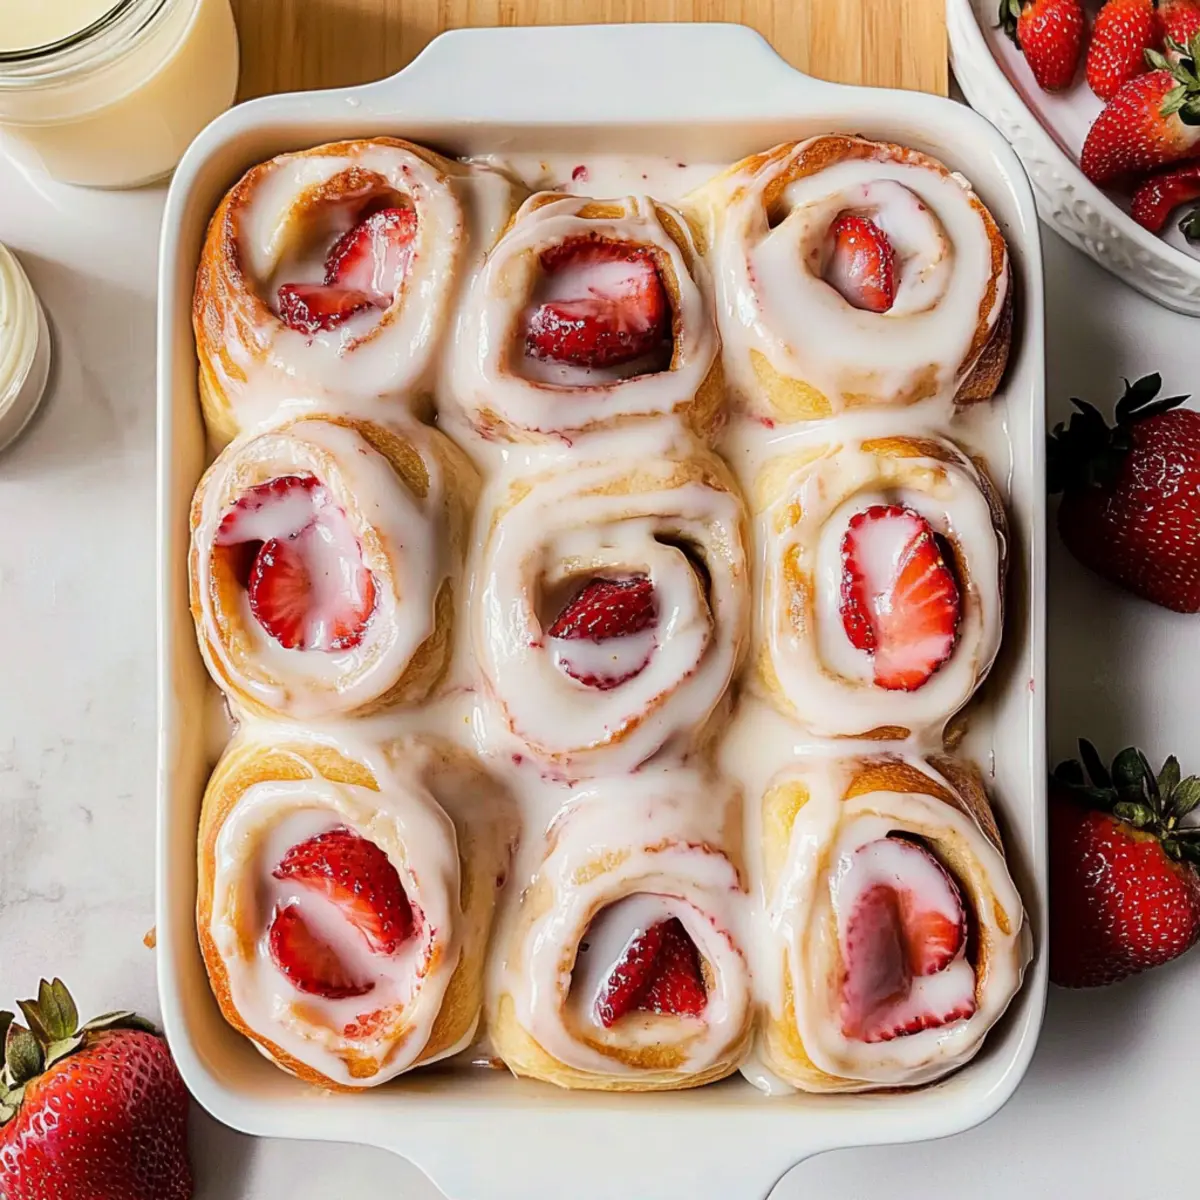
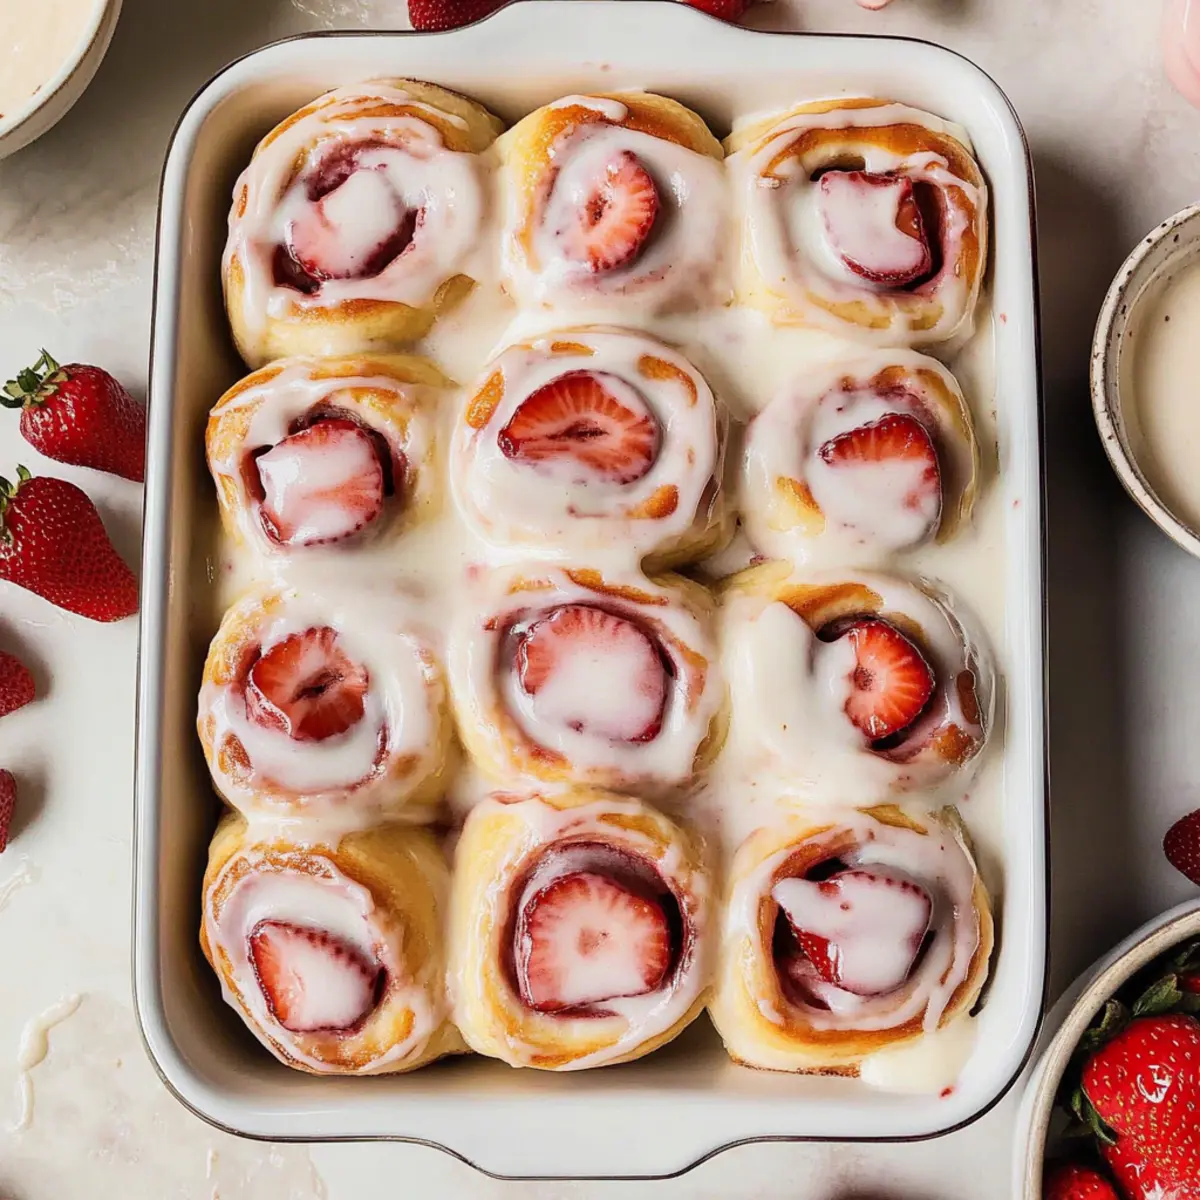
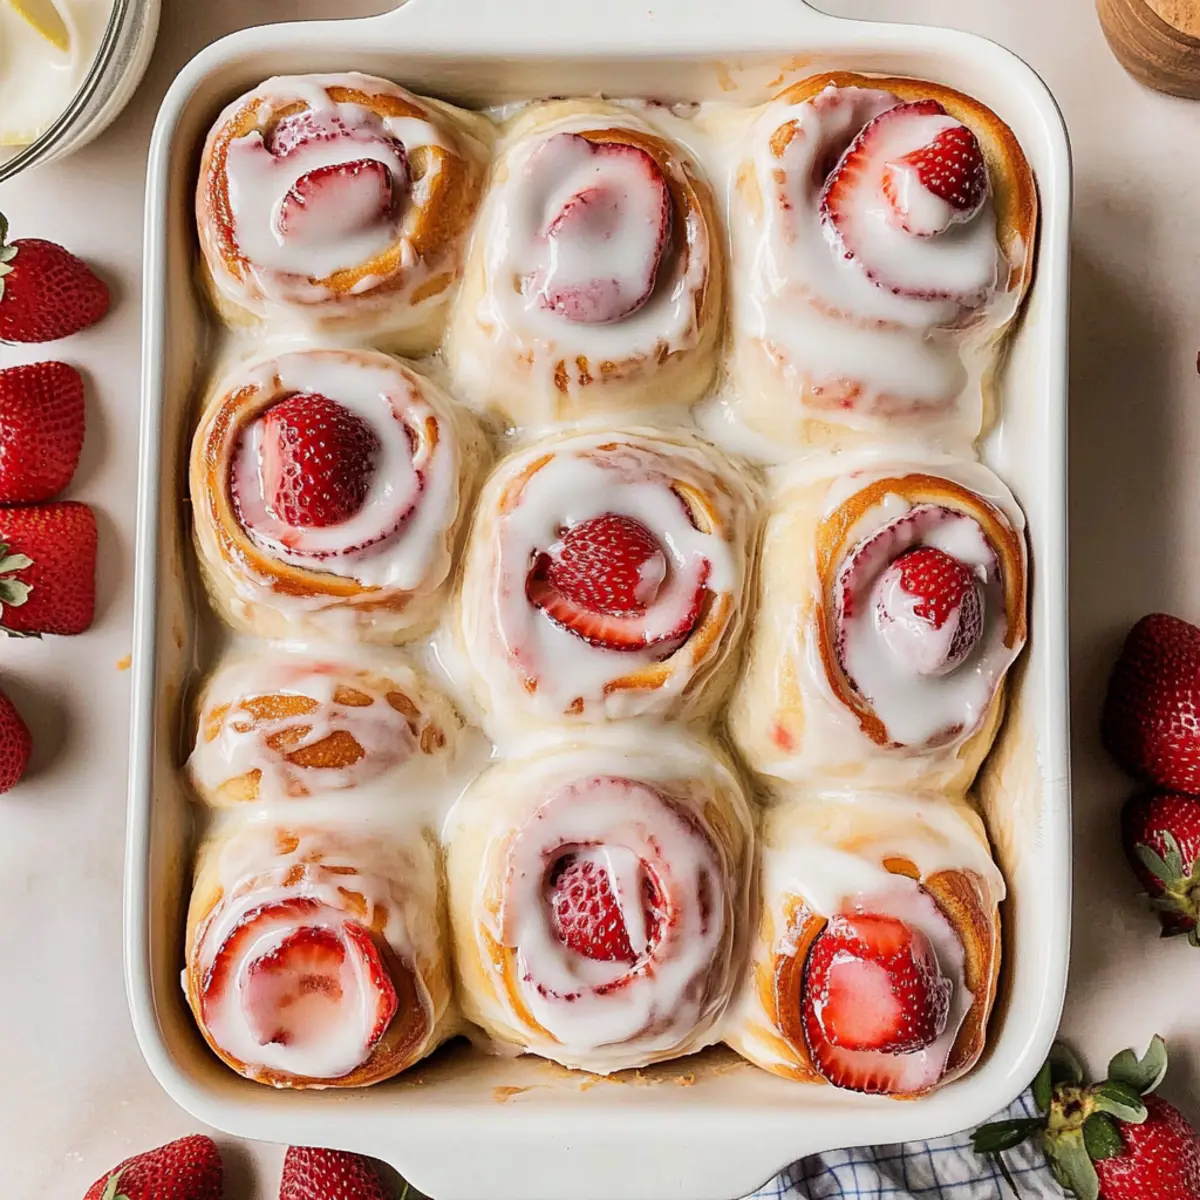
Amid the sweetness of a lazy Sunday morning, there's nothing quite like the comforting aroma of fresh pastries wafting through the kitchen. I'm thrilled to share my easy Raspberry Danish with Cream Cheese Filling, a delightful fusion of flaky puff pastry, tart raspberries, and a velvety cream cheese blend. This recipe not only makes for an impressive brunch centerpiece but also boasts quick prep with just six ingredients! Whether you’re treating yourself to a cozy breakfast or planning to wow guests at a gathering, these danishes are sure to steal the show. Plus, with the option to switch up the berries, you can tailor each batch to your guest’s taste! Are you ready to fill your home with that irresistible scent and indulge in this light, fruity delight?

Why Choose This Raspberry Danish Recipe?
Deliciously Easy: The simplicity of this recipe means you don’t need to be a pro baker to create a stunning pastry at home.
Fruity Bliss: The balance of fresh raspberries and creamy filling creates a tantalizing taste explosion with every bite.
Make It Your Own: This recipe is versatile; you can easily swap in your favorite fruits like blueberries or cherries, letting creativity shine.
Perfect for Any Occasion: Whether it’s a lazy breakfast or a gathering, these danishes impress and delight, ensuring you’ll be the star of any brunch table.
Quick and Convenient: With just six ingredients and a straightforward method, you’ll have warm, flaky pastries ready in no time! Plus, check out more tips in our expert tips for perfect results.
Raspberry Danish Ingredients
For the Pastry
- Frozen Puff Pastry – Provides a flaky, buttery texture; make sure it's thawed and refrigerated before use.
For the Filling
- Fresh Raspberries – Adds vibrant flavor and tartness; choose ripe berries for optimal sweetness.
- Cream Cheese – A rich base for the filling; ensure it’s softened for easy mixing.
- Powdered Sugar – Sweetens the cream cheese filling; adjust to balance the tartness of the raspberries.
- Vanilla Extract – Enhances the overall flavor of the filling; use pure vanilla for the best taste.
For the Assembly
- Egg – Creates a shiny, golden finish when brushed on top; a necessary step for that bakery-like appearance.
- Flour – Dust your surface to prevent sticking while rolling out the dough; vital for smooth assembly.
Now that you have the ingredients ready, let’s dive deeper into the joyful journey of making your very own Raspberry Danish!
Step‑by‑Step Instructions for Raspberry Danish
Step 1: Prepare Cream Cheese Mixture
In a medium bowl, combine the softened cream cheese, powdered sugar, and vanilla extract. Use a hand mixer or a spatula to blend the ingredients until the mixture is smooth and creamy, about 2-3 minutes. This filling will provide a rich, luscious center for your Raspberry Danish, so ensure there are no lumps.
Step 2: Whisk Egg Wash
In a small bowl, crack one egg and whisk it together with a tablespoon of water and a pinch of salt. This egg wash will give your pastries a beautiful golden glaze. Set the egg wash aside, as you’ll brush it on the pastries right before baking, providing that perfect finish.
Step 3: Roll Out Dough
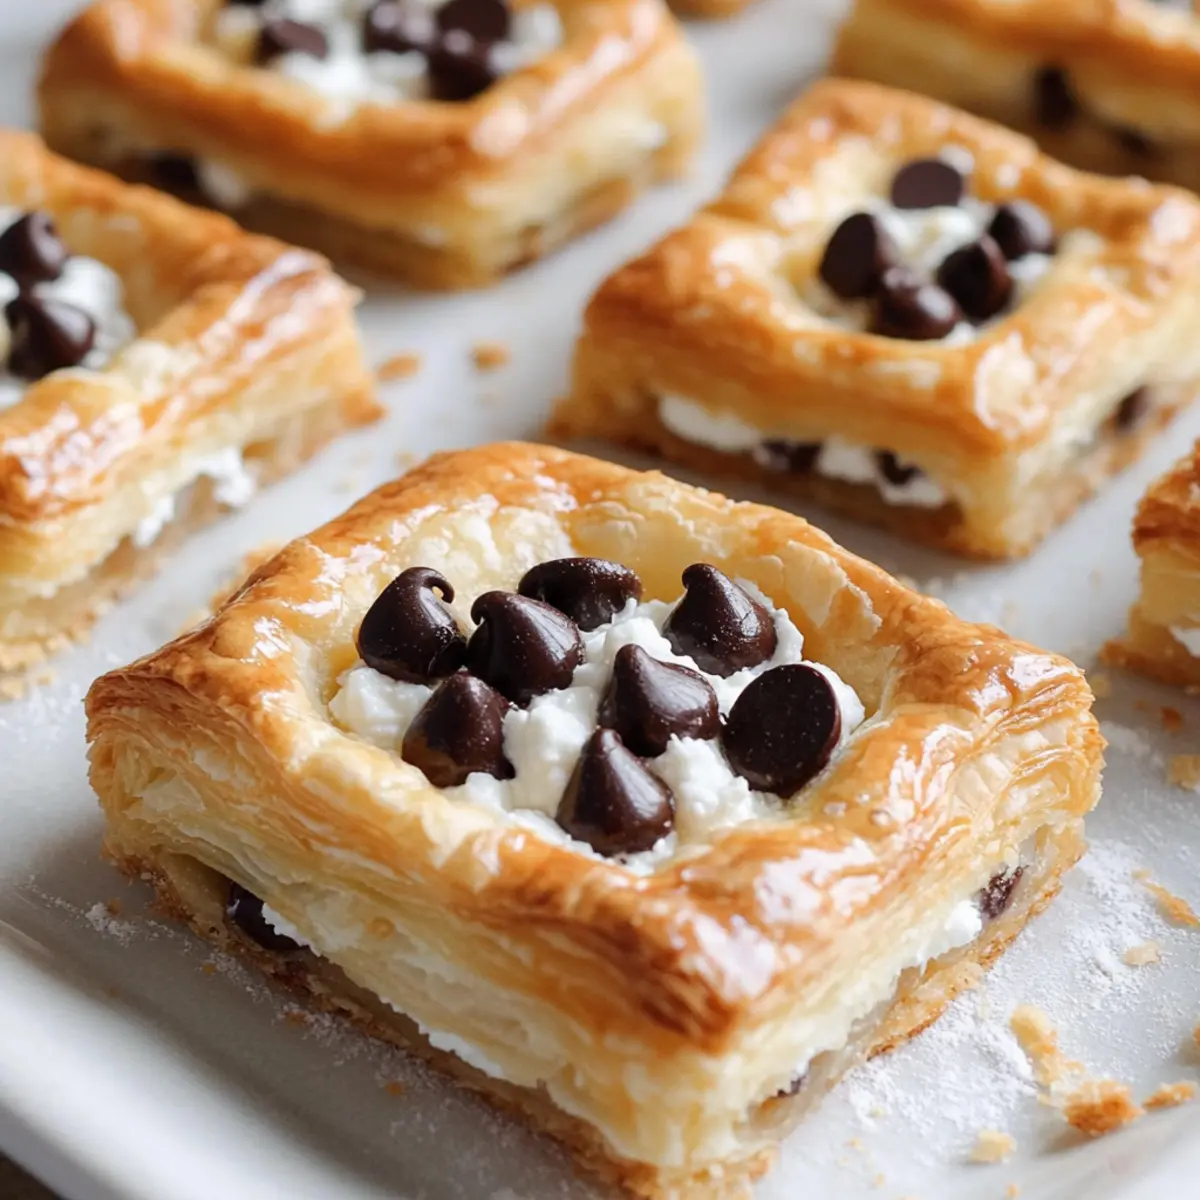
Lightly dust a clean surface with flour to prevent sticking. Unfold the thawed puff pastry and roll it out into a square approximately 10.5 inches on each side. Using a sharp knife or pizza cutter, carefully cut the dough into 9 equal squares, each about 3.5 inches. These will form the base of your Raspberry Danish.
Step 4: Assemble Pastries
Take each pastry square and place about 1 tablespoon of the cream cheese mixture in the center. Add approximately 4 fresh raspberries on top of the filling. Gently fold the corners of each pastry square towards the center, pinching and sealing them together to form a triangle shape, ensuring the filling is well-contained inside.
Step 5: Chill Pastries
Place the assembled pastries on a parchment-lined tray, spaced apart for even baking. To maintain their shape and achieve a perfectly flaky texture, freeze them for at least 30 minutes. This chilling step is crucial for your Raspberry Danish to rise beautifully in the oven.
Step 6: Preheat Oven
While the pastries are chilling, preheat your oven to 400°F (204°C). Allow your oven sufficient time to reach the desired temperature, which will help create that delightful puff as the pastries bake. Make sure the oven rack is positioned in the center for even baking.
Step 7: Bake
Once chilled, carefully place the pastries on a lined baking sheet, leaving space between them. Brush the tops with the prepared egg wash for that shiny, golden finish. Bake in the preheated oven for 25-30 minutes, or until they are puffed and golden brown. Keep an eye on them towards the end for that perfect, crispy texture.
Step 8: Serve and Garnish
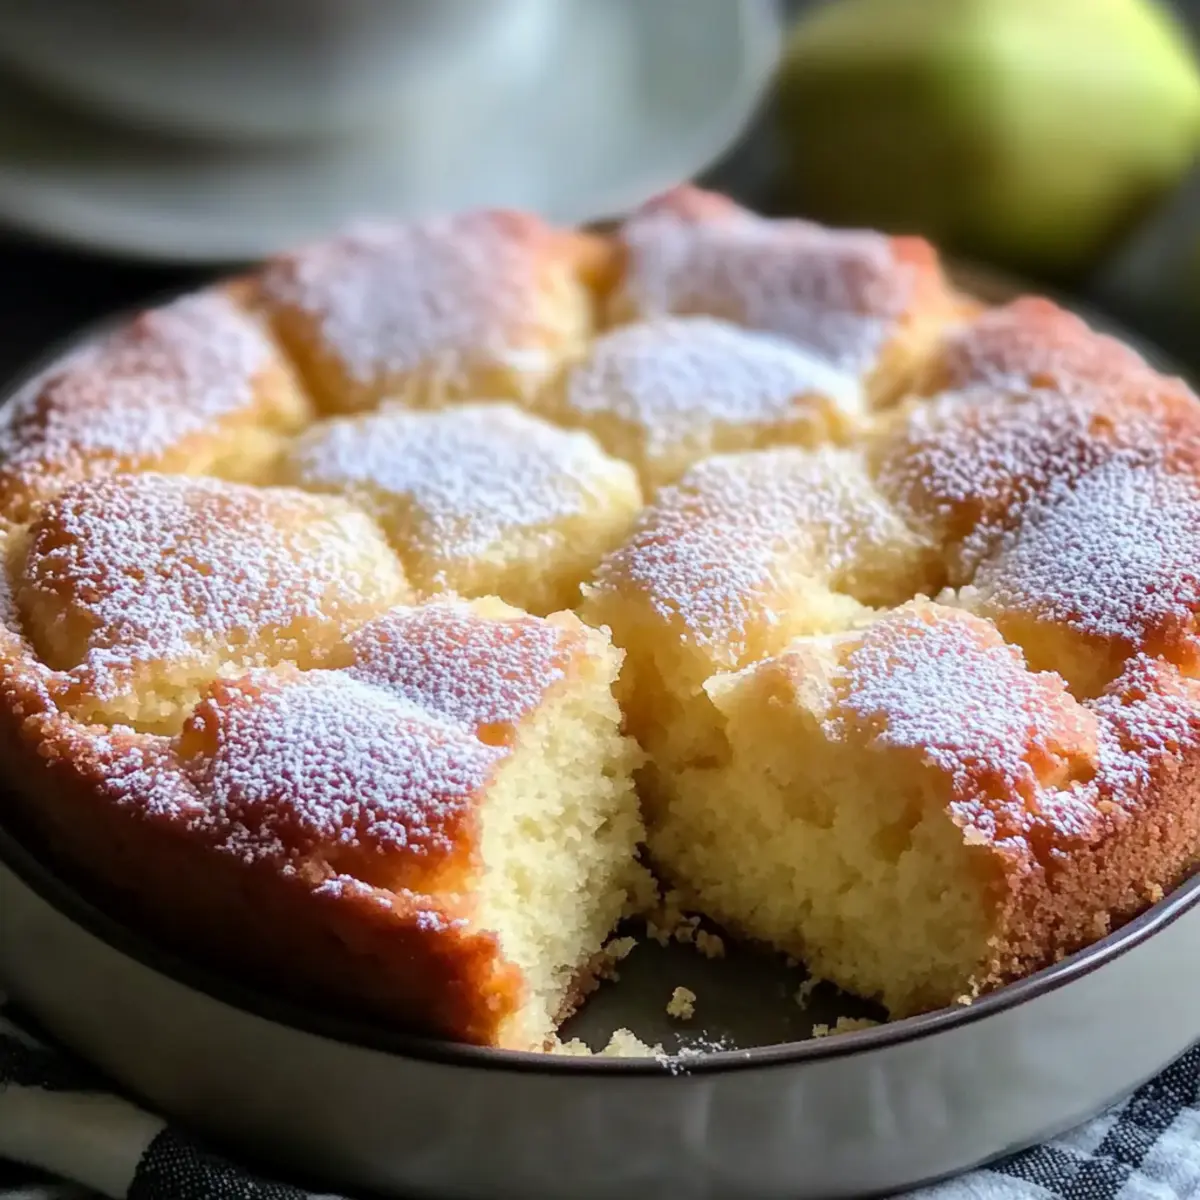
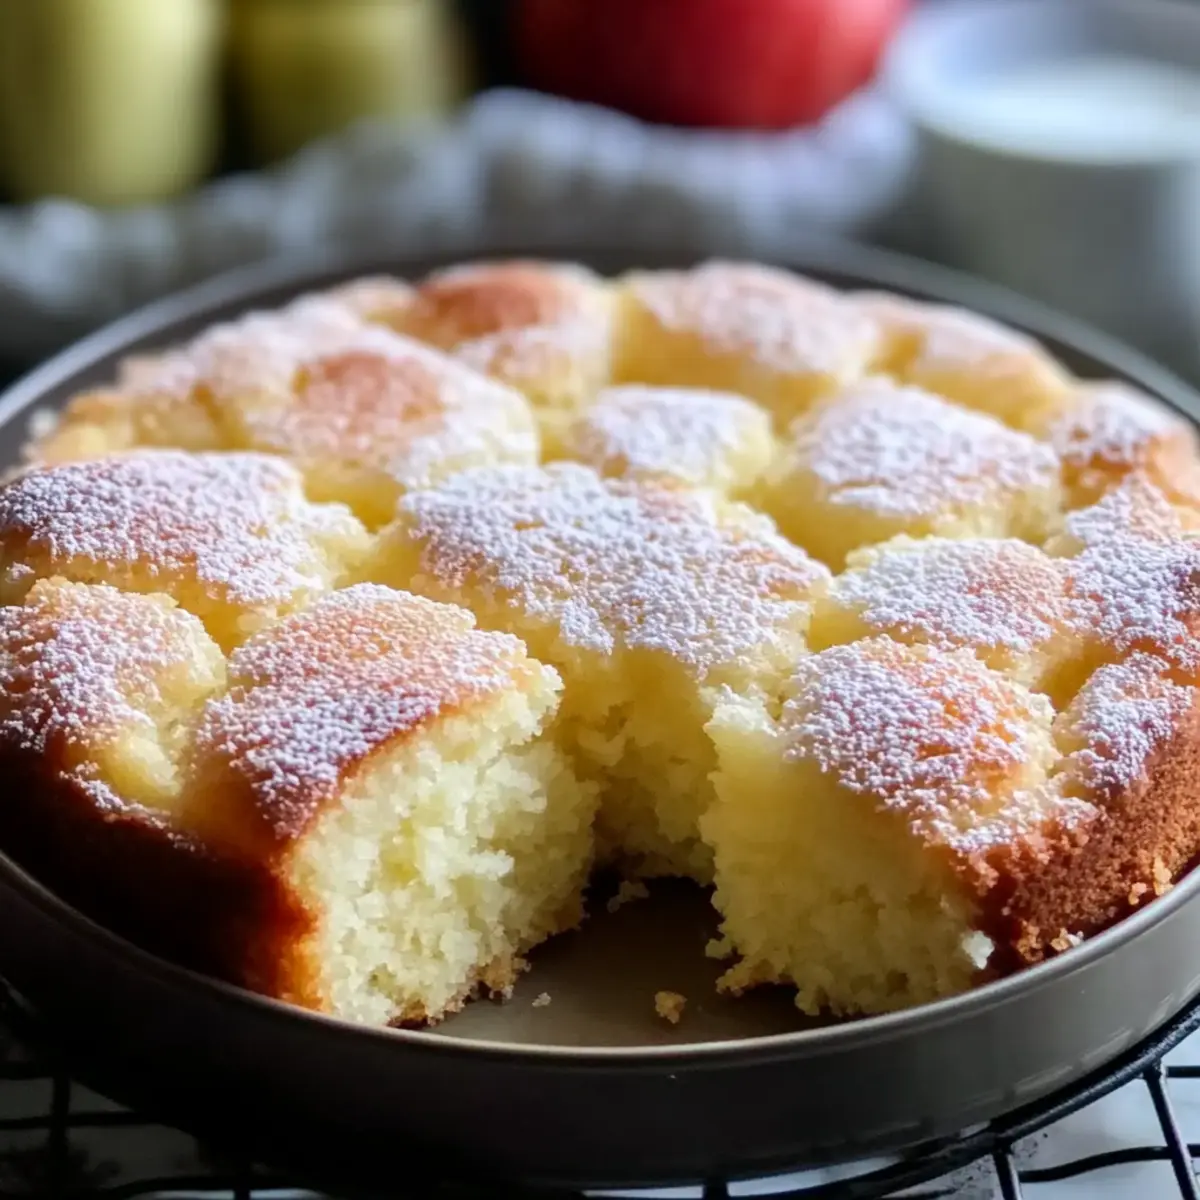
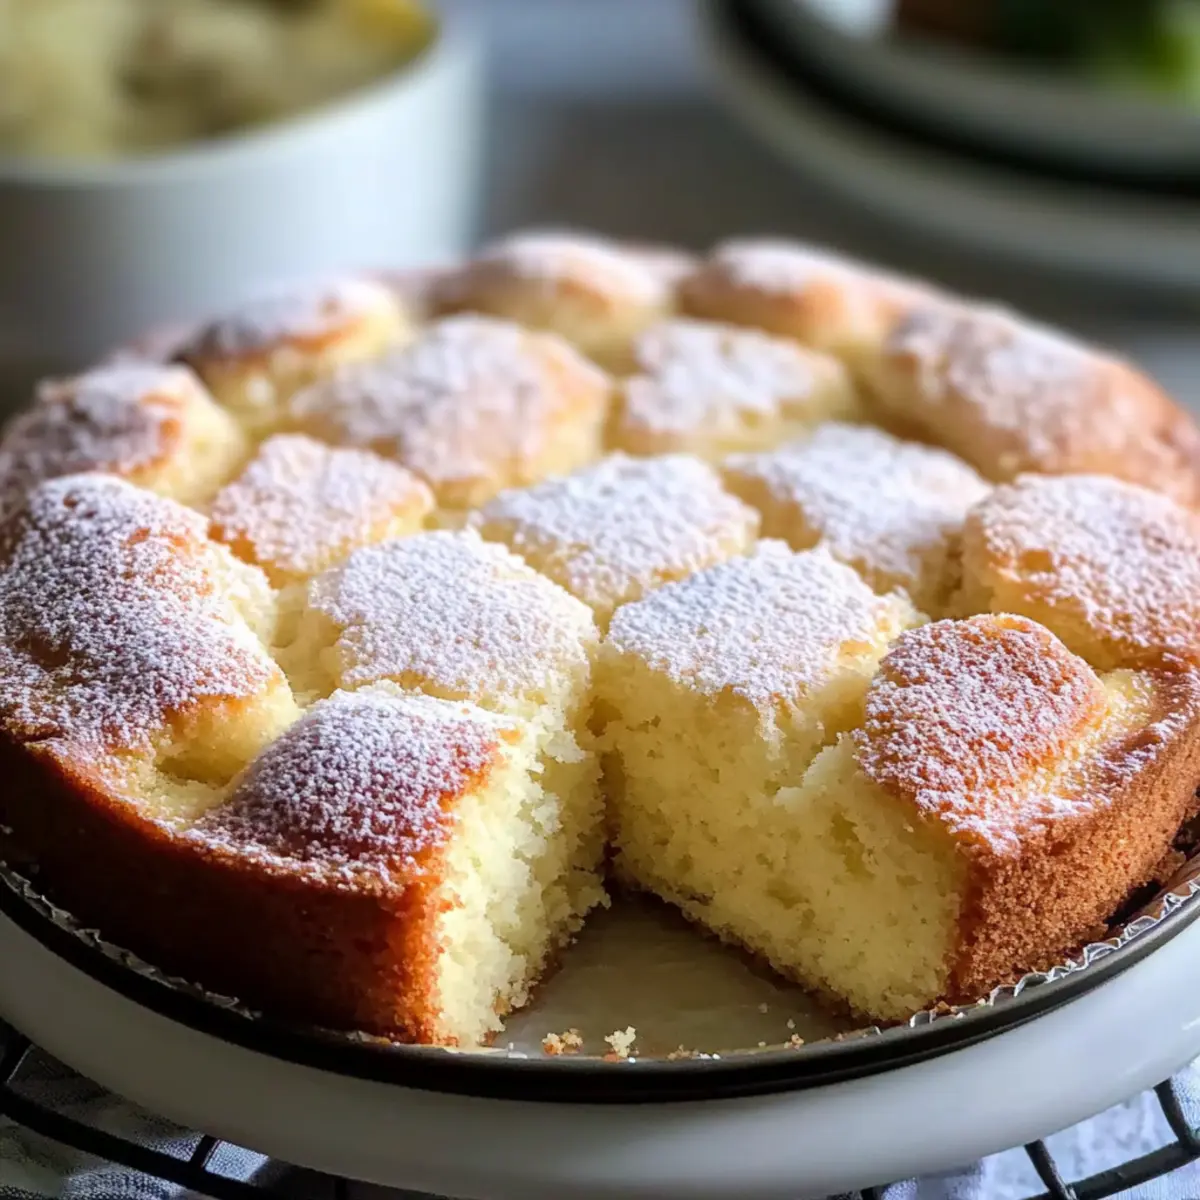
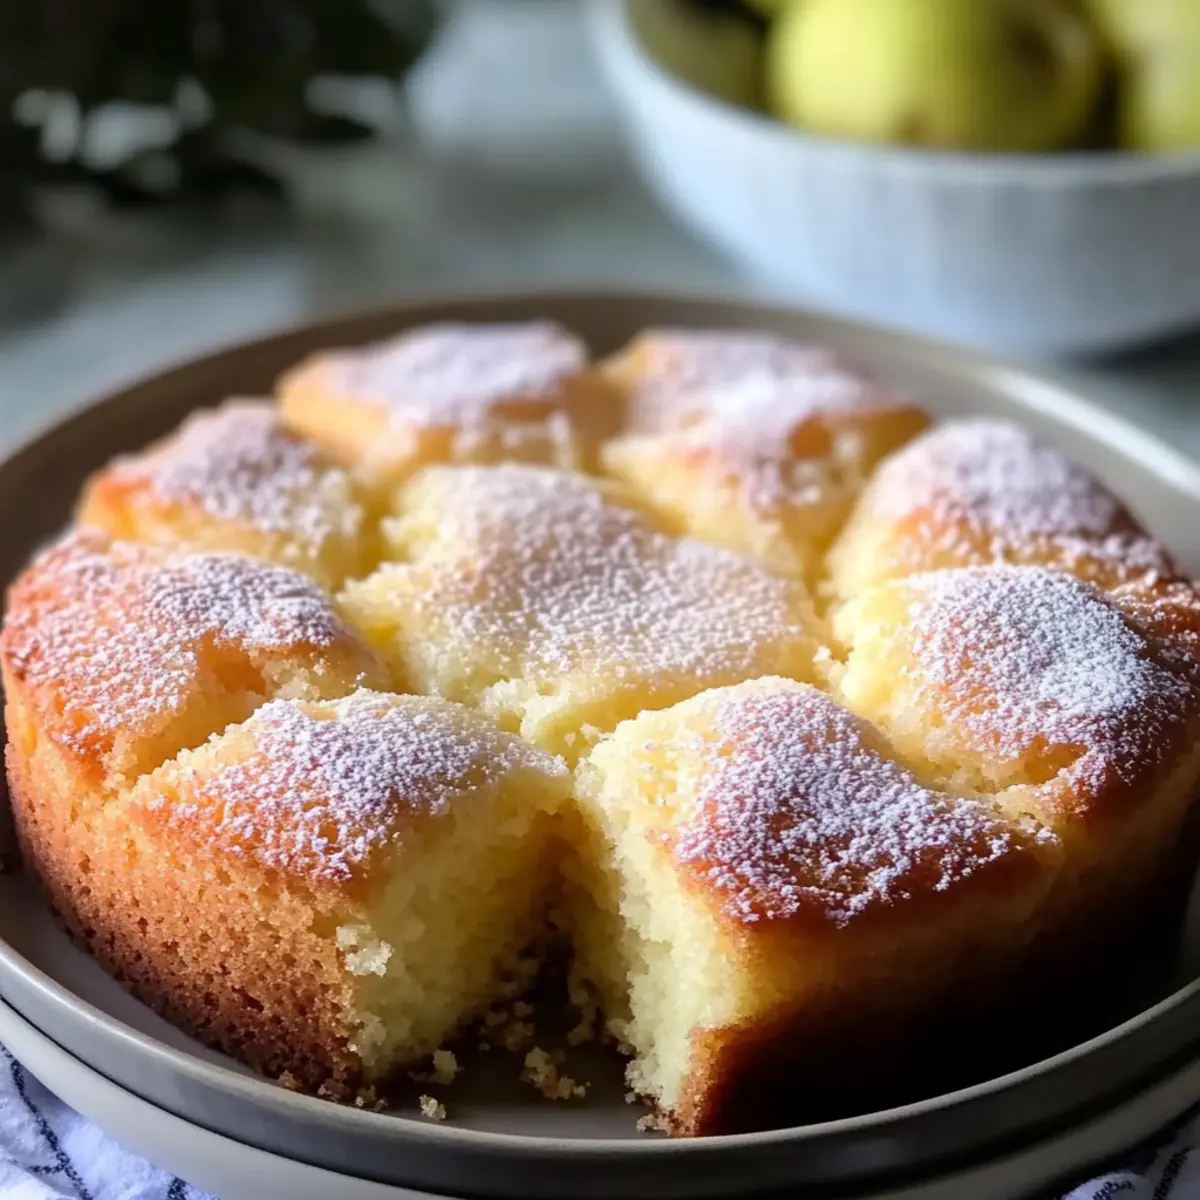
After baking, remove the Raspberry Danish from the oven and let them cool slightly on a wire rack. If desired, sprinkle with a dusting of powdered sugar for an extra touch of sweetness and presentation. Serve warm to savor the combination of flaky pastry and creamy filling, a delightful treat perfect for any occasion!

Expert Tips for Raspberry Danish
Keep Dough Cold: Ensure your puff pastry stays chilled during preparation; warm dough won’t puff as beautifully. Refreeze briefly if necessary.
Use Ripe Raspberries: Select fresh, ripe raspberries for optimal sweetness; adjust powdered sugar in the filling to balance their tartness.
Seal Well: When folding the pastries, pinch edges tightly to prevent any filling from leaking during baking.
Chill Before Baking: Don't skip the chilling step! This helps maintain the shape and ensures your Raspberry Danish rises perfectly in the oven.
Watch the Bake: Keep an eye on the pastries in the oven; baking times can vary, and you want them golden and flaky, not burnt.
Raspberry Danish: Variations & Substitutions
Feel free to play with this recipe and make it truly yours—your kitchen, your rules!
- Berry Swap: Substitute fresh raspberries with blueberries, blackberries, or strawberries for an entirely different flavor dynamic. Each fruit brings its own sweetness and essence.
- Dairy-Free Delight: Use a dairy-free cream cheese alternative to cater to lactose-intolerant friends while still enjoying that creamy texture. It’s just as delicious!
- Citrus Zing: Add zest from a lemon or orange to the cream cheese mixture for a refreshing twist. This vibrant flavor cuts through the sweetness beautifully.
- Nutty Crunch: Incorporate chopped nuts like almonds or hazelnuts into the filling for an added crunch and depth of flavor. This little change creates a delightful contrast!
- Herbal Infusion: Blend a teaspoon of finely chopped fresh mint or basil into the cream cheese for a unique herbal note that elevates your raspberry filling to new heights.
- Sweet Heat: Sprinkle a pinch of cayenne pepper or red pepper flakes into the cream cheese mixture for a subtle heat that pairs wonderfully with the raspberries—perfect for those who love a kick!
- Jammy Elevation: Replace fresh raspberries with your favorite fruit preserves or jams for a quicker, sweeter filling option—ideal when fresh fruit is not available! This shortcut is a time-saver without sacrificing flavor.
- Bite-Sized Treats: Cut puff pastry into smaller squares to create mini Danish bites, excellent for gatherings and sharing. Everyone loves these perfectly poppable pastries!
As you experiment, remember that the magic of cooking lies in creativity. Don't be afraid to mix and match, and for more fantastic ideas, check out expert tips for perfect results!
How to Store and Freeze Raspberry Danish
Fridge: Store baked Raspberry Danish in an airtight container for up to 3-4 days to keep them fresh and delicious.
Freezer: For longer storage, freeze the pastries for up to 2 months. Wrap each Danish in plastic wrap and place them in a freezer-safe bag or container.
Reheating: To enjoy your Raspberry Danish, reheat in a preheated oven at 375°F (190°C) for about 10-15 minutes until warmed through and crispy again.
Make-Ahead: You can also assemble the pastries and freeze them before baking. Just add an extra 5-10 minutes to baking time if baking from frozen.
Make Ahead Options
These delightful Raspberry Danish are perfect for busy home cooks looking to save time! You can prepare the cream cheese filling and assemble the pastries up to 24 hours in advance; just cover them tightly and refrigerate to maintain freshness. Additionally, you can freeze the assembled pastries for up to 2 months; this will help retain their shape and flaky texture. When ready to bake, simply preheat your oven and bake straight from the freezer, adding an extra minute or two to the baking time. By meal prepping these Raspberry Danish ahead of time, you'll enjoy effortless mornings with restaurant-quality pastries that are just as delicious!
What to Serve with Flaky Raspberry Danish with Cream Cheese Filling?
Delightful pastries are just the beginning; consider complementing your Raspberry Danish with a variety of appealing side dishes and drinks for a full experience.
-
Fresh Fruit Salad: A mix of seasonal fruits adds brightness and balance to the rich, creamy Danish, creating a colorful presentation.
-
Greek Yogurt Parfait: Layered with honey and granola, yogurt provides a creamy tang that pairs beautifully with the fruity sweetness of the Danish.
-
Coffee or Espresso: The robust flavors of coffee or a shot of espresso help to enhance the sweet and tart notes of the Raspberry Danish, making for a cozy morning.
-
Herbal Tea: A soothing cup of chamomile or mint tea brings a calming element that complements the pastry's sweetness effortlessly.
-
Whipped Cream: A dollop of lightly sweetened whipped cream adds extra creaminess, enhancing the already indulgent cream cheese filling.
-
Chocolate Drizzle: Drizzling rich chocolate over the Danish can elevate this treat to a new level of indulgence, merging fruity and chocolatey flavors delightfully.
-
Almond Scones: These nutty scones provide a contrasting texture while echoing the Danish's sweetness, perfect for brunch gatherings.
Pairing your Danish with these accompaniments not only creates a delightful spread but also ensures every bite is a harmonious experience!

Raspberry Danish Recipe FAQs
How do I select ripe and fresh raspberries for my Danish?
Absolutely! When choosing raspberries, look for firm, plump berries with a vibrant color. Avoid those with dark spots or signs of mold. Sweetness can vary, so taste one to gauge if you might need to adjust the sugar in your filling based on their tartness.
How should I store leftover Raspberry Danish?
For sure! You can store your baked Raspberry Danish in an airtight container at room temperature for up to 3-4 days. If you’d like to keep them fresher longer, consider refrigerating them. Just remember to allow them to cool completely before putting them in the container to avoid condensation.
Can I freeze Raspberry Danish after baking?
Yes, you can! To freeze your Raspberry Danish, let them cool completely, then wrap each one tightly in plastic wrap and place them in a freezer-safe bag. They can be frozen for up to 2 months. When you’re ready to enjoy, simply reheat them in a preheated oven at 375°F (190°C) for about 10-15 minutes until they’re warm and crispy again.
What should I do if my pastry edges unseal while baking?
Very common! If the edges of your pastries unseal during baking, don’t worry. This can happen with moist fillings like cream cheese and fruit. To avoid this in the future, ensure that you firmly pinch the edges closed and possibly chill them longer before baking to help maintain their shape.
Are there any dietary considerations I should be aware of with this recipe?
Definitely! If you're making these for a gathering, it’s always a good idea to ask about allergies. Cream cheese contains dairy, and raspberries are generally safe for most; however, always double-check for specific dietary needs. If you need a dairy-free option, consider using a dairy-free cream cheese alternative!
What’s the best way to prepare Raspberry Danish ahead of time?
Great question! You can assemble your Raspberry Danish up to the chilling step and then freeze them. Before baking, take them out and allow them to thaw in the fridge overnight. Extend the baking time by an additional 5-10 minutes when you bake them from frozen. This ensures a beautiful rise and flaky texture!

Delicious Raspberry Danish with Creamy Filling You’ll Love
Ingredients
Equipment
Method
- In a medium bowl, combine softened cream cheese, powdered sugar, and vanilla extract. Blend until smooth and creamy, about 2-3 minutes.
- In a small bowl, crack one egg and whisk with water and a pinch of salt to create an egg wash. Set aside.
- Dust a surface with flour and roll out the thawed puff pastry into a square about 10.5 inches. Cut the dough into 9 equal squares, each about 3.5 inches.
- Place about 1 tablespoon of the cream cheese mixture in the center of each pastry square. Add approximately 4 fresh raspberries. Fold corners of each square towards the center and pinch to seal.
- Place pastries on a parchment-lined tray and freeze for at least 30 minutes.
- Preheat your oven to 400°F (204°C). Position the oven rack in the center.
- Brush tops of pastries with the egg wash. Bake in the preheated oven for 25-30 minutes until puffed and golden brown.
- Cool slightly on a wire rack. Optionally sprinkle with powdered sugar before serving.