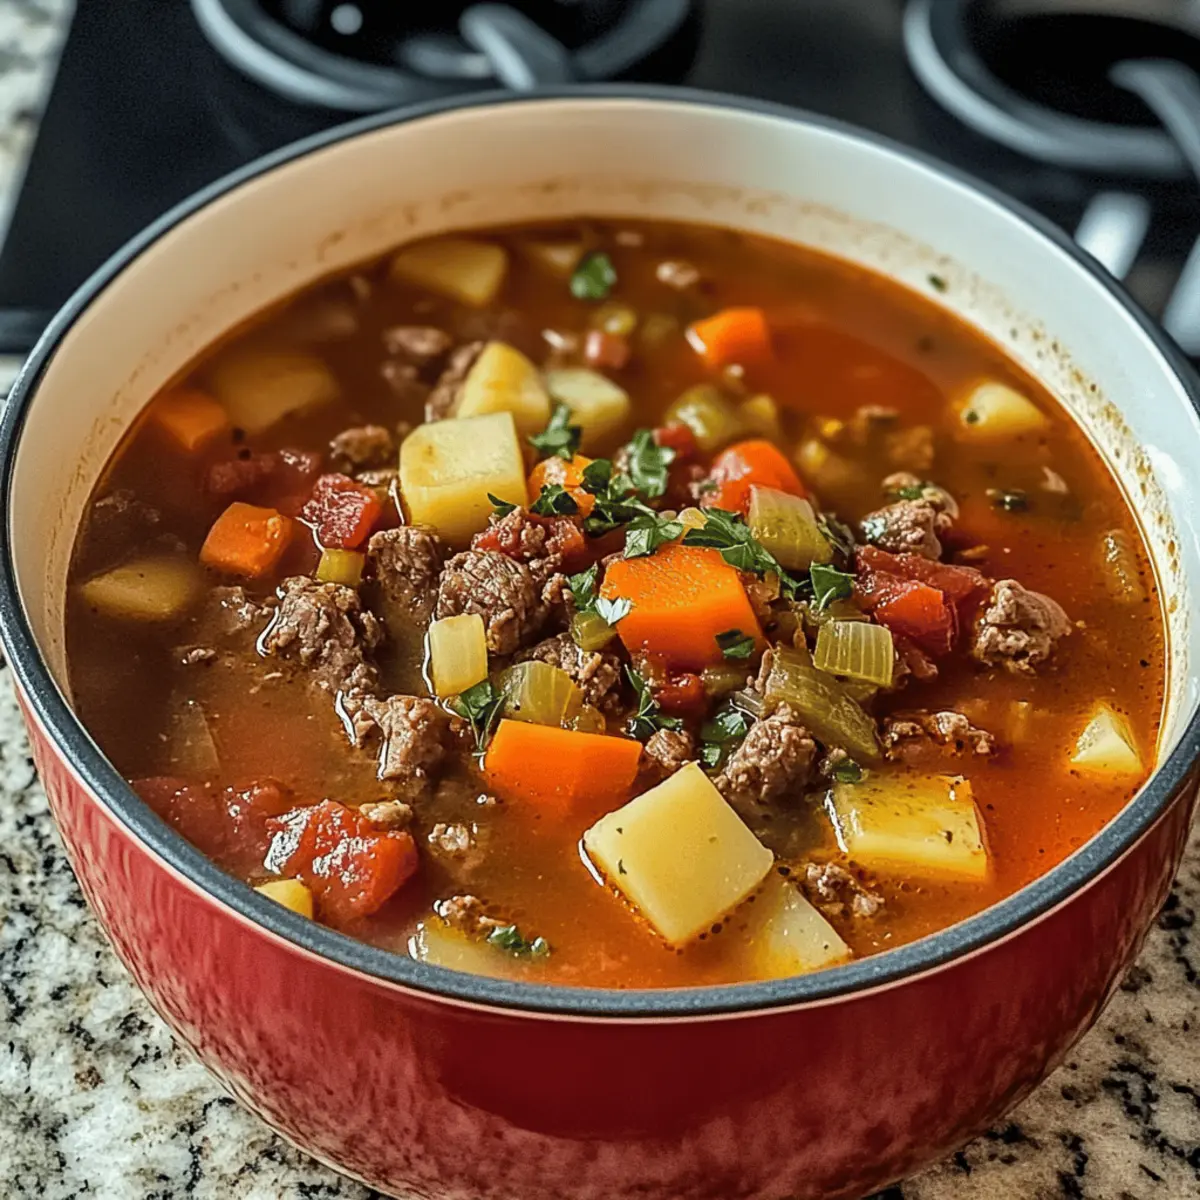
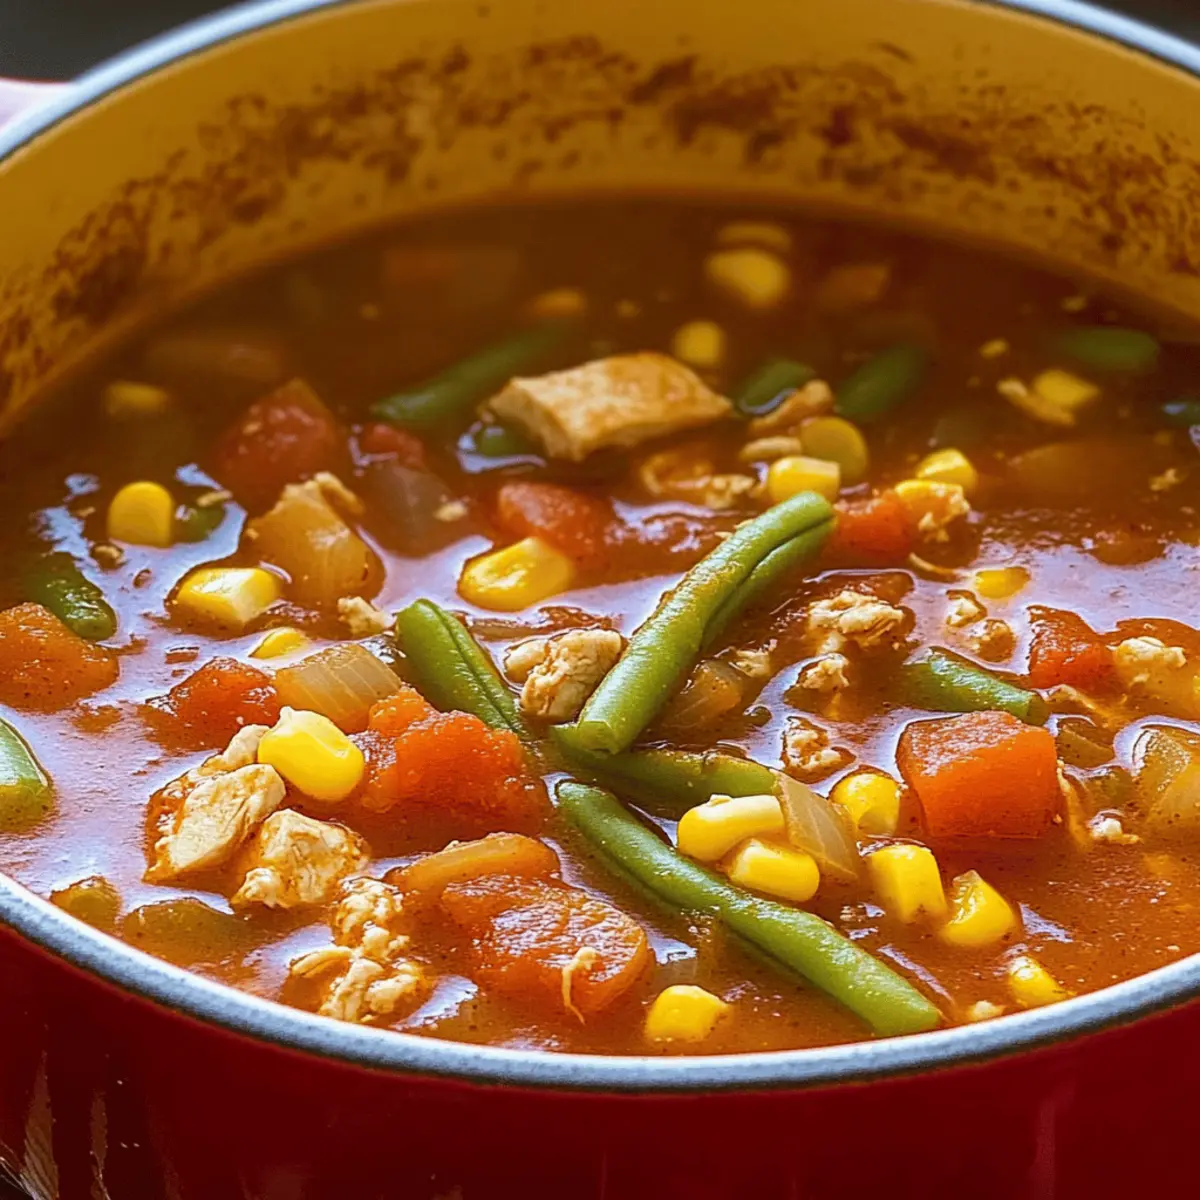
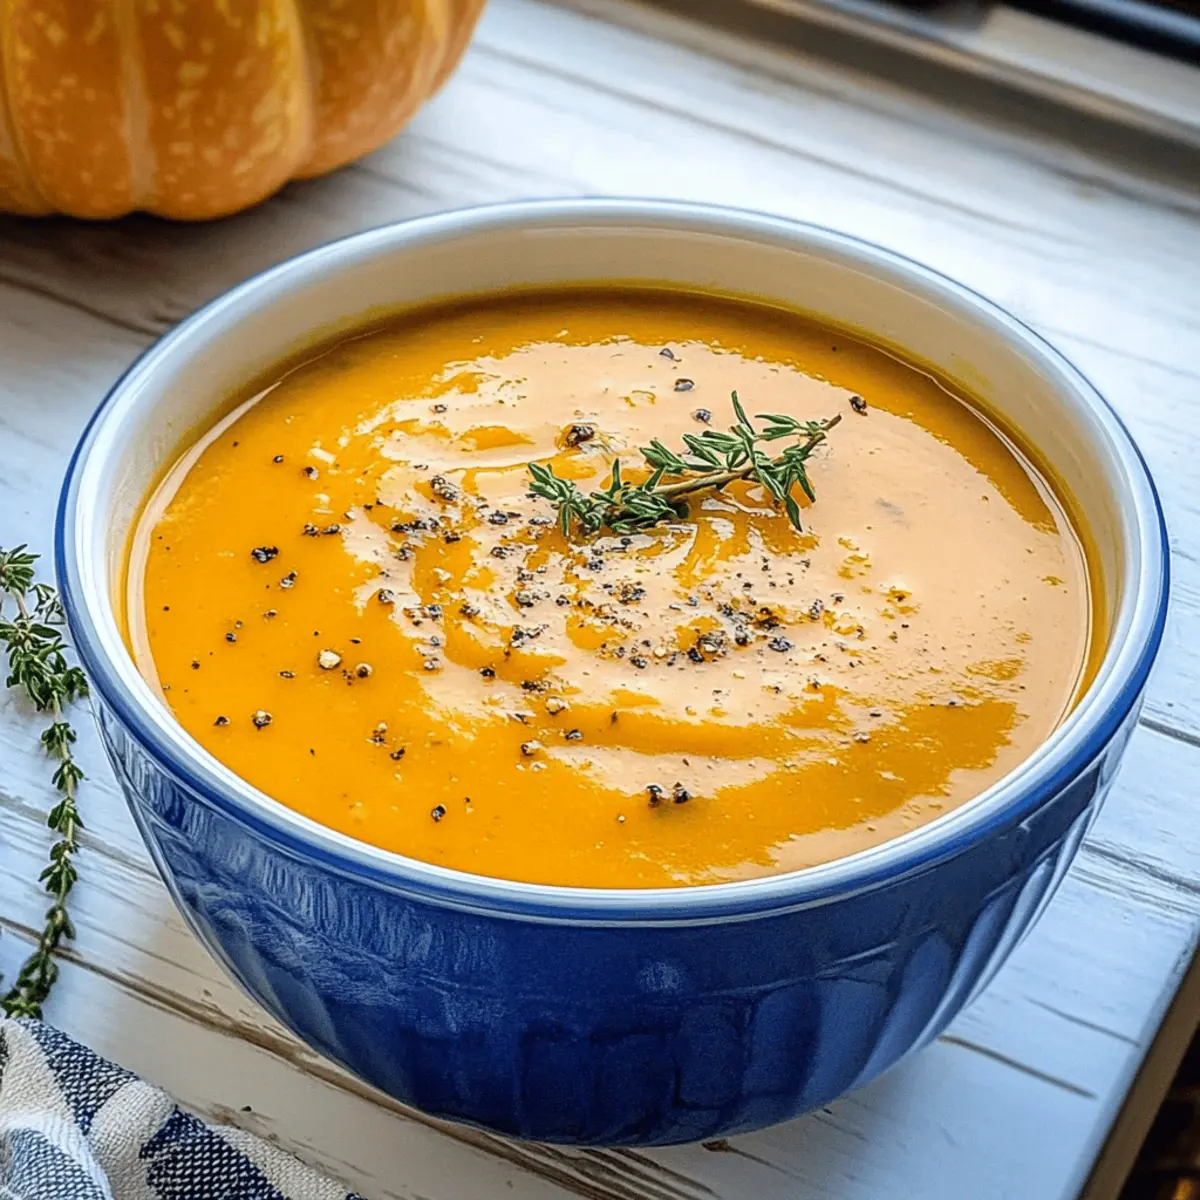
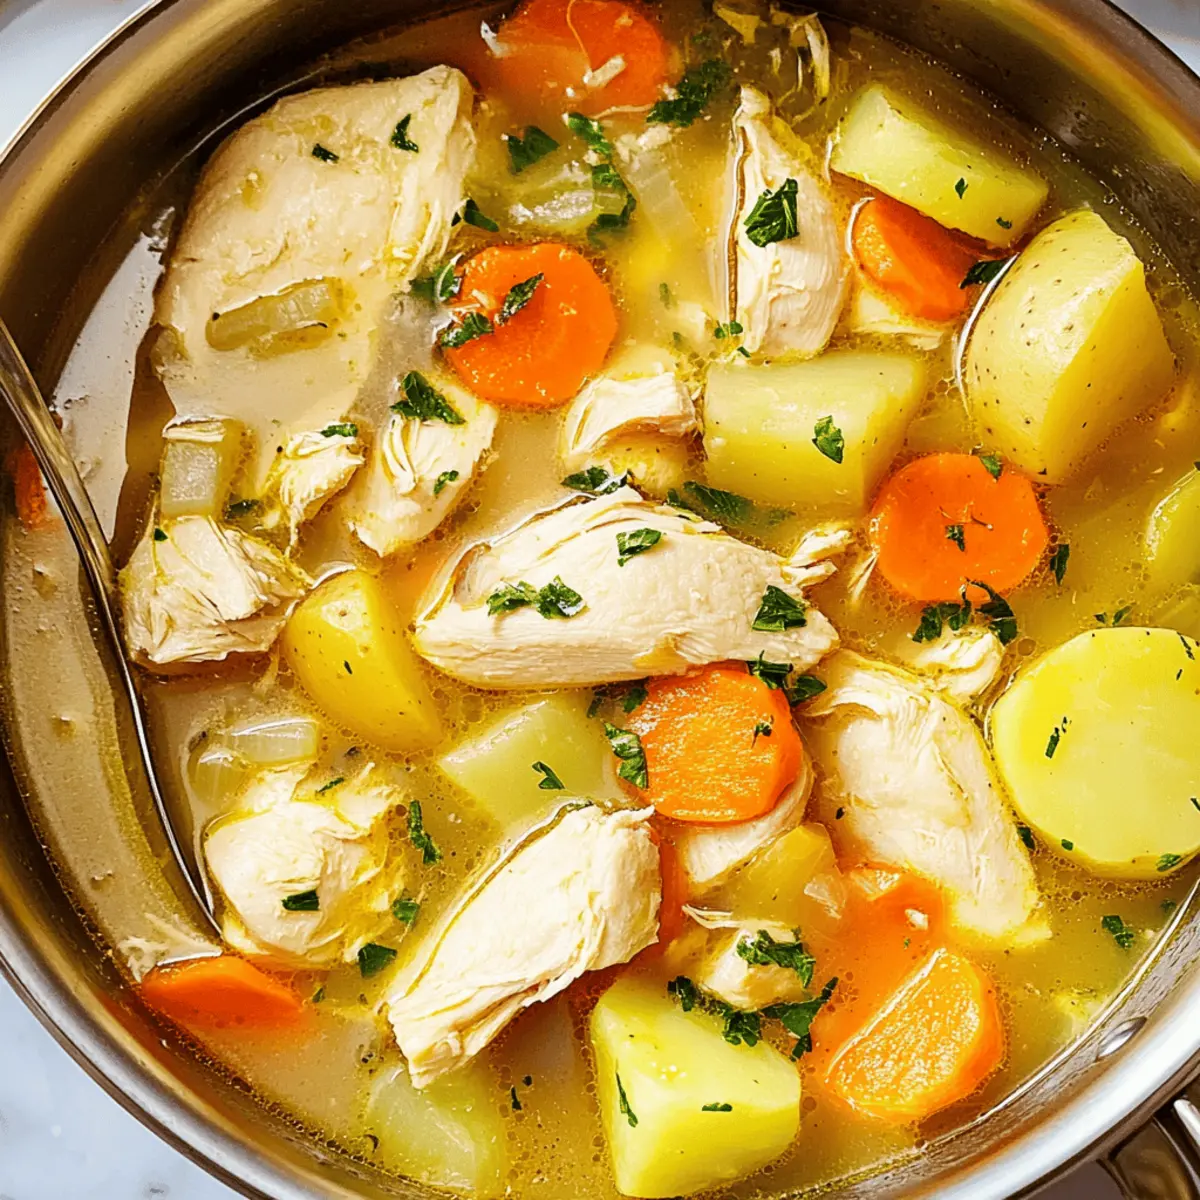
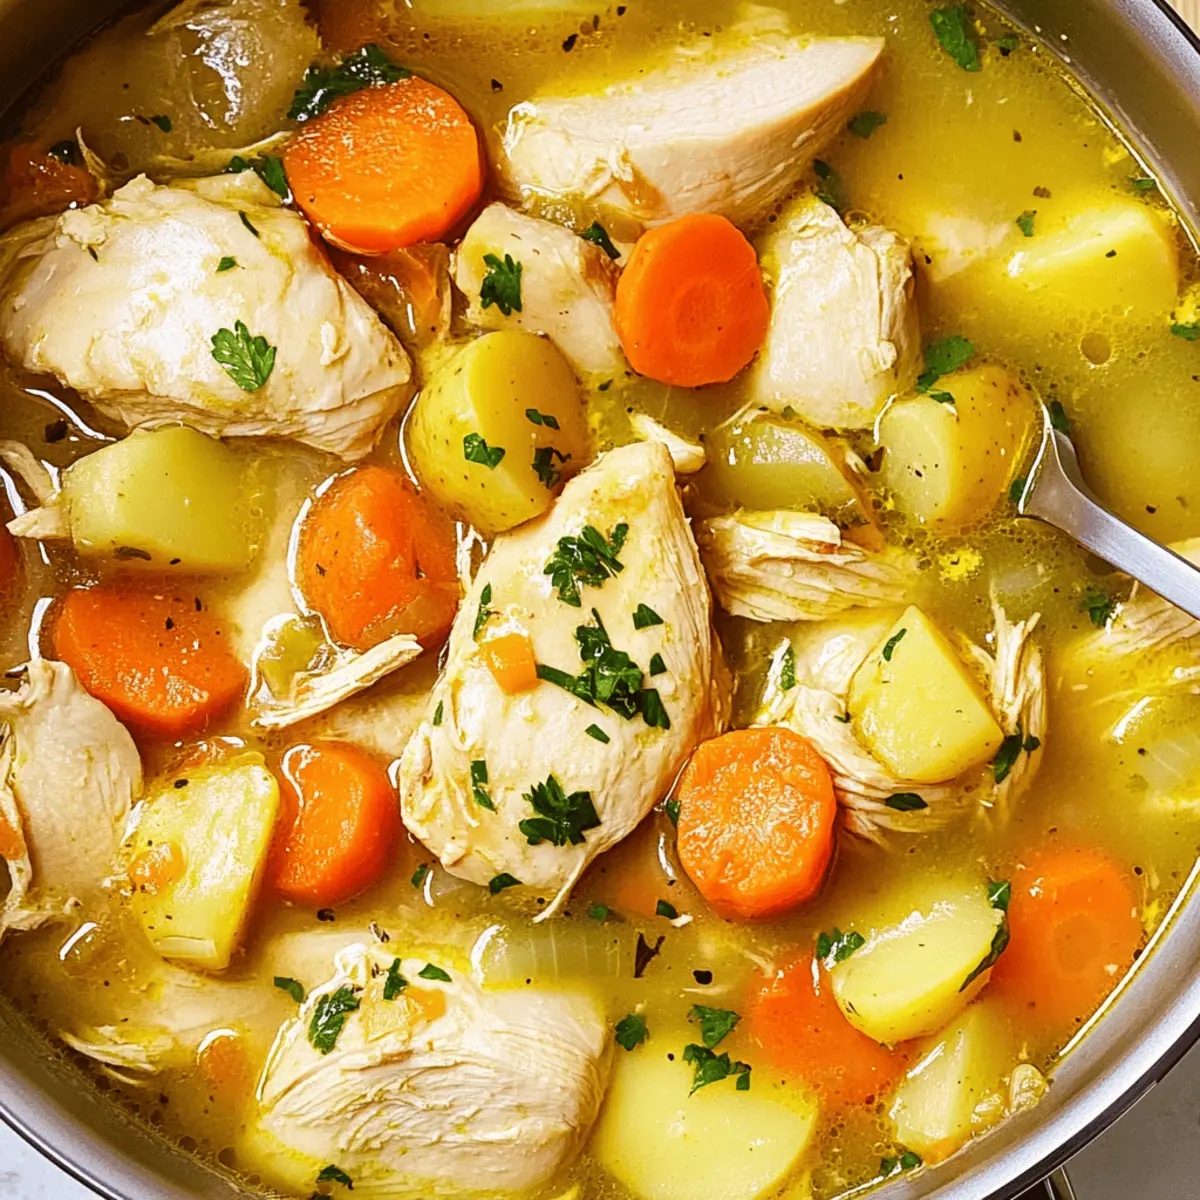
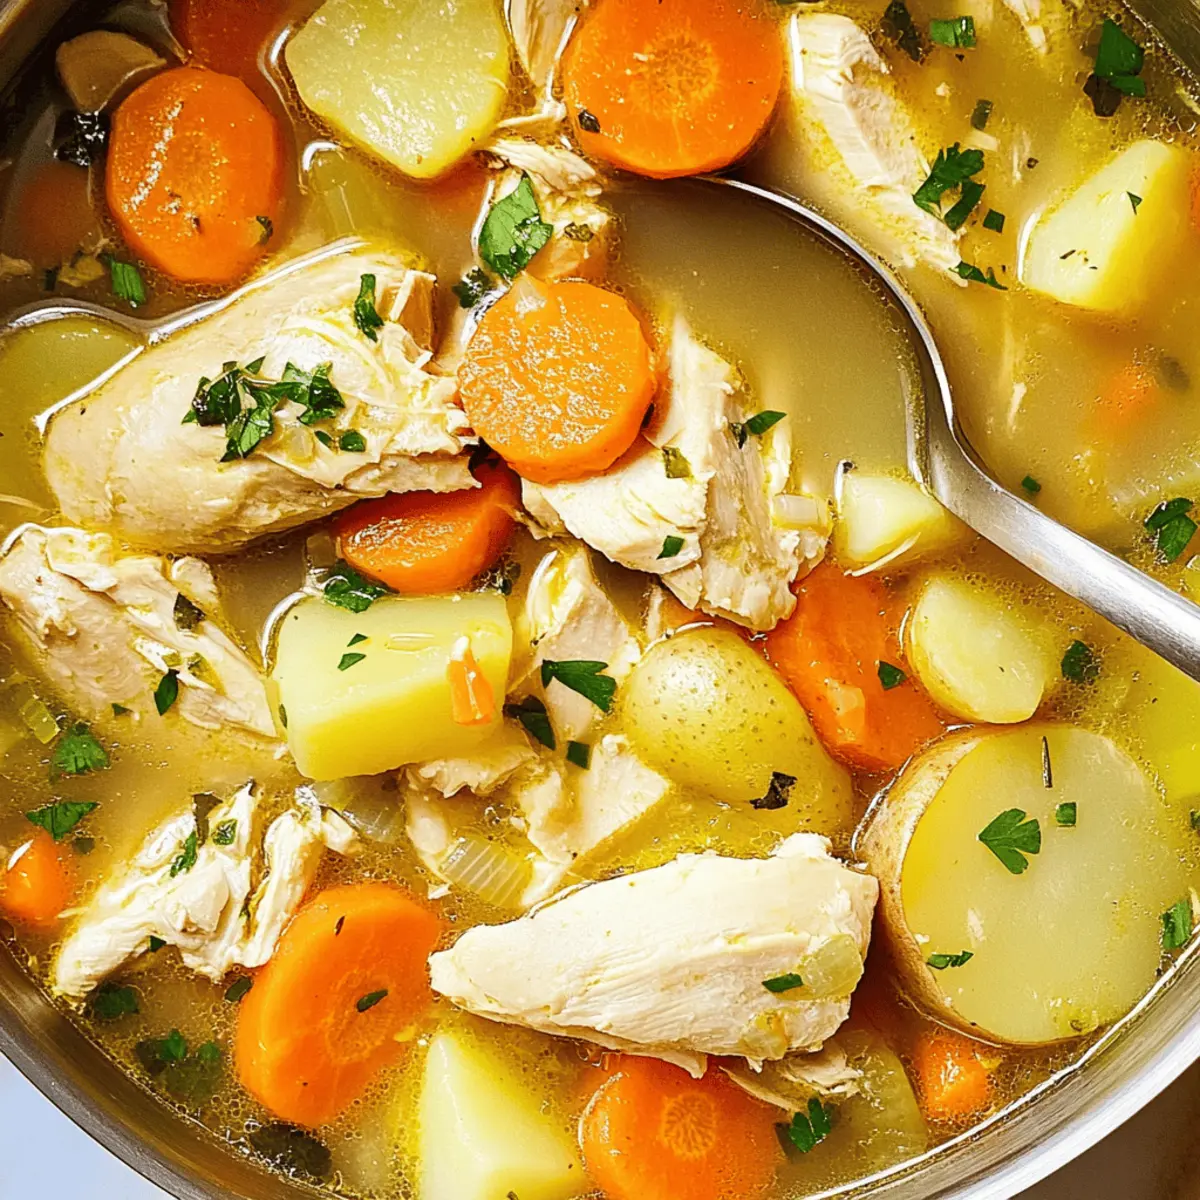
The aroma of simmering chicken stew wafted through my kitchen, instantly transporting me to my grandmother's home on a chilly afternoon. This Easy One-Pot Chicken Stew is my go-to recipe for days when comfort food feels like a warm embrace, all while keeping clean-up to a minimum. With tender chicken and vibrant vegetables swimming in a rich, savory broth, it’s a meal that delivers both flavor and warmth in just 45 minutes. Plus, it’s a wonderful way to gather the family at the table, satisfying even the pickiest eaters. So, are you ready to whip up this heartwarming dish that’s sure to become a favorite?
Why is chicken stew a must-try?
Simplicity at its finest: This easy one-pot chicken stew requires minimal effort, making it perfect for busy weeknights. Rich, hearty flavor is achieved in just 45 minutes, allowing you to enjoy a comforting dish without spending hours in the kitchen. Flexibility reigns supreme as you can customize it with your favorite veggies or even swap the chicken for turkey. Crowd-pleaser status means it’s guaranteed to satisfy everyone at the table, from kids to adults. Serve it alongside a slice of crusty bread, and prepare for compliments! It’s also a great way to utilize leftovers, making it a resourceful option for meal planning.
Chicken Stew Ingredients
For the Stew Base
• Butter – Adds richness and depth to the stew. Note: Can be substituted with olive oil for a lighter option.
• Carrots (2 large) – Provides sweetness and texture. Substitution: Parsnips can add a unique flavor.
• Celery (1 stalk) – Enhances the stew's overall aroma and flavor profile. Substitution: Leeks work well too.
• Kosher Salt – Enhances all flavors of the dish. Adjust based on dietary needs.
• Black Pepper – Adds a mild heat; freshly ground is preferred for best flavor.
• Garlic (3 cloves, minced) – Provides a fragrant and savory base. Note: Can use garlic powder in absence of fresh.
• All-Purpose Flour (1 Tbsp) – Helps thicken the stew. Gluten-free options: Use cornstarch or a gluten-free flour blend.
For the Chicken and Broth
• Boneless Skinless Chicken Breasts (1.5 lbs) – The central protein source of the stew.
• Fresh Thyme (3 sprigs) – Adds a garden-fresh flavor. Substitution: Dried thyme (1 tsp) can be used.
• Bay Leaf (1) – Infuses a subtle depth of flavor. Remember to remove before serving.
• Baby Potatoes (3/4 lb, quartered) – Provides a comforting texture and heartiness. Can use Yukon gold or red potatoes.
• Low-Sodium Chicken Broth (3 cups) – Acts as the base for the stew, ensuring it's flavorful yet not too salty.
For Garnish
• Fresh Parsley (for garnish) – Adds a fresh touch and color to the finished dish.
Step‑by‑Step Instructions for Chicken Stew
Step 1: Melt the Butter
In a large pot, melt 2 tablespoons of butter over medium heat. Allow it to sizzle and foam, creating a rich aroma. This process should take about 2 minutes; watch for the butter to slightly brown, which adds depth to your Easy One-Pot Chicken Stew.
Step 2: Sauté the Vegetables
Add 2 chopped large carrots and 1 stalk of diced celery to the pot, seasoning them generously with kosher salt and freshly ground black pepper. Stir frequently and cook for about 5 minutes, until the vegetables soften and the vibrant colors are enhanced.
Step 3: Add Garlic
Stir in 3 minced garlic cloves and continue to cook for another 30 seconds. Allow the garlic to become fragrant and golden, ensuring it does not burn, as this will build the savory foundation of your chicken stew.
Step 4: Thicken the Mixture
Sprinkle in 1 tablespoon of all-purpose flour, stirring to coat the vegetables evenly. Cook for about 1 minute until the flour is lightly toasted, creating a thickening base for your Easy One-Pot Chicken Stew that will give the broth a hearty consistency.
Step 5: Incorporate the Chicken and Herbs
Place 1.5 lbs of boneless skinless chicken breasts into the pot, followed by 3 sprigs of fresh thyme and 1 bay leaf. Add 3/4 lb of quartered baby potatoes and 3 cups of low-sodium chicken broth, ensuring everything is well-mixed.
Step 6: Simmer the Stew
Season the mixture to taste with more salt and pepper. Bring the pot to a gentle simmer over medium-high heat, then reduce to medium-low, cover, and cook for 15 minutes. The chicken should be cooked through, and the potatoes tender when pierced with a fork.
Step 7: Shred the Chicken
Carefully remove the chicken from the pot with tongs or a slotted spoon and place it on a cutting board. Once it’s cool enough to handle, shred the chicken using two forks, then return the chicken back to the pot, stirring to incorporate it throughout the stew.
Step 8: Garnish and Serve
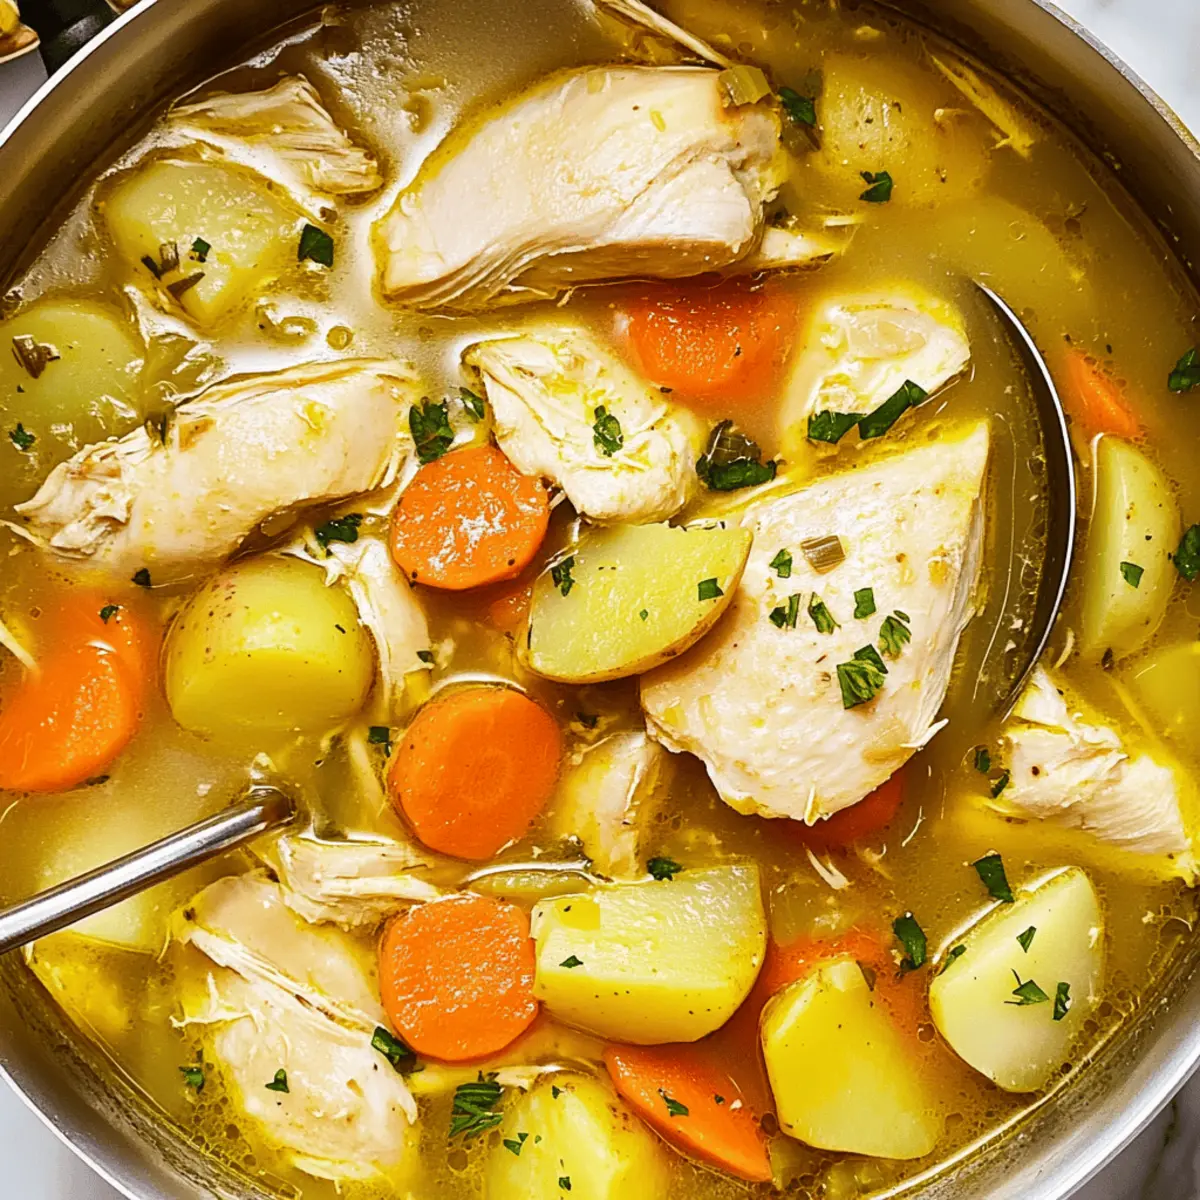
Before serving your Chicken Stew, remove the bay leaf and discard it. Ladle the stew into bowls and sprinkle with fresh parsley for a delightful garnish. Each bowl should have a thick, comforting consistency, filled with tender chicken and vibrant vegetables, perfect for cozy nights at home.
What to Serve With Easy One-Pot Chicken Stew
There's something about a warm, hearty stew that calls for the perfect side dishes to complement its rich flavors.
-
Crusty Bread: Nothing beats dripping warm bread into your savory broth. It's a classic pairing that elevates the comforting experience.
-
Simple Green Salad: A fresh salad with mixed greens and a light vinaigrette adds a crisp contrast, balancing the hearty nature of the stew.
-
Creamy Mashed Potatoes: The richness of mashed potatoes pairs nicely with the stew’s broth, soaking up every delicious drop.
-
Steamed Green Beans: Their crunchy texture and vibrant color provide a fresh element that lightens the meal without overwhelming the stew.
-
Rice Pilaf: This flavorful side complements the stew's savory profile, allowing the broth's essence to soak into every grain.
-
Garlic Breadsticks: Offering a hint of garlic, these perfectly chewy sticks provide a satisfying way to mop up the comforting juices.
-
Malty Beer: A smooth, malty beer enhances the stew's warmth while providing a delightful contrast to its rich flavors.
-
Red Wine: A glass of light-bodied red wine adds sophistication and a fruity note, creating an enjoyable dining experience.
-
Apple Crisp: End the meal with a warm, spiced apple crisp for a sweet contrast to the savory stew, making it a true comfort food feast.
Expert Tips for Chicken Stew
• Check Chicken Temperature: Ensure chicken is completely cooked to avoid foodborne illness; a meat thermometer should read 165°F for safety.
• Flavor Infusion: Shredding the chicken after cooking enhances its ability to absorb the rich flavors of the chicken stew, making every bite delightful.
• Rest for Better Taste: Allowing the stew to rest for about 10 minutes before serving lets the flavors meld beautifully, elevating the overall taste experience.
• Avoid Overcooking Vegetables: Keep an eye on the vegetables while sautéing; they should be tender but not mushy — aim for a perfect balance of texture in the dish.
• Season in Layers: Don’t be shy with seasoning; adding kosher salt and black pepper at different stages builds a depth of flavor that truly makes this chicken stew stand out.
How to Store and Freeze Chicken Stew
Room Temperature: Chicken stew should not be left out for more than 2 hours to prevent foodborne illness. Discard any remaining stew after that period.
Fridge: Store leftovers in an airtight container in the fridge for up to 3 days. This keeps the stew fresh while allowing flavors to develop further.
Freezer: For longer storage, freeze chicken stew in a freezer-safe container for up to 3 months. Thaw overnight in the refrigerator before reheating.
Reheating: When ready to enjoy, reheat the stew gently on the stove over medium heat until warmed through, stirring occasionally.
Make Ahead Options
These Easy One-Pot Chicken Stews are perfect for meal prep enthusiasts! You can chop the vegetables and shred the chicken up to 24 hours in advance, storing them separately in airtight containers in the refrigerator. Additionally, the stew itself can be cooked and refrigerated for up to 3 days before serving. To maintain quality, ensure you cool the stew completely before refrigerating, as this prevents sogginess. When you're ready to serve, simply reheat the stew on the stove over medium heat until warmed through, adding a splash of broth if necessary. This way, you'll have a comforting meal ready with minimal effort on busy weeknights!
Chicken Stew Variations & Substitutions
Feel free to customize this chicken stew to suit your taste or dietary preferences and create your own version of comfort in a bowl!
-
Dairy-Free: Swap butter with olive oil for a lighter, dairy-free alternative that still adds richness.
-
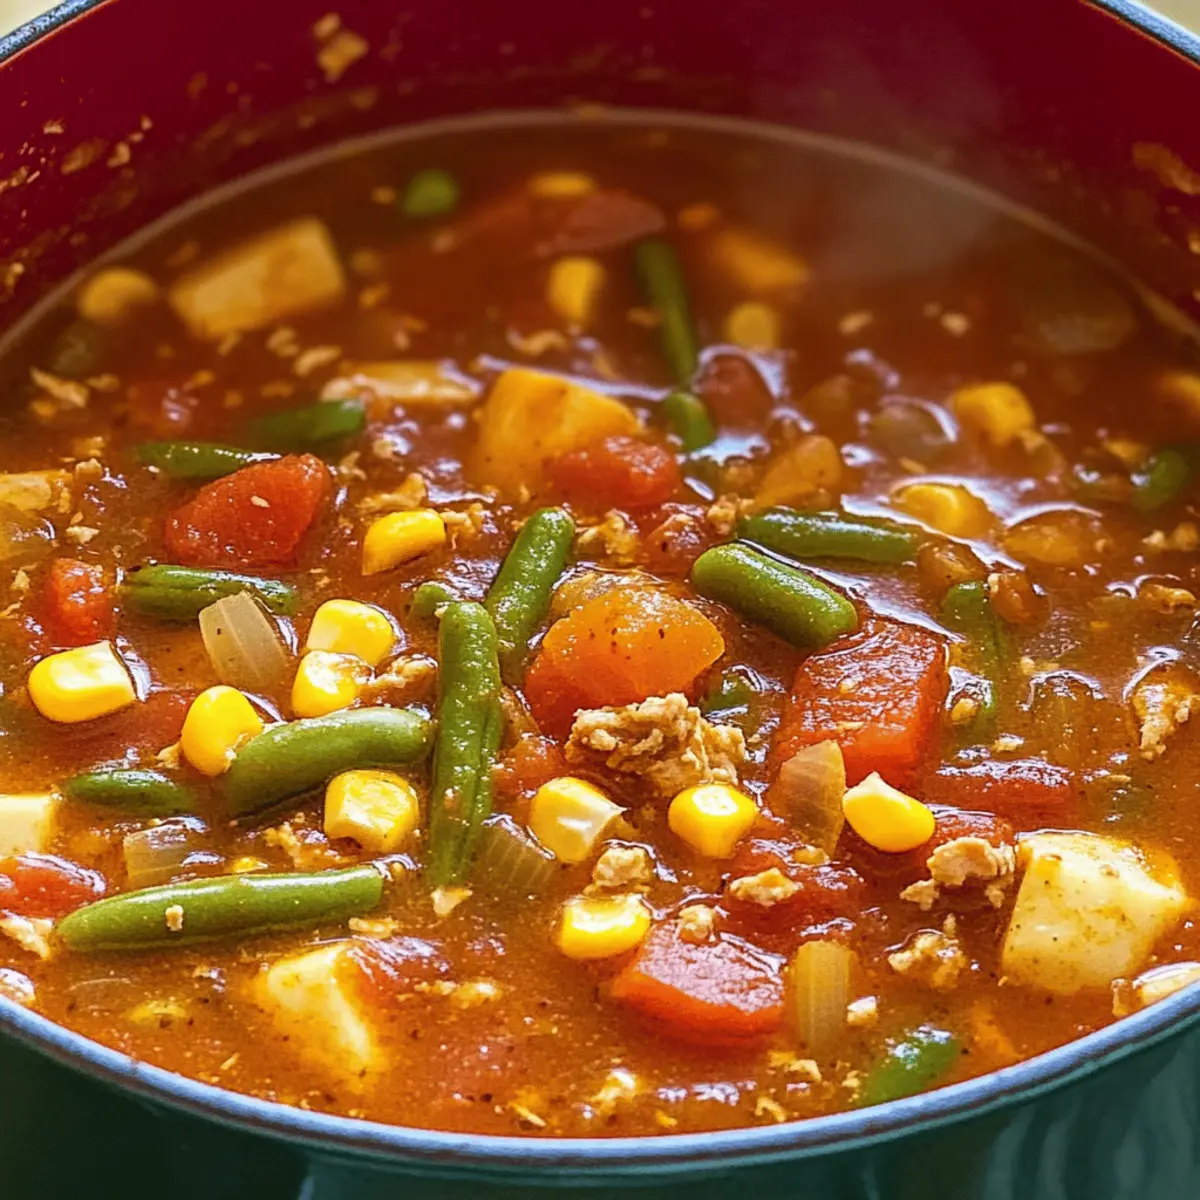
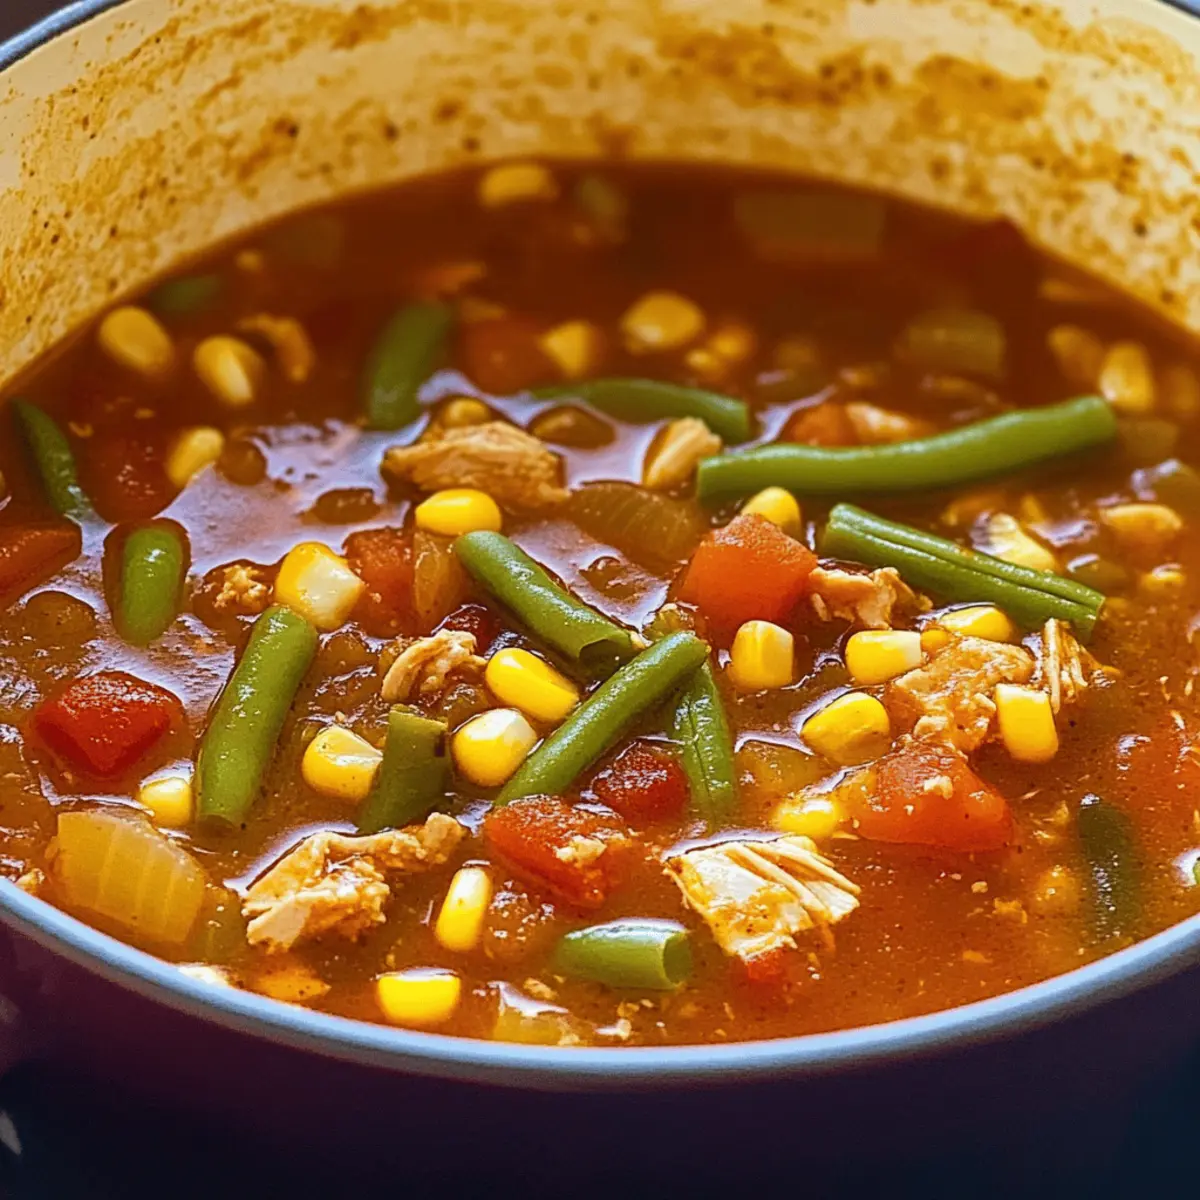
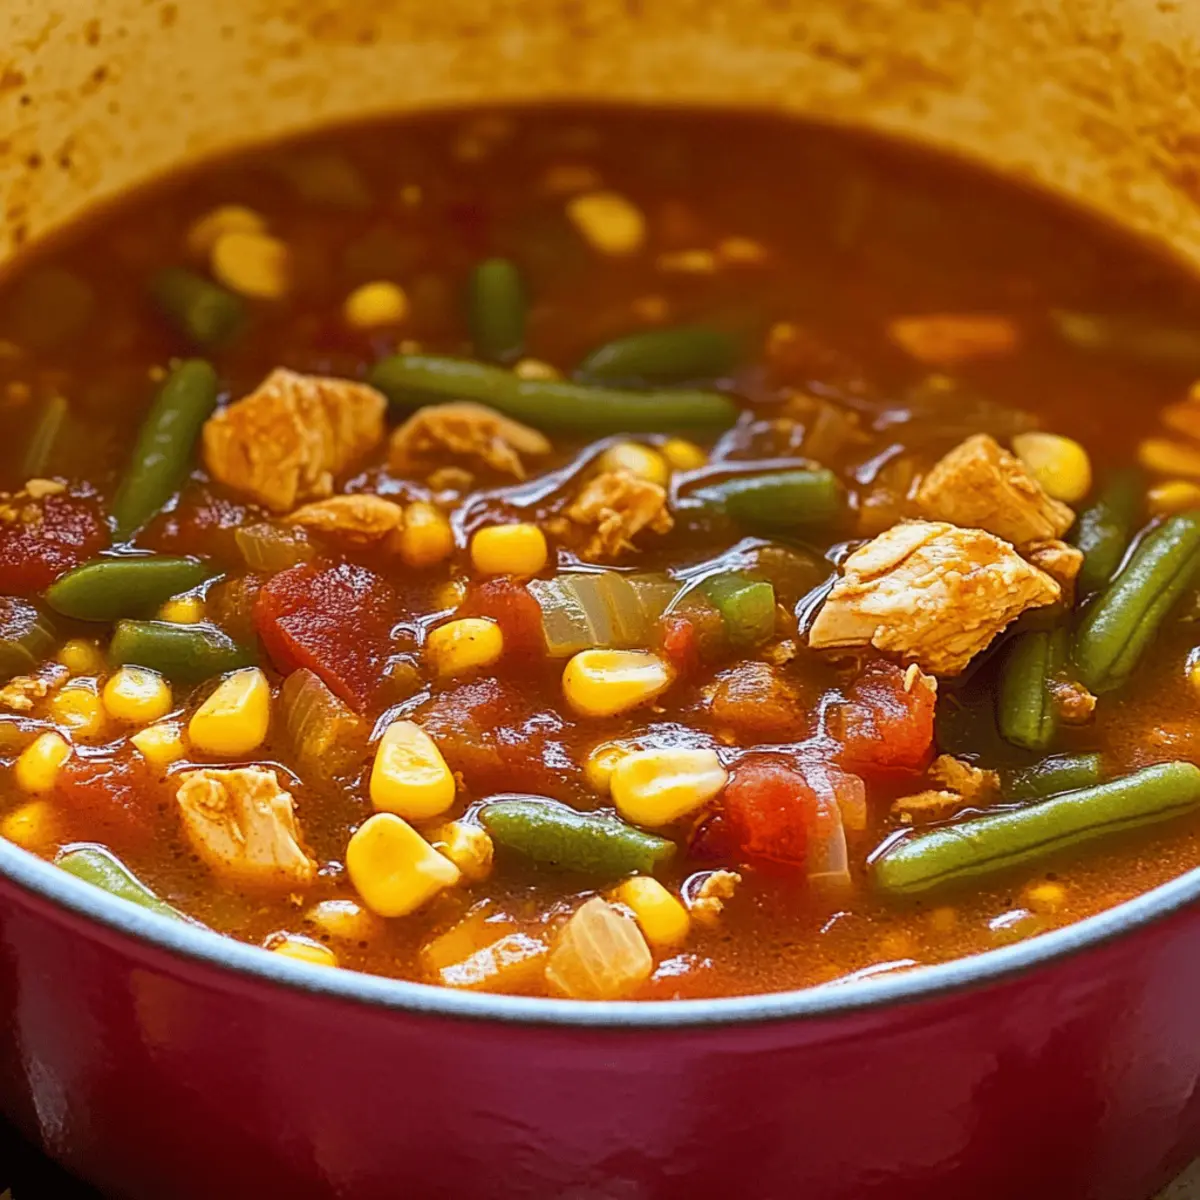
Extra Veggie Boost: Toss in frozen peas or corn during the last few minutes of cooking for a pop of color and nutrition.
-
Vegan Delight: Replace chicken with hearty chickpeas or lentils along with vegetable broth for a robust plant-based option.
-
Turkey Upgrade: Use leftover turkey instead of chicken for a delicious twist, especially after the holidays!
-
Spicy Kick: For those who love heat, add crushed red peppers or a splash of hot sauce to spice up the flavor profile.
-
Herb Sensation: Experiment with fresh herbs like rosemary or basil in place of thyme to create a different aromatic experience.
-
Creamy Texture: Stir in a splash of coconut milk or a spoonful of sour cream just before serving to add a creamy finish to the stew.
-
Asian Fusion: Consider adding soy sauce and ginger for an Asian-inspired twist; this will give your stew an exciting flair reminiscent of Chipotle Lime Chicken.
These variations allow you to play with flavors and ingredients while keeping that comforting essence of the original recipe. Enjoy your kitchen adventures!
Chicken Stew Recipe FAQs
What kind of chicken should I use for the stew?
I recommend using boneless skinless chicken breasts for a lean protein option that cooks quickly and easily absorbs the stew's flavors. If you prefer dark meat, thighs work wonderfully too—just be sure to adjust the cooking time as needed.
How should I store leftover chicken stew?
Store any leftovers in an airtight container in the fridge for up to 3 days. This helps preserve the flavors while keeping the stew delicious for another serving. Just remember to let it cool before sealing to avoid condensation forming inside the container.
Can I freeze chicken stew?
Absolutely! For longer storage, you can freeze chicken stew in a freezer-safe container for up to 3 months. To freeze, allow the stew to cool completely, then ladle it into containers, leaving some room for expansion. When you're ready to eat, thaw it overnight in the refrigerator before reheating on the stove.
What should I do if my stew is too thick?
If your chicken stew turns out too thick, don't worry! Simply add a little more chicken broth or water, a splash at a time, until you reach your desired consistency. Stir it in gently and let it simmer for a few minutes to warm through, making sure the flavors remain balanced.
Can I add more vegetables to my chicken stew?
Very much so! Feel free to add in any of your favorite vegetables like peas, corn, or even green beans. Just remember to chop them into similar sizes as the other ingredients for even cooking. You can toss them in during the last 5 to 10 minutes of simmering to ensure they remain vibrant and tender.
Are there any dietary considerations for this chicken stew?
This recipe can be made gluten-free by substituting all-purpose flour with cornstarch or a gluten-free flour blend. Always check your broth's ingredients if you're catering to allergies—opt for low-sodium varieties when possible to keep sodium levels in check.
Comforting Chicken Stew for Cozy Nights at Home
Ingredients
Equipment
Method
- Melt 2 tablespoons of butter in a large pot over medium heat, allowing it to sizzle and foam for about 2 minutes until slightly browned.
- Add 2 chopped large carrots and 1 stalk of diced celery, seasoning with kosher salt and black pepper. Cook for 5 minutes until softened.
- Stir in 3 minced garlic cloves and cook for another 30 seconds until fragrant.
- Sprinkle in 1 tablespoon of all-purpose flour, stirring to coat the vegetables and cook for 1 minute until lightly toasted.
- Add 1.5 lbs of chicken, 3 sprigs of thyme, 1 bay leaf, 3/4 lb of baby potatoes, and 3 cups of broth. Mix well.
- Season with salt and pepper, bring to a simmer, then cover and cook on medium-low for 15 minutes.
- Remove the chicken, shred it, and return it to the pot. Stir well to incorporate.
- Remove bay leaf and serve garnished with fresh parsley.