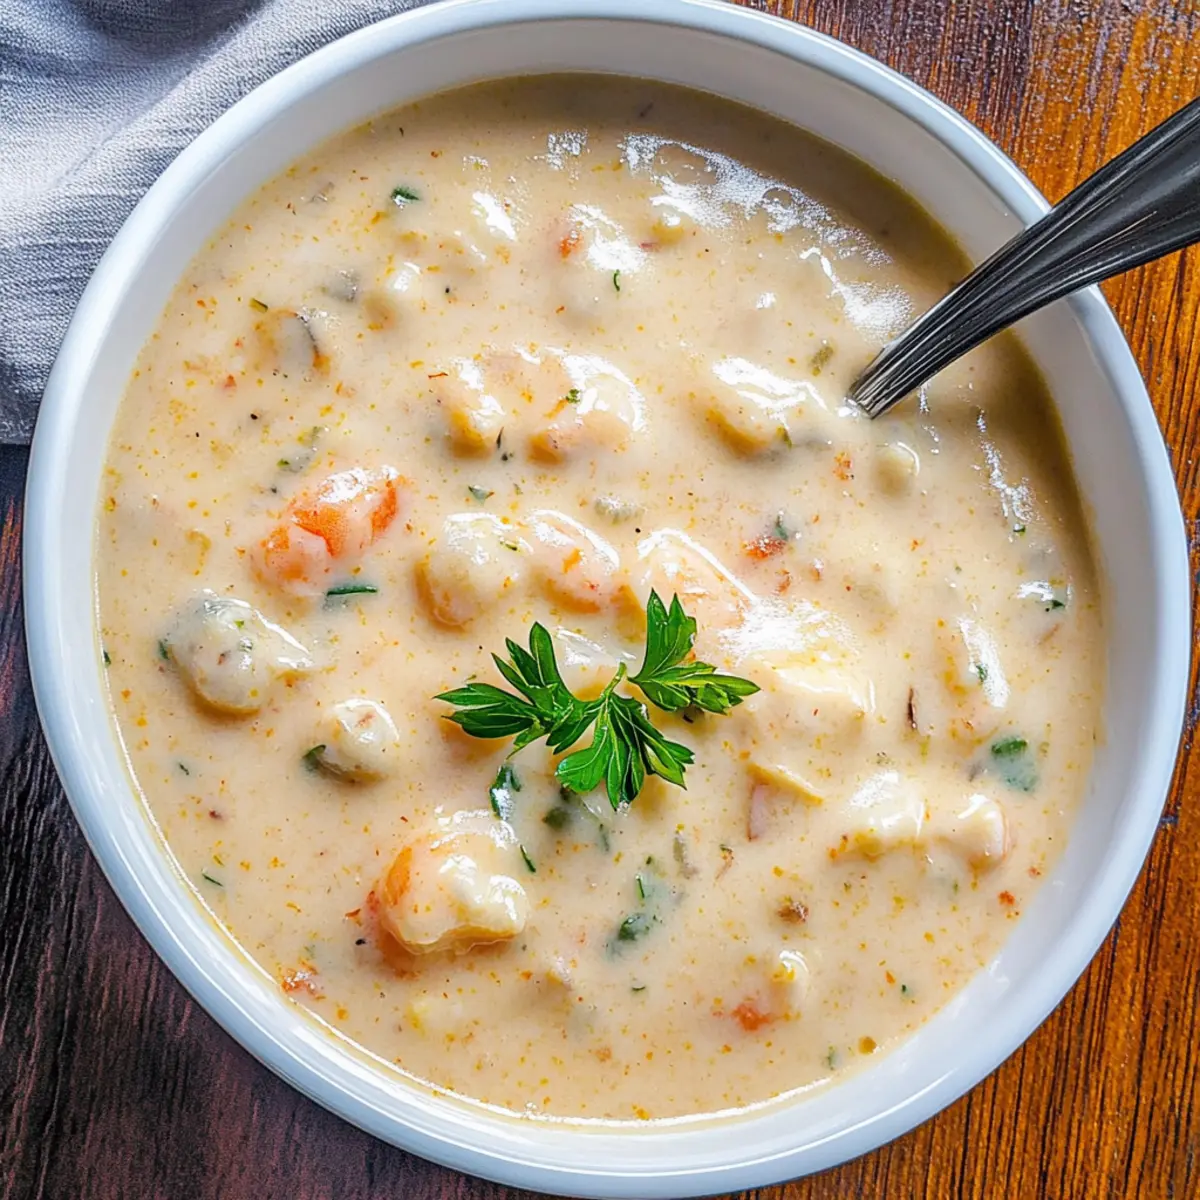
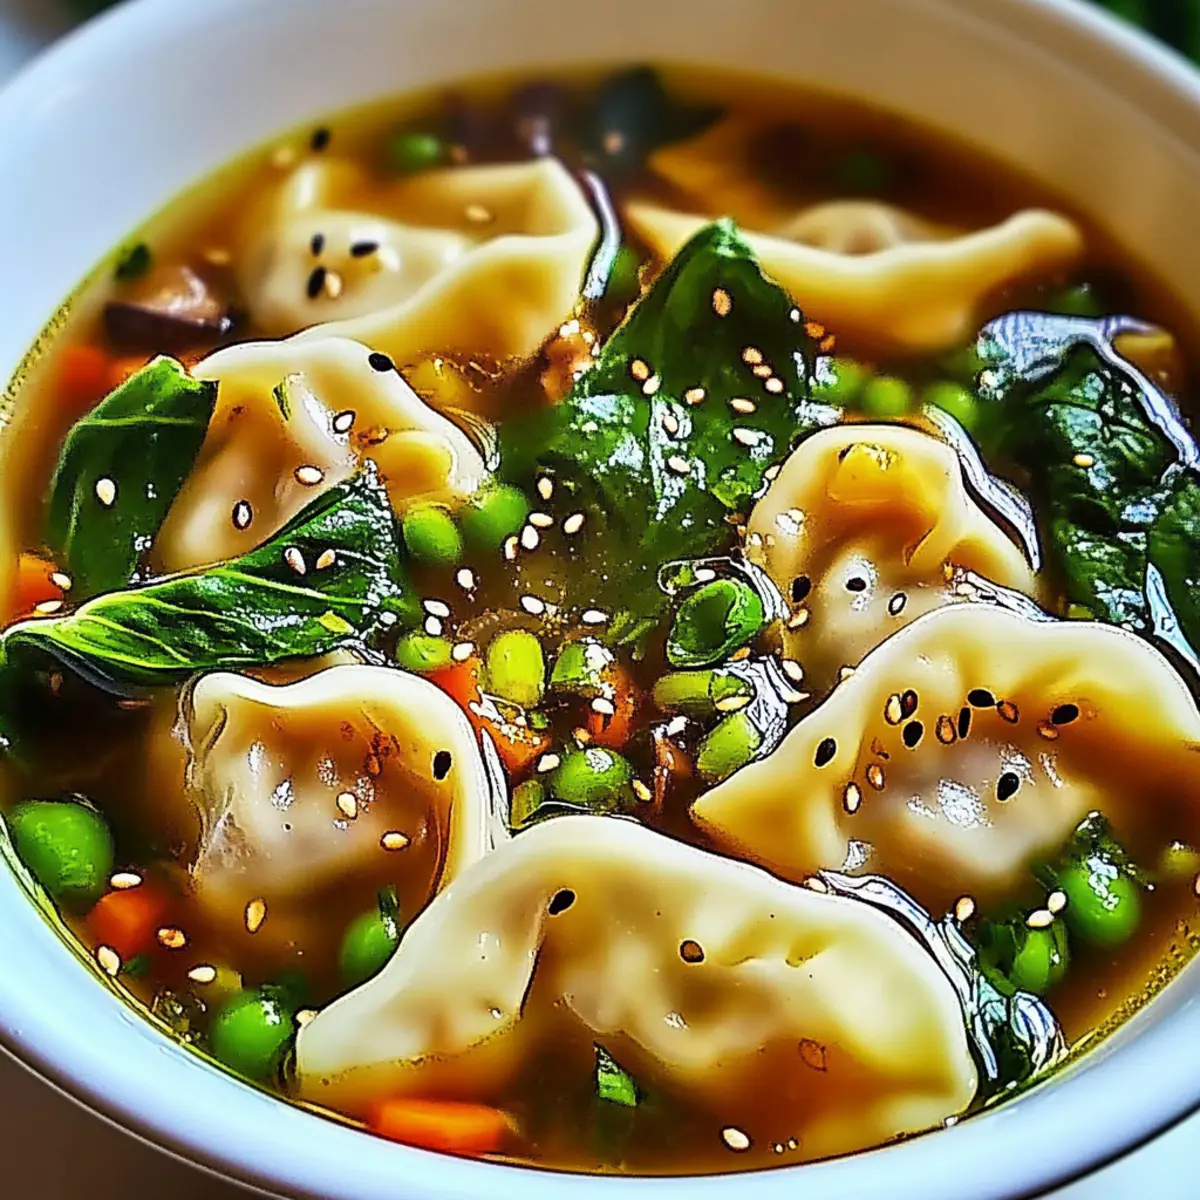
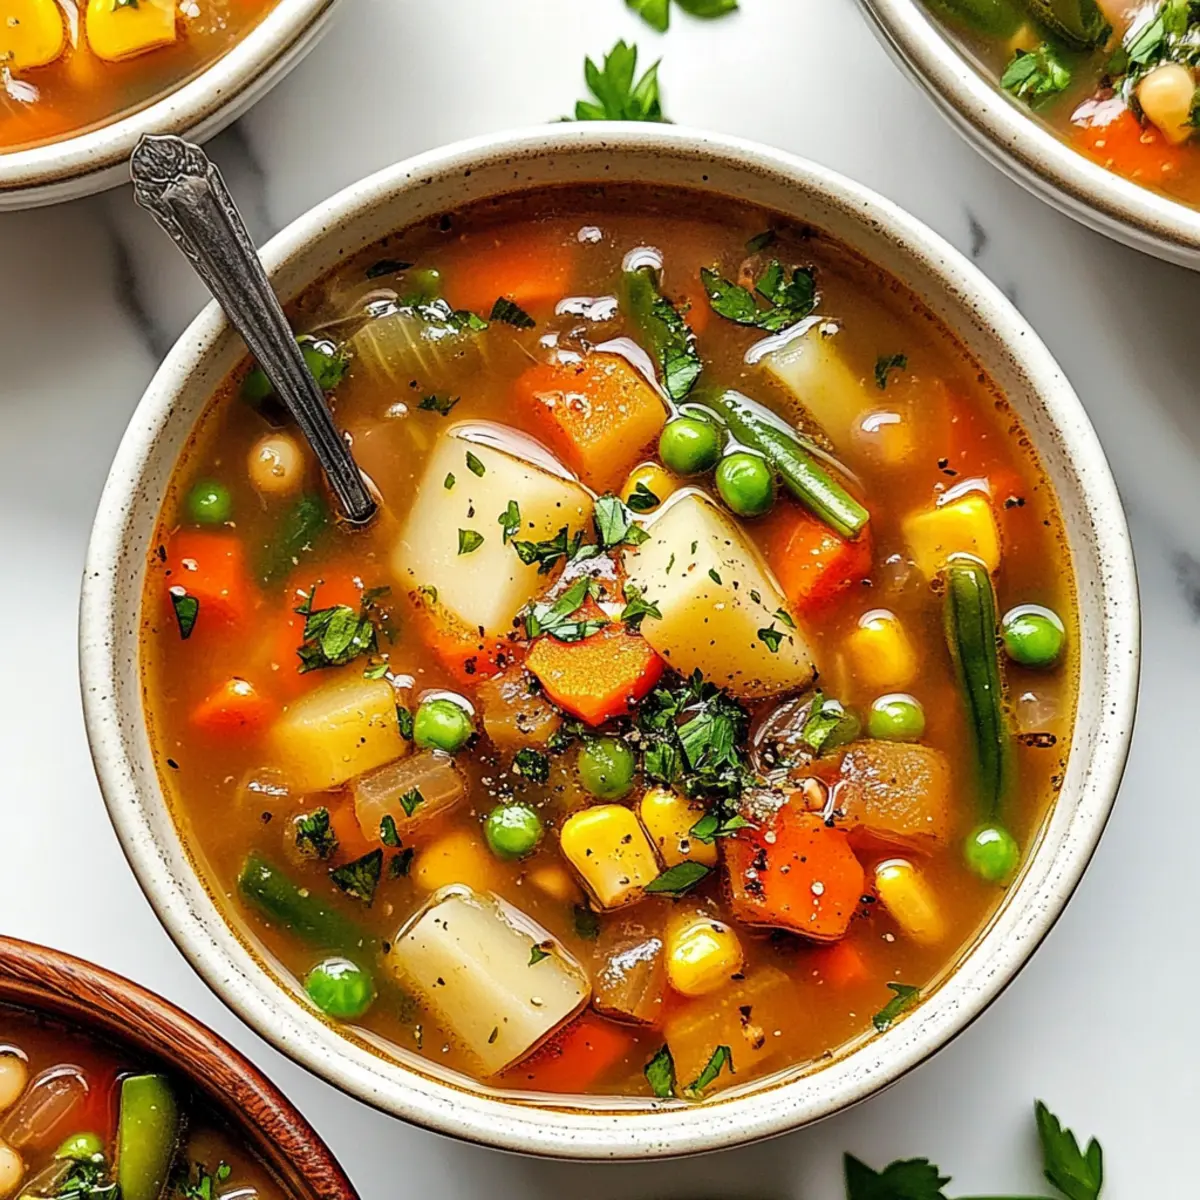
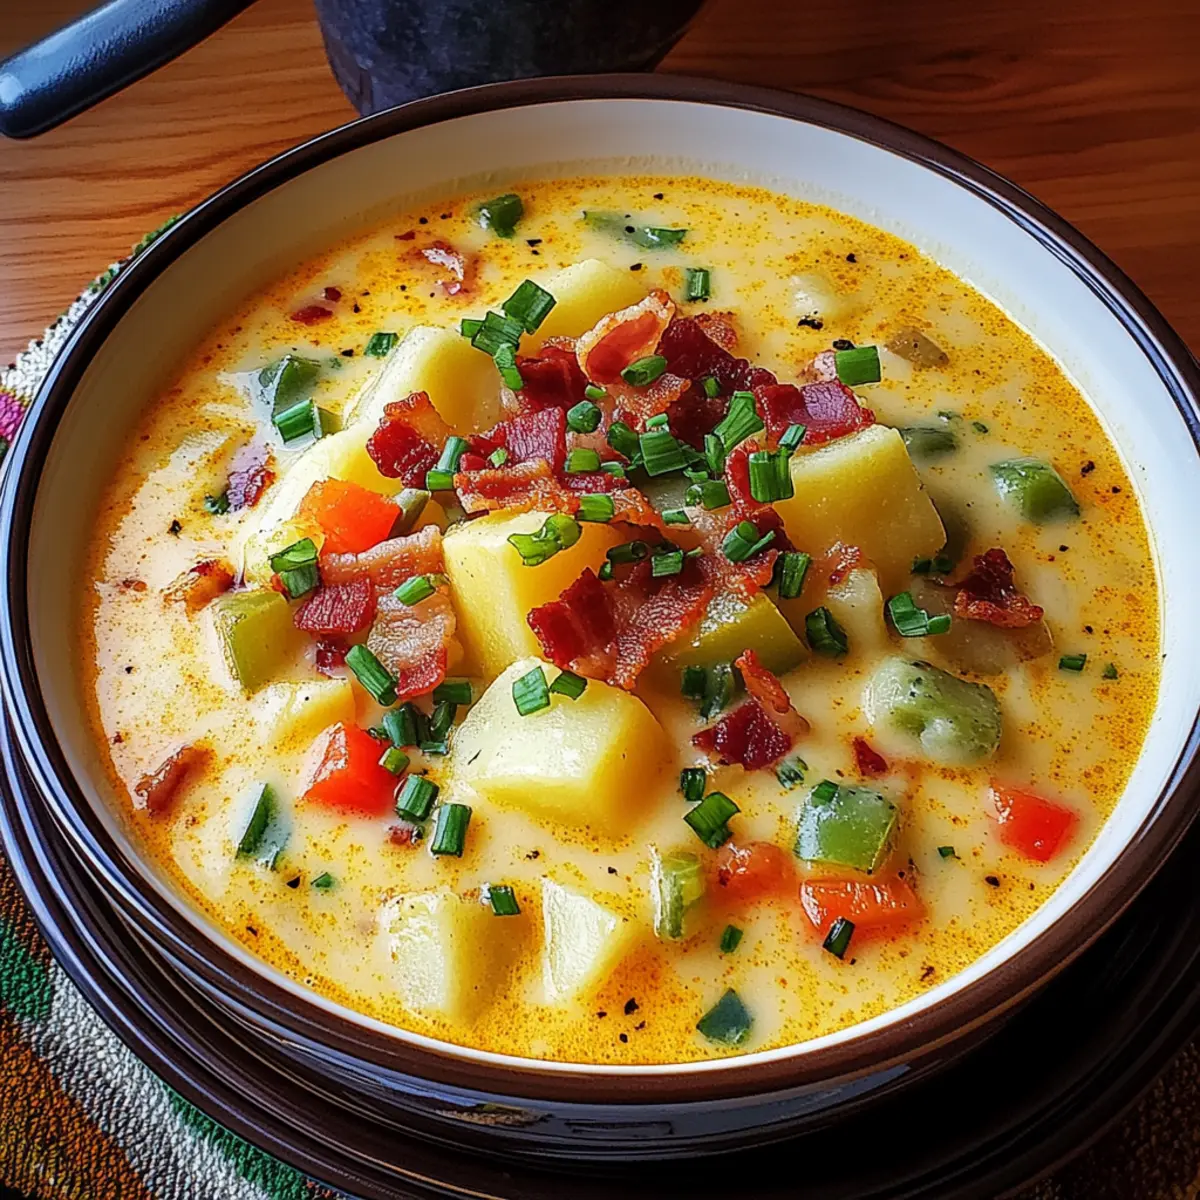
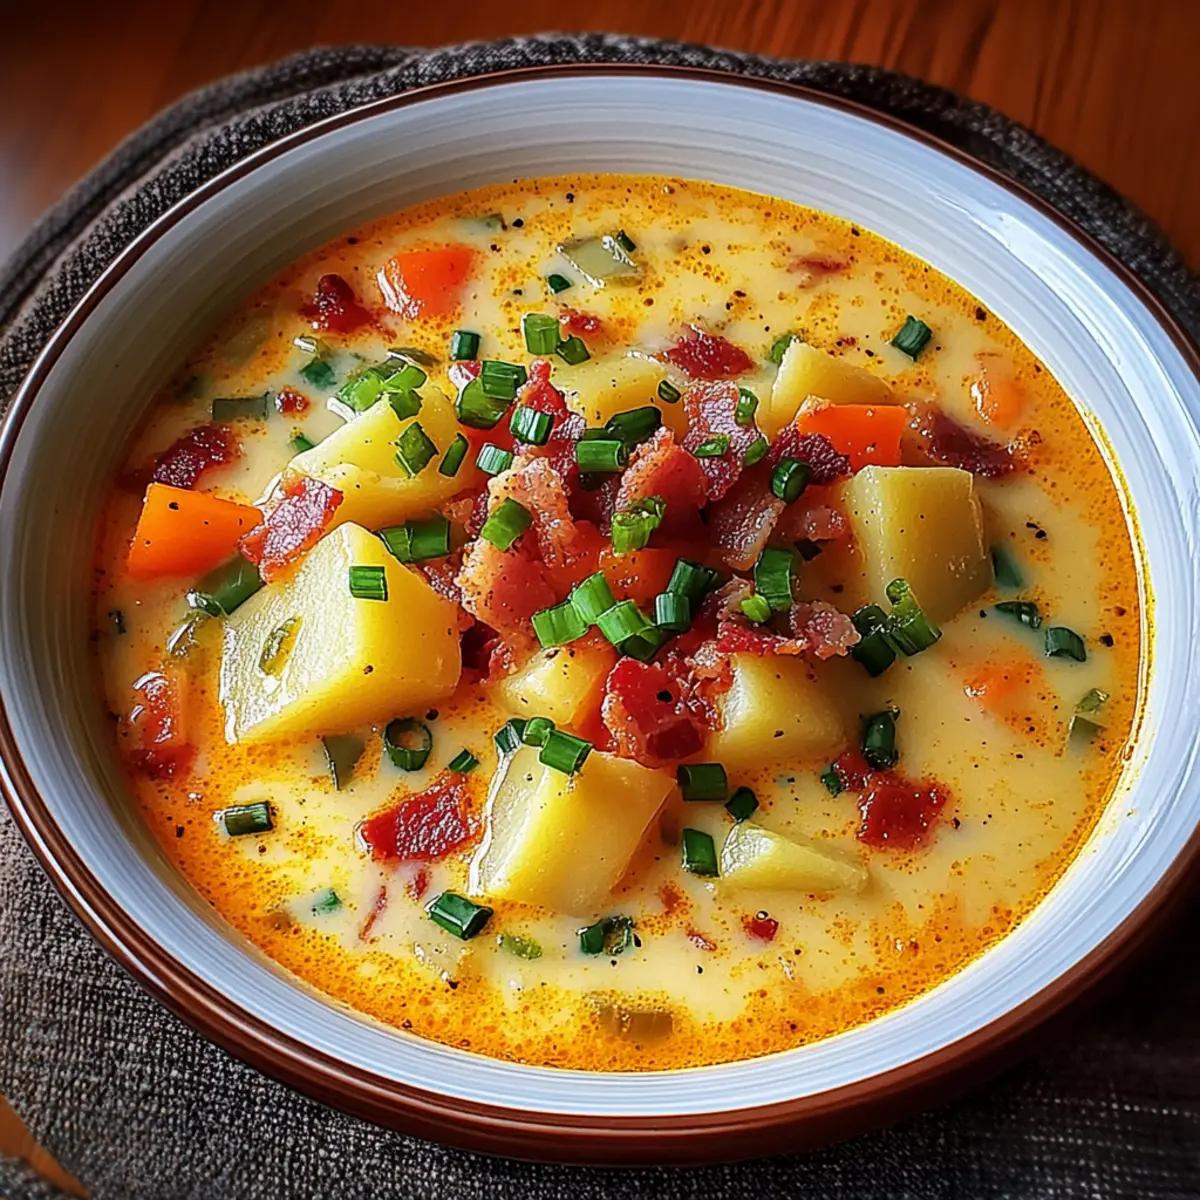
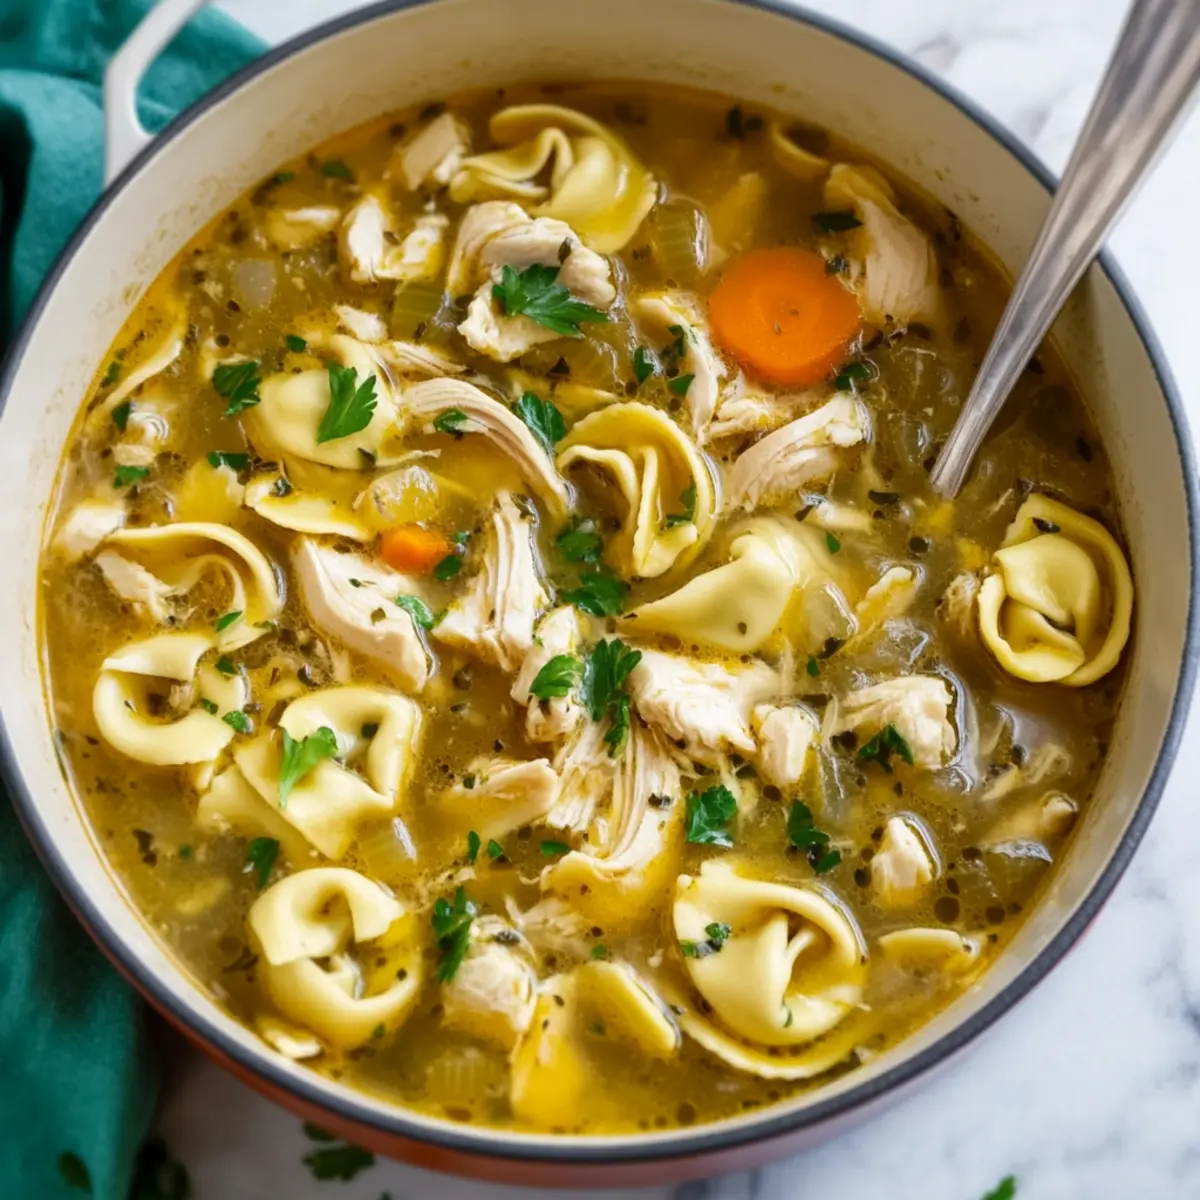
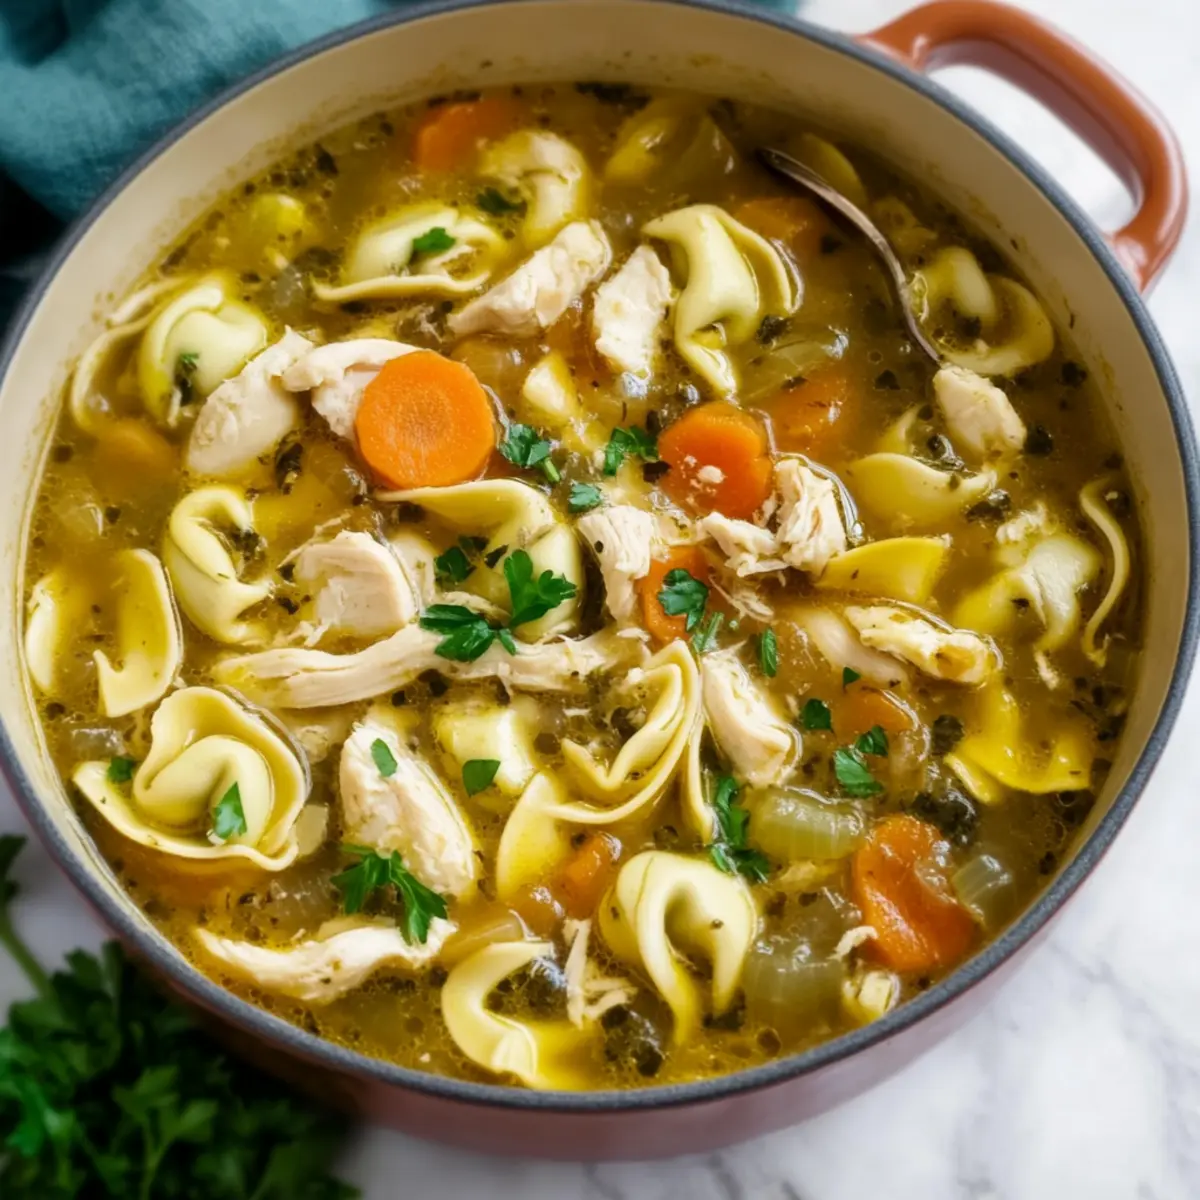
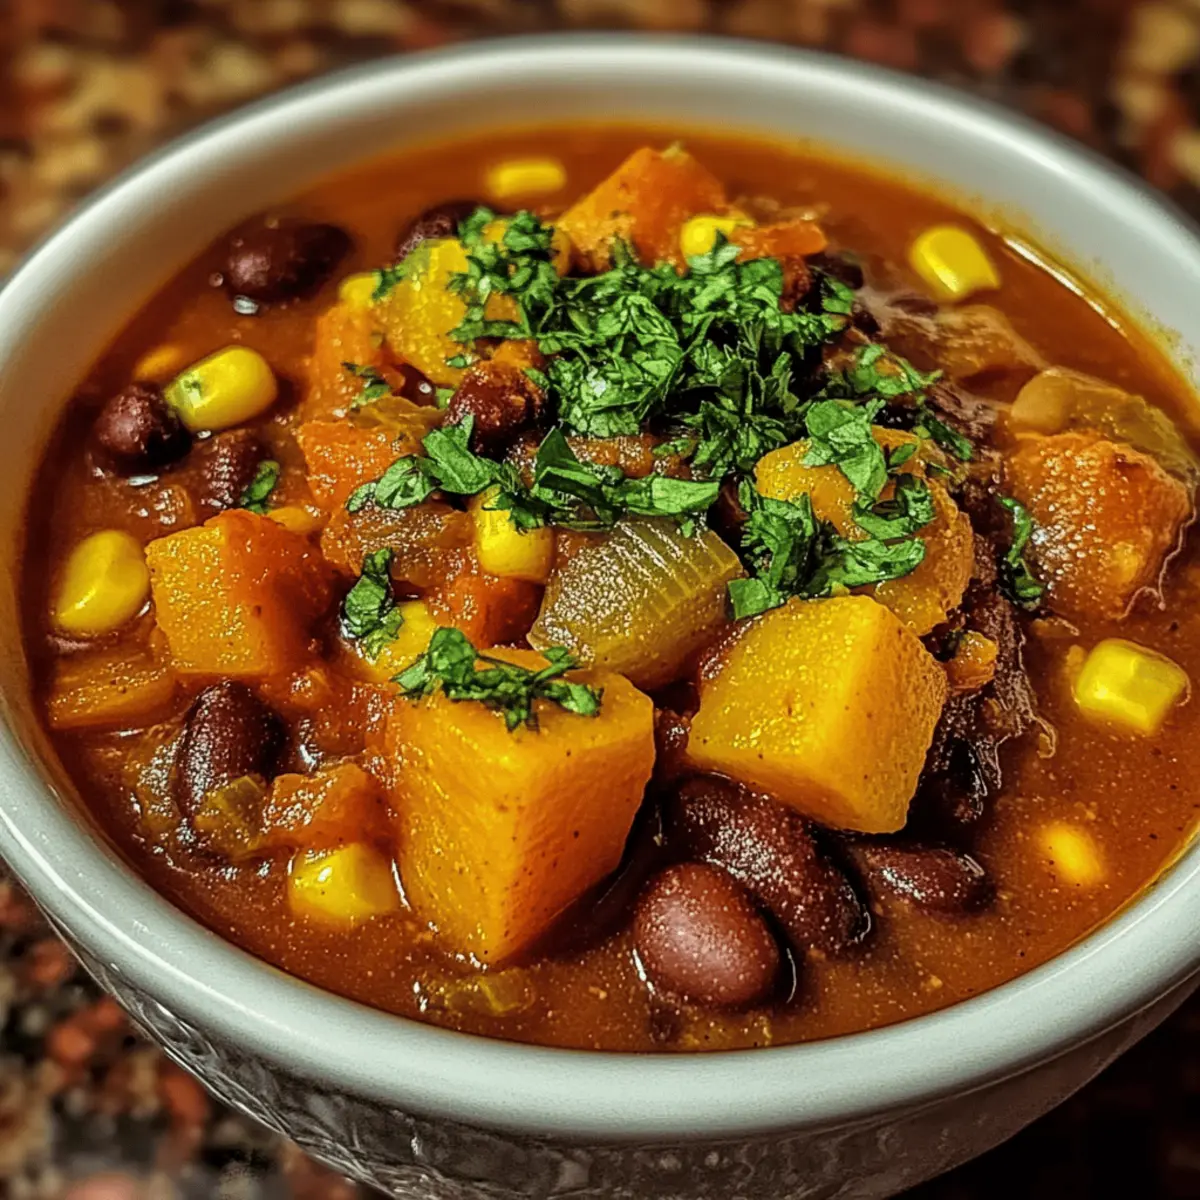
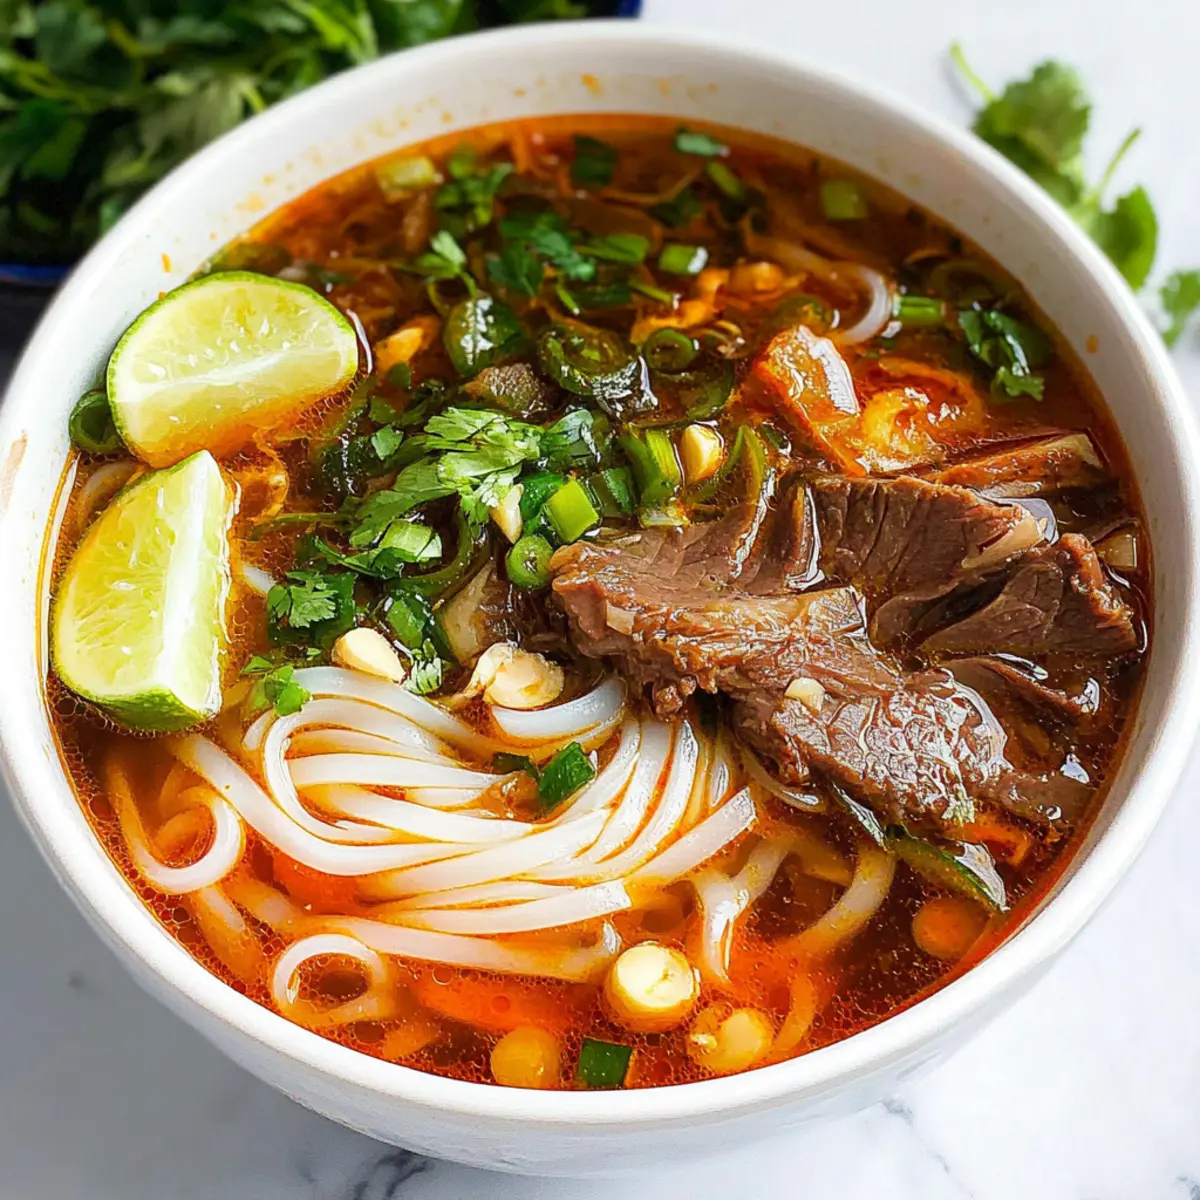
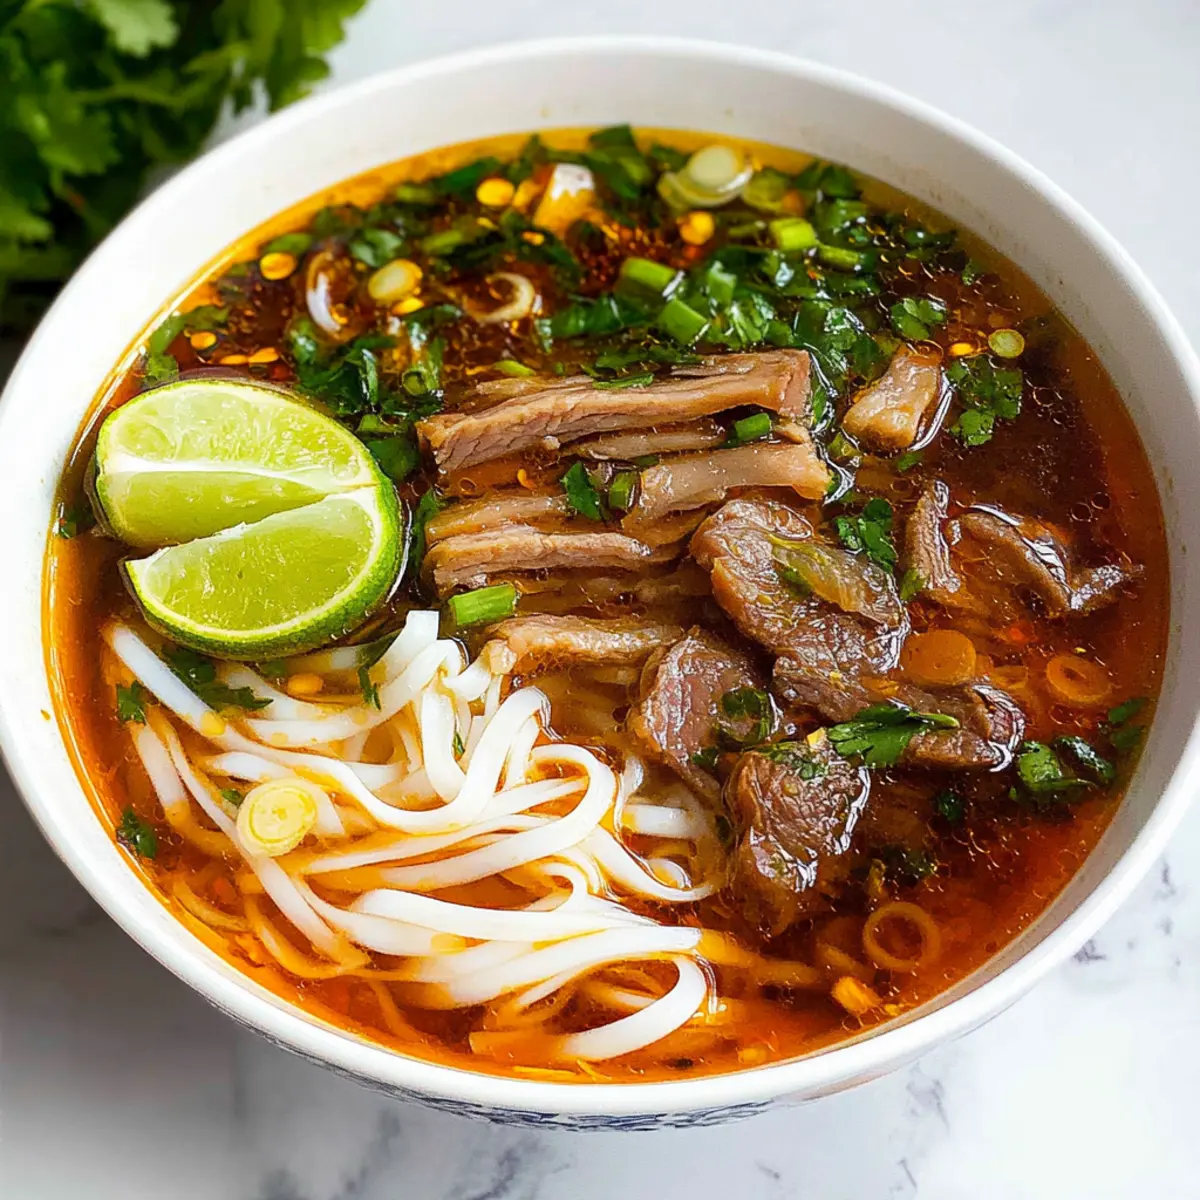
As the aroma of simmering spices danced through my kitchen, I couldn't help but feel transported to the bustling streets of Hue, Vietnam. This is where the heart of the culinary tradition truly lies, embodying the essence of Authentic Bun Bo Hue—a spicy beef noodle soup that warms both body and soul. The intricate layers of flavors that this dish offers are genuinely remarkable, and though it may take a little time to prepare, the reward is a hearty, satisfying meal that's perfect for sharing with loved ones. With its deep, rich broth and tender meat, this isn't just another recipe; it's a journey into authentic Vietnamese cooking that promises comfort and delight in every bowl. Are you ready to savor the magic of Bun Bo Hue?
What makes this soup so special?
Tradition at Its Core: This Authentic Bun Bo Hue is a celebration of Vietnamese culinary heritage, offering a deeply satisfying experience.
Hearty & Filling: Packed with tender brisket and chewy noodles, it’s a fulfilling dish perfect for family gatherings or cozy dinners.
Robust Flavor Profile: The careful blend of spices, from lemongrass to cinnamon, creates an aromatic broth that will tantalize your taste buds.
Customizable Spiciness: Adjust the heat level with red pepper flakes and fresh chilies, allowing each diner to tailor their experience.
Impressive Yet Manageable: While it may seem complex, following the straightforward steps makes this dish approachable, even for beginner cooks!
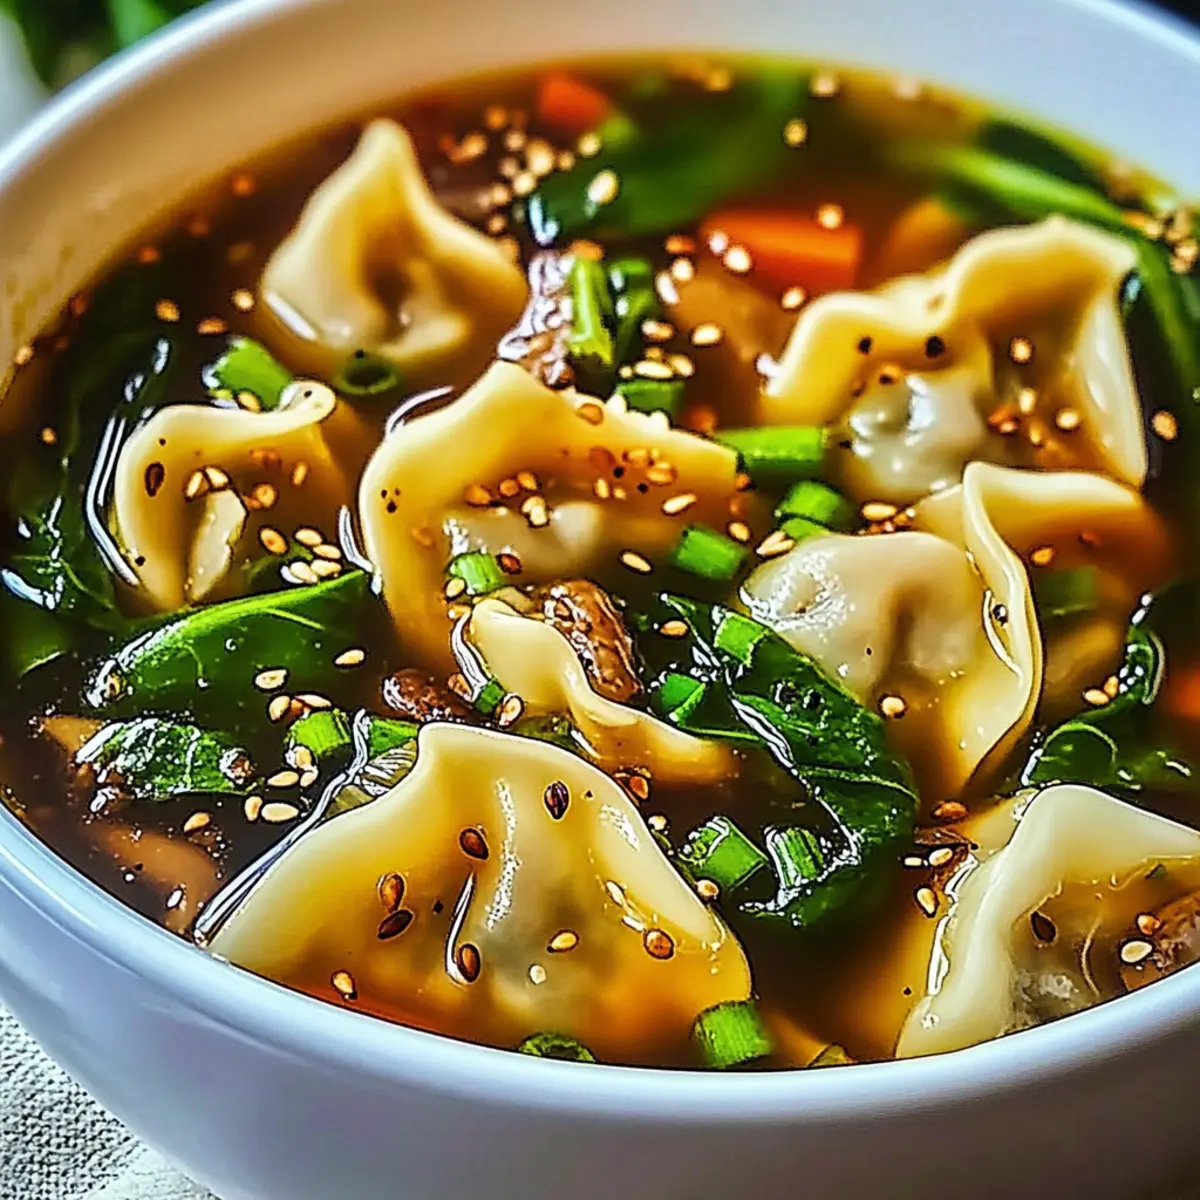
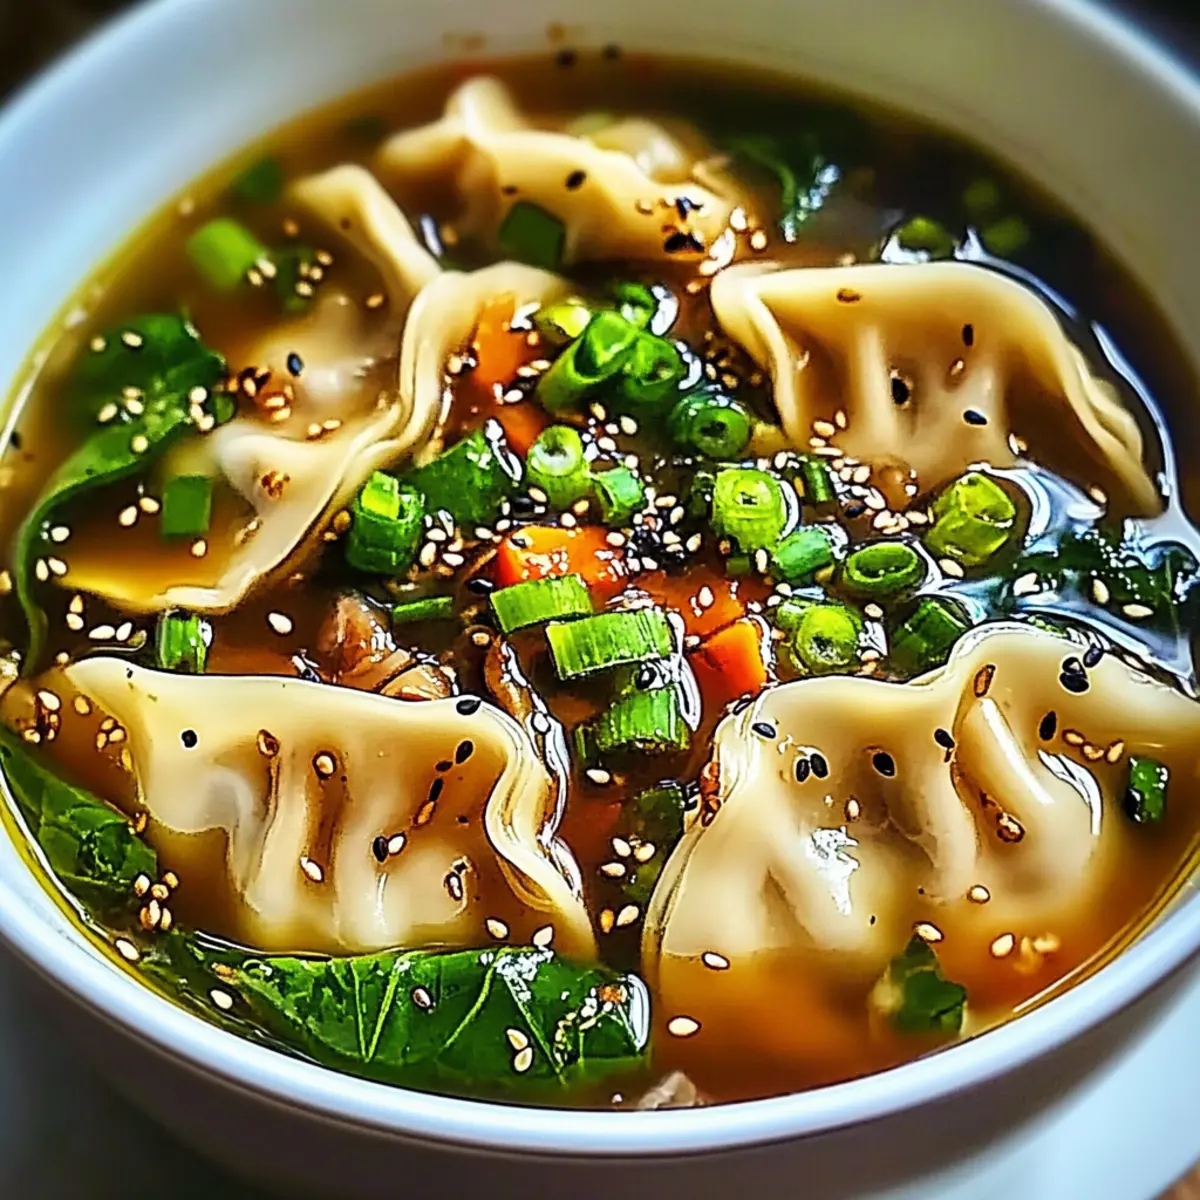
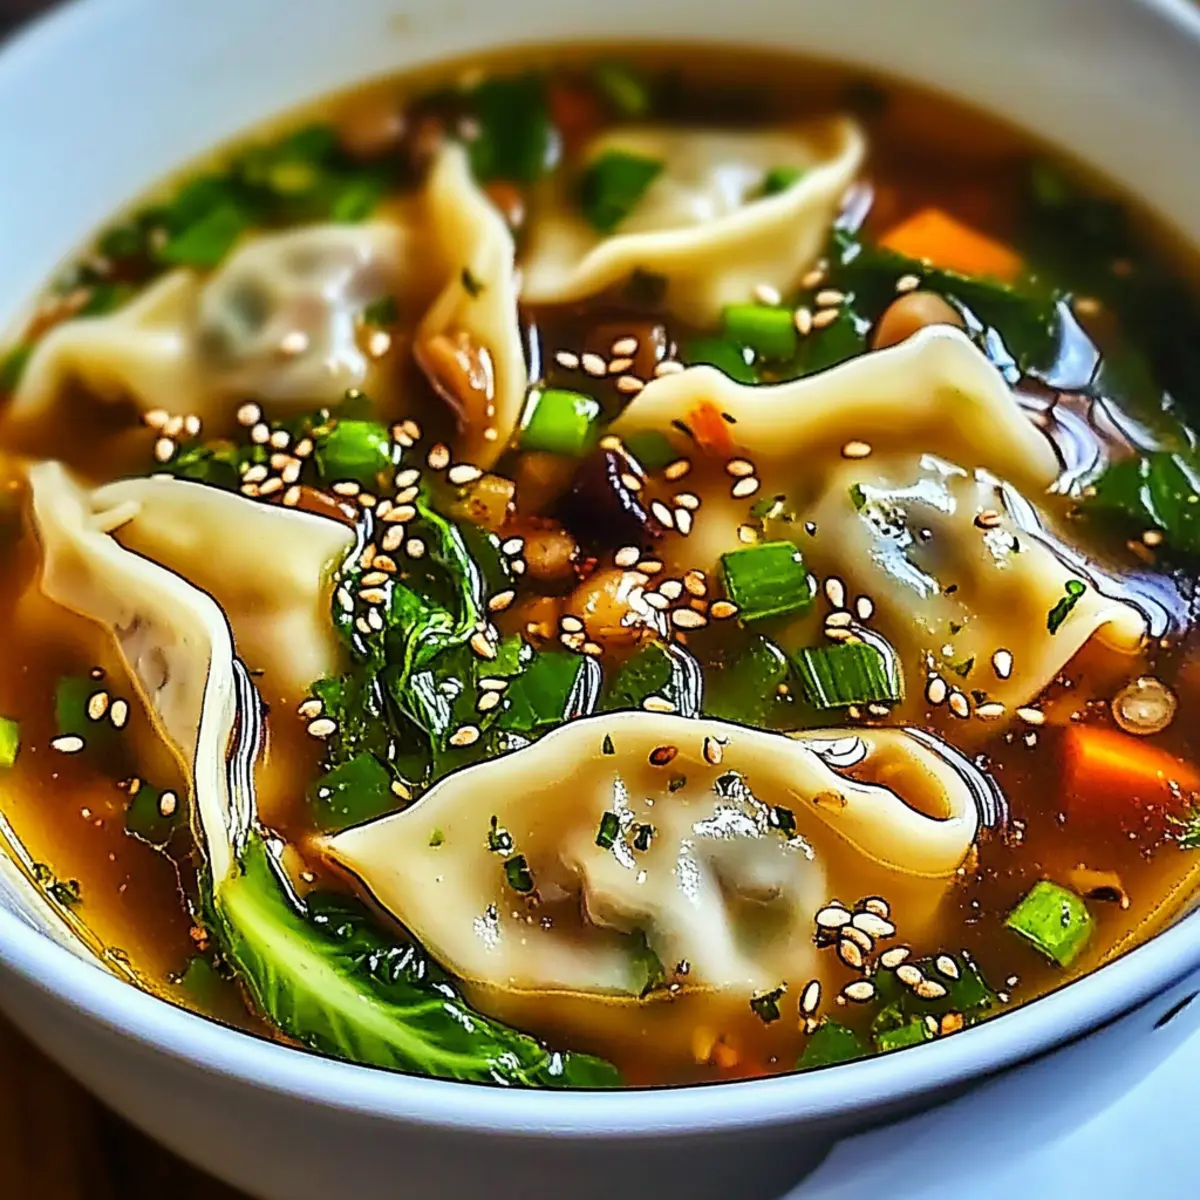
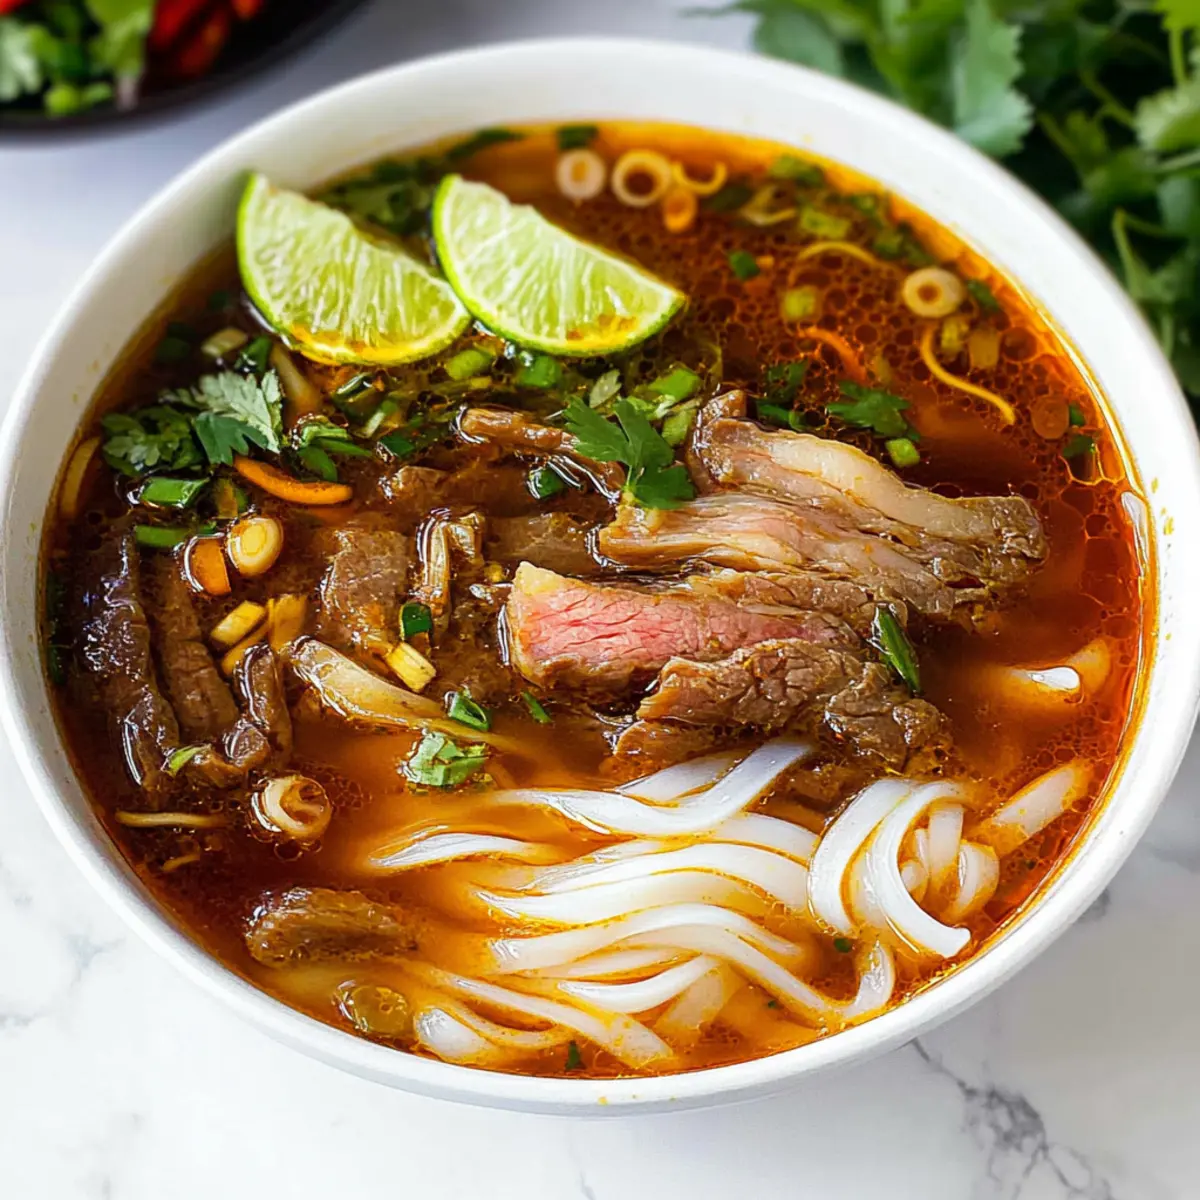
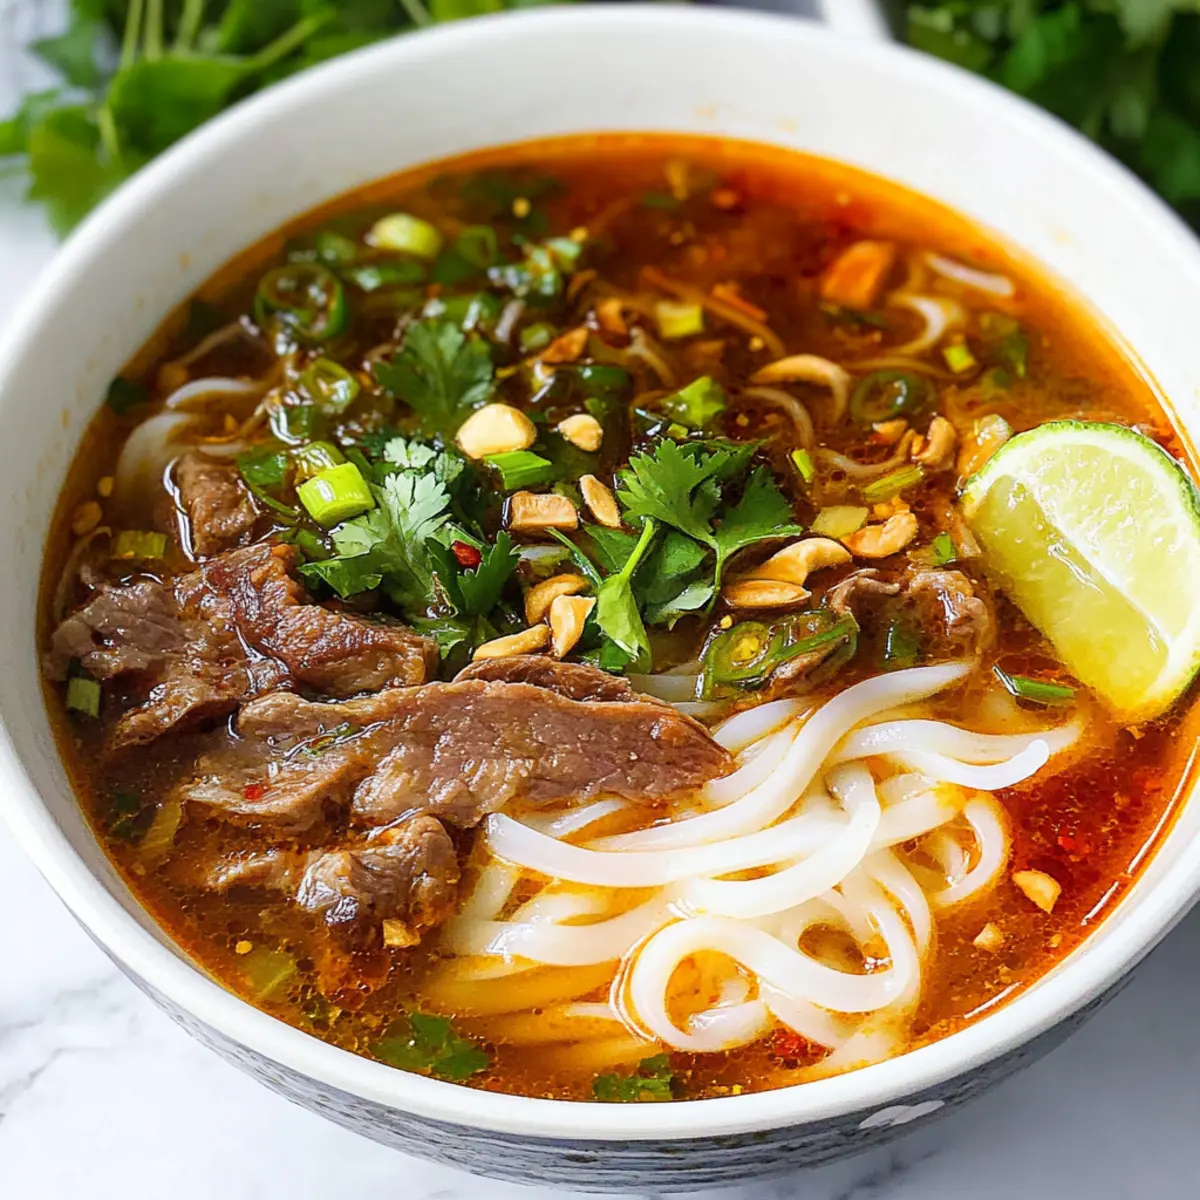
Unforgettable Aesthetics: The signature reddish hue and vibrant garnishes make for an eye-catching presentation that’s sure to wow your guests.
Dive deeper into the authentic tastes of Vietnam with this recipe, and don’t forget to explore serving suggestions for the perfect accompaniments!
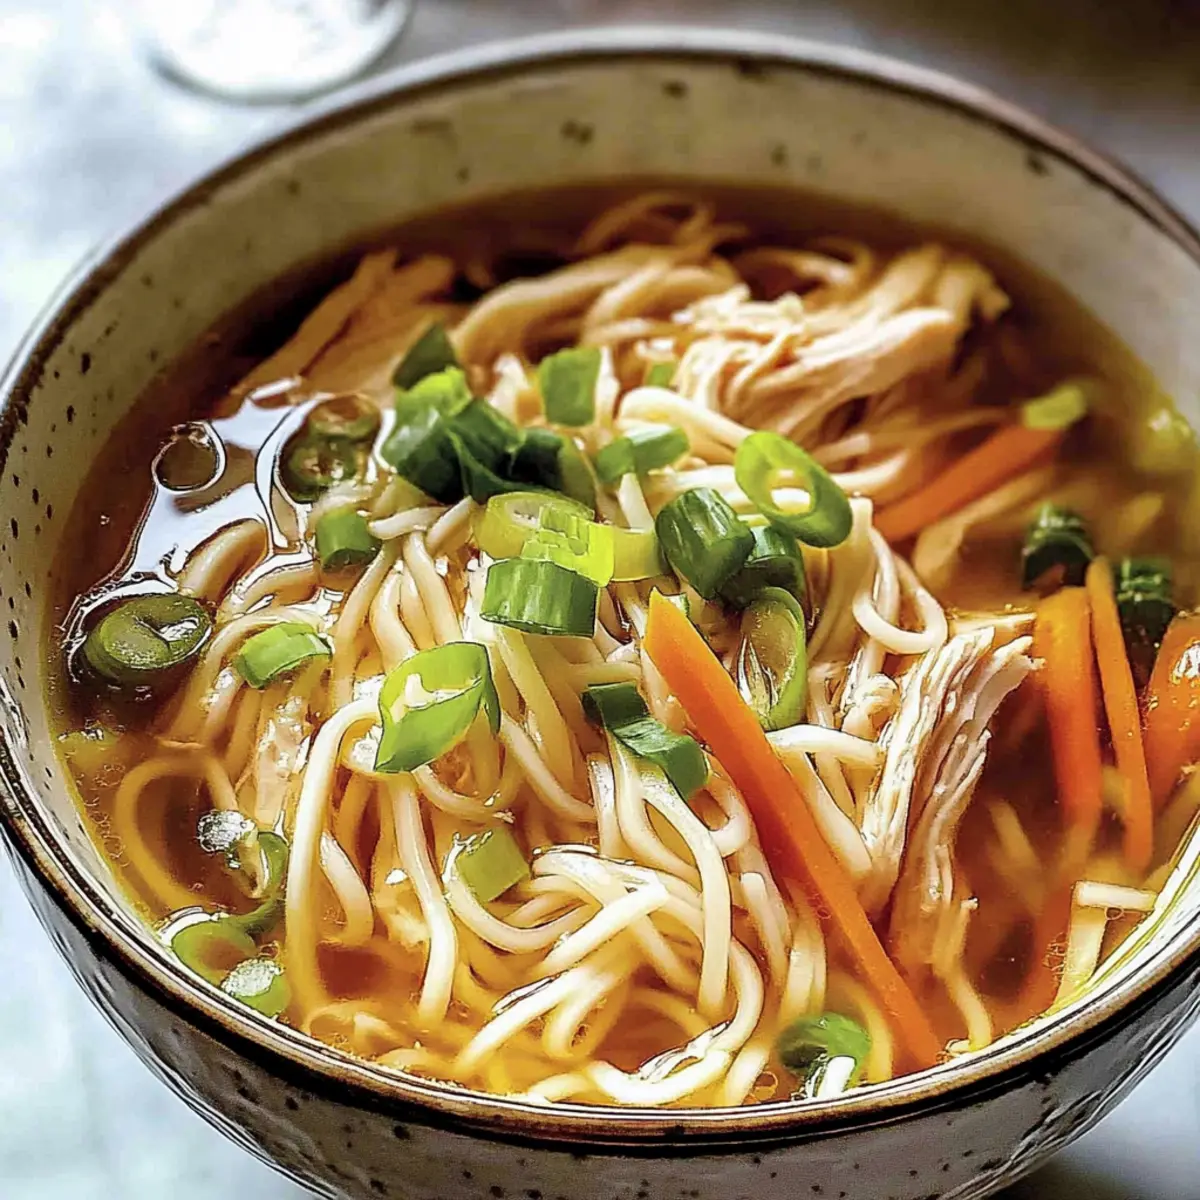
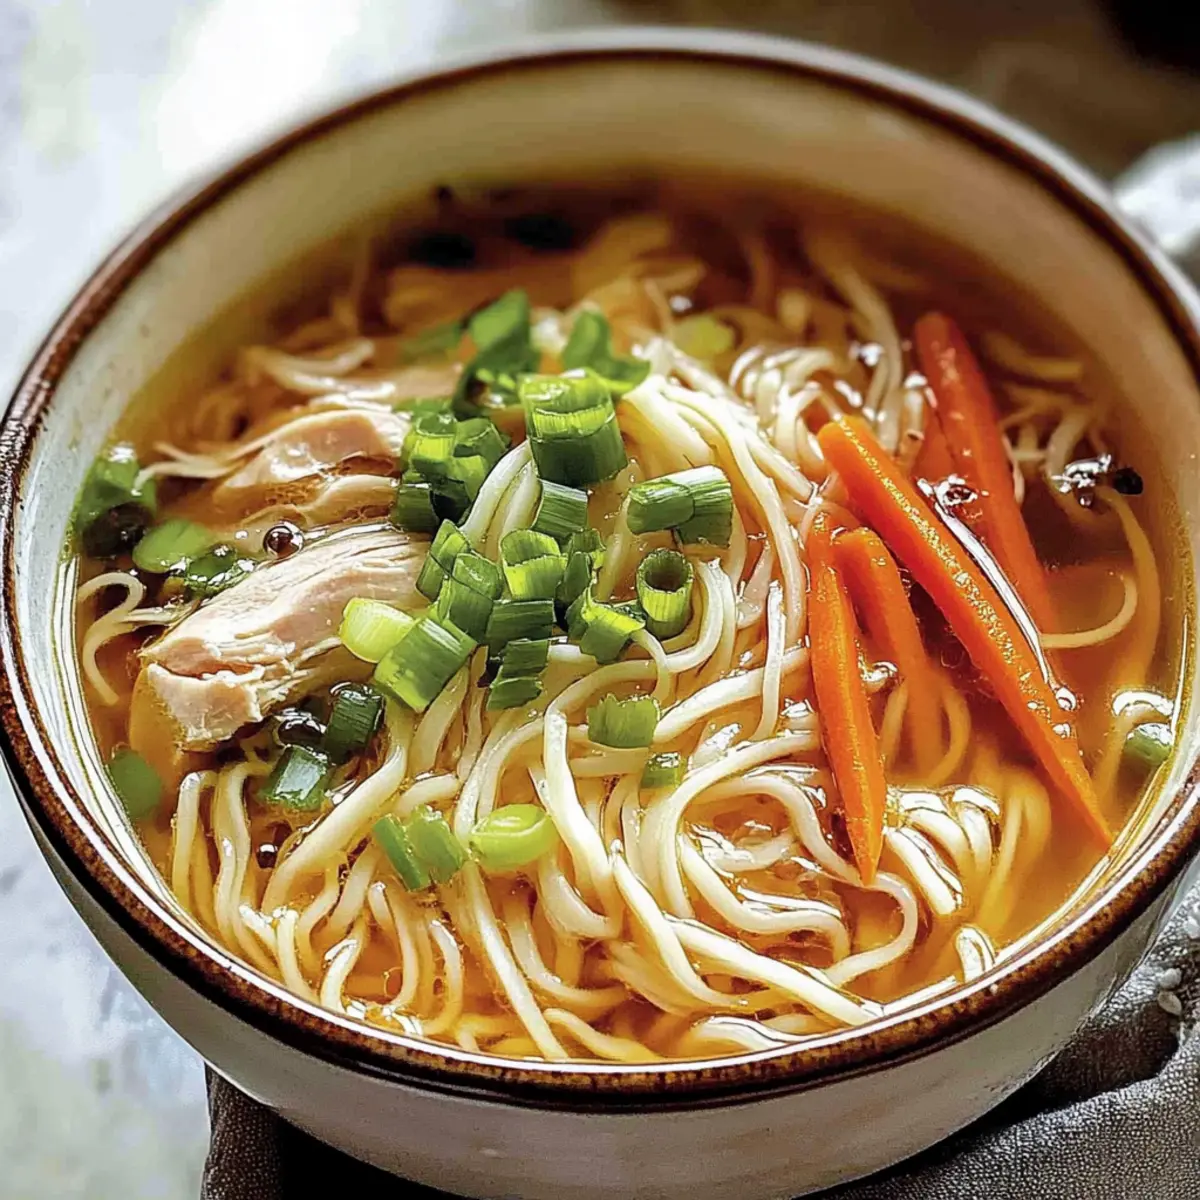
Authentic Bun Bo Hue Ingredients
For the Broth
• Pork Bones – Crucial for depth of flavor; choose high-quality bones for the best results.
• Brisket – Adds tenderness; substitute with flank or shank if needed.
• Water – The main liquid; always use fresh water for a clear broth.
• White Onion – Enhances sweetness; do not omit for the authentic taste.
• Ginger – Offers warmth and aroma; fresh is essential for maximum flavor.
• Lemongrass – Aromatic garnish; bruise stalks to release more oils.
• Garlic – Adds depth; fresh minced garlic works best.
• Cinnamon Stick – Contributes warmth; avoid powdered for better clarity.
• Whole Cloves – Infuses the broth with spice; keep them whole for easy removal.
For the Flavor Boost
• Sesame Oil – Adds nuttiness; can use other oils, but flavors may vary.
• Annatto Seeds – Essential for that signature reddish hue; don’t substitute!
• Shallots – Adds a sweet flavor layer; can replace with more onion if needed.
• Red Pepper Flakes – Adjust for heat; include as desired for flavor.
• Shrimp Paste – Deepens flavor; essential for authenticity—do not skip.
• Fish Sauce – Adds salty depth; crucial for the authentic profile—choose quality brands.
For the Toppings
• Beef Tenderloin – High-quality meat for garnish; can also opt for other cuts.
• Hue Noodles – Traditional Vietnamese noodles; rice noodles can be a substitute.
• Vegetables (Water Spinach, Banana Flower, etc.) – Fresh garnishes for texture; highly recommend adding for authentic flair.
• Lime Wedges & Thai Chilies – Bright condiments served on the side for a fresh kick!
Take the time to gather these ingredients for an authentic Bun Bo Hue that will transport you straight to the heart of Vietnam!
Step‑by‑Step Instructions for Authentic Bun Bo Hue
Step 1: Prep Broth
Begin by blanching the pork bones and brisket. Place them in a large pot of boiling water and cook for 10 minutes. This process removes impurities, ensuring a clear broth. Once blanched, drain and rinse the meat under cold water, then set aside for later use in your Authentic Bun Bo Hue.
Step 2: Toasting Spices
In a dry skillet, toast the ginger, garlic, cinnamon stick, and bruised lemongrass over medium heat for about 3-5 minutes until fragrant. Keep a close eye to prevent burning. Once aromatic, remove from heat and create a spice sachet using cheesecloth, tying it securely to infuse your broth with rich flavors.
Step 3: Simmer Broth
In a large pot, combine the blanched pork bones and brisket with 4 quarts of fresh water. Bring to a rolling boil over high heat, then reduce heat to medium-low and simmer uncovered for 45 minutes. You'll notice the liquid starting to thicken and clarify, which is just the magic happening for your Authentic Bun Bo Hue.
Step 4: Add Onion
After simmering the broth, introduce the whole white onion into the pot. This will enhance the broth's sweetness and depth. Continue to simmer for an additional 45 minutes, skimming any foam that rises to the top. Your broth will develop a beautiful depth of flavor as these ingredients meld together.
Step 5: Oil Mixture
In a separate saucepan, heat the sesame oil over low heat, adding annatto seeds, minced garlic, and shallots. Cook gently for about 5 minutes until fragrant and formed into an oil mixture. Strain this infused oil into your broth, introducing a lovely reddish hue that is characteristic of Authentic Bun Bo Hue.
Step 6: Seasoning
With the brisket removed from the pot, add the remaining seasoning ingredients: shrimp paste, fish sauce, and red pepper flakes. Stir the mixture gently until everything is harmonized. Taste and adjust the seasoning as desired, ensuring the flavors are robust and fragrant in your simmering broth.
Step 7: Final Simmer
Let the broth continue to simmer on low heat for an additional 20 minutes, allowing all the flavors to meld beautifully together. The broth should be rich and aromatic, showcasing the work you've put into creating this Authentic Bun Bo Hue. Stir occasionally and keep the heat low to maintain clarity.
Step 8: Assemble Soup
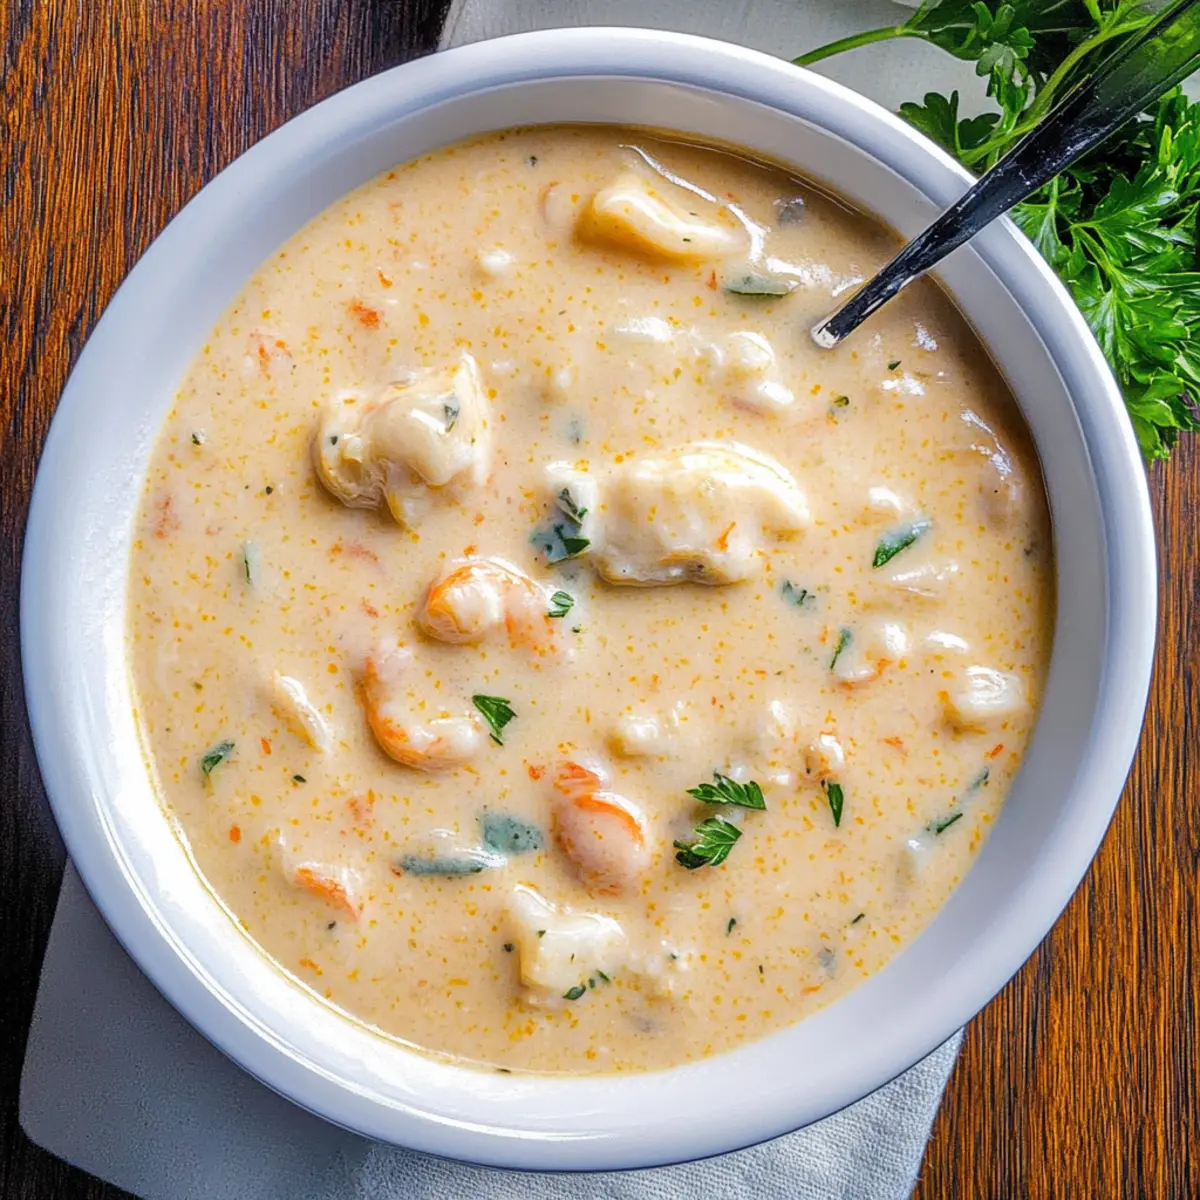
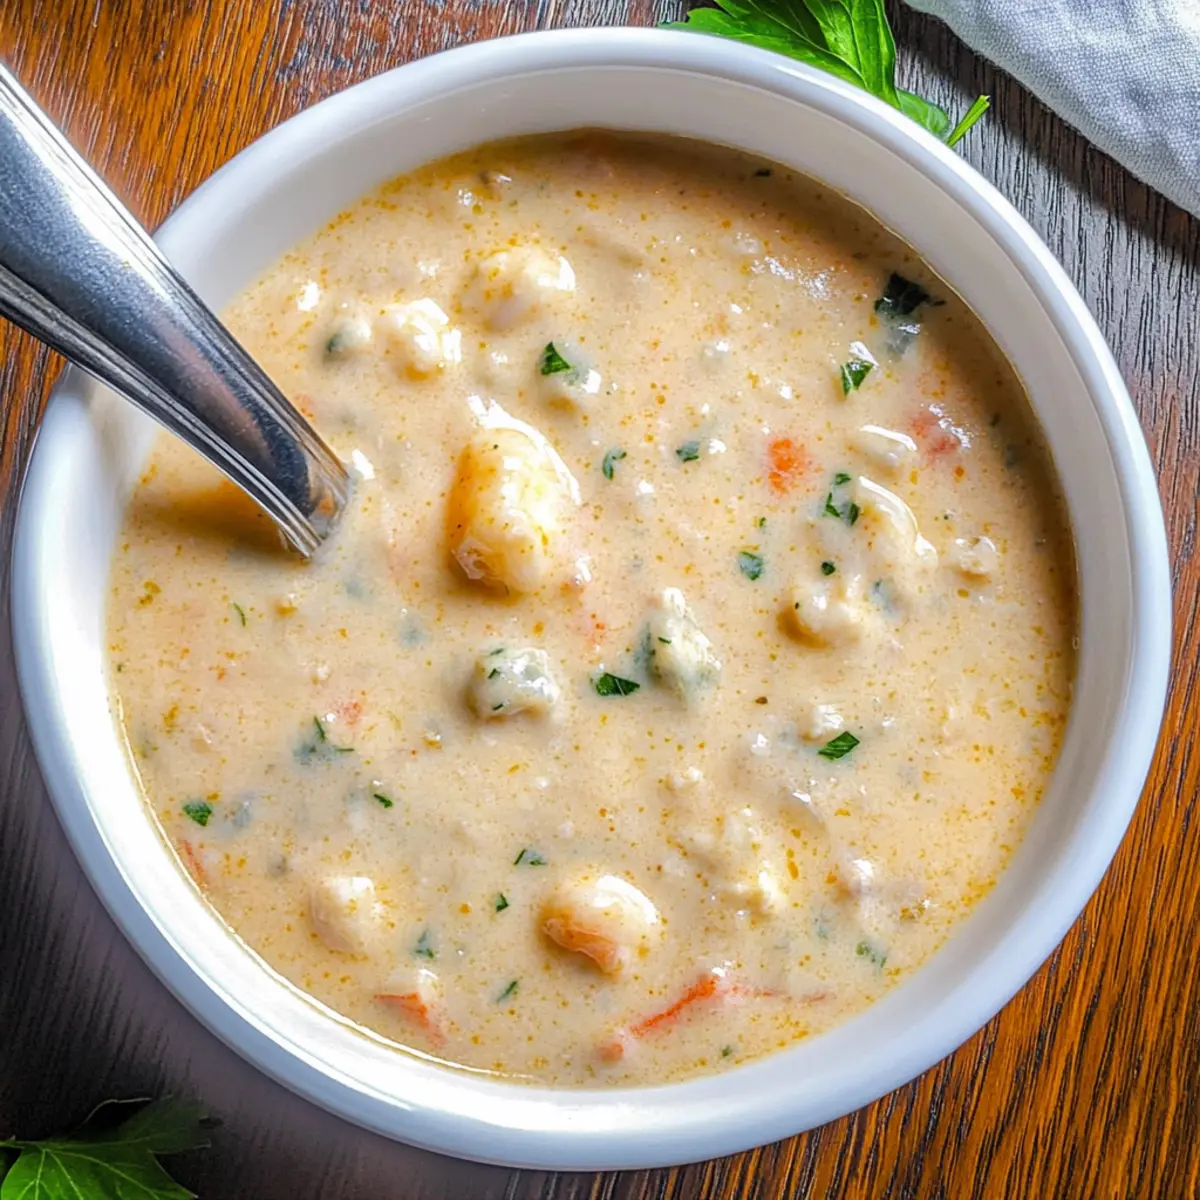
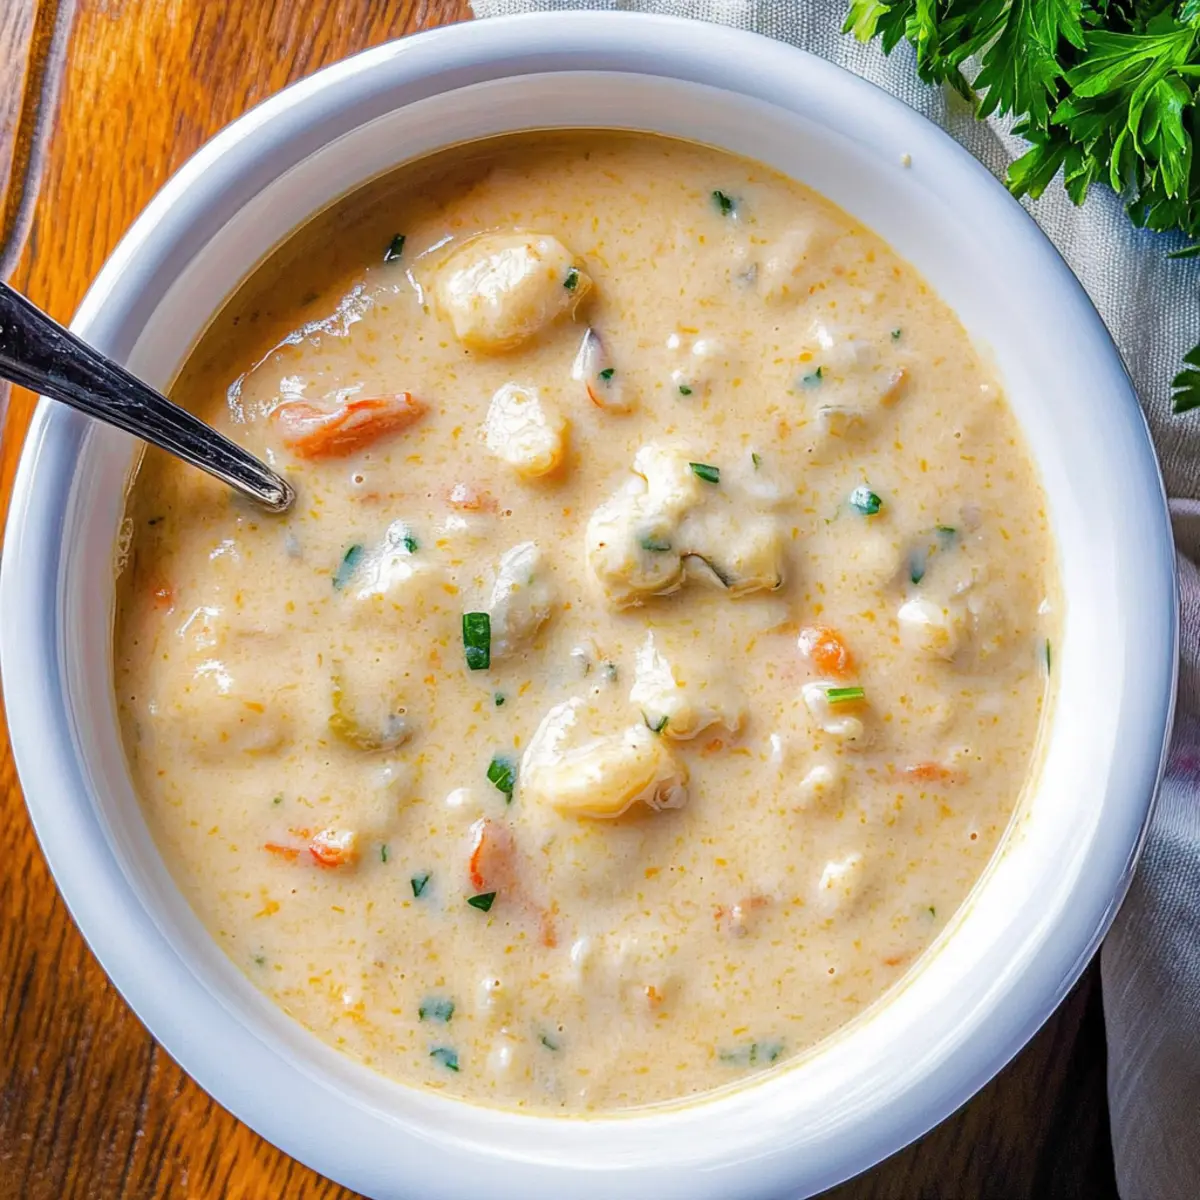
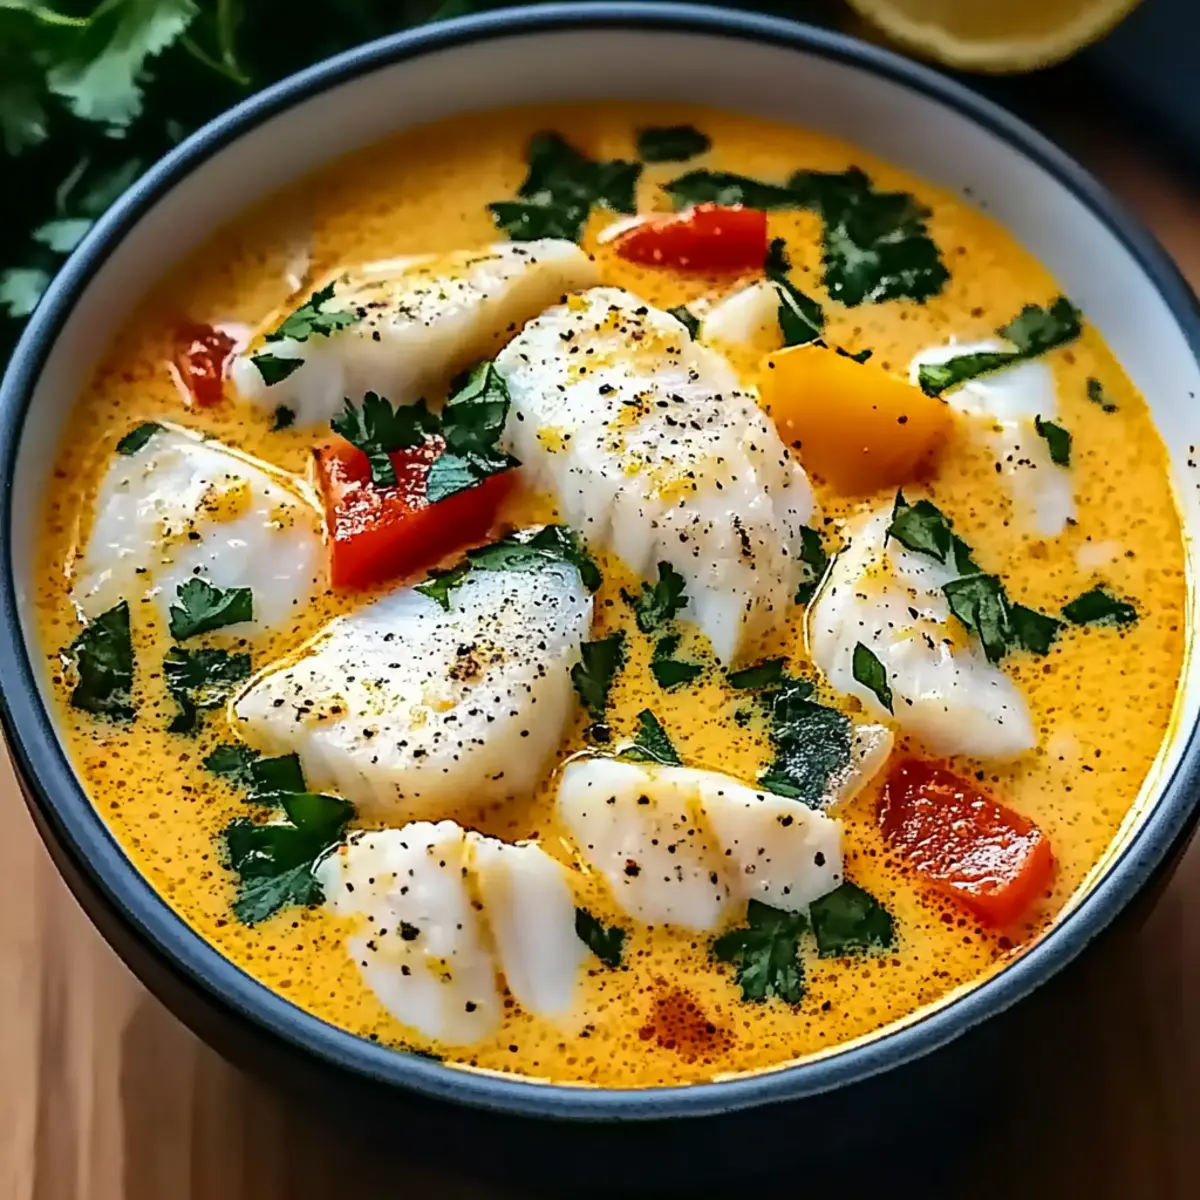
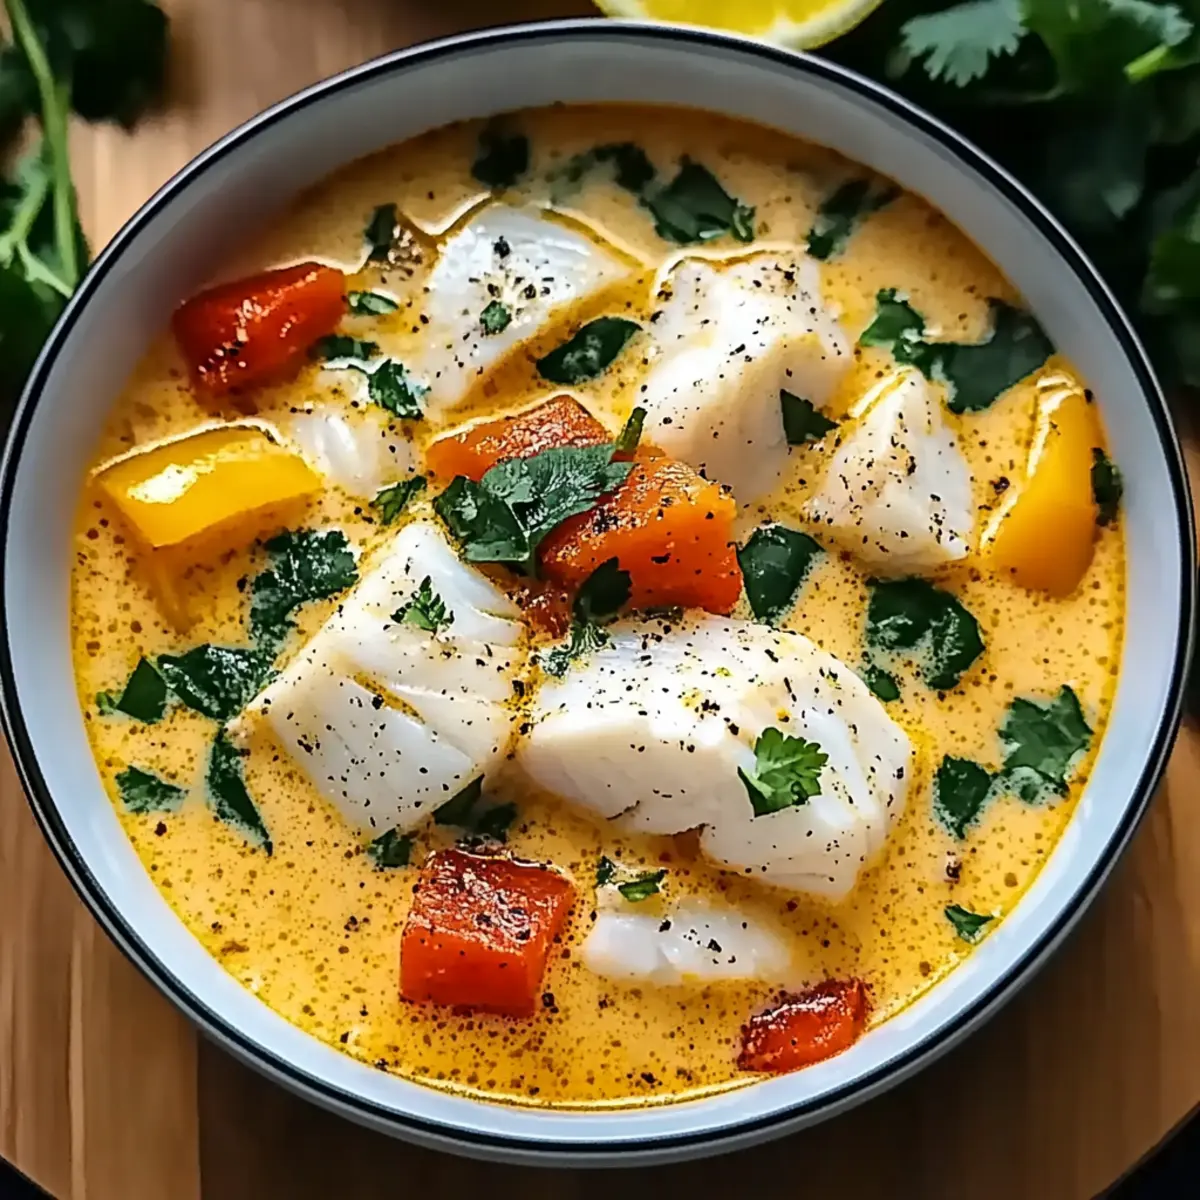
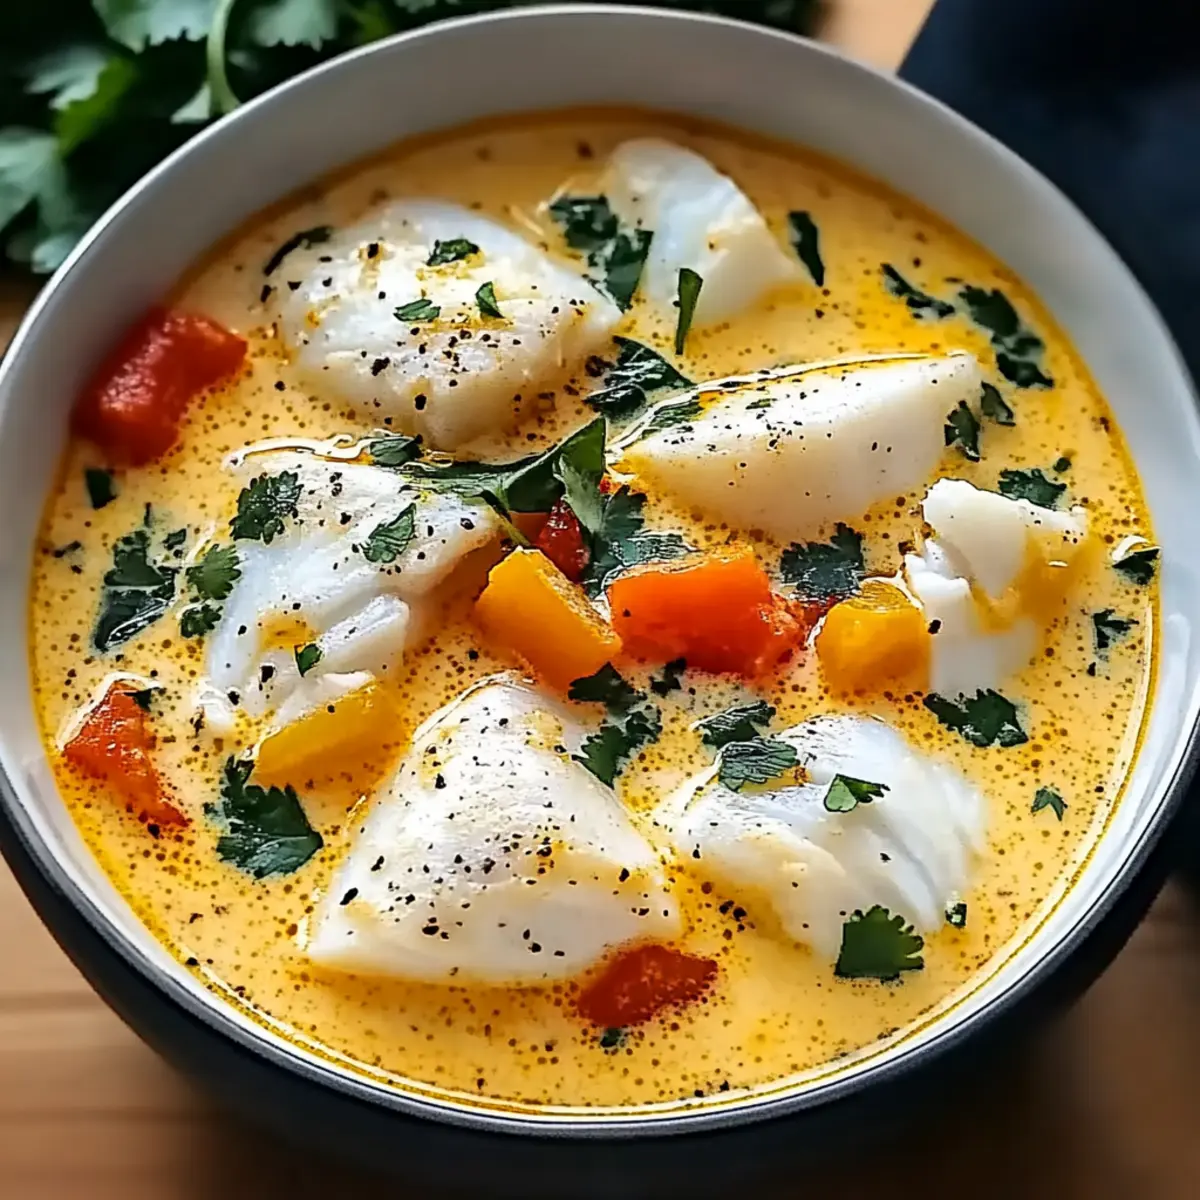
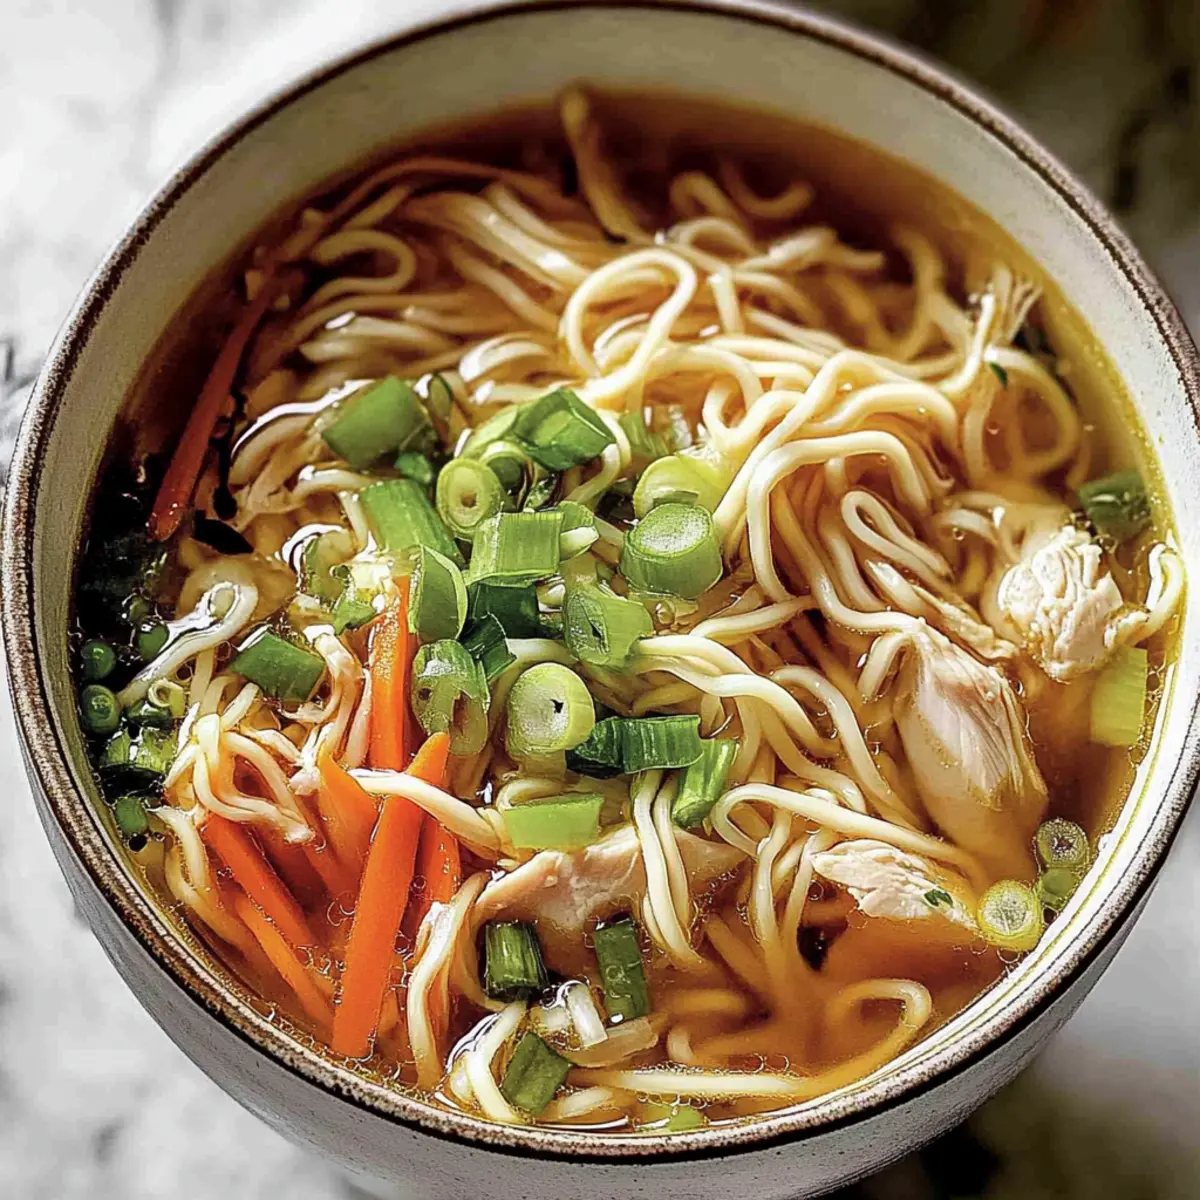
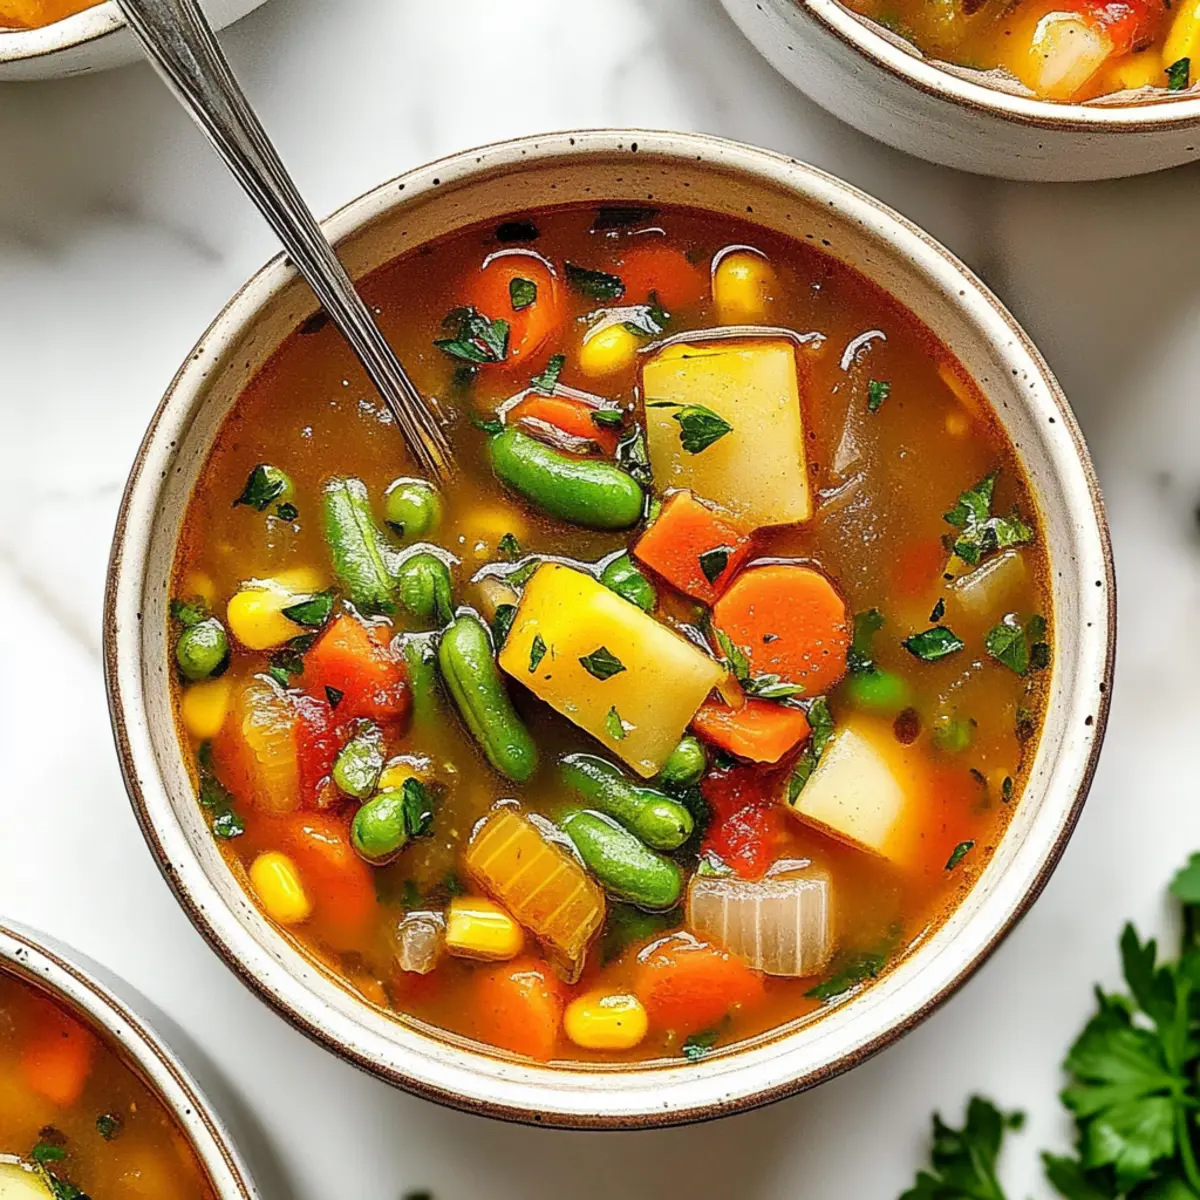
To serve, place cooked Hue noodles in bowls and top with slices of brisket and tenderloin. Ladle the hot broth over the noodles and meat, ensuring everyone gets a hearty portion. Garnish with fresh vegetables, lime wedges, and Thai chilies on the side, perfect for each diner to customize their bowl of Authentic Bun Bo Hue.
How to Store and Freeze Authentic Bun Bo Hue
Fridge: Store leftover Authentic Bun Bo Hue in an airtight container for up to 3 days. Make sure to cool it completely before refrigeration to maintain flavor and quality.
Freezer: For longer storage, freeze the broth and cooked meat separately in airtight containers for up to 3 months. This helps retain the soup's rich texture and flavors.
Reheating: When ready to enjoy, thaw overnight in the fridge and reheat on the stovetop over low heat until warmed through. Add fresh noodles and garnishes for the best taste experience.
Broth Separation: It's recommended to store the broth and noodles separately if you plan to freeze—this keeps everything fresh and prevents sogginess in the noodles upon reheating.
Make Ahead Options
Authentic Bun Bo Hue is perfect for meal prep enthusiasts looking to save time during busy weeknights! You can prepare the broth and store it in the refrigerator for up to 3 days or freeze it for longer storage. To do this, simply complete steps 1 through 6 of the recipe, letting your broth cool before transferring it into airtight containers. To maintain the rich flavors, reheat the broth gently, skimming off any fat that surfaces, and then add any remaining seasoning to taste. When you're ready to serve, cook the Hue noodles separately and assemble your soup, ensuring a fresh and delicious meal that brings the comforting essence of Authentic Bun Bo Hue to your table in a jiffy!
Authentic Bun Bo Hue Variations & Substitutions
Feel free to explore these variations and substitutions to suit your taste buds and pantry!
- Pork Shanks: Add for richer flavor and added depth; their tenderness enhances the broth beautifully.
- Flank or Chuck: Swap brisket for these cuts to create different textures while maintaining heartiness. A simple change can introduce surprising flavor complexity.
- Seafood Twist: Include shrimp or fish for a delightful seafood version, bringing coastal vibes to each spoonful. You’ll find an unexpected burst of sweetness that pairs well with the broth!
- Spicy Kick: Up the heat by adding fresh Thai chilies or more red pepper flakes; customize as you taste! If you love a fiery experience, don’t hold back on this recommendation.
- Vegetable Medley: Mix in more vegetables like bok choy or bean sprouts for added nutrients and texture. This not only makes the dish more colorful but also delightful with every bite.
- Gluten-Free Noodles: Replace Hue noodles with rice noodles or zucchini noodles to cater to gluten-free diets. You won’t miss the traditional feel while enjoying your comforting soup.
- Herbal Garnishes: Add fresh herbs like cilantro or mint for a vibrant and refreshing finish—this elevates your dish visually and flavor-wise!
- Fish Sauce Substitute: For those avoiding fish products, consider using soy sauce, though it may slightly alter the flavor profile; a touch of liquid aminos can help maintain some savoriness.
Feel free to experiment with these swaps, and don't forget to check out serving suggestions for fresh ways to enhance your Bun Bo Hue experience!
Expert Tips for Authentic Bun Bo Hue
Blanching Matters: Always thoroughly blanch the pork bones and brisket to eliminate impurities, ensuring a clear and clean broth.
Avoid Over-Stirring: While simmering, try not to stir the broth too much; this will help maintain its clarity and rich appearance.
Fresh is Best: Use the freshest ingredients possible—especially the ginger and lemongrass. This significantly enhances the authentic flavor of your Bun Bo Hue.
Taste as You Go: Adjust the seasoning right before serving. Every palate is different, so tailor the broth's flavor to suit your family's preferences!
Quality Counts: Invest in high-quality fish sauce and shrimp paste; they are essential for achieving an authentic depth in your Bun Bo Hue.
Garnish Wisely: Don't skip the garnishes! Fresh herbs and lime can elevate the dish, adding brightness and aiding in a more complex flavor profile.
What to Serve with Authentic Bun Bo Hue
The perfect meal complements the heartwarming flavors of this spicy soup with vibrant colors and fresh ingredients.
- Fresh Herbs: Pair with mint, basil, and cilantro for a fragrant touch that brightens each spoonful.
- Crispy Spring Rolls: These crunchy, savory delights provide a satisfying texture contrast, enhancing your dining experience.
- Vietnamese Fried Rice: This aromatic side dish adds depth and a touch of sweetness, offering a fulfilling addition to your meal.
- Thai Chili Sauce: For those who crave a spicy kick, drizzle this on the soup or serve on the side—it elevates the culinary experience!
- Lime Wedges: Presenting fresh lime on the side allows diners to add zesty brightness to their bowl, enhancing flavor harmony.
- Banana Flower Salad: This crunchy, slightly bitter salad balances the hearty soup, introducing a refreshing element to your plate.
- Coconut Juice: A cool, refreshing drink option, balancing the warmth of the soup while providing a sweet tropical twist.
- Mango Sticky Rice: For dessert, this sweet, creamy dish concludes your meal perfectly, offering a delightful contrast to the spicy soup.
- Iced Lemon Tea: This refreshing beverage adds a sweet-tart flair to your meal, cleansing the palate beautifully between bites.
Authentic Bun Bo Hue Recipe FAQs
How do I choose the right ingredients for my Bun Bo Hue?
Absolutely! Selecting high-quality ingredients is key to a delicious Authentic Bun Bo Hue. When choosing pork bones, look for ones with a good amount of meat and marbling—this will enhance your broth's flavor. For the brisket, choose one that's well-marbled for tenderness. Fresh lemongrass and ginger are crucial; they should be fragrant and vibrant. If you spot any dark spots on the lemongrass, it's best to opt for fresh stalks instead.
What’s the best way to store leftovers?
You can keep leftover Authentic Bun Bo Hue in an airtight container in the fridge for up to 3 days. Make sure the soup has cooled down completely before placing it in the fridge to maintain its flavor. If you notice any separation, don't worry! Just give it a gentle stir when you're ready to reheat.
Can I freeze Bun Bo Hue?
Very! For longer storage, consider freezing the broth and the meat separately in airtight containers. The broth can last for up to 3 months, while the cooked meat should also be consumed within that timeframe for optimal taste. When you're ready to enjoy, simply thaw the broth overnight in the fridge and reheat it gently on the stovetop.
What if my broth turns cloudy?
No worries! If you find your broth is cloudy, this usually happens when the meats aren’t blanched thoroughly or if the broth is stirred too much during simmering. To fix this in your next attempt, make sure to blanch your pork bones and brisket in boiling water for at least 10 minutes and allow any impurities to rise to the top during simmering—skim this off to maintain clarity.
Are there any dietary concerns I should be aware of?
Absolutely! If you or your guests have allergies, take note of the shrimp paste and fish sauce, as these ingredients contain shellfish and fish, which are common allergens. For a vegetarian or vegan adaptation, you can skip these items entirely and focus on broth made from vegetables and mushrooms, though it will diverge from the Authentic flavor profile.
How can I adjust the spiciness of my soup?
The more the merrier! If you like your Bun Bo Hue with a kick, you can increase the amount of red pepper flakes or add fresh Thai chilies topped on each serving for extra heat. Conversely, if you prefer a milder dish, you can reduce the red pepper flakes or simply serve the chilies on the side for those who want to add them to their bowl.
Authentic Bun Bo Hue: Dive into Vietnam's Spicy Comfort Soup
Ingredients
Equipment
Method
- Begin by blanching the pork bones and brisket in boiling water for 10 minutes. Drain and rinse under cold water, then set aside.
- In a dry skillet, toast the ginger, garlic, cinnamon stick, and bruised lemongrass over medium heat for about 3-5 minutes until fragrant.
- In a large pot, combine the blanched pork bones and brisket with 4 quarts of fresh water. Bring to a boil, then reduce heat to medium-low and simmer uncovered for 45 minutes.
- Introduce the whole white onion into the pot and continue to simmer for an additional 45 minutes, skimming any foam that rises to the top.
- In a separate saucepan, heat the sesame oil, adding annatto seeds, minced garlic, and shallots. Cook for about 5 minutes until fragrant and strain into your broth.
- With the brisket removed from the pot, add shrimp paste, fish sauce, and red pepper flakes. Stir gently until harmonized.
- Let the broth continue to simmer on low heat for an additional 20 minutes, allowing all flavors to meld beautifully.
- To serve, place cooked Hue noodles in bowls, top with slices of brisket and tenderloin, ladle hot broth, and garnish with fresh vegetables, lime wedges, and Thai chilies.