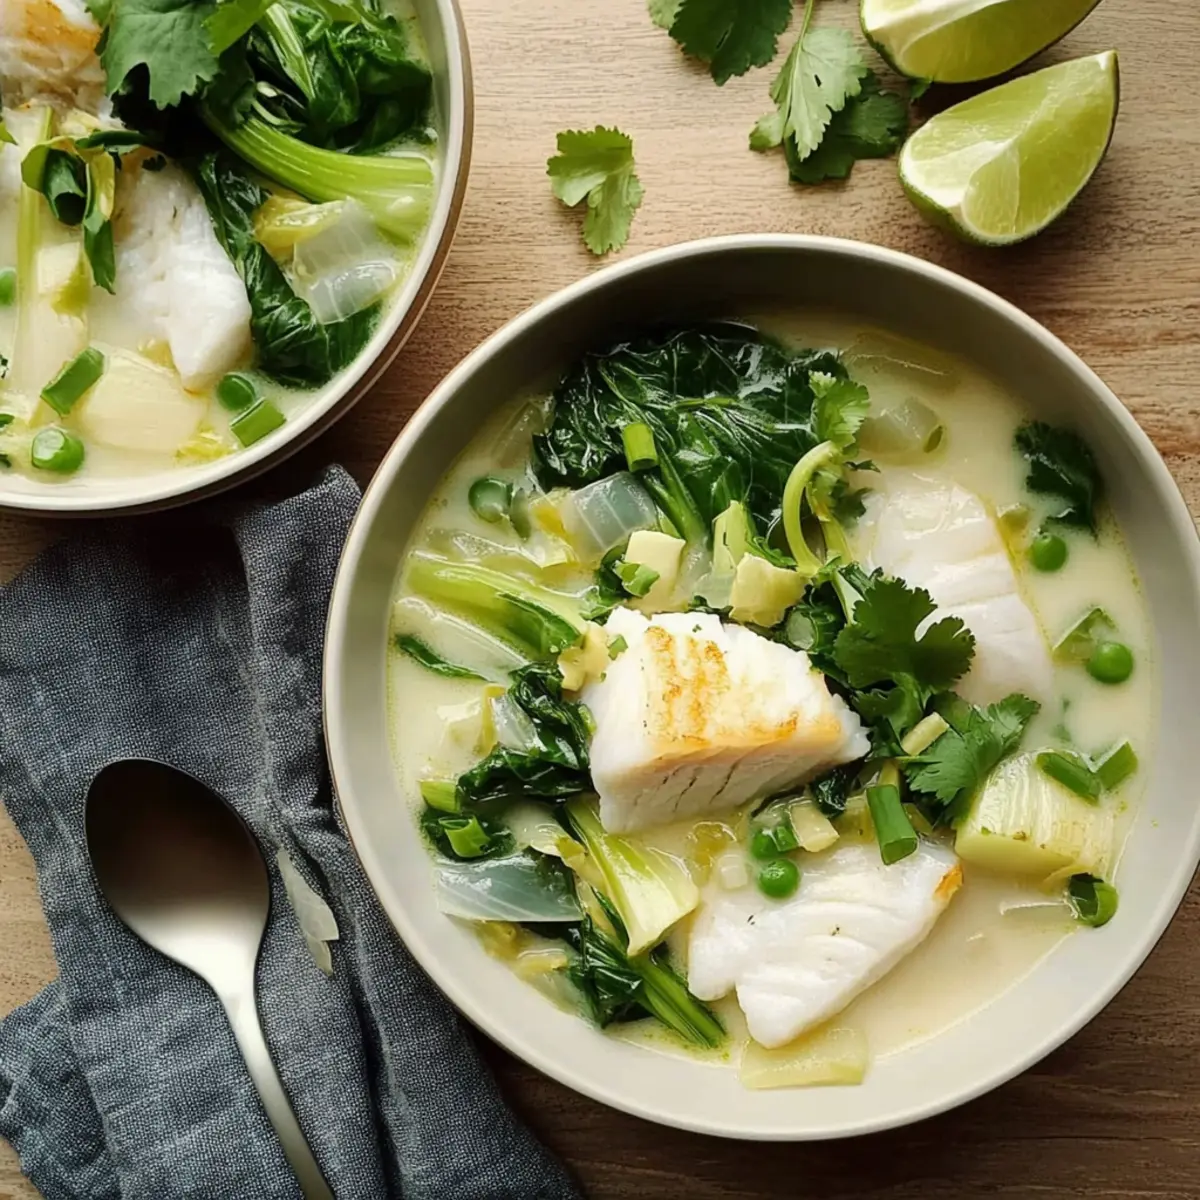
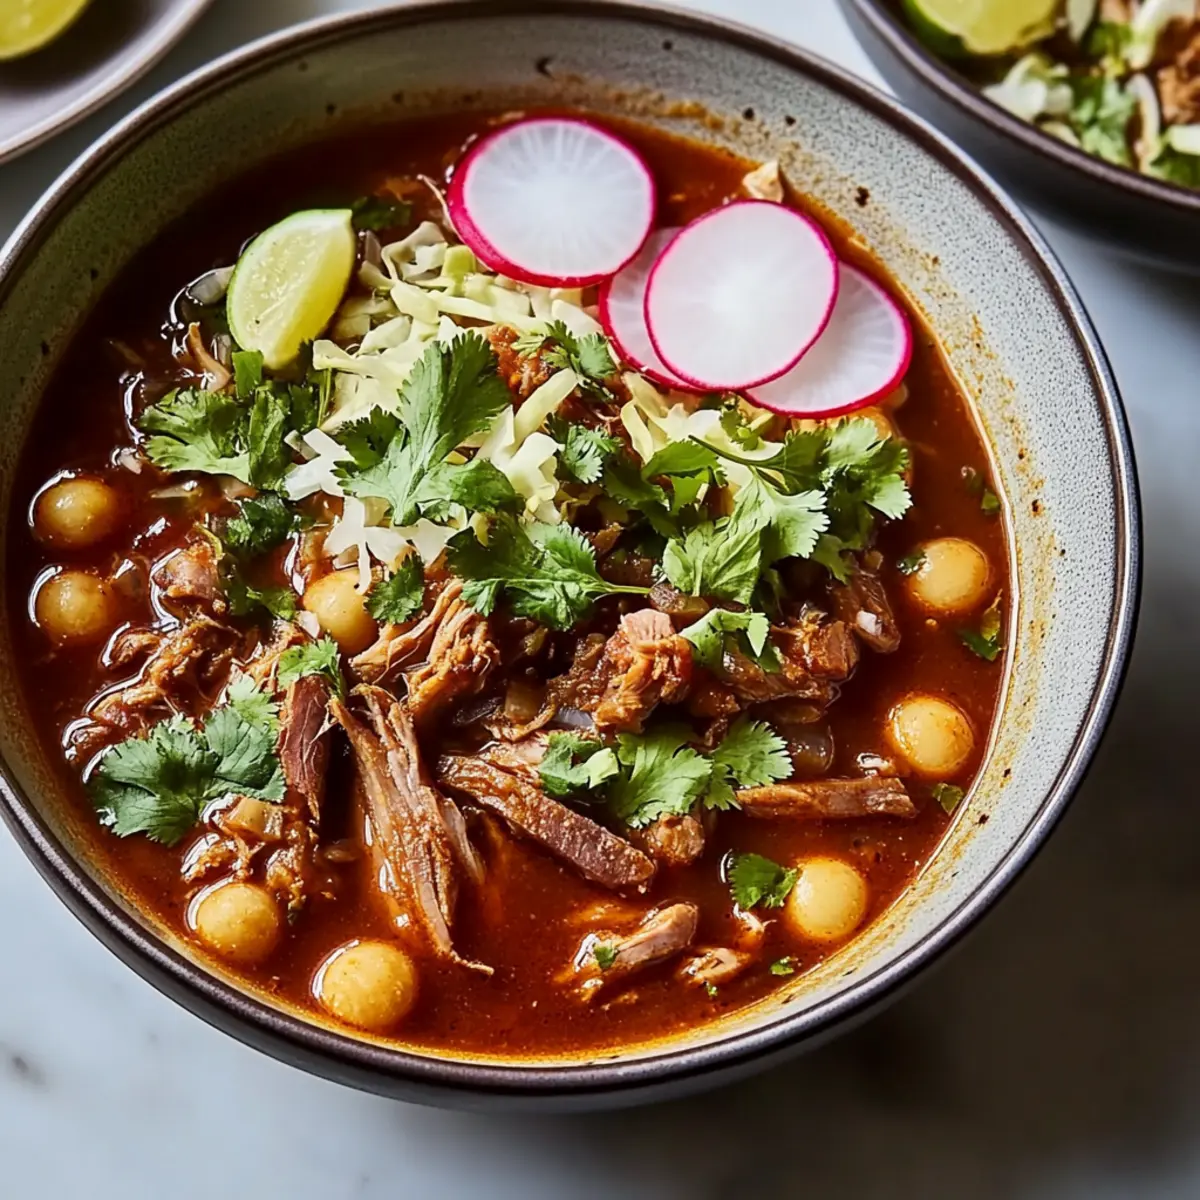
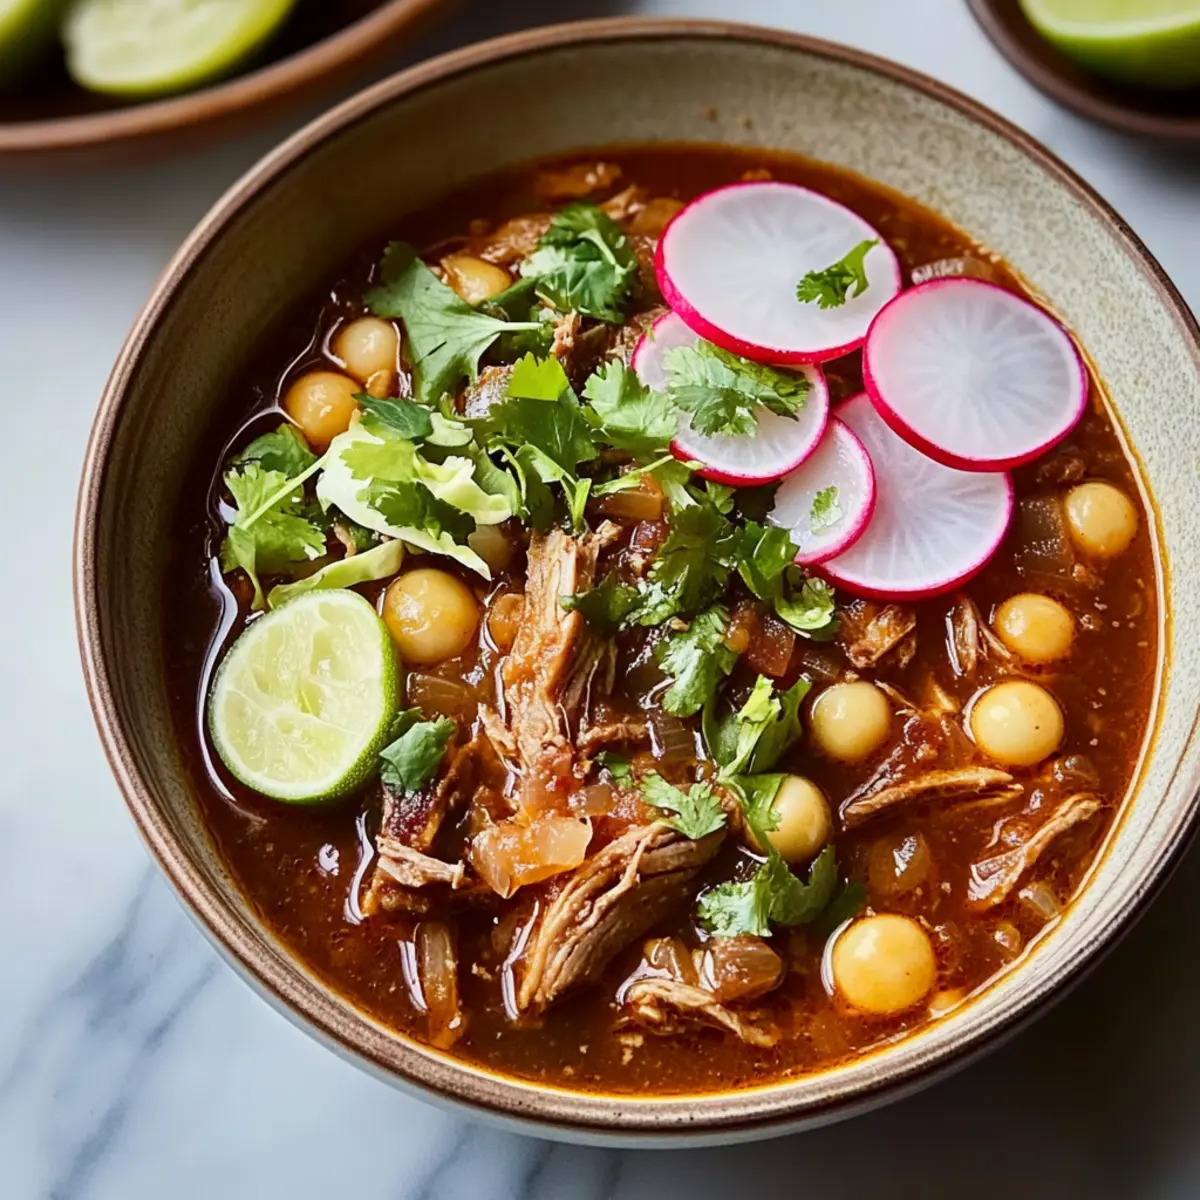
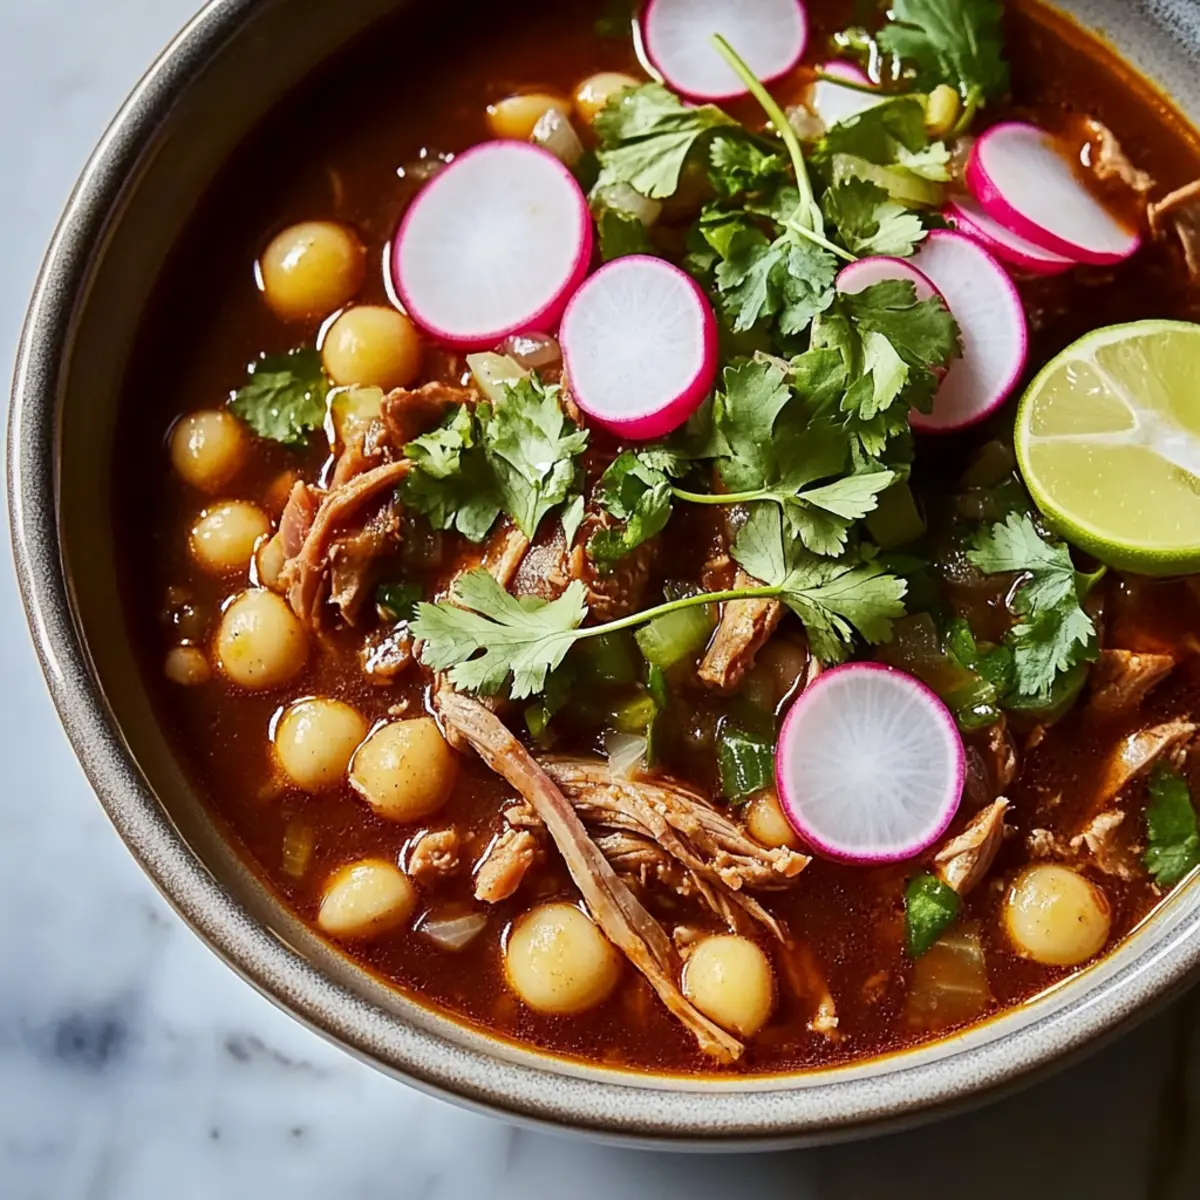
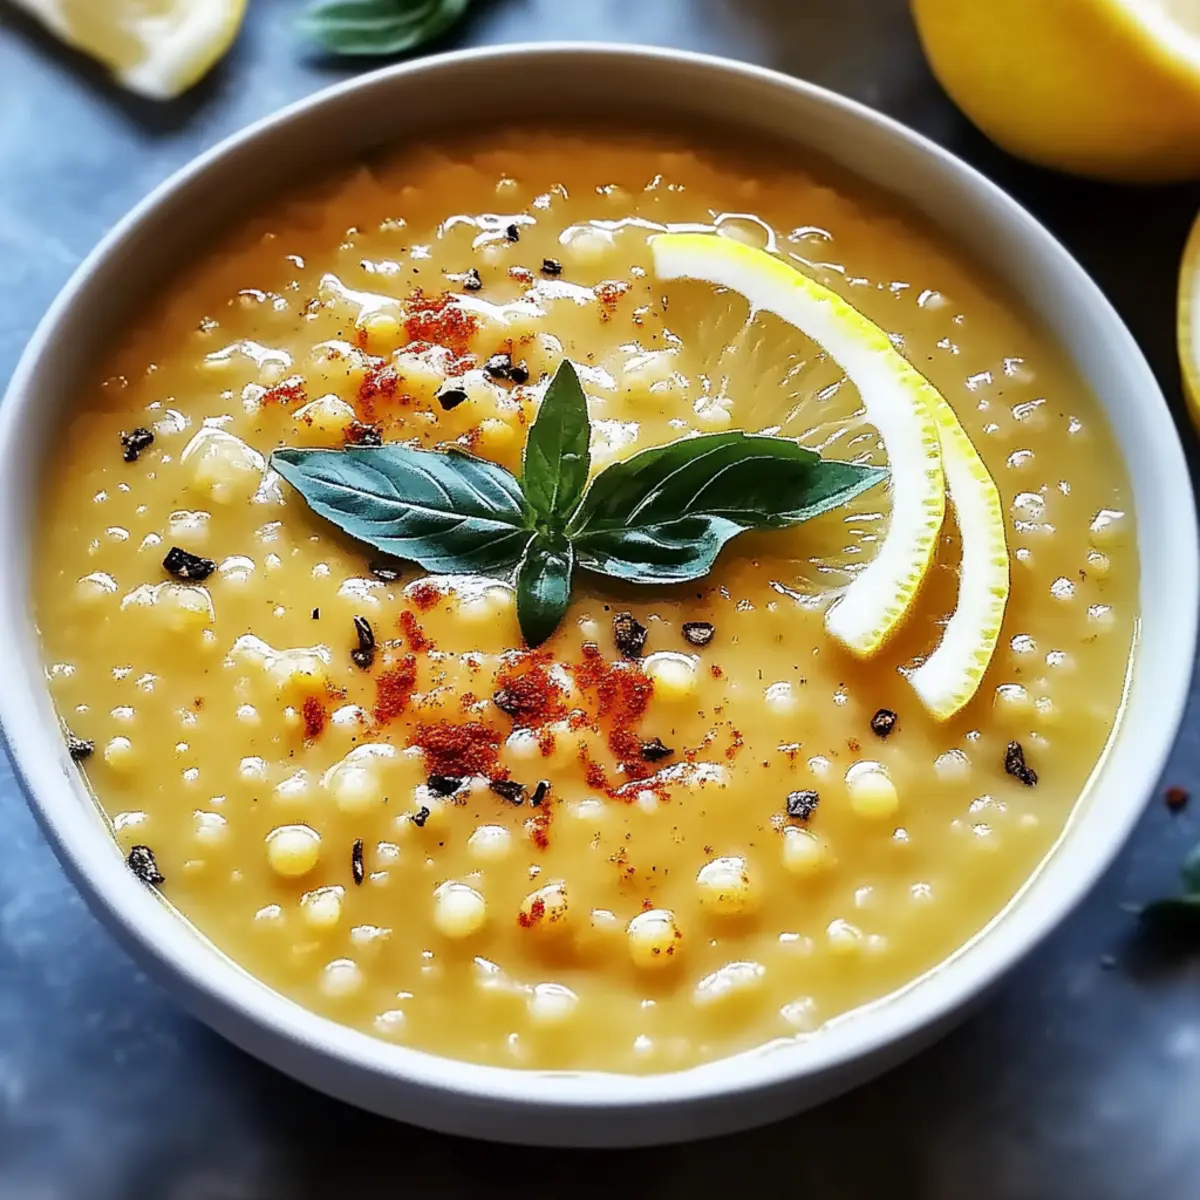
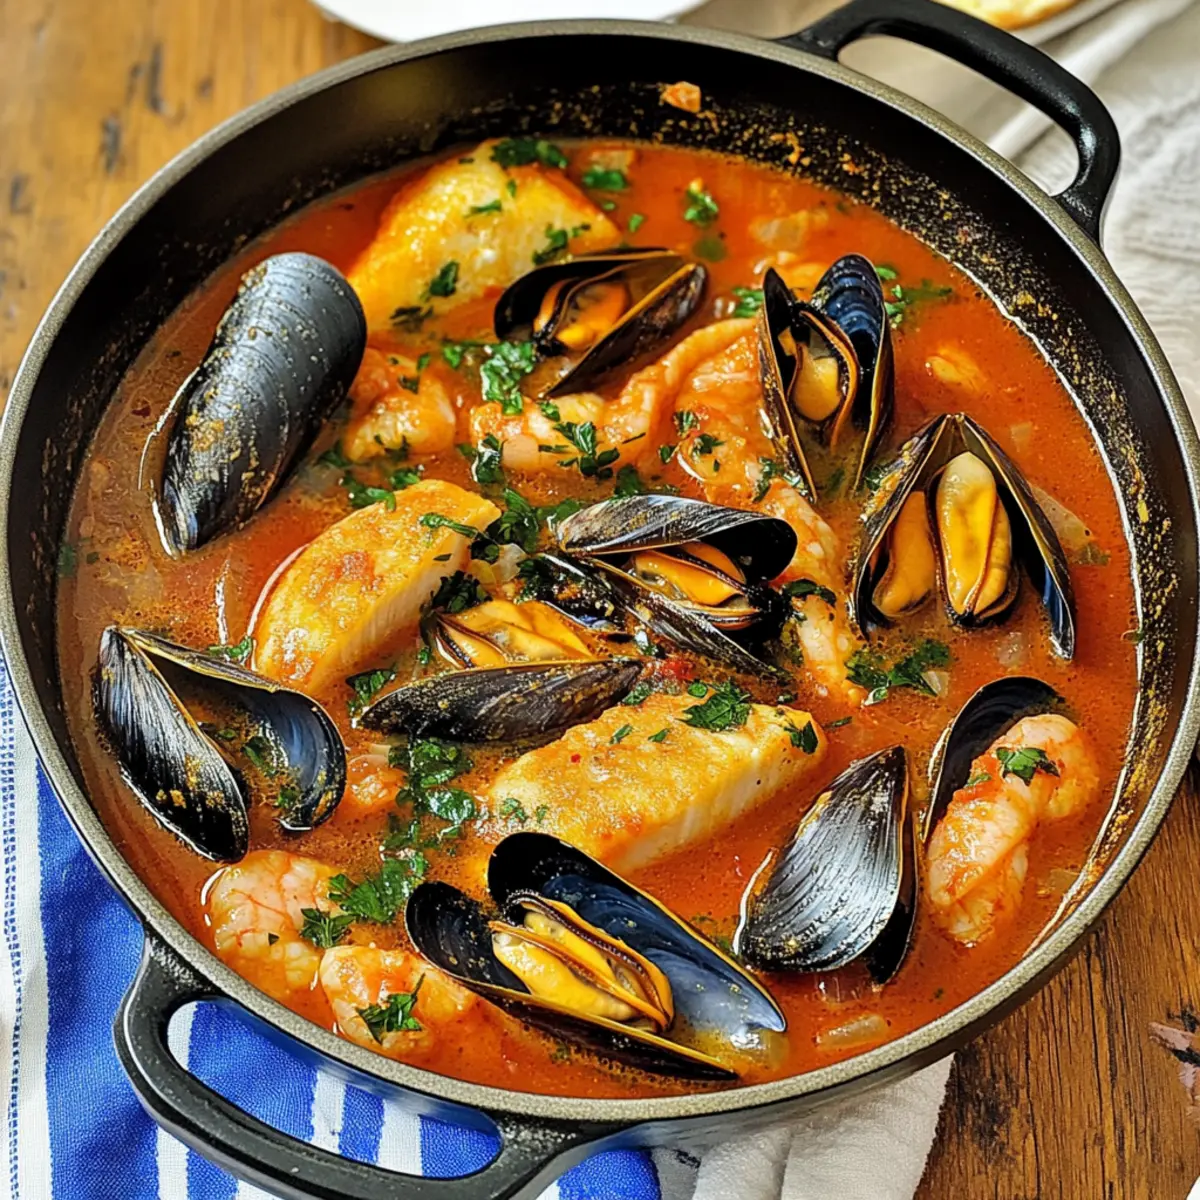
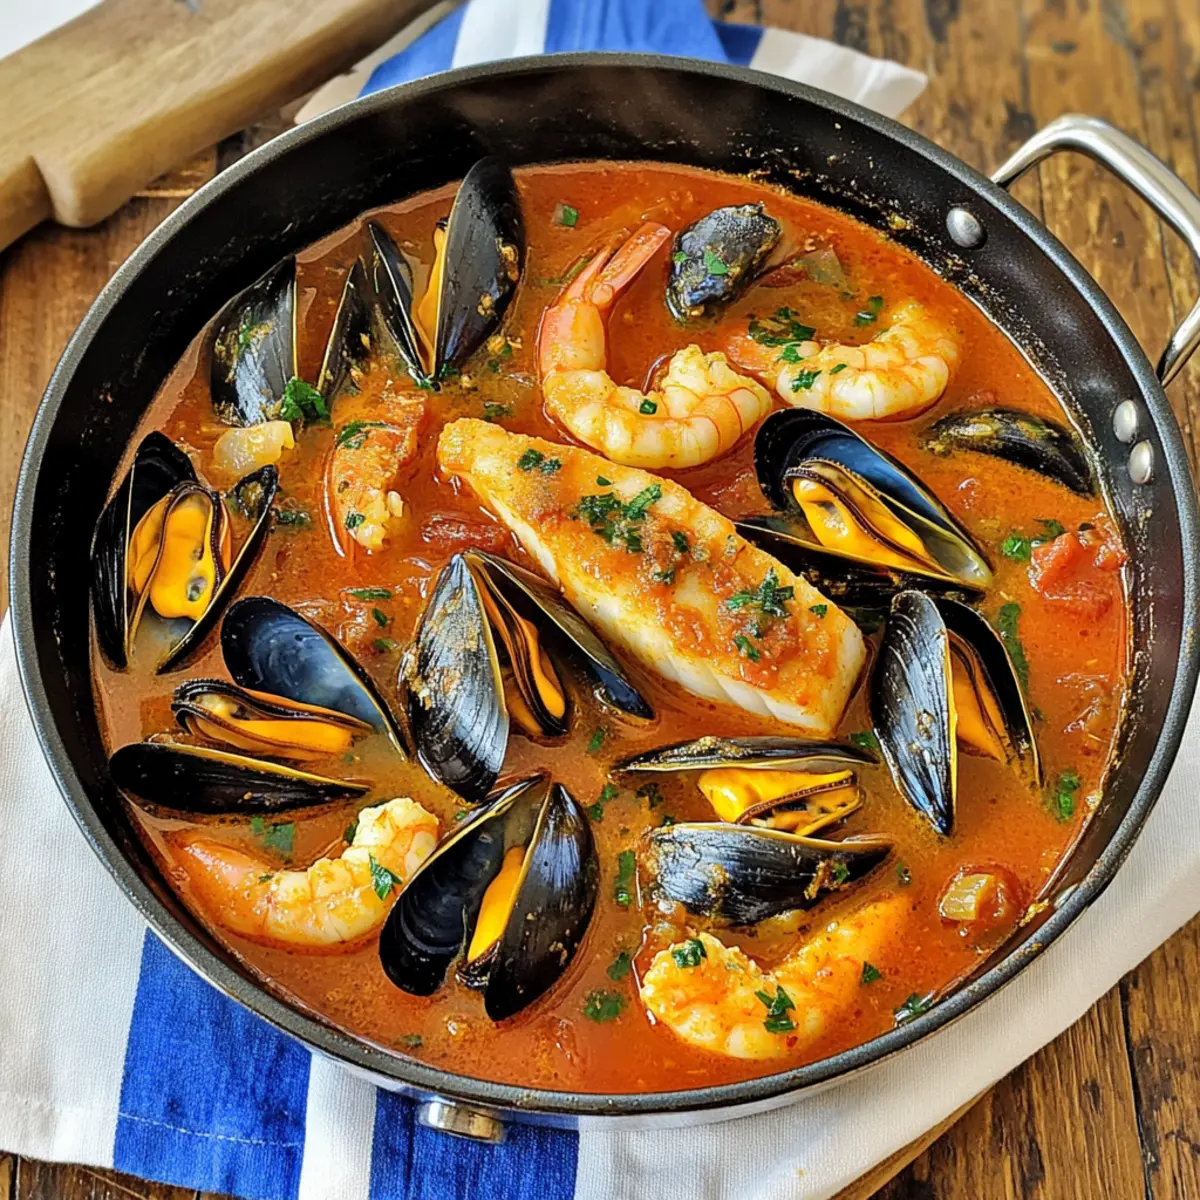
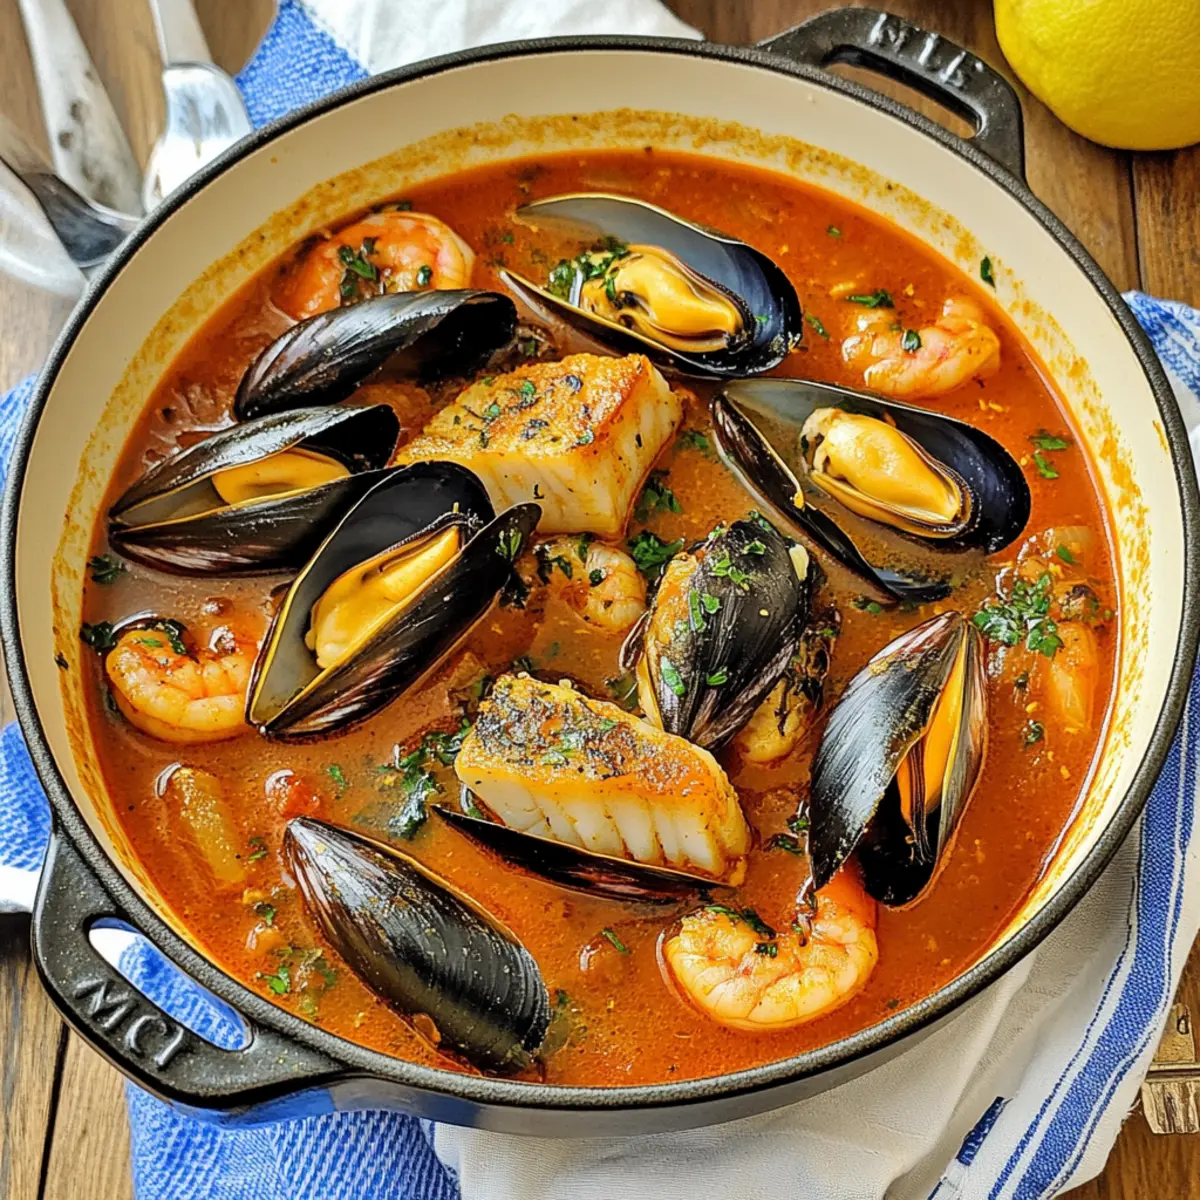
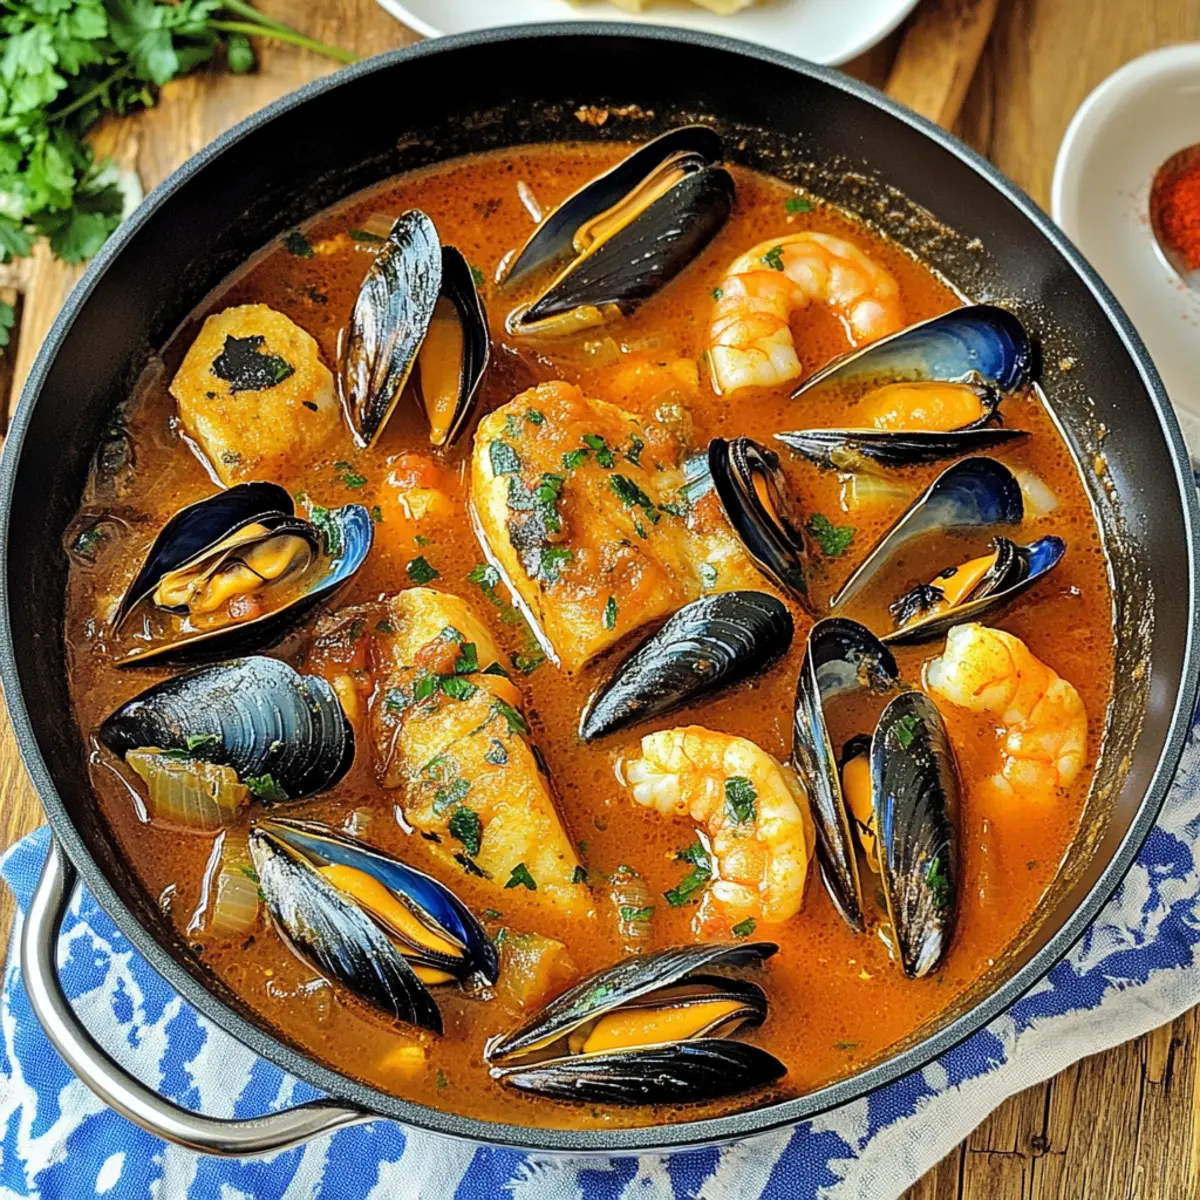
Every now and then, a dish comes along that elevates a weeknight dinner to a coastal escape. This One-Pot Spicy Spanish Seafood Stew is that kind of meal—simply enticing and ready in just 30 minutes. Picture a vibrant medley of tender fish, succulent shrimp, and juicy mussels, all simmered together in a flavor-packed broth kissed by the warmth of Mediterranean spices. Not only is this dish a quick and easy option for busy evenings, but it also offers a delightful way to impress your loved ones with minimal effort. Whether you're a devoted seafood aficionado or just looking for something a bit different, this stew promises satisfaction. Are you ready to dive into this culinary adventure?
Why Is This Stew So Irresistible?
Quick and Easy: In just 30 minutes, you can whip up a delightful meal that feels like a chef's masterpiece, perfect for busy weeknights.
Rich, Bold Flavors: The combination of saffron and smoky paprika creates an unforgettable taste that transports you straight to the Mediterranean.
One-Pot Wonder: Less cleanup means more time to savor this delicious dish with friends or family.
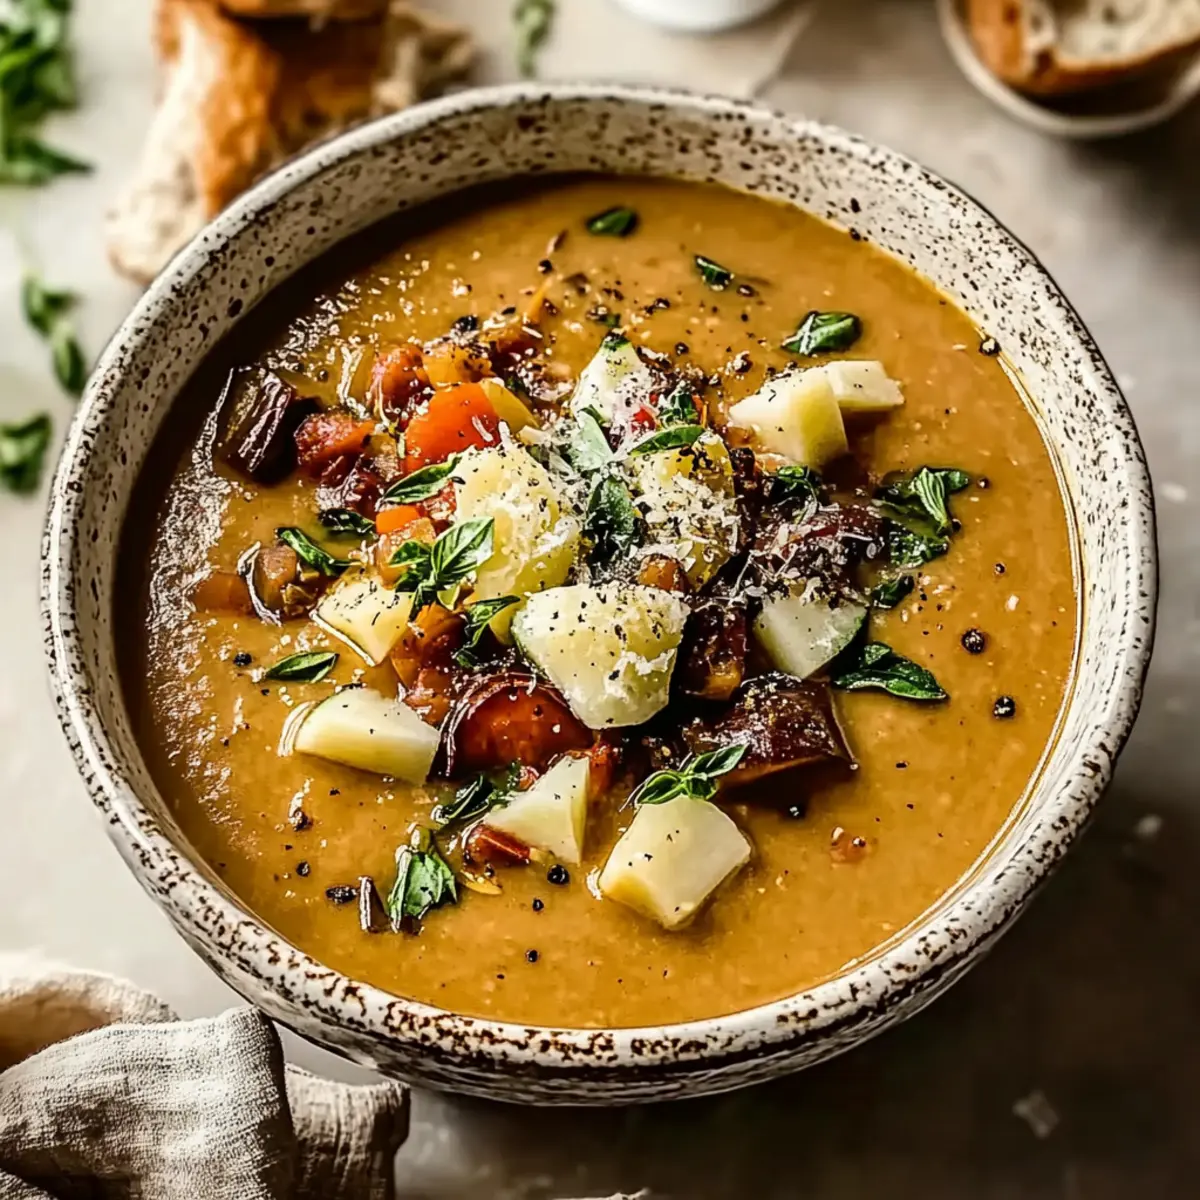
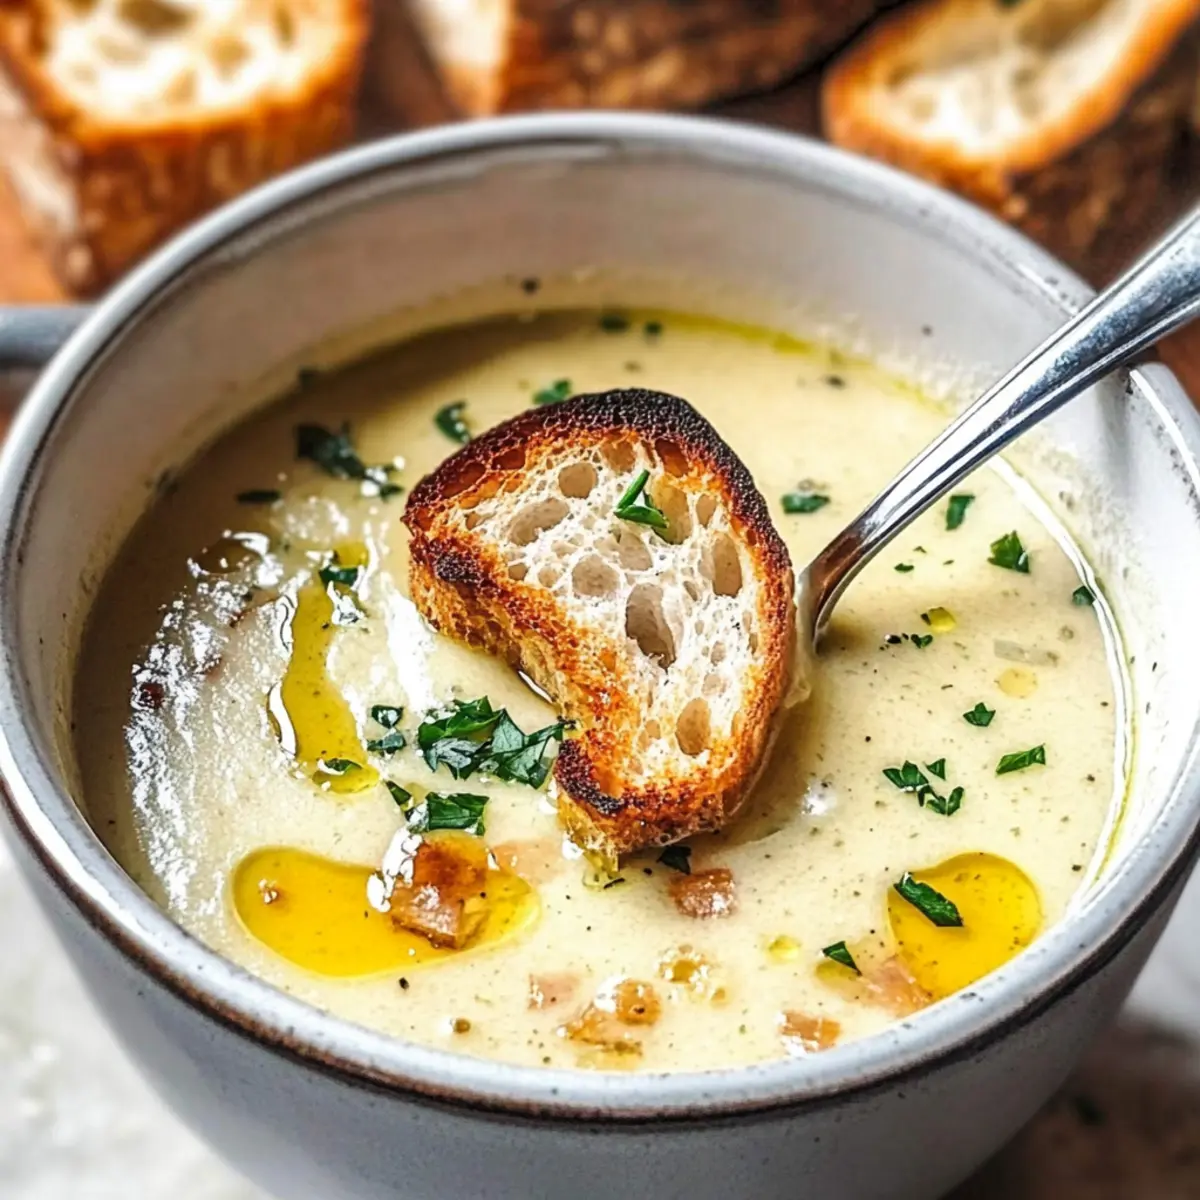
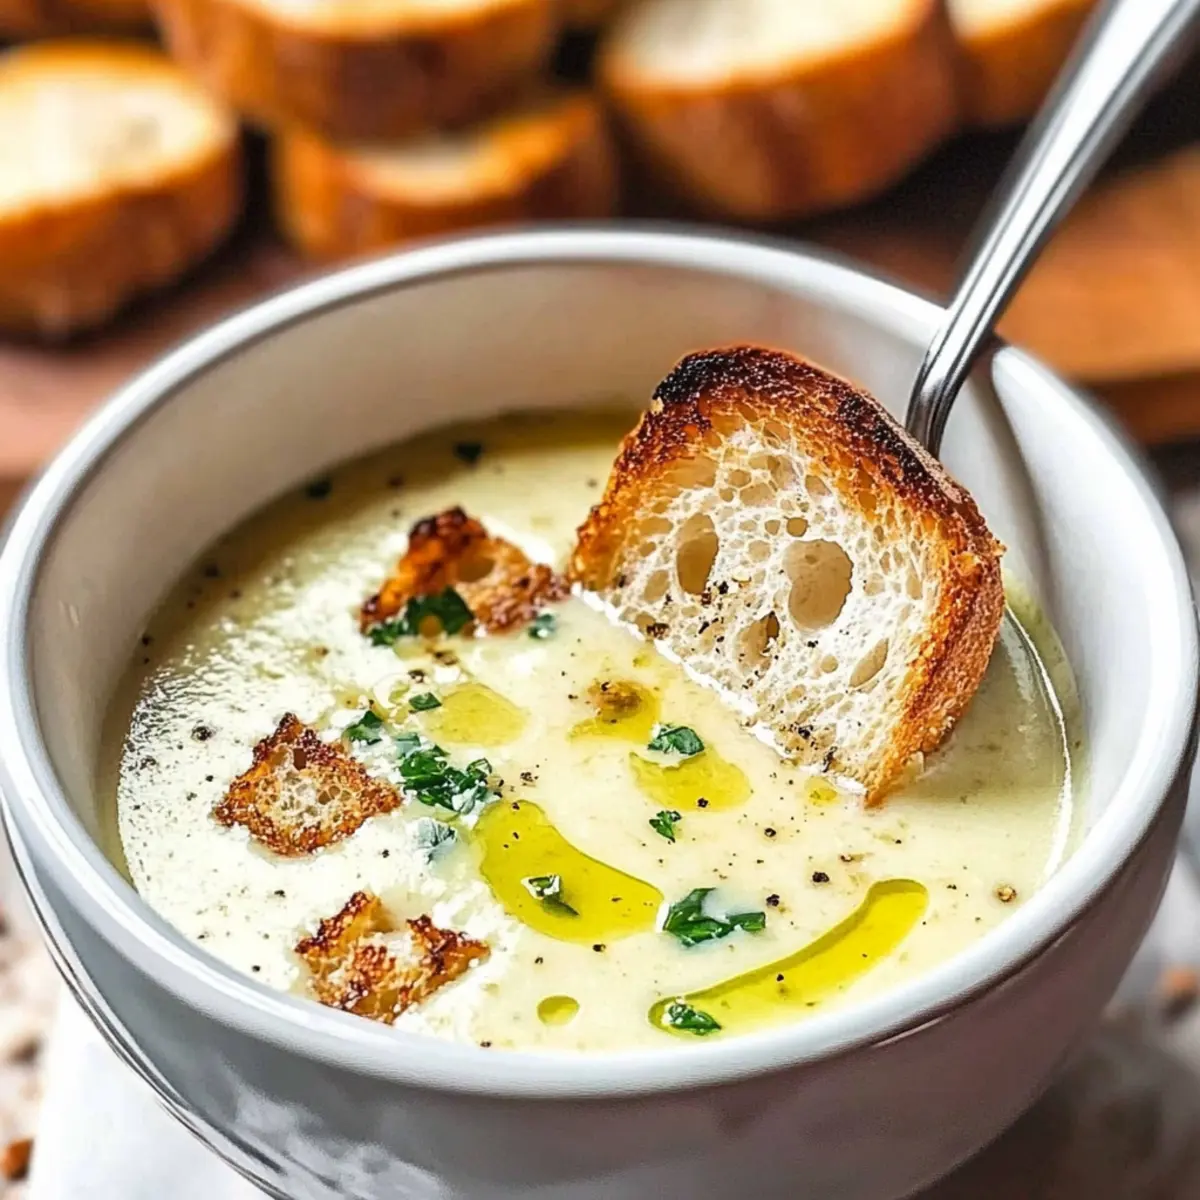
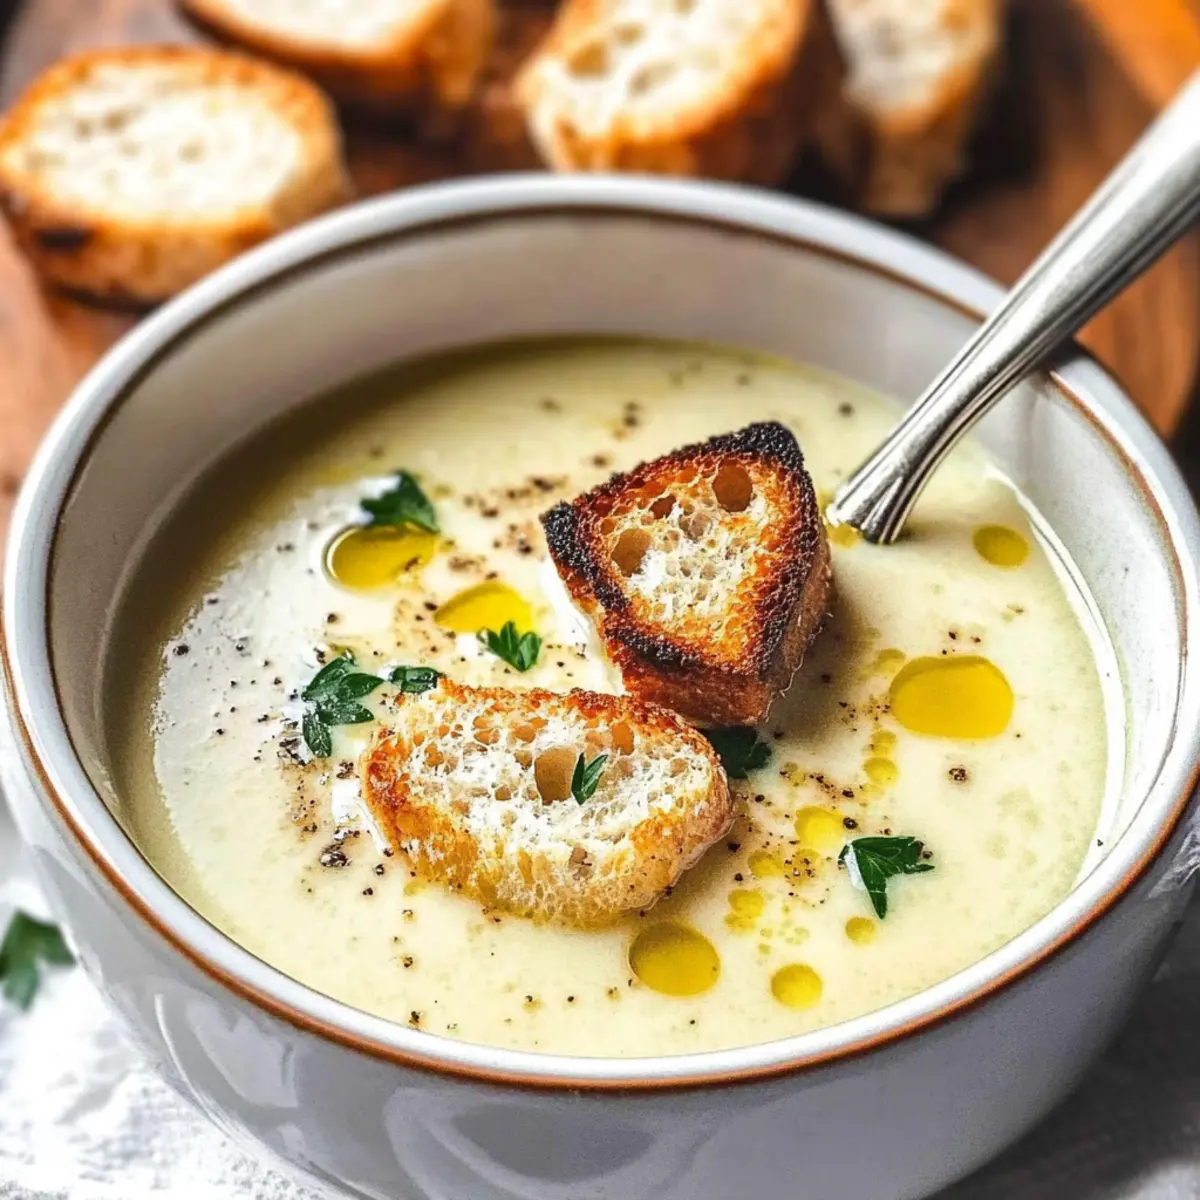
Crowd-Pleasing Appeal: Whether you’re dining alone or entertaining, this stew is sure to impress. Perhaps serve it alongside a crispy bread roll for dipping or check out my ideas for a vibrant Crock Pot Chicken Stew to complement your meal!
Versatile Options: Easily swap seafood for your favorites or create a plant-based version using beans as a hearty alternative.
Spicy Spanish Seafood Stew Ingredients
For the Base
- Extra Virgin Olive Oil – Adds richness and depth to the stew; use high-quality oil for the best flavor.
- Onion (1/2, diced) – Provides sweetness and a flavorful base for the sauce; shallots also work well for a milder flavor.
- Garlic (3 cloves, minced) – Enhances aroma and flavor; fresh garlic is always preferred.
- Hot Smoked Spanish Paprika (1 tsp) – Infuses the stew with a spicy, smoky flavor; for less heat, regular paprika can be used.
- Dried Thyme (1/2 tsp) – Adds herbal notes to the dish; fresh thyme can elevate the flavor even more.
- White Wine (1/4 cup) – Contributes acidity and brightness; fish stock is a good substitution for a non-alcoholic version.
- Diced Tomatoes (15 oz can) – Forms the stewy base providing moisture and texture; substitute with fresh tomatoes when in season.
- Fish Broth (1 cup) – Adds depth and umami; homemade is best, but store-bought works too.
- Saffron Threads (1/2 tsp) – The signature ingredient for authentic Mediterranean flavor; avoid imitation saffron for best results.
For the Seafood
- Cod Fillets (4, about 4 oz each) – Provides a firm, flaky texture; mild white fish like haddock can be used instead.
- Raw Jumbo Shrimp (12, peeled & deveined) – Brings a sweet, briny flavor; scallops can be a great substitute if desired.
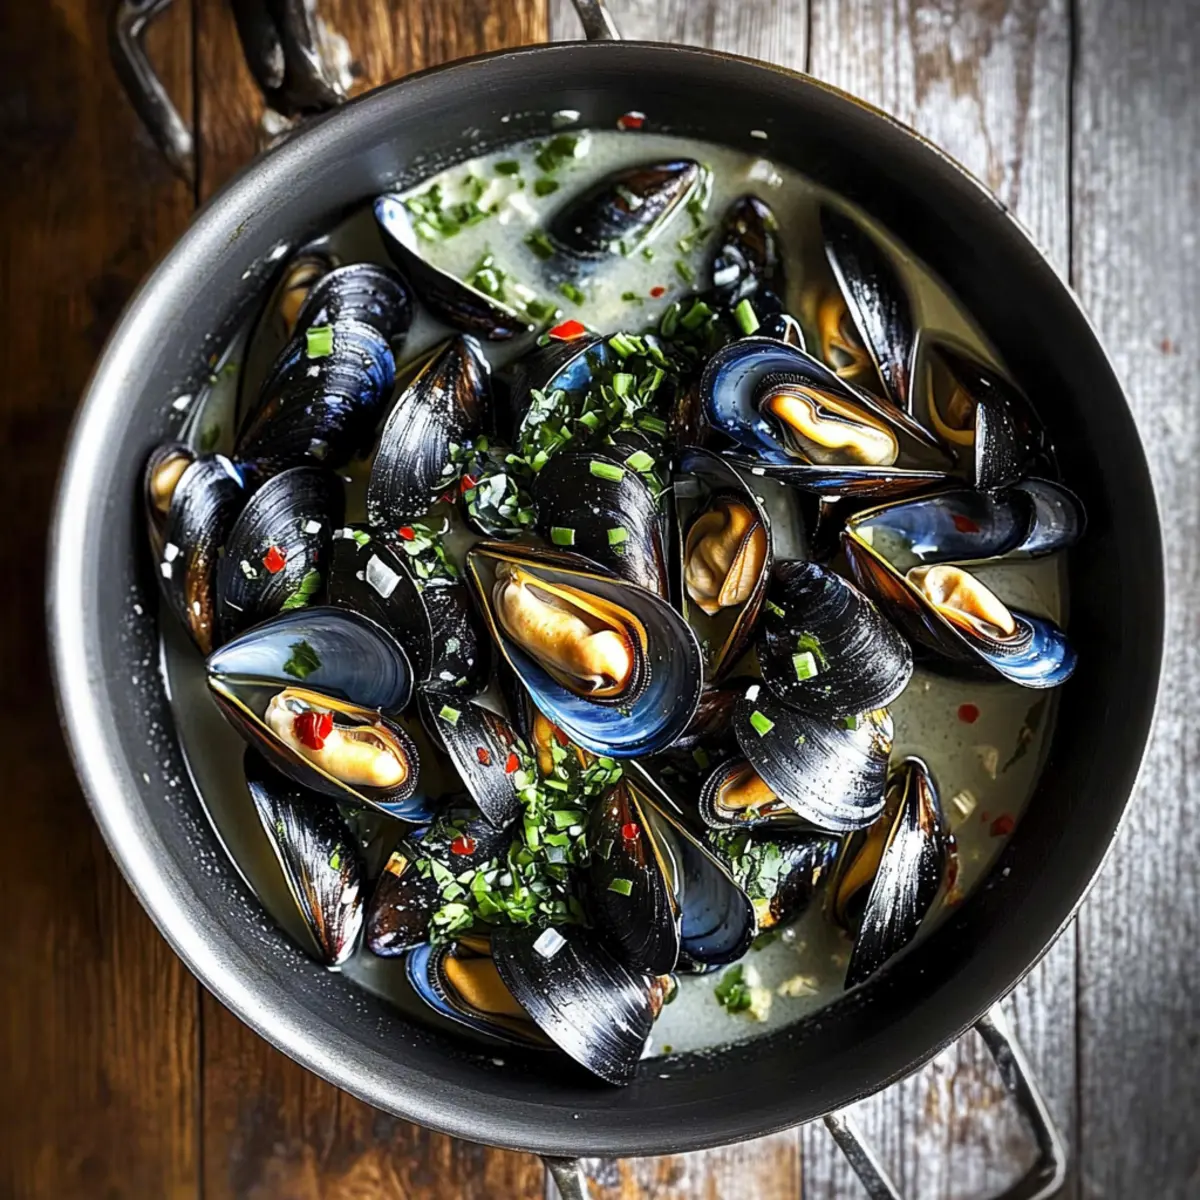
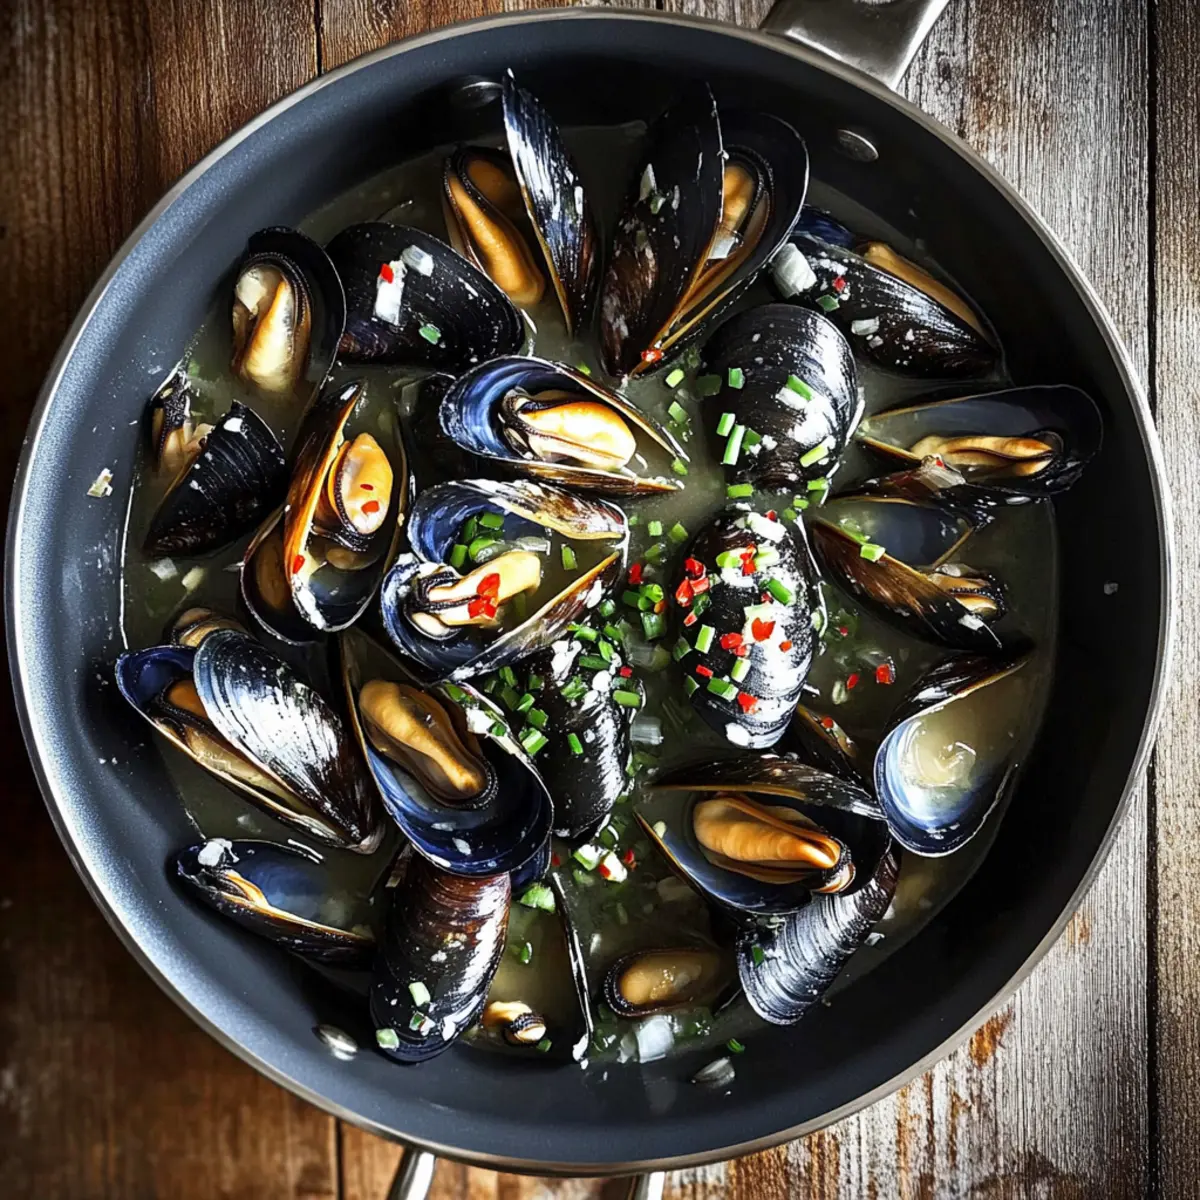
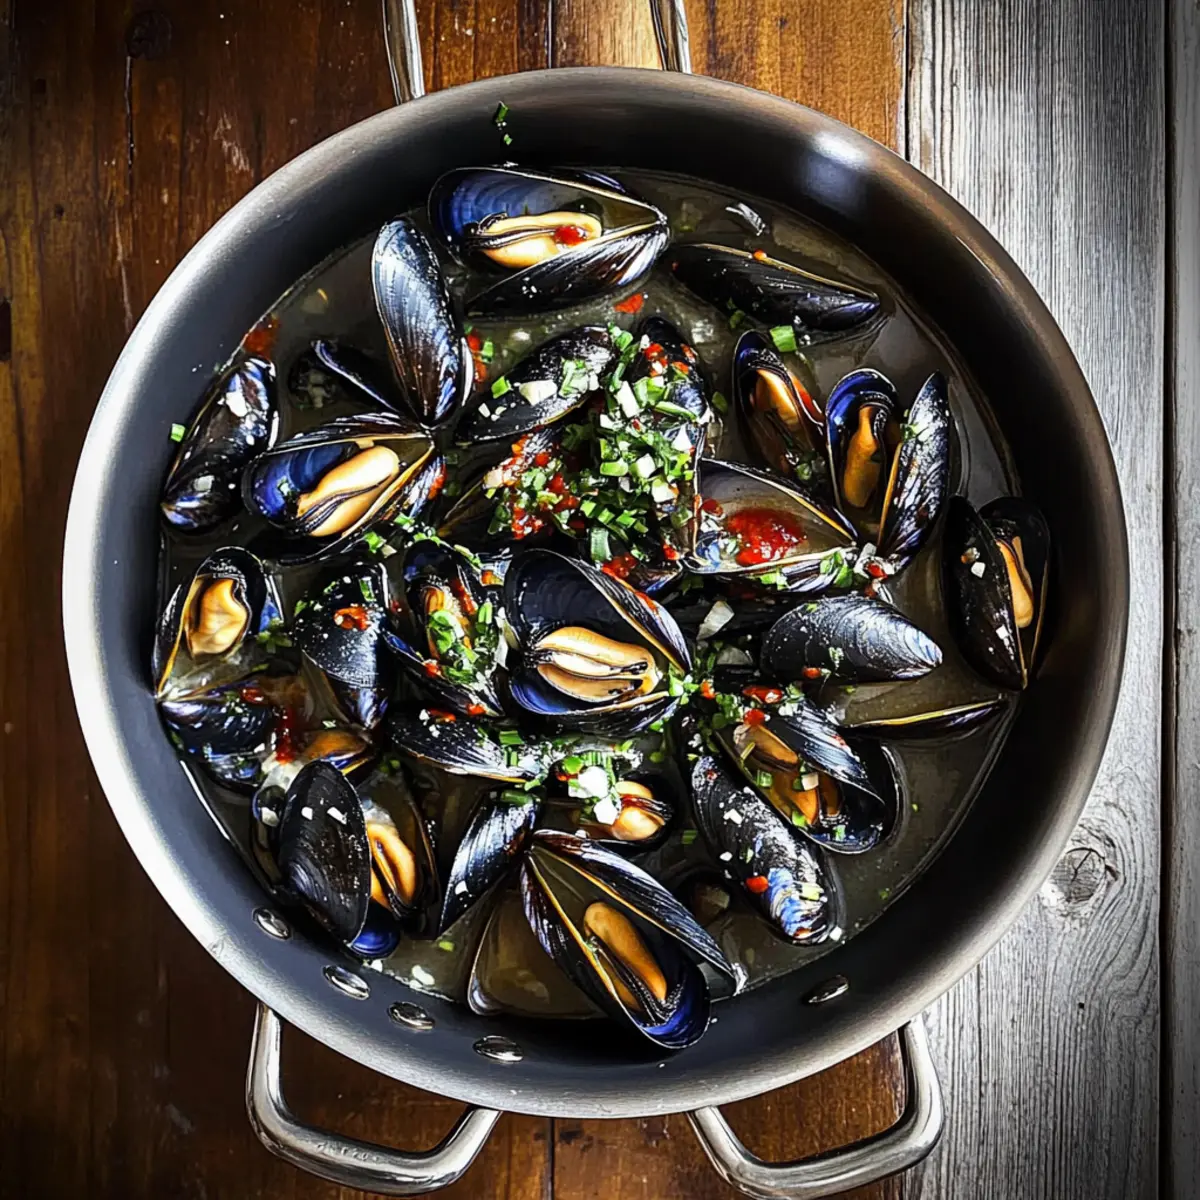
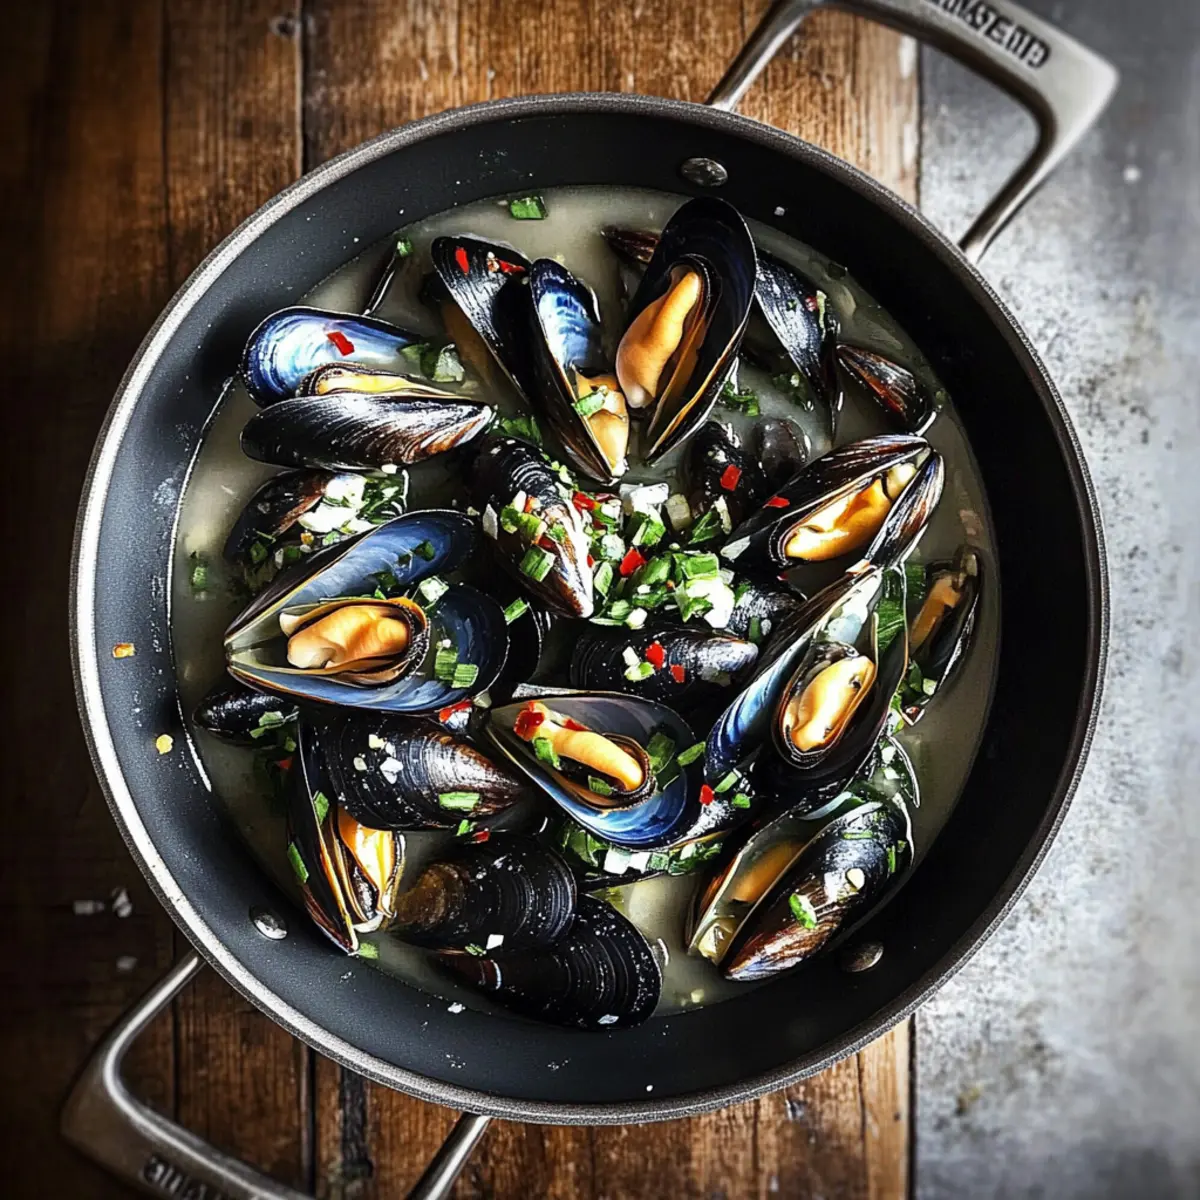
- Fresh Mussels (12) – Adds a briny richness and visual appeal; feel free to use more shrimp or other seafood if mussels are unavailable.
For Garnishing
- Fresh Parsley (2 tbsp, finely chopped) – Offers a fresh pop as a garnish; cilantro can be substituted for a different taste.
- Sea Salt & Black Pepper (pinch each) – Essential for seasoning; always taste and adjust according to preference.
This Spicy Spanish Seafood Stew concoction promises to turn your kitchen into a Mediterranean escape, making for an effortless, delightful dining experience.
Step‑by‑Step Instructions for Spicy Spanish Seafood Stew
Step 1: Prep Seafood
Start by preparing your seafood for the Spicy Spanish Seafood Stew. Thoroughly clean the mussels under cold running water, removing any beards and scrubbing the shells until they are clean. Season the cod fillets and shrimp with a pinch of sea salt and black pepper to enhance their flavors.
Step 2: Sauté Aromatics
In a large pot or Dutch oven, heat 2 tablespoons of extra virgin olive oil over medium heat. Once the oil shimmers, add the diced onion and minced garlic. Sauté for about 3 minutes, stirring occasionally, until the onion becomes translucent and fragrant. This creates a flavorful base for your stew.
Step 3: Incorporate Spices
Add 1 teaspoon of hot smoked Spanish paprika and ½ teaspoon of dried thyme to the pot, stirring well to combine. Cook the spices for another minute to release their aromas, deepening the flavor profile of the Spicy Spanish Seafood Stew. You’ll notice a beautiful color and fragrant scent that fills your kitchen.
Step 4: Deglaze
Pour in ¼ cup of white wine, scraping the bottom of the pot to release any flavorful bits stuck to the surface. Allow the wine to simmer for about 2 minutes until it reduces slightly, enhancing the stew’s complexity, and the alcohol evaporates, leaving behind rich undertones.
Step 5: Add Base Ingredients
Stir in a 15 oz can of diced tomatoes, mixing them into the aromatic base. Season with a pinch of salt and pepper before adding 1 cup of fish broth and ½ teaspoon of saffron threads. Bring this mixture to a gentle simmer, allowing it to meld for about 5 minutes, resulting in a vibrant stew base.
Step 6: Cook Seafood
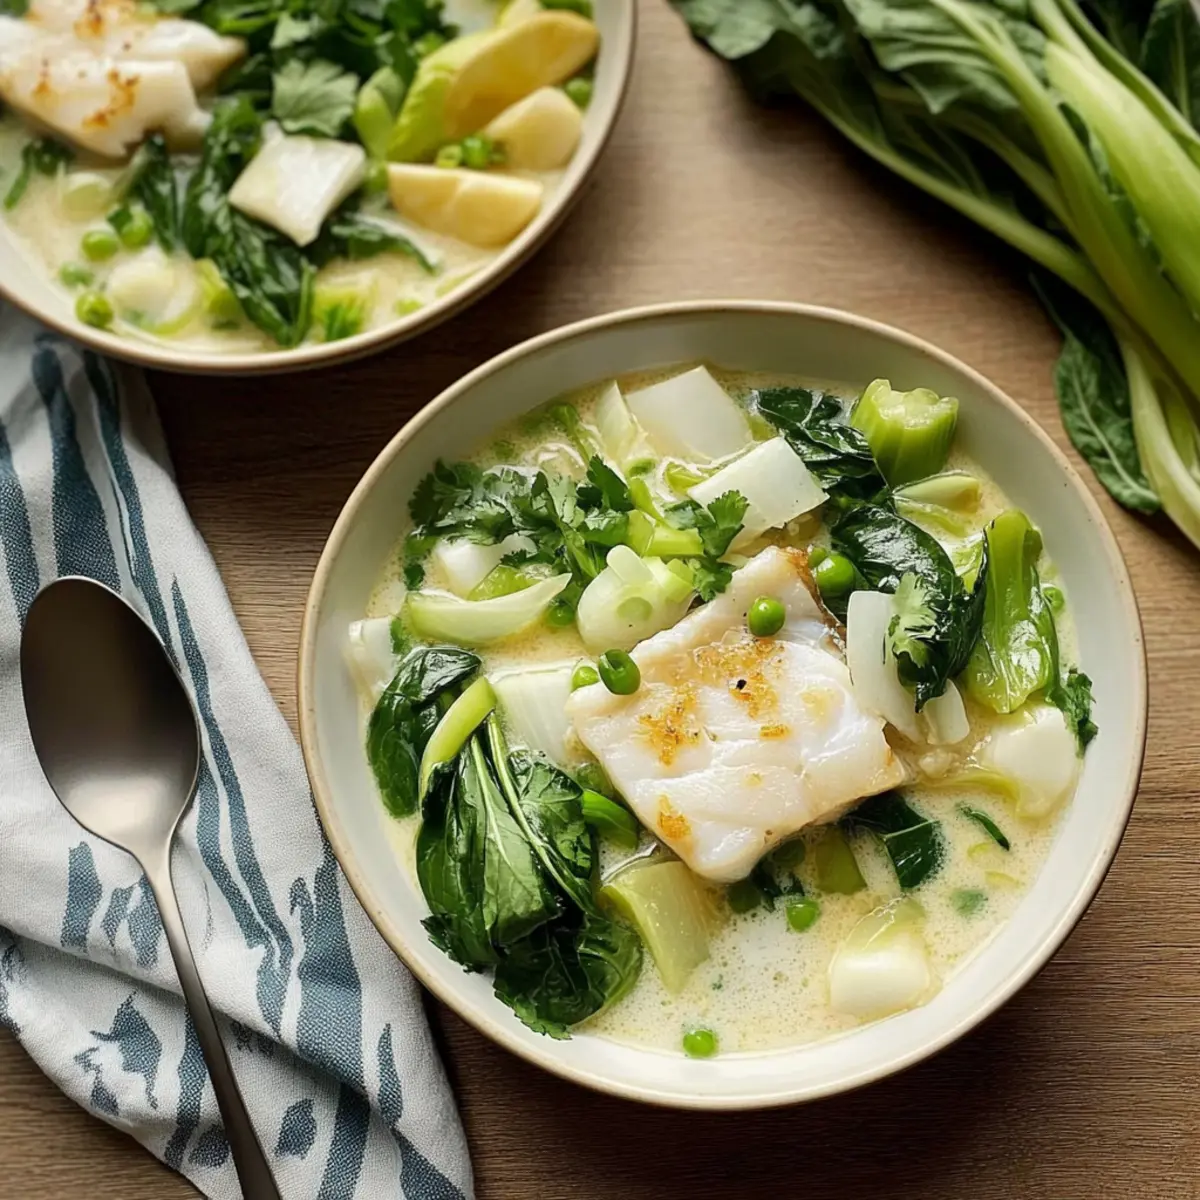
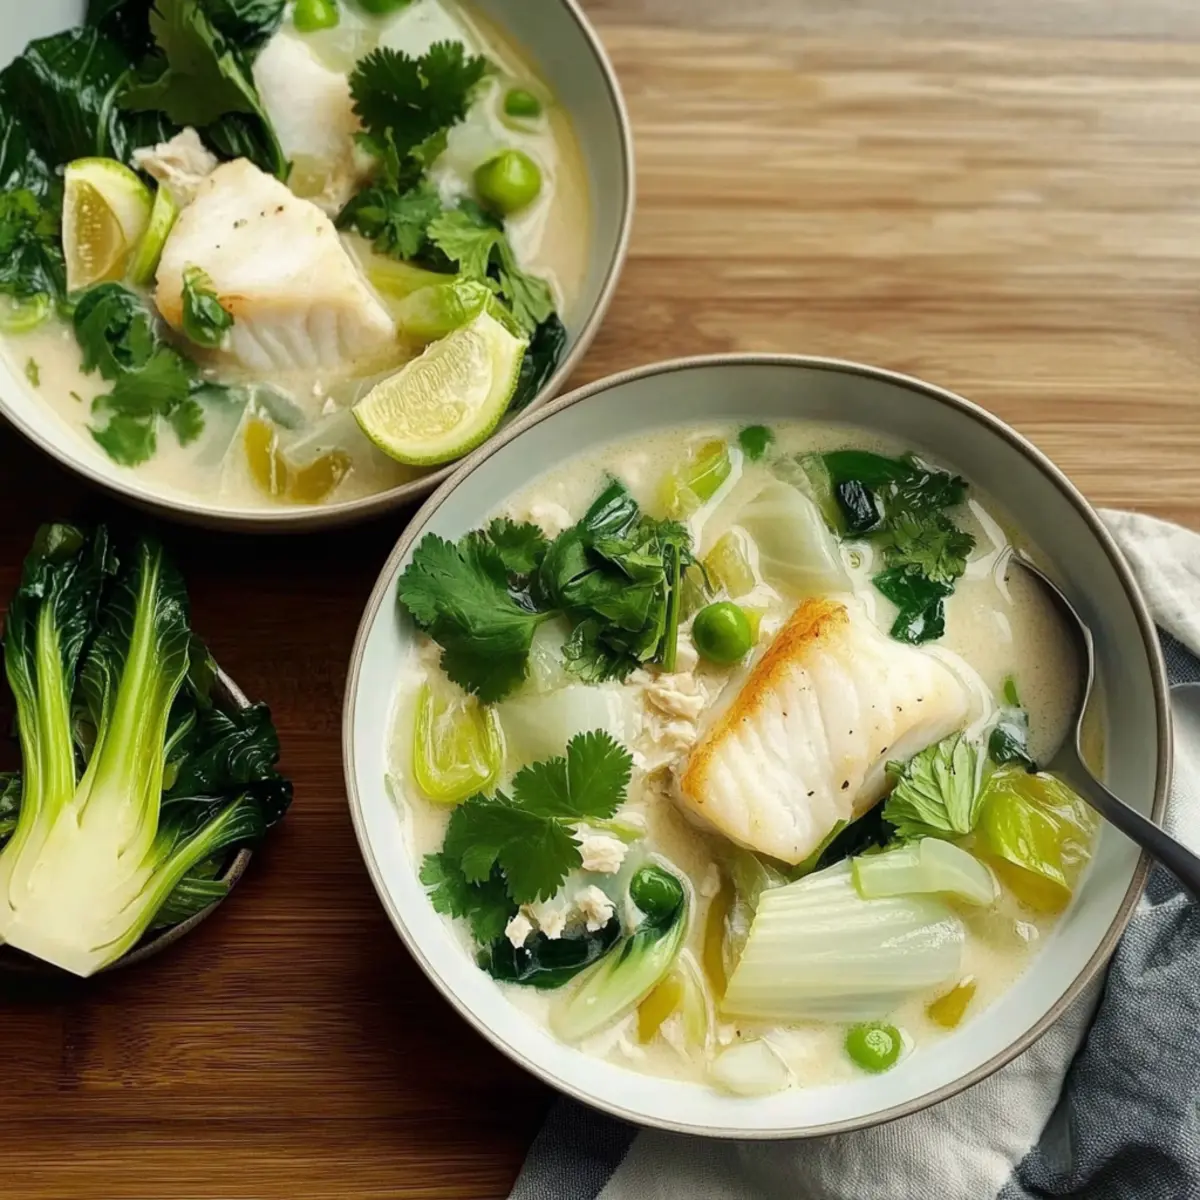
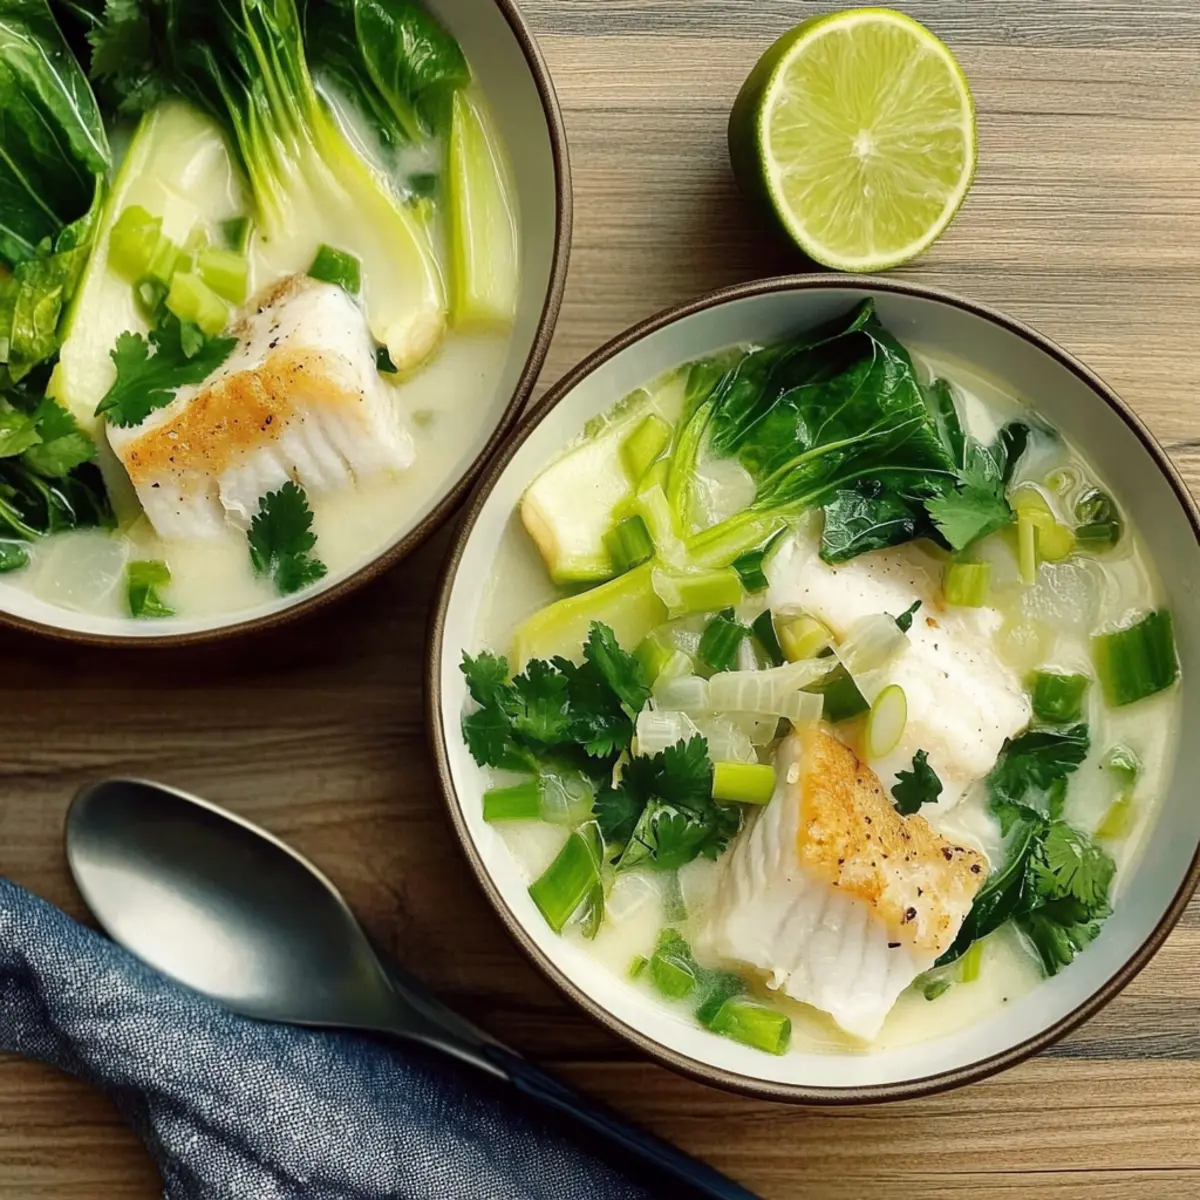
Once the broth is boiling, carefully place the cod fillets, shrimp, and cleaned mussels into the pot. Cover with a lid and cook for 5-6 minutes, or until the mussels open and the shrimp turn pink, indicating they are cooked through. The seafood will release its flavors, creating a delightful harmony in the broth.
Step 7: Garnish and Serve
Remove the pot from heat and sprinkle freshly chopped parsley over the top for a burst of color and freshness. Serve the Spicy Spanish Seafood Stew directly from the pan for a rustic presentation. Savor the vibrant flavors of the Mediterranean with a crusty bread for dipping, creating a cozy dining experience.
Spicy Spanish Seafood Stew Variations
Customize your Spicy Spanish Seafood Stew to suit your taste buds or dietary needs—we're all about making this dish your own!
-
Mild Flavor: Replace hot smoked paprika with sweet or regular paprika for a gentler taste. This adjustment keeps the stew flavorful without the extra kick.
-
Vegan Version: Swap seafood for chickpeas or white beans, and use vegetable broth instead of fish broth. This plant-based alternative still delivers on rich, savory flavor.
-
Seafood Medley: Try using a mix of your favorite seafood like scallops, clams, or even lobster for a luxurious twist. These alternatives can elevate your stew into a seafood feast.
-
Fresh Herbs: Experiment with fresh basil or cilantro instead of parsley for a unique herbaceous touch. Each herb brings its own personality to the dish!
-
Add Vegetables: Toss in some bell peppers or zucchini for a colorful and nutritious addition. They not only enhance the visual appeal but also add freshness to the stew.
-
Extra Heat: Craving a spicier experience? Introduce a dash of red pepper flakes or fresh chopped chili peppers to the pot. Your tastebuds will thank you for the extra warmth!
-
Coconut Twist: For a creamy and tropical infusion, incorporate coconut milk into the base. This change creates a delightful contrast to the savory elements of the stew.
-
Flavorful Boost: Consider deglazing the pot with an aromatic white wine like Albarino. This complements the seafood beautifully and enhances the overall depth of flavor. For something even heartier, check out my Seafood Pasta recipe for another delicious option!
With these variations, you can create a Spicy Spanish Seafood Stew that’s not just delicious but uniquely yours!
How to Store and Freeze Spicy Spanish Seafood Stew
- Fridge: Store any leftover Spicy Spanish Seafood Stew in an airtight container for up to 2 days. It’s best to refrigerate it within two hours of cooking to maintain freshness.
- Freezer: For longer storage, freeze the stew in a freezer-safe container for up to 3 months. Make sure to leave some space at the top for expansion.
- Reheating: To enjoy it later, thaw in the fridge overnight and reheat on the stove over low heat, stirring occasionally until heated through. Avoid reheating in the microwave to keep the seafood tender.
- Avoid Refreezing: It’s best not to refreeze the stew once it has been thawed, as this can affect the texture and flavor of the seafood.
What to Serve With One-Pot Spicy Spanish Seafood Stew
A sumptuous seafood stew deserves equally delightful companions to elevate your dining experience.
-
Crusty Bread: The perfect tool for mopping up every last drop of that rich, flavorful broth. A freshly baked baguette or sourdough will enhance the meal beautifully.
-
Garlic Aioli: A creamy, garlicky dip that complements the seafood's sweetness. This zesty addition brings an extra layer of flavor for your taste buds to savor.
-
Herbed Rice: Fluffy rice infused with herbs provides a comforting base, allowing the stew's intense flavors to shine. The creaminess balances the stew’s spice without overpowering it.
-
Mixed Green Salad: Crisp greens tossed with a citrus vinaigrette offer a refreshing contrast. The salad lightens the meal, making it vibrant and satisfying.
-
Chilled White Wine: A crisp, chilled glass of Albariño or Sauvignon Blanc pairs flawlessly with seafood, enhancing the Mediterranean experience while keeping it light.
-
Lemon Sorbet: End your meal on a refreshing note. This dessert cleanses your palate, and its zesty brightness beautifully complements the spices in the stew.
For a full feast, serve a couple of these sides together for a delightful Mediterranean-themed dining experience!
Tips for the Best Spicy Spanish Seafood Stew
-
Quality Ingredients Matter: Use fresh, high-quality seafood and spices to enhance the overall flavor of your Spicy Spanish Seafood Stew. Fresh ingredients will really shine through in your dish!
-
Don’t Overcook Seafood: Keep an eye on the cooking time, especially for shrimp and mussels. Overcooking can lead to rubbery textures, so cook until just done for the best results.
-
Adjust the Heat: If you prefer a milder stew, start with less hot smoked paprika and adjust according to your taste. Remember, you can always add more, but you can't take it out!
-
Proper Cleaning: Ensure you thoroughly clean the mussels and discard any that are not closed after cooking. This step is essential for both flavor and food safety in your stew.
-
Experiment with Variations: Feel free to swap in your favorite seafood or even add veggies like bell peppers to the mix! This versatility keeps the dish exciting each time you make your delightful Spicy Spanish Seafood Stew.
Make Ahead Options
These One-Pot Spicy Spanish Seafood Stew preparations are perfect for busy weeknights! You can clean and season your seafood—cod fillets, shrimp, and mussels—up to 24 hours in advance. Simply store them in an airtight container in the refrigerator to maintain freshness. Additionally, you can sauté the aromatics (onion and garlic) and incorporate the spices, then refrigerate the mixture—ready to add your seafood to the warm broth. When it’s time to serve, just reheat the base over medium heat, add your seafood, and proceed with cooking until the mussels open and the shrimp are perfectly pink. With these steps, you'll enjoy restaurant-quality results with minimal effort!
Spicy Spanish Seafood Stew Recipe FAQs
How do I choose the right seafood for the stew?
Absolutely! For this Spicy Spanish Seafood Stew, opt for fresh seafood that is firm and smells like the ocean. Look for clear-eyed fish and mussels with tightly closed shells. Avoid any seafood with dark spots or sour smells as they indicate spoilage.
How long can I store the leftover stew?
You can store your Spicy Spanish Seafood Stew in an airtight container in the fridge for up to 2 days. Always make sure to refrigerate it within two hours of cooking to ensure freshness and to avoid any food safety issues.
Can I freeze the Spicy Spanish Seafood Stew? How?
Absolutely! To freeze your stew, allow it to cool completely, then transfer it to a freezer-safe container, leaving some space at the top to allow for expansion. It can be frozen for up to 3 months. When you're ready to enjoy it again, thaw overnight in the fridge and reheat it gently on the stove over low heat, stirring occasionally for even heating.
What should I do if my seafood turns out rubbery?
Very important! Rubberiness typically occurs from overcooking seafood. To prevent this, keep a close eye on cooking times, especially for shrimp and mussels. A good rule of thumb is to cook until shrimp is pink and mussels open, which should take roughly 5-6 minutes. If you notice any closed mussels, discard them.
Can I modify the stew for dietary restrictions?
Certainly! This spicy seafood stew can be adapted to meet various dietary needs. For those allergic to shellfish, consider substituting the mussels and shrimp with firm vegetables like zucchini or even hearty beans for a plant-based option. Additionally, always ensure to check the seasonings for potential allergens.
What if I don't have saffron?
No worries! While saffron is a key ingredient for that authentic Mediterranean flavor, if you can’t find it, you can replace it with regular paprika for color and some flavor. Alternatively, turmeric can give a similar hue but has a different taste profile.
Spicy Spanish Seafood Stew: A Flavorful Mediterranean Adventure
Ingredients
Equipment
Method
- Start by preparing your seafood for the stew. Thoroughly clean the mussels under cold running water, removing any beards and scrubbing the shells until they are clean. Season the cod fillets and shrimp with a pinch of sea salt and black pepper.
- In a large pot or Dutch oven, heat 2 tablespoons of extra virgin olive oil over medium heat. Once the oil shimmers, add the diced onion and minced garlic. Sauté for about 3 minutes until the onion becomes translucent and fragrant.
- Add 1 teaspoon of hot smoked Spanish paprika and ½ teaspoon of dried thyme to the pot, stirring well to combine. Cook the spices for another minute to release their aromas.
- Pour in ¼ cup of white wine, scraping the bottom of the pot. Allow the wine to simmer for about 2 minutes until it reduces slightly.
- Stir in a 15 oz can of diced tomatoes, mixing them into the aromatic base. Season with a pinch of salt and pepper before adding 1 cup of fish broth and ½ teaspoon of saffron threads. Bring this mixture to a gentle simmer for about 5 minutes.
- Once the broth is boiling, carefully place the cod fillets, shrimp, and cleaned mussels into the pot. Cover with a lid and cook for 5-6 minutes, or until the mussels open and the shrimp turn pink.
- Remove the pot from heat and sprinkle freshly chopped parsley over the top. Serve the stew directly from the pan for a rustic presentation.