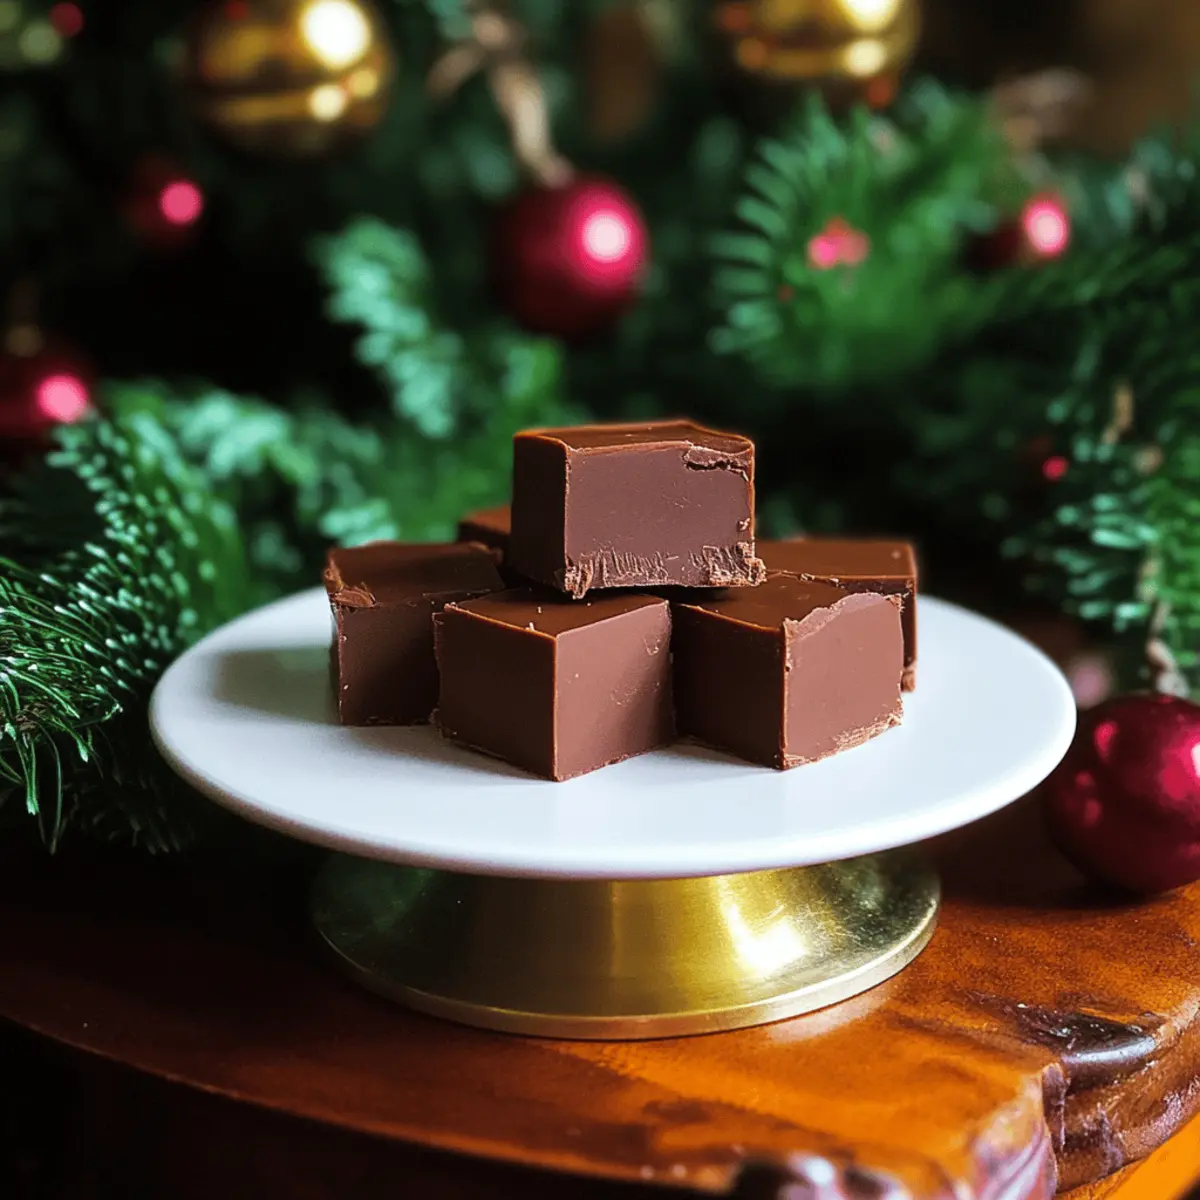
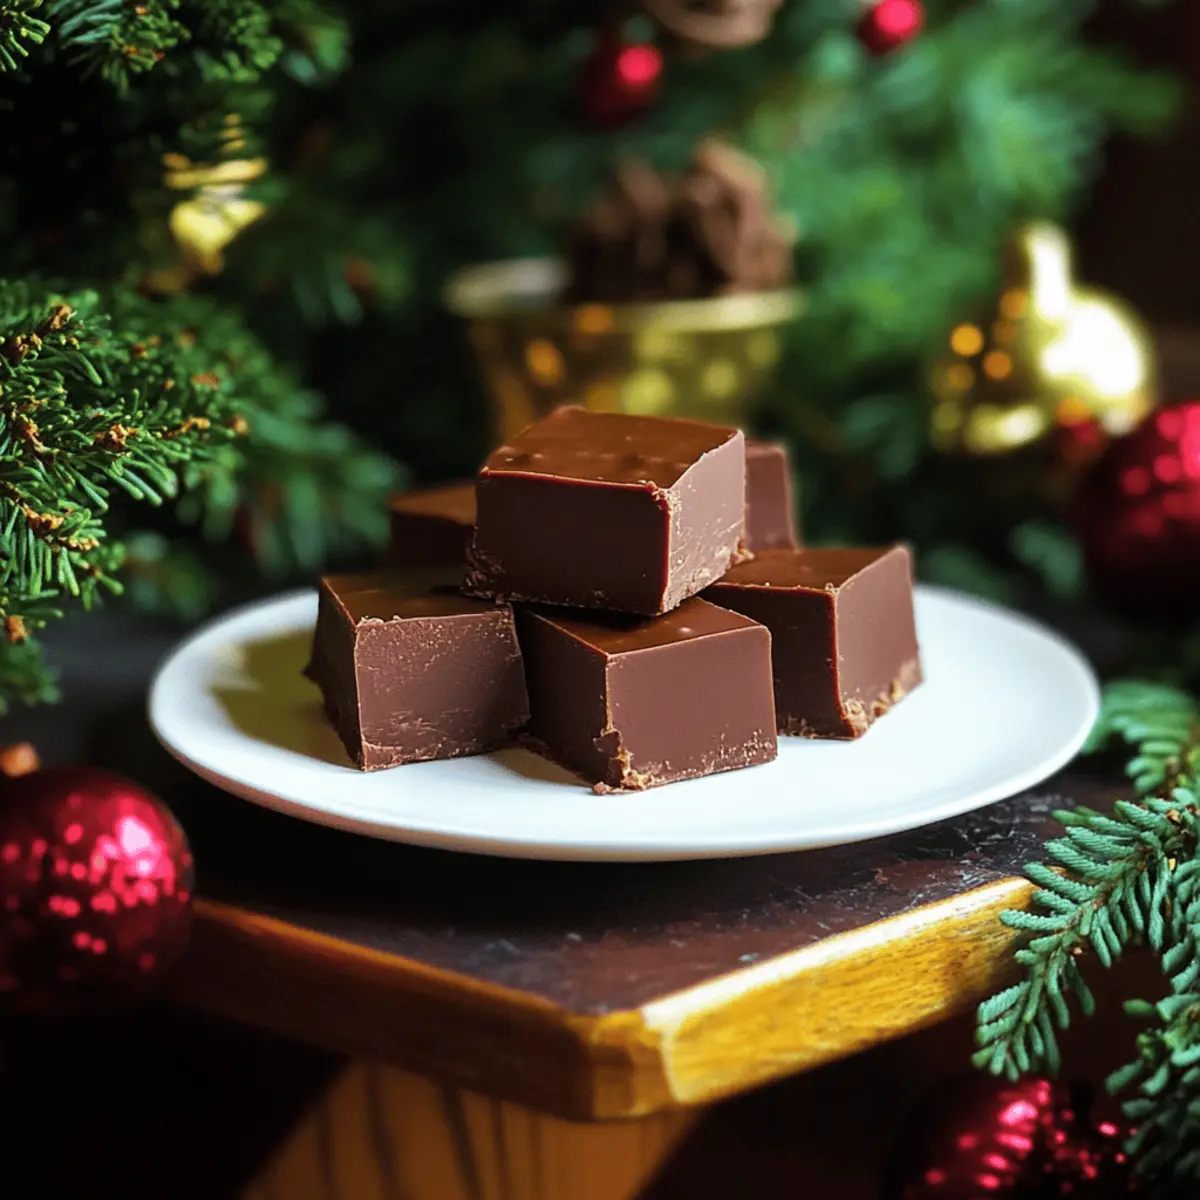
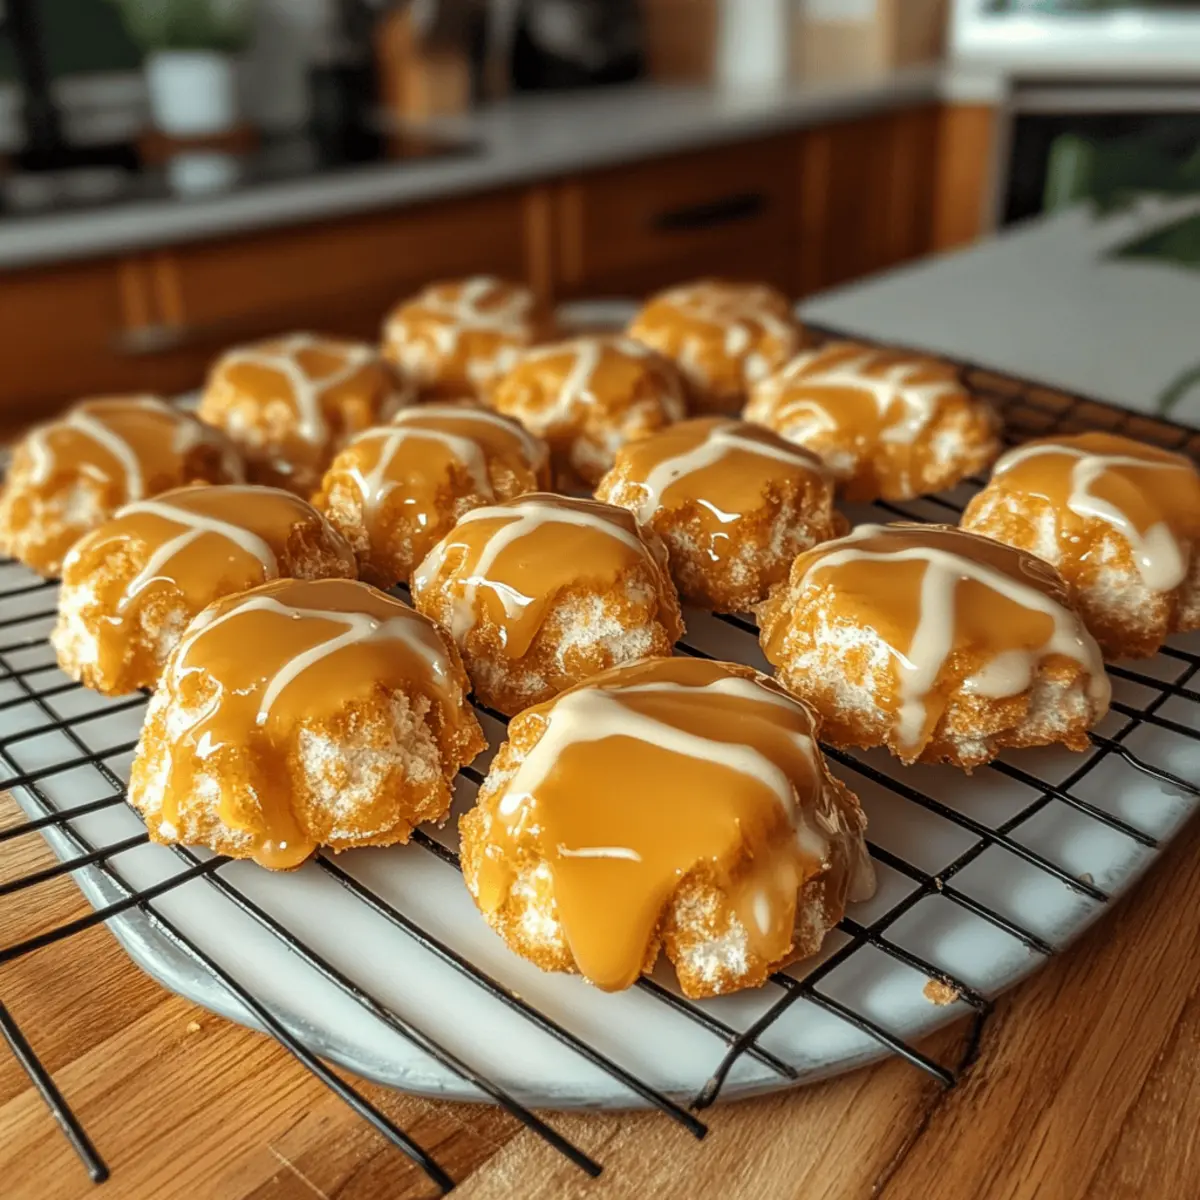
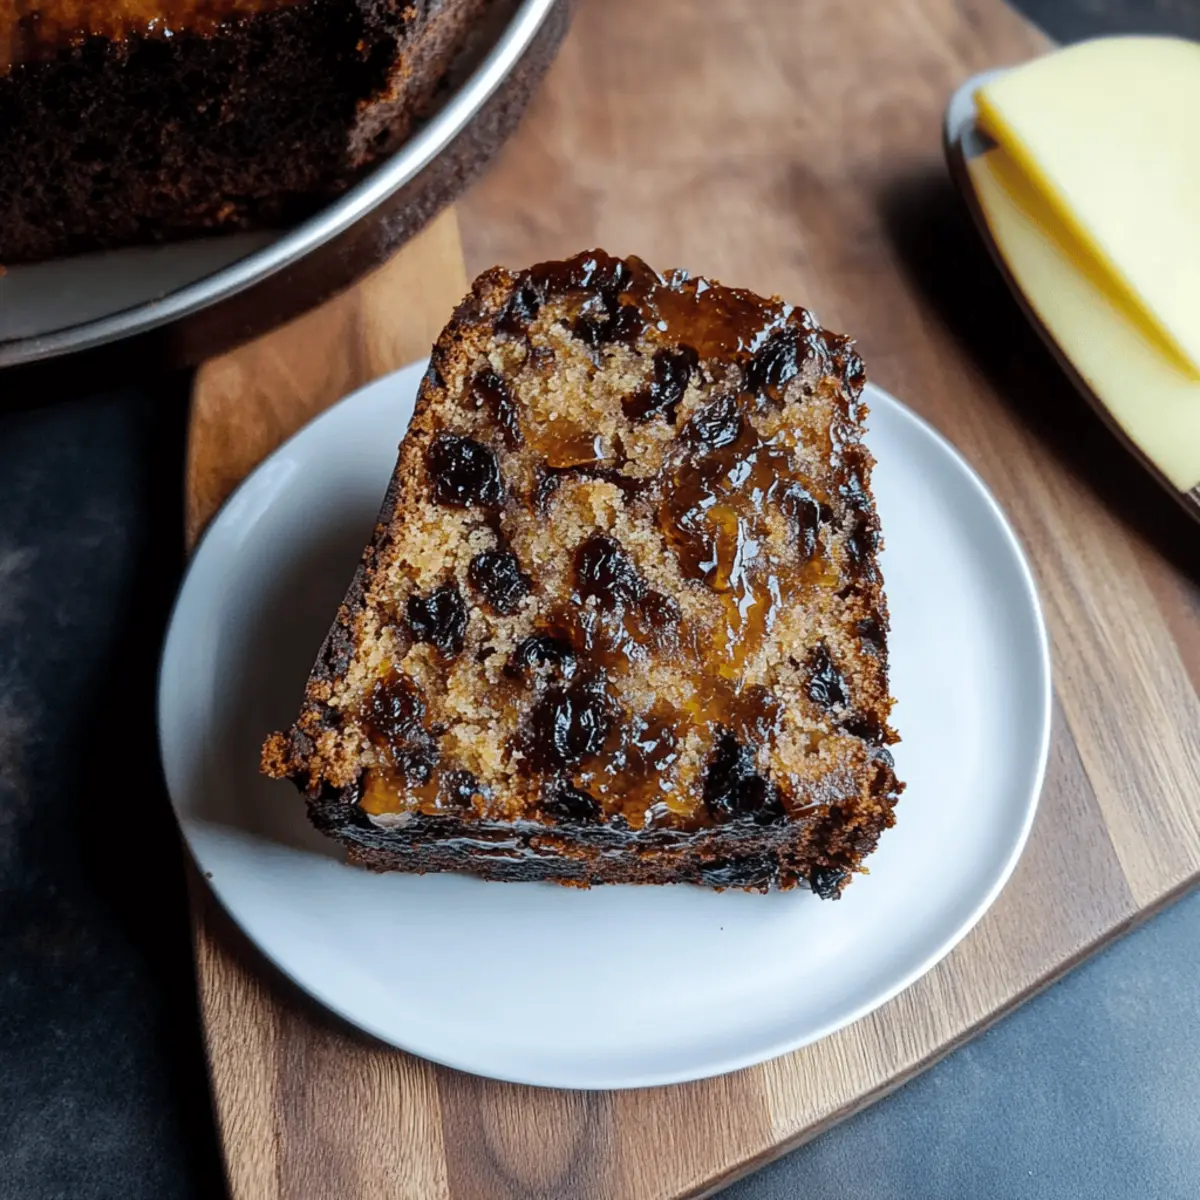
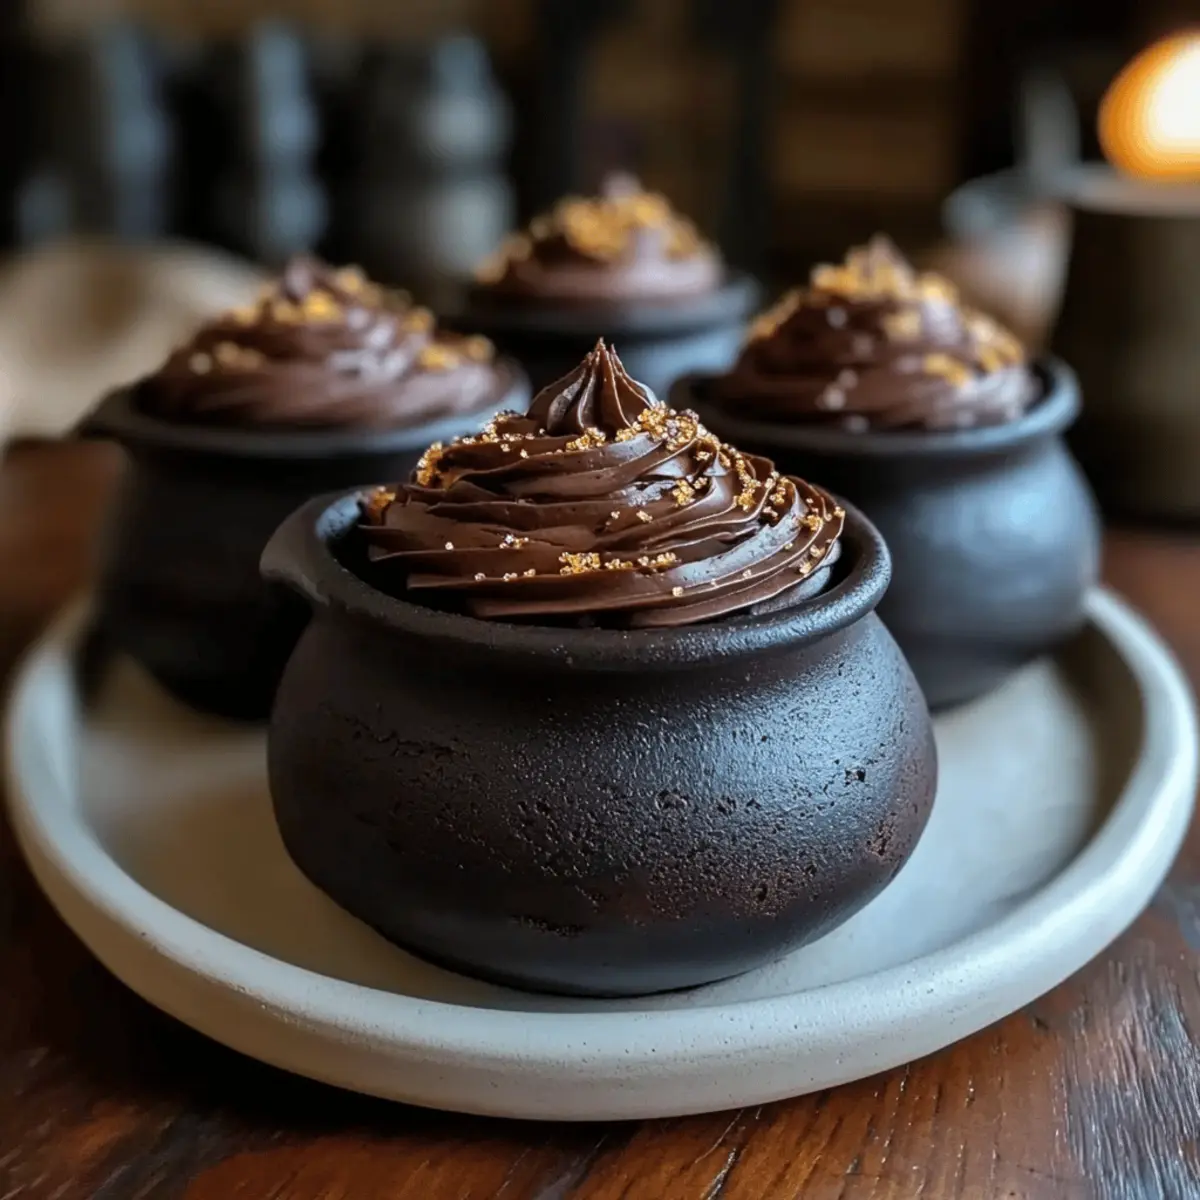
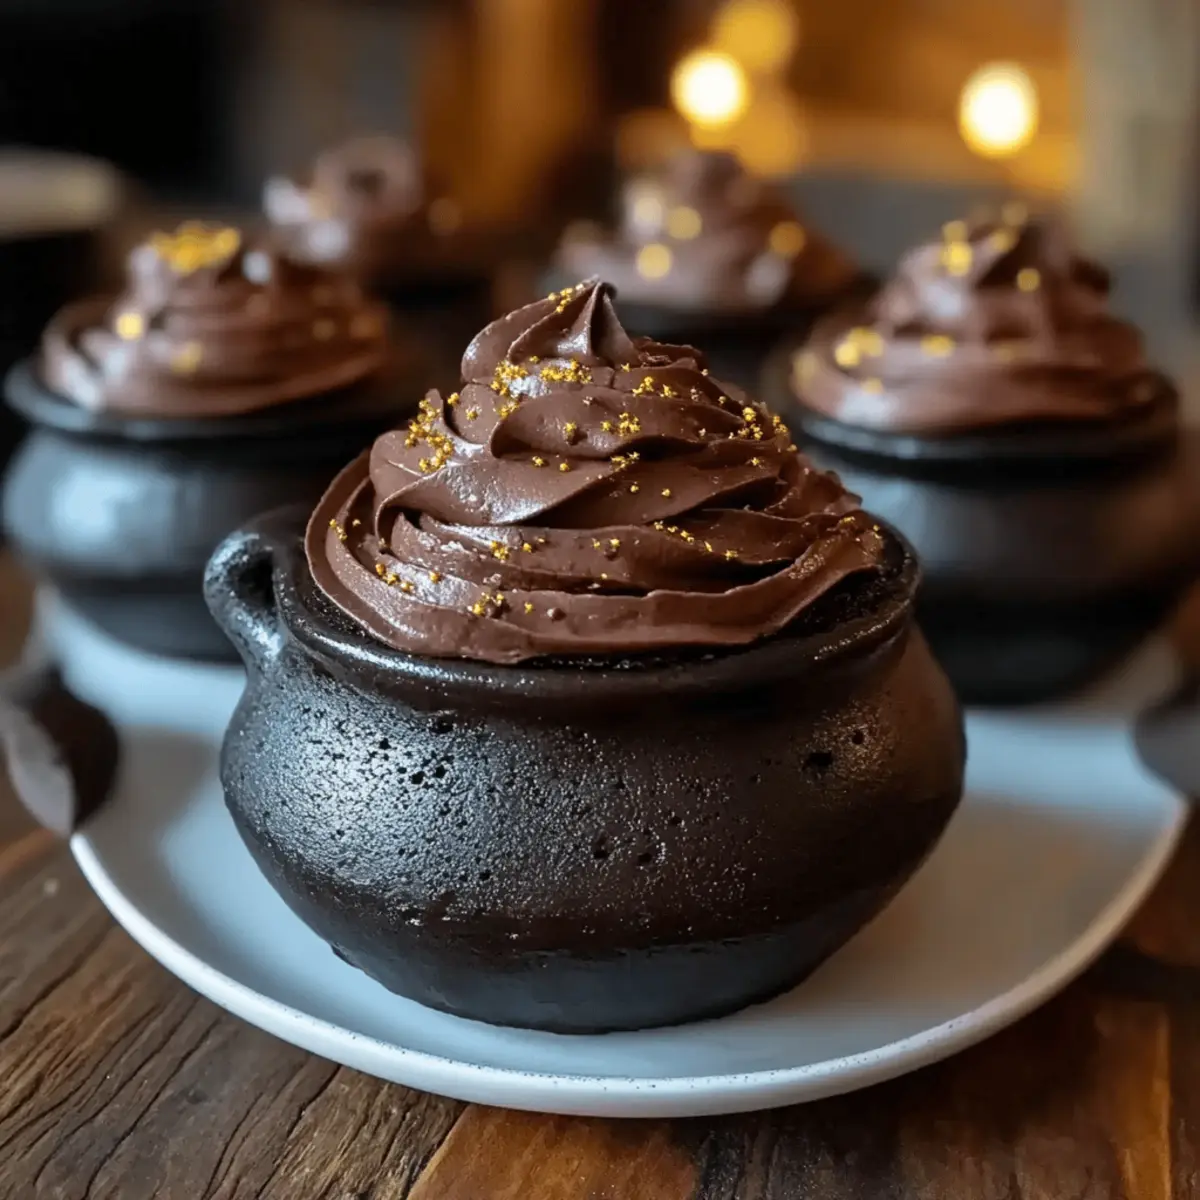
The aroma of chocolate wafting through the kitchen instantly transports me to the enchanting world of Harry Potter. As I stood there, measuring flour and cocoa, I couldn’t help but feel like a wizard conjuring up something magical. These Harry Potter Cauldron Cakes are not just desserts; they bring a delightful charm to any celebration, capturing the essence of Hogwarts. With a moist texture and a whimsical presentation, these vegetarian treats are a breeze to whip up, making them perfect for both novice and experienced bakers. Plus, they invite creativity, as decorating them with chocolate frosting and a sprinkle of sparkling edible glitter transforms them into true showstoppers. Ready to embark on a sweet adventure? Let’s dive into creating these enchanting chocolate delights!
Why are these Cauldron Cakes special?
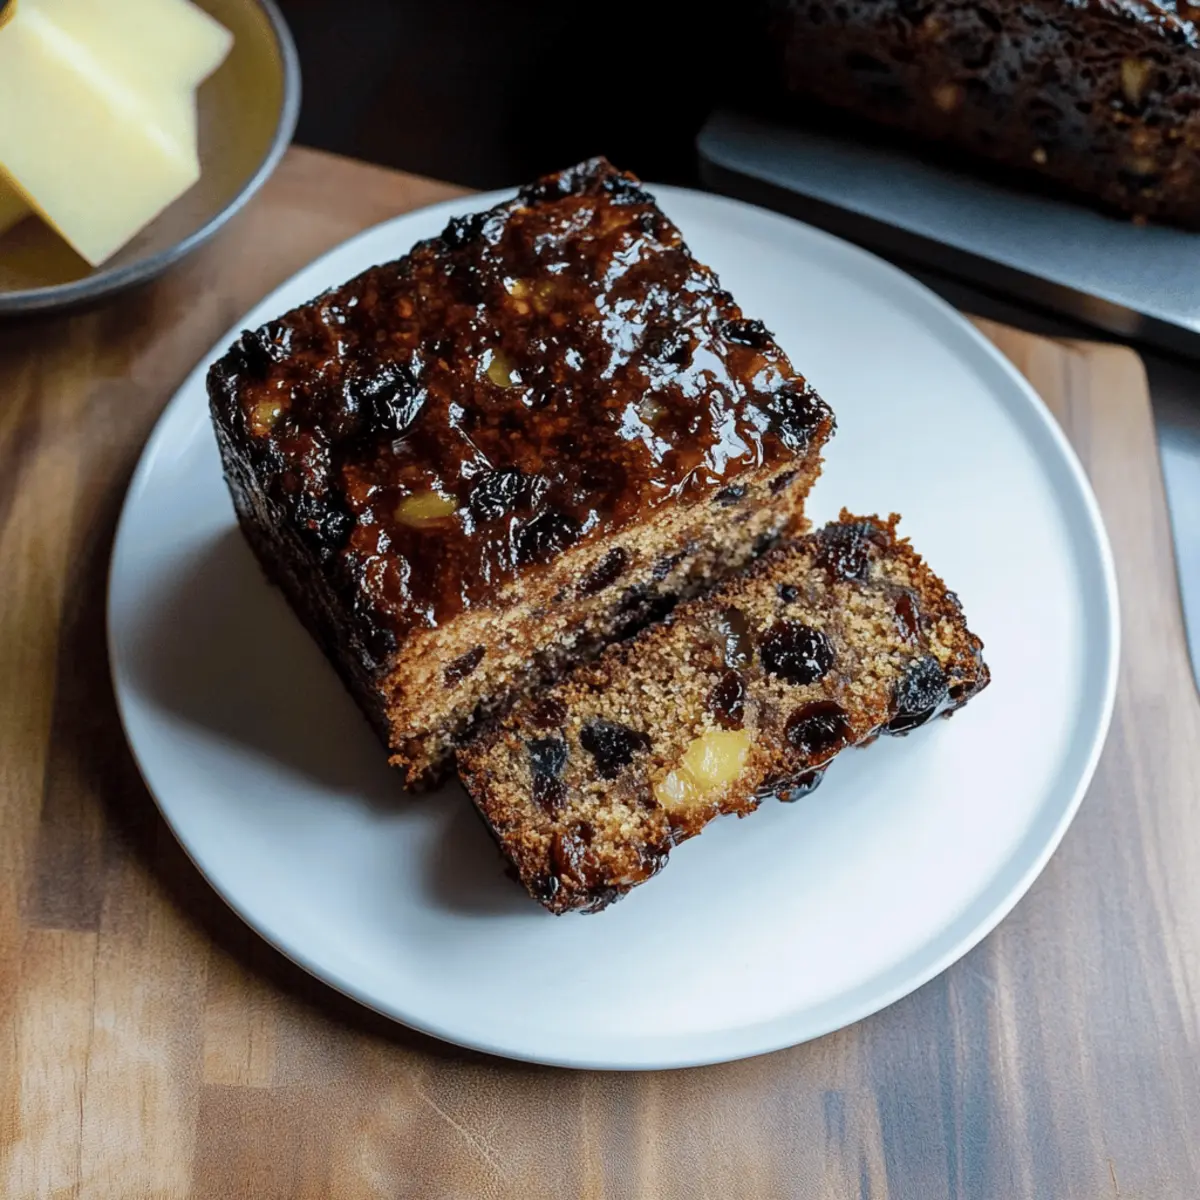
Magical, they are sure to cast a spell on anyone who takes a bite! Deliciously rich in chocolate flavor, these cakes provide a delightfully immersive experience, perfect for fans of all ages. Easy to make, even novice bakers can join in the fun without hassle. Plus, they’re endlessly versatile—try different frostings or fun toppings like edible stars! Looking for more cozy baking ideas? Check out Ricotta Protein Pancakes for a delightful breakfast option. With their crowd-pleasing charm, these Harry Potter Cauldron Cakes are perfect for themed parties or a magical afternoon treat!
Harry Potter Cauldron Cakes Ingredients
For the Cauldron Cakes
- All-Purpose Flour – Provides structure and texture; substitute with gluten-free flour blend for gluten-free versions.
- Granulated Sugar – Adds sweetness and moisture; consider brown sugar for a deeper flavor.
- Unsweetened Cocoa Powder – Contributes a rich chocolate flavor; use Dutch-processed cocoa for a mellower taste.
- Baking Powder – Acts as a leavening agent for a light cake; ensure it is fresh for best results.
- Baking Soda – Balances acidity and serves as a leavening agent; can be omitted if using self-rising flour.
- Salt – Enhances flavor; always use fine salt to prevent graininess.
- Unsalted Butter – Adds richness and moisture; substitute with coconut oil for dairy-free cakes.
- Eggs – Provide structure and binding; opt for flax eggs or applesauce for vegan versions.
- Vanilla Extract – Adds aromatic flavor; use pure vanilla for best results, or almond extract for a twist.
- Milk – Helps to create a smooth batter; substitute with almond milk for a dairy-free option.
For the Frosting
- Chocolate Frosting – Adds richness for decorating; use store-bought or homemade; consider a vegan frosting for dairy-free.
- Edible Glitter – A finishing touch for magical aesthetics; optional but enhances presentation.
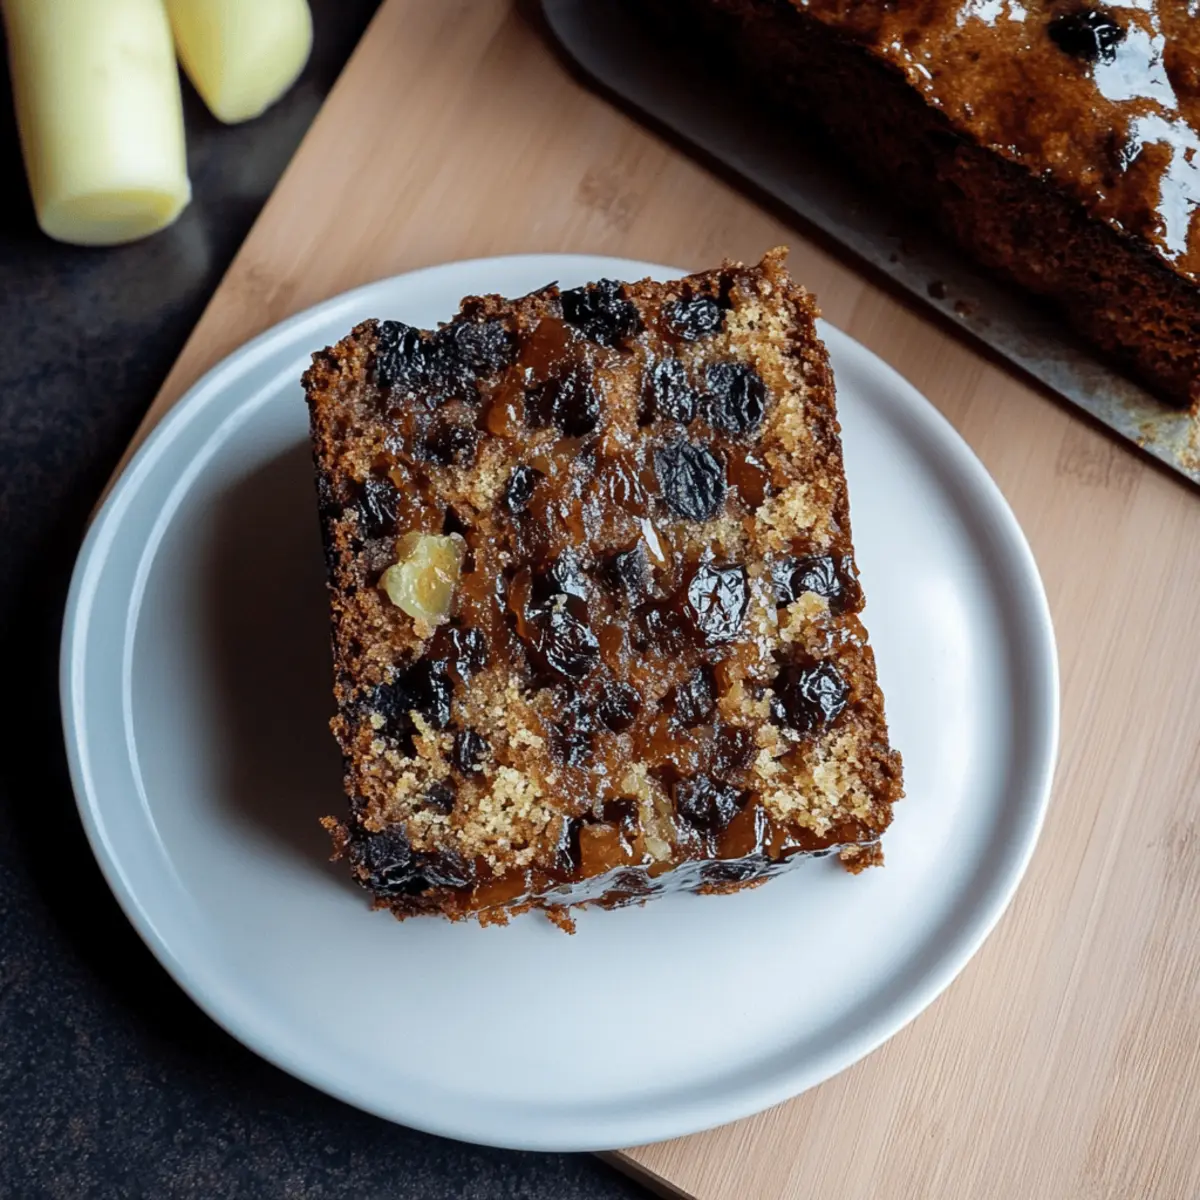
These Harry Potter Cauldron Cakes are truly enchanting and a wonderful way to add a sprinkle of magic to your dessert table!
Step‑by‑Step Instructions for Harry Potter Cauldron Cakes
Step 1: Prepare Dry Ingredients
In a large mixing bowl, whisk together all-purpose flour, granulated sugar, unsweetened cocoa powder, baking powder, baking soda, and salt until smooth and no lumps remain. This step sets a solid foundation for your Harry Potter Cauldron Cakes, ensuring a fluffy texture. Take your time to mix well and enjoy the rich chocolate aroma filling the air.
Step 2: Combine Wet Ingredients
In a separate medium bowl, blend together the melted unsalted butter, eggs, and vanilla extract. Gradually whisk in the milk until the mixture is completely smooth. This creamy combination adds moisture to the batter, contributing to the delicious taste of your cauldron cakes. Be sure to incorporate everything well for an even batter consistency.
Step 3: Mix Batter
Slowly pour the wet ingredient mixture into the bowl with the dry ingredients, stirring gently. Mix until just combined, ensuring no dry flour pockets remain; the batter should remain slightly lumpy, which is perfect for your Harry Potter Cauldron Cakes. Overmixing may lead to denser cakes, so embrace the whimsy of a textured batter as you combine the ingredients.
Step 4: Bake
Preheat your oven to 350°F (175°C) while preparing your cauldron-shaped molds by greasing them lightly. Fill each mold about 3/4 full with the batter, creating that signature cauldron shape. Bake them for about 20-25 minutes, or until a toothpick inserted into the center comes out clean. You’ll know they are ready when the tops are slightly domed and look firm.
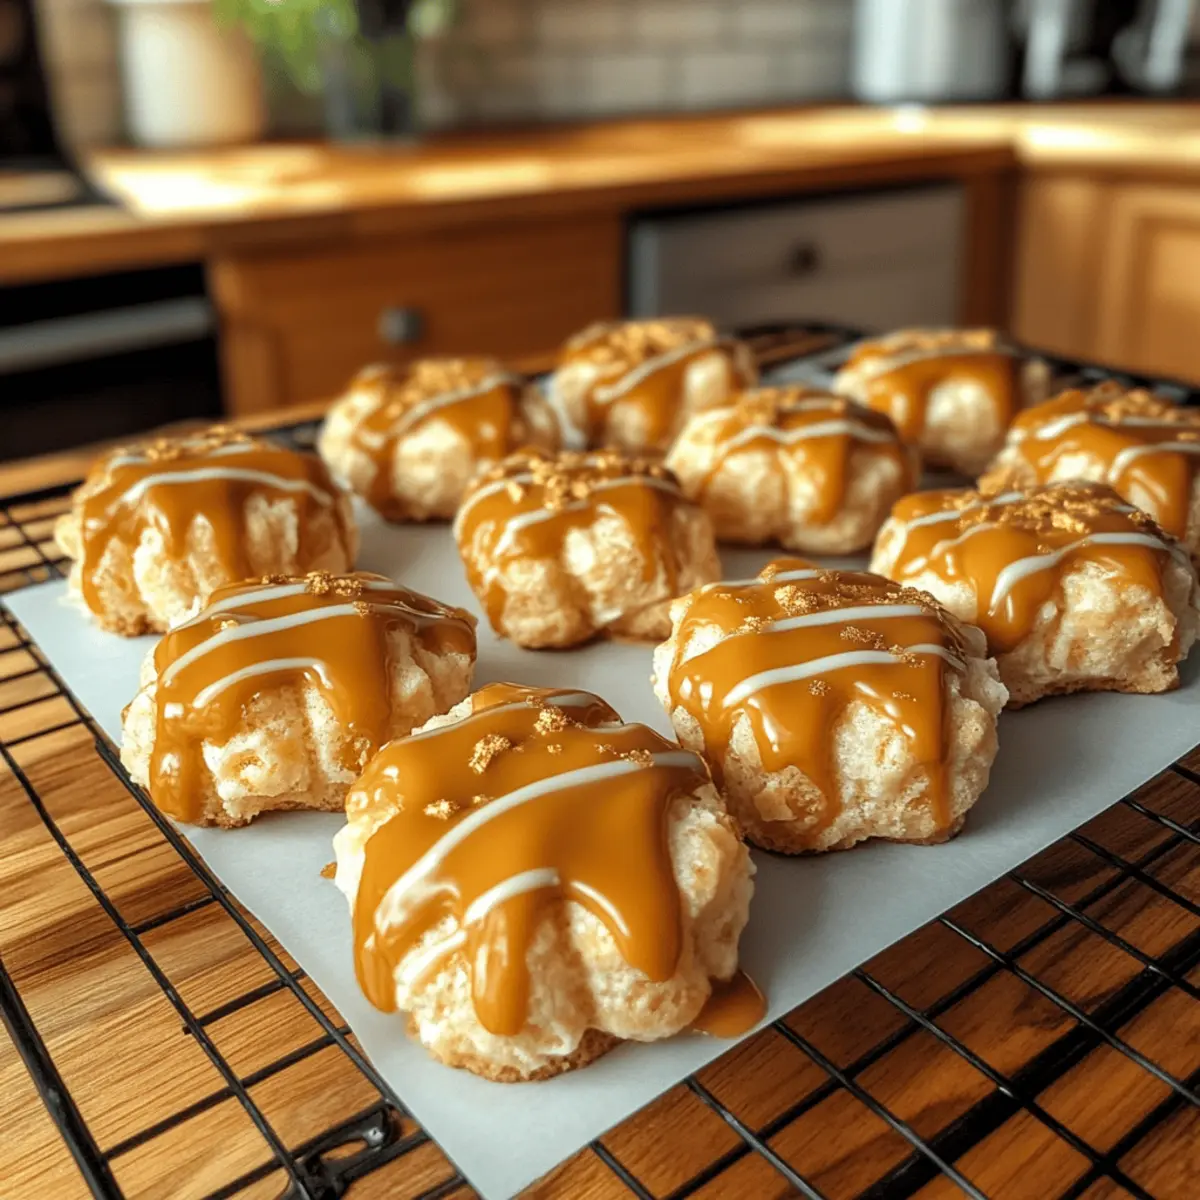
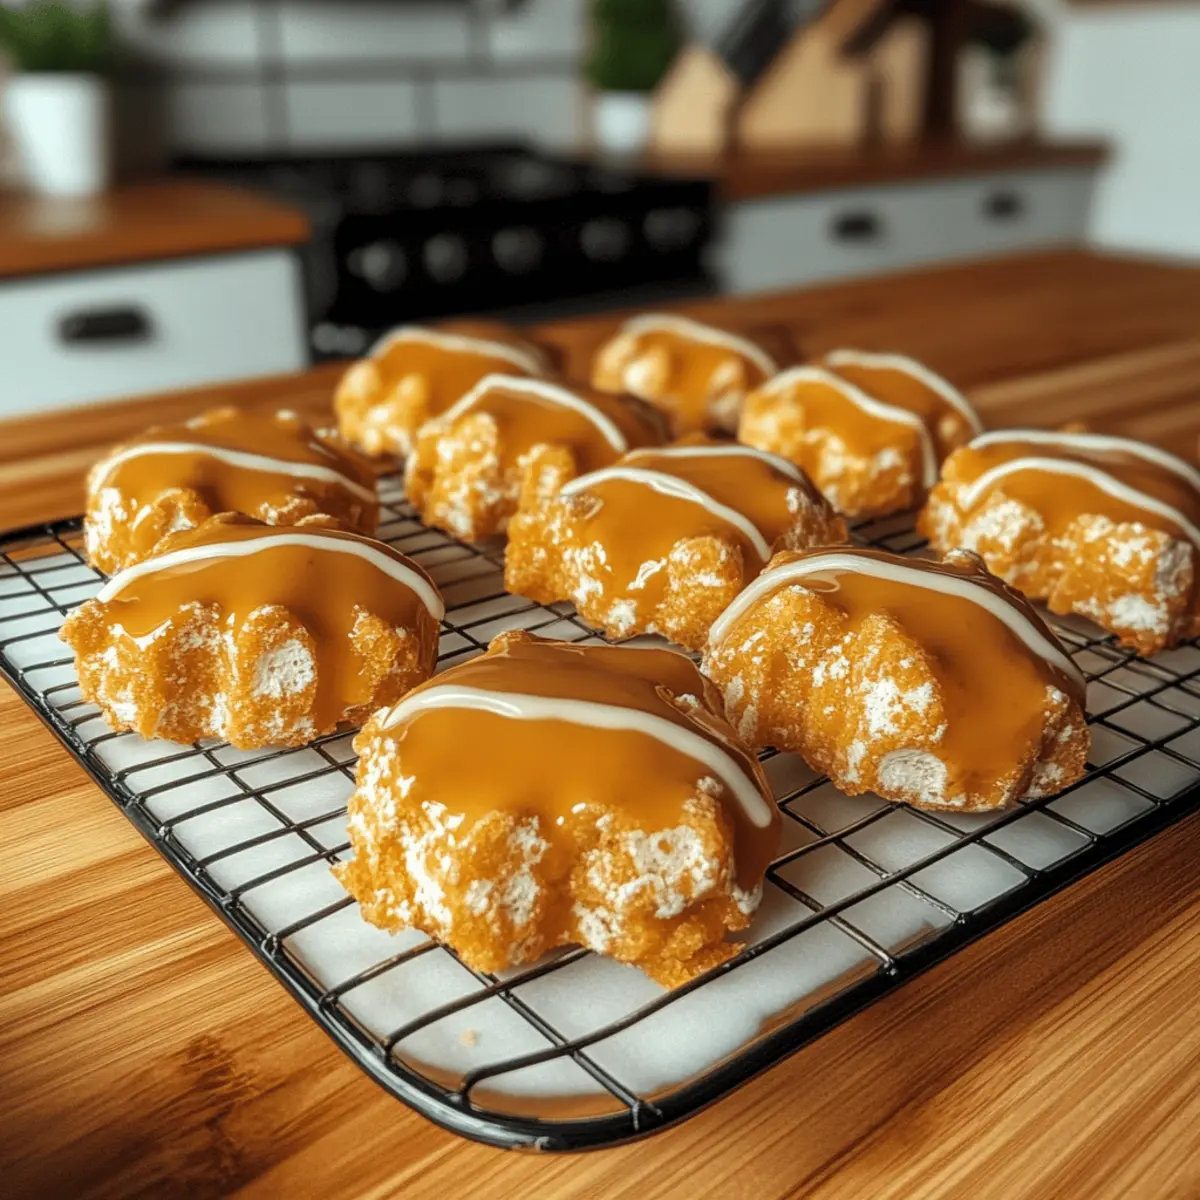
Step 5: Cool and Decorate
Once your Harry Potter Cauldron Cakes are done baking, remove them from the oven and allow them to cool in the molds for 10 minutes. Carefully transfer them to a wire rack to cool completely. Once cooled, frost each cake with rich chocolate frosting and sprinkle with edible glitter, making them sparkle like true enchanted treats before serving.
Expert Tips for Harry Potter Cauldron Cakes
-
Use Fresh Ingredients: Ensure all your dry ingredients are fresh, particularly baking powder and cocoa powder, to maximize their leavening and flavor potential.
-
Don’t Overmix: To avoid dense cakes, mix the batter just until combined. A few lumps are perfectly fine, ensuring your Harry Potter Cauldron Cakes remain fluffy!
-
Cool Properly: Allow the cakes to cool completely before frosting. This prevents the chocolate frosting from melting and ensures a beautiful, thick layer on top.
-
High-Quality Cocoa: Invest in good-quality cocoa powder for a richer chocolate flavor. The taste difference will elevate your cauldron cakes to enchanting levels!
-
Creative Toppings: Get creative with your decorations! Use colored sprinkles or themed edible decorations to make your Harry Potter Cauldron Cakes even more magical.
-
Practice Patience: Baking is an art! Don’t rush through steps, especially cooling and decorating; good things come to those who wait.
What to Serve with Harry Potter Cauldron Cakes?
Imagine the delightful aromas wafting through your kitchen as these enchanting cakes steal the spotlight at your next gathering.
- Butterbeer: This sweet, frothy drink captures the essence of Hogwarts and pairs perfectly with the rich chocolate of the cakes.
- Pumpkin Spice Lattes: The warmth of spices in this classic fall drink complements the cocoa beautifully, adding a cozy touch to your dessert table.
For a whimsical pairing, consider serving a Chocolate Fondue: Set up a fondue station with fresh fruit and marshmallows. Guests can dip bites into warm chocolate, enhancing their sweet adventure with gooey goodness!
- Ice Cream: A scoop of vanilla bean or a spiced pumpkin flavor adds creaminess and balances the richness of the cauldron cakes.
- Edible Glitter Toppings: Serve with extra edible glitter for guests to sprinkle on their cakes, creating a magical finishing touch that sparks joy!
These delightful pairings not only elevate the experience but also ensure every bite is enchanting, making your get-together an unforgettable event.
Harry Potter Cauldron Cakes Variations
Calling all aspiring wizards and witches! Let your creativity shine and customize these enchanting cakes to make them truly yours.
- Gluten-Free: Substitute all-purpose flour with a gluten-free blend for a magical treat everyone can enjoy.
- Dairy-Free: Swap unsalted butter for coconut oil and use almond milk to create a delightful dairy-free version.
- Vegan: Use flax eggs or applesauce in place of regular eggs for a plant-based twist that doesn't compromise flavor.
- Extra Chocolatey: Stir in a cup of chocolate chips into the batter for an indulgently rich and gooey center.
- Flavored Frosting: Instead of chocolate, try using vanilla or caramel frosting to create a new flavor profile—how about a white chocolate swirl?
- Heat It Up: Add a pinch of cayenne or chili powder to the batter for a surprising spicy kick that balances the sweet chocolate.
- Themed Decoration: Get creative with decorations! Top with mini cauldrons or star-shaped sprinkles for an extra magical touch, fitting for any Harry Potter party.
- Flavor Boost: Mix in a tablespoon of strong brewed coffee into your batter for depth, enhancing the chocolate flavor even further.
Feel free to explore these variations to transform your Harry Potter Cauldron Cakes into unique, delightful creations—perfect for every themed celebration or cozy gathering! And if you love chocolate desserts, don't miss out on trying the whimsical Ricotta Protein Pancakes or explore new flavors with Crab Cakes Forget!
Make Ahead Options
These Harry Potter Cauldron Cakes are perfect for busy bakers looking to save time without sacrificing flavor! You can prepare the batter up to 24 hours in advance by mixing the dry and wet ingredients separately, then refrigerating the wet mix until you're ready to bake. When it’s time to bake, simply combine the mixtures and fill your molds. For even more convenience, you can bake the cakes up to 3 days ahead and store them in an airtight container at room temperature. Just remember to let them cool completely before frosting. On the day of serving, frost with your chocolate frosting and add edible glitter for that magical touch—your enchanting treats will be just as delicious and delightful!
Storage Tips for Harry Potter Cauldron Cakes
Room Temperature: Store the cauldron cakes in an airtight container for up to 3 days. This keeps them deliciously moist and ensures they capture all the magical flavors.
Fridge: If you want to extend their life, place the cakes in the refrigerator for up to a week. Allow them to come to room temperature before serving for the best taste experience.
Freezer: These Harry Potter Cauldron Cakes can be frozen for up to 2 months! Wrap each cake tightly in plastic wrap and then place in a freezer-safe container to preserve their enchantment.
Reheating: To enjoy your cakes warm, simply microwave for about 10-15 seconds. This will revive their soft texture, and they’ll taste freshly baked!
Harry Potter Cauldron Cakes Recipe FAQs
What type of flour should I use for Harry Potter Cauldron Cakes?
You can use all-purpose flour, which provides the best structure and texture. If you need a gluten-free option, I recommend using a gluten-free flour blend designed for baking to achieve similar results.
How should I store my Harry Potter Cauldron Cakes?
Store your cauldron cakes in an airtight container at room temperature for up to 3 days to maintain their moisture. If you'd like to keep them longer, refrigerate them for up to a week—just remember to let them come to room temperature before serving for the best flavor!
Can I freeze Harry Potter Cauldron Cakes?
Absolutely! To freeze your cauldron cakes, wrap each one individually in plastic wrap, then place them in a sealed freezer-safe container. They can be stored in the freezer for up to 3 months. When you're ready to enjoy them, simply thaw in the refrigerator overnight and reheat briefly in the microwave if desired.
What should I do if my cauldron cakes come out too dense?
If your cakes are denser than expected, you might have overmixed the batter. To avoid this in the future, mix just until the wet and dry ingredients are combined, even if there are a few lumps. Another tip is to ensure your baking powder and baking soda are fresh, as expired leavening agents can lead to poor rise!
Are Harry Potter Cauldron Cakes suitable for everyone?
These delicious cakes are vegetarian, but for those with specific dietary needs, you can easily make them vegan by substituting the eggs with flax eggs or applesauce and using dairy-free milk. Always check the frosting options—opt for a vegan frosting if you're catering to dairy-free diets.
Can I add something extra to my Harry Potter Cauldron Cakes?
Very much so! Feel free to add chocolate chips, nuts, or even a splash of your favorite flavored extract into the batter for a personal twist. Decorating with themed toppings, like edible stars or sparkles, will make your cauldron cakes even more magical and delightful!
Magical Harry Potter Cauldron Cakes for Enchanted Treats
Ingredients
Equipment
Method
- In a large mixing bowl, whisk together all-purpose flour, granulated sugar, unsweetened cocoa powder, baking powder, baking soda, and salt until smooth and no lumps remain.
- In a separate medium bowl, blend together the melted unsalted butter, eggs, and vanilla extract. Gradually whisk in the milk until the mixture is completely smooth.
- Slowly pour the wet ingredient mixture into the bowl with the dry ingredients, stirring gently until just combined; the batter should remain slightly lumpy.
- Preheat your oven to 350°F (175°C) while preparing your cauldron-shaped molds by greasing them lightly. Fill each mold about 3/4 full with the batter.
- Bake them for about 20-25 minutes, or until a toothpick inserted into the center comes out clean.
- Once baked, remove them from the oven and allow them to cool in the molds for 10 minutes, then transfer them to a wire rack to cool completely.
- Frost each cake with rich chocolate frosting and sprinkle with edible glitter before serving.