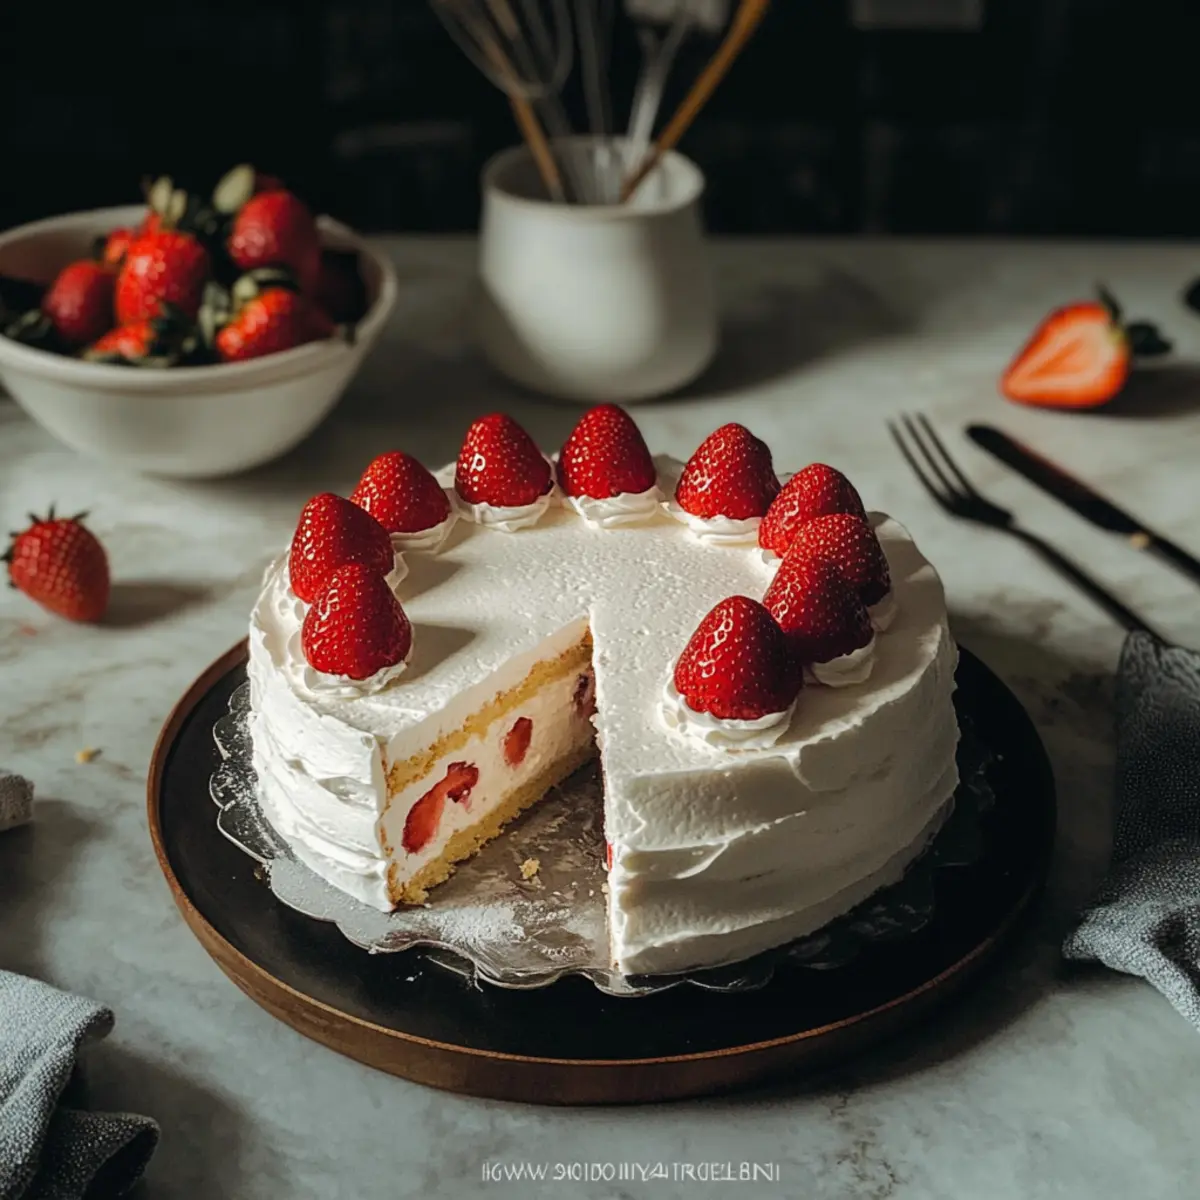
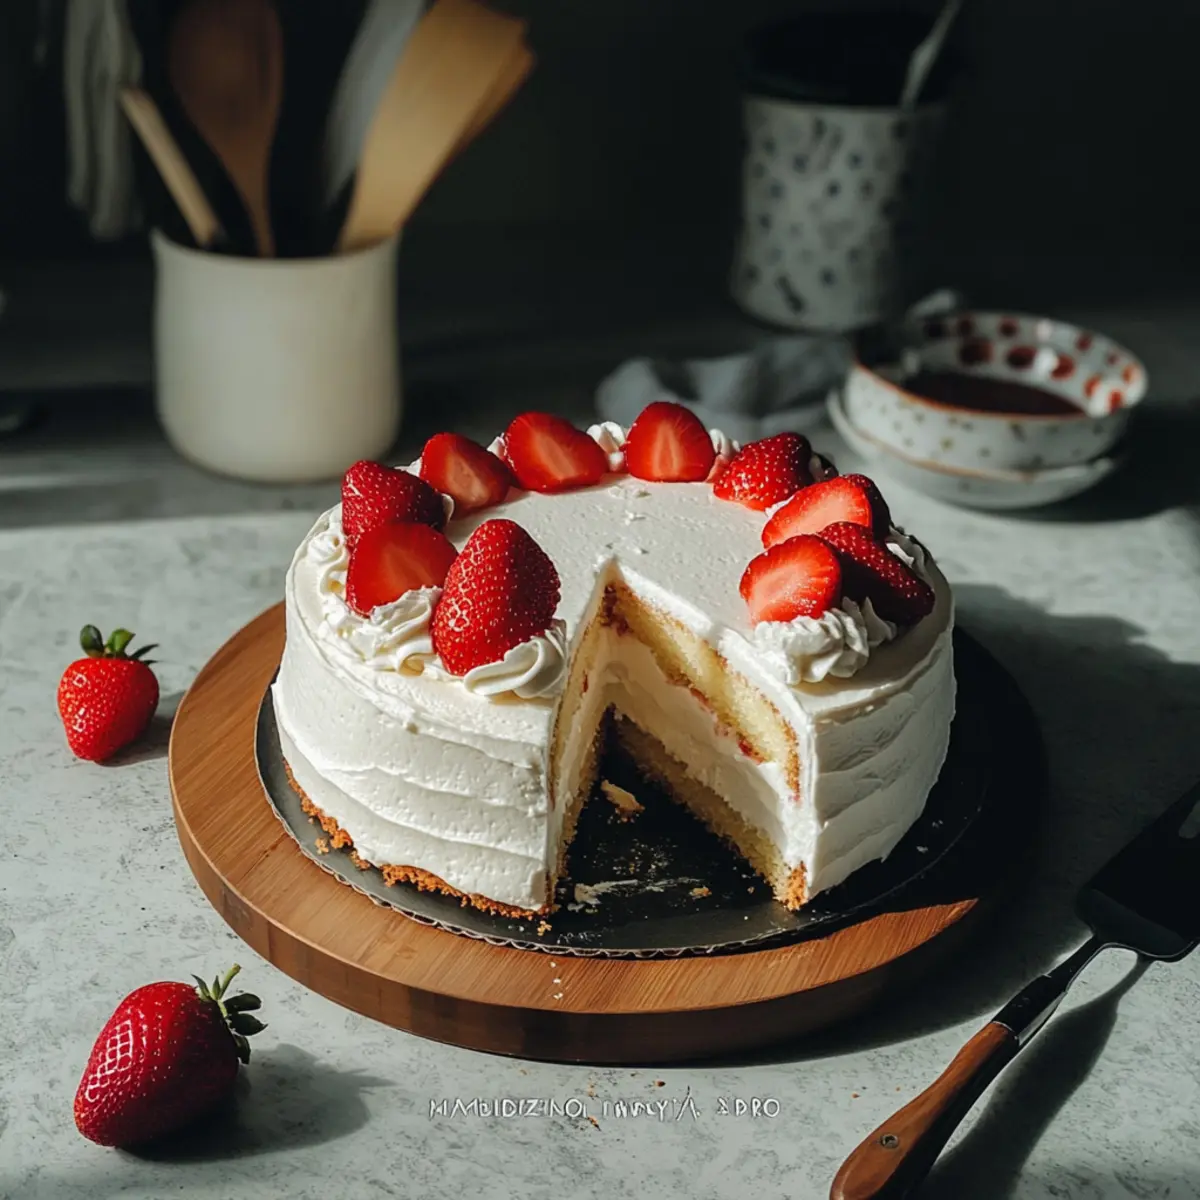
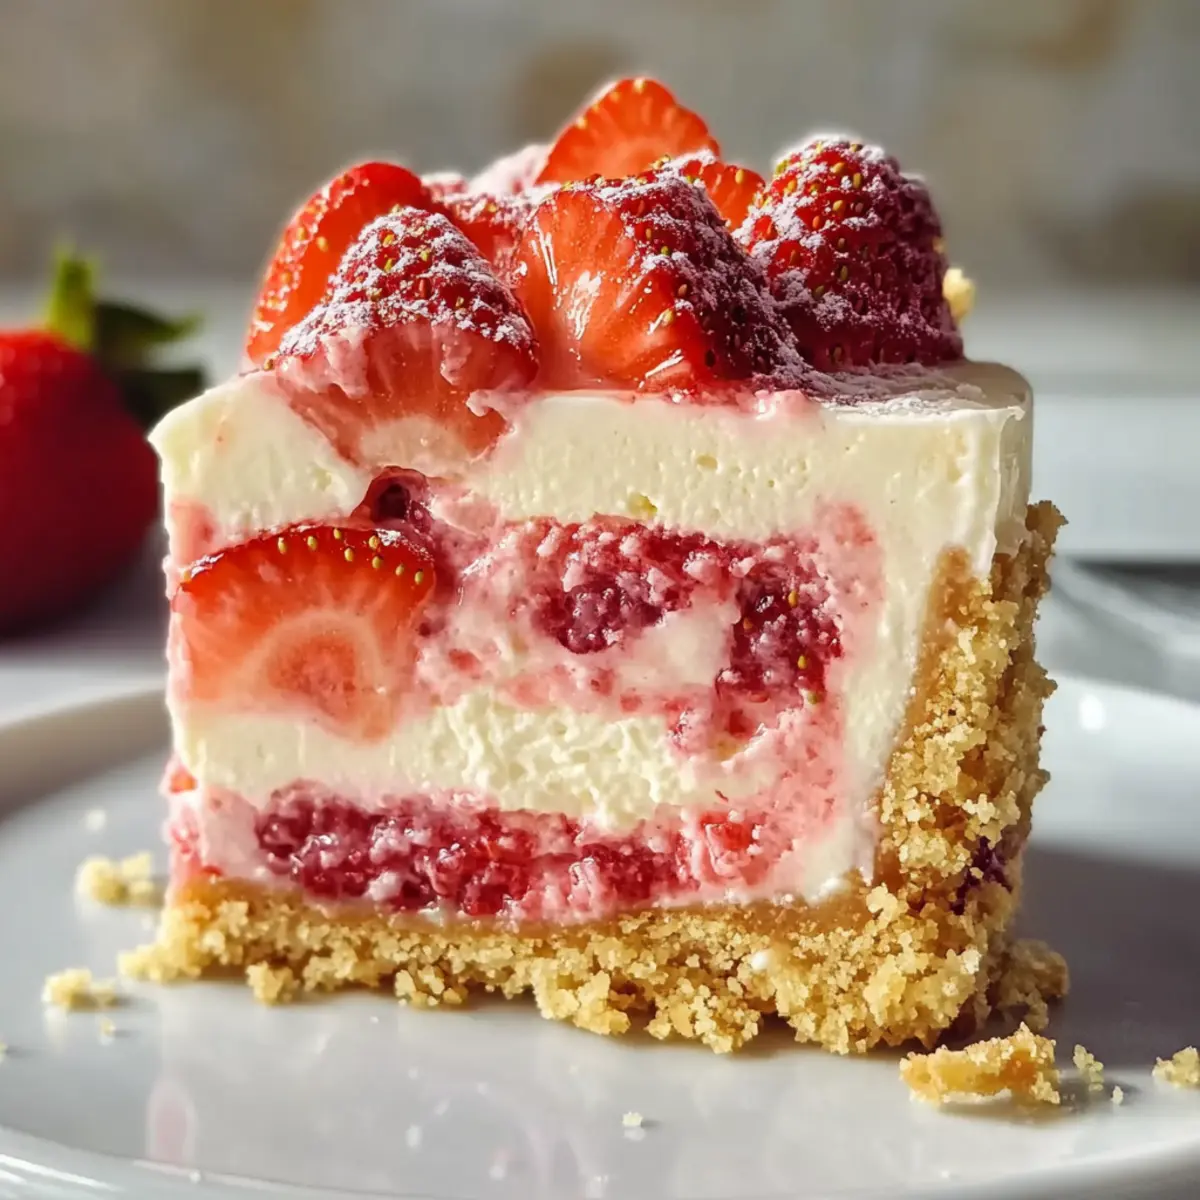
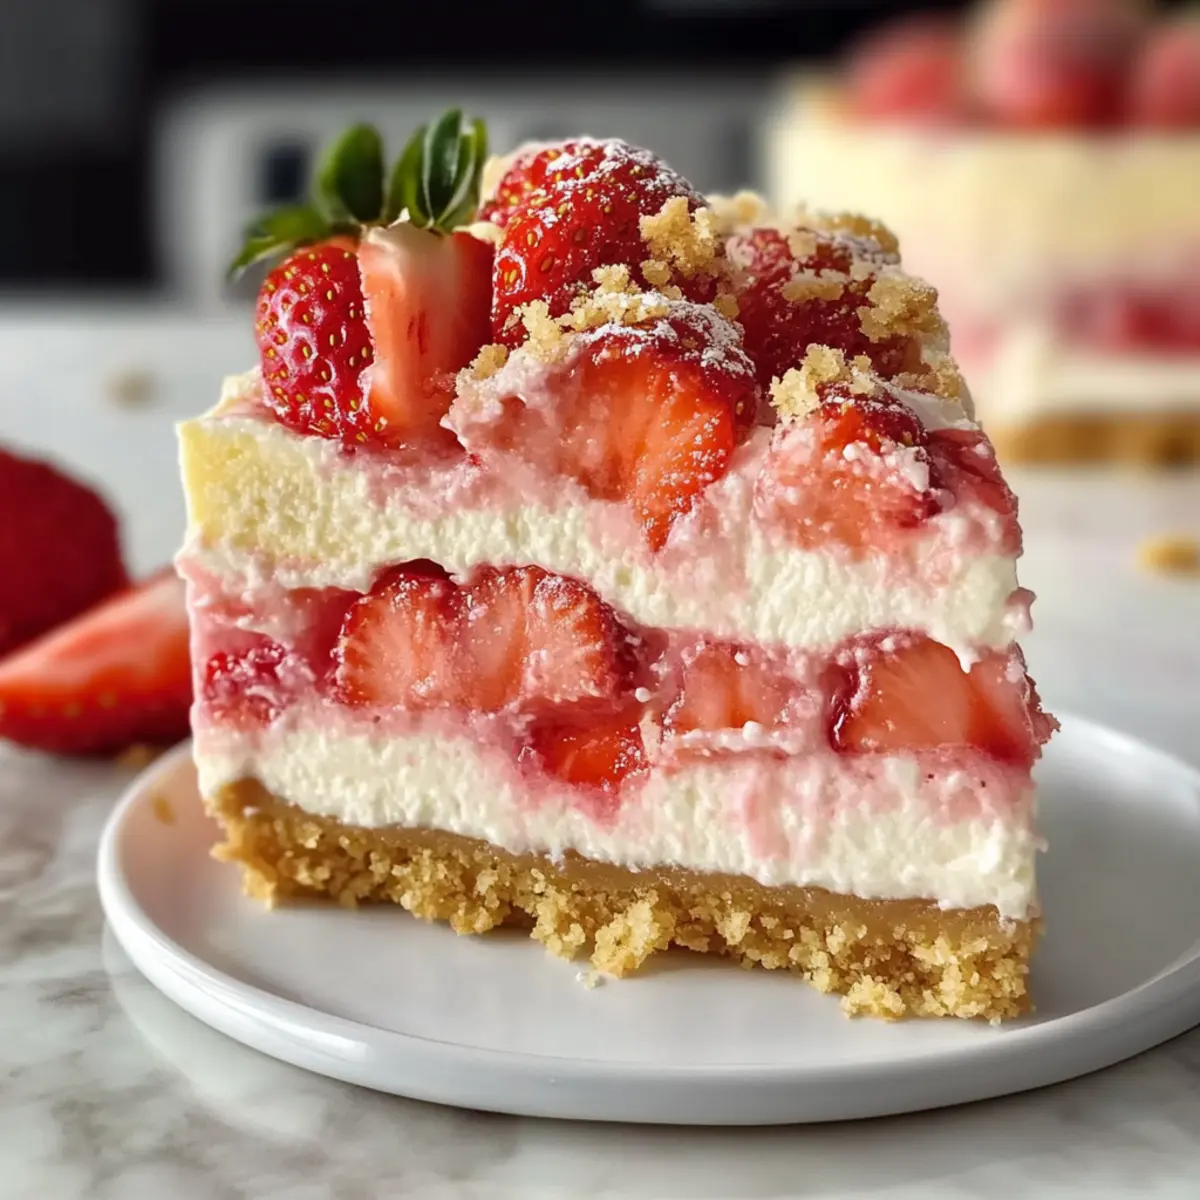
Walking through the vibrant aisles of a local farmers' market, I spotted the first fresh strawberries of the season, glistening in the sunlight. That sensory zap inspired me to whip up a dessert that marries nostalgia with indulgence: Strawberry Shortcake Cheesecake. This easy recipe takes the classic flavors of strawberry shortcake and elevates them to creamy heights, making it the perfect crowd-pleaser for any gathering or a delightful treat when you simply need a sweet escape. Not only does it come together quickly, but it also looks stunning when served, ensuring you leave a lasting impression on your guests. So, ready to make a show-stopping dessert that’s as irresistible as it is beautiful? Let’s dive in!
Why will you love this cheesecake?
Irresistible Flavor: This Strawberry Shortcake Cheesecake combines the refreshing taste of strawberries with the rich, creamy goodness of cheesecake, creating a dessert that will have everyone asking for seconds.
Effortless Preparation: With a straightforward recipe, you'll spend less time in the kitchen and more time enjoying the delicious results.
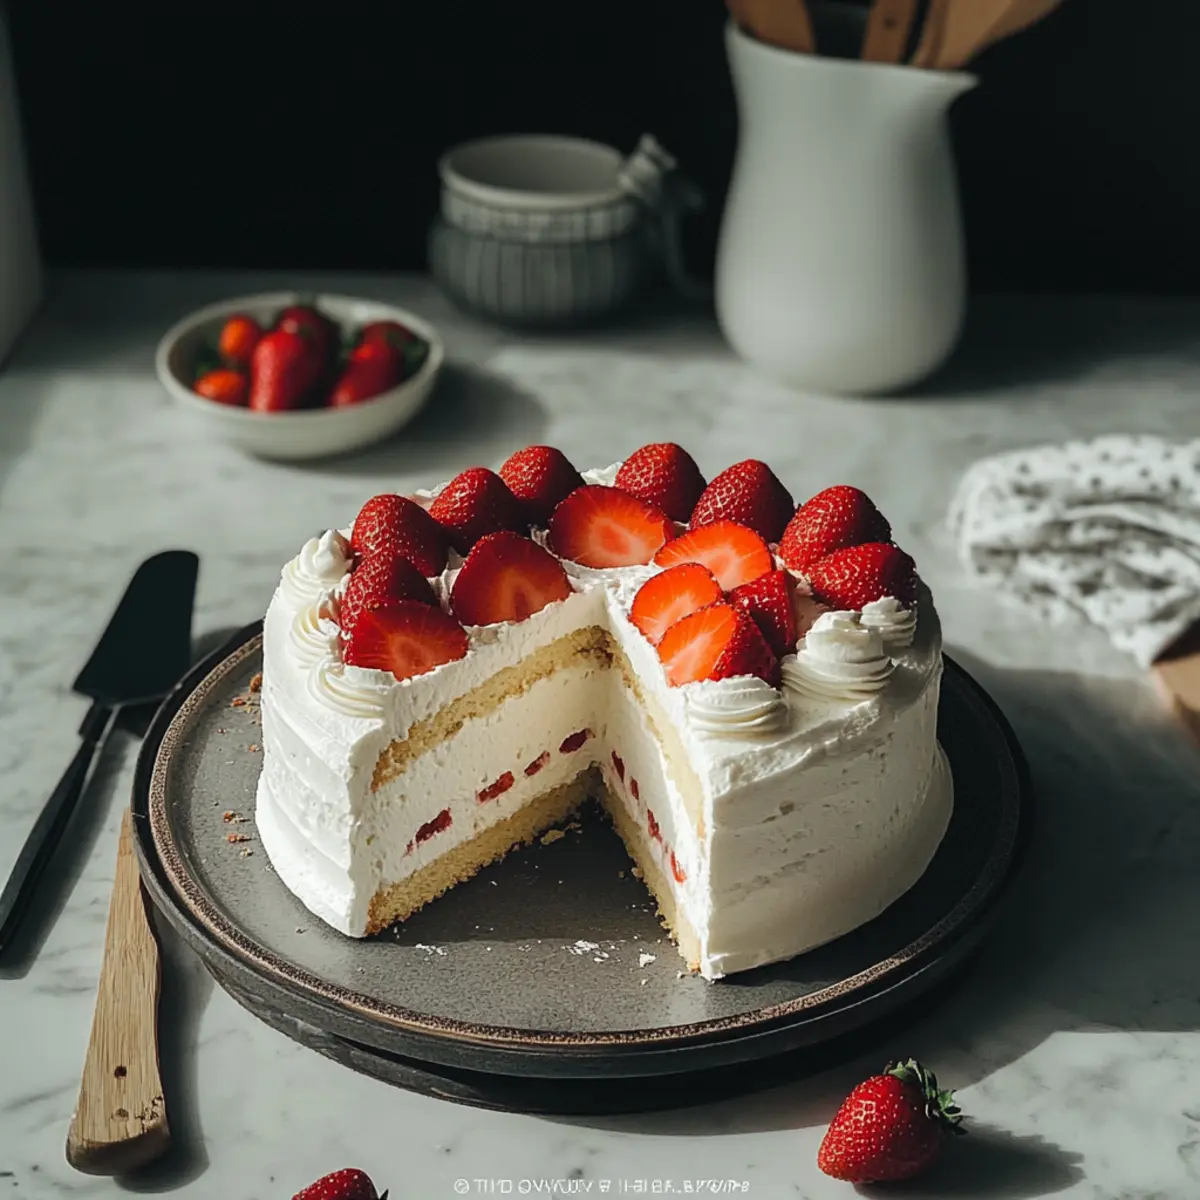
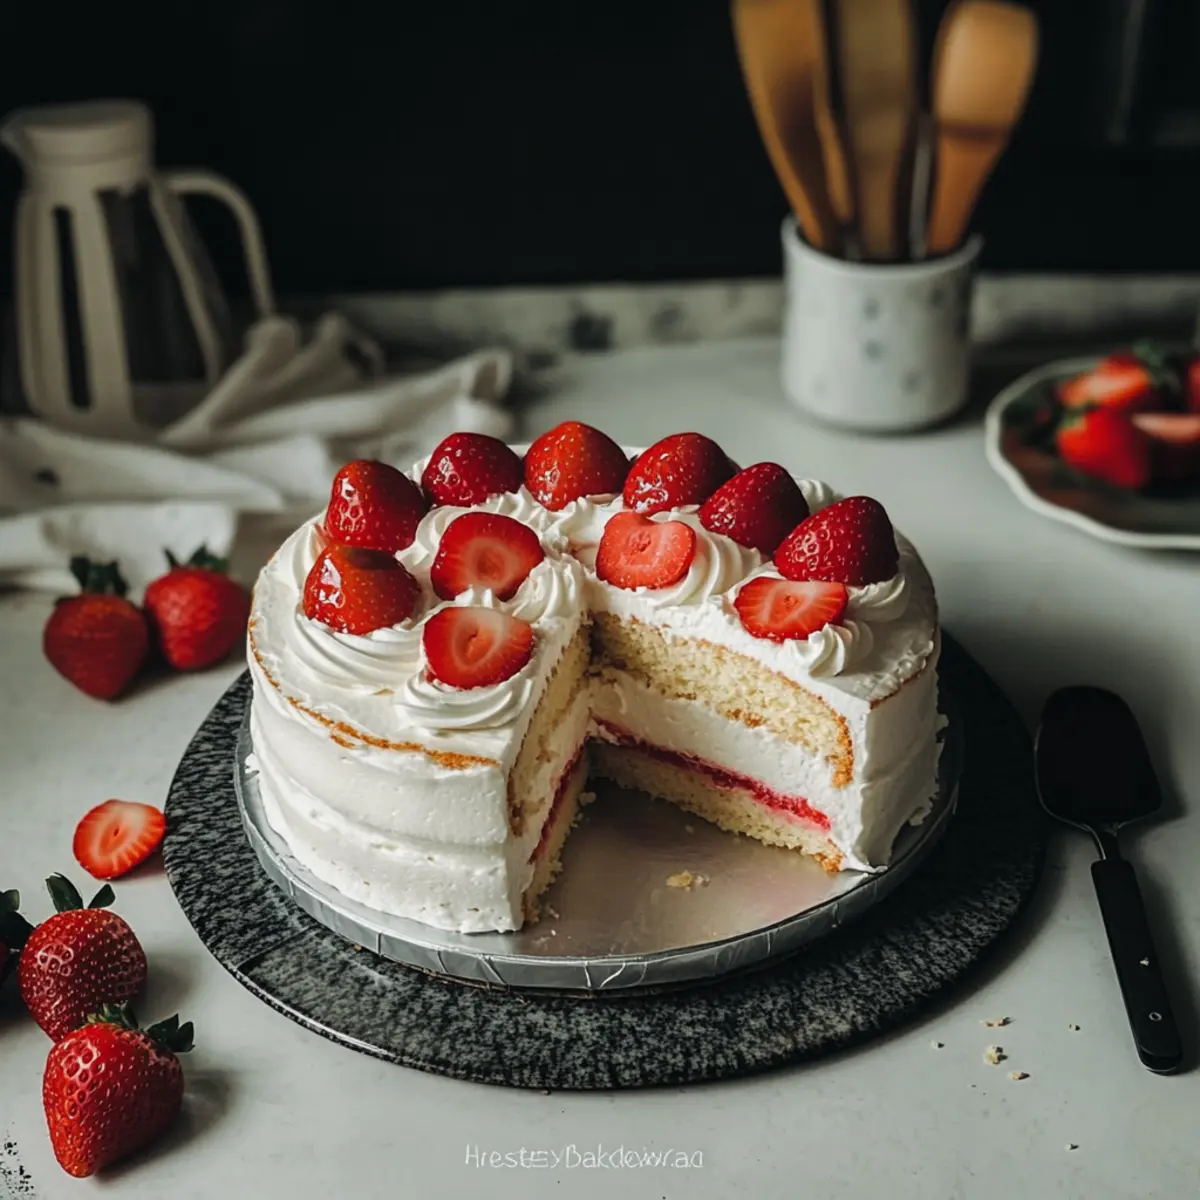
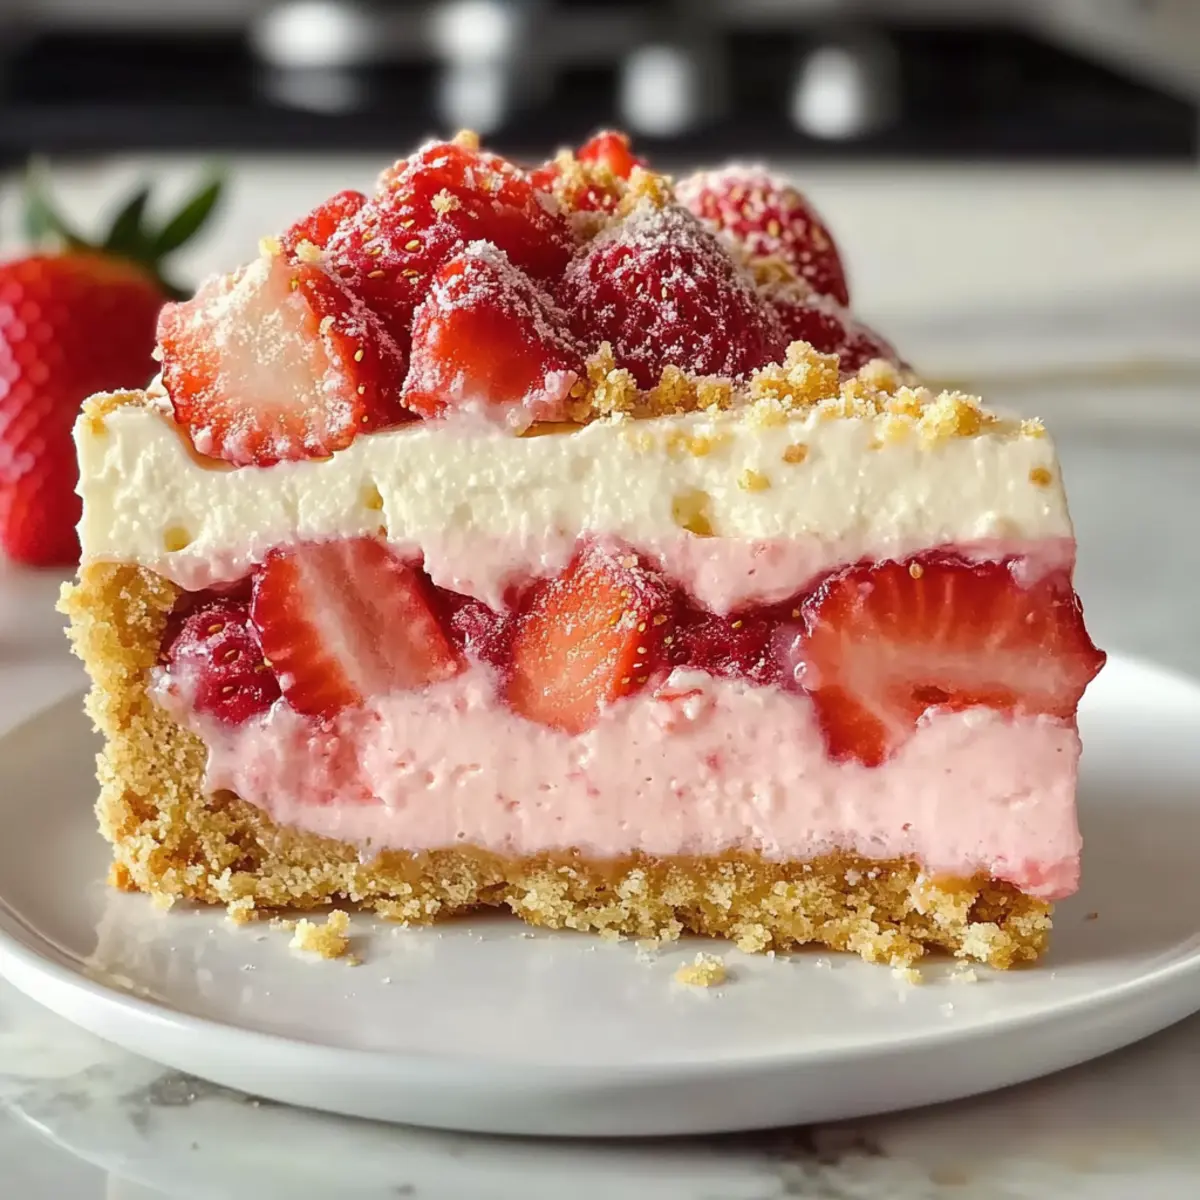
Visual Appeal: The vibrant pink of the strawberry topping and the luscious whipped cream make each slice a feast for the eyes, perfect for impressing guests at your next gathering.
Customizable Delight: Feel free to experiment with different fruit flavors or swap out ingredients for dietary preferences, making it a versatile treat for every occasion.
Crowd-Pleaser: Whether it's a family dinner or a potluck, this cheesecake is sure to be a hit, leaving everyone in awe of your baking skills!
Strawberry Shortcake Cheesecake Ingredients
For the Crust
• Graham Cracker Crumbs – Provides a buttery base; you can substitute crushed Golden Oreos for a sweeter twist.
• Granulated Sugar – Sweetens the crust and filling; consider using coconut sugar for a healthier alternative.
• Melted Butter – Binds the crust ingredients together; can be replaced with margarine for a dairy-free option.
For the Cheesecake Filling
• Cream Cheese – Creates the rich, creamy filling; Greek yogurt works as a lighter substitute but will alter the texture slightly.
• Sour Cream – Adds creaminess and a tangy flavor; plain Greek yogurt can be used for a similar effect.
• Vanilla Extract – Enhances the cheesecake's flavor; substitute with almond extract for a different taste profile.
• Eggs – Binds the filling together; for a vegan option, use flax eggs (1 tablespoon ground flaxseed + 2.5 tablespoons water per egg).
For the Strawberry Topping
• Strawberry Jell-O – Creates the vibrant strawberry topping and provides sweetness; can be replaced with natural fruit puree for a cleaner ingredient list.
• Fresh Strawberries – Offers fresh flavor and decoration; feel free to substitute with any berry based on preference or season.
For the Whipped Cream
• Heavy Whipping Cream – Essential for whipping into stiff peaks for topping; coconut cream can be used as a non-dairy alternative.
• Powdered Sugar – Sweetens the whipped cream; can be omitted or replaced with an alternative sweetener for less sweetness.
For the Crumble Topping
• Golden Oreos (or Vanilla Cookies) – Used for adding a shortcake crumble on top; any similar cookie may also be substituted.
Step‑by‑Step Instructions for Strawberry Shortcake Cheesecake
Step 1: Prepare the Oven & Crust
Preheat your oven to 325°F (160°C) while you prepare the crust for the Strawberry Shortcake Cheesecake. In a mixing bowl, combine the graham cracker crumbs, granulated sugar, and melted butter. Stir until well-mixed, then press this mixture evenly into the bottom of a 9-inch springform pan. Bake for 10 minutes until set and golden, then remove it from the oven to cool.
Step 2: Make the Filling
In a large mixing bowl, beat the cream cheese and granulated sugar together until smooth and creamy. Gradually mix in the sour cream and vanilla extract, ensuring everything is well-combined. Add the eggs one at a time, mixing thoroughly after each addition to create a light, airy filling.
Step 3: Bake the Cheesecake
Pour the luscious filling carefully over the cooled crust in your springform pan. Place the pan in the preheated oven and bake for 45-50 minutes, or until the center is slightly wobbly but set. Once done, turn off the oven, crack the door, and let the cheesecake cool at room temperature for about an hour before transferring it to the fridge to chill for at least 4 hours or overnight.
Step 4: Prepare Strawberry Layer
To create the colorful strawberry topping, start by dissolving the Strawberry Jell-O in boiling water. Once mixed, stir in cold water and set it aside to cool until it becomes slightly thickened. Fold in your whipped topping and chopped fresh strawberries gently for a fresh burst of flavor, then pour this mixture over the chilled cheesecake, spreading it evenly.
Step 5: Finish with Whipped Cream
For the final touch, whip the heavy cream with powdered sugar and vanilla extract until stiff peaks form, creating a fluffy topping. Spread this whipped cream generously over the chilled strawberry layer, ensuring an even coverage that makes the Strawberry Shortcake Cheesecake look decadent and inviting.
Step 6: Add Crumble
In a small bowl, combine crushed Golden Oreos with melted butter and dry Jell-O powder for a delightful crumble topping. Sprinkle this mixture evenly over the whipped cream layer, adding a crispy texture that enhances both flavor and presentation.
Step 7: Chill and Serve
After adding the crumble, return the finished Strawberry Shortcake Cheesecake to the refrigerator for another hour to let everything set beautifully. When you’re ready to serve, slice it up carefully and enjoy the incredible layers of flavor and texture!

Expert Tips for Strawberry Shortcake Cheesecake
-
Perfect Cooling: Allow the cheesecake to cool completely before refrigerating to prevent excess moisture, enhancing the flavor of your Strawberry Shortcake Cheesecake.
-
Prevent Cracks: Bake the cheesecake in a water bath by placing it in a larger pan filled with hot water. This method helps to maintain even heat, resulting in a smooth surface.
-
Whipped Cream Technique: Whip the heavy cream to stiff peaks for the best texture. This lightens the dessert and adds a delightful layer of sweetness atop your cheesecake.
-
Fresh Fruit: Always use fresh strawberries for the topping. Frozen strawberries can release excess moisture, which might affect the texture and presentation of your Strawberry Shortcake Cheesecake.
-
Customize Flavor: Feel free to experiment with different flavored Jell-O or fruit purees for the topping, allowing you to create variations of your beloved Strawberry Shortcake Cheesecake.
Strawberry Shortcake Cheesecake Variations
Feel free to let your creativity shine by customizing this delightful recipe based on your taste preferences!
-
Dairy-Free Delight: Replace the cream cheese with a vegan cream cheese alternative for a dairy-free option that’s equally creamy.
-
Nutty Flavor: Add crushed almonds or pecans to the graham cracker crust for an extra crunch and a burst of nutty goodness.
-
Lemon Zest: Incorporate lemon zest into the cheesecake filling for a refreshing citrusy twist that pairs beautifully with strawberries.
-
Chocolate Drizzle: After assembling, enhance the dessert by drizzling melted dark chocolate over the top for a decadent touch.
-
Add Heat: Toss in a pinch of cayenne pepper or chili powder into the strawberry topping for a surprising hint of heat that complements the sweetness.
-
Different Berries: Swap out fresh strawberries for raspberries, blueberries, or blackberries, creating a colorful medley of flavors and textures.
-
Plant-Based: Use silken tofu blended until smooth instead of cream cheese for a light and plant-based cheesecake option that’s still oh-so-satisfying.
-
Similar Cookies: Feel free to mix things up by using crushed chocolate wafers or vanilla wafers in place of Golden Oreos to vary the flavor profile.
Let these variations inspire you to craft a Strawberry Shortcake Cheesecake that's uniquely yours, perfect for sharing with family and friends! And if you’re in the mood for another delightful dessert, you might also enjoy exploring a delicious classic cheesecake or a refreshing fruit tart.
What to Serve with Strawberry Shortcake Cheesecake
Indulging in this delightful dessert opens the door to pairing a variety of sides that will enhance your experience.
-
Fresh Berries: A bowl of mixed berries brings brightness and contrasts the creamy cheesecake beautifully. The tartness of raspberries or blueberries can be especially refreshing.
-
Vanilla Ice Cream: The classic creamy flavor of vanilla ice cream complements the strawberry notes, creating a mouthwatering combination that feels indulgent and nostalgic.
-
Lemon Sorbet: This light and zesty treat offers a refreshing contrast to the rich cheesecake, cleansing the palate while enhancing the fruity flavor profile.
-
Minted Fruit Salad: Tossed with a hint of mint, a fruit salad featuring seasonal fruits can add a vibrant, fresh element to the table. The sweetness blends perfectly with the cheesecake.
-
Sparkling Lemonade: A glass of chilled sparkling lemonade offers a crisp, tangy sip that's invigorating and balances the sweet layers of the cheesecake beautifully.
-
Chocolate-Covered Strawberries: These elegant treats not only serve as a visual delight but also provide a sweet chocolatey pop that pairs fabulously with your strawberry shortcake cheesecake.
-
Coffee or Espresso: A robust cup of coffee or shot of espresso can enhance the sweetness of the dessert while providing a warm, comforting contrast to the chilled cheesecake.
-
Whipped Cream: Extra whipped cream on the side adds a delightful presentation factor, and it can be enjoyed with each perfect slice.
Each of these pairings amplifies the essence of your Strawberry Shortcake Cheesecake, making for a complete and pleasing dessert experience.
Make Ahead Options
These delightful Strawberry Shortcake Cheesecake are perfect for busy home cooks looking to save time! You can prepare the cheesecake filling and crust up to 3 days in advance, simply refrigerate them separately in airtight containers to maintain their freshness. Additionally, the strawberry topping can be made the day before and kept in the fridge, which allows the flavors to meld beautifully. When you’re ready to serve, simply assemble the cheesecake by layering the filling onto the prepared crust and topping it with the chilled strawberry mixture. Finish it off with freshly whipped cream and the crumble topping for a dessert that’s just as delicious as when you first made it!
Storage Tips for Strawberry Shortcake Cheesecake
Fridge: Store your Strawberry Shortcake Cheesecake in an airtight container for up to 3-5 days. This keeps the flavors fresh while preventing it from drying out.
Freezer: To preserve it longer, wrap individual slices tightly in plastic wrap followed by aluminum foil. Freeze for up to 2 months, ensuring it stays protected from freezer burn.
Reheating: Thaw frozen slices in the refrigerator overnight before serving. If you'd like to enjoy it slightly warm, let it sit at room temperature for 15-20 minutes before indulging.
Strawberry Shortcake Cheesecake Recipe FAQs
What kind of strawberries should I use for the best flavor?
Absolutely! For the most delicious Strawberry Shortcake Cheesecake, use fresh, ripe strawberries. Look for berries that are bright red, plump, and firm, without dark spots. If you can, choose organic strawberries as they have better flavor and sweetness. Avoid overripened strawberries which may be mushy and lack that vibrant taste.
How should I store leftover cheesecake?
Very simple! Store any leftover Strawberry Shortcake Cheesecake in an airtight container in the refrigerator. It will stay fresh for up to 3-5 days. Just make sure to keep it tightly sealed to prevent it from drying out or absorbing other odors from the fridge.
Can I freeze Strawberry Shortcake Cheesecake? If so, how?
Yes, you can! To freeze your Strawberry Shortcake Cheesecake, first, allow the cheesecake to cool completely. Then, slice it into portions and wrap each slice tightly in plastic wrap followed by aluminum foil to prevent freezer burn. It's best to freeze it for up to 2 months. When you're ready to enjoy, simply thaw it overnight in the refrigerator, and it will be just as delightful!
What can I do if my cheesecake cracks during baking?
Don’t worry, it happens to the best of us! If your Strawberry Shortcake Cheesecake cracks, the texture and flavor will still be delicious. To prevent cracking in the future, consider baking your cheesecake in a water bath. To do this, wrap the outside of your springform pan with foil to avoid leaking, and place it in a larger pan filled with water before baking. This helps maintain a consistent temperature and moisture level, leading to a smoother finish.
Is this cheesecake suitable for vegetarians?
Absolutely! The Strawberry Shortcake Cheesecake recipe is vegetarian-friendly, as it doesn’t contain any meat products. However, if you have specific dietary restrictions, pay attention to ingredients like gelatin in the Jell-O. You can easily substitute with a vegetarian gelatin alternative or natural fruit puree to suit your needs. Enjoy the delicious flavors without worry!
Can I make this cheesecake ahead of time for a gathering?
Yes, you can! In fact, making the Strawberry Shortcake Cheesecake a day ahead is often recommended, as this allows the flavors to meld beautifully. Just make sure to chill it properly in the refrigerator after baking and applying the toppings. This way, when your guests arrive, you'll have a stunning dessert ready to impress!
Irresistible Strawberry Shortcake Cheesecake for Sweet Lovers
Ingredients
Equipment
Method
- Preheat your oven to 325°F (160°C) and prepare the crust by mixing graham cracker crumbs, sugar, and melted butter. Press into a 9-inch springform pan and bake for 10 minutes until set.
- In a large bowl, beat cream cheese and granulated sugar until smooth. Mix in sour cream and vanilla extract, then add eggs one at a time, mixing well after each addition.
- Pour the filling carefully over the cooled crust and bake for 45-50 minutes, until the center is set. Let cool in the oven for 1 hour, then chill in the fridge for at least 4 hours or overnight.
- Dissolve Strawberry Jell-O in boiling water, then stir in cold water. When slightly thickened, fold in whipped cream and chopped strawberries, then pour over the cheesecake.
- Whip heavy cream with powdered sugar until stiff peaks form. Spread over the chilled strawberry layer for an inviting topping.
- Mix crushed Golden Oreos with melted butter and dry Jell-O powder, then sprinkle over whipped cream layer for crumble topping.
- Chill cheesecake for another hour before serving. Slice and enjoy the incredible layers of flavor and texture!