Ingredients
Equipment
Method
Step-by-Step Instructions
- Begin by selecting your matte acrylic craft paint in vibrant colors. Using a paintbrush, apply the paint to the tips of each pinecone, making sure to cover them generously while leaving some sections natural. Allow to dry for about 15-20 minutes.
- While the feathers dry, take your pipe cleaners and cut them to form turkey legs. Bend into a U-shape and secure to the base with hot glue.
- Curl a pipe cleaner into a spiral shape for the turkey’s head and secure it to the top of the pinecone with hot glue.
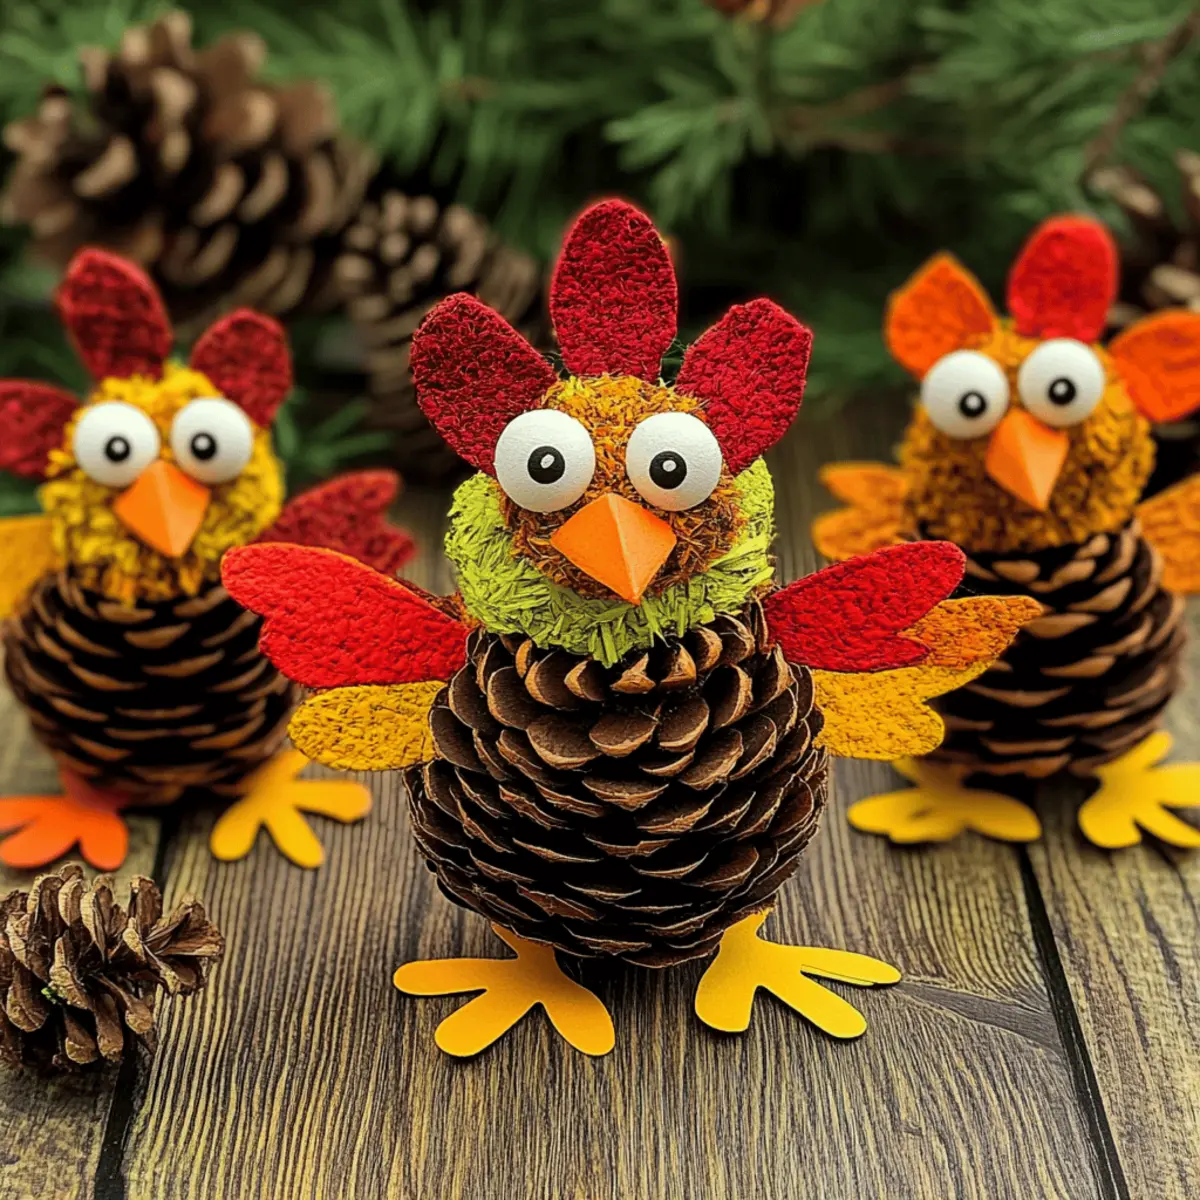
- Cut shapes from craft paper scraps for beaks and wattles. Use hot glue to attach these features along with googly eyes to the curled pipe cleaner.
- Attach the completed face to the front of the pinecone using hot glue. Hold in place to set. Let dry before displaying your Pine Cone Turkeys.
Nutrition
Notes
Pine Cone Turkeys are a fun and budget-friendly craft that can become a cherished family tradition during Thanksgiving.
