
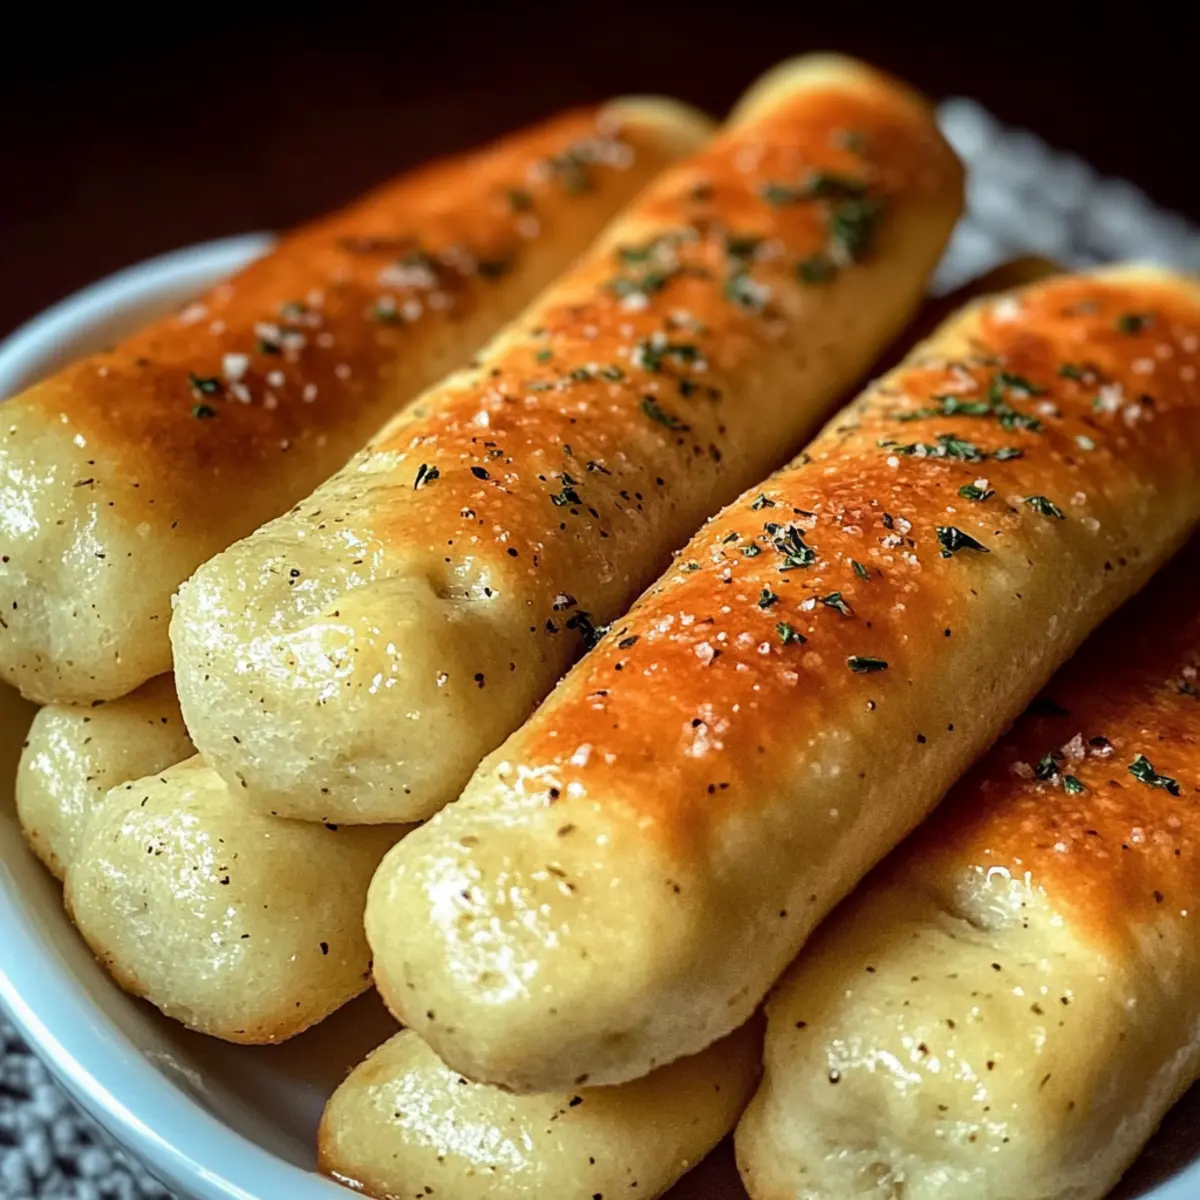
As I pulled the warm, golden breadsticks out of the oven, the delightful aroma of garlic and butter enveloped my kitchen, instantly transporting me to a cozy Italian bistro. These soft and fluffy Homemade Garlic Butter Breadsticks are not just easy to make—they’re the answer to elevating your family dinners and cozy game nights into something special. With their heavenly buttery glaze and irresistible flavor, they’re bound to be a showstopper at any gathering. Whether you're using them to mop up your favorite pasta sauce or simply enjoying them fresh out of the oven, these breadsticks offer the perfect blend of comfort and simplicity. How do you plan to enjoy these golden delights?
Why Are These Breadsticks Perfect?
Irresistible Aroma: The moment you bake these Homemade Garlic Butter Breadsticks, your kitchen will fill with a mouthwatering garlic scent that draws everyone in.
Easy Preparation: No advanced baking skills required; a few simple steps and you’re set!
Versatile Pairing: Enjoy them alongside soups, salads, or pastas for a delightful addition to your meals. They also pair perfectly with a warm bowl of Homemade Hot Chocolate.
Crowd-Pleaser: These breadsticks always impress guests at gatherings, making them a go-to recipe for entertaining.
Customizable Delight: Feel free to add herbs or cheeses, tailoring the flavor to your liking. Serve alongside Crockpot Butter Chicken for a comforting meal or dip them in marinara for an appetizer.
Get ready to whip up these delightful snacks that everyone will love!
Homemade Garlic Butter Breadsticks Ingredients
For the Dough
- Warm Water – Activates the yeast; use between 110-115°F for ideal activation.
- Active Dry Yeast – The leavening agent; ensure it foams in the warm water to confirm it's alive and ready to work!
- Granulated Sugar – Aids in yeast activation and adds a hint of sweetness to your breadsticks.
- Unsalted Butter (melted) – Provides richness and flavor; can substitute with plant-based butter for a vegan option.
- Salt – Enhances flavor and controls yeast activity; opt for fine salt for easy mixing.
- All-Purpose Flour – Gives structure to your breadsticks; can substitute with gluten-free flour for a gluten-free version.
For the Topping
- Melted Butter (for brushing) – This is what adds that delicious garlic butter glaze that makes these homemade garlic butter breadsticks irresistible.
- Salt (to taste) – Elevates the flavor of the buttery glaze; adjust based on your personal preference.
- Garlic Powder – Delivers that classic garlic flavor; using fresh garlic can give an even bolder taste.
- Italian Seasoning – Adds a wonderful herby note; optional but recommended for an extra burst of flavor.
Step‑by‑Step Instructions for Homemade Garlic Butter Breadsticks
Step 1: Prepare Yeast
In a stand mixer bowl, combine 1 cup of warm water (110-115°F), 2 ¼ teaspoons of active dry yeast, and 1 tablespoon of granulated sugar. Let the mixture sit undisturbed for about 5-10 minutes until it becomes frothy on top, signaling that the yeast is active. This initial step is crucial for your Homemade Garlic Butter Breadsticks to rise beautifully.
Step 2: Make the Dough
Once the yeast mixture is frothy, add ¼ cup of melted unsalted butter and 1 teaspoon of salt. Gradually add 3 to 4 cups of all-purpose flour, mixing slowly on low speed. As the dough comes together, switch to medium-low speed and knead for 7-10 minutes until the dough is smooth and elastic. If kneading by hand, use a floured surface for the same duration until well combined.
Step 3: Let Dough Rise
Transfer the dough into a lightly oiled bowl, ensuring it is all coated in oil. Cover the bowl with a clean kitchen towel or plastic wrap and let it rise in a warm place for 1 to 1.5 hours. The dough should double in size, developing a soft and airy texture that is perfect for your Homemade Garlic Butter Breadsticks.
Step 4: Shape Breadsticks
Once the dough has risen, gently punch it down to deflate. Divide the dough into 16-18 equal pieces, rolling each piece into a log about 7 inches long. Arrange the shaped logs on a greased baking sheet, allowing for some space between each. This step is essential to ensure even cooking and shape retention for the perfect breadsticks.
Step 5: Second Rise
Cover the shaped breadsticks with a towel and let them rise again for about 1 hour, allowing them to double in size once more. Meanwhile, preheat your oven to 400°F (200°C). Keeping the dough warm ensures a light and fluffy texture for your Homemade Garlic Butter Breadsticks.
Step 6: Bake
After the second rise, lightly brush the tops of the breadsticks with cooking spray and place them in the oven. Bake them for 14-15 minutes or until they turn a beautiful golden brown on top. The enticing smell of baked breadsticks will fill your kitchen, indicating they’re nearly ready to enjoy.
Step 7: Add Topping
While the breadsticks are warm, mix together ¼ cup of melted butter, a pinch of salt, 1 teaspoon of garlic powder, and 1 teaspoon of Italian seasoning in a small bowl. Brush this flavorful mixture generously over the warm breadsticks right after they come out of the oven, ensuring each one is deliciously coated. Serve these Homemade Garlic Butter Breadsticks warm for the best taste experience.
Helpful Tricks for Homemade Garlic Butter Breadsticks
-
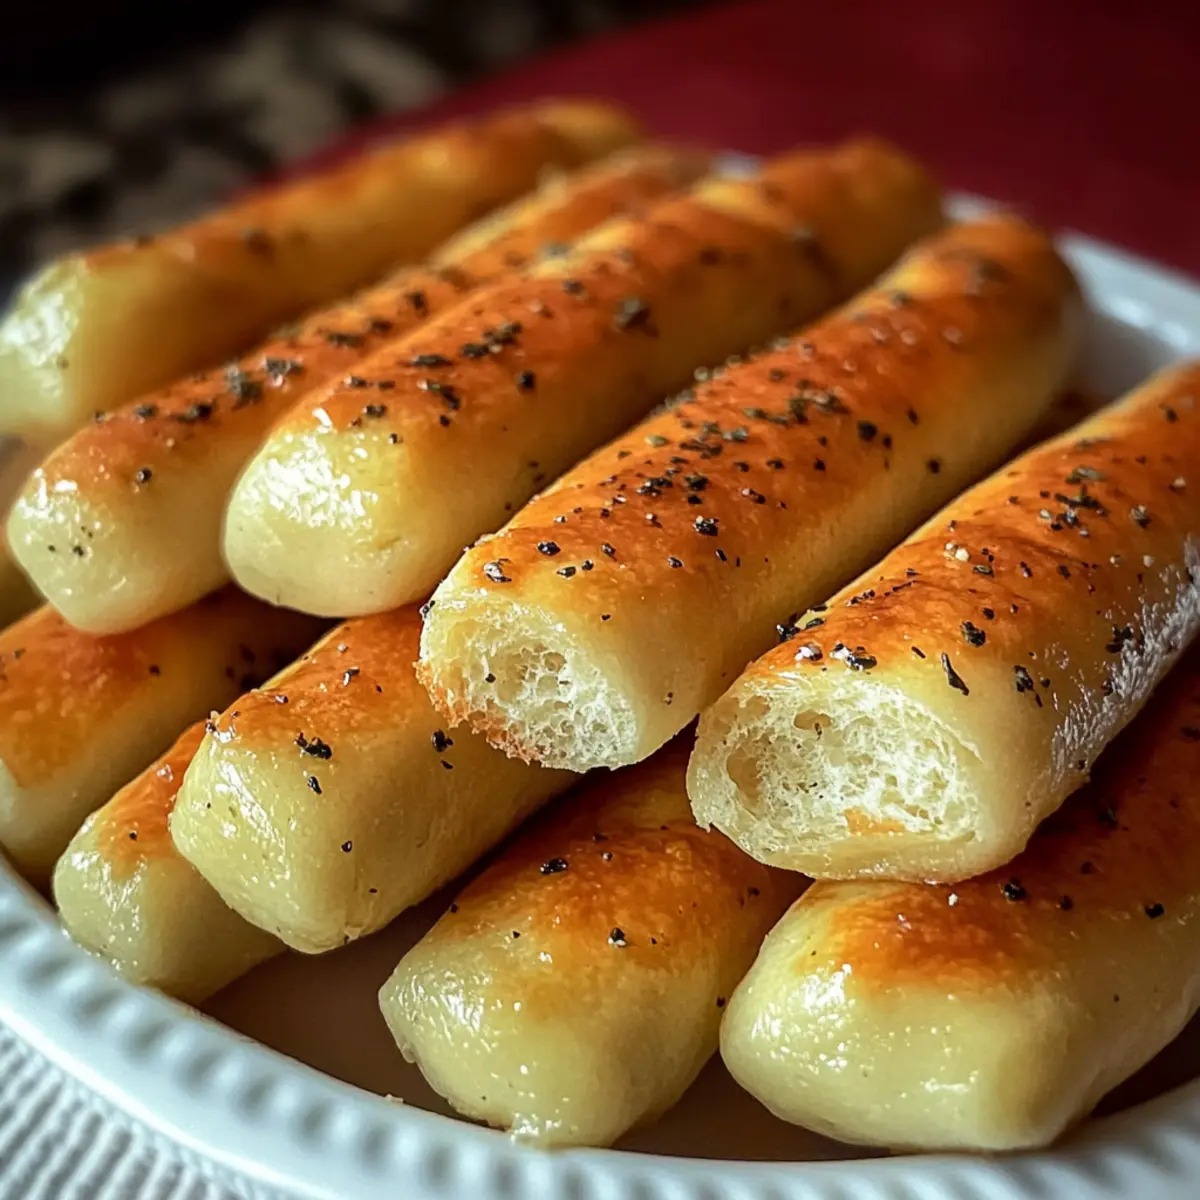
Perfect Yeast Activation: Always ensure your yeast is fresh by checking its expiration date. If it doesn’t foam when mixed with water, discard and start over for fluffy breadsticks.
-
Avoid Over-Kneading: Knead just until the dough is smooth and elastic—about 7-10 minutes. Over-kneading can lead to tough breadsticks instead of the desired soft texture.
-
Temperature Matters: Make sure the rising environment is warm, as cold drafts can hinder the dough’s ability to rise. A cozy kitchen will produce the best Homemade Garlic Butter Breadsticks!
-
Don’t Skip the Second Rise: Allowing the shaped breadsticks to rise again contributes to their airy, soft texture. Patience is key for the perfect results!
-
Topping Swap: For enhanced flavor, try adding fresh herbs or a sprinkle of cheese in the butter topping. Experimenting keeps your Homemade Garlic Butter Breadsticks exciting!
Variations of Homemade Garlic Butter Breadsticks
Explore these delightful twists to make your Homemade Garlic Butter Breadsticks your own!
-
Cheesy Addition:
Mix in shredded mozzarella or cheddar directly into the dough for a cheesy surprise with every bite. -
Herbed Delight:
Incorporate fresh herbs like rosemary or thyme into the dough for an aromatic flavor boost that transforms each breadstick into a gourmet treat. -
Spicy Kick:
Add a pinch of red pepper flakes or smoked paprika to the dough or topping for a subtle heat that balances perfectly with the garlic. -
Garlic Lovers Upgrade:
For an intense garlic flavor, swap garlic powder for fresh minced garlic in the topping. This offers a fragrant and savory punch! -
Dipping Sauce Idea:
Serve your breadsticks with a side of marinara or pesto for a fun and flavorful dipping experience. They complement the breadsticks wonderfully. -
Garlic Parmesan Topping:
Elevate the butter glaze with grated Parmesan cheese before brushing it over the hot breadsticks for a flavor-packed finish. -
Sweet Twist:
For a unique dessert approach, brush the breadsticks with melted butter mixed with cinnamon sugar and serve them warm. Pair with coffee or tea for a cozy treat. -
Gluten-Free Option:
Substitute all-purpose flour with gluten-free flour to make these breadsticks accessible for your gluten-sensitive friends. They’ll still taste fluffy and delicious!
Whether you're enjoying these warm with your favorite pasta or dipping them into the Homemade Hot Chocolate for a cozy evening, the possibilities are endless!
Make Ahead Options
These Homemade Garlic Butter Breadsticks are perfect for busy weeknights! You can prepare the dough up to 24 hours in advance by following the first three steps, then wrap it tightly in plastic wrap and refrigerate it to maintain its freshness. When you're ready to bake, simply let the dough come to room temperature for about 30 minutes before shaping and proceeding with the second rise, which will ensure they remain fluffy. For even better time-saving, you can shape the breadsticks and freeze them for up to 3 months. Just thaw them overnight in the refrigerator and allow an additional hour to rise before baking. This way, you'll have homemade goodness with minimal effort, just as delicious as if they were freshly made!
How to Store and Freeze Homemade Garlic Butter Breadsticks
Room Temperature: Store your homemade garlic butter breadsticks in an airtight container at room temperature for up to 3 days to maintain their fluffy texture.
Fridge: If you have any leftovers, you can refrigerate them in an airtight container for up to 5 days. Just reheat in the oven or microwave before serving.
Freezer: For longer storage, freeze the breadsticks in a single layer on a baking sheet before transferring to a freezer-safe bag. They can be stored this way for up to 3 months.
Reheating: To reheat, simply pop the frozen homemade garlic butter breadsticks in a preheated oven at 350°F (175°C) for about 10-15 minutes or until warmed through.
What to Serve with Homemade Garlic Butter Breadsticks
When it comes to creating a delightful meal, these fluffy and buttery breadsticks can be the versatile star of your table.
- Creamy Tomato Soup: This classic pairing enhances the savory garlic flavors while offering a comforting, warming experience on chilly days.
- Caesar Salad: The crisp romaine and tangy dressing complement the rich breadsticks, making for a refreshing and balanced meal.
- Spaghetti Aglio e Olio: The simplicity of this pasta dish amplifies the breadsticks’ garlic essence, perfect for soaking up every flavorful bite.
- Chicken Alfredo: Rich and creamy, this pasta dish loves a side of breadsticks for mopping up delicious sauces; each bite amplifies comfort.
- Garlic Parmesan Dip: Pair your breadsticks with this addictive dip for an irresistible, flavor-packed experience; it'll have everyone reaching for more.
- Bruschetta: Topped with fresh tomatoes, basil, and balsamic drizzle, this refreshingly bright starter mirrors the breadsticks’ buttery charm while adding a vibrant touch.
- Red Wine: A smooth glass of Chianti or Merlot pairs beautifully with the roasted garlic flavors for a sophisticated dining experience.
- Frozen Yogurt with Honey: For dessert, whip up a quick frozen yogurt topped with drizzled honey; this adds a sweet finish to your savory meal.
Homemade Garlic Butter Breadsticks Recipe FAQs
How do I know if my yeast is active?
Absolutely! To check yeast activity, combine warm water (between 110-115°F), sugar, and yeast in a bowl. Let it sit for 5-10 minutes. If the mixture becomes frothy and bubbly, your yeast is active and ready to work!
What’s the best way to store leftover breadsticks?
You can keep your Homemade Garlic Butter Breadsticks in an airtight container at room temperature for up to 3 days. If you want to extend their freshness, refrigerate them, and they’ll last up to 5 days. Just warm them before eating for that fresh-out-of-the-oven feel!
Can I freeze these breadsticks? If so, how?
Yes, the more the merrier! To freeze your Homemade Garlic Butter Breadsticks, first cool them completely at room temperature. Then, place them in a single layer on a baking sheet and freeze for about 1-2 hours until firm. Once frozen, transfer them to a freezer-safe bag or container. They can be stored this way for up to 3 months. To reheat, pop them in a preheated oven at 350°F (175°C) for about 10-15 minutes.
What if my dough doesn’t rise?
Oh no! If your dough doesn't rise, it might be due to inactive yeast. Make sure your yeast is fresh and the water temperature is just right. If the initial mixture doesn’t foam, discard it and try again with new yeast! Also, check for drafts in the rising area; a warm and cozy space is essential for a successful rise.
Is there a way to make these breadsticks dairy-free?
Very much so! To cater to a dairy-free diet, simply substitute the unsalted butter with a plant-based butter alternative. This way, you can still enjoy the rich flavor of homemade garlic butter breadsticks without the dairy. Just check ingredient labels to ensure there are no hidden allergens!
Can I use fresh garlic instead of garlic powder?
Absolutely! Using fresh garlic can amp up the flavor significantly. If you choose fresh garlic, I recommend using about 1-2 minced cloves in place of garlic powder. Just mix the minced garlic with the melted butter for brushing to enhance that garlicy aroma and taste in your Homemade Garlic Butter Breadsticks.
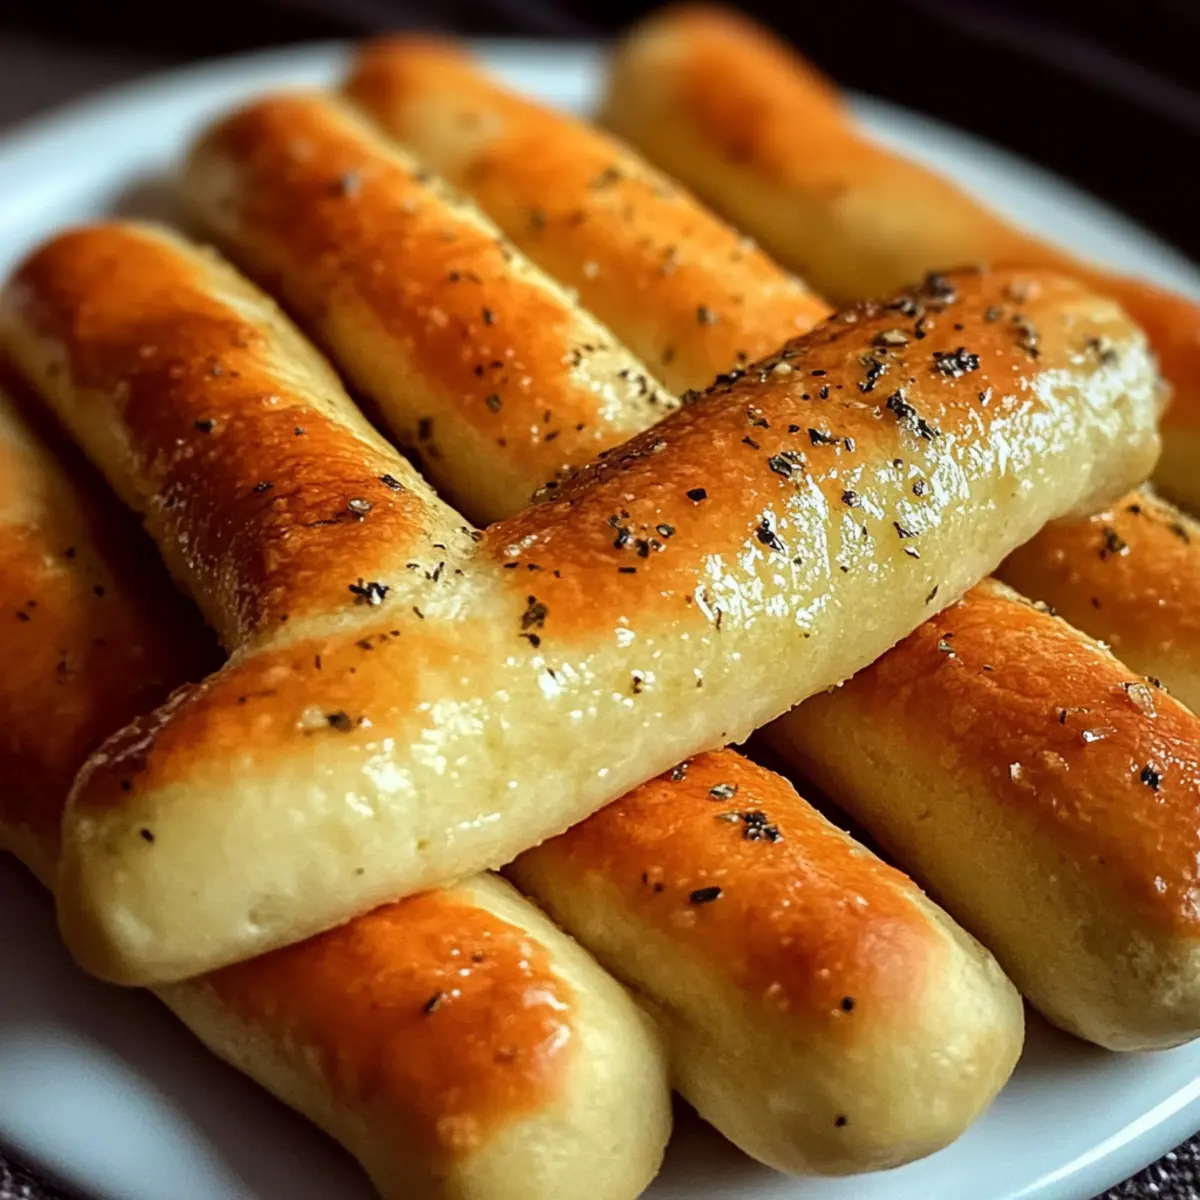
Homemade Garlic Butter Breadsticks That Melt in Your Mouth
Ingredients
Equipment
Method
- Combine warm water, active dry yeast, and granulated sugar in a bowl; let sit until frothy.
- Add melted butter and salt to the yeast mixture, then gradually mix in flour until smooth and elastic.
- Transfer the dough to an oiled bowl, cover, and let it rise until doubled in size.
- Divide the dough into pieces, shape into logs, and arrange on a greased baking sheet.
- Cover shaped breadsticks and let them rise again, then preheat the oven.
- Brush with cooking spray and bake until golden brown.
- Mix topping ingredients and brush over warm breadsticks before serving.
Leave a Reply