
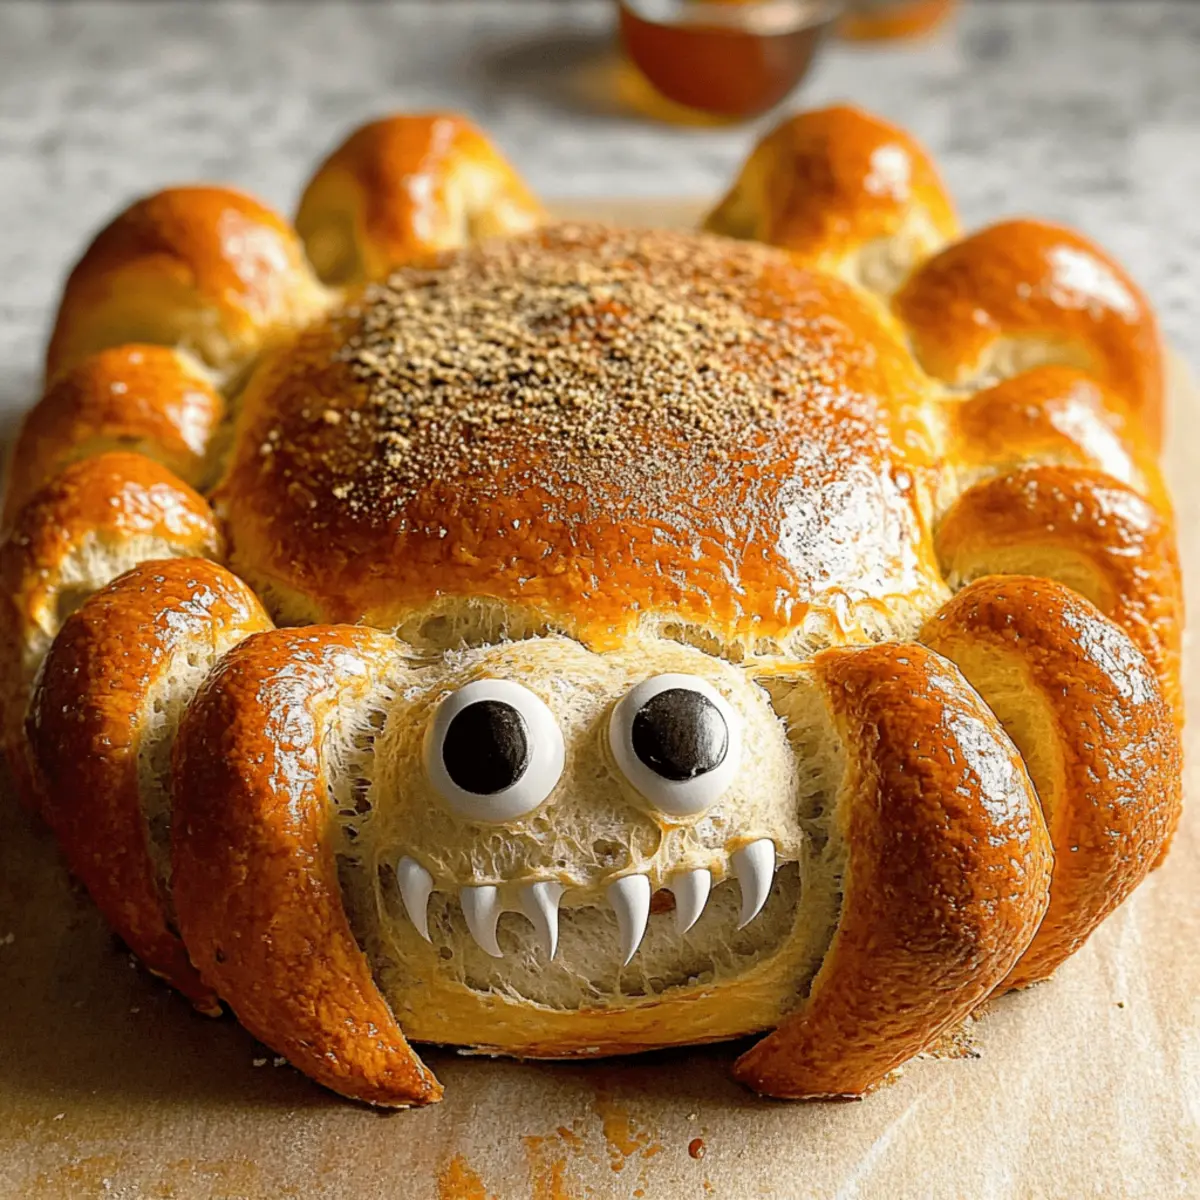
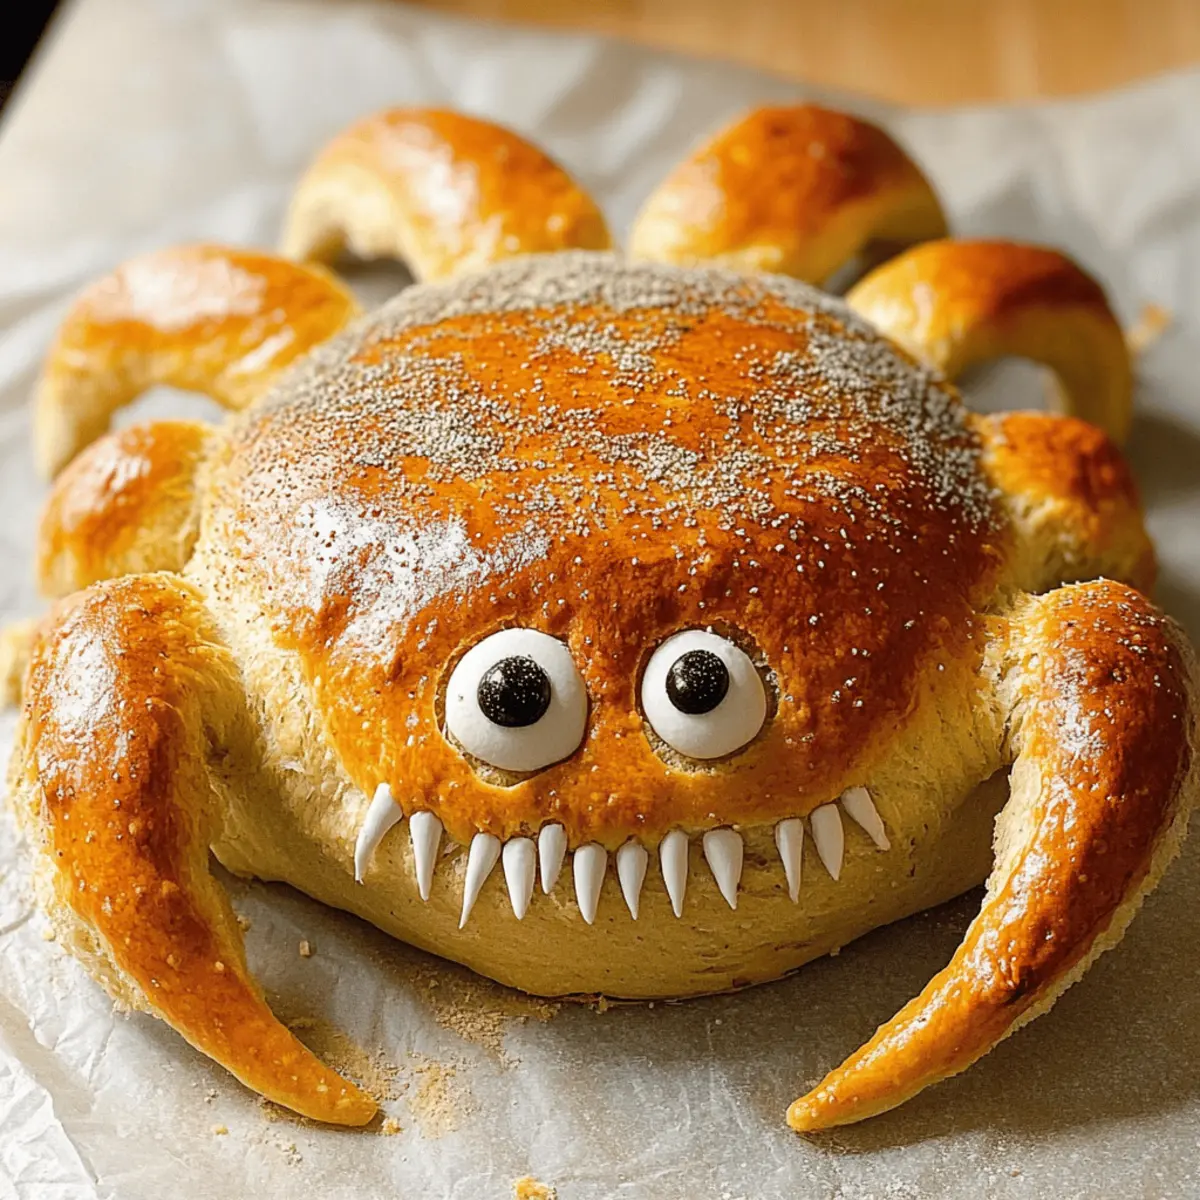
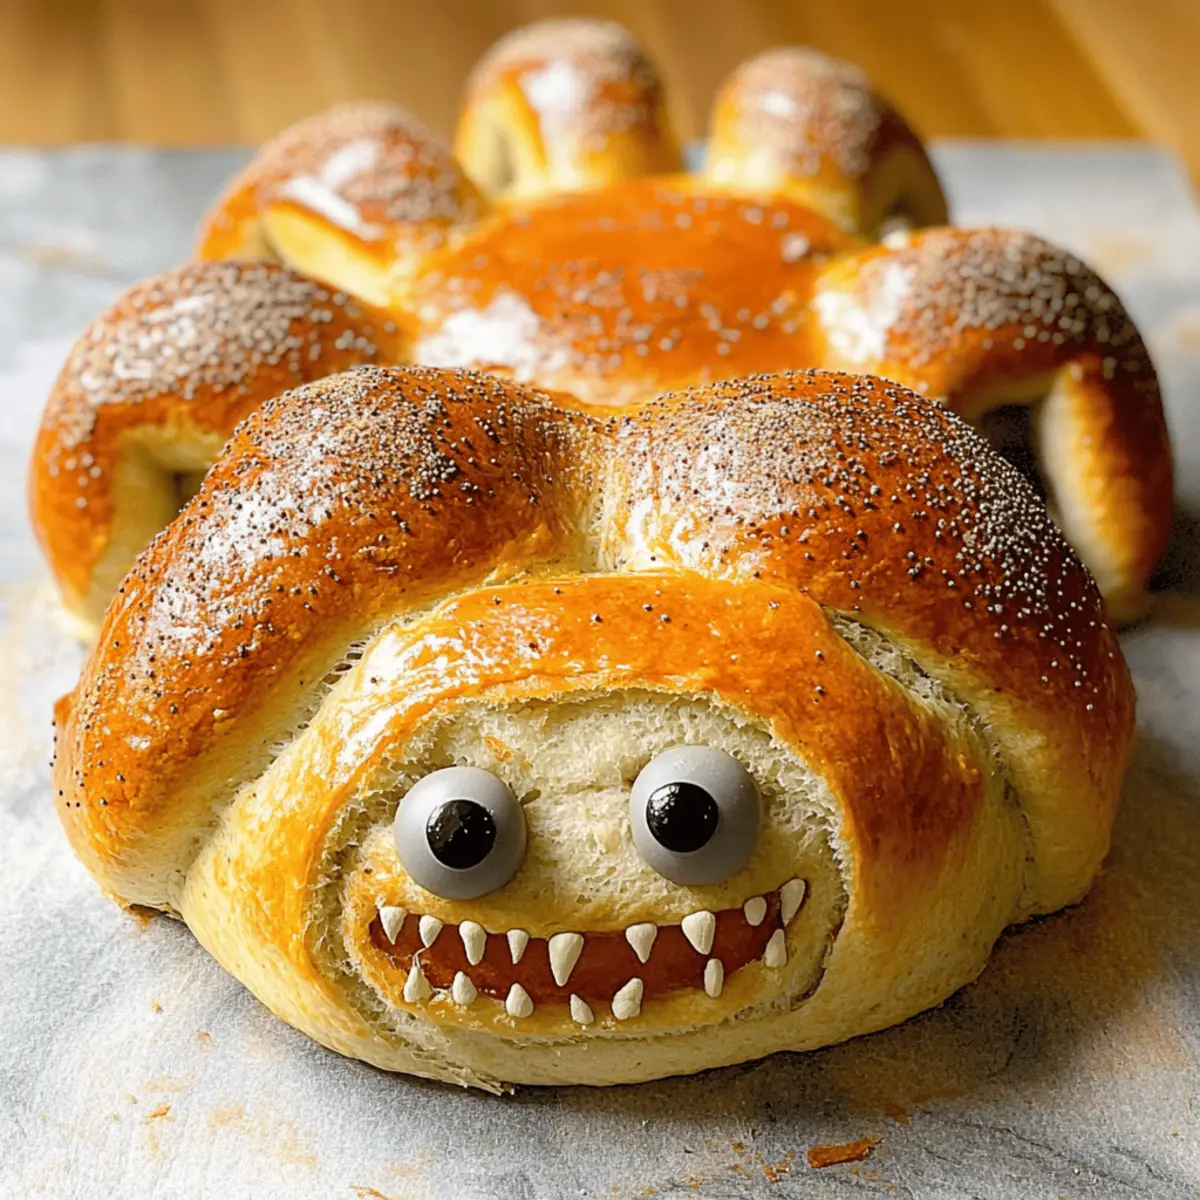
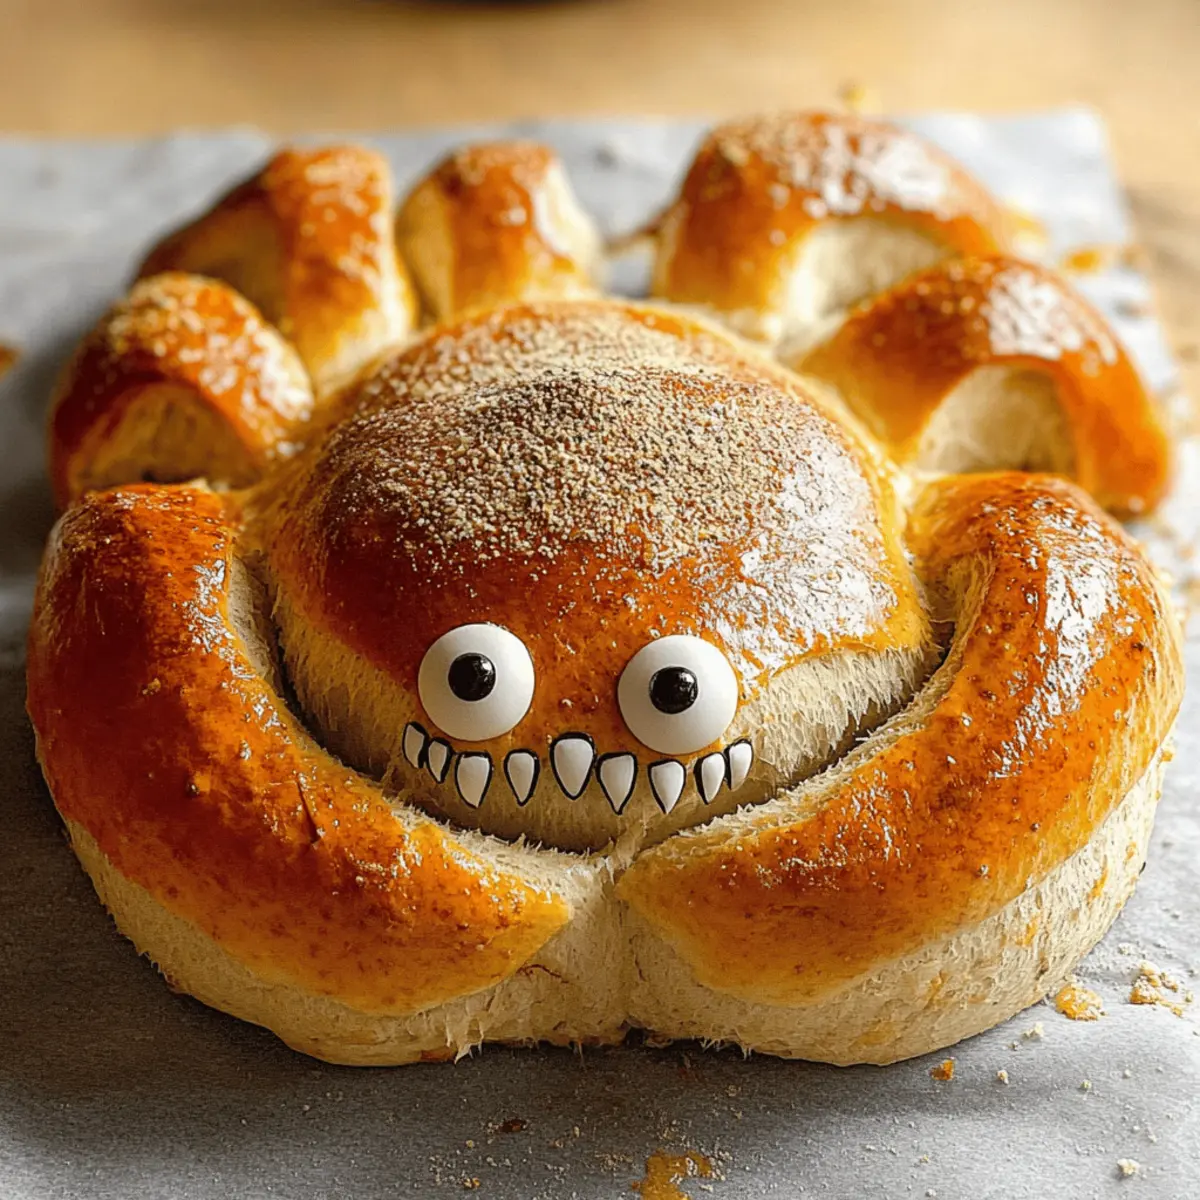
As the crisp air of October settles in, strange but delightful aromas waft from kitchens, signaling the arrival of Halloween festivities. I've crafted something truly special for you this season—a whimsical Halloween Spider Bread that's perfect for gatherings both big and small. This fun bread isn’t just visually striking with its spooky spider shape; it's also a hit for sharing and dipping into your favorite sauces. Plus, it's easy to whip up and adds a healthy twist to your party fare, ensuring everyone, from kids to adults, can enjoy! Are you ready to turn your kitchen into a creation station that will wow your guests this Halloween? Let’s get started!
Why is Halloween Spider Bread a Must-Try?
Creative and Fun: Halloween Spider Bread is not just a treat; it's an experience! Kids will love the spooky design, making them more excited to engage with healthy foods.
Easy to Make: With straightforward steps, this recipe is perfect for both novice and seasoned bakers. You’ll find it fun to shape the spider and easy to follow.
Versatile Dipping: Pair it with your favorite dips like hummus or BBQ sauce for a flavor explosion! This bread complements a wide range of dipping options, making it a hit at any Halloween party.
Healthier Option: Infused with aromatic herbs and made with wholesome ingredients, this bread stands out as a delicious alternative to store-bought snacks. Consider it a delightful and healthy addition to your festive spread, alongside other options like Cheesy Garlic Bread.
Impressive Presentation: The cute spider shape makes it a striking centerpiece for your Halloween festivities, guaranteed to impress guests of all ages.
Try making this delightful Halloween Spider Bread to elevate your seasonal celebrations!
Halloween Spider Bread Ingredients
For the Dough
• 14 grams yeast – The primary leavening agent; use active dry or instant yeast for best results.
• 500 ml warm water – Activates the yeast; ensure it’s warm but not hot to the touch.
• 2 tablespoons sugar – Feeds the yeast and helps with browning; caster or granulated sugar works well.
• 60 ml olive oil – Adds moisture and flavor; can substitute with melted butter for a richer taste.
• 1 tablespoon salt – Enhances the flavor while balancing sweetness.
• 1 tablespoon dried basil – Provides a herby flavor; can substitute with dried thyme or Italian seasoning.
• 1 tablespoon dried oregano – Adds depth of flavor to your Halloween Spider Bread.
• 2 teaspoons garlic powder – Infuses the bread with delightful garlic flavor; fresh minced garlic can be used instead.
• 750 grams strong bread flour – Forms the structure of the bread; all-purpose flour can be substituted but will alter the texture.
For the Topping
• 1 egg (for egg wash) – Gives a beautiful golden crust; can be omitted for a vegan version or replaced with plant-based milk for brushing.
• 1 teaspoon poppy seeds (optional) – Decorative and adds visual interest—feel free to skip if desired.
For Decoration
• 2 edible eyes – Bring your spider to life; can use fondant or olives as alternatives.
• 2 fangs – Use fondant dipped in red food coloring or thin slices of red peppers for a spooky touch.
Dipping Sauce
• Your chosen dip – Suggestions include BBQ sauce, ranch, or hummus to complement this fun Halloween Spider Bread and enhance your party experience!
Step‑by‑Step Instructions for Halloween Spider Bread
Step 1: Prepare yeast mixture
In a medium bowl, combine 14 grams of yeast, 500 ml of warm water, and 2 tablespoons of sugar. Stir gently to dissolve the sugar and yeast, then let the mixture sit for about 5 minutes. You'll know it's ready when the mixture becomes frothy and bubbly, indicating that the yeast is activated for your Halloween Spider Bread.
Step 2: Mix ingredients
Add 60 ml of olive oil, 1 tablespoon of salt, 1 tablespoon each of dried basil and oregano, 2 teaspoons of garlic powder, and 45 grams of Parmigiano Reggiano to the activated yeast mixture. Gradually incorporate 375 grams of strong bread flour into the mix, stirring until it forms a rough dough. Continue adding the remaining flour until you achieve a soft, cohesive dough ball.
Step 3: Knead dough
Transfer the dough to a floured surface and knead it for about 10 minutes. Use your hands to press and stretch the dough, ensuring it becomes smooth and elastic. Cooling and building strength are key for the perfect shape. By the end, the Halloween Spider Bread dough should feel soft yet firm, bouncing back when pressed.
Step 4: Proofing
Place the kneaded dough into a lightly oiled bowl, covering it with a damp kitchen towel. Set it in a warm spot to rise for about 1 hour, or until it has doubled in size. This proofing step is crucial for creating a light and airy bread, so watch for the dough to puff up nicely.
Step 5: Shape the spider
Preheat your oven to 180°C fan (200°C, 400°F, gas mark 6). Once risen, gently punch down the dough to release the air and divide it into sections for the spider’s body and legs. Shape the head, body, and eight legs carefully, ensuring each part is proportionate to give your Halloween Spider Bread a spooky appearance.
Step 6: Egg wash
Lay the shaped spider on a baking sheet lined with parchment paper. Mix 1 egg in a small bowl and brush it generously over the surface of the dough. This egg wash will create a beautiful golden crust. If you like, sprinkle 1 teaspoon of poppy seeds over the top for added decoration.
Step 7: Bake
Place the baking sheet in the preheated oven and bake the Halloween Spider Bread for 25-30 minutes. Keep an eye on the oven, checking for a lovely golden-brown color and a crisp crust. You'll know it’s done when the bread sounds hollow when tapped on the bottom.
Step 8: Cool and decorate
After baking, remove the bread from the oven and let it cool on a wire rack for about 15 minutes. Once cooled, carefully cut a small hole in the back for dipping. Finally, decorate your Halloween Spider Bread with 2 edible eyes and 2 fangs, transforming it into a show-stopping centerpiece for your spooky festivities!
Storage Tips for Halloween Spider Bread
-
Room Temperature: Store leftover Halloween Spider Bread in an airtight container at room temperature for up to 2 days to maintain its freshness and flavor.
-
Refrigeration: If you want to keep it longer, wrap the bread tightly in plastic wrap and store in the fridge for up to 5 days. Just note that it may lose some softness.
-
Freezing: To freeze, wrap shaped but unbaked dough tightly or bake the bread first, then seal in a freezer-safe bag. It can last up to 3 months. If frozen unbaked, add extra baking time when ready to bake.
-
Reheating: Reheat the baked Halloween Spider Bread in a preheated oven at 180°C (350°F) for 10-15 minutes until warmed through. Enjoy it with your favorite dips!
Halloween Spider Bread Variations
Customize your Halloween Spider Bread creation with these delightful twists that will make your spooky celebration one to remember!
-
Herb Variations: Swap dried basil and oregano for your favorite herbs like rosemary or thyme for a distinct flavor profile. This will add a personalized touch that excites the palate!
-
Cheese Swap: For a different taste, replace Parmigiano Reggiano with cheddar, mozzarella, or even a dairy-free cheese for a vegan option. A cheese switch can provide a fun flavor boost that complements your chosen dips beautifully.
-
Flavor Boost: Incorporate sun-dried tomatoes or olives into the dough for added flavor and texture. These ingredients can turn a simple bread into a gourmet delight, enhancing the overall taste that pairs perfectly with dips.
-
Spicy Kick: Add a pinch of red pepper flakes or some sliced jalapeños for a touch of heat. This twist brings a fun, spicy surprise to your Halloween festivities, sure to get your guests buzzing!
-
Colorful Cheesy Spider: Use green and black olives or colorful peppers to decorate your spider. This visual variation can take your Halloween Spider Bread to a whole new level of fun and creativity.
-
Sweet Twist: For sweet lovers, try adding a hint of honey or sugar into the dough and serve with a pumpkin spice dip. It’s a unique twist that transforms this savory bread into an exciting dessert option!
-
Different Dips: Vary your dipping options by trying hummus, tzatziki, or a spicy salsa. Each dip can change the flavor experience dramatically, making every bite a new adventure.
-
Themed Shapes: Use cookie cutters to shape the bread into other spooky creatures, like bats or ghosts. These variations not only add fun but also make them more appealing to kids and guests alike!
Feel free to start your culinary adventure with Halloween Spider Bread and remember, you can always serve it with other delectable treats like Cornbread Breakfast Casserole for an unforgettable spooky spread!
Make Ahead Options
These Halloween Spider Bread are fantastic for meal prep, saving you valuable time amidst the spooky festivities! You can prepare the dough and shape the spider up to 24 hours in advance. Simply follow the initial steps of the recipe, then shape the spider and place it on a baking sheet. Cover with plastic wrap and refrigerate. When you're ready to bake, let it come to room temperature for about 30 minutes, brush with the egg wash, and pop it in the oven as directed. This way, you maintain the soft, fluffy texture and have a delightful treat ready for your Halloween gathering with minimal effort!
What to Serve with Halloween Spider Bread
As the Halloween season beckons, it’s time to consider what delicious accompaniments will elevate your festive gatherings!
- Savory Garlic Dip: This rich, creamy dip complements the garlic and herby notes of the spider bread, making every bite irresistible.
- Ranch Dressing: A classic choice, ranch dressing adds a cool, creamy element that balances the warm, fluffy bread perfectly.
- BBQ Sauce: The tangy sweetness of BBQ sauce pairs wonderfully for those who enjoy a bold flavor burst with their bread.
- Hummus: Packed with flavor, hummus gives a healthy twist while its creamy texture contrasts beautifully with the crusty bread.
- Cheese Platter: Add a variety of cheeses for a charcuterie board; the flavor profiles will have guests indulging in delightful combinations.
- Veggie Sticks: Pairing with fresh vegetables not only brightens the table but provides a crunchy contrast to the bread’s softness.
- Pumpkin Spice Latte: For a festive drink option, this warm beverage captures the season, perfect for sipping alongside savory snacks.
- Spooky Dessert: Serve alongside ghost-shaped cookies or pumpkin pie for a sweet end to your Halloween feast.
Feel free to mix and match these pairing ideas to create a memorable Halloween spread that everyone will love!
Expert Tips for Halloween Spider Bread
-
Activate Yeast Properly: Ensure your yeast mixture is bubbly before proceeding, as this confirms it's alive and ready to help your Halloween Spider Bread rise beautifully.
-
Watch Dough Consistency: If your dough is too sticky, add a touch more flour. Conversely, if it's dry and crumbly, a splash of warm water can restore it to the right texture.
-
Perfect Baking Time: Always check your bread towards the end of baking to prevent overbaking. A golden-brown crust is your indicator of deliciousness!
-
Creative Decorations: Use various toppings or decorations for your spider! Consider alternatives like olives or bright peppers, making your Halloween Spider Bread even more fun and appealing to kids.
-
Serve Fresh: For the best flavor and texture, serve your Halloween Spider Bread warm, just out of the oven, alongside your favorite dipping sauces.
Halloween Spider Bread Recipe FAQs
How do I select the right ingredients for Halloween Spider Bread?
Absolutely! For the best results, make sure to choose fresh yeast; it should be granulated or active dry, with no signs of clumping. When looking for flour, opt for strong bread flour for optimal structure. Check the expiry date on dried herbs like basil and oregano; fresh flavors are key! Ideally, use room temperature ingredients to maintain the dough's consistency.
What is the best way to store leftover Halloween Spider Bread?
You can store Halloween Spider Bread in an airtight container at room temperature for up to 2 days. If you choose to refrigerate, wrap it tightly in plastic wrap and it can last up to 5 days, although it may lose some softness. For the best flavor, I recommend enjoying it fresh!
How should I freeze Halloween Spider Bread?
To freeze your Halloween Spider Bread, wrap the shaped but unbaked dough tightly in plastic wrap and then place it in a freezer-safe bag. It can last up to 3 months. When you're ready to bake, simply remove it from the freezer and let it thaw for about 30 minutes in a warm area, then bake as per the recipe, adding extra time as necessary to ensure it's thoroughly cooked.
What should I do if my Halloween Spider Bread dough is too sticky?
If you find your dough is too sticky, which can happen depending on humidity, simply sprinkle in some additional flour—about a tablespoon at a time—until the dough becomes manageable. Kneading for a little longer can also help improve its consistency. Don’t lose hope; just adjust, and you’ll have delightful spider bread in no time!
Are there any dietary considerations for this recipe, especially for kids or those with allergies?
Very! If you're catering to dietary needs, you can easily modify this recipe. To make it vegan, simply omit the egg wash and use plant-based milk for brushing. For cheese-free options, consider using nutritional yeast or skipping cheese entirely. Always double-check ingredients for allergens, particularly for those with gluten sensitivities; you can experiment with gluten-free flour if needed.
How long does Halloween Spider Bread last once baked?
Once baked, Halloween Spider Bread is best enjoyed fresh but can be kept in an airtight container for up to 2 days at room temperature. If properly stored in the refrigerator, it can last about 5 days, though its best texture will diminish. Remember, baking it the same day you're serving is ideal for keeping that magnificent golden crust and soft interior—so gather your friends and dig in!
Delicious Halloween Spider Bread Recipe for Spooky Parties
Ingredients
Equipment
Method
- In a medium bowl, combine the yeast, warm water, and sugar. Stir gently to dissolve and let sit for 5 minutes until frothy.
- Add olive oil, salt, dried basil, oregano, and garlic powder to the yeast mixture. Gradually incorporate the flour until a dough forms.
- Knead the dough on a floured surface for about 10 minutes until it is smooth and elastic.
- Place the dough in a lightly oiled bowl, cover with a damp towel, and let rise for about 1 hour until doubled in size.
- Preheat oven to 180°C (400°F). Punch down the risen dough, shape it into a spider, and ensure proportions are correct.
- Brush the shaped spider with egg wash and sprinkle with poppy seeds if desired. Bake for 25-30 minutes until golden brown.
- Let the bread cool on a wire rack for 15 minutes, then decorate with edible eyes and fangs.


Leave a Reply