
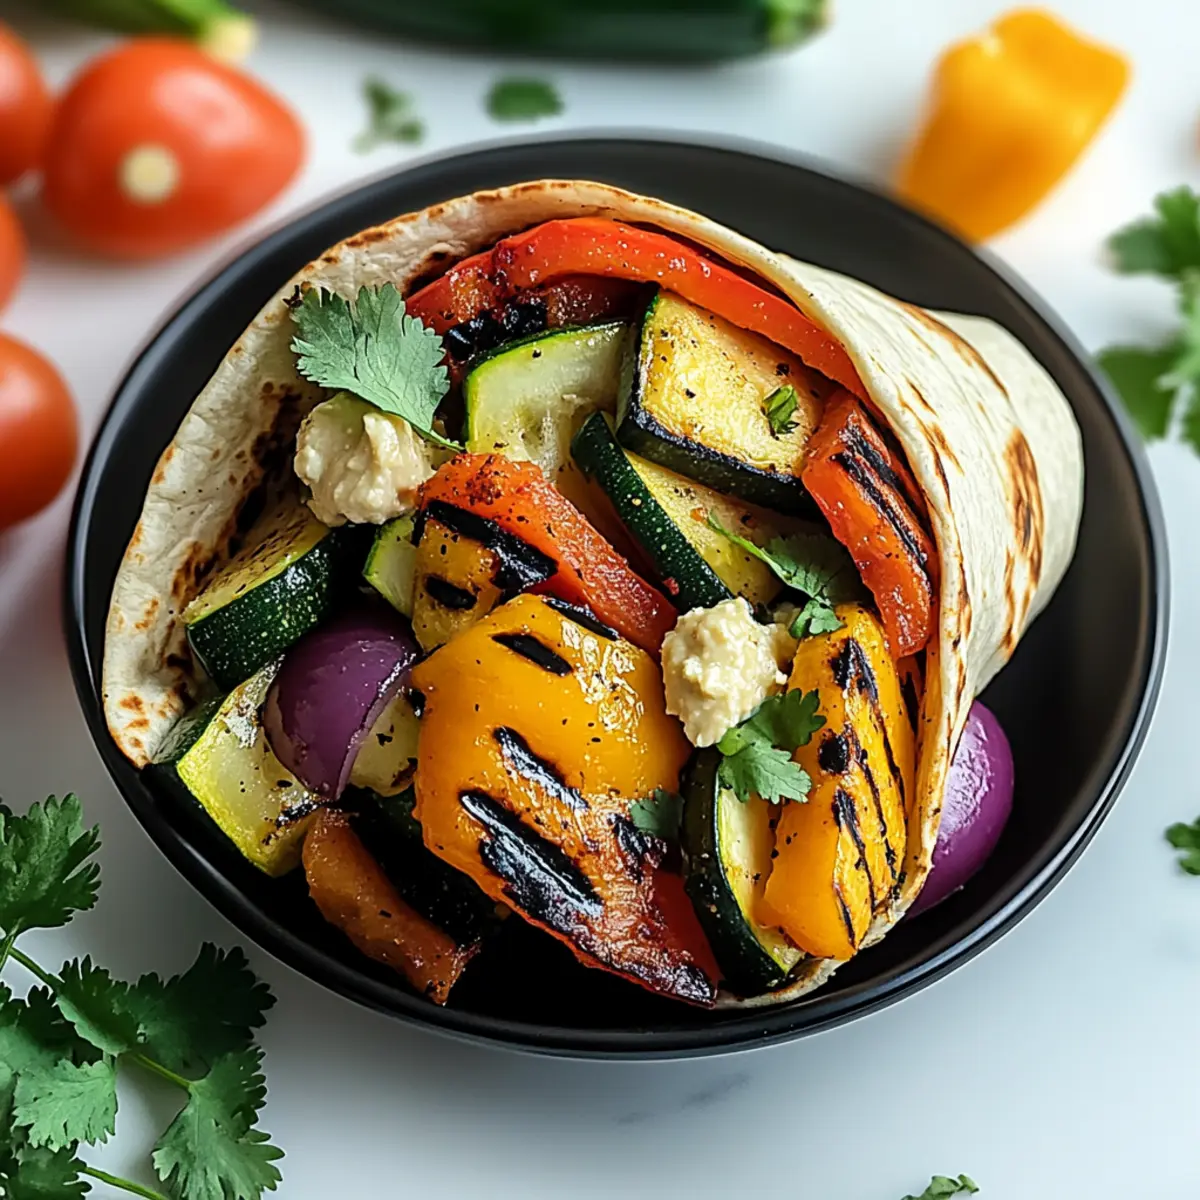
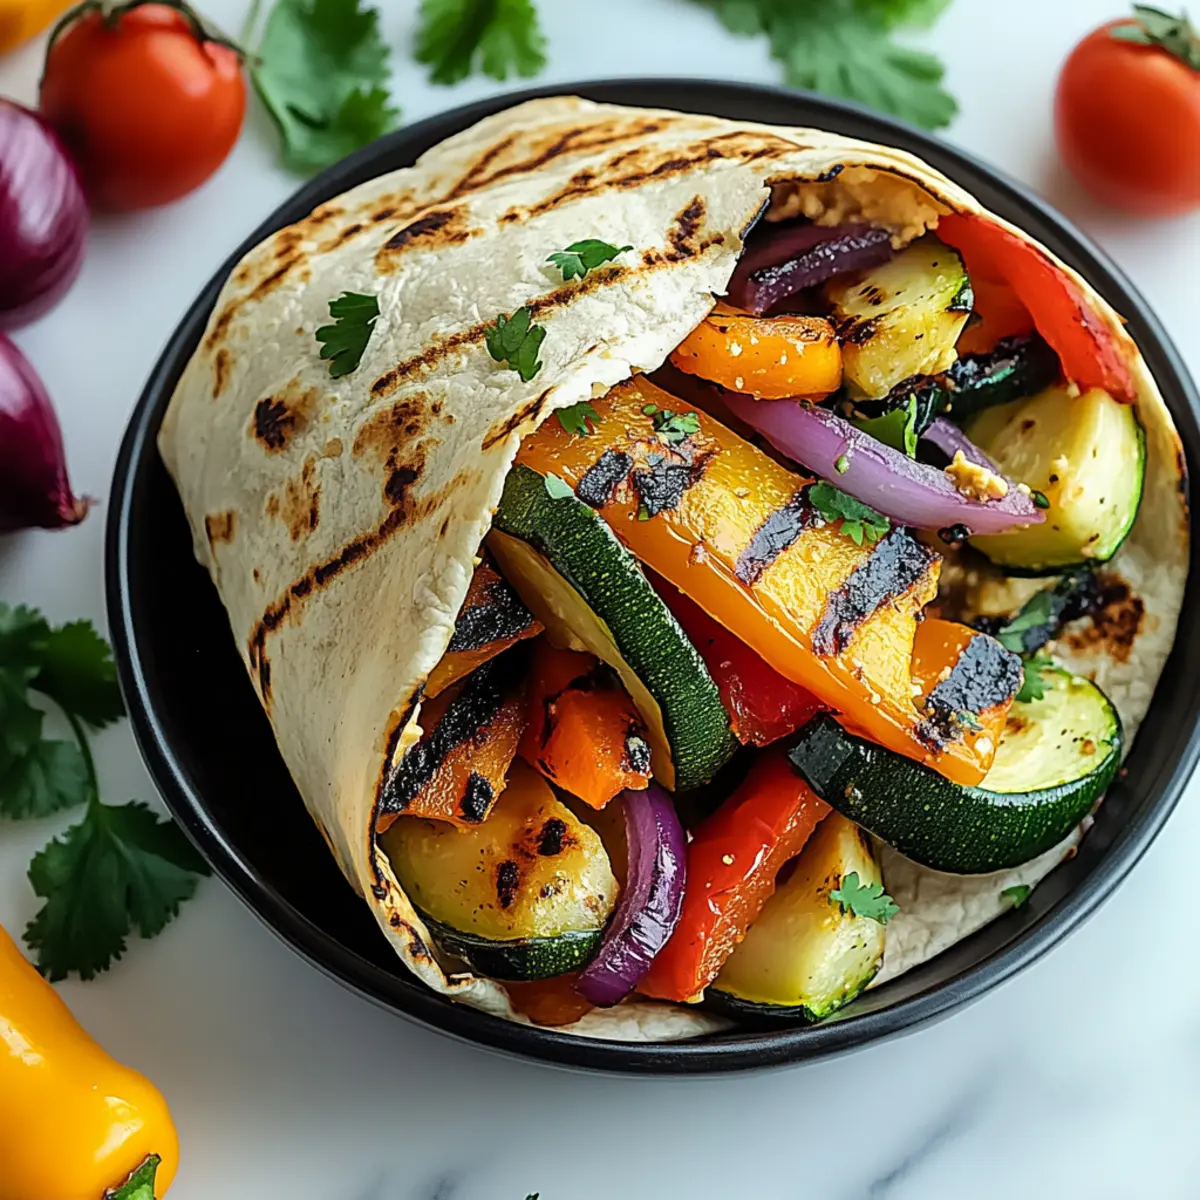
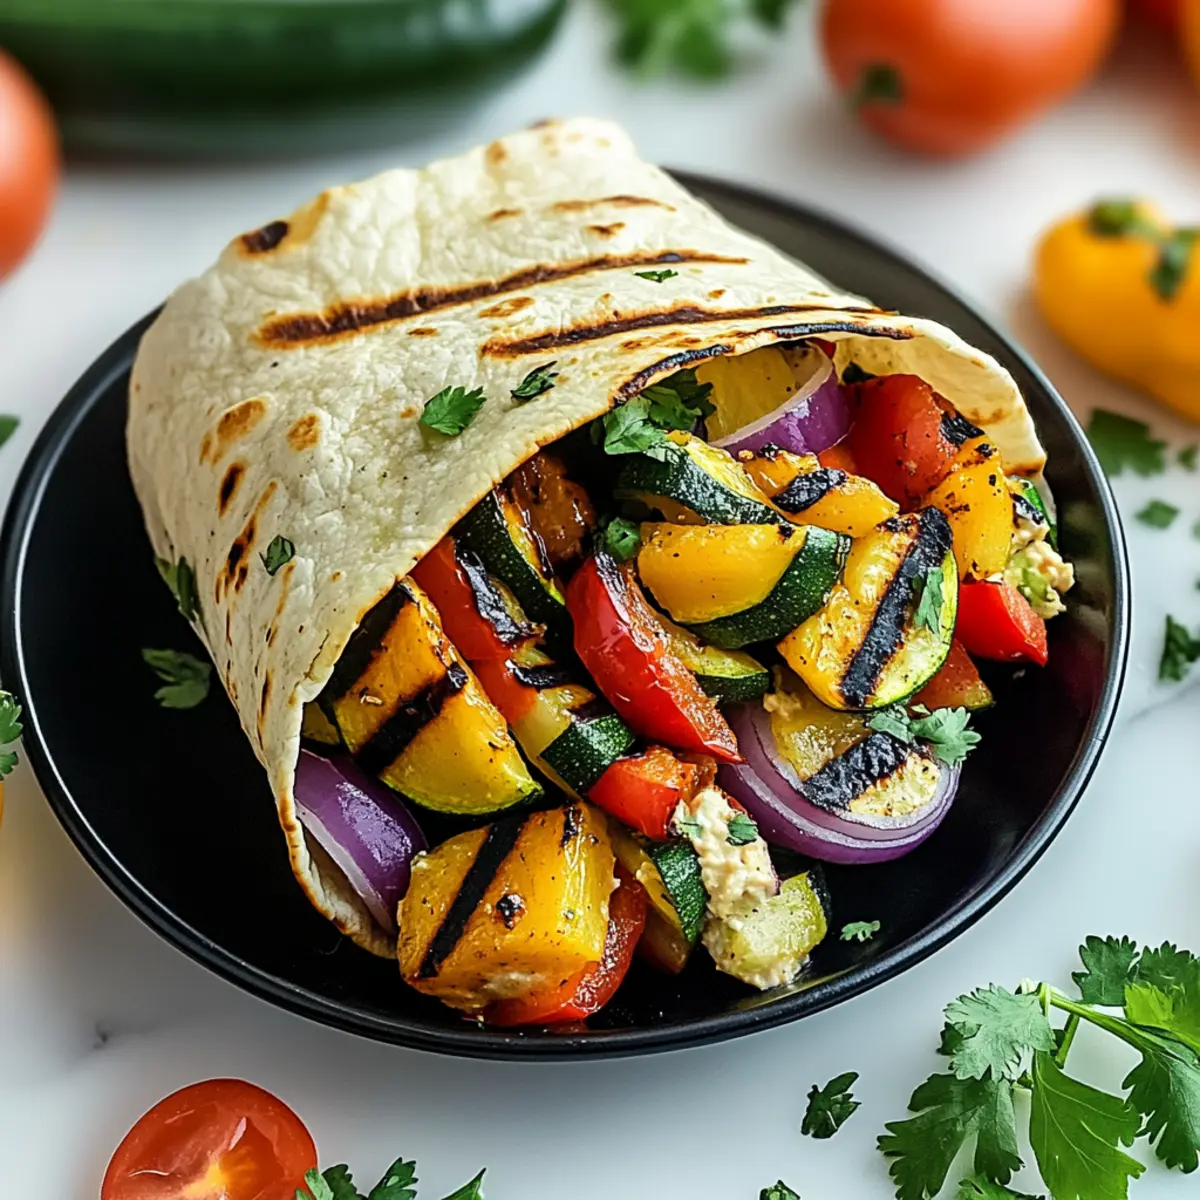
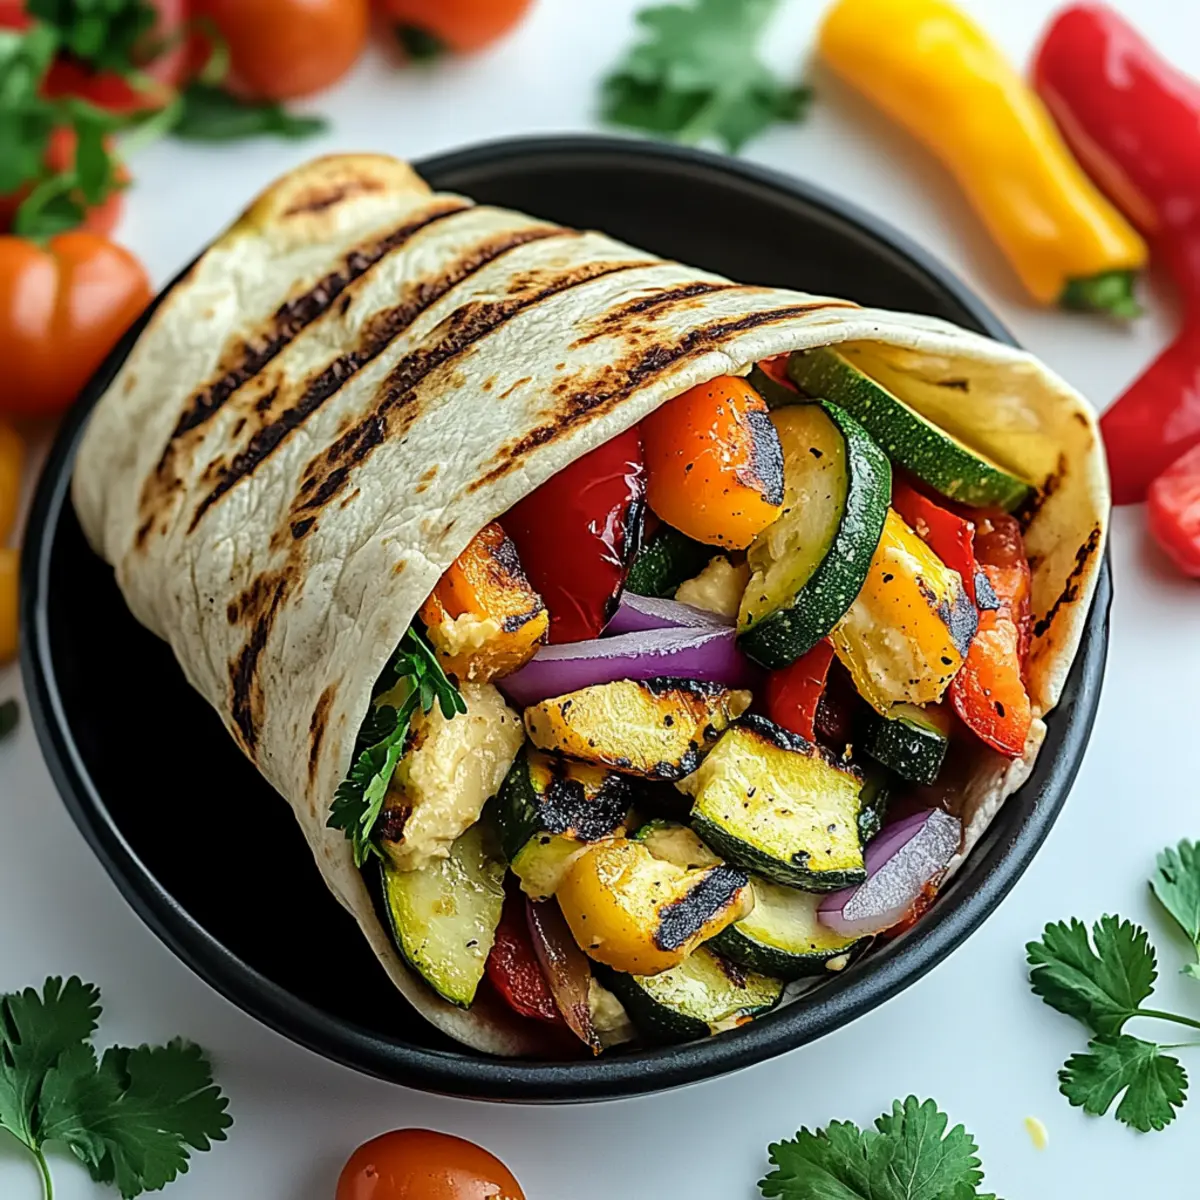
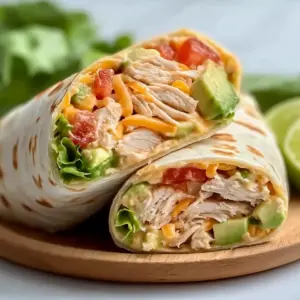
As I grilled the vibrant bell peppers and zucchini, the luscious aroma curling through my kitchen instantly transported me to a sun-soaked summer picnic. These Grilled Veggie Wraps, stuffed with smoky vegetables and creamy hummus, are not just a quick and healthy meal but also a delightful celebration of fresh and simple ingredients. Ideal for lunch or a light dinner, this recipe offers a satisfying crunch enveloped in whole wheat tortillas, allowing you to indulge in guilt-free comfort. With the freedom to mix and match your favorite veggies, these wraps become a canvas for your creativity. Ready to ignite your taste buds and say goodbye to fast food? Let's dive into this wholesome, flavor-packed adventure together!
Why Are Grilled Veggie Wraps So Irresistible?
Freshness abounds in every bite! These grilled veggie wraps boast an array of smoky vegetables that not only taste fantastic but also provide essential nutrients. Versatile and customizable, you can easily swap in seasonal veggies or your favorites to create a new favorite each time. Time-saving magic happens here—whip up a satisfying meal in under 30 minutes, making them perfect for busy weekdays. And let’s not forget the crowd-pleasing appeal; everyone from kids to adults will love these vibrant wraps. Serve them with a side of fresh salad or pair with delightful dips like tzatziki for a refreshing crunch. Ready to expand your healthy meal repertoire? Check out our tasty suggestions for Grilled Balsamic Steak that pairs perfectly with these wraps!
Grilled Veggie Wraps Ingredients
• A nourishing choice packed with flavor!
For the Veggies
- Bell Peppers – Adds natural sweetness and crunch; substitute with cherry tomatoes or asparagus for variety.
- Zucchini – Absorbs smoky flavors beautifully; cut thin for even cooking, or use eggplant as an alternative.
- Red Onion – Provides a sharp contrast that sweetens when grilled; can swap with yellow or white onion if needed.
For the Seasoning
- Olive Oil – Ensures veggies crisp up and prevents sticking; use avocado oil for a different taste.
- Garlic Powder – Adds a warm depth of flavor; fresh garlic is a great substitute for a bolder kick.
- Smoked Paprika – Enhances the smokiness of the grilled veggies; regular paprika works for a milder option.
For the Wraps
- Whole Wheat Tortillas – Offers a nutty base; substitute with regular flour or gluten-free tortillas as preferred.
- Hummus – Adds creaminess and moisture; alternatives could be tzatziki or a bean dip.
- Shredded Cheese – Provides that cheesy, melty component; can use dairy-free cheese for vegan options.
- Fresh Cilantro – Brings freshness and brightness; parsley is a lovely substitute if desired.
Step‑by‑Step Instructions for Grilled Veggie Wraps
Step 1: Preheat the Grill
Begin by preheating your grill or grill pan to medium-high heat, aiming for around 400°F (200°C). This ensures that when you add the veggies, they'll achieve that mouthwatering char and smoky flavor. If using a grill pan, allow it to heat for about 5 minutes, and lightly brush it with olive oil to prevent sticking.
Step 2: Slice the Vegetables
While the grill is heating, slice the bell peppers, zucchini, and red onion into thin strips, about half an inch wide. The uniformity in size helps them cook evenly and maintain a delightful texture in your Grilled Veggie Wraps. Set the sliced veggies aside and admire their vibrant colors—this dish is going to be a feast for the eyes!
Step 3: Season the Veggies
In a large bowl, combine the sliced vegetables with olive oil, garlic powder, and smoked paprika. Toss well until the veggies are thoroughly coated and glistening. This not only adds flavor but helps with achieving that beautiful char on the grill. Let the seasoned mixture sit for a few minutes while the grill reaches optimal temperature.
Step 4: Grill the Vegetables
Carefully place the seasoned veggies on the hot grill or grill pan, spreading them into a single layer. Grill for about 5-7 minutes, turning occasionally, until the vegetables are tender and slightly charred. You’ll know they’re done when they soften and develop grill marks, enhancing both flavor and visual appeal for your Grilled Veggie Wraps.
Step 5: Prepare the Tortillas
While the veggies are grilling, lay your whole wheat tortillas flat on a clean countertop or plate. Spread approximately 2 tablespoons of hummus evenly on each tortilla, creating a creamy base that'll complement the grilled veggies beautifully. This layer adds richness, ensuring each bite of your wraps is satisfying and flavorful.
Step 6: Assemble the Wraps
Once the veggies are perfectly grilled, distribute them evenly among the tortillas, placing them in the center. Sprinkle some shredded cheese and fresh cilantro on top of the grilled veggies to add a delicious cheesiness and a touch of brightness to your Grilled Veggie Wraps. The mixture of flavors will be irresistible, inviting you to dig in.
Step 7: Roll the Wraps
Fold the sides of each tortilla over the filling and roll tightly, starting from the bottom where the veggies are placed. This helps secure the ingredients and makes for an easy, handheld meal. Make sure to tuck in the sides as you roll to prevent any delicious fillings from escaping.
Step 8: Grill the Wraps
Place the assembled wraps seam-side down on the preheated grill. Grill for about 2-3 minutes on each side, or until the tortillas are crispy and the cheese has melted. Press down lightly with a spatula for a golden-brown finish, making these Grilled Veggie Wraps even more tempting.
Step 9: Serve and Enjoy
After grilling, remove the wraps from the heat and let them cool for a minute. Slice them in half diagonal for a beautiful presentation, revealing the colorful veggies inside. Serve immediately, perhaps with a side salad or your favorite dipping sauce for an extra flavor boost. Your delightful Grilled Veggie Wraps are ready to be enjoyed!
Grilled Veggie Wraps: Delicious Variations
Feel free to explore these tasty twists to personalize your grilled veggie wraps and suit your cravings!
-
Veggie Swap: Use mushrooms or spinach instead of bell peppers to introduce new flavors. Each option provides a unique texture that keeps the wraps exciting.
-
Tortilla Types: Try corn tortillas or lettuce wraps for a gluten-free option. Lettuce adds a refreshing crunch, perfect for warm days.
-
Dairy-Free Delight: Substitute shredded cheese with nut-based cheese or omit it entirely for a lighter wrap. The hummus will still deliver creaminess you’ll love.
-
Spicy Kick: Add jalapeños or a drizzle of hot sauce inside the wrap for an extra layer of heat. It's an exciting discovery for spicy food lovers.
-
Herb Variations: Swap cilantro for basil or mint to introduce fresh herbal notes. This can transform the flavor profile to something uniquely delightful!
-
Ultimate Dips: Serve with homemade tzatziki or a spicy chipotle aioli for added flavor. This enhances each bite and makes for a fun dipping experience.
-
Roasted Veggies: For a heartier option, add roasted sweet potatoes or butternut squash. Their sweetness balances the smoky taste of grilled veggies beautifully.
-
Exotic Touch: Incorporate curry powder or cumin for an unexpected flavor twist. These spices can elevate your wraps to a whole new culinary adventure.
Take a step away from routine eating and embark on a new flavor journey with these variations. For a delightful side, consider pairing your wraps with Grilled Mushrooms Savory for an added treat!
How to Store and Freeze Grilled Veggie Wraps
Fridge: Store any leftover grilled veggie wraps in an airtight container for up to 2 days to maintain freshness and moisture.
Freezer: Wrap individual Grilled Veggie Wraps tightly in plastic wrap and place them in a freezer-safe bag. They can be frozen for up to 3 months.
Reheating: To reheat, remove from the freezer and let them thaw in the fridge overnight. Grill or heat in an oven at 350°F (175°C) for about 10-15 minutes until warmed through.
Quality Tip: Always ensure wraps are tightly sealed to prevent freezer burn and maintain that delicious flavor!
Expert Tips for Perfect Grilled Veggie Wraps
-
Preheat Properly: Ensure your grill is hot before adding the veggies. This helps achieve those beautiful grill marks and optimal char.
-
Veggie Size Matters: Slice your vegetables uniformly to ensure they cook evenly. This prevents some pieces from being undercooked while others are charred in your Grilled Veggie Wraps.
-
Don't Overcrowd: Grill veggies in batches if necessary. Overcrowding the grill can cause steaming rather than charring, diminishing the flavor.
-
Wrap Tightly: When rolling the wraps, ensure they're snug to prevent fillings from escaping during grilling. Tuck in the sides for added security.
-
Experiment with Flavor: Adding a pinch of cayenne or chili flakes to your seasoning mix can elevate the heat, creating a more dynamic flavor profile in your wraps.
What to Serve with Grilled Veggie Wraps
A colorful culinary journey awaits you, as you explore the perfect accompaniments for your flavorful, veggie-packed wraps.
- Fresh Mixed Salad: A vibrant salad with mixed greens and cherry tomatoes brings a refreshing crunch that beautifully contrasts the warm, smoky flavors of the wraps.
- Creamy Tzatziki Sauce: Serve with a cooling tzatziki for a creamy dip that enhances the grilled vegetables, adding a burst of freshness to each bite.
- Roasted Sweet Potato Wedges: Sweet potato wedges provide a delightful sweetness and crunchy texture, perfectly complementing the savory taste of grilled veggies.
- Grilled Corn on the Cob: The natural sweetness of grilled corn harmonizes with the wraps, creating a summertime BBQ vibe with every bite.
- Spiced Quinoa Salad: A hearty quinoa salad seasoned with lemon and herbs makes for a wholesome side, offering protein and fiber alongside your wraps.
- Chilled Gazpacho: A refreshing bowl of chilled gazpacho introduces a burst of fresh flavors, lightening the meal while keeping it seasonally vibrant.
- Sparkling Lemonade: A glass of sparkling lemonade refreshes and cleanses the palate, balancing out the rich and smoky flavors in the wraps.
- Chocolate Avocado Mousse: For a sweet finish, indulge in a silky chocolate avocado mousse, providing a rich dessert that’s deceivingly healthy and delicious!
Make Ahead Options
These Grilled Veggie Wraps are perfect for meal prep enthusiasts! You can grill the veggies up to 3 days in advance and store them in airtight containers in the refrigerator. By keeping the cooked vegetables separate until serving, you’ll maintain their vibrant texture and flavor. Additionally, you can spread the hummus on the tortillas and assemble the wraps up to 24 hours ahead of time. Just cover them tightly to ensure they don’t dry out. When you’re ready to eat, simply grill the assembled wraps for 2-3 minutes on each side until crispy and warm, making weeknight dinners stress-free and just as delicious as fresh-made!
Grilled Veggie Wraps Recipe FAQs
How do I choose the best bell peppers for my grilled veggie wraps?
Absolutely! When selecting bell peppers, look for ones that are firm, glossy, and free of dark spots or blemishes. The colors can range from vibrant red to green, each offering unique flavors—red peppers tend to be sweeter. Aim for ones that are heavy for their size; this indicates juiciness and freshness.
What is the best way to store leftover grilled veggie wraps?
Very! To store any leftover grilled veggie wraps, wrap them tightly in plastic wrap or aluminum foil and place them in an airtight container. They can be kept in the fridge for up to 2 days. This method keeps the wraps moist and delicious. If you want to keep them longer, consider freezing them!
Can I freeze grilled veggie wraps? If so, how?
Absolutely! To freeze your grilled veggie wraps, follow these steps: 1) Allow them to cool completely. 2) Wrap each wrap securely in plastic wrap to prevent freezer burn. 3) Place the wrapped wraps into a freezer-safe bag or container. They can be stored in the freezer for up to 3 months. When you're ready to enjoy them, simply thaw in the fridge overnight and reheat in a grill pan or oven at 350°F (175°C) for 10-15 minutes.
What should I do if my grilled veggies are overcooked and mushy?
Oh no! If your grilled veggies turn out overcooked and mushy, there are a couple of ways to salvage the meal. First, drizzle a little olive oil and a splash of vinegar or lemon juice over the veggies to brighten up the flavor. Alternatively, mix them into a salad or soup, where their softness will be less noticeable and still flavorful. For future grilling, ensure you're cooking them at a high enough temperature and check that you're not grilling for too long—5-7 minutes is usually perfect.
Are these grilled veggie wraps suitable for a gluten-free diet?
Very! To make your grilled veggie wraps gluten-free, simply swap out the whole wheat tortillas for gluten-free tortillas. Many brands offer delicious alternatives that hold up well to grilling. Just double-check the ingredient list to make sure there are no hidden gluten sources.
Can I use different vegetables in my grilled veggie wraps?
Absolutely! The beauty of grilled veggie wraps lies in their versatility. Feel free to substitute bell peppers, zucchini, and red onion with other vegetables you love, such as mushrooms, spinach, or even grilled eggplant. Seasonal veggies will work wonderfully too, allowing you to enjoy new flavors every time you make this dish!
Delicious Grilled Veggie Wraps for a Healthy Bite of Yum
Ingredients
Equipment
Method
- Preheat your grill or grill pan to medium-high heat, around 400°F (200°C).
- Slice the bell peppers, zucchini, and red onion into thin strips, about half an inch wide.
- In a large bowl, combine the sliced vegetables with olive oil, garlic powder, and smoked paprika. Toss well until coated.
- Place the seasoned veggies on the hot grill in a single layer and grill for about 5-7 minutes, turning occasionally until tender.
- Lay whole wheat tortillas flat and spread about 2 tablespoons of hummus evenly on each tortilla.
- Distribute grilled veggies evenly among the tortillas and sprinkle with shredded cheese and cilantro on top.
- Fold the sides of each tortilla over the filling and roll tightly, starting from the bottom.
- Place the wraps seam-side down on the preheated grill and grill for about 2-3 minutes on each side until crispy.
- Remove the wraps from the heat, slice in half for presentation, and serve immediately.


Leave a Reply