
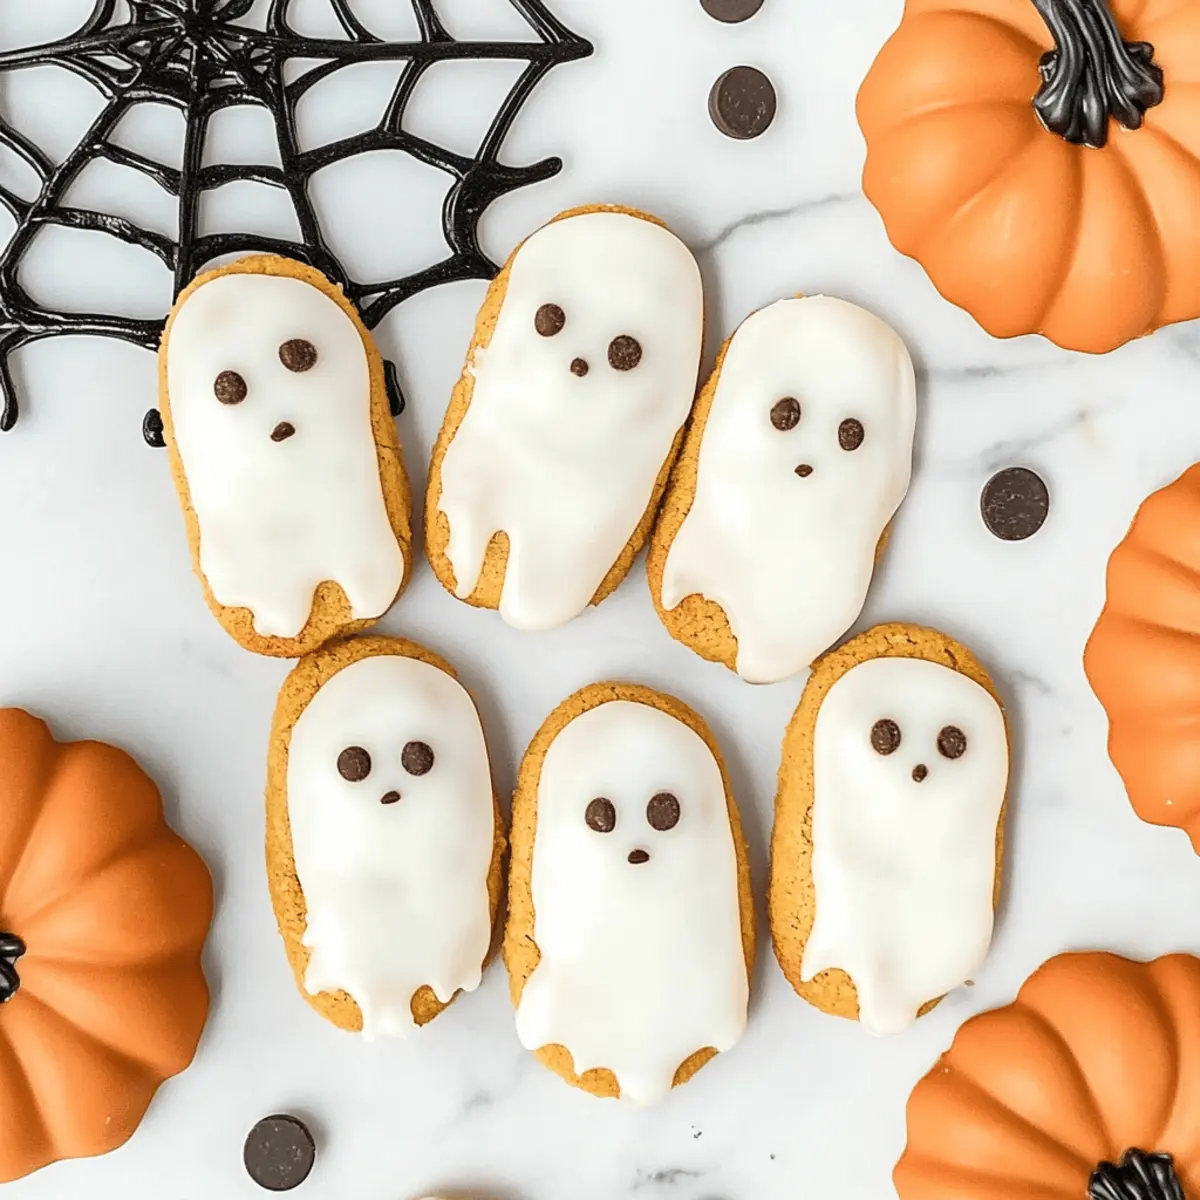
As I rummaged through my pantry, I stumbled across a package of Nutter Butter cookies, sparking a delightful idea just in time for Halloween. These 4-ingredient Nutter Butter Ghost Cookies are the perfect treat to create some spooky joy without much fuss. With just a little melted candy coating and a few candy eyeballs, you can turn simple cookies into festive ghosts that are both fun to make and devour. Not only are they a fantastic quick fix for last-minute Halloween parties, but they also offer a no-bake option that’s perfect for anyone looking to whip up something homemade without the hassle. Curious to see how these ghoulish delights come together? Let’s dive into the sweet details!
Why Are Nutter Butter Ghost Cookies a Must-Try?
Unforgettable Fun: These ghost cookies are not just treats; they're a delightful way to engage in Halloween festivities, making them perfect for family bonding or classroom activities.
Quick and Easy: With only four ingredients, you can whip up these spooky snacks in no time, making them a fantastic last-minute party addition.
No-Bake Convenience: There's no need to turn on the oven! Simply melt and dip, saving you time and effort in the kitchen.
Customizable Creations: Whether you use Nutter Butter or opt for alternatives like Milano cookies, the variations allow everyone to enjoy a sweet bite, making them versatile for diverse diets.
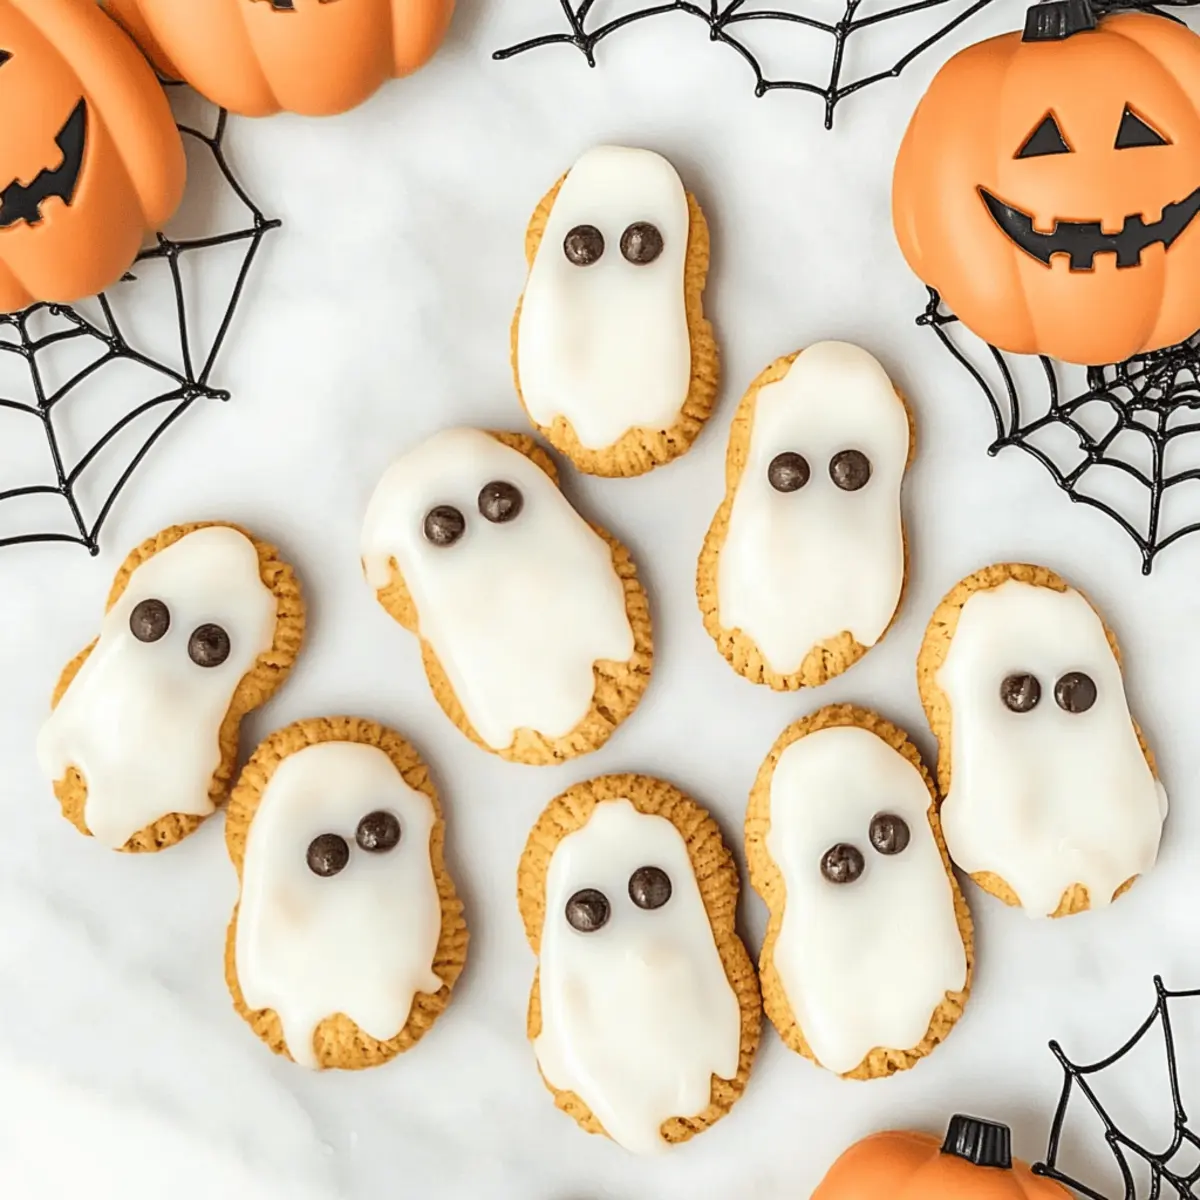
Visually Appealing: Adorned with candy eyeballs, these cookies transform an ordinary cookie into an eye-catching delight, perfect for impressing your guests or kids.
For more quick cookie ideas, check out my Eggnog Cookies Soft or Mexican Wedding Cookies.
Nutter Butter Ghost Cookies Ingredients
• For the Cookies
- Nutter Butter Cookies – These classic peanut butter cookies provide a delicious base; substitute with Milano cookies for a peanut-free option.
- White Candy Melts – Used for coating, these add a smooth and creamy flavor; alternatively, use white chocolate chips if candy melts are unavailable.
• For the Decoration
- Candy Eyeballs – Essential for creating the ghostly appearance, making your cookies fun and festive.
- Mini Chocolate Chips – Perfect for adding the finishing touch as the mouth, giving your ghost a playful expression.
These Nutter Butter Ghost Cookies are sure to be a hit at any Halloween gathering!
Step‑by‑Step Instructions for Nutter Butter Ghost Cookies
Step 1: Prepare Your Workspace
Begin by lining a baking sheet with wax paper to hold your dipped Nutter Butter Ghost Cookies. This will prevent them from sticking, allowing for easy cleanup. Ensure your workspace is clear and gather all your ingredients, including Nutter Butter cookies, white candy melts, candy eyeballs, and mini chocolate chips.
Step 2: Melt the Candy Coating
Next, place the white candy melts in a microwave-safe bowl and microwave on 50% power. Stir every 30 seconds until fully melted, which should take about 4-5 minutes total. You'll know it's ready when the candy is smooth and glossy, without any lumps, making it perfect for dipping.
Step 3: Dip the Cookies
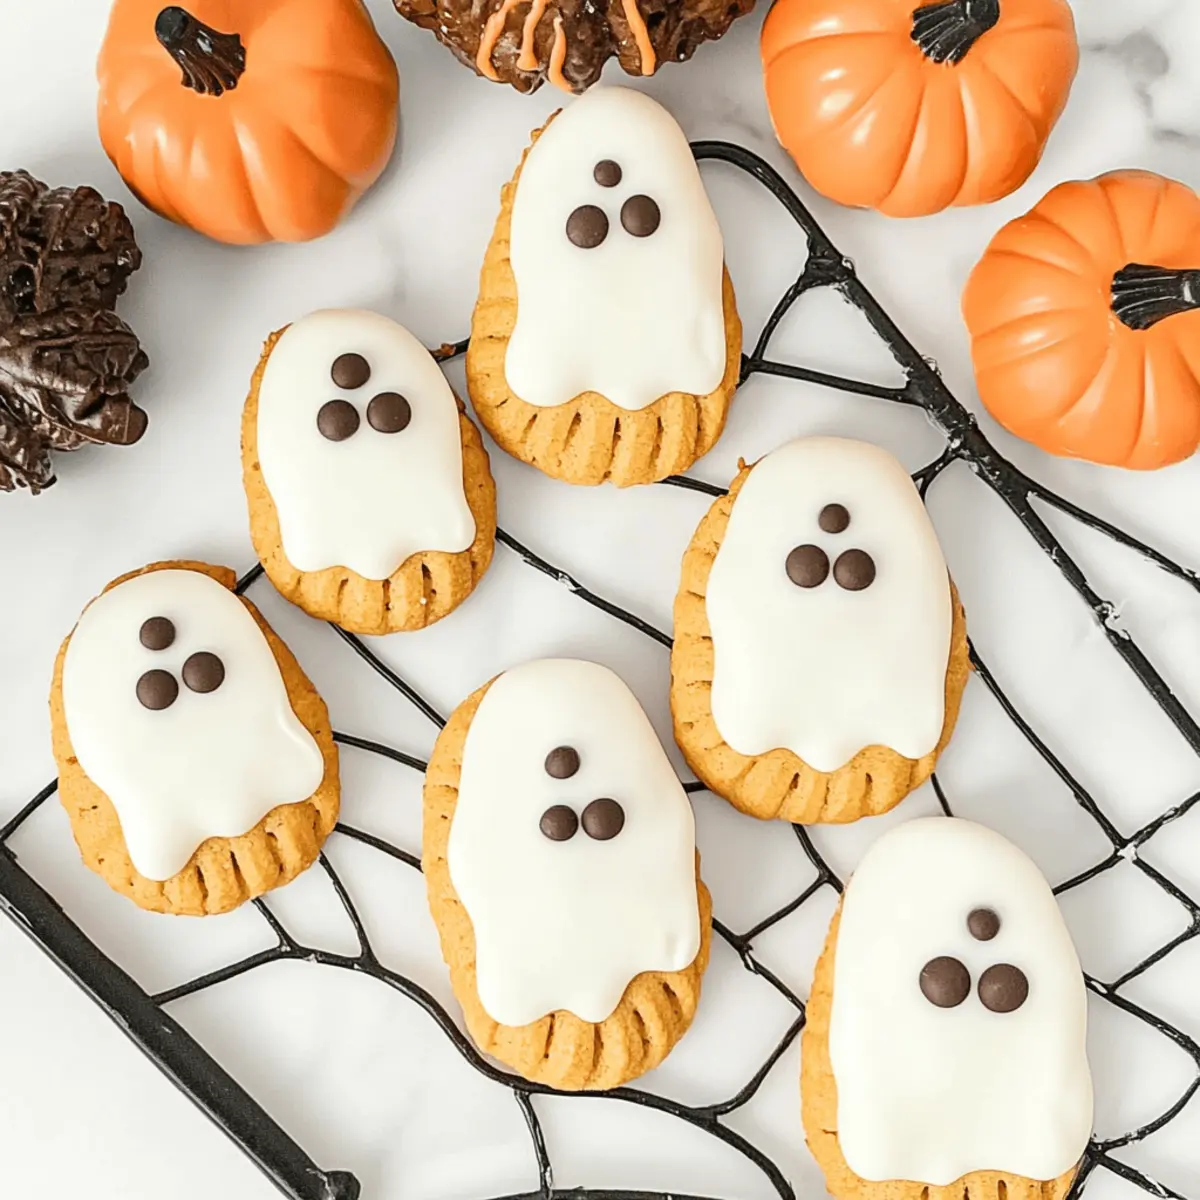
Once the candy melts are ready, carefully dip each Nutter Butter cookie into the melted coating. Cover 70-75% of the cookie, ensuring a nice ghostly effect. Allow any excess candy coating to drip off back into the bowl before moving to the next step for an even finish.
Step 4: Add the Ghostly Features
While the coating is still wet, immediately press two candy eyeballs and one mini chocolate chip onto each cookie to create the ghost's face. Position them playfully to give your Nutter Butter Ghost Cookies their spooky charm. Work quickly to ensure the decorations adhere well.
Step 5: Let the Cookies Set
Place the decorated cookies on the lined baking sheet and let them sit at room temperature for 5-10 minutes. Your Nutter Butter Ghost Cookies will set as the candy coating hardens. You'll know they're ready when the coating is firm to the touch, making them perfect for serving or storing.
How to Store and Freeze Nutter Butter Ghost Cookies
Room Temperature: Keep your cookies in an airtight container at room temperature for up to 5 days. This will prevent them from becoming stale while maintaining their delightful crunch.
Freezer: For longer storage, freeze the Nutter Butter Ghost Cookies for up to 2 weeks. Wrap each cookie individually in plastic wrap and place them in a freezer-safe container to keep them fresh.
Thawing: When you’re ready to enjoy, thaw the cookies in a dry place for about 30 minutes. Avoid using the microwave, as it can affect the texture of the candy coating.
Moisture Prevention: Always store cookies in a cool, dry place, away from moisture, as condensation can cause the candy coating to melt and lose its charm.
Make Ahead Options
These Nutter Butter Ghost Cookies are a fantastic option for meal prep! You can dip the cookies and decorate them up to 24 hours in advance, allowing the candy coating to set properly in the refrigerator. To maintain their delightful texture, store the finished cookies in an airtight container at room temperature until you’re ready to serve. If you wish to prepare components ahead, you can melt the candy coating and store it in an airtight container in the fridge for up to 3 days; simply reheat it gently in the microwave before dipping. When the time comes to enjoy your spooky treats, just serve them as is—no extra effort needed for ghostly deliciousness!
Nutter Butter Ghost Cookies Variations
Feel free to customize these delightful ghostly treats to suit your tastes and dietary needs. The options are spooky fun!
- Dairy-Free: Use dairy-free white chocolate or coconut oil for coating instead of candy melts for a lactose-free version.
- Gluten-Free: Swap Nutter Butter cookies with gluten-free alternatives like gluten-free vanilla sandwich cookies to accommodate dietary restrictions.
- Color Variations: Go wild with colored candy melts for different holiday themes, like orange for Halloween or pastel colors for Easter!
- Sugar-Free Options: Opt for sugar-free candy melts to create a lighter version that everyone can enjoy without the extra sweetness.
- Add Sprinkles: Before the candy coating sets, sprinkle colorful edible decorations on top for an enchanting touch.
- Flavor Twist: Mix in a hint of vanilla or almond extract into the melted candy for an unexpected flavor boost that pairs beautifully with the peanut butter.
- Texture Fun: For extra crunch, consider adding finely crushed nuts or granola as a topping on the candy coating before it hardens.
- Mini Ghost Cookies: Create bite-sized versions using mini Nutter Butter cookies for a fun party treat that will leave everyone wanting more!
For more delightful cookie ideas, check out my Matcha Cookies Soft or Peaches Cream Cookies.
Expert Tips for Nutter Butter Ghost Cookies
-
Melting Mastery: Use a microwave-safe bowl and melt the candy at 50% power. Stir every 30 seconds to prevent burning the chocolate.
-
Dip with Care: Avoid over-coating! Dip each cookie about 70-75% into the melted candy to ensure a balanced ghostly look without excess dripping.
-
Add Decor Quickly: Work fast when placing candy eyeballs and chocolate chips while the coating is still wet, ensuring they stick properly for that spooky character.
-
Storage Savvy: Keep cookies in an airtight container at room temperature for up to 5 days. If freezing, wrap them individually to maintain freshness for longer.
-
Peanut Allergy Alert: If serving to a group, confirm there are no peanut allergies. Substitute Nutter Butter cookies with Milano cookies for a safe, delightful alternative.
These helpful tips ensure your Nutter Butter Ghost Cookies turn out perfectly spooky and delicious every time!
What to Serve with Nutter Butter Ghost Cookies
As Halloween beckons with its playful spirit, these delightful ghost cookies become the centerpiece of any festive spread, ready to enchant guests young and old.
-
Crispy Apple Slices: The sweet and tangy flavor of fresh apple slices adds a refreshing crunch that balances the sweetness of the cookies. Pair them with caramel dip for an autumn twist.
-
Pumpkin Spice Hot Chocolate: Indulge in the warming flavors of autumn with a rich hot chocolate infused with pumpkin spice. The creamy texture complements the ghost cookies beautifully, creating a cozy treat.
-
Spooky Fruit Salad: A mix of seasonal fruits like oranges, pomegranate, and bananas can provide bright colors and fresh flavors. It adds a lively contrast to the rich, creamy cookies.
-
Cheese Platter: Offer a selection of soft cheeses, like brie or goat cheese, paired with honey and nuts. This savory contrast balances the sweet ghost cookies, making for an exciting culinary experience.
-
Witch’s Brew Smoothie: Blend spinach, banana, and almond milk for a green smoothie that's both nutritious and fun. It adds a vibrant touch, enticing kids and adults alike with its potion-like charm.
-
Ghostly Marshmallow Treats: Create even more spooky fun by serving rice cereal marshmallow treats shaped like ghosts. They’ll be a hit and echo the theme of your Nutter Butter Ghost Cookies.
-
Cinnamon Sugar Popcorn: Light and crunchy popcorn drizzled in butter and tossed with cinnamon sugar makes for a great crunchy snack that enhances the festive mood.
-
Mummy Dogs: Wrap crescent roll dough around hot dogs to create adorable “mummies.” They add a savory element that’s perfect alongside your sweet ghost cookies.
-
Apple Cider: Serve warm or chilled apple cider as a refreshing drink, enhancing the fall atmosphere and harmonizing with the flavors of the cookies.
-
Chocolate Creepy Crawlers: Decorate cookies with chocolate bugs or gummy worms for a playful presentation. These sweet surprises will thrill kids and amp up the Halloween spirit!
Nutter Butter Ghost Cookies Recipe FAQs
How do I choose the best Nutter Butter cookies?
When selecting Nutter Butter cookies for your spooky treat, look for packages without any signs of damage or moisture. Ideally, choose cookies with a smooth and even surface, as this will help create a great coating. If you need a peanut-free option, Milano cookies are a delicious alternative that safely keeps the spirit of the recipe.
What is the best way to store Nutter Butter Ghost Cookies?
To keep your cookies fresh, store them in an airtight container at room temperature for up to 5 days. Ensure the cookies are completely cool before sealing them, as any heat can create moisture, leading to soggy cookies. For longer preservation, wrap each cookie individually in plastic wrap and place them in a freezer-safe container to freeze for up to 2 weeks.
Can I freeze Nutter Butter Ghost Cookies? How?
Absolutely! To freeze, wrap each cookie in plastic wrap and place them in an airtight freezer-safe container. This method prevents freezer burn and helps maintain their delightful crunch. When you’re ready to enjoy them, simply thaw the cookies at room temperature for about 30 minutes. Avoid using the microwave for defrosting; this can melt the candy coating and affect the texture.
What should I do if the candy coating is too thick?
If you find that the candy coating is too thick for dipping, try adding a small amount of vegetable oil or shortening to the melted candy melts. Stir well and return to the microwave for a few seconds if needed. This will help create a smoother consistency, making it easier to dip your Nutter Butter cookies without leaving large clumps.
Can these cookies be made sugar-free?
Yes, you can easily make sugar-free Nutter Butter Ghost Cookies! Substitute the white candy melts with a sugar-free candy coating or sugar-free white chocolate chips. Additionally, when selecting your cookies, ensure they are also sugar-free or low-carb. These adaptations retain the festive spirit while catering to various dietary preferences.
Are there any allergy considerations for these cookies?
Definitely! If you're serving these Nutter Butter Ghost Cookies to a group, always check for peanut allergies, as the Nutter Butter cookies themselves contain peanuts. For a safe alternative, use Milano cookies or another nut-free cookie. Additionally, be mindful of any allergies to artificial colors or ingredients found in the candy eyeballs you choose to decorate with.

Nutter Butter Ghost Cookies for a Spooky Treat This Halloween
Ingredients
Equipment
Method
- Prepare your workspace by lining a baking sheet with wax paper.
- Melt the white candy melts in a microwave-safe bowl at 50% power, stirring every 30 seconds for about 4-5 minutes.
- Dip each Nutter Butter cookie into the melted coating, covering 70-75% of the cookie.
- Press two candy eyeballs and one mini chocolate chip onto each dipped cookie while the coating is still wet.
- Let the cookies sit at room temperature for 5-10 minutes to set.


Leave a Reply