
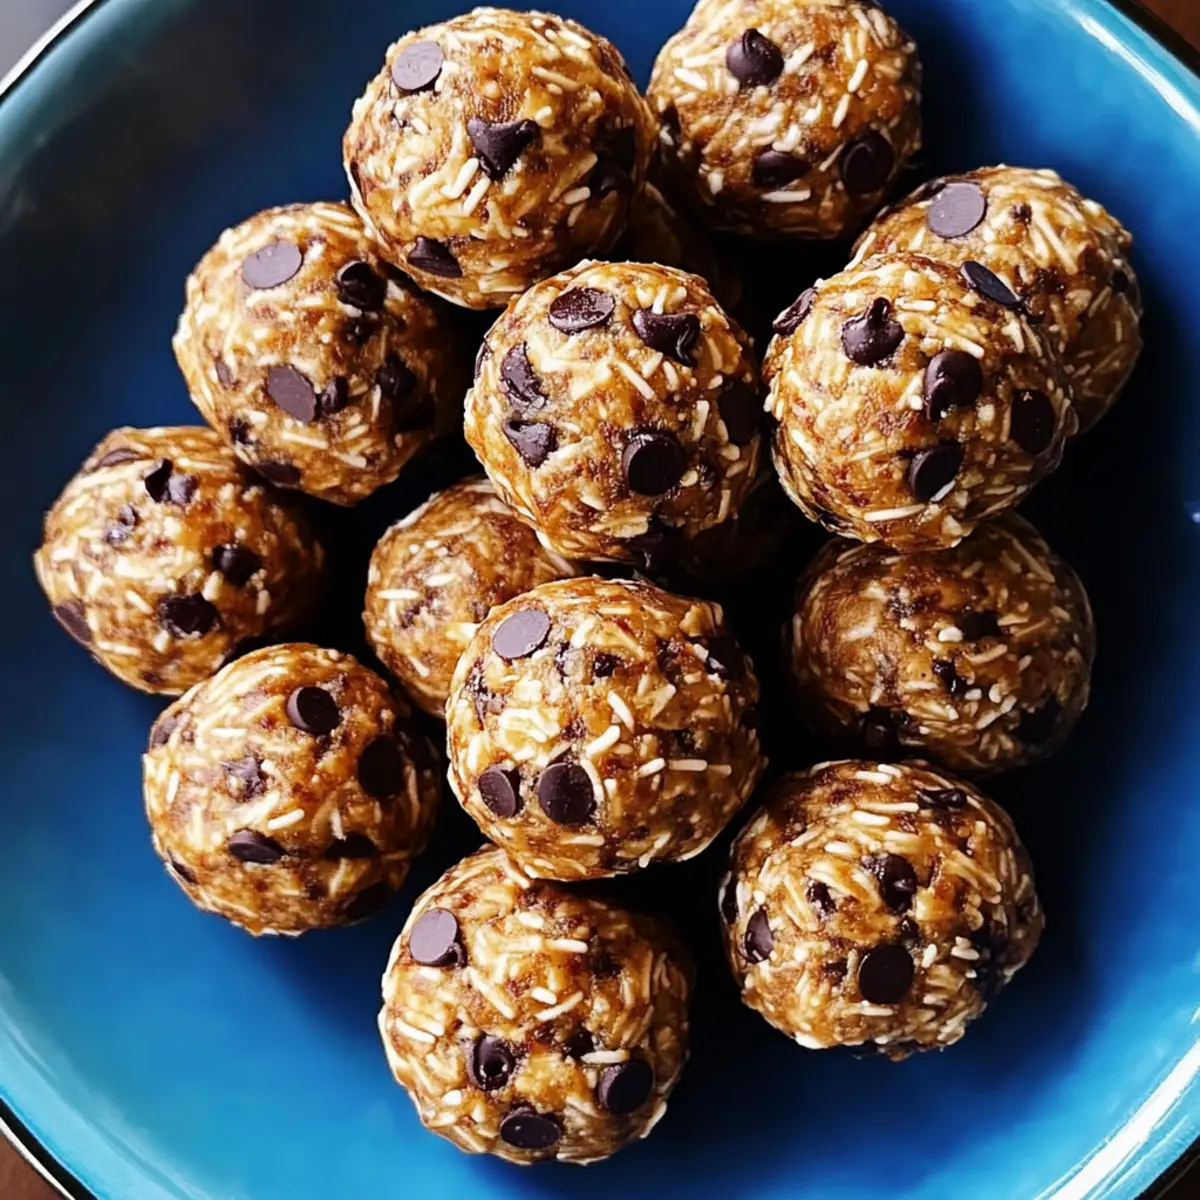
Stepping into the kitchen after a long day often feels like a mini-crisis, where the battle between convenience and nutrition unfolds. If you’re anything like me, you’ve probably looked for quick and easy solutions that don’t sacrifice taste or quality. Enter the No-Bake Protein Balls: a delightful snack that marries the best of both worlds! These chewy, protein-packed bites are not just perfect for meal prep—they're also a hit with kids and adults alike. In just a few simple steps, you’ll create a snack that offers a nutritious punch while effortlessly fitting into your busy schedule. Ready to discover how to whip up these delicious energy balls and make your snacking a little more exciting? Let’s dive in!
Why Are No-Bake Protein Balls So Great?
Simplicity at Its Best: With just a few wholesome ingredients, you can master this quick and easy snack in no time.
Chewy, Nutritious Delight: The chewy texture and irresistible flavor make these protein balls a crowd-pleaser for both kids and adults, perfect for any occasion.
Protein-Packed Power: Each bite is loaded with protein, making them an excellent post-workout recovery option or a nutritious snack throughout the day.
Versatile Enjoyment: Customize your protein balls with different nut butters, sweeteners, or add-ins like dried fruit or coconut flakes for a unique twist. For more delicious flavor ideas, explore my Lemon Ricotta Protein recipe!
Meal Prep Friendly: These energy bites are perfect for meal prep, so you can whip up a batch and have nutritious snacks ready for busy days ahead.
No-Bake Protein Balls Ingredients
• Here’s everything you need to create these delightful snacks!
For the Base
- Rolled Oats – Provides structure and fiber; substitute with gluten-free oats for a gluten-free version.
- Natural Peanut Butter – Adds creaminess and protein; can be replaced with almond butter for nut-free options.
- Honey or Maple Syrup – Sweetens the mixture naturally; maple syrup acts as a vegan alternative.
- Vanilla Protein Powder – Increases protein content; use any protein powder flavor to customize.
For the Flavor
- Mini Chocolate Chips – Adds sweetness and liveliness; swap for dried fruit or nuts for a healthier alternative.
- Chia Seeds – Boosts fiber and provides Omega-3 fatty acids; flax seeds can be used in place of chia.
- Vanilla Extract – Enhances flavor; leave out if you prefer a more neutral taste.
- Pinch of Salt – Balances flavors and enhances the overall taste; optional, but definitely recommended.
With these ingredients, you’ll be ready to enjoy your homemade No-Bake Protein Balls in no time!
Step‑by‑Step Instructions for No-Bake Protein Balls
Step 1: Combine Dry Ingredients
In a large mixing bowl, add 1 cup of rolled oats, 1/2 cup of vanilla protein powder, 2 tablespoons of chia seeds, and a pinch of salt. Use a rubber spatula to mix these dry ingredients thoroughly until well combined; aim for an even distribution of the chia seeds. This blend will form the nutritious base for your No-Bake Protein Balls.
Step 2: Add Wet Ingredients
Next, scoop in 1/2 cup of natural peanut butter and 1/4 cup of honey (or maple syrup) into the bowl. Pour in 1 teaspoon of vanilla extract for extra flavor. Mix everything together vigorously with your spatula until a thick dough starts to form, about 2-3 minutes. The mixture should be sticky and come together nicely without any dry patches.
Step 3: Incorporate Chocolate Chips
Gently fold in 1/3 cup of mini chocolate chips into your protein ball mixture. Use a spatula to ensure the chocolate chips are evenly distributed throughout the dough without breaking them. This will add delightful sweetness and a fun texture to your No-Bake Protein Balls.
Step 4: Shape the Dough
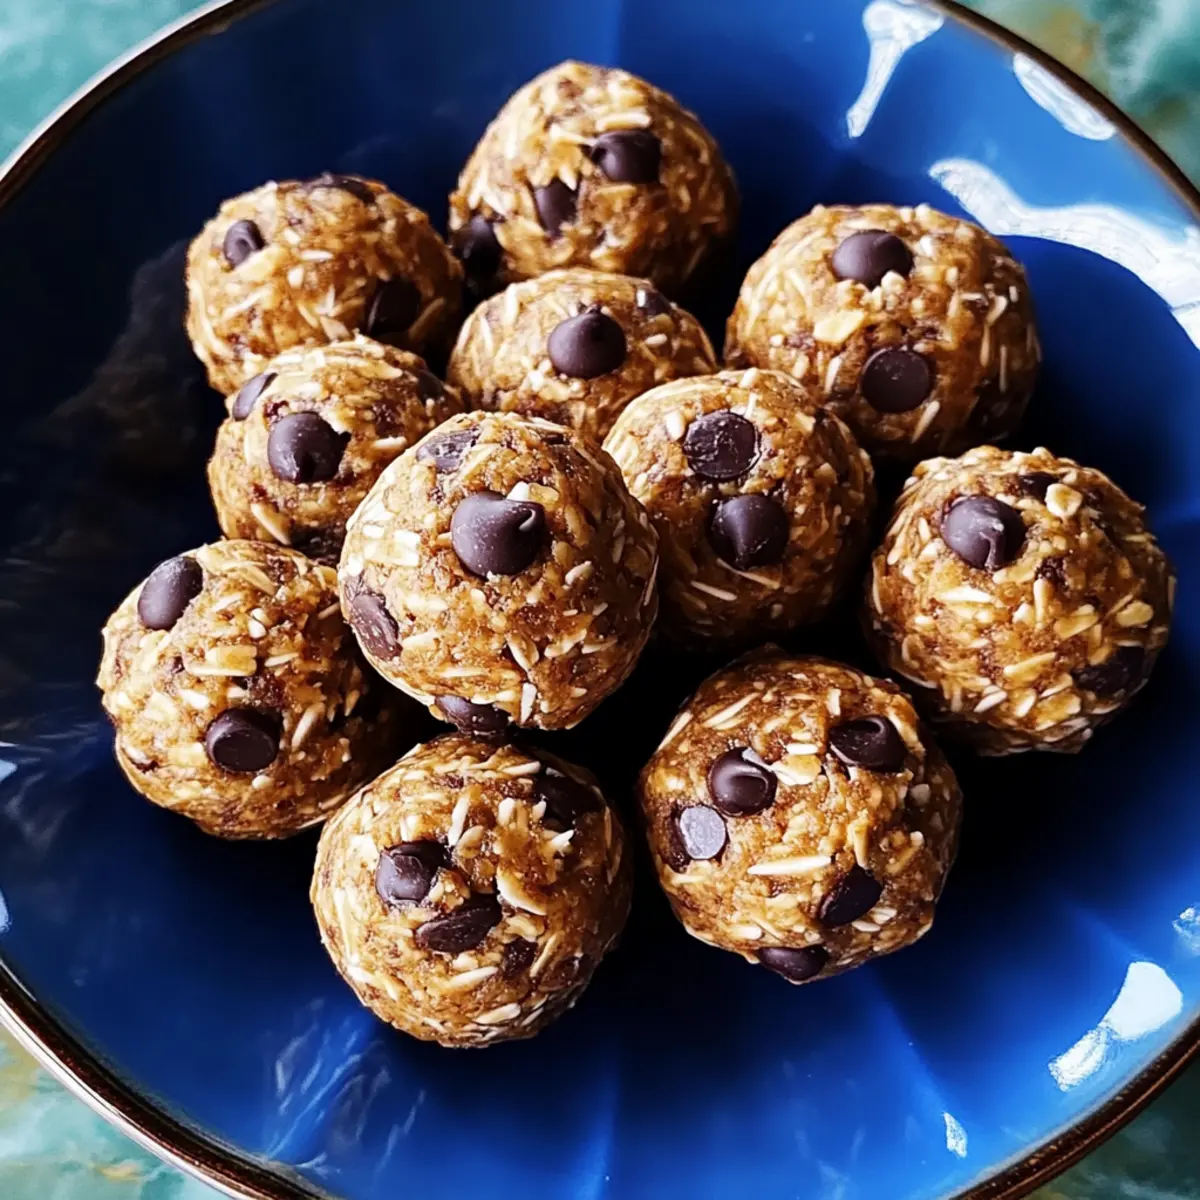
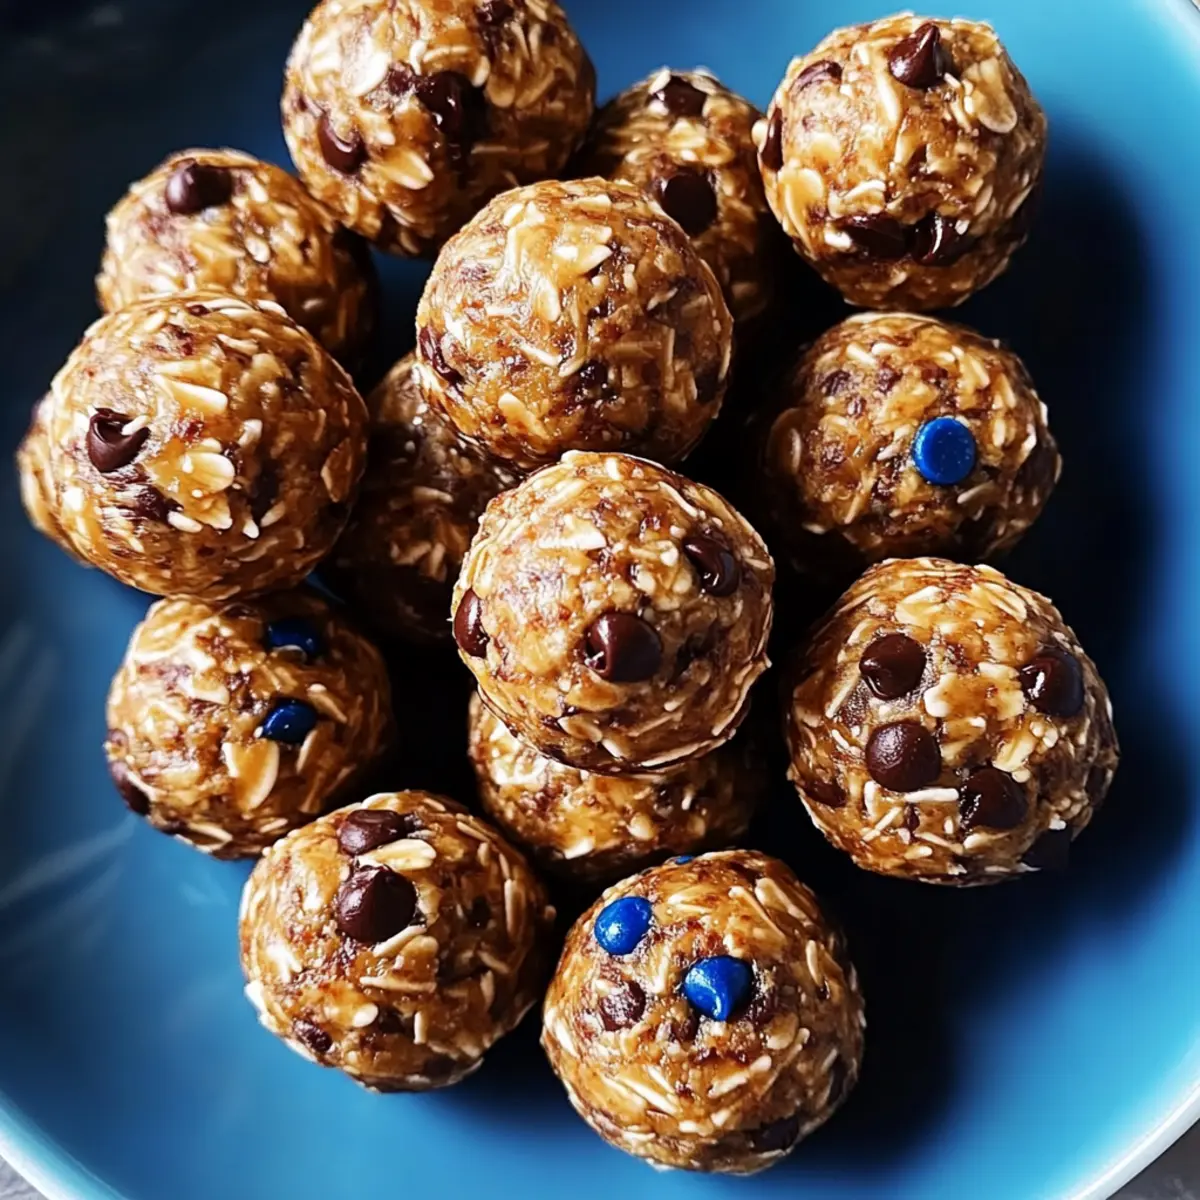
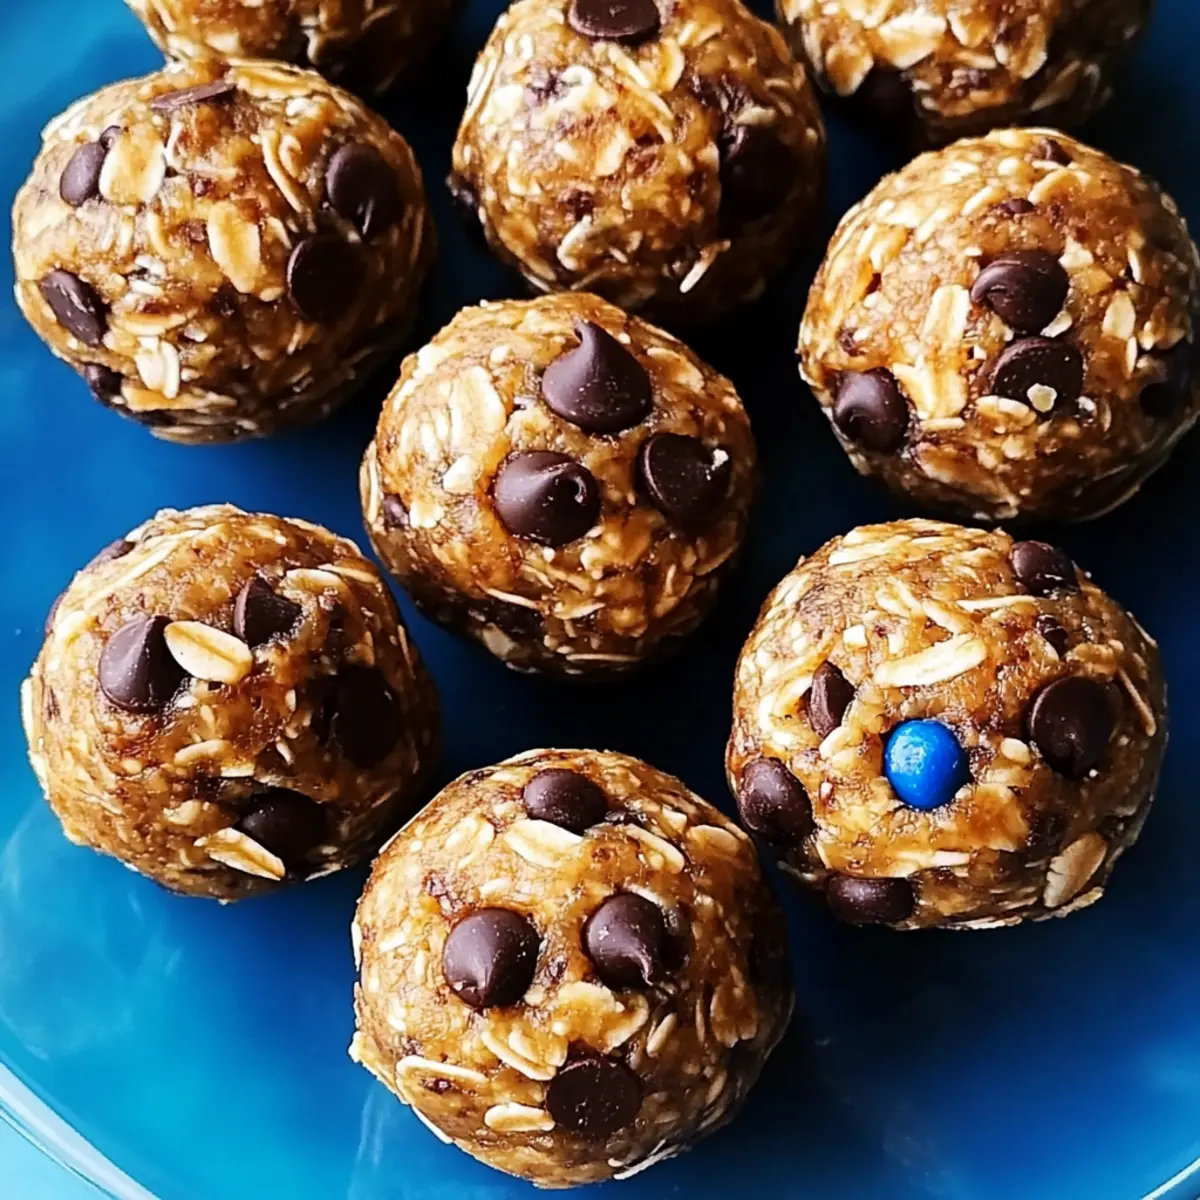
Now it’s time to shape your protein ball mixture. Take about 1 tablespoon of the dough and roll it into a 1-inch ball using your hands. Place each ball onto a parchment-lined tray, making sure to space them out nicely to prevent sticking. Continue shaping until all the mixture is formed into balls; you should get about 12-15 protein balls.
Step 5: Chill in the Refrigerator
After shaping your No-Bake Protein Balls, place the tray in the refrigerator. Let them chill for at least 30 minutes, allowing them to firm up. This step is essential as it helps the protein balls maintain their shape and improves their overall texture, making them a perfect grab-and-go snack.
Step 6: Store and Enjoy
Once chilled, your No-Bake Protein Balls are ready to enjoy! You can eat them straight from the fridge or let them sit at room temperature for a few minutes. Store any leftover protein balls in an airtight container in the refrigerator for up to 1 week, or freeze them for future enjoyment.
What to Serve with No-Bake Protein Balls
Elevate your snacking experience by pairing these delicious bites with complementary flavors and textures.
-
Creamy Yogurt: A dollop of yogurt adds a luscious creaminess and a refreshing contrast to the chewy protein balls, making it perfect for breakfast or snacks.
-
Fresh Fruit Skewers: Colorful fruit skewers bring brightness and sweetness. Paired together, you'll have a wholesome and vibrant snack plate that pleases both kids and adults.
-
Nutty Granola: A handful of granola can introduce a satisfying crunch that enhances the texture of the protein balls, creating a delightful munching experience.
-
Dark Chocolate Dipped Strawberries: For a sweet indulgence, the rich flavor of dark chocolate with fresh strawberries pairs beautifully with the protein balls, creating a luxurious treat.
-
Nut Butter Drizzle: A light drizzle of your favorite nut butter over the protein balls adds not only a delectable flavor but also an extra dose of protein that keeps you fueled.
-
Cold Almond Milk: A glass of cold almond milk offers a refreshing contrast to the sweet protein balls and is a perfect drink pairing for a nourishing snack.
-
Coconut Flakes: Experience a tropical twist by sprinkling unsweetened coconut flakes over the top for a little texture and natural sweetness that complements each bite.
-
Matcha Latte: Enjoy a soothing matcha latte alongside your protein balls for a calming yet energizing treat; the earthy flavors of matcha harmonize beautifully with the sweet notes.
By pairing these options with your No-Bake Protein Balls, you’ll create a deliciously balanced snack spread that nourishes and delights!
Make Ahead Options
These No-Bake Protein Balls are an ideal solution for busy home cooks looking to streamline their meal prep! You can prepare the mixture up to 24 hours in advance by combining all the dry ingredients (oats, protein powder, chia seeds, and salt) and storing them in an airtight container. You can also mix the wet ingredients (peanut butter and honey) separately. Just be sure to refrigerate both components to maintain their quality. When you’re ready to enjoy, simply combine the two mixtures, fold in the chocolate chips, and roll into balls before chilling for another 30 minutes. This not only saves time, but ensures your snacks are just as delicious when you're ready to savor them!
Expert Tips for No-Bake Protein Balls
-
Stickiness is Key: Ensure the dough is sticky enough to hold together. If it's too dry, gradually add more honey or nut butter until it binds.
-
Easier Mixing: Use a rubber spatula for mixing the thick ingredients like peanut butter. This helps incorporate everything without a mess.
-
Chill for Best Texture: Refrigerate the protein balls for at least 30 minutes. This firms them up, making them easier to shape and enhancing the overall texture.
-
Customizable Flavors: Feel free to swap ingredients! Substitute almond butter for peanut butter or use dried fruit instead of chocolate chips for a nutritious twist.
-
Batch Storage: Keep your No-Bake Protein Balls in an airtight container in the fridge for up to a week. For longer storage, freeze them for a quick snack anytime!
How to Store and Freeze No-Bake Protein Balls
Fridge: Keep your No-Bake Protein Balls in an airtight container in the refrigerator for up to 1 week. This ensures they stay fresh and ready for snacking anytime!
Freezer: For longer storage, freeze the protein balls for up to 3 months. Place them in a freezer-safe container or a zip-top bag, ensuring to squeeze out excess air.
Thawing: When you’re ready to enjoy, simply transfer the desired amount to the fridge to thaw overnight. They will regain their delicious chewy texture and flavor!
On-the-Go: Perfect for grab-and-go snacks, these protein balls can be enjoyed directly from the fridge, at room temperature, or even a little chilled for a refreshing treat.
No-Bake Protein Balls Variations
Feel free to explore these delightful variations to make your No-Bake Protein Balls even more exciting!
-
Nut-Free: Swap peanut butter for sunflower seed butter to keep it nut-free without sacrificing creaminess.
Use this twist to accommodate those with nut allergies while ensuring the same delicious taste! -
Vegan-Friendly: Replace honey with agave syrup or maple syrup to keep it completely plant-based.
This simple change keeps the sweetness while catering to your vegan friends or lifestyle. -
Cocoa Boost: Stir in 2 tablespoons of unsweetened cocoa powder for a chocolatey flavor adventure.
Chocolate lovers will rejoice at how this addition elevates the taste, bringing indulgence without guilt. -
Spiced Delight: Add 1 teaspoon of cinnamon or pumpkin spice to the dry ingredients for warmth and flavor.
This warming twist is perfect for cozying up on chilly days, lending your protein balls a seasonal flair. -
Fruit-Filled: Swap mini chocolate chips for 1/2 cup of dried cranberries or raisins for a fruity twist.
This option provides a juicy burst in each bite, making these energy balls even more enjoyable for everyone. -
Coconut Lover: Mix in 1/4 cup of unsweetened shredded coconut for a tropical flair.
Coconut brings a subtle sweetness and chewy texture, transporting your snack time to a sunny paradise. -
Protein Punch: Use flavored protein powders, such as chocolate or vanilla, to emphasize the taste even more.
This is a fun way to tailor the flavor profile and keep your nutrition goals in check.
Feeling adventurous? Try any of these variations to truly make your No-Bake Protein Balls shine! And for more healthful treats, consider my Lemon Ricotta Protein recipe that adds a burst of citrus to your snacking!
No-Bake Protein Balls Recipe FAQs
How do I select ripe ingredients for my No-Bake Protein Balls?
Absolutely! For the best flavor in your No-Bake Protein Balls, use fresh ingredients. Make sure your rolled oats are whole and not stale, while natural peanut butter should be free from added sugars or preservatives. If you’re opting for alternatives, check that almond butter is creamy and not overly dry.
What’s the best way to store No-Bake Protein Balls, and how long do they last?
These delightful No-Bake Protein Balls can be stored in an airtight container in the refrigerator for up to 1 week. If you want them to last longer, you can freeze them for up to 3 months! Just make sure to place them in a freezer-safe container or a zip-top bag, squeezing out any excess air to avoid freezer burn.
Can I freeze No-Bake Protein Balls, and what’s the best way to do it?
Certainly! To freeze your No-Bake Protein Balls, start by placing them on a parchment-lined baking sheet in a single layer. Freeze for about 1-2 hours until firm. Then, transfer the frozen balls to a freezer-safe container or zip-top bag, ensuring to remove excess air. When you're ready to enjoy them, simply thaw in the refrigerator overnight.
What should I do if my No-Bake Protein Balls are too dry?
If you find your dough is too dry and crumbly, don't worry! Gradually add more honey or peanut butter, a tablespoon at a time, mixing until the desired sticky texture is achieved. You can also add a splash of almond milk or a tiny bit of water to moisten the mixture further, but do so in small increments.
Are there any dietary considerations for these No-Bake Protein Balls?
Very! These protein balls can be easily adapted for various dietary needs. For a nut-free version, use sunflower seed butter instead of nut butter, and for vegan options, substitute honey with maple syrup. Always check labels for allergens if you're serving them to guests, especially if they have nut allergies.
Can my children help make No-Bake Protein Balls?
Absolutely! Making No-Bake Protein Balls is a fun and engaging kitchen activity for kids. They can help mix and shape the balls, making it a wonderful bonding experience. Plus, they’ll love customizing their snacks by adding their favorite ingredients, transforming it into a family favorite!
No-Bake Protein Balls: Chewy, Delicious Energy for Your Day
Ingredients
Equipment
Method
- In a large mixing bowl, add rolled oats, vanilla protein powder, chia seeds, and a pinch of salt. Mix these dry ingredients thoroughly until well combined.
- Scoop in natural peanut butter and honey (or maple syrup) into the bowl. Pour in vanilla extract and mix everything together until a thick dough forms, about 2-3 minutes.
- Gently fold in mini chocolate chips into the mixture using a spatula to ensure an even distribution.
- Take about 1 tablespoon of the dough and roll it into a 1-inch ball. Place each ball onto a parchment-lined tray, spacing them out to prevent sticking.
- Chill the tray in the refrigerator for at least 30 minutes to allow the protein balls to firm up.
- Once chilled, your No-Bake Protein Balls are ready to enjoy! Store leftovers in an airtight container in the refrigerator for up to 1 week.


Leave a Reply