
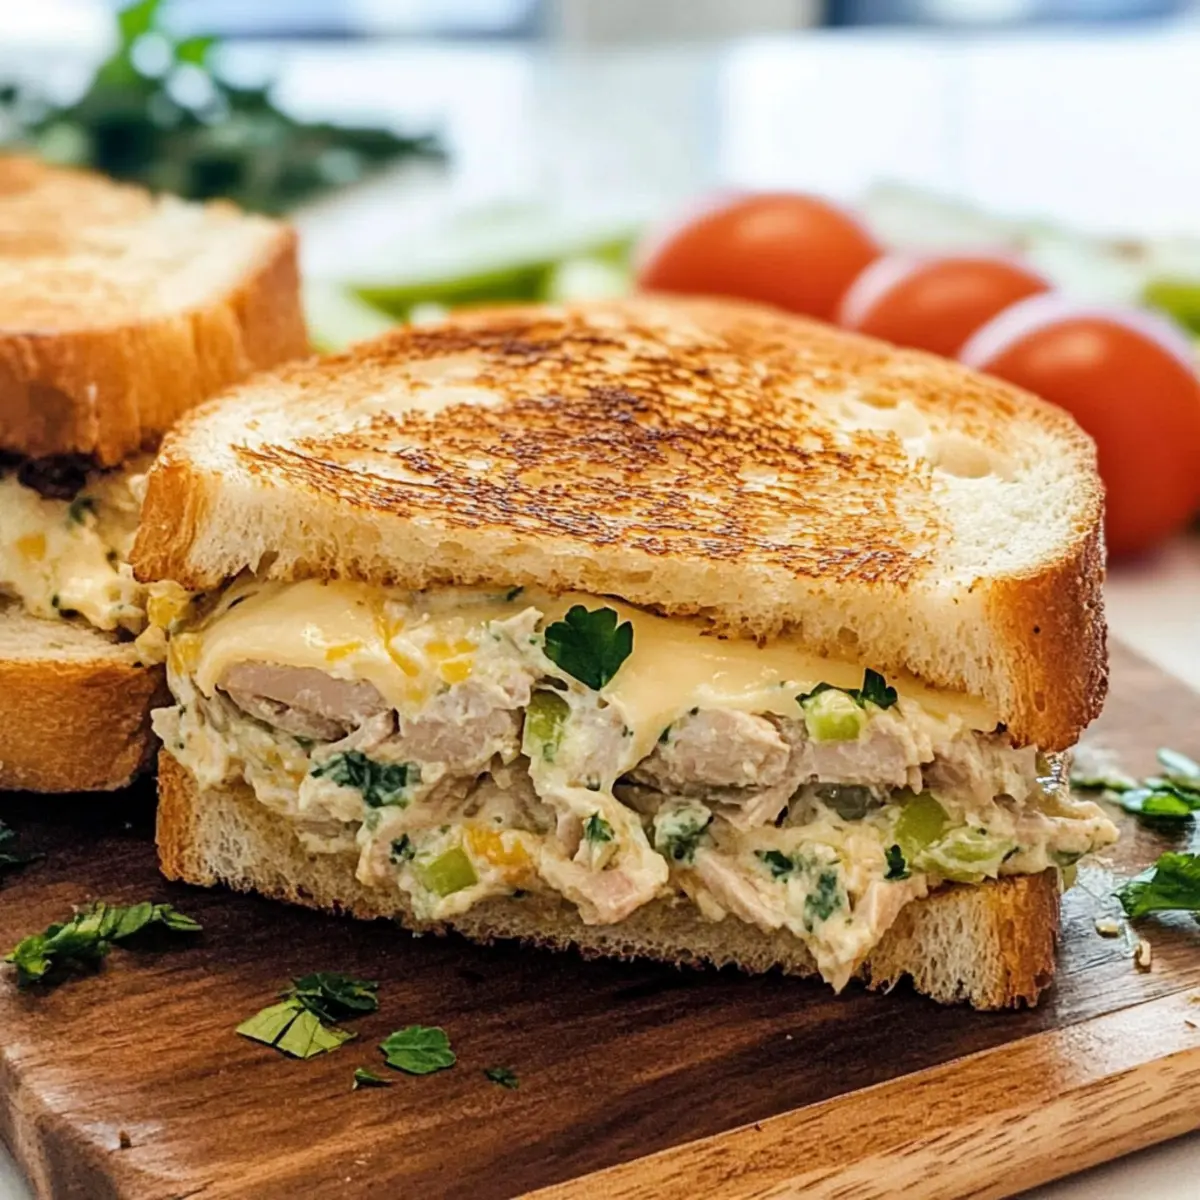
"Did you catch the latest lunch craze? The Baked Tuna Melt is making waves for all the right reasons! This easy tuna melt brings comfort food to a whole new level, marrying creamy tuna salad with layers of white cheddar and fresh tomatoes, all baked to golden perfection. Best of all, it takes under 15 minutes to whip up, making it the perfect option for both a quick lunch and a satisfying dinner. Say goodbye to fast food and hello to homemade goodness! Plus, with its customizable ingredients, you can tailor it to fit your tastes or whatever you have on hand. What's your favorite twist to make this classic even better?"
Why will you crave this Tuna Melt?
Simplicity is key: With just a few ingredients and under 15 minutes, you’ll have a comforting meal ready in no time. Creamy and Cheesy perfection: The blend of tuna salad and melted white cheddar is simply irresistible! Customizable to your taste: Switch up the toppings or add extras like crispy bacon for a personal touch. Crowd-Pleaser appeal: Perfect for lunch or dinner, it’s a dish everyone will love! Don't forget to pair it with Air Fryer French Fries for a complete meal experience!
Easy Tuna Melt Ingredients
For the Tuna Salad
- White Tuna – Provides protein and flavor; opt for tuna in water for healthier results.
- Mayonnaise – Adds creaminess; substitute with Greek yogurt or hummus for a lighter twist.
- Lemon Juice – Enhances flavor; freshly squeezed gives the best punch.
- Celery – Adds crunch; finely chop for an even texture.
- Green Onion – Introduces a mild onion flavor; chop finely for effective blending.
- Fresh Parsley – Contributes herbaceous notes; feel free to use dill as a substitute.
- Salt and Black Pepper – Enhances overall flavor; adjust according to your taste.
For Assembly
- Bread – Serves as the base; choose sturdy bread to hold up the filling.
- Butter – Creates a golden, crispy exterior; softened for easy spreading.
- White Cheddar Cheese – Melts beautifully for that creamy texture; swap for a different cheese if desired.
- Tomato (optional) – Adds freshness and moisture; slice thinly for optimal layering.
Experience the delightful flavors of this Easy Tuna Melt with these simple ingredients!
Step‑by‑Step Instructions for Easy Tuna Melt
Step 1: Preheat the Oven
Begin by preheating your oven to 400°F (204°C). This temperature is perfect for achieving that golden, crispy finish on your Easy Tuna Melt. While the oven heats, gather your ingredients and equipment, including a medium bowl, a butter knife, and a baking sheet, to ensure a smooth cooking process.
Step 2: Prepare the Tuna Salad
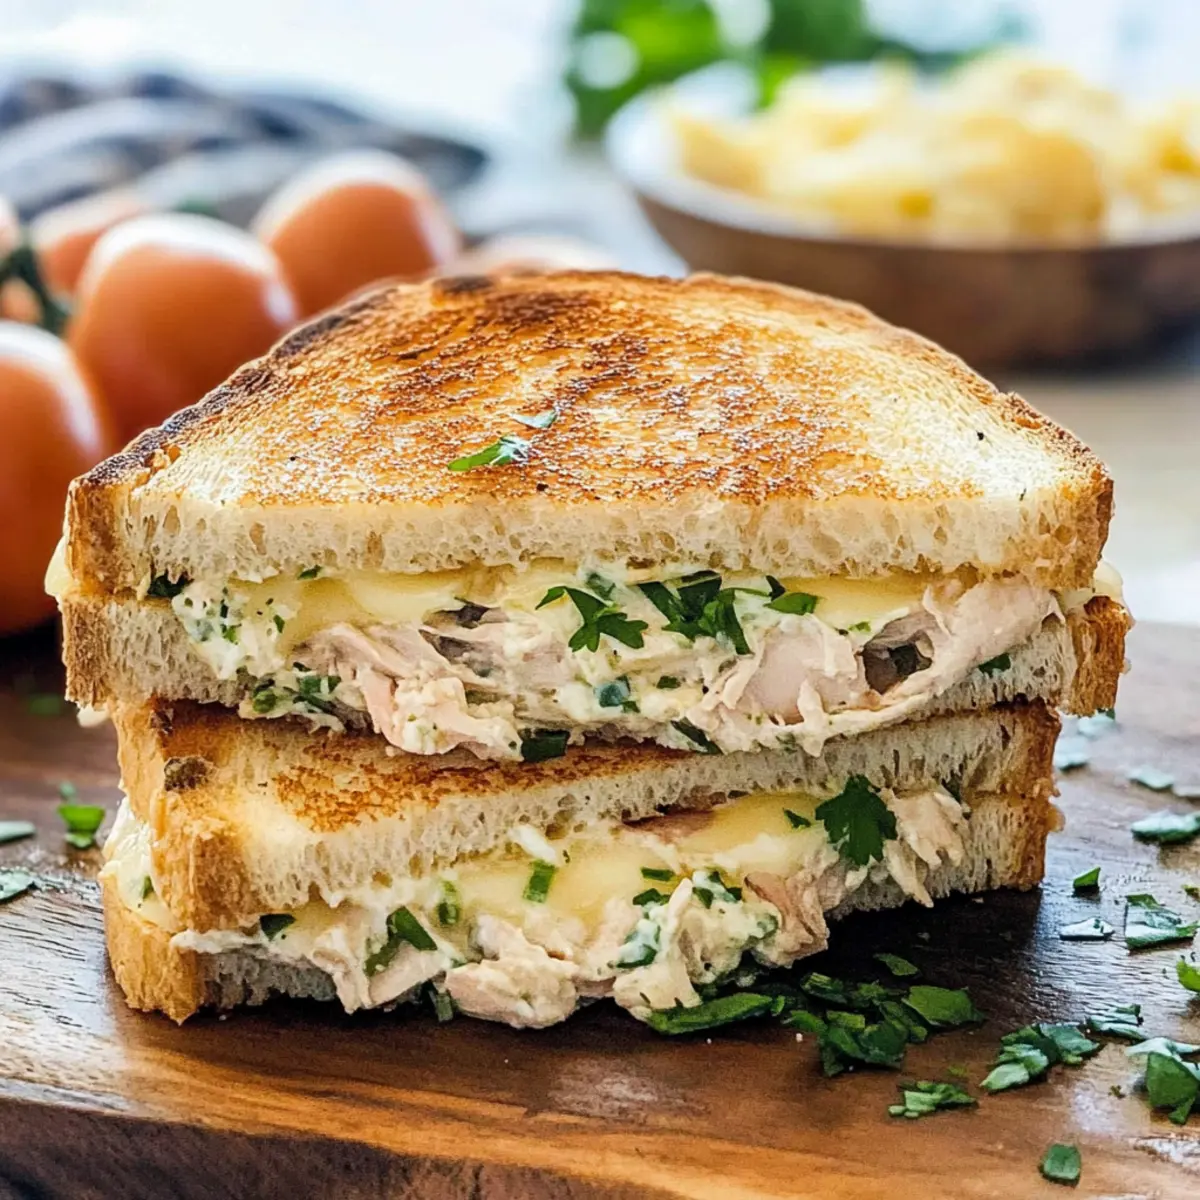
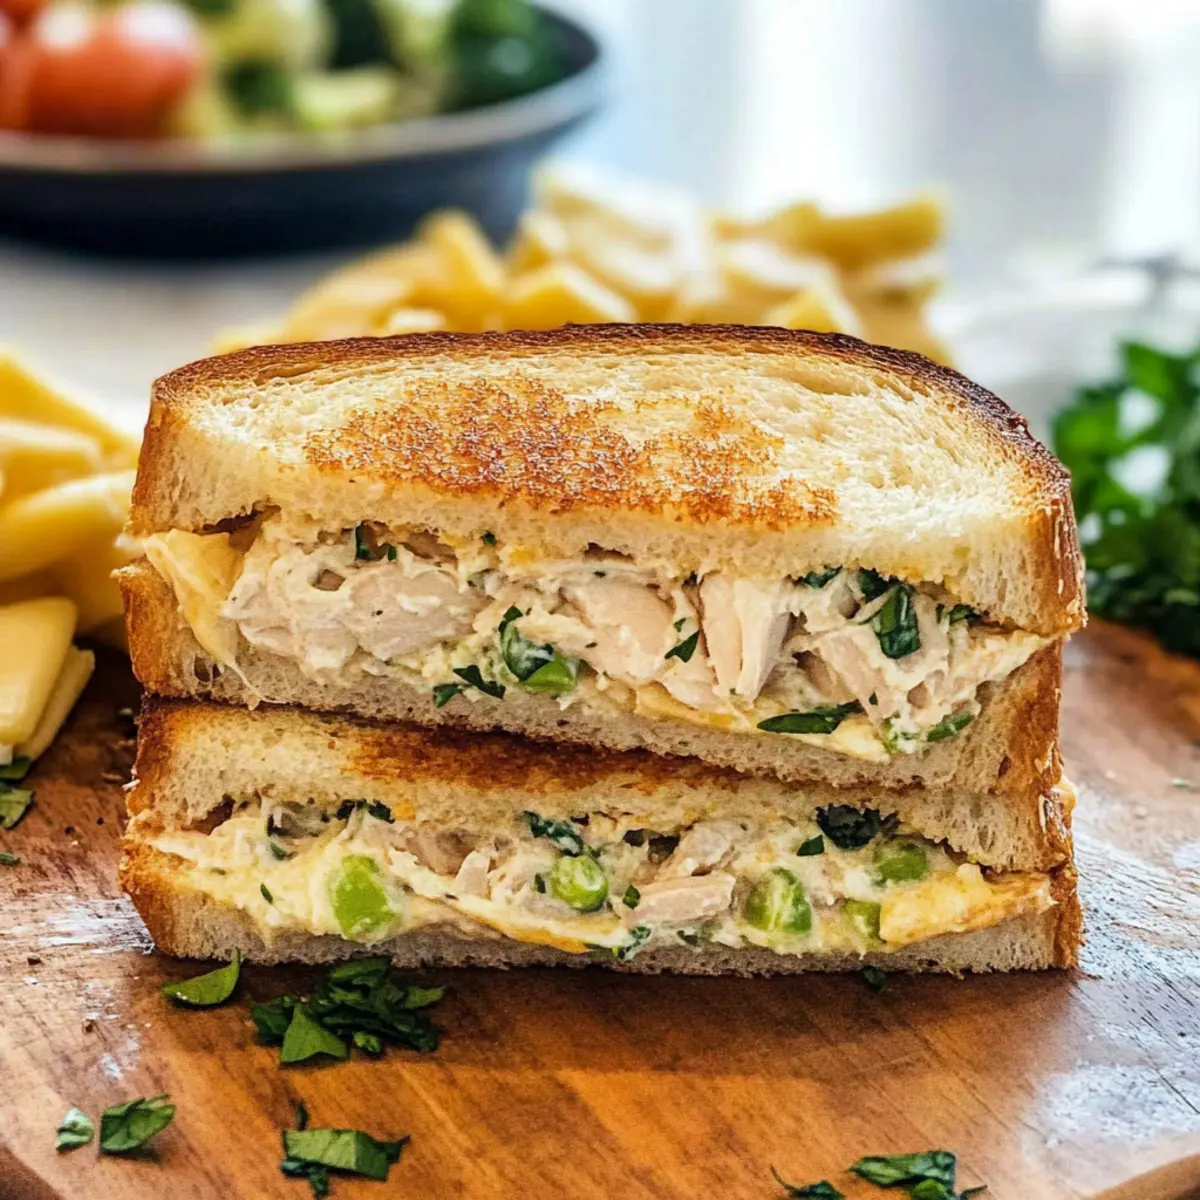
In a medium bowl, combine the drained white tuna, mayonnaise, and fresh lemon juice. Add in the finely chopped celery, green onion, parsley, and a sprinkle of salt and black pepper. Mix the ingredients thoroughly until they’re well combined, creating a creamy, flavorful tuna salad that will become the star of your Easy Tuna Melt.
Step 3: Butter the Bread
Take your slices of sturdy bread and spread softened butter generously on one side of each slice. Buttering the bread not only adds flavor but also helps achieve a delightful crispy layer. Lay four slices on the baking sheet with the buttered side facing down, ready to hold that delicious tuna salad and cheese.
Step 4: Assemble the Tuna Melt
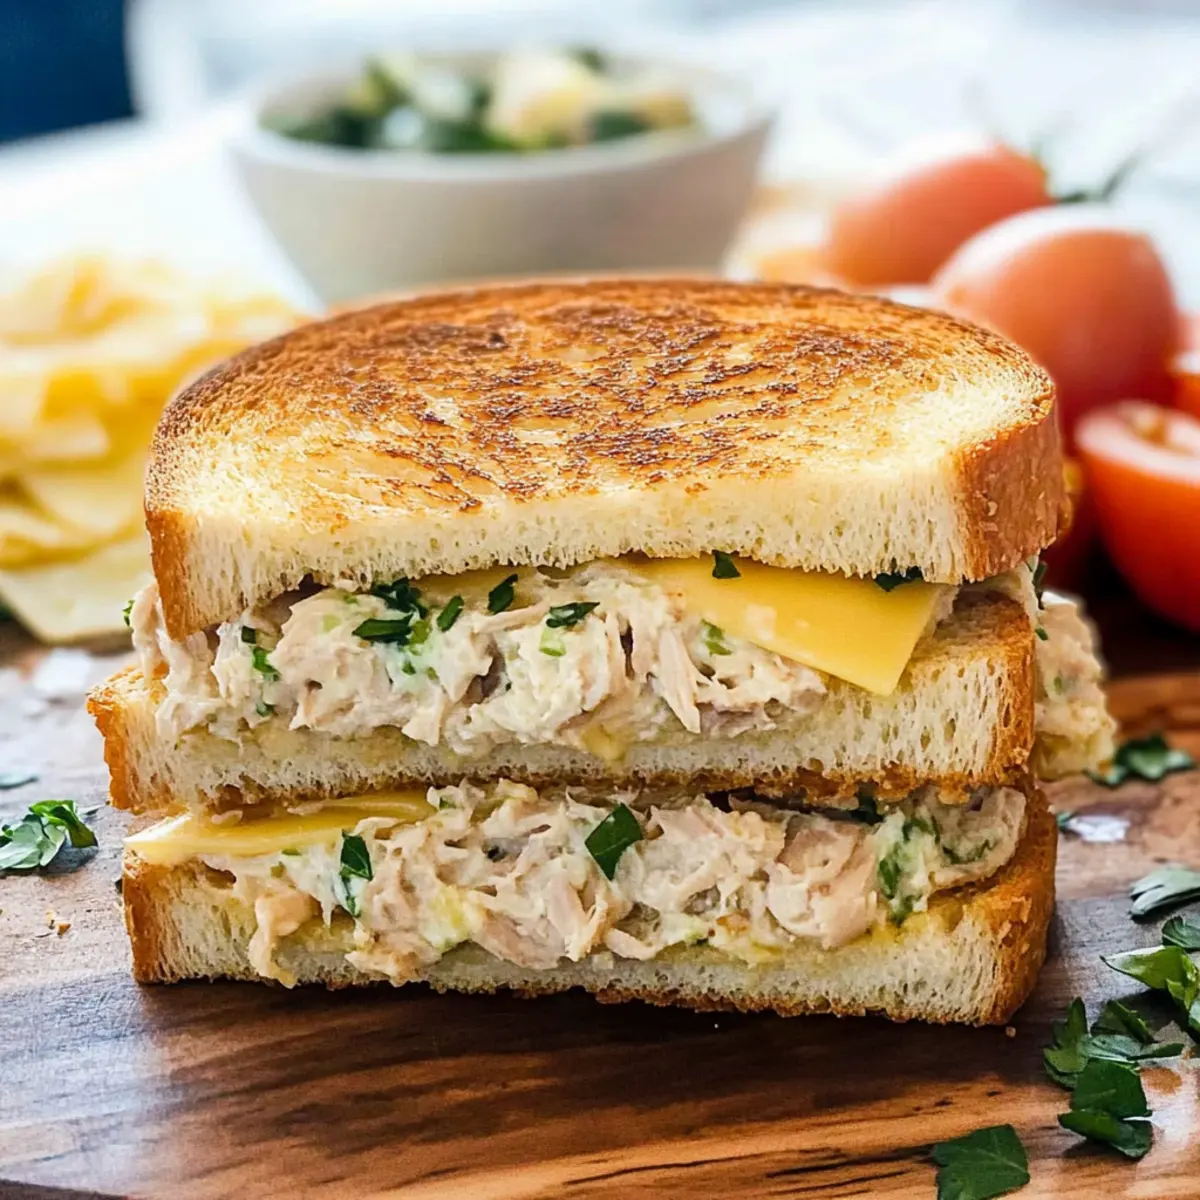
Spoon a generous quarter of the tuna salad mixture onto each slice of bread, spreading it evenly. Layer two slices of white cheddar cheese on top of the tuna salad, followed by optional tomato slices for an extra burst of freshness. This assembly creates a mouthwatering stack that will soon be baked to perfection.
Step 5: Top with Remaining Bread
Carefully place the remaining slices of bread on top of your layered tuna and cheese, ensuring the buttered side faces up. This will create a lovely, crisp crust as the tuna melt bakes. Make sure to align the slices well to form a cohesive sandwich, preparing it for the delicious baking phase.
Step 6: Bake to Golden Perfection
Slide the baking sheet into the preheated oven and let the Easy Tuna Melts bake for about 5 to 8 minutes. Keep a close eye on them to ensure the cheese melts beautifully and the bread turns a rich, golden brown. You’ll know they’re ready when the cheese is bubbling, and the edges of the bread are crisp and inviting.
Step 7: Serve and Enjoy
Once baked, carefully remove the Easy Tuna Melts from the oven. Allow them to cool for a minute before slicing them in half for easy handling. Serve these delectable melts warm, and relish the delightful combination of flavors and textures that will surely satisfy your cravings!
How to Store and Freeze Easy Tuna Melt
Fridge: Store cooked Easy Tuna Melts in an airtight container in the refrigerator for up to 3 days. Ensure they are fully cooled before sealing to maintain texture.
Freezer: While it’s not recommended to freeze the cooked Tuna Melt, you can freeze the tuna salad mixture separately for up to 2 months. Thaw overnight in the fridge before assembling.
Reheating: For the best results, reheat leftovers in the oven at 350°F (177°C) for about 10 minutes. This helps restore the crispiness of the bread while warming the filling evenly.
Assembly Tip: If you're storing the assembled sandwiches, keep bread and tuna salad separate until you're ready to bake to prevent sogginess.
Expert Tips for Easy Tuna Melt
-
Drain Tuna Well: Make sure to drain the tuna thoroughly to prevent a soggy sandwich. Excess moisture can lead to a disappointing texture.
-
Taste and Adjust: After mixing the tuna salad, always taste before adding more salt or pepper. This ensures the flavor is just right for your Easy Tuna Melt.
-
Butter Coverage: Spread butter evenly on the bread for a perfectly crispy crust. Skipping this step could leave parts of your sandwich un toasted.
-
Keep an Eye on Baking: Baking times may vary by oven, so check frequently to prevent burning and ensure a beautifully golden result.
-
Customize Your Melt: Feel free to include your favorite spices or toppings! Adding crispy bacon or herbs can elevate your Easy Tuna Melt to a whole new level.
What to Serve with Easy Tuna Melt
Elevate your homemade tuna melt experience with delightful sides that complement its creamy deliciousness.
-
Air Fryer French Fries: Crispy and golden, these fries provide a satisfying crunch that pairs perfectly with the softness of the tuna melt.
-
Caesar Salad: A fresh, crisp salad with creamy dressing adds a vibrant contrast to the warm, gooey sandwich.
-
Roasted Tomato Soup: Classic and comforting, this soup’s acidity cuts through the richness of the tuna melt, creating a harmonious balance.
-
Pickle Chips: Tangy and crunchy, pickles provide a refreshing bite alongside the rich flavors of the tuna melt.
-
Steamed Broccoli: Slightly crunchy and mildly flavored, steamed broccoli adds a nutritious element to your meal, inviting contrast in textures.
-
Coleslaw: A sweet and tangy slaw offers a crunchy, cool complement, balancing out the richness of the cheesy goodness.
-
Iced Tea: Refreshing and lightly sweetened, iced tea brings a delightful contrast to the savory flavors of the tuna melt, making it a great drink choice.
-
Chocolate Chip Cookies: End your meal on a sweet note with warm, gooey cookies that melt in your mouth, perfect for satisfying that sweet tooth!
Easy Tuna Melt Variations
Feel free to let your creativity shine as you customize your Easy Tuna Melt with these exciting twists!
-
Bacon Boost: Add crispy bacon strips for a savory crunch that elevates the classic flavor profile. The salty and smoky addition is absolutely irresistible!
-
Veggie Delight: Incorporate diced bell peppers or shredded carrots into the tuna salad for a healthy and colorful crunch. It's a delightful way to sneak in some extra veggies!
-
Spicy Twist: Mix in a dash of hot sauce or diced jalapeños to kick up the heat! This fiery addition transforms your melt into a deliciously bold treat.
-
Herb Infusion: Upgrade your tuna salad by using fresh herbs like dill or basil instead of parsley. The aromatic notes will beautifully enhance the overall flavor.
-
Cheese Varieties: Experiment with different types of cheese, such as pepper jack or gouda, for unique flavor profiles. Each cheese brings a different texture and taste, making every melt an adventure!
-
Mediterranean Style: Fold in chopped olives, capers, or sun-dried tomatoes in your tuna salad for a Mediterranean flair. This twist creates a fancy tune melt that’s bursting with flavor!
-
Whole Grain Base: Swap your regular bread for whole-grain or multigrain varieties for added nutrition. This small change adds a nutty taste and gives your melt a wholesome touch.
Pair your Easy Tuna Melt with a refreshing side salad or some rich Roasted Tomato Soup for the perfect meal! Each twist is a chance to make the dish your own and celebrate the deliciousness of homemade cooking.
Make Ahead Options
These Easy Tuna Melts are perfect for busy weeknights and can save you precious time! You can prepare the tuna salad up to 3 days in advance; simply combine the drained white tuna, mayonnaise, lemon juice, celery, green onion, parsley, salt, and pepper, then store it in an airtight container in the refrigerator. To maintain quality, keep the salad separate from the bread until you’re ready to assemble. When you’re set to serve, simply butter your bread, layer the tuna salad and cheese, and bake in a preheated oven at 400°F (204°C) for about 5 to 8 minutes until everything is warm and melty. Enjoy that comforting homemade taste with minimal effort!
Easy Tuna Melt Recipe FAQs
How do I select the best tuna for my Easy Tuna Melt?
Absolutely! For your Easy Tuna Melt, opt for white tuna packed in water for a healthier option. Ensure the can is well-dated and free from any dark spots, indicating freshness. I often check the texture, aiming for solid chunks rather than shredded pieces to maintain the integrity of my tuna salad.
What is the best way to store my cooked Easy Tuna Melts?
Cooked Easy Tuna Melts should be stored in an airtight container in the refrigerator and can last for up to 3 days. Remember to let them cool completely before sealing to help retain that crispy texture! For the best reheat experience, use the oven for about 10 minutes at 350°F (177°C) to bring them back to life.
Can I freeze my Easy Tuna Melt?
While it's not recommended to freeze the cooked Tuna Melts themselves due to potential sogginess, you can prepare the tuna salad ahead of time. Store it in an airtight container in the freezer for up to 2 months. When you’re ready to whip up a sandwich, simply thaw the tuna salad overnight in the fridge and assemble it fresh on your sturdy bread.
What if I have leftover ingredients from my Easy Tuna Melt?
Very! If you have leftover ingredients like cheese or bread, don’t fret! Cheese can be stored in the fridge for up to 2 weeks, while bread can last about a week if kept in an airtight bag. Use leftover tuna salad in wraps or on crackers for a delicious snack. Get creative—you've got options!
Are there any dietary considerations I should be aware of?
Absolutely! Check for allergies or sensitivities, particularly with tuna, mayonnaise, and certain cheeses. If you have a gluten intolerance, opt for gluten-free bread to keep your Easy Tuna Melt delicious and safe. I often check labels to ensure no hidden allergens are present in my ingredients.
How can I avoid sogginess in my Easy Tuna Melt?
To prevent sogginess, ensure your tuna is thoroughly drained before mixing it into your salad. Layering the filling evenly and using thick, sturdy bread also helps. If preparing ahead, keep the assembled sandwiches separate until ready to bake; this avoids any moisture that could seep into the bread. Enjoy your melt crispy and delicious!
Easy Tuna Melt: Your Quick Path to Cheesy Comfort
Ingredients
Equipment
Method
- Preheat the oven to 400°F (204°C). Gather ingredients and equipment.
- Combine the white tuna, mayonnaise, and lemon juice in a medium bowl. Add celery, green onion, parsley, salt, and pepper. Mix well.
- Spread softened butter on one side of each slice of bread. Place four slices buttered side down on a baking sheet.
- Spoon tuna salad mixture onto each slice, then layer cheddar cheese and optional tomato slices on top.
- Place remaining slices of bread on top, buttered side up.
- Bake in the preheated oven for 5 to 8 minutes until cheese is melted and bread is golden brown.
- Remove from oven, cool for a minute, slice in half, and serve warm.


Leave a Reply