
Just think about the first bite into a perfectly crispy chimichanga—crunchy on the outside, with a warm, melty beef and cheese filling waiting to tantalize your taste buds. That's the sensation you’ll experience with my Crispy Beef & Cheese Chimichangas. In just 30 minutes, these delightful bites become a staple in your weeknight arsenal, offering a quick and customizable meal that everyone will love. Whether you’re in the mood for classic beef, a lighter turkey option, or a veggie-packed twist, this recipe caters to all tastes. And the best part? You can prepare them in advance and either fry or bake them to crispy perfection. Ready to bring some Latin flair to your dinner table? Let’s dive into the world of chimichangas together!
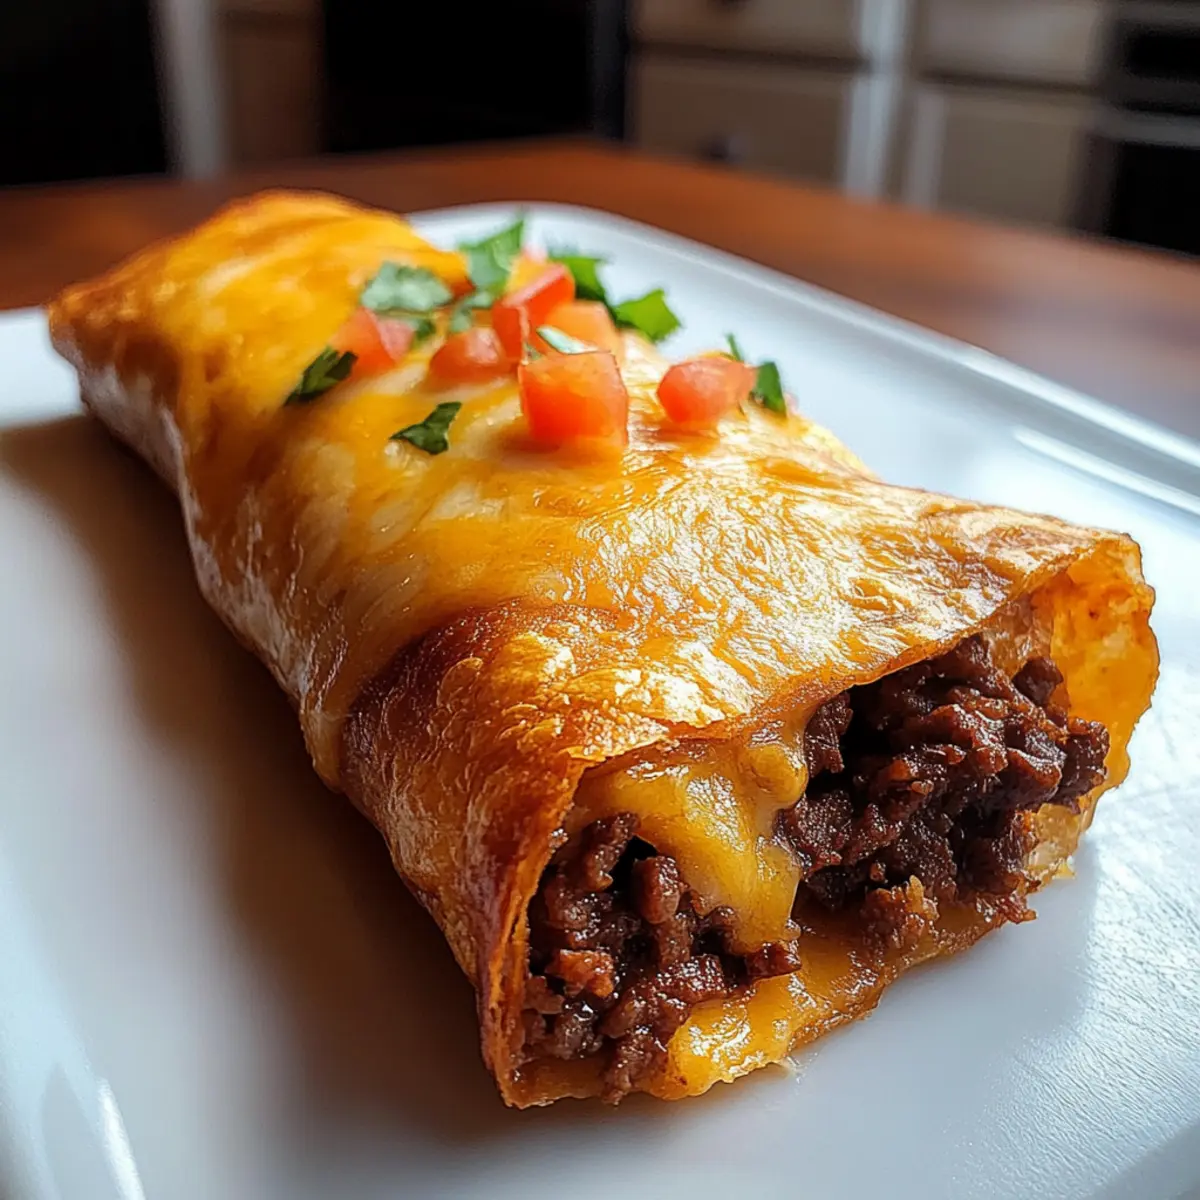
Why are Chimichangas the Ultimate Comfort Food?
Quick and Easy: In just 30 minutes, you can whip up these delightful bites, making them perfect for busy weeknights.
Flavor Explosion: The combination of savory beef, gooey cheese, and spices delivers an irresistible taste that’s sure to please everyone at the table.
Customizable Creations: Feel free to swap the filling to suit your preferences—think shredded chicken or even beans—for a lighter option that still packs a punch.
Crispy Delight: Experience the joy of biting into a perfectly crispy chimichanga with a golden shell that shatters beautifully, revealing its cheesy core.
Make-Ahead Magic: Prep in advance to make dinner a breeze; assemble your chimichangas a day ahead and pop them in the oven or fryer when you're ready!
Perfect Pairing: Serve with a side of fresh guacamole and vibrant salsa for a vibrant meal that brings a touch of fun to your dinner. You might also enjoy my Crispy Parmesan Artichoke Hearts for a delightful appetizer!
Crispy Beef & Cheese Chimichangas Ingredients
• Prepare for an explosion of flavor!
For the Filling
- Ground Beef – Provides savory protein; substitute with turkey or beans for a lighter version.
- Cheddar Cheese – Adds melty richness; swap for Monterey Jack or a dairy-free alternative if needed.
- Spices (e.g., cumin, chili powder) – Enhances flavor; adjust according to your taste for the perfect crispy beef & cheese chimichangas.
For the Tortillas
- Tortillas – Holds the filling together; use flour for traditional chimichangas or corn for gluten-free options.
For Cooking
- Cooking Oil – Required for frying; vegetable or canola oil works best, while peanut oil adds a delicious flavor.
Step‑by‑Step Instructions for Crispy Beef & Cheese Chimichangas:
Step 1: Prepare the Filling
In a large skillet over medium heat, brown 1 pound of ground beef for about 5-7 minutes until fully cooked, breaking it apart as it cooks. Stir in your choice of spices like cumin and chili powder for 1-2 minutes until fragrant, then add 1 cup of cheddar cheese, mixing until melted and bubbly. This savory filling will be the heart of your Crispy Beef & Cheese Chimichangas, so ensure it's well combined and seasoned.
Step 2: Assemble Chimichangas
Lay out 4 large tortillas on a clean surface, and scoop about ⅓ cup of the beef and cheese filling into the center of each. Fold the sides over the filling, then roll tightly from the bottom up, enclosing the filling completely. Make sure the edges are sealed well; you can use a little water to help stick the seams together if necessary. This step is crucial for perfect Crispy Beef & Cheese Chimichangas!
Step 3: Heat the Oil
In a deep skillet, pour in enough oil (about 2 inches deep) to fry the chimichangas and heat it over medium-high heat. Use a cooking thermometer to bring the oil to 350°F; this is the ideal frying temperature for achieving a crispy, golden exterior. Keep an eye on the oil to ensure it doesn't smoke, which can happen quickly.
Step 4: Fry Chimichangas
Carefully add the chimichangas to the hot oil, folded side down, and fry for about 4-5 minutes until they turn golden brown. Use tongs to gently flip each chimichanga and continue frying for an additional 3-4 minutes until the other side is also crispy. When done, remove from the oil and place on a paper towel-lined plate to absorb excess oil. Your Crispy Beef & Cheese Chimichangas are almost ready!
Step 5: Serve
Serve your Crispy Beef & Cheese Chimichangas hot, either on their own or with a DIY topping bar featuring guacamole, salsa, and sour cream. The contrast between the crispy shell and the warm, melty filling is sure to impress everyone at the table. Enjoy these delightful bites fresh for the best flavor experience!
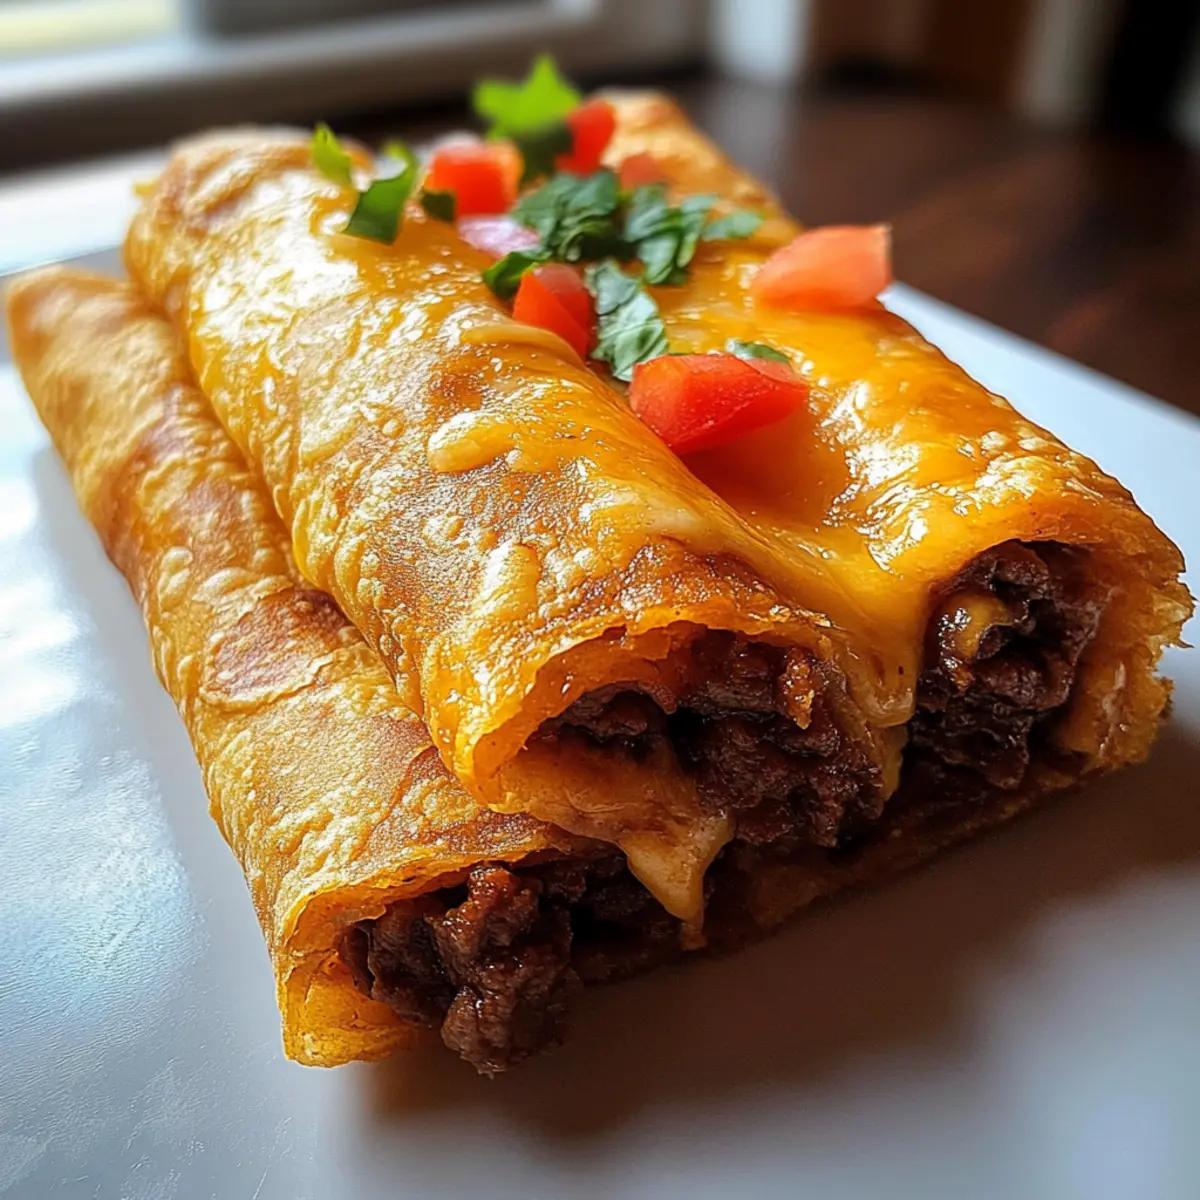
How to Store and Freeze Crispy Beef & Cheese Chimichangas
Fridge: Store leftover chimichangas in an airtight container for up to 3 days. This will keep them fresh while retaining their delicious flavors.
Freezer: For longer storage, freeze chimichangas individually wrapped in plastic wrap and then placed in a freezer bag. They can last up to 3 months.
Reheating: To reheat, place thawed chimichangas in a preheated oven at 375°F for about 20 minutes, ensuring they become crispy again. You can also microwave them, but they won’t be as crispy.
Make-Ahead: Prepare and assemble the chimichangas a day in advance, refrigerating them before frying or baking for a convenient meal that’s ready to go!
Crispy Beef & Cheese Chimichangas Variations
Feel free to sprinkle your own magic into this recipe and let your taste buds lead the way!
- Shredded Chicken: Substitute ground beef with tender shredded chicken for a lighter option that’s just as flavorful.
- Black Beans: Swap beef for black beans for a vegetarian twist that still delivers on protein and taste.
- Monterey Jack Cheese: Replace cheddar with Monterey Jack for a creamier, slightly milder flavor profile.
- Corn Tortillas: Use corn tortillas instead of flour for a gluten-free version that holds up beautifully when fried.
- Baked Option: For a healthier take, bake at 375°F for about 20 minutes. Flip halfway for an even golden finish.
Experiment with your own toppings! Consider adding fresh jalapeños for that kick or pairing with a vibrant salsa to complement the rich flavors. And don’t forget, a side of my delightful Crispy Parmesan Artichoke Hearts could add a wonderful crunch to your meal. There's no right or wrong way to enjoy these chimichangas; let your creativity shine!
What to Serve with Crispy Beef & Cheese Chimichangas
These delightful bites are the perfect centerpiece for a vibrant and interactive meal that’s sure to please every palate.
- Fresh Guacamole: Creamy and zesty, it adds a cooling contrast to the crispy chimichangas, enhancing each bite.
- Vibrant Salsa: A chunky tomato salsa with a kick provides a refreshing burst of flavor that complements the richness of the filling.
- Spanish Rice: Fluffy rice seasoned with spices balances the meal, bringing out the savory notes of the chimichangas.
- Refried Beans: Creamy and hearty, they serve as a flavorful base that enhances the overall flavor profile.
- Crispy Slaw: A crunchy slaw with lime and cilantro adds freshness, cutting through the richness and offering a satisfying texture.
- Margaritas: The perfect pairing for this meal, a classic margarita adds a fun, festive touch, with its tangy lime flavor perfectly complementing the chimichangas.
- Churros: Finish off on a sweet note with churros, adding warmth and crunch, and creating a delightful contrast to your savory feast.
Expert Tips for Crispy Beef & Cheese Chimichangas
-
Don’t Overstuff: Limit filling to ⅓ cup per tortilla to prevent bursting during frying. A well-portion filled chimichanga guarantees crispy beef & cheese chimichangas!
-
Temperature Control: Maintain oil temperature between 350-375°F for optimal frying. If the oil gets too hot, turn off the heat momentarily to cool it down.
-
Seal Properly: Ensure edges are well folded and sealed; using a bit of water to stick seams can help. This prevents leakage and keeps the filling intact.
-
Experiment with Fillings: Get creative! Try using shredded chicken or beans for a lighter twist while keeping the same delicious crispy texture.
-
Baking Option: For a healthier alternative, bake at 375°F on a greased rack for approximately 20 minutes, flipping halfway for even crispiness.
Make Ahead Options
These Crispy Beef & Cheese Chimichangas are a fantastic choice for meal prep! You can assemble the chimichangas up to 24 hours in advance. Simply prepare the filling, fill the tortillas, and wrap them tightly. Place them in an airtight container and refrigerate to keep everything fresh. To maintain their crispy texture, don’t fry them until you're ready to serve—just pop them directly from the fridge into hot oil! If you're looking for a longer storage option, you can freeze them for up to 3 months. When you're ready to enjoy, fry them straight from the freezer, adding a minute or two to the cooking time for that deliciously crispy outer shell!
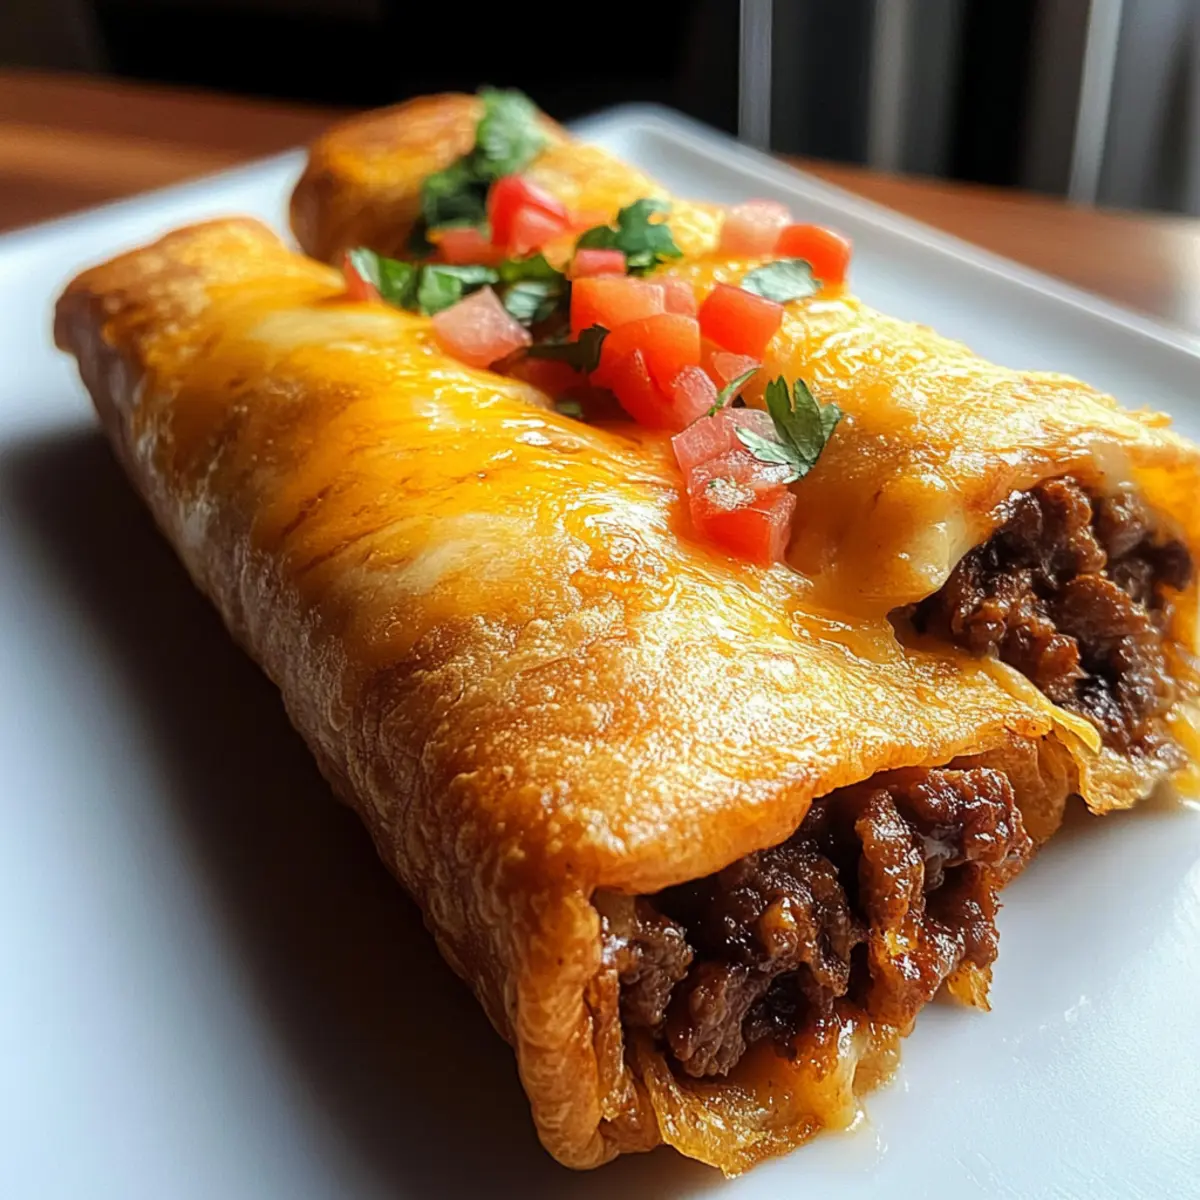
Crispy Beef & Cheese Chimichangas Recipe FAQs
What type of tortillas should I use for chimichangas?
I recommend using flour tortillas for traditional Crispy Beef & Cheese Chimichangas, as they provide a soft texture that holds the filling well. If you're looking for a gluten-free option, corn tortillas work beautifully too, although they may require more care when folding to prevent tearing.
How should I store leftovers?
Store any leftover chimichangas in an airtight container in the refrigerator for up to 3 days. This way, you can enjoy them later while keeping their delicious flavors. Just remember to reheat them properly for the best experience.
Can I freeze chimichangas?
Absolutely! To freeze your Crispy Beef & Cheese Chimichangas, wrap them individually in plastic wrap, making sure they’re sealed tight, and then place them in a freezer bag. They can last in the freezer for up to 3 months. When you're ready to enjoy them, simply thaw and reheat in the oven for that perfect crispiness!
What if my chimichangas leak while frying?
To prevent leaking, ensure your chimichangas are properly secured. After filling, fold the edges tightly and consider using a toothpick to hold them together during frying. If leaks occur, don’t panic! Just reduce the frying temperature slightly and keep an eye on them to minimize mess.
Are there any dietary considerations I should keep in mind?
If you have allergies or dietary restrictions, consider substituting the ground beef with ground turkey, shredded chicken, or beans to cater to different needs. For a dairy-free version, opt for a plant-based cheese alternative. Always check ingredient labels to avoid potential allergens, especially if you're serving guests.
Can I make these chimichangas in advance?
Yes! You can assemble your Crispy Beef & Cheese Chimichangas a day ahead of time. Just keep them in the refrigerator until you're ready to fry or bake them. This make-ahead option is perfect for busy nights, allowing you to enjoy a homemade meal quickly!
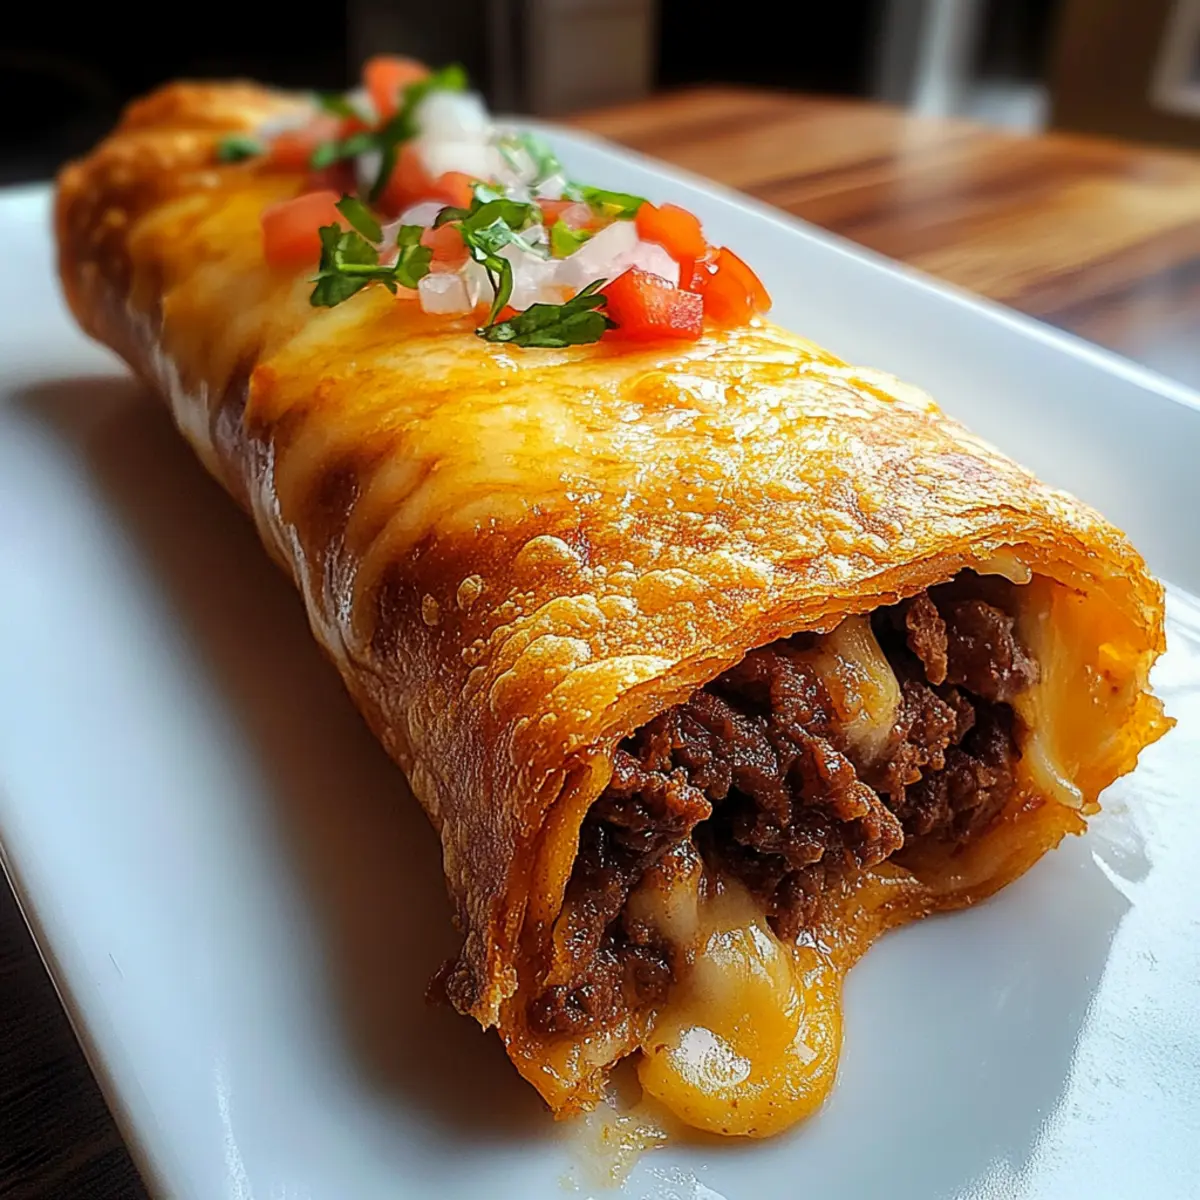
Crispy Beef & Cheese Chimichangas: Flavor-Packed Perfection
Ingredients
Equipment
Method
- In a large skillet over medium heat, brown the ground beef for about 5-7 minutes until fully cooked, breaking it apart as it cooks. Stir in your choice of spices for 1-2 minutes until fragrant, then add the cheddar cheese, mixing until melted and bubbly.
- Lay out the tortillas on a clean surface, and scoop about ⅓ cup of the beef and cheese filling into the center of each. Fold the sides over the filling, then roll tightly from the bottom up, sealing well.
- In a deep skillet, pour in enough oil to fry the chimichangas and heat it to 350°F.
- Carefully add the chimichangas to the hot oil, folded side down, and fry for about 4-5 minutes until golden brown. Flip and fry for an additional 3-4 minutes.
- Serve hot, either on their own or with toppings like guacamole, salsa, and sour cream.

Leave a Reply