
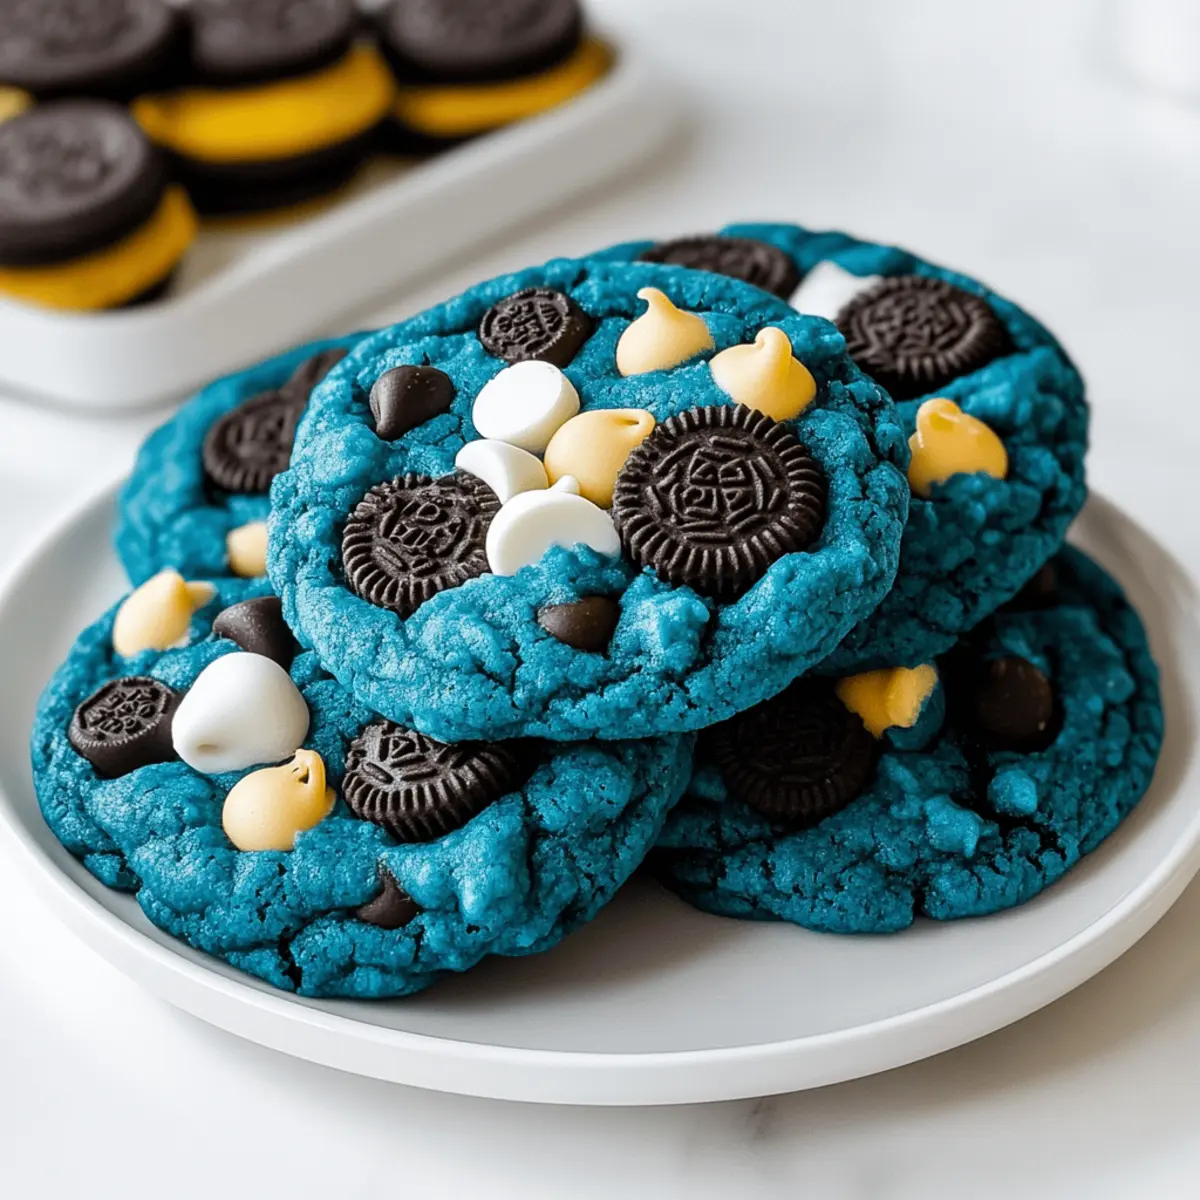
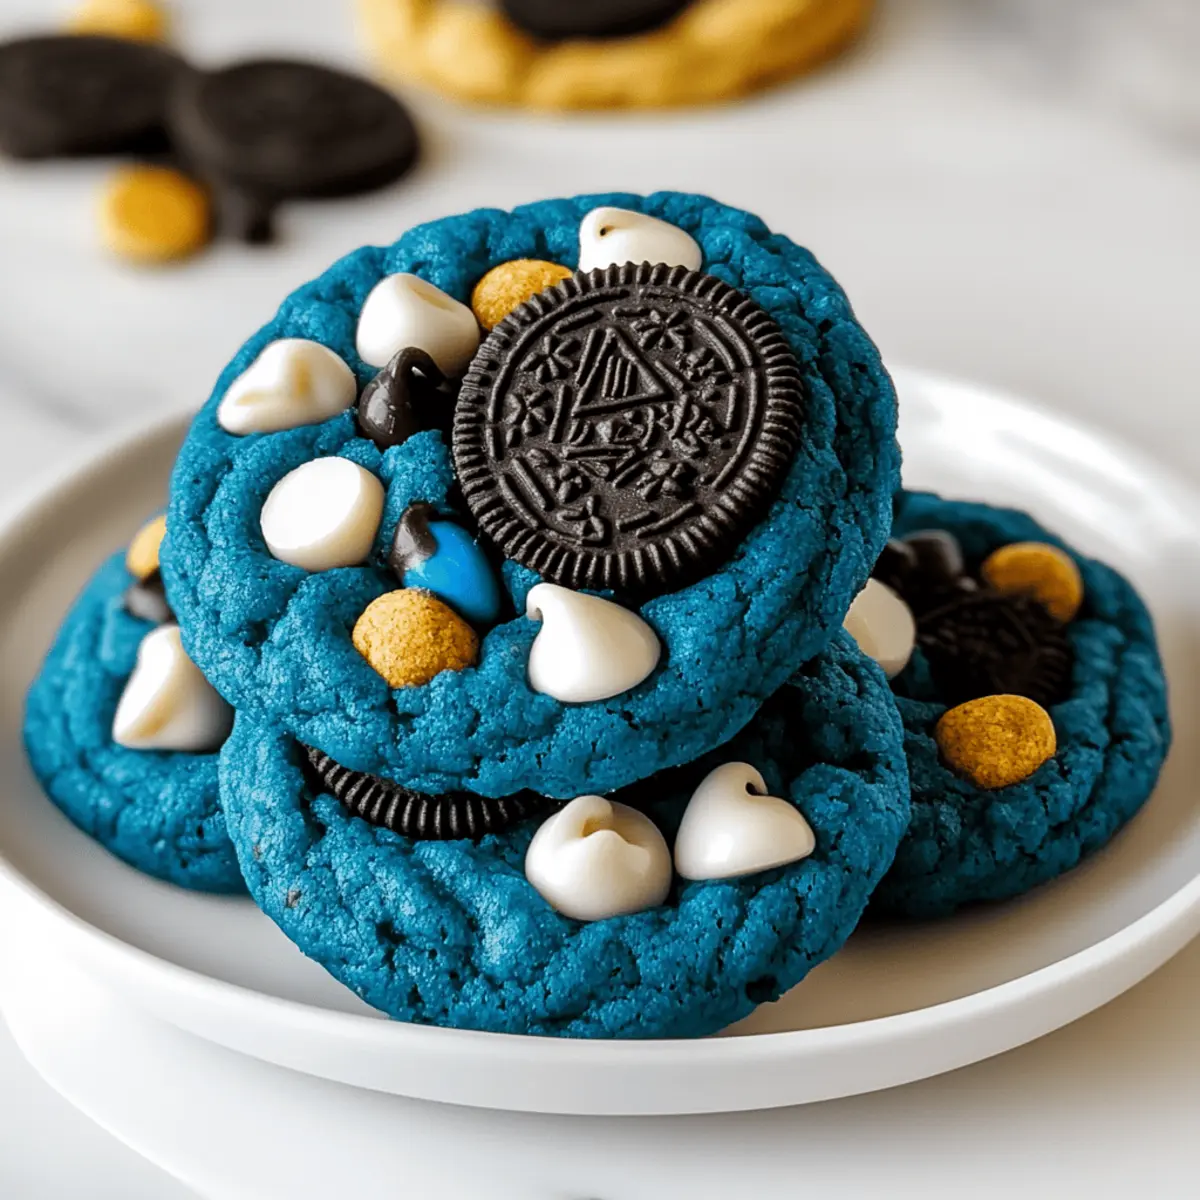
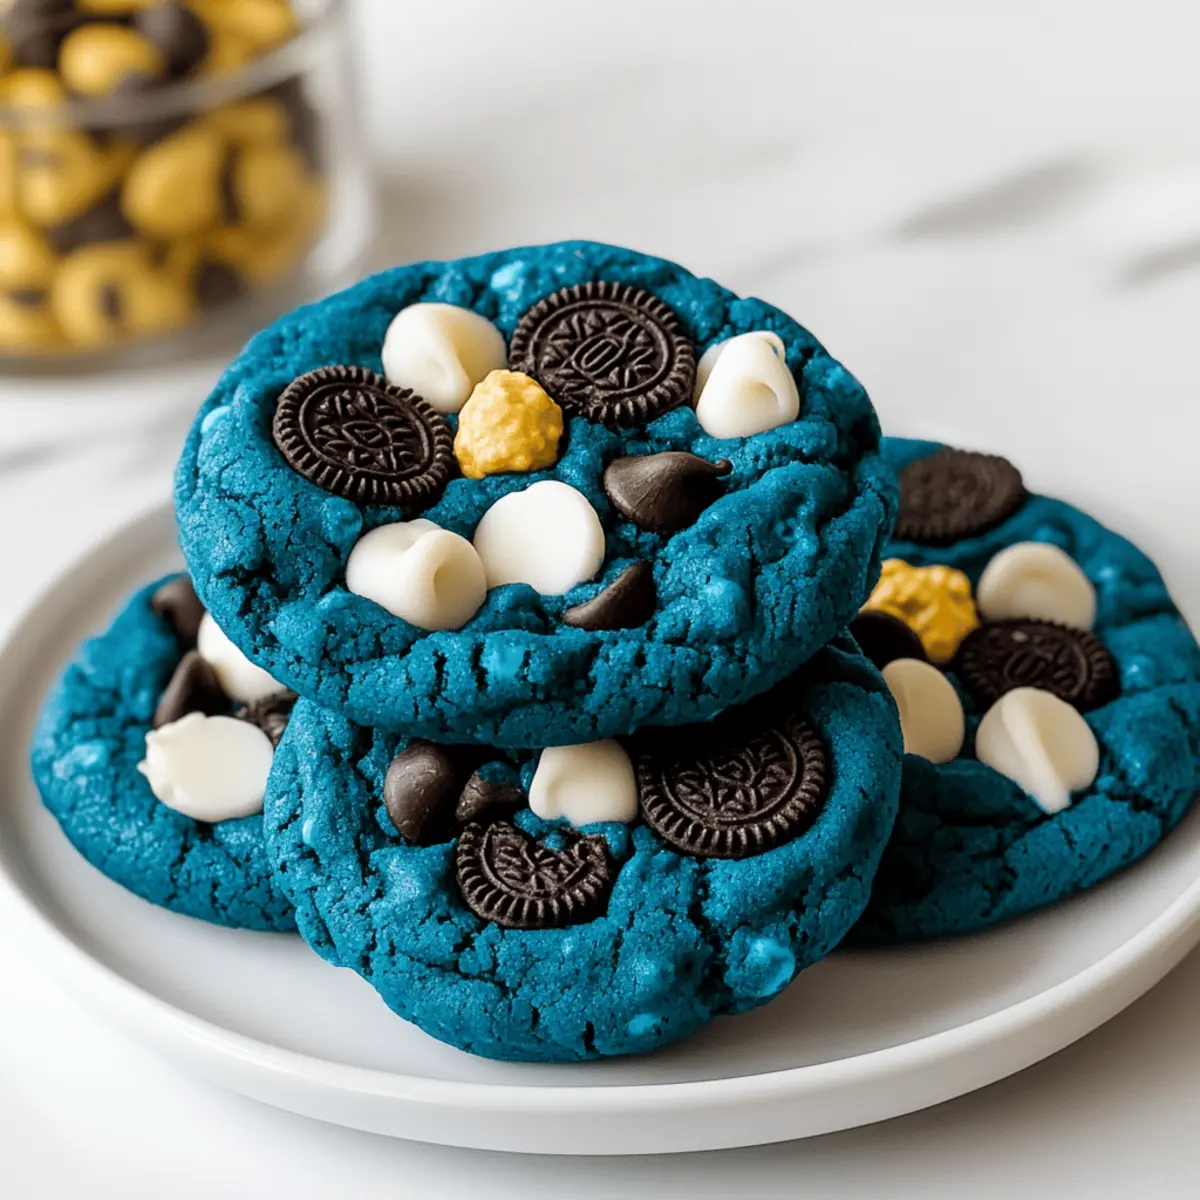
With a sprinkle of blue and a dash of whimsy, Cookie Monster Cookies transform an ordinary baking day into a colorful adventure that sparks joy. These playful treats are not just a feast for the eyes; loaded with semisweet and white chocolate chips, crispy Oreo pieces, and a gooey chocolate center, they’re sure to be the highlight of any gathering. Easy to whip up and utterly kid-approved, this recipe allows for endless creativity with mix-ins of your choice, making it a fantastic way to engage young bakers or impress guests. Whether you're craving a nostalgic treat or looking to brighten someone's day, these cookies deliver delight in every bite. Curious about how to make these vibrant confections? Let’s dive in!
Why Will You Love Cookie Monster Cookies?
Playful Design: Bright blue hues make these cookies visually stunning, guaranteed to grab attention and bring smiles at any gathering.
Easy Baking: Simple steps ensure that even novice bakers can master these fun treats without stress.
Customizable: Mix-ins like your favorite cookies or flavored chips mean you can switch things up with each batch!
Kid-Friendly Fun: Perfect for kids to participate in, making it a delightful family baking activity.
Gooey Surprise: Each cookie is packed with a melty chocolate center that creates a mouthwatering experience with every bite.
Whether you're looking to whip up Peaches Cream Cookies for a summer touch or Thumbprint Cookies Melt for a classic twist, Cookie Monster Cookies are an unforgettable and cheerful addition to your dessert repertoire!
Cookie Monster Cookies Ingredients
For the Cookies
• Butter – Provides tenderness and rich flavor; ensure it's at room temperature for easy mixing.
• Light Brown Sugar – Adds moisture and depth; can substitute with dark brown sugar for a richer flavor profile.
• Granulated Sugar – Sweetens the cookies and helps achieve that perfect golden hue.
• Eggs (2 large) – Binds the mixture and contributes to the cookie’s delightful structure.
• Vanilla Extract – Enhances the overall flavor, bringing all the ingredients together.
• Blue Food Coloring – Gives the cookies their eye-catching hue; adjust to your desired vibrancy.
• Salt – Balances sweetness and elevates flavors; don’t skip this essential component!
• Baking Powder – Serves as a leavening agent for soft, puffy cookies.
• All-Purpose Flour – Creates the cookies' primary structure; measure accurately to avoid dry cookies.
For the Mix-ins
• Semisweet Chocolate Chips – Adds sweetness and texture; consider using dark chocolate chips for a more intense flavor.
• White Chocolate Chips – Offers a creamy contrast to semisweet chocolate; a must for a balanced flavor.
• Chopped Oreos – Provides a delightful crunch and classic cookie flavor; the star of the show!
• Chopped Crispy Chocolate Chip Cookies – (e.g., Famous Amos) adds extra crunch; feel free to get creative with other brands.
• Milk Chocolate Discs/Chunks – Delivers a gooey center; can be swapped with chunks of a milk chocolate bar if preferred.
With these vibrant Cookie Monster Cookies ingredients, you're set for a fun baking adventure that will delight your family and friends!
Step‑by‑Step Instructions for Cookie Monster Cookies
Step 1: Preheat and Prepare
Start by preheating your oven to 350°F (175°C). While the oven heats up, line a baking sheet with parchment paper to prevent sticking and allow for easy cookie removal. This preparation will ensure that your Cookie Monster Cookies bake evenly and maintain their delightful chewy texture.
Step 2: Cream the Butters and Sugars
In a large mixing bowl, combine room temperature butter with light brown and granulated sugars. Using a hand mixer or stand mixer, beat these ingredients together on medium speed until the mixture is smooth and creamy, approximately 2-3 minutes. The sugars should dissolve into the butter, creating a pale and fluffy base for your vibrant cookies.
Step 3: Add Eggs and Vanilla
Next, incorporate the eggs and vanilla extract into the butter-sugar mixture. Beat on medium speed until the batter becomes pale and fluffy, about 2 minutes. This step is crucial as it binds the dough and enhances the overall flavor of the Cookie Monster Cookies, giving them an inviting aroma.
Step 4: Mix in the Color
Once your batter is fluffy, add blue food coloring to achieve the signature bright hue. Start with a few drops, mixing until uniform, then adjust to your preferred vibrancy. The vibrant blue will ensure your Cookie Monster Cookies are a playful treat that colorfully complements any occasion.
Step 5: Whisk Dry Ingredients
In a separate bowl, whisk together the all-purpose flour, baking powder, and salt. This dry ingredient mixture acts as a foundation for your Cookie Monster Cookies. Ensure they are evenly mixed to create a soft, chewy texture without any dry lumps. This step will keep your cookies light and delightful.
Step 6: Combine Wet and Dry Ingredients
Gradually add the flour mixture to the wet ingredients, stirring gently until just combined. Be careful not to overmix, as this could lead to tough cookies. Once the dough is mostly integrated with a few flour streaks remaining, you’re ready to fold in the exciting mix-ins that define your Cookie Monster Cookies.
Step 7: Fold in the Mix-ins
Gently fold in the semisweet chocolate chips, white chocolate chips, chopped Oreos, and crispy chocolate chip cookies. Use a spatula to combine them thoroughly with the dough, ensuring every cookie is packed with a variety of textures and flavors. This step brings the joy of indulgence to your Cookie Monster Cookies!
Step 8: Portion the Dough
Using a cookie scoop or your hands, portion out 2 tablespoons of dough for each cookie. Flatten the dough slightly, place a milk chocolate disc in the center, and mold the dough back into a ball, sealing in the chocolate. This hidden surprise will create that gooey center you’re aiming for in every delicious bite.
Step 9: Bake the Cookies
Place the cookie balls on the lined baking sheet, allowing enough space for them to spread. Optionally, press any additional mix-ins on top for a decorative touch. Bake in the preheated oven for 10-12 minutes, until the edges are set while the centers remain soft and slightly puffy—this creates the perfect texture for your Cookie Monster Cookies.
Step 10: Cool and Enjoy
Allow the cookies to cool on the baking sheet for 5 minutes before transferring them to a wire rack. This cooling time helps them set while retaining their soft, chewy centers. Once cooled, your Cookie Monster Cookies are ready to be enjoyed or stored for later; they are a delightful treat for any occasion!
Make Ahead Options
These Cookie Monster Cookies are perfect for meal prep enthusiasts! You can prepare the cookie dough up to 24 hours in advance by mixing all ingredients and storing the dough in an airtight container in the refrigerator. To maintain quality and prevent browning, make sure to cover the dough tightly. You can also portion the dough into balls and freeze them for up to 3 months; just place them on a baking sheet to freeze individually before transferring to a freezer bag. When ready to bake, simply place the frozen cookie balls on a sheet and add an extra minute or two to the baking time for delicious, freshly baked cookies.
Helpful Tricks for Cookie Monster Cookies
-
Temperature Matters: Ensure your butter is at room temperature to achieve that perfect creamy texture when mixing. Cold butter can lead to a dense cookie.
-
Chill the Dough: If your dough feels too soft, chill it for 20-30 minutes before baking. This helps prevent spreading and results in a thicker cookie.
-
Gentle Mixing: Fold in the dry ingredients just until combined. Overmixing can make your cookies tough, so handle the dough with care.
-
Measuring Flour: Spoon and level your flour when measuring to avoid dry cookies. Too much flour can lead to a crumbly texture that’s not as enjoyable.
-
Check Baking Time: Ovens can vary, so keep an eye on your cookies in the last few minutes of baking. You want the edges set but the centers soft for that gooey Cookie Monster experience!
-
Storage Tips: Keep baked cookies in an airtight container for up to 3 days, but if you want to save them for later, freeze them for up to 3 months!
Cookie Monster Cookies Variations
Feel free to get creative and make these delightful cookies your own with these fun twists!
-
Gluten-Free: Substitute all-purpose flour with a gluten-free blend for a cookie that everyone can enjoy.
-
Nutty Delight: Add 1/2 cup of chopped nuts like walnuts or pecans for an extra crunch and rich flavor contrast.
-
Dairy-Free: Use coconut oil or a plant-based butter substitute, and opt for dairy-free chocolate chips for a vegan version.
-
Sweet and Spicy: Mix in 1/2 teaspoon of cinnamon or a pinch of cayenne pepper for a warm, spicy kick that beautifully contrasts the sweetness.
-
Caramel Center: Replace milk chocolate discs with caramel candies for a gooey surprise that's sure to please caramel lovers.
-
Fruit Fusion: Toss in chopped dried fruits like cherries or cranberries for a chewy texture and subtle tartness in every bite. It’s a delicious way to brighten your cookies!
-
M&M’s Swap: Use colorful M&M’s instead of chocolate chips for a festive touch that adds both color and crunch to your cookies.
-
Chocolate Overload: For true chocolate lovers, use a mix of dark chocolate and white chocolate chips, raising the stakes in flavor and richness.
With these variations, you'll find new ways to impress guests or simply enjoy the process with your little ones! If you're in the mood to explore even more delicious desserts, you might want to check out these delightful options: Eggnog Cookies Soft for a winter treat or Mexican Wedding Cookies for a lovely classic addition!
What to Serve with Cookie Monster Cookies
Indulging in the vibrant sweetness of these playful treats is just the beginning of your delightful experience.
- Cold Milk: Complements the cookies' sweetness and adds a refreshing balance, making every bite even more enjoyable.
- Vanilla Ice Cream: A scoop of vanilla ice cream alongside warm cookies creates a comforting dessert experience, perfect for warm evenings.
- Fresh Berries: Juicy strawberries or raspberries add a tart contrast, enhancing the cookie's playful flavors with freshness.
- Coffee or Espresso: The rich bitterness of coffee beautifully offsets the sweetness of the cookies, ideal for the perfect afternoon pick-me-up.
- Chocolate Dipped Strawberries: Elevate dessert time by pairing these cookies with chocolate-dipped strawberries, creating a festive and indulgent treat.
- Rainbow Sprinkles: Adding a sprinkle of colorful fun atop your cookies transforms them into visual delights for parties and celebrations.
Gather friends and family to enjoy this vibrant spread alongside your Cookie Monster Cookies, turning every gathering into a celebration of sweetness!
How to Store and Freeze Cookie Monster Cookies
Room Temperature: Store cookies in an airtight container at room temperature for up to 3 days to maintain their freshness and chewiness.
Fridge: If you'd like to keep them longer, you can store the cookies in the refrigerator in an airtight container for up to 5 days, though it may affect their texture.
Freezer: For extended storage, freeze the cookies in a single layer on a baking sheet before transferring them to an airtight container or zip-top bag. They can be kept frozen for up to 3 months.
Reheating: To enjoy warm cookies, simply microwave them for about 10-15 seconds after thawing, ensuring that your Cookie Monster Cookies are as delightful as the day they were baked!
Cookie Monster Cookies Recipe FAQs
How do I choose ripe ingredients for Cookie Monster Cookies?
Absolutely! For the best results, ensure your butter is at room temperature for easy mixing and a creamy texture. Eggs should also be fresh and at room temperature—not cold from the fridge—which helps create a fluffy batter. When selecting chocolate chips, opt for high-quality brands for a richer flavor that will elevate your cookies.
How should I store Cookie Monster Cookies?
To keep your cookies fresh, store them in an airtight container at room temperature for up to 3 days. If you would like to enjoy them longer, you can refrigerate them for up to 5 days, but be mindful this may alter their texture slightly. For the optimum taste experience, I recommend storing them in a single layer on the counter to avoid crushing.
Can I freeze Cookie Monster Cookies?
Very much! For freezing, first, place the cookie dough balls on a baking sheet in a single layer and freeze until solid; this usually takes about 1-2 hours. Once frozen, transfer them to an airtight container or zip-top bag and store for up to 3 months. When ready to bake, just pop the frozen dough directly into the oven without thawing and add a couple of extra minutes to the baking time for the best results!
What are common troubleshooting tips for Cookie Monster Cookies?
If your cookies seem too flat, check whether you used enough flour—they should be weighed or spooned and leveled to avoid this. If they’re too hard, maybe you overmixed the dough or baked them too long; aim for soft centers when you take them out. For extra gooey centers, make sure the milk chocolate discs are well-enclosed in the dough before baking!
Any dietary considerations for Cookie Monster Cookies?
Absolutely! These cookies are vegetarian-friendly, but they do contain common allergens like wheat and dairy. If baking for kids or anyone with allergies, feel free to swap out certain ingredients. For example, use dairy-free chocolate chips and gluten-free flour to accommodate dietary restrictions. Always double-check the labels to avoid any hidden allergens, especially if cookies are being shared.
How can I customize my Cookie Monster Cookies?
You can get creative with mix-ins! Swap out Oreos for other favorite cookies like peanut butter or chocolate chip varieties. You could also replace the milk chocolate discs with caramel chocolates or flavored baking chips—like butterscotch or white chocolate—for unique flavors. The more the merrier in cookie variations, so have fun experimenting!

Cookie Monster Cookies: Fun, Colorful Treats for Everyone
Ingredients
Equipment
Method
- Preheat your oven to 350°F (175°C) and line a baking sheet with parchment paper.
- Cream room temperature butter with light brown and granulated sugars until smooth and creamy, about 2-3 minutes.
- Add eggs and vanilla extract; beat until the batter is pale and fluffy, about 2 minutes.
- Mix in blue food coloring until the desired hue is achieved.
- Whisk together flour, baking powder, and salt in a separate bowl.
- Gradually add flour mixture to wet ingredients and stir until just combined.
- Fold in semisweet chocolate chips, white chocolate chips, chopped Oreos, and crispy cookies.
- Portion out 2 tablespoons of dough per cookie, flatten slightly, and place a milk chocolate disc in the center, sealing the dough around it.
- Bake for 10-12 minutes until edges are set but centers remain soft.
- Cool on the baking sheet for 5 minutes before transferring to a wire rack.


Leave a Reply