
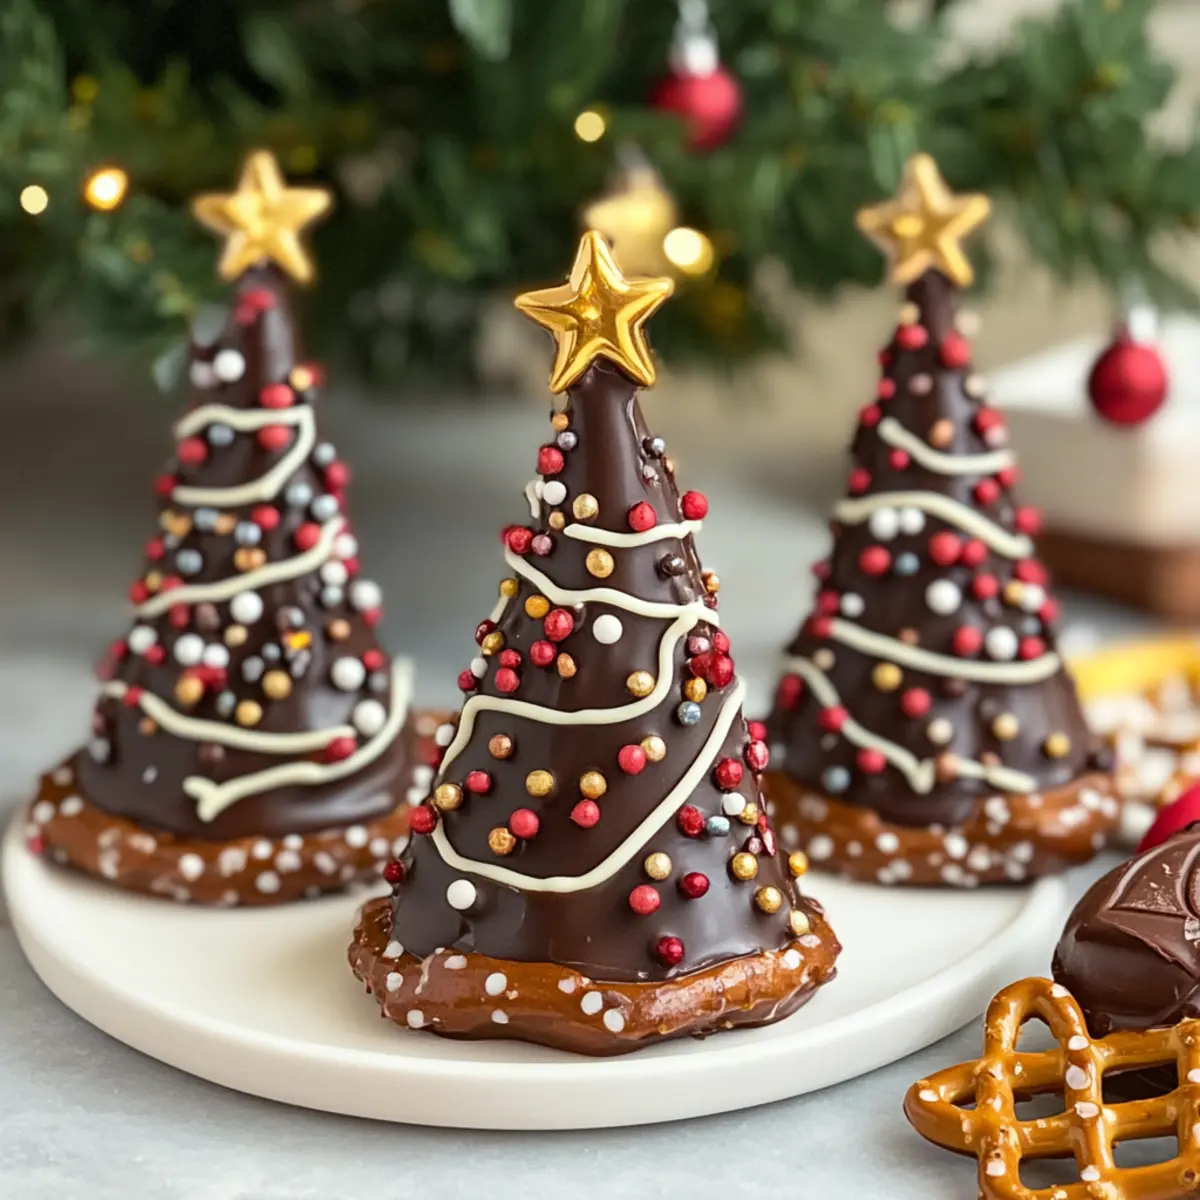
As I watched the first flurries of snow fall softly outside, my mind wandered to the joys of the upcoming holiday season. Nothing brings people together quite like the warmth of homemade treats, especially when they sport a festive twist. That's where these Easy No-Bake Christmas Chocolate Trees come in! With their delightful combination of creamy dark chocolate and crunchy pretzel trunks, these little trees are not only a visual delight but also incredibly fun to make. Ready in just 30 minutes, this recipe is perfect for anyone seeking a quick project to dazzle family and friends. Plus, it offers gluten-free options for those with dietary preferences. Ready to channel your inner holiday chef? Let’s dive into creating a charming centerpiece that’s as tasty as it is enchanting!
Why Are These Chocolate Trees So Special?
Quick and Easy: In just 30 minutes, you can create these delectable treats without any baking required. Perfect for those who want to spend more time celebrating and less time in the kitchen!
Visually Stunning: These charming chocolate trees aren't just tasty; they also make a beautiful centerpiece for holiday gatherings, capturing everyone's attention at the dessert table.
Versatile Options: Whether you prefer dark, milk, or white chocolate, this recipe allows for easy customization to suit your taste. You can experiment with various toppings to add a special touch.
Gluten-Free Friendly: With a simple substitution, these trees fit perfectly into gluten-free diets, ensuring everyone can enjoy the festive fun. Serve them alongside other treats like Homemade Hot Chocolate for a complete holiday experience!
Kid-Friendly Activity: These chocolate trees provide a delightful opportunity for creativity with the kids, making memories as you sprinkle on the festive decorations.
Christmas Chocolate Trees Ingredients
For the Chocolate Trees
- Dark Chocolate – This is the main component providing a rich flavor; feel free to swap in milk or white chocolate for different taste experiences.
- White Chocolate – Used for drizzling to create a delightful snow effect; can be replaced with dark chocolate for a more intense flavor.
- Mini Colorful Sprinkles – These add a festive touch to your creations; any sprinkles that catch your eye will work beautifully.
- Pretzel Sticks – Acting as the trunk, they add a satisfying crunch; you can opt for gluten-free pretzels to ensure everyone can enjoy these Christmas Chocolate Trees!
Step‑by‑Step Instructions for Christmas Chocolate Trees
Step 1: Prepare Your Workspace
Begin by lining a baking tray with parchment paper, ensuring it's large enough to accommodate your chocolate tree designs. This will help with easy removal later. Gather all ingredients and tools, including a microwave-safe bowl, piping bag, and spatula, so you can efficiently create your delightful Christmas Chocolate Trees without interruption.
Step 2: Melt the Dark Chocolate
In your microwave-safe bowl, add the dark chocolate and heat in 30-second intervals, stirring in between, until the chocolate is completely smooth and melted, about 1-2 minutes total. Be attentive to avoid overheating. Once ready, let the melted dark chocolate cool for a moment before transferring it to the piping bag for easy dispensing.
Step 3: Pipe the Tree Shapes
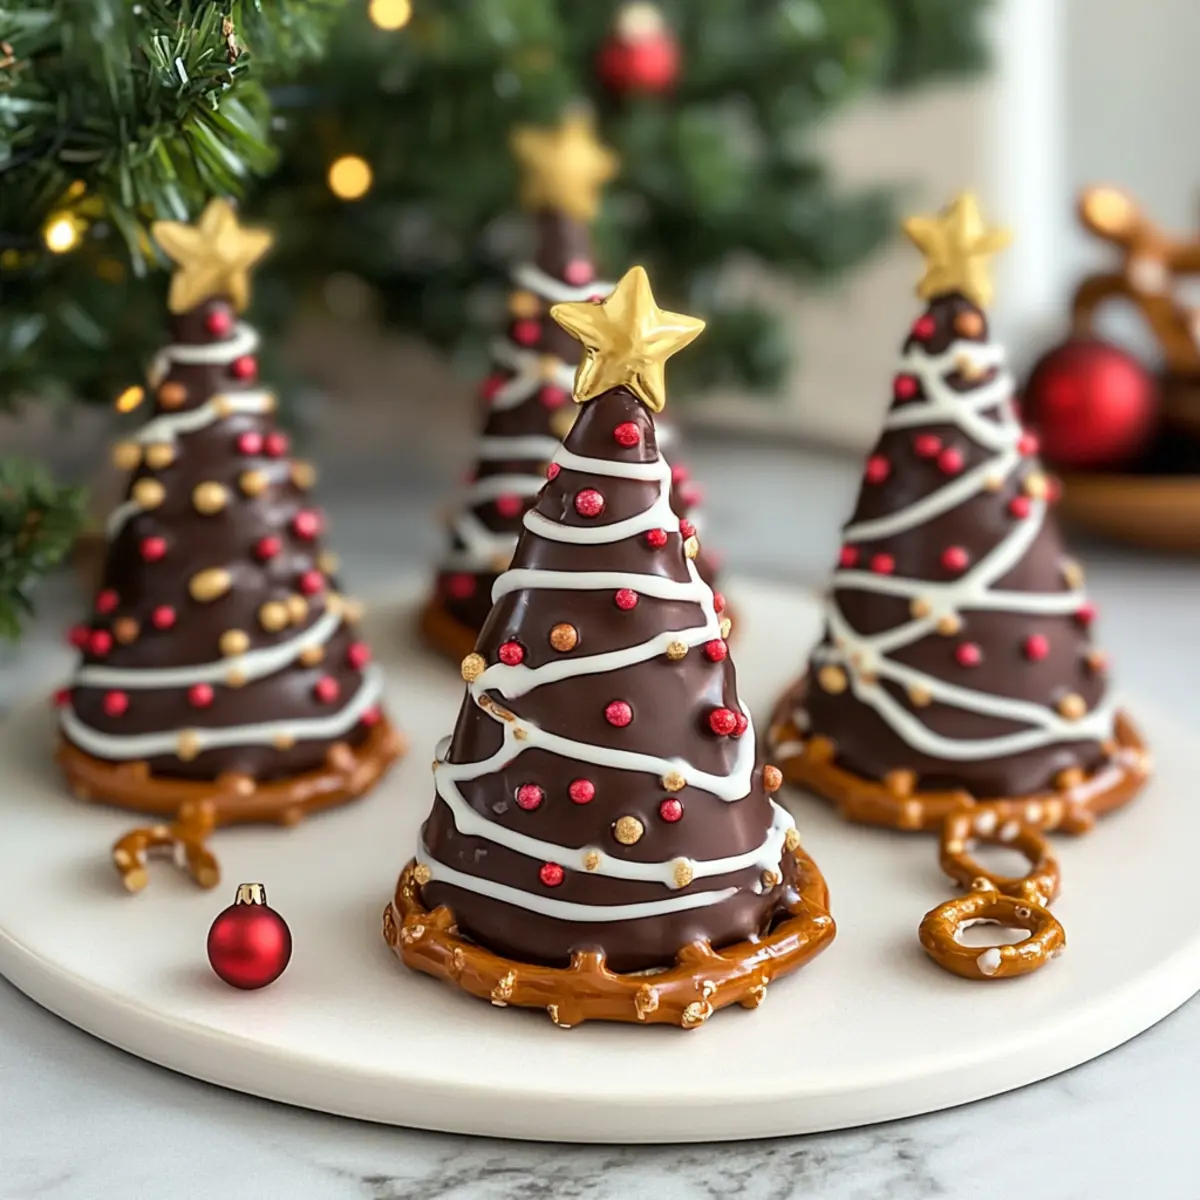
Carefully snip a small corner of your piping bag filled with the melted dark chocolate. Begin piping tree shapes onto the prepared parchment paper, roughly 3 inches tall. Ensure to overlap the base of each tree with a pretzel stick to form a sturdy trunk. Continue until all your chocolate trees are piped, creating a whimsical forest of deliciousness.
Step 4: Decorate with White Chocolate
Now, melt the white chocolate in the same manner as the dark chocolate, heating until smooth. Once melted, drizzle the white chocolate over your piped Christmas Chocolate Trees for a snowy effect, using a gentle zigzag motion to create a festive touch. This step enhances the visual appeal and adds a delicious contrast in flavor.
Step 5: Add Colorful Sprinkles
Immediately after drizzling the white chocolate, sprinkle your mini colorful toppings over the trees while the chocolate is still wet. This will help the sprinkles adhere beautifully. Let your creativity shine by using a variety of colors, making each Christmas Chocolate Tree uniquely festive and inviting for the holiday season.
Step 6: Set the Chocolate Trees
Once decorated, allow your chocolate trees to set at room temperature for about 15-20 minutes, or until the chocolate firms up. If you prefer, you can also refrigerate them during this time to speed up the process. The finished chocolate trees should have a glossy exterior, firm and ready to impress your family and friends.
Step 7: Serve and Enjoy
Once set, gently lift your Christmas Chocolate Trees off the parchment paper and arrange them on a lovely platter. They make a stunning centerpiece for holiday gatherings, allowing everyone to admire your enchanting creations. Enjoy sharing these delightful treats as part of your festive celebrations!
Christmas Chocolate Trees Variations & Substitutions
Feel free to let your creativity shine and customize these delightful chocolate trees with a variety of fun twists!
-
Milk Chocolate: Swap dark chocolate for creamy milk chocolate to create a sweeter taste that kids will love.
-
White Chocolate Drizzle: Use only white chocolate for a bright and sweet contrast, giving a playful, snowy appearance.
-
Crunchy Toppings: Instead of mini sprinkles, add crushed peppermint candies for a festive touch that brings a delightful crunch and holiday flavor.
-
Nutty Flavor: Sprinkle crushed nuts like pecans or almonds to introduce a savory element and extra texture to your trees.
-
Spicy Kick: Add a touch of cayenne pepper to your chocolate for a warm, spicy undertone that can surprise and delight!
-
Gluten-Free Option: Use gluten-free pretzels to ensure everyone can enjoy these holiday treats. They taste just as good!
-
Melted Caramel: Drizzle melted caramel over the trees for a gooey, sweet finish that pairs wonderfully with the chocolate and adds visual appeal.
-
Themed Sprinkles: Change up the sprinkles to match specific holiday themes, like red and green for Christmas or pastel colors for spring festivities.
Whatever variations you choose, these Christmas Chocolate Trees will shine as the star of your holiday gatherings! Be sure to create a sweet spread alongside classics like German Chocolate Poke for an unforgettable dessert table.
What to Serve with Easy No-Bake Christmas Chocolate Trees
Create the perfect festive spread with these delicious treats as your centerpiece!
-
Gingerbread Cookies: These spiced delights offer a warm, festive contrast to the chocolate, with chewy and crunchy textures that will satisfy every sweet tooth.
-
Sugar Cookies: Soft and buttery, sugar cookies provide a delightful sweetness that complements the rich chocolate flavor, making for a nostalgic holiday treat.
-
Hot Chocolate Bar: Set up a cozy hot chocolate station! Pair your trees with warm cups of cocoa, adorned with whipped cream or marshmallows, creating a heartwarming experience.
-
Peppermint Bark: This festive favorite brings a refreshing minty flavor, balancing the richness of the chocolate trees while providing a delightful crunch with every bite.
-
Chocolate Fondue: For a fun and interactive dessert experience, serve with a chocolate fondue set. Dip fruits, cookies, or pretzels to accompany the festive chocolate trees.
-
Eggnog: This creamy, spiced holiday classic is a delightful pairing, enhancing the warm, cozy vibes of your holiday gatherings.
-
Fruit Platter: Add seasonal fruits for a refreshing contrast! Juicy apples or tangy pomegranates brighten up the dessert table while balancing the sweetness of the chocolate.
-
Chocolate-Covered Pretzels: Offer a salty, sweet option that echoes the pretzel trunks of your chocolate trees, making it a delicious and cohesive pairing.
-
Vanilla Ice Cream: A scoop of creamy vanilla ice cream mounded beside your chocolate trees enhances the treat’s dreamy texture while providing a cool contrast.
-
Sparkling Holiday Punch: Refresh your guests with a fizzy beverage that brings festive cheer. Consider citrus flavors to cut through all the wonderful sweetness!
How to Store and Freeze Christmas Chocolate Trees
Room Temperature: Store your Christmas Chocolate Trees in an airtight container at room temperature for up to 5 days to maintain their delightful crunch and flavor.
Fridge: For longer freshness, place the container in the fridge, where they can last up to 2 weeks. Use parchment paper between layers to prevent sticking.
Freezer: If you want to prepare these festive treats in advance, freeze them for up to 2 months. Make sure to wrap them well to avoid freezer burn.
Reheating: No need to reheat; simply enjoy them straight from the fridge or freezer for a cool, crisp treat!
Make Ahead Options
These Easy No-Bake Christmas Chocolate Trees are perfect for busy home cooks looking to save time during the holiday rush! You can prepare the chocolate trees up to 24 hours in advance by following these simple steps: Pipe and decorate the trees as instructed, then allow them to set completely. Once set, store them in an airtight container with parchment paper between layers to maintain their exquisite shape and prevent sticking. If desired, refrigerate for up to 3 days before serving to keep them fresh and delicious. Just remember to let them come to room temperature before presentation, so they retain their lovely glossy finish. With these make-ahead tips, you’ll enjoy stress-free entertaining and a delightful dessert that looks just as magical!
Expert Tips for Christmas Chocolate Trees
-
Quick Piping: Work fast when piping shapes to prevent the chocolate from setting too quickly. A steady hand helps maintain smooth lines and delightful details.
-
Tailored Thickness: Practice piping on a piece of parchment before starting on the actual trees. This ensures even shapes and thickness for eye-catching Christmas Chocolate Trees.
-
Temperature Matters: Make sure the chocolate is fully melted but not too hot. Overheating can change the texture, making it difficult to pipe and set.
-
Fix Loose Branches: If any of the chocolate branches break loose, use a warm teaspoon of melted chocolate as glue to secure them back in place.
-
Storage Savvy: Store your chocolate trees in an airtight container with parchment paper between layers. They last about 5 days at room temperature or 2 weeks in the fridge!

Christmas Chocolate Trees Recipe FAQs
What type of chocolate is best for Christmas Chocolate Trees?
Absolutely! Dark chocolate serves as the main component, offering rich flavor and sturdy structure. However, if you're craving something sweeter, you can swap it for milk or white chocolate. Each variation brings a delightful twist to your festive creations, so don’t be afraid to experiment until you find your favorite!
How should I store my Christmas Chocolate Trees?
To keep your chocolate trees in top condition, store them in an airtight container. If you’re leaving them at room temperature, they’ll be good for up to 5 days. For maximum freshness, you can refrigerate them for up to 2 weeks—just make sure to place parchment paper between layers to prevent sticking!
Can I freeze Christmas Chocolate Trees?
Yes, indeed! To freeze your festive creations, simply wrap them well in plastic wrap or aluminum foil to prevent freezer burn. They can be frozen for up to 2 months. When you're ready to enjoy them, just pull them out and let them thaw in the fridge or at room temperature; no need to reheat!
What should I do if my chocolate is too thick for piping?
If your melted chocolate has thickened too much for easy piping, you can gently reheat it in the microwave in 15-second intervals, stirring in between until it reaches a smooth, workable consistency. Be cautious not to overheat—this can make the chocolate unusable for piping. Remember, practice with the piping bag can truly make a difference in the final look of your Christmas Chocolate Trees!
Are there any dietary considerations for allergies?
Very! If you're catering to guests with allergies, be mindful of the ingredients you choose. Regular pretzels contain gluten, so opt for gluten-free pretzels if needed. Additionally, ensure the chocolates you select are free from common allergens, such as nuts or dairy, as needed for those with sensitivities. Always check packaging labels to be safe!
Can children participate in making these chocolate trees?
Absolutely, these chocolate trees are perfect for a family activity! Kids will love piping and decorating their trees with colorful sprinkles. Just make sure they’re supervised, especially when using melted chocolate, as it can get quite warm. It’s a wonderful way to create memories while enjoying the holiday spirit together!
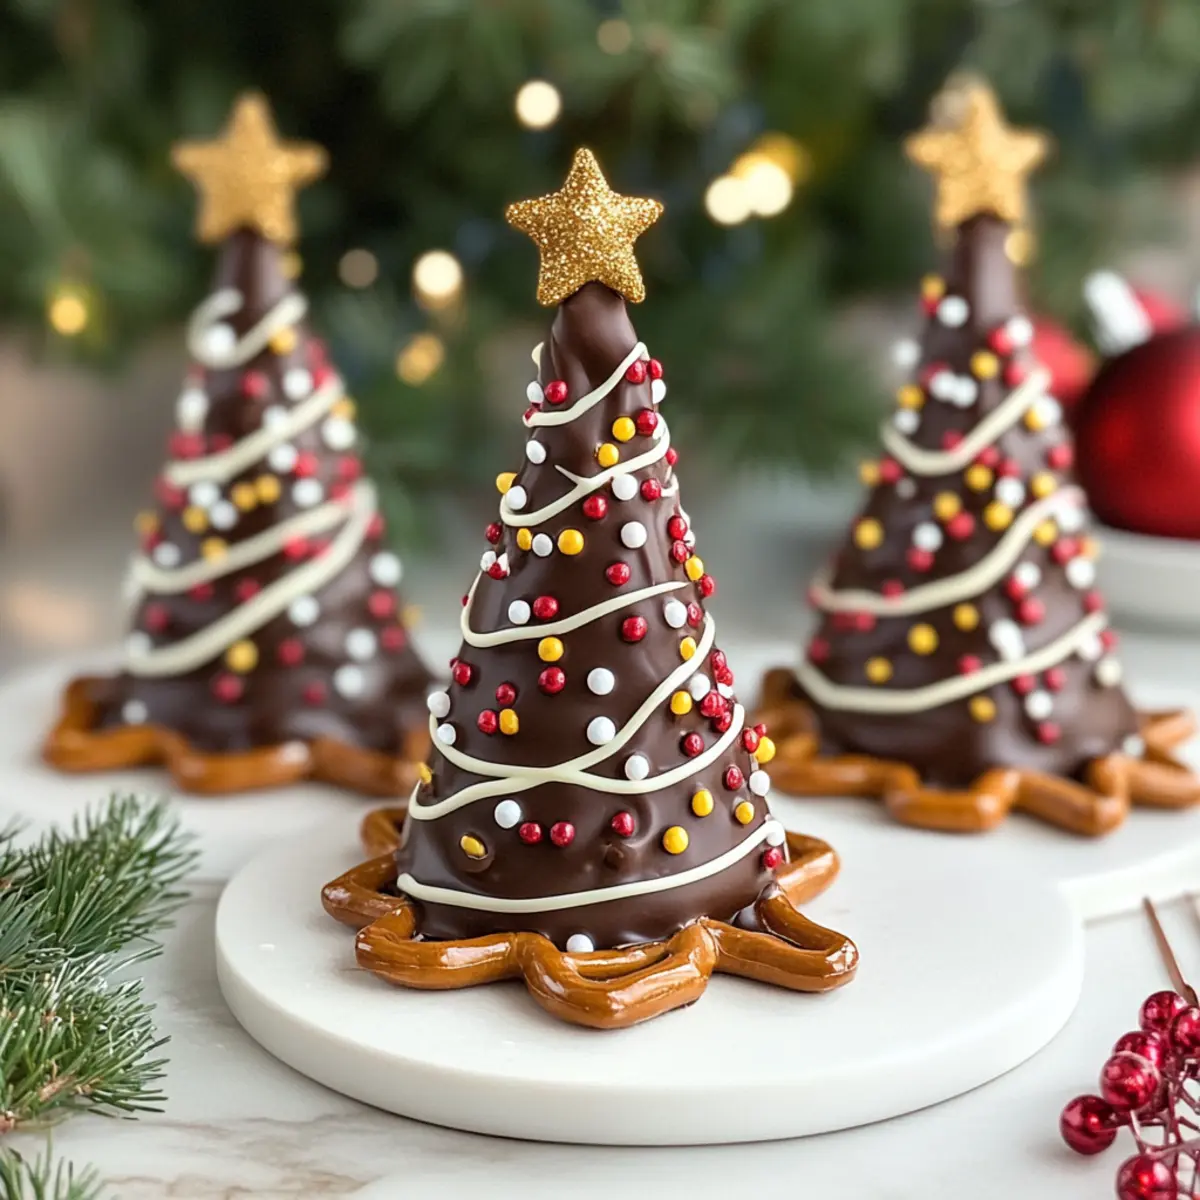
Delightful Christmas Chocolate Trees Ready in 30 Minutes
Ingredients
Equipment
Method
- Prepare Your Workspace by lining a baking tray with parchment paper.
- Melt the Dark Chocolate in a microwave-safe bowl for 1-2 minutes, stirring every 30 seconds.
- Pipe the Tree Shapes by snipping a corner of the piping bag and piping onto parchment paper.
- Decorate with White Chocolate by melting and drizzling it over the piped trees.
- Add Colorful Sprinkles immediately after drizzling white chocolate while it's still wet.
- Set the Chocolate Trees at room temperature for 15-20 minutes or refrigerate to speed up the setting.
- Serve and Enjoy by lifting the chocolate trees off the parchment and arranging on a platter.


Leave a Reply