
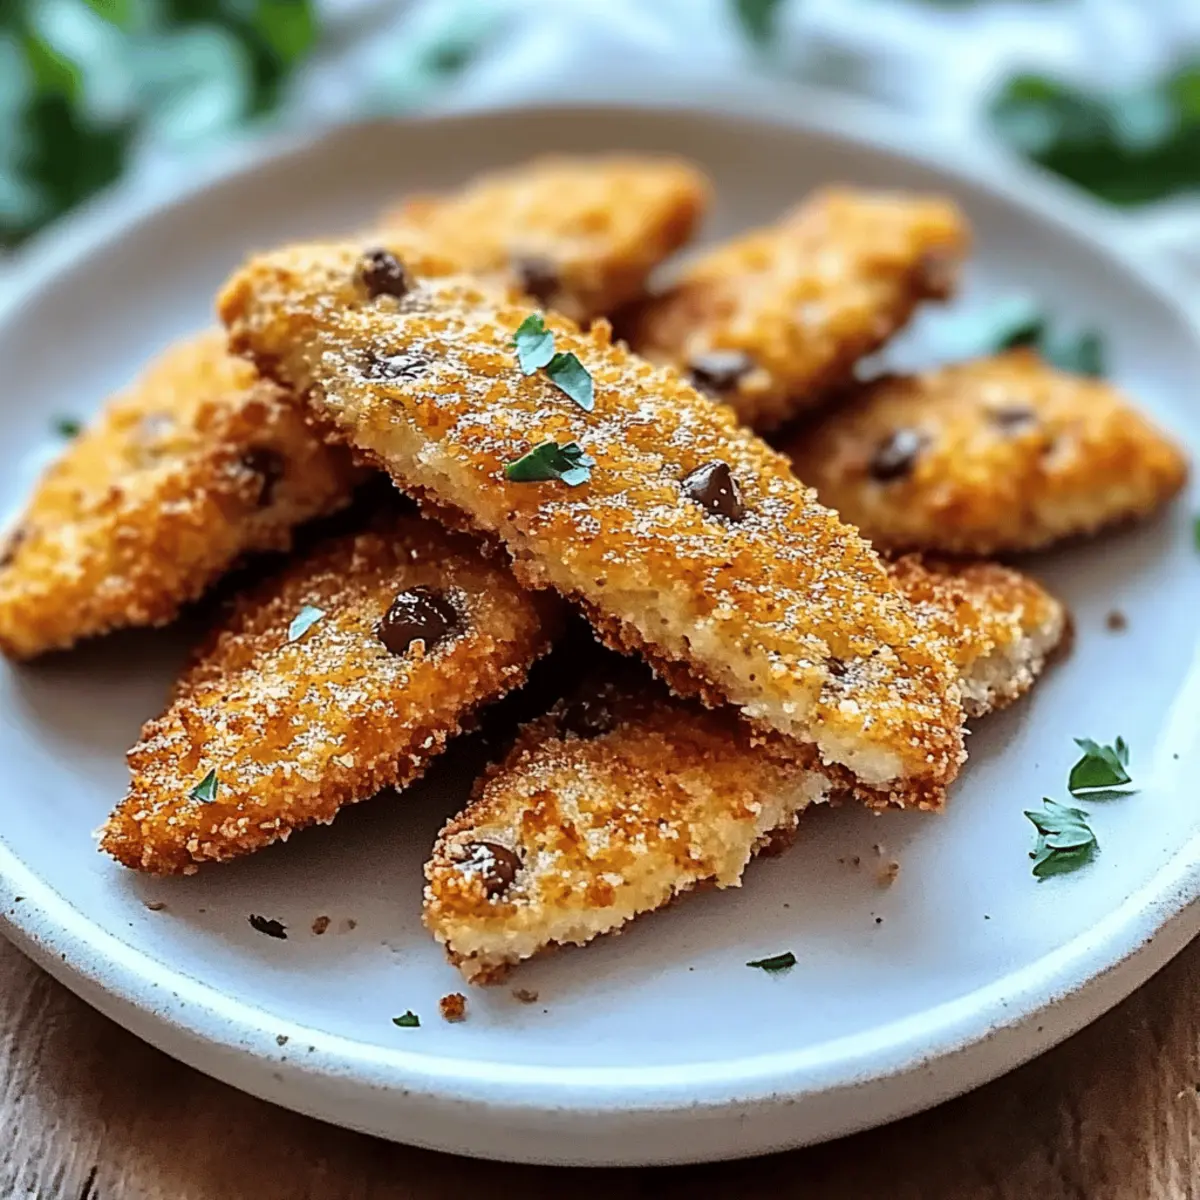
Craving a warm, delightful experience that takes you back to your childhood? There's something incredibly nostalgic about baking a batch of chewy chocolate chip cookies, straight from the oven. These cookies bring together the rich goodness of chocolate and the soft, buttery dough, making them a perfect treat for any occasion. What’s more, I’m excited to share options for classic, gluten-free, and vegan variations, ensuring everyone can indulge in this beloved dessert! Not only are these cookies a fantastic way to satisfy your sweet tooth, but they’re also easy to whip up, making them a great project for any home chef. Imagine serving these warm cookies with a glass of cold milk or hot cocoa—pure bliss! Are you ready to create some cookie magic in your kitchen? Let’s dive into this delicious adventure together!
Why Are These Cookies So Irresistible?
Customization at Its Finest: Whether you're after the classic taste or need gluten-free and vegan options, this recipe has everyone covered.
Simple Steps: Even novice bakers will find joy in the straightforward instructions, making success a guarantee.
Chewy Goodness: Expect soft, chewy bites filled with melted chocolate that evoke cozy memories.
Crowd-Pleasing Treat: Perfect for gatherings, these cookies will become the highlight of your dessert table. Pair them with your favorite drink for the ultimate indulgence!
Quick Bake Time: In just 12 minutes, you can have warm cookies ready to share—or keep them all to yourself! If you're looking for more delicious chicken recipes, check out our Honey Garlic Chicken Thighs for a perfect dinner option.
Chocolate Chip Cookie Ingredients
For the Dough
- All-Purpose Flour – Provides structure and chewiness; substitute with a gluten-free flour blend for a gluten-free version.
- Brown Sugar – Adds moisture and depth of flavor; can be substituted with coconut sugar for a refined sugar-free option.
- Granulated Sugar – Delivers sweetness and crisp edges; substitute with a sugar alternative if desired.
- Butter – Essential for flavor and texture; substitute with vegan butter or coconut oil for a dairy-free version.
- Eggs – Binds ingredients together for richness; use flax eggs (1 tbsp flaxseed meal + 2.5 tbsp water) for a vegan version.
- Vanilla Extract – Enhances the overall flavor; no substitutions needed for the full flavor profile.
- Chocolate Chips – Provides sweetness and texture contrast; dark or dairy-free chocolate chips can be used for alternatives.
Optional Enhancements
- Chopped Nuts – For a nutty flavor, add walnuts or pecans for an extra crunch.
- Sea Salt – Introduce a pinch on top before baking for an enhanced flavor experience.
- Variety of Chocolate – Experiment with white, dark, or milk chocolate for a unique twist.
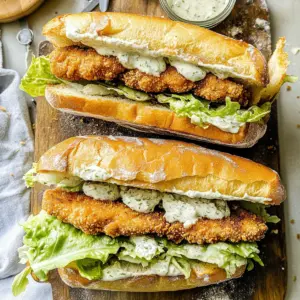
Step‑by‑Step Instructions for Crispy Baked Chicken Tenders
Step 1: Preheat the Oven
Begin by preheating your oven to 400°F (200°C). As it heats up, line a baking sheet with parchment paper to prevent the chicken tenders from sticking. This will ensure even baking and a crispy finish. You can also set out your cooking rack if you have one, allowing for even air circulation as the chicken cooks.
Step 2: Prepare the Breading
In a shallow bowl, combine breadcrumbs, garlic powder, paprika, salt, and pepper for a flavorful coating. Mix well to ensure the seasonings are evenly distributed throughout the crumbs. This mixture will give your crispy baked chicken tenders a delightful crunch and a burst of flavor that keeps everyone coming back for more.
Step 3: Set Up the Dredging Station
Create a dredging station with three bowls: one with flour, one with beaten eggs, and one with your breadcrumb mixture. Begin by dipping each chicken tender into the flour, ensuring it’s coated well. Shake off any excess flour before moving to the egg mixture, and then finally, coat the chicken tenders generously in the breadcrumb mix.
Step 4: Arrange the Tenders
Place the breaded chicken tenders on the prepared baking sheet, ensuring they are spaced evenly apart. This helps them cook uniformly and allows each tender to crisp up nicely. You want them to have some breathing room, so they don't steam while baking. You can lightly spray the tops with cooking spray for additional crispiness.
Step 5: Bake the Chicken Tenders
Slide the baking sheet into your preheated oven and bake the chicken tenders for 15-20 minutes. As they bake, watch for the edges to turn golden brown and the internal temperature to reach 165°F (74°C). This will ensure they are perfectly cooked through, succulent in the center, and crispy on the outside.
Step 6: Let Them Rest
Once baked to golden perfection, remove the chicken tenders from the oven and let them rest on the baking sheet for about 5 minutes. This allows the juices to redistribute, resulting in juicy tenders. They will also continue cooking slightly, ensuring they are tender and delicious when you enjoy them.
Step 7: Serve and Enjoy
Now it’s time to serve these crispy baked chicken tenders! Pair them with your favorite dipping sauces, like honey mustard or barbecue sauce for extra flavor. Enjoy them warm; they’re perfect as a delightful appetizer or a main dish alongside fresh veggies or a light salad for a wholesome meal.
Crispy Baked Chicken Tenders Variations
Feel free to explore different twists and substitutes to make these crispy baked chicken tenders your own!
-
Herb-Infused: Add Italian herbs like oregano and basil to your breadcrumb mixture for a fragrant, flavorful punch. Fresh herbs elevate this simple dish into something extraordinary.
-
Spicy Kick: Mix cayenne pepper or hot sauce into your egg wash to bring some heat to the tenders. For those who love a little spice, this variation is sure to satisfy your cravings.
-
Parmesan Add-In: Stir grated Parmesan cheese into the breadcrumb coating for an extra layer of flavor and crunch. The savory cheese perfectly complements the crispy exterior, creating a delicious gourmet twist.
-
Panko Crunch: Swap regular breadcrumbs for panko crumbs for an ultra-crispy texture. This Japanese-style breadcrumb will give your chicken tenders a satisfying crunch that you simply can’t resist.
-
Coconut Crust: Create a tropical flair by substituting the breadcrumbs with shredded coconut. This unique variation introduces a sweet, nutty flavor that pairs beautifully with chicken.
-
BBQ Flavor: Brush the chicken tenders with your favorite barbecue sauce before coating them in breadcrumbs for a smoky, tangy experience. It’s like an outdoor cookout right in your oven!
-
Cinnamon Sugar: For a fun twist, mix cinnamon and sugar into the breadcrumb mix for a sweet and savory combination—surprising and delightful for the palate!
-
Ranch Tenders: Add ranch seasoning to the breading for a burst of savory flavor. This variation is perfect for ranch dressing fans and pairs wonderfully with your favorite dipping sauce.
Whether you go for a fiery flavor with some hot sauce or choose the sweet touch of coconut, these variations will have your family raving. For a comforting dinner idea, don't forget to check out our Crock Pot Chicken or enjoy a sweet end to your meal with our Honey Garlic Chicken!
Tips for the Best Chocolate Chip Cookies
-
Don’t Overmix: Overmixing the dough after adding flour can lead to tough cookies. Mix just until combined for the perfect chewy texture.
-
Chill the Dough: Letting the dough rest in the fridge for 30 minutes enhances flavor and texture, resulting in cookies that are both chewy and delicious.
-
Use the Right Flour: If you're going for a gluten-free option, ensure your flour blend contains xanthan gum, or add a small amount for better structure.
-
Check Baking Time: Keep an eye on your cookies; they should be golden at the edges but slightly underbaked in the center for that ideal chewy bite.
-
Quality Chocolate: Use high-quality chocolate chips or chunks for a rich, flavorful experience that elevates your homemade cookies.
-
Experiment and Enjoy: Don’t hesitate to customize! Add nuts or different types of chocolate to create your unique twist on these classic chocolate chip cookies.
Make Ahead Options
These Chewy Chocolate Chip Cookies are perfect for meal prep enthusiasts! You can prepare the cookie dough up to 24 hours in advance by mixing all the ingredients and storing it in an airtight container in the fridge. This not only saves you time but also enhances the flavors as the dough rests. If you'd like, you can also scoop and shape the cookies onto the baking sheet, then refrigerate the unbaked cookies for up to 3 days. Just before baking, let them sit at room temperature for about 10 minutes, then pop them in the oven for warm, delicious cookies that are just as delightful as fresh-from-the-oven treats!
Storage Tips for Chocolate Chip Cookies
-
Room Temperature: Store cooled cookies in an airtight container at room temperature for up to 1 week. This helps to keep them soft and fresh while maintaining that delightful chewiness.
-
Fridge: If you live in a warm climate, you can extend freshness by keeping cookies in the fridge for up to 2 weeks. Just be sure to let them come to room temperature before enjoying their chewy goodness.
-
Freezer: For longer storage, place individual cookies in a freezer bag or container, separating layers with parchment paper. They can be frozen for up to 3 months, allowing you to enjoy fresh cookies whenever the craving strikes!
-
Reheating: To revive frozen cookies, simply warm them in the oven at 350°F (175°C) for about 5-8 minutes. This brings back their delightful chew, making them as good as fresh-baked chocolate chip cookies.
What to Serve with Chewy Chocolate Chip Cookies?
Imagine the joy of savoring warm cookies paired perfectly with complementary flavors and textures that elevate your sweet treat experience.
- Cold Milk: A classic pairing, the creamy chill of milk effortlessly balances the warm, gooey chocolate chips, creating a nostalgic comfort.
- Coffee or Espresso: The rich bitterness of coffee cuts through the sweetness of the cookies, enhancing their flavors and making every bite delightful.
- Vanilla Ice Cream: The creamy coldness of vanilla ice cream next to warm cookies creates a heavenly combination that is both refreshing and indulgent.
- Fresh Berries: Juicy strawberries or raspberries add a tart contrast to the sweetness of the cookies, refreshing the palate with each bite.
- Dark Chocolate Dip: For chocolate lovers, dipping cookies in melted dark chocolate adds an extra layer of luxury and intense flavor, making them irresistible.
- Nutty Caramel Sauce: A drizzle of warm caramel sauce infused with pecans or walnuts brings a delicious contrast in texture and a sweet nuttiness that complements the cookies beautifully.
- Chai Tea: The spiced warmth of chai enhances the sweetness of the cookies, creating a lovely harmony of flavors perfect for a cozy afternoon snack.
- Hot Cocoa: For a double chocolate experience, pairing with rich hot cocoa is like an embrace of warmth and sweetness, perfect for cold days.
Chocolate Chip Cookies Recipe FAQs
What types of flour can I use for the gluten-free version?
You can substitute all-purpose flour with a gluten-free flour blend, but ensure that it contains xanthan gum or add about 1 teaspoon yourself. This helps achieve the same chewy texture as traditional cookies. Brands like Bob's Red Mill or King Arthur Flour work wonderfully!
How should I store my chocolate chip cookies?
Store cooled cookies in an airtight container at room temperature for up to 1 week to keep them soft and chewy. If you're in a warm climate, you can refrigerate them for up to 2 weeks. For longer storage, freeze your cookies in a freezer bag with layers separated by parchment paper for up to 3 months.
Can I freeze the cookie dough for later use?
Absolutely! To freeze cookie dough, scoop individual dough balls onto a baking sheet and freeze until firm. Once solid, transfer them to a freezer bag and store. They can be frozen for up to 3 months! When you're ready to bake, you can bake them straight from the freezer—just add an extra minute or two to the baking time.
Why are my cookies spreading too much while baking?
If your cookies are spreading too much, it could be due to using warm butter instead of softened butter. Make sure your butter is at room temperature but not melted. Additionally, if your dough is too warm, chilling it for 30 minutes in the fridge before baking can help maintain their shape while baking.
Are there any allergy considerations I should be aware of?
Yes! If you're making these cookies for someone with allergies, you may want to use dairy-free chocolate chips and substitute eggs with flax eggs for a vegan option. Ensure that all ingredients, especially flours and additives, are certified gluten-free if you're catering to those with gluten sensitivities. Always read labels to avoid cross-contamination.
What’s the best way to bring crispy baked chicken tenders to my next gathering?
Simply bake the chicken tenders until golden brown, then let them cool slightly before transporting them in an airtight container. To maintain their crispiness, place a paper towel in the container to absorb any moisture. They’re sure to be a hit at your next gathering, just like these chocolate chip cookies!
Crispy Baked Chicken Tenders – Your New Favorite Comfort Food
Ingredients
Equipment
Method
- Preheat your oven to 400°F (200°C) and line a baking sheet with parchment paper.
- Combine breadcrumbs, garlic powder, paprika, salt, and pepper in a shallow bowl for the breading.
- Set up a dredging station with flour, beaten eggs, and the breadcrumb mixture.
- Coat each chicken tender in flour, then dip in eggs, and finally coat in breadcrumbs.
- Place the breaded chicken on the prepared baking sheet and lightly spray the tops with cooking spray.
- Bake for 15-20 minutes until golden brown and internal temperature reaches 165°F (74°C).
- Let them rest for 5 minutes before serving with your favorite dipping sauces.
Leave a Reply