
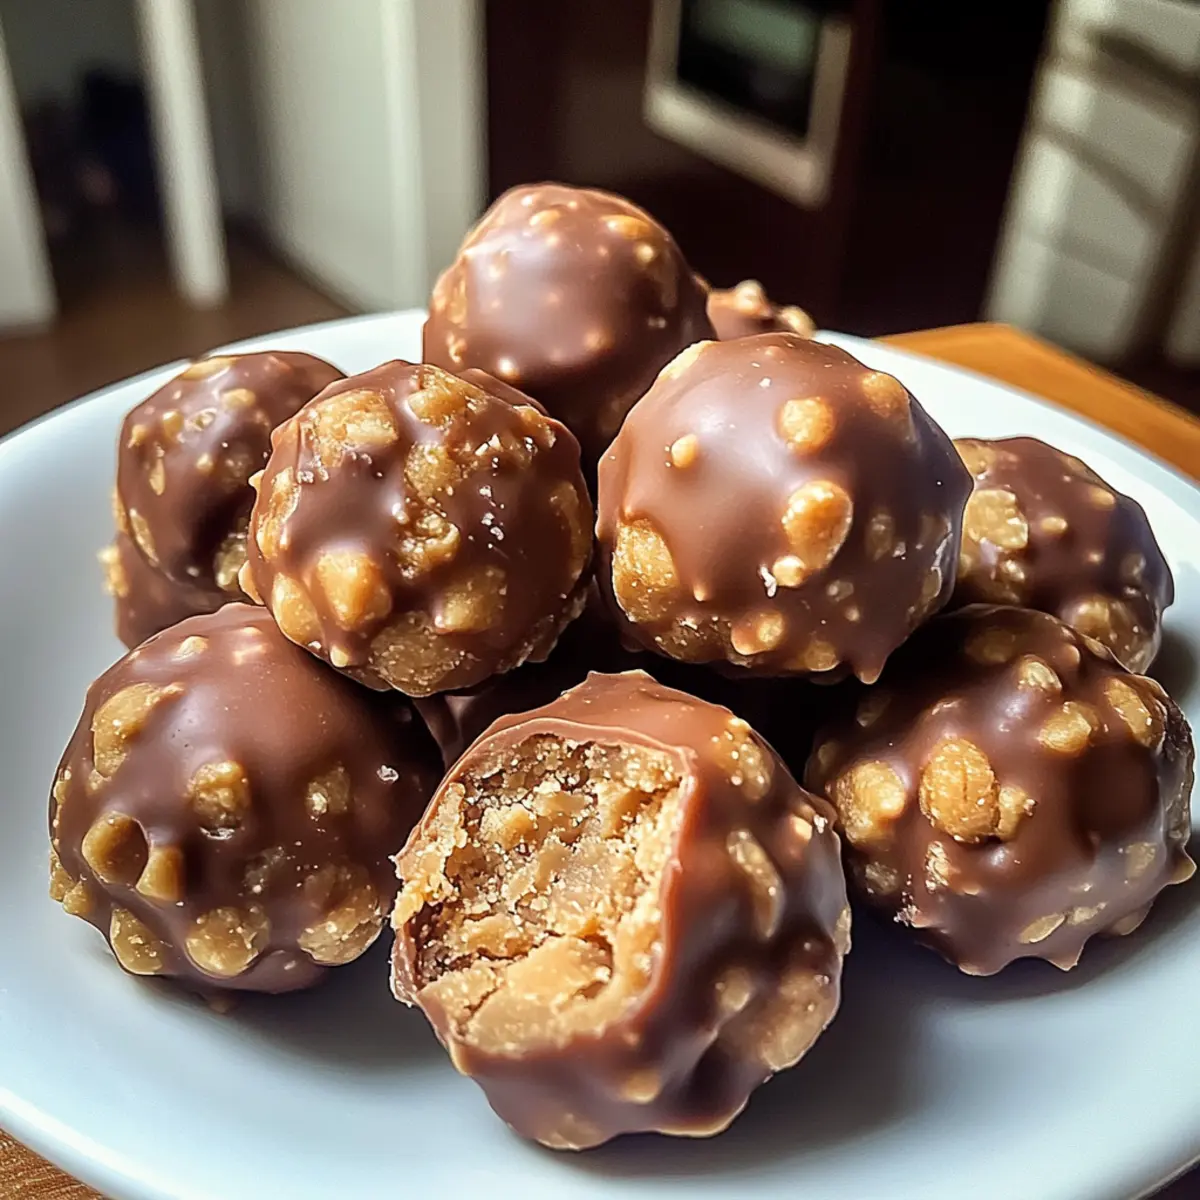
The other day, while chatting with friends over coffee, the topic of favorite childhood treats sparked bursts of nostalgia. One name surfaced repeatedly: Butterfinger. I can’t help but smile at the memory of that perfect blend of crunchy candy and creamy peanut butter—such a timeless delight! And that’s exactly what inspired these no-bake Butterfinger Balls! They come together in a snap and make a fabulous indulgence for any gathering, or even just a sweet moment to lighten your day. With minimal effort required, these little bites of joy offer you the satisfaction of being a gourmet chef without the fuss. Plus, they’re a crowd-pleaser that you can customize with your favorite toppings. Curious about how to whip up this delicious treat? Let’s dive into the recipe!
Why Are Butterfinger Balls So Delightful?
Simplicity in preparation: These no-bake Butterfinger Balls take minimal effort, allowing you to enjoy homemade treats without breaking a sweat.
Irresistible flavor combination: The rich peanut butter perfectly melds with crunchy Butterfinger bars, creating a delightful taste that appeals to all ages.
Customizable toppings: Offer your guests an array of garnishes, from festive sprinkles to a sprinkle of coarse sea salt, ensuring they cater to every sweet tooth.
Time-efficient treat: Whip up a batch in under an hour, making them the perfect last-minute dessert for parties or cozy gatherings.
Crowd-pleaser: With their delicious flavor and unique texture, these treats are guaranteed to impress friends and family alike. For more creative dessert ideas, check out our no-bake cookie recipes.
Butterfinger Balls Ingredients
For the Dough
- Softened Butter – Provides richness and helps bind the ingredients; use conventional butter for best results.
- Vanilla Extract – Adds a warm, aromatic flavor; no substitutions needed.
- Peanut Butter – Base flavor and texture; avoid natural varieties as they may be too oily.
- Powdered Sugar – Sweetener that offers a smooth texture; vital for recipe structure.
- Graham Cracker Crumbs – Provide texture and help bind; can be substituted with plain cookies or gluten-free options.
- Crushed Butterfinger Bars – Adds crunch and distinct flavor; perfect for those craving Butterfinger Balls.
For the Coating
- Chocolate Bark or Chocolate Chips – A glossy coating that adds richness; use chocolate bark for a smoother finish, or melting wafers.
Optional Garnishes
- Additional Crushed Butterfinger – For an even crunchier bite on the outside.
- Festive Sprinkles – Add a pop of color and fun for any occasion.
- Coarse Sea Salt – Enhances sweetness while providing a delicious contrast.
These Butterfinger Balls are not just an easy, no-bake dessert; they’re customizable treats that bring joy to your kitchen!
Step‑by‑Step Instructions for Butterfinger Balls
Step 1: Prepare the Dough
In a mixing bowl, beat 1 cup of softened butter and 1 cup of peanut butter together until the mixture is creamy and well combined, about 2-3 minutes. This base will ensure your Butterfinger Balls have a rich flavor and smooth texture. Scrape down the sides of the bowl to capture any sticking mix.
Step 2: Incorporate Vanilla
Add 1 teaspoon of vanilla extract to the peanut butter and butter mixture. Blend on medium speed until fully incorporated, which should take about 1 minute. The vanilla adds an inviting aroma, enhancing the overall flavor of your Butterfinger Balls.
Step 3: Add Powdered Sugar
Gradually sift in 2 cups of powdered sugar while mixing at low speed to avoid clouds of sugar dust. Continue mixing until combined, about 2-3 minutes. The mixture should become thicker, making it easier to shape the Butterfinger Balls later.
Step 4: Mix in Crunch
Fold in 1 cup of graham cracker crumbs and 1 cup of crushed Butterfinger bars using a spatula. This adds texture and the signature Butterfinger flavor that makes these balls so special. Ensure everything is mixed well, observing the colorful flecks of candy.
Step 5: Shape Balls
Using your hands, roll approximately 1 tablespoon of the dough into balls, placing them on a parchment-lined baking sheet. Make sure the balls are uniform in size for even coating and a consistent treat experience, leaving some space between each ball.
Step 6: Chill
Place the baking sheet in the freezer for 30 minutes or until the balls are firm. This step is crucial as it helps the Butterfinger Balls hold their shape when coated in chocolate, leading to a perfect bite every time.
Step 7: Melt Chocolate
In a microwave-safe bowl, heat 1 to 1½ cups of chocolate bark in 30-second intervals, stirring in between until smooth. This should take around 1-2 minutes total. Be careful not to overheat; your chocolate should be glossy and ready for the ultimate coating.
Step 8: Coat Balls
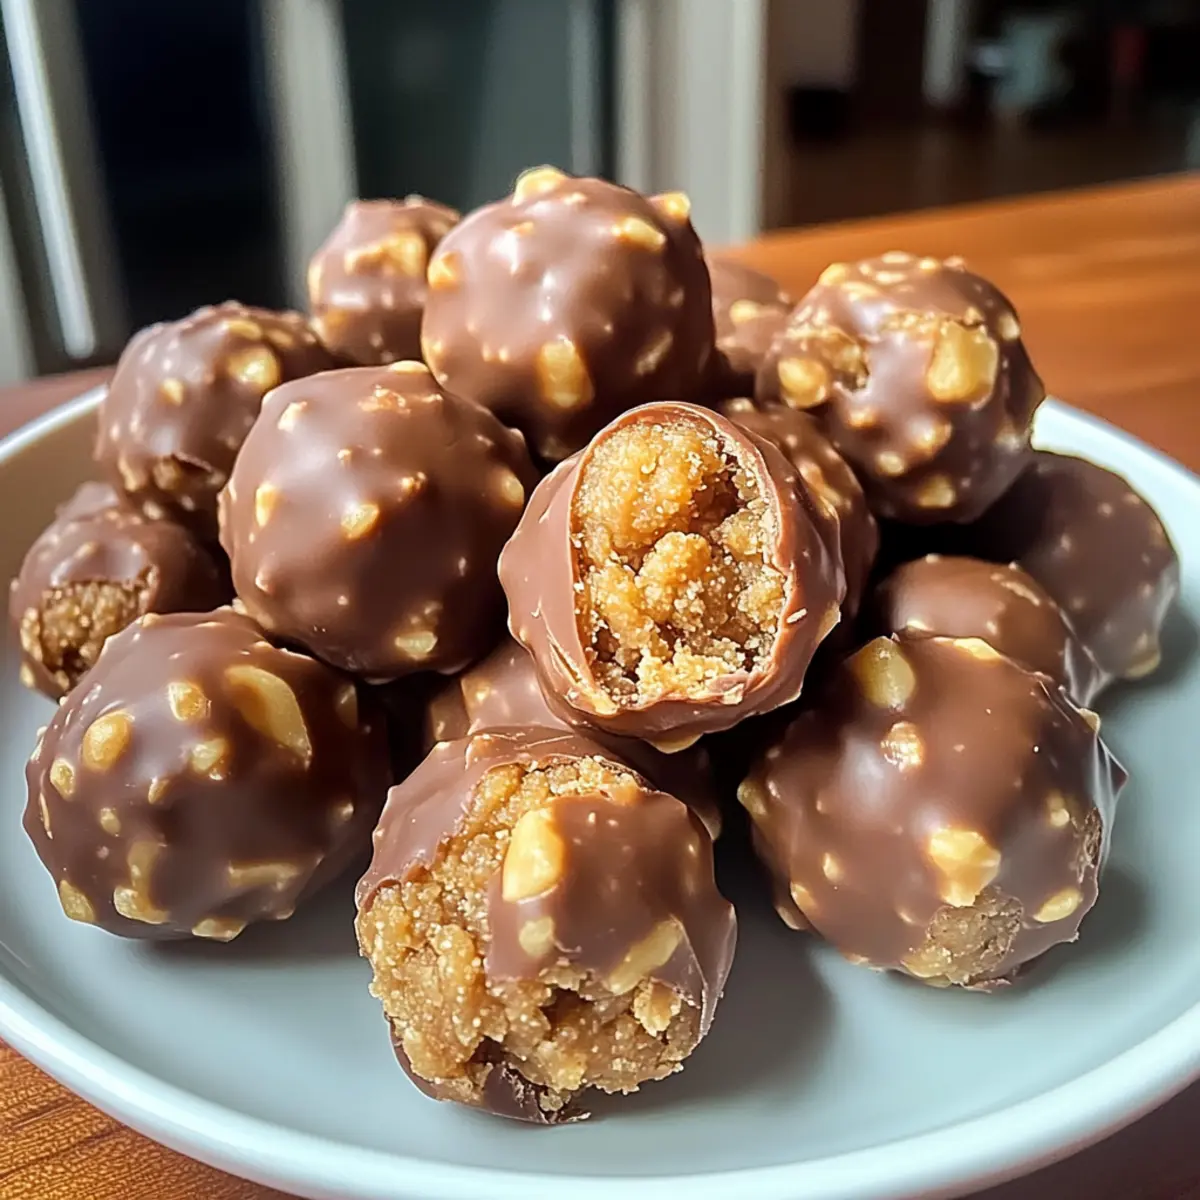
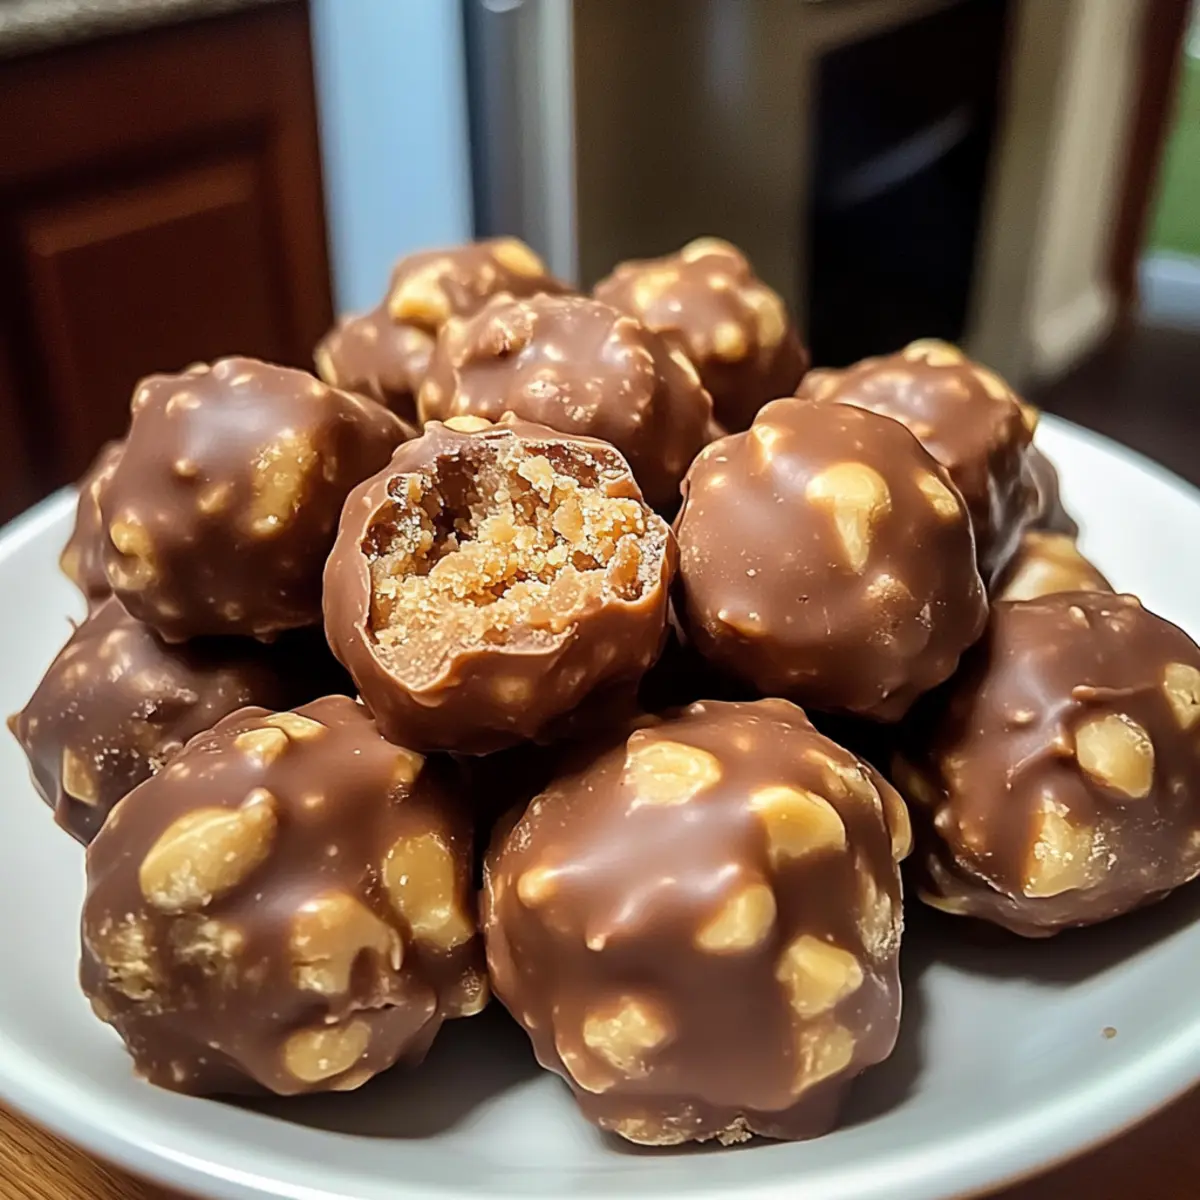
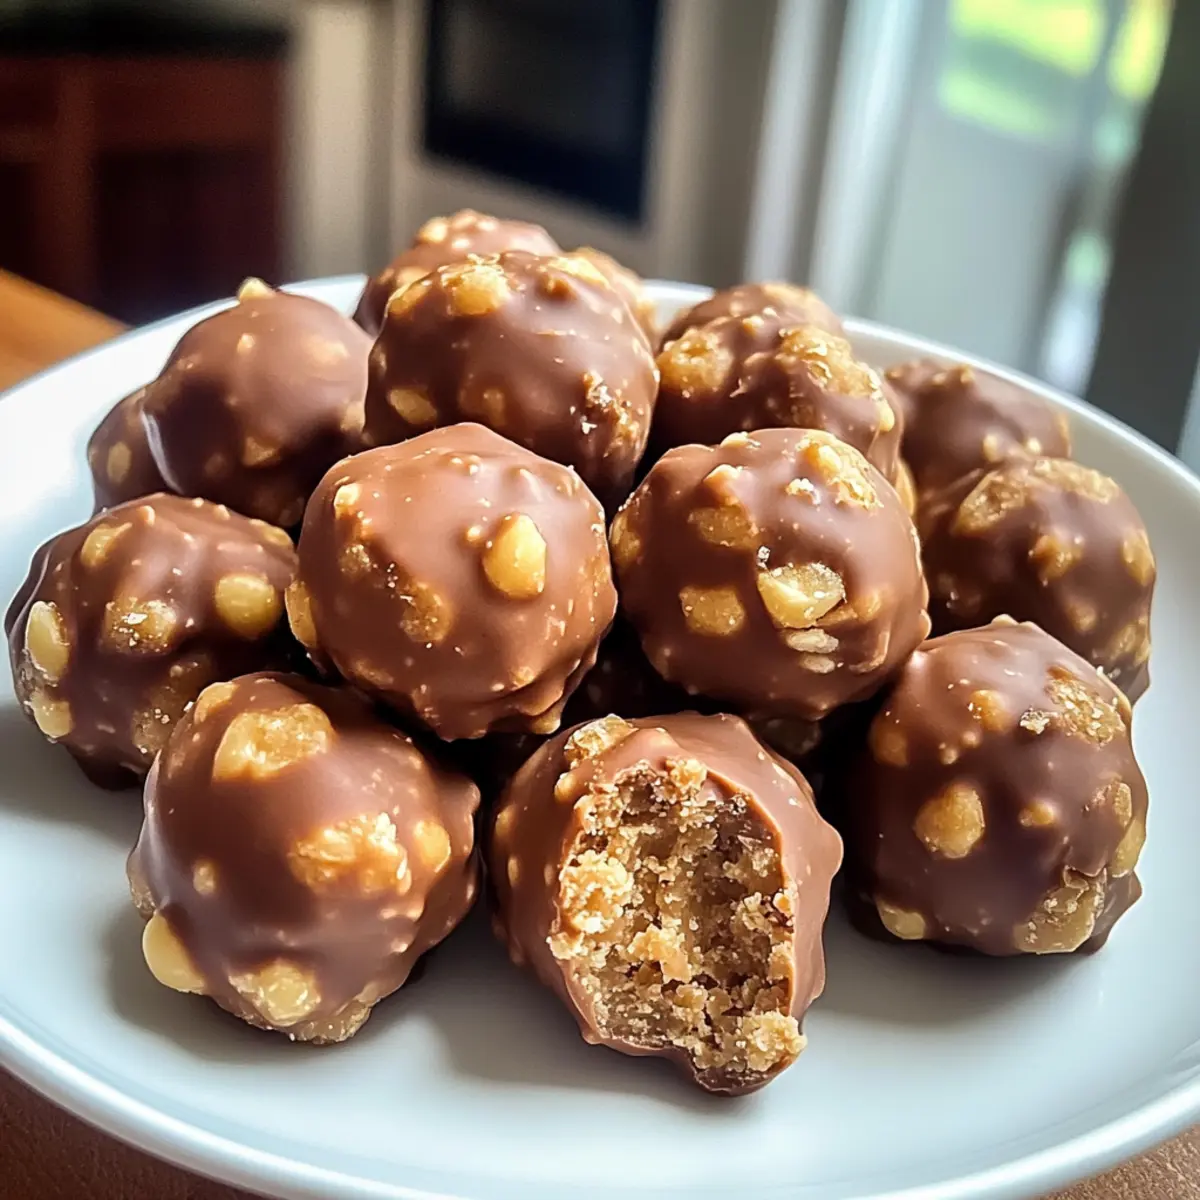
Once your Butterfinger Balls are firm, dip each one into the melted chocolate, ensuring they are completely covered. Return the coated balls to the parchment-lined baking sheet. The chocolate should evenly coat each ball, giving that rich shell you'll love.
Step 9: Decorate
If desired, sprinkle additional crushed Butterfinger, festive sprinkles, or coarse sea salt on top of each ball before the chocolate sets. Let your creativity shine with the decorations, adding that personal touch to your delightful Butterfinger Balls.
Step 10: Let Set Completely
Allow the chocolate coating to set fully at room temperature or in the refrigerator for about 10-15 minutes. The balls should be firm to the touch, ensuring they are ready for enjoyment or gifting. Once set, these treats are ready to indulge.
How to Store and Freeze Butterfinger Balls
Room Temperature: Store Butterfinger Balls in a cool, dry place for up to 1 week. Keep them in an airtight container to maintain freshness and prevent sticking.
Fridge: For longer shelf life, refrigerate your Butterfinger Balls in an airtight container. They’ll stay delicious for 3-4 weeks, perfect for enjoying at your leisure.
Freezer: To freeze, place the Butterfinger Balls in a single layer on a parchment-lined baking sheet until firm, then transfer them to an airtight container. They can last in the freezer for up to 5-6 months without losing flavor!
Reheating: Enjoy straight from the fridge or freezer. For a softer bite, let them sit at room temperature for 10-15 minutes before indulging in these delightful treats!
Expert Tips for Butterfinger Balls
Perfect Consistency: Use softened butter and peanut butter; avoid natural varieties for a smoother mix. This ensures your Butterfinger Balls won't be overly oily.
Gentle Mixing: When adding powdered sugar, mix on low speed to prevent a sugar cloud. A well-blended mixture aids in easy shaping!
Chocolate Care: Be cautious when melting chocolate; do it in short bursts and stir well to achieve a smooth coating. Avoid overheating to keep the texture luscious.
Uniform Size: Roll dough into equal-sized balls for consistent coating and even bites. This little detail elevates the presentation and experience.
Storage Tips: Store in an airtight container in the refrigerator. Improper storage can alter the texture of your Butterfinger Balls, so keep them fresh!
Butterfinger Balls Variations & Substitutions
Feel free to let your creativity shine as you personalize these treats with tantalizing twists and swaps!
- Dairy-Free: Use dairy-free margarine and vegan chocolate to create a deliciously plant-based version without compromising flavor.
- Gluten-Free: Swap out graham cracker crumbs for gluten-free cookie crumbs to ensure everyone can enjoy these delightful bites!
- Nut-Free: Replace peanut butter with sun butter or another nut-free alternative, making these tasty treats accessible to those with nut allergies.
- Flavor Boost: Add a pinch of sea salt to your chocolate coating for a mouthwatering sweet-and-salty contrast that elevates each bite.
- Chocolate Lovers: For an extra chocolate kick, mix mini chocolate chips into the dough for added texture and richness.
- Coconut Twist: Fold in shredded coconut for a tropical flair that complements the crunchy Butterfinger—this combination is sure to be a hit!
- Mini Treats: Roll smaller balls for bite-sized delights that are perfect for sharing at parties. These little bites make indulging easier!
- Spiced Up: Add a dash of cinnamon or even a hint of cayenne pepper in the dough to give your Butterfinger Balls a warm and spicy twist.
Exploring different variations is part of the fun! For more ideas on how to play with flavors, check out our collection of no-bake desserts that can inspire your next culinary adventure.
What to Serve with No-Bake Butterfinger Balls?
These delicious treats are perfect for complementing your gatherings and sweet moments, adding a touch of festive joy to any occasion!
-
Coffee: A warm cup of coffee enhances the sweetness of the Butterfinger Balls, making it an ideal pairing for desserts after dinner. The rich flavors create a delightful balance.
-
Vanilla Ice Cream: Serve these balls alongside a scoop of creamy vanilla ice cream for a decadent dessert experience. The cold, smooth ice cream contrasts beautifully with the rich chocolate coating.
-
Fresh Berries: Juicy strawberries or raspberries add a refreshing tang that cuts through the sweetness, creating a delightful flavor explosion. Their vibrant colors also make for a stunning presentation.
-
Salted Caramel Sauce: Drizzle a bit of salted caramel over the Butterfinger Balls before serving. The combination of salty and sweet will have everyone coming back for more!
-
Milk: A cold glass of milk is a classic pairing that never disappoints. The creamy texture perfectly complements the richness of the Butterfinger Balls and brings a sense of nostalgia.
-
Nutty Trail Mix: Present these desserts alongside nutty trail mix for a crunchy contrast in texture. The mix of flavors offers a satisfying balance to each sweet bite.
-
Sparkling Water: For a lighter alternative, serve with sparkling water. Its crispness refreshes your palate between bites and adds a festive touch to your dessert spread.
-
Chocolate Drizzled Popcorn: For a fun twist, pair with chocolate-drizzled popcorn. The sweet and salty mix enhances the candy-like experience of Butterfinger Balls, making your dessert table even more enticing.
Make Ahead Options
These Butterfinger Balls are perfect for meal prep enthusiasts looking to save time! You can prepare the dough up to 24 hours in advance and refrigerate it in an airtight container to maintain freshness. Simply roll the dough into balls, place them on a parchment-lined baking sheet, and freeze for about 30 minutes until firm. After that, you can store the frozen balls for up to 3 months. When ready to enjoy, simply coat them in melted chocolate, sprinkle with your choice of garnishes, and let the chocolate set. They’ll taste just as delicious as if you made them fresh, giving you gourmet treats with minimal effort!
Butterfinger Balls Recipe FAQs
How do I select ripe and flavorful ingredients?
Absolutely! For the smoothest texture, choose softened butter that’s at room temperature—opt for conventional butter for the best results. When it comes to peanut butter, I recommend brands like Jif or Skippy, as natural varieties may be too oily. Also, the crushed Butterfinger bars should not have dark spots; those may indicate they've passed their prime!
How do I store Butterfinger Balls and for how long?
Very! You can store these delicious Butterfinger Balls in an airtight container at room temperature for about 1 week. However, for optimal freshness, refrigerate them where they’ll stay perfect for 3-4 weeks. I often keep mine in the fridge so they last longer—plus, they’re nice and cool when you’re craving a sweet treat!
Can I freeze Butterfinger Balls and how should I do it?
Definitely! To freeze your Butterfinger Balls, start by placing them in a single layer on a parchment-lined baking sheet until they are firm, which should take around 30 minutes. Once firm, transfer them to an airtight container or a freezer-safe bag, layering parchment paper between the balls to prevent sticking. They’ll keep well for up to 5-6 months—perfect for later indulgence!
What are some common troubleshooting tips?
If the mixture feels too crumbly, you might need to add a touch more peanut butter or softened butter until it binds well. On the flip side, if the Butterfinger Balls are too sticky to roll, chilling the mixture for a bit before shaping can help! If your chocolate isn’t melting smoothly, you might have overheated it—try heating in shorter bursts and stirring thoroughly.
What dietary considerations should I be aware of?
For those with allergies, be cautious about using peanut butter, as it can be a common allergen. You can customize the recipe to be gluten-free by substituting graham cracker crumbs with gluten-free options. Also, if you're considering these as treats for pets, keep in mind that chocolate is toxic to dogs—definitely avoid sharing these treats with furry friends!
Can I customize these Butterfinger Balls with different ingredients?
Absolutely! You could swap out Butterfinger bars with your favorite candy bars such as Snickers or Milky Way for a whole new flavor. I also love to add seasonal sprinkles or colored toppings for festive occasions. The more the merrier! Have fun making these treats your own!
Irresistible Butterfinger Balls for Quick No-Bake Bliss
Ingredients
Equipment
Method
- In a mixing bowl, beat softened butter and peanut butter together until creamy, about 2-3 minutes.
- Add vanilla extract to the mixture and blend on medium speed for about 1 minute.
- Gradually sift in powdered sugar while mixing at low speed until well combined.
- Fold in graham cracker crumbs and crushed Butterfinger bars using a spatula.
- Roll approximately 1 tablespoon of dough into balls and place on a parchment-lined baking sheet.
- Place the baking sheet in the freezer for 30 minutes or until firm.
- Melt chocolate bark in a microwave-safe bowl in 30-second intervals, stirring until smooth.
- Dip each Butterfinger Ball into the melted chocolate, coating completely.
- Sprinkle optional garnishes on top of the balls before the chocolate sets.
- Allow the chocolate coating to set at room temperature or in the refrigerator for about 10-15 minutes.


Leave a Reply