
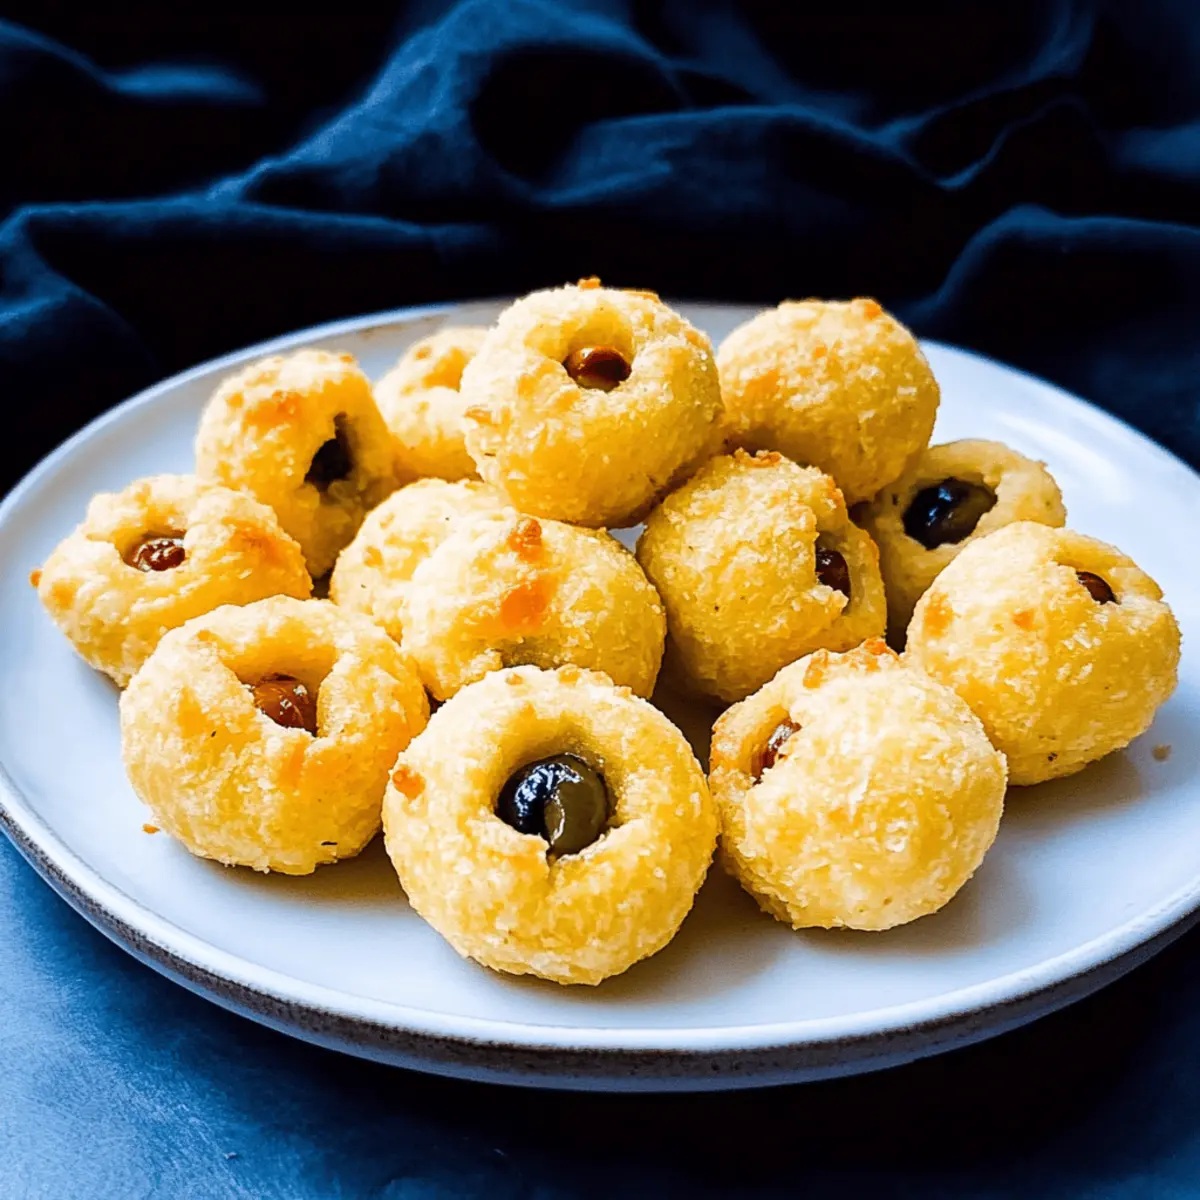
The kitchen filled with laughter and the delightful aroma of baking, as I watched friends gather around the table, eager to dig into these Spooky Cheese Olive Balls. Perfect for Halloween or any festive gathering, this easy recipe combines the savory crunch of cheddar with the tangy burst of olives. Whether you’re hosting a party or simply looking for a delicious make-ahead snack, these cheesy bites are sure to impress. They've got that golden puff that's not just visually appealing, but also a comforting indulgence for everyone. Plus, they’re simple enough to whip up even on a busy weeknight! Curious about how to make them the star of your next event? Let’s dive into this fun and flavorful adventure!
Why are Cheese Olive Balls a Must-Try?
Irresistible Flavor: The combination of savory cheddar and briny olives creates a mouthwatering snack that pleases every palate.
Easy Preparation: These Cheese Olive Balls are an easy recipe, perfect for both novice cooks and seasoned chefs.
Versatile Options: Feel free to substitute ingredients—try pepper jack cheese for added heat or swap in pickles for a fun twist!
Make-Ahead Convenience: Prepare them a day in advance or freeze for later use, making entertaining effortless.
Crowd-Pleasing Delight: Whether it's Halloween or a casual get-together, these savory bites are guaranteed to impress your guests. Serve with your favorite dips, and you'll have a hit on your hands! For more festive ideas, check out my Jello Salad for a complete party spread.
Cheese Olive Balls Ingredients
For the Dough
- All-Purpose Flour – Provides structure to the cheese ball; use regular flour for best results.
- Dry Mustard – Enhances the cheese flavor and adds depth to the overall taste.
- Cayenne Pepper – Adds a mild heat to the mix; adjust to your taste preference for perfect spice levels.
- Finely Grated Cheddar Cheese – The star of the recipe; freshly grated cheese melts better, enhancing flavor and binding.
- Melted Butter – Combines with flour and cheese to create a cohesive, easy-to-handle dough.
For the Filling
- Pimento-Stuffed Manzanilla Olives – The delightful surprise inside; can substitute with Kalamata olives for a bolder flavor profile.
These Cheese Olive Balls are not just a hit at Halloween but are perfect for any party or gathering!
Step‑by‑Step Instructions for Cheese Olive Balls
Step 1: Whisk the Dry Ingredients
In a large mixing bowl, combine 2 cups of all-purpose flour, 1 teaspoon of dry mustard, and 1/4 teaspoon of cayenne pepper. Whisk these dry ingredients together until they're evenly blended. This step is crucial as it sets the flavor foundation for your Cheese Olive Balls.
Step 2: Incorporate the Cheese
Add 1 cup of finely grated cheddar cheese to the bowl and gently toss it with the dry mixture until the cheese is well coated. The cheese should start to clump with the flour, indicating that it’s integrating nicely. This prepares the mixture for the next step, where the richness of the cheese really shines through.
Step 3: Form the Dough
Create a well in the center of your mixture and pour in 1/2 cup of melted butter. With a spoon or your hands, mix the ingredients until they come together to form a cohesive dough. The dough should be soft yet slightly sticky; if it’s too dry, a touch more melted butter can help.
Step 4: Prepare the Olives
Take your pimento-stuffed Manzanilla olives and pat them dry with a paper towel to absorb any excess moisture. This step prevents any sogginess in your Cheese Olive Balls. After preparation, you’ll be ready to wrap the dough around the olives for a delightful surprise inside.
Step 5: Wrap the Dough
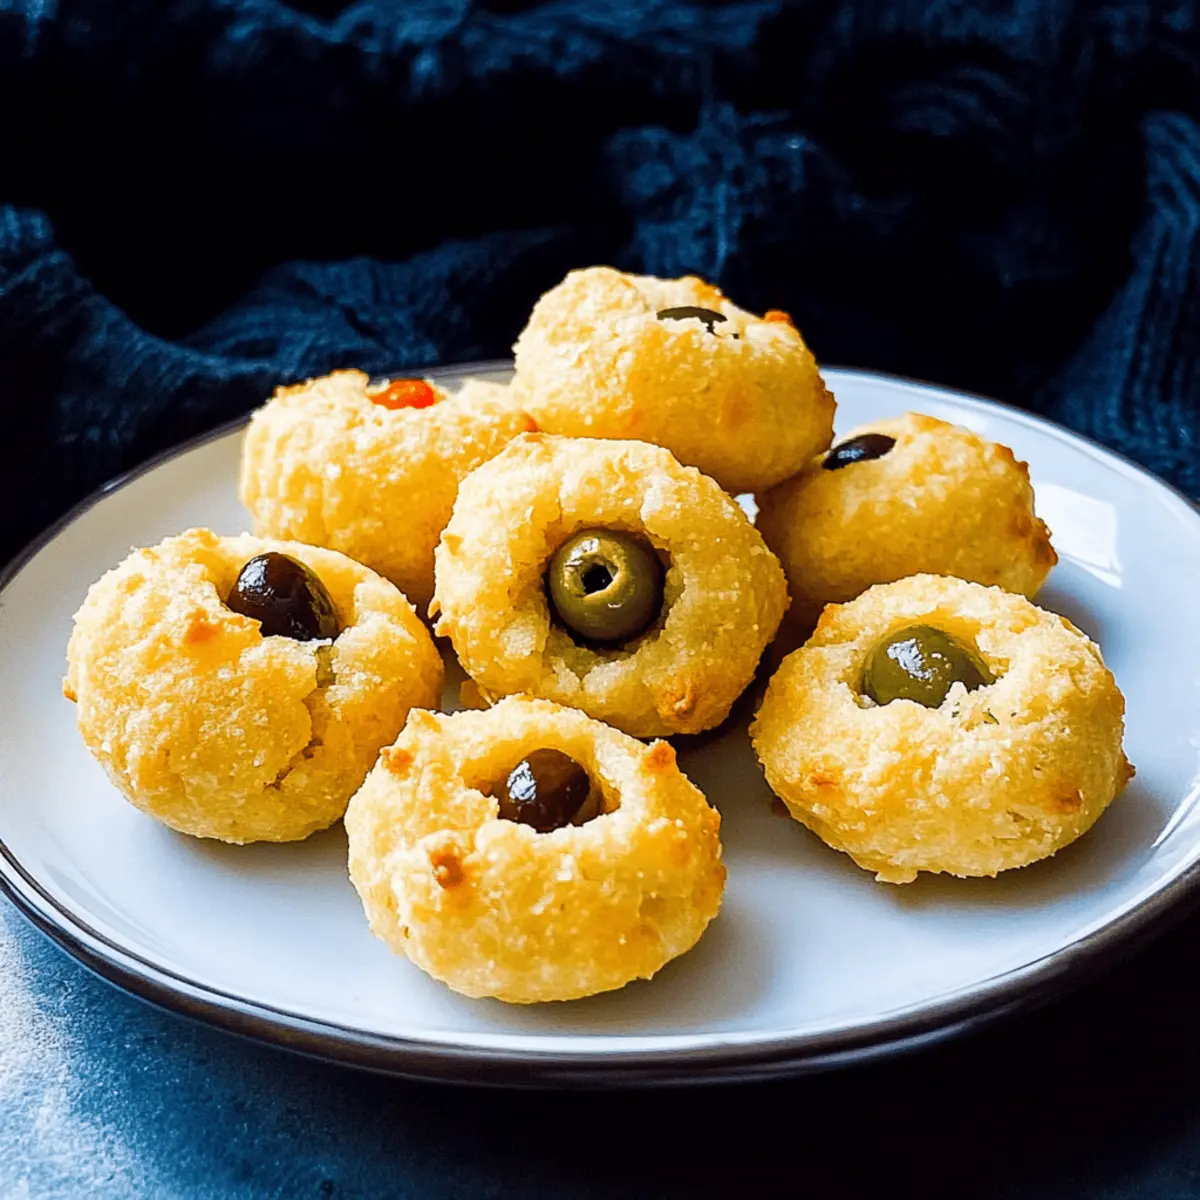
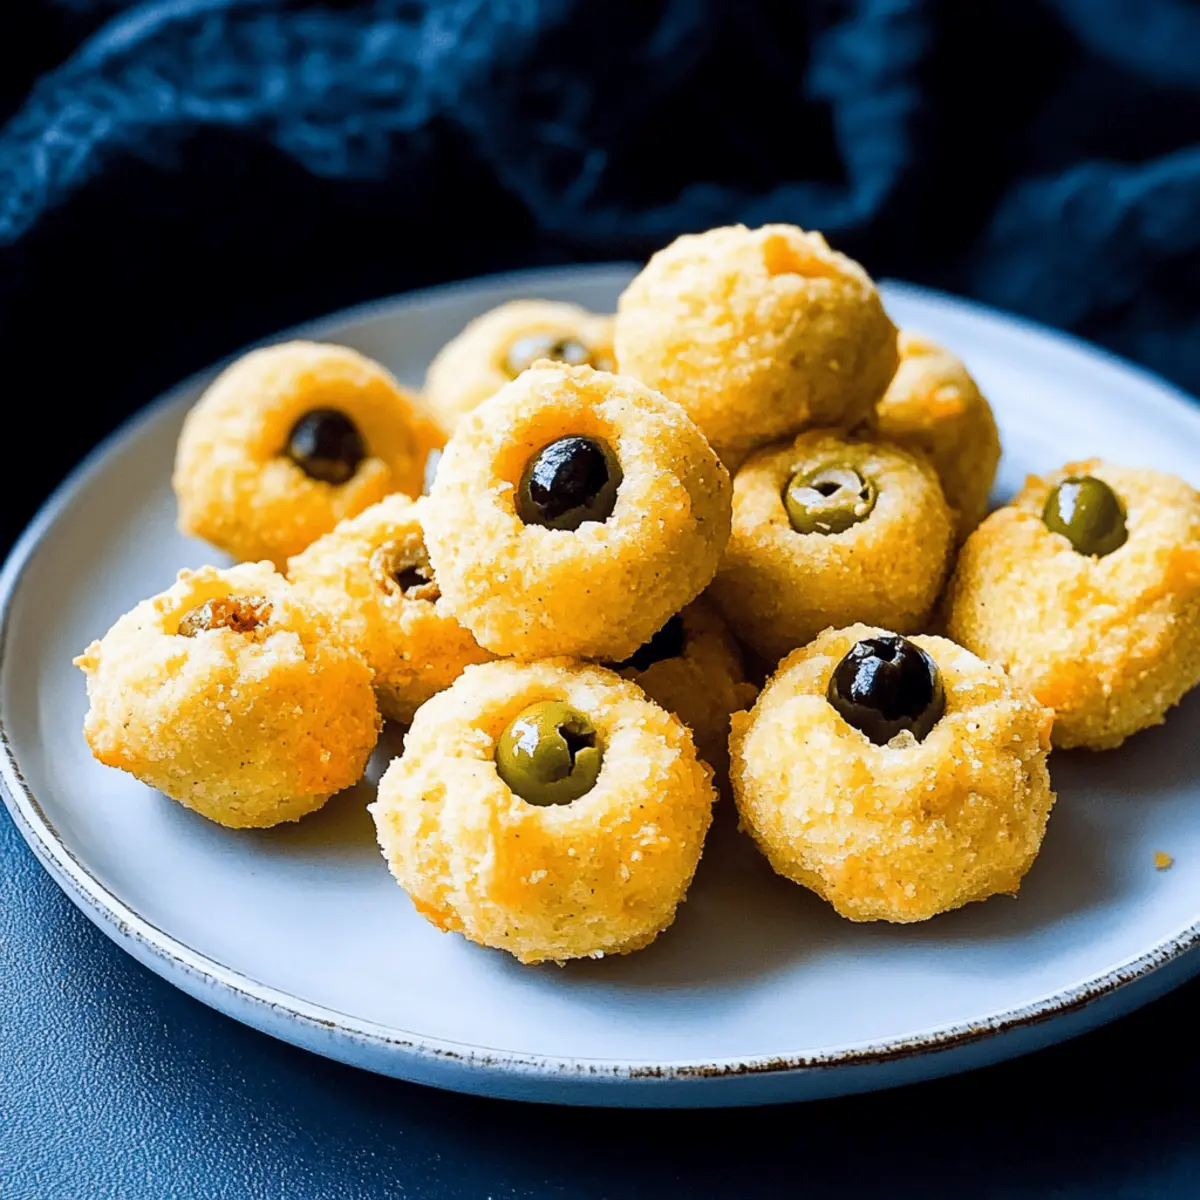
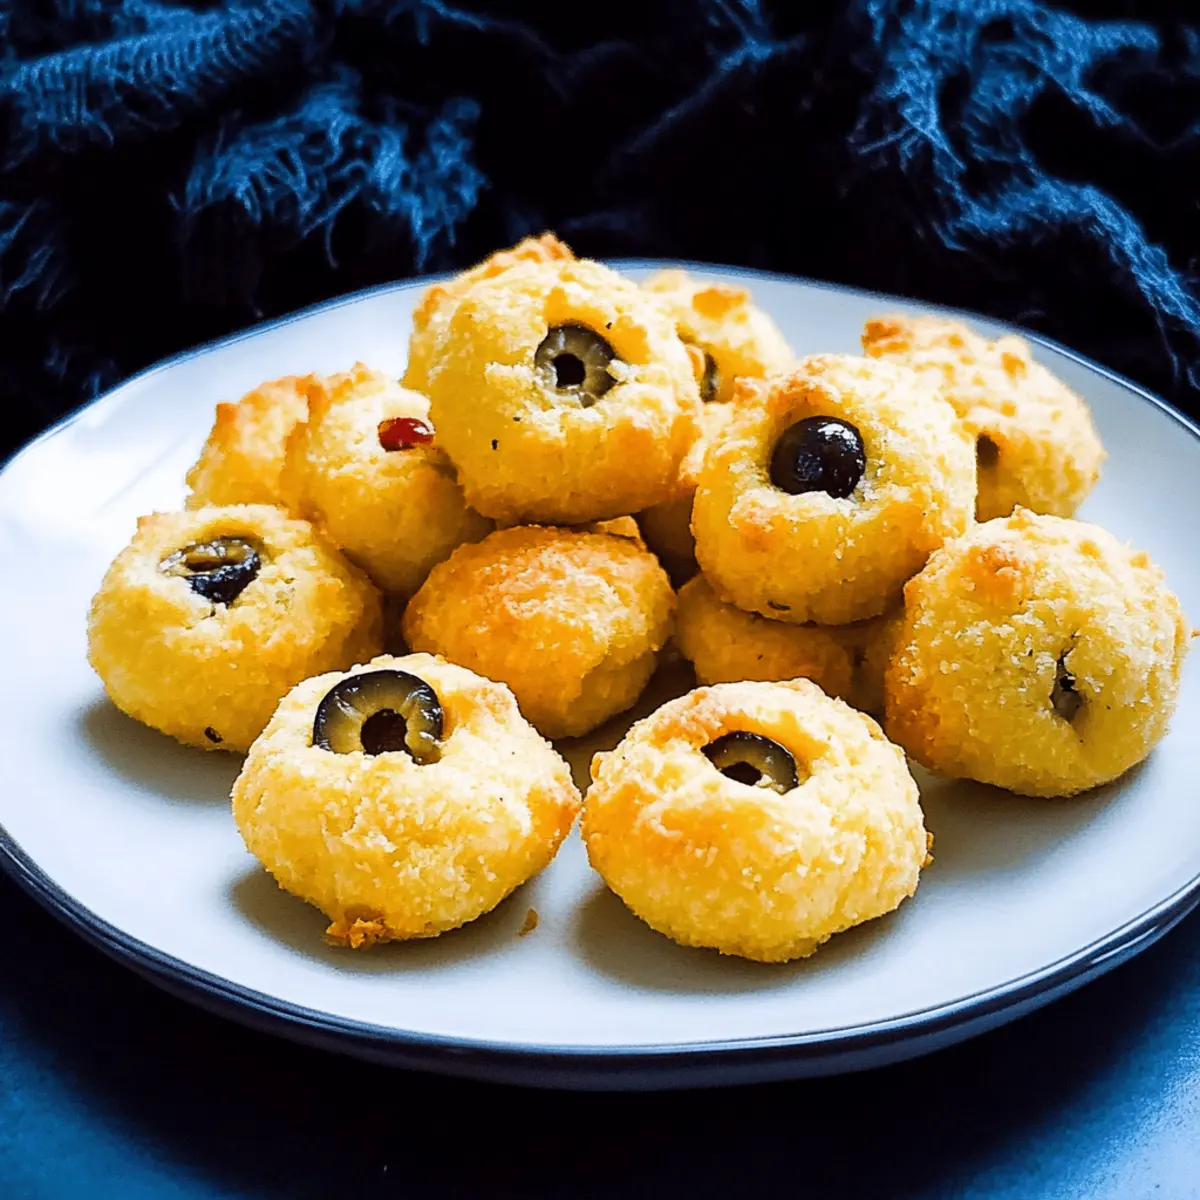
Scoop about a teaspoon of dough and flatten it in your palm. Encase each olive by carefully wrapping the dough around it, ensuring part of the olive remains exposed for that charming look. Repeat this process until all olives are wrapped, forming around 20 Cheese Olive Balls.
Step 6: Chill the Balls
Place the shaped Cheese Olive Balls on a baking sheet lined with parchment paper. Refrigerate them for one hour. Chilling allows the balls to firm up, helping them maintain their shape while baking. This is a great time to preheat the oven as well for the next step.
Step 7: Bake the Cheese Olive Balls
Preheat your oven to 400°F (200°C). Once ready, remove the Cheese Olive Balls from the refrigerator and bake for about 15-20 minutes. Keep an eye on them; they should turn golden brown and puff up beautifully, indicating they are ready to enjoy.
Step 8: Serve Warm
Once baked, let the Cheese Olive Balls cool for a few minutes before transferring them to a serving platter. Serve these delightful cheesy bites warm, either on their own or with your favorite dipping sauces. Their irresistible combination of flavors will surely impress your guests!
What to Serve with Spooky Cheese Olive Balls
These delightful bites are perfect companions for a festive spread or cozy gathering, making your table a feast for the senses.
-
Crispy Veggie Platter: Fresh, crunchy vegetables like carrots, celery, and bell peppers add a refreshing contrast and a pop of color to your appetizer spread. Pairing with a creamy dip elevates their appeal.
-
Savory Spinach Dip: A rich, creamy dip brimming with flavor complements the savory notes of the Cheese Olive Balls, creating a harmonious balance that will have everyone reaching for more.
-
Zesty Salsa: Bright, tangy salsa offers a delightful kick that contrasts wonderfully with the cheesy flavor, making every bite an adventure.
-
Sweet and Spicy Mustard: A tangy mustard with a kick pairs perfectly, enhancing the cheese's richness and adding depth to your experience.
-
Warm Breadsticks: Soft, buttery breadsticks provide a comforting side option, perfect for dipping and enjoying alongside your cheesy delight.
-
Herbed Cream Cheese Spread: A light, herby spread adds a creamy element that beautifully balances the richness of the Cheese Olive Balls, inviting guests to indulge.
-
Suggested Wine Pairing: A crisp Sauvignon Blanc or a light-bodied red like Pinot Noir complements the flavors of cheese and olives, enhancing the experience with every sip.
-
Seasonal Dessert: Finish off your meal with a spiced pumpkin pie or apple crisp, embracing the flavors of the season and adding a sweet contrast to the savory appetizers.
How to Store and Freeze Cheese Olive Balls
Fridge: Store any leftover Cheese Olive Balls in an airtight container for up to 3 days. Reheat in the oven at 350°F (180°C) for about 5-7 minutes until warm and crispy.
Freezer: For longer storage, freeze the unbaked Cheese Olive Balls on a baking sheet before transferring them to a freezer-safe bag. They can be frozen for up to 3 months.
Reheating: Bake frozen Cheese Olive Balls directly from the freezer at 400°F (200°C), adding an extra 5 minutes to the baking time.
Make-Ahead Tip: Prepare Cheese Olive Balls a day in advance and refrigerate before baking to make your party planning a breeze!
Expert Tips for Cheese Olive Balls
Freshly Grated Cheese: Use freshly grated cheddar cheese for superior melting and binding, ensuring your Cheese Olive Balls hold together perfectly.
Olive Drying: Make sure to thoroughly dry your olives; excess moisture can lead to a soggy dough, compromising the delightful texture.
Chill Time: Don’t skip the refrigeration step! Chilling the formed balls solidifies the dough, helping them maintain their shape during baking.
Baking Watch: Keep an eye on your Cheese Olive Balls while baking; they should puff up and turn a lovely golden hue, indicating they're done.
Dough Consistency: If your dough feels too sticky, add a little more flour until it reaches a soft yet manageable consistency for wrapping around olives.
Make Ahead Options
These Cheese Olive Balls are perfect for meal prep enthusiasts! You can prepare the dough up to 24 hours in advance, wrapping the olives and refrigerating them until you're ready to bake. For even longer storage, assemble the Cheese Olive Balls and freeze them unbaked for up to 3 months. Just remember to place them on a parchment-lined baking sheet before freezing to prevent sticking, and ensure they’re well covered to maintain their quality. When you're ready to enjoy, simply bake from frozen, adding a few extra minutes to the cooking time. This makes it easy to have a delightful appetizer prepared for your next gathering with minimal effort!
Cheese Olive Balls Variations & Substitutions
Feel free to get creative and make these Cheese Olive Balls uniquely yours – your taste buds will thank you!
-
Spicy Twist: Substitute cheddar with pepper jack cheese for an extra kick, tantalizing heat in every bite. Your guests will love the surprise!
-
Herb-Infused: Add dried herbs like oregano or thyme to the dough for a fragrant twist. Fresh flavors will elevate this dish even more!
-
Olive Swap: Replace the pimento-stuffed olives with Kalamata olives for a bolder, saltier flavor profile. Different olives open up exciting new tastes!
-
Veggie Delight: Swap the olives for small pickles or stuffed peppers, creating a delightful crunch that adds a fun surprise to each bite. Perfect for those who love a little tang!
-
Cheddar or Gouda: Use gouda cheese instead of cheddar for a richer, slightly sweet flavor that pairs beautifully with the crisp outer shell.
-
Nutty Addition: Incorporate finely chopped nuts, like walnuts or pecans, into the dough for a delightful crunch and depth of flavor. They add a wonderful texture and taste contrast.
-
Dipping Delights: Serve with homemade spicy mustard or garlic aioli for a delectable dipping experience. Both options will take these Cheese Olive Balls to the next level.
-
Make It Mini: For smaller, bite-sized treats, shape the dough into tiny balls and use cocktail olives to create perfect party snacks. These mini morsels are great for sharing!
For additional festive inspiration, don’t forget to check out my Jello Salad to round out your party spread or consider trying my delectable Potato Blue Cheese dish for a unique flavor party hit! These easy variations will make every gathering memorable!
Cheese Olive Balls Recipe FAQs
How do I choose the right olives?
Absolutely! For the best flavor in your Cheese Olive Balls, opt for pimento-stuffed Manzanilla olives. These olives have a nice briny flavor that complements the cheddar well. Ensure they are well-drained before wrapping them in dough to prevent excess moisture, which can affect the ball's structure. If you’re after something bolder, Kalamata olives make a delicious substitution!
What’s the best way to store leftover Cheese Olive Balls?
Very! Store any leftover Cheese Olive Balls in an airtight container in the fridge for up to 3 days. For the best texture, when you reheat them, place them in a preheated oven at 350°F (180°C) for about 5-7 minutes until they’re warm and crispy again.
Can I freeze Cheese Olive Balls?
Absolutely! To freeze, form the Cheese Olive Balls but do not bake them first. Place on a baking sheet lined with parchment paper in a single layer and freeze until firm. Then, transfer to a freezer-safe bag. They can be frozen for up to 3 months. When you’re ready to enjoy them, bake straight from the freezer at 400°F (200°C), adding an extra 5 minutes to the baking time.
What should I do if my dough is too sticky?
If you find that your dough is too sticky to wrap around the olives, don't worry! Start by adding a little more all-purpose flour—about a tablespoon at a time—until it reaches a soft yet manageable consistency. Remember that slightly sticky dough is better than dry, so keep an eye on the texture; you want it to mold easily around the olives without falling apart.
Are there any dietary considerations for Cheese Olive Balls?
The more the merrier! Cheese Olive Balls can contain gluten and dairy, so if you have guests with dietary restrictions, consider using a gluten-free flour blend and a dairy-free cheese alternative. For those with a nut allergy, double-check the ingredient labels of any substitutes you use to ensure they’re safe for everyone.
Irresistible Cheese Olive Balls for Every Party Delight
Ingredients
Equipment
Method
- In a large mixing bowl, combine 2 cups of all-purpose flour, 1 teaspoon of dry mustard, and 1/4 teaspoon of cayenne pepper. Whisk until evenly blended.
- Add 1 cup of finely grated cheddar cheese and gently toss it with the dry mixture until the cheese is well coated.
- Create a well in the center of the mixture and pour in 1/2 cup of melted butter. Mix until it forms a cohesive dough.
- Pat your pimento-stuffed olives dry to absorb excess moisture.
- Scoop about a teaspoon of dough, flatten it, and wrap it around each olive, ensuring part of the olive remains exposed.
- Place the balls on a baking sheet and refrigerate for one hour.
- Preheat your oven to 400°F (200°C). Bake the Cheese Olive Balls for about 15-20 minutes until golden brown.
- Let the Cheese Olive Balls cool for a few minutes before serving warm.


Leave a Reply