As I toasted the first batch of these Hawaiian Roll Mini Grilled Cheese sandwiches, the aroma of melting cheese and buttery garlic wafted through my kitchen, instantly lifting my spirits. This delightful twist on the classic comfort food makes for an irresistibly kid-friendly meal that everyone will adore. With easy preparation and a charming sweetness from the Hawaiian rolls, these sandwiches are perfect for cozy weeknights or weekend gatherings. Plus, when paired with a comforting bowl of tomato soup, they become an unforgettable treat for anyone seeking a little culinary joy. Don't you just love how simple ingredients can bring so much happiness? Let’s dive into making these cheesy delights!
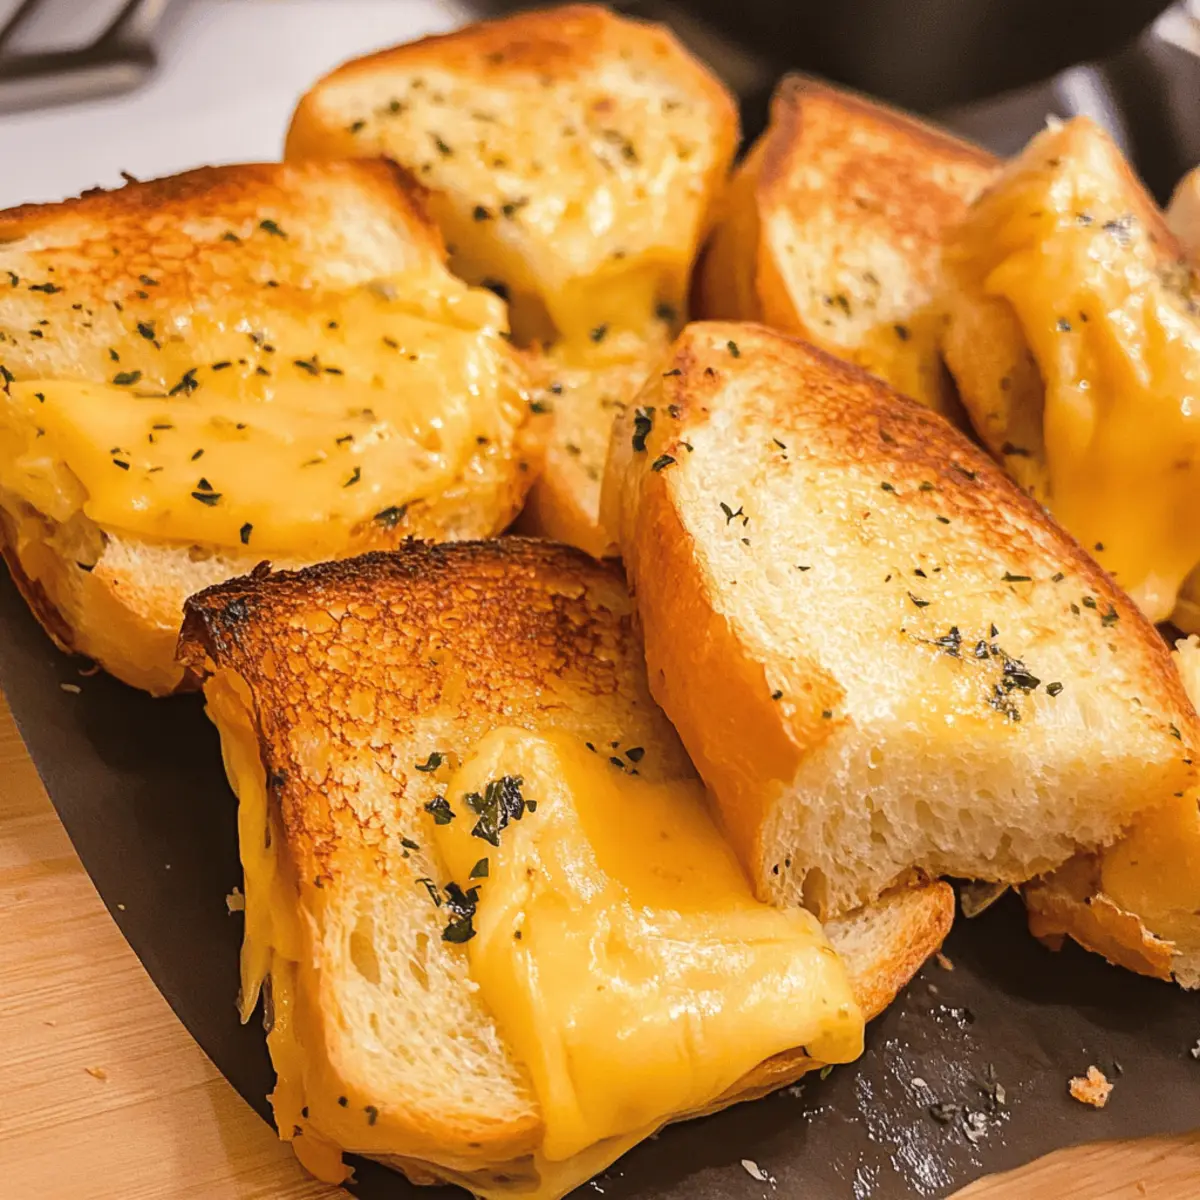
Why Is This Grilled Cheese Irresistible?
Cheesy Goodness: The delightful blend of melted cheese between sweet Hawaiian rolls creates a mouthwatering experience.
Quick and Easy: With minimal prep time, this recipe is perfect for busy evenings or unexpected guests.
Kid-Friendly: These mini sandwiches are a hit among children, making dinner time fun and enjoyable.
Versatile Flavor: Customize with your favorite cheeses or herbs; the possibilities are endless!
Perfect Pairing: Serve alongside a warm bowl of tomato soup for a comforting, classic combo that everyone loves.
If you're interested in other comforting meals, try pairing these with Pumpkin Cinnamon Roll Muffins for a delightful twist, or enjoy them with a side of Grilled Mushrooms Savory for an added gourmet touch!
Hawaiian Roll Grilled Cheese Ingredients
For the Sandwiches
- Hawaiian Sweet Rolls – The foundation for this grilled cheese, offering a sweet and soft bite; feel free to use any sweet bread if you prefer.
- Butter (softened) – Adds a rich flavor and helps achieve that golden-brown crust; substitute with margarine for a dairy-free option.
- Cheese (various types) – Essential for the gooey filling; think cheddar, mozzarella, or American cheese; customize with your melting cheese of choice!
For the Garlic Herb Butter
- Oregano – Provides a lovely aromatic flavor; Italian seasoning is a fantastic alternative if you want to mix things up.
- Garlic Powder – Infuses the butter with savory depth; fresh minced garlic can work as well, but use it sparingly for balance.
- Parsley – Brightens the dish with freshness and a pop of color; fresh parsley is highly recommended over dried for maximum taste.
These Hawaiian Roll Grilled Cheese sandwiches are not just a meal; they are a heartwarming experience that combines the sweetness of the rolls with the savory goodness of cheese and herbs!
Step‑by‑Step Instructions for Hawaiian Roll Grilled Cheese
Step 1: Preheat the Oven
Begin your culinary journey by preheating your oven to 350°F (175°C). This step is crucial for ensuring that your Hawaiian Roll Grilled Cheese sandwiches turn golden and crispy during baking. While the oven heats up, gather all your ingredients and feel the excitement build for this cheesy creation!
Step 2: Prepare the Garlic Herb Butter
In a mixing bowl, combine the softened butter with oregano, garlic powder, and freshly chopped parsley. Use a fork or spatula to blend these savory ingredients until well-mixed and fluffy. The aroma of the garlic herb butter will start to tantalize your senses, setting the stage for the delicious Hawaiian Roll Mini Grilled Cheese that awaits!
Step 3: Slice the Hawaiian Rolls
Carefully slice the Hawaiian sweet rolls into thirds, creating perfect mini sandwich pieces. Spread a generous amount of the homemade garlic herb butter onto each slice, ensuring even coverage for a rich taste. This step infuses every bite of your Hawaiian Roll Grilled Cheese with that incredible buttery flavor, making it all the more irresistible.
Step 4: Assemble the Sandwiches
Now it’s time to fill those buttery rolls! Layer your choice of cheese between two slices of the buttered Hawaiian rolls, creating delightful mini sandwiches. Press them gently together to ensure the cheese holds during baking. Feel free to mix different types of cheese to elevate your Hawaiian Roll Grilled Cheese experience; the combinations are endless!
Step 5: Bake the Sandwiches
Place your assembled Hawaiian Roll Mini Grilled Cheese sandwiches on a baking sheet, spreading them out to allow even heating. Bake them in the preheated oven for 20-25 minutes, flipping them halfway through to achieve a beautifully golden crust on both sides. Keep an eye on the sandwiches, as you want the cheese to thoroughly melt and the rolls to toast to perfection.
Step 6: Serve and Enjoy
Once baking is complete, remove the sandwiches from the oven and let them cool slightly. The golden brown exterior will beckon for your attention as the gooey melted cheese awaits. Serve these delightful Hawaiian Roll Grilled Cheese sandwiches immediately, perhaps with a side of rich tomato soup for dipping, making it a heartwarming meal perfect for family gatherings or cozy nights in.
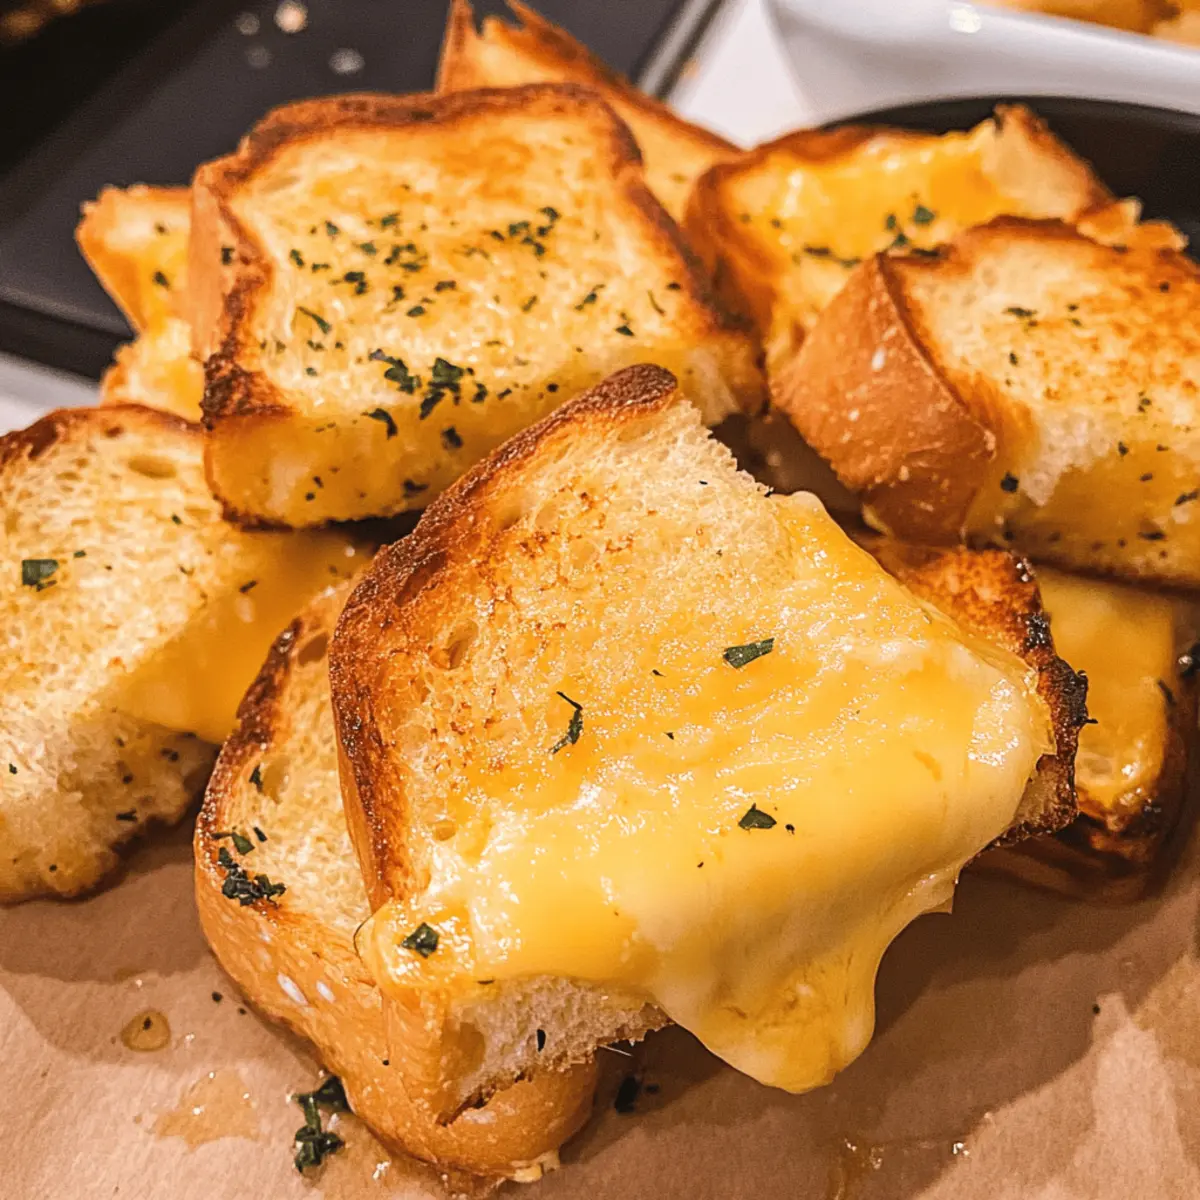
Hawaiian Roll Grilled Cheese Variations
Feel free to get creative with this fantastic recipe and make it your own with these delightful twists!
-
Cheese Blend: Use smoked gouda and pepper jack for a smoky, zesty flavor that adds a fun kick. The combination melts beautifully and adds a layer of complexity to the classic taste.
-
Hearty Additions: Add crispy cooked bacon or thinly sliced ham to make your sandwiches even more satisfying. This addition will transform your mini grilled cheese into a meal that even the hungriest kids will love!
-
Herb Variations: Swap oregano for fresh thyme or dill in the garlic herb butter for a new aromatic experience. Each herb will impart its own unique freshness, elevating the flavors in your grilled cheese.
-
Spicy Kick: Toss in a pinch of cayenne pepper or a dash of hot sauce in your garlic butter for a warm, spicy touch. This will give your sandwiches a delightful surprise that complements the sweetness of the rolls.
-
Vegetable Boost: Add slices of ripe tomatoes or fresh spinach leaves for an added layer of nutrition and flavor. Not only will it make the sandwiches more colorful, but it’ll also sneak in some veggies the kids might not notice!
-
Gluten-Free Option: Use gluten-free bread or rolls to create a delicious version for those with dietary restrictions. You won’t lose any of the beloved flavors, and everyone can join in!
-
Sweet Surprise: Drizzle a little honey or maple syrup over the cheese before baking for a sweet and savory combination that’s truly irresistible. This unexpected sweetness plays perfectly with the Hawaiian rolls!
-
Tomato Soup Twist: To elevate your comfort soup, try blending in some roasted red peppers or basil for a gourmet touch. Pairing these sandwiches with a richly flavored soup will create a beautifully balanced meal.
If you enjoy experimenting with flavors, you might also savor the combination of these grilled cheese sandwiches with Pumpkin Cinnamon Roll Muffins. This combination is sure to lift your spirits with its delightful texture and flavor contrasts!
Expert Tips for Hawaiian Roll Grilled Cheese
-
Use Softened Butter: Ensure your butter is softened but not melted to avoid soggy rolls and achieve that perfect golden crust.
-
Mix Cheese Varieties: Experiment by combining different cheese types, like smoked gouda or sharp cheddar, for a richer Hawaiian Roll Grilled Cheese experience.
-
Pre-Bake Assembly: Assemble your sandwiches right before baking to ensure they are crispy and warm when served; this keeps the texture delightful.
-
Utilize Parchment Paper: Line your baking sheet with parchment paper for easier cleanup and to prevent sandwiches from sticking.
-
Check on Doneness: Keep an eye on the sandwiches while baking; you want a perfectly toasted exterior and melted cheese without overdoing it.
How to Store and Freeze Hawaiian Roll Grilled Cheese
Fridge: Store leftover Hawaiian Roll Grilled Cheese in an airtight container for up to 3 days. Reheat in the oven to maintain crispness and meltiness.
Freezer: For longer storage, wrap sandwiches individually in plastic wrap, then place in a freezer bag. They can be frozen for up to 1 month.
Reheating: To reheat, bake from frozen at 350°F (175°C) for 15-20 minutes or until heated through. This prevents them from getting soggy and keeps them delicious.
Prep Ahead: You can prepare the sandwiches up to an hour before baking and keep them in the refrigerator until you're ready to pop them in the oven!
Make Ahead Options
Preparing these Hawaiian Roll Mini Grilled Cheese sandwiches in advance is a fantastic way to save time during busy weeknights! You can assemble the sandwiches up to 24 hours ahead of time; simply place them covered in the refrigerator to keep them fresh. If you want to take it a step further, you can mix the garlic herb butter and store it in the fridge for up to 3 days. Just before baking, spread the butter on the rolls, layer your choice of cheese, and let them sit at room temperature for about 15 minutes to prevent cold centers. When you’re ready to enjoy, bake the sandwiches as instructed, and they will be just as delicious as if freshly made, providing you with the comforting flavors you love!
What to Serve with Hawaiian Roll Mini Grilled Cheese?
These cozy sandwiches are not only delicious on their own; they also shine when paired with complementary sides that enhance every bite.
-
Warm Tomato Soup: The perfect classic pairing; its creamy texture and tangy flavor balance the sweetness of the Hawaiian rolls beautifully. Dip and savor!
-
Crispy Sweet Potato Fries: Their natural sweetness and crunch create a delightful contrast with the cheesy sandwiches, adding a fun twist to your meal.
-
Garden Salad: A fresh medley of leafy greens and colorful veggies adds a light, refreshing touch, making the meal feel more balanced and vibrant.
-
Pickles or Pickled Veggies: The tanginess of pickles cuts through the richness of the grilled cheese, offering a zesty flavor that elevates the entire experience.
-
Fruit Skewers: Fresh fruits such as pineapple, grapes, and strawberries provide a burst of sweetness and freshness, perfect as a light dessert or side.
-
Macaroni and Cheese: For the ultimate comfort food combo, a creamy mac and cheese complements the grilled cheese, creating a nostalgic and hearty meal.
-
Sparkling Lemonade: A refreshing drink to cleanse the palate, its citrusy notes highlight the savory flavors of the grilled cheese so perfectly.
-
Chocolate Chip Cookies: End the meal on a sweet note; warm cookies are the perfect indulgent treat that everyone will love!
Feel free to mix and match these pairings to create a delightful family feast that makes everyone's taste buds sing!
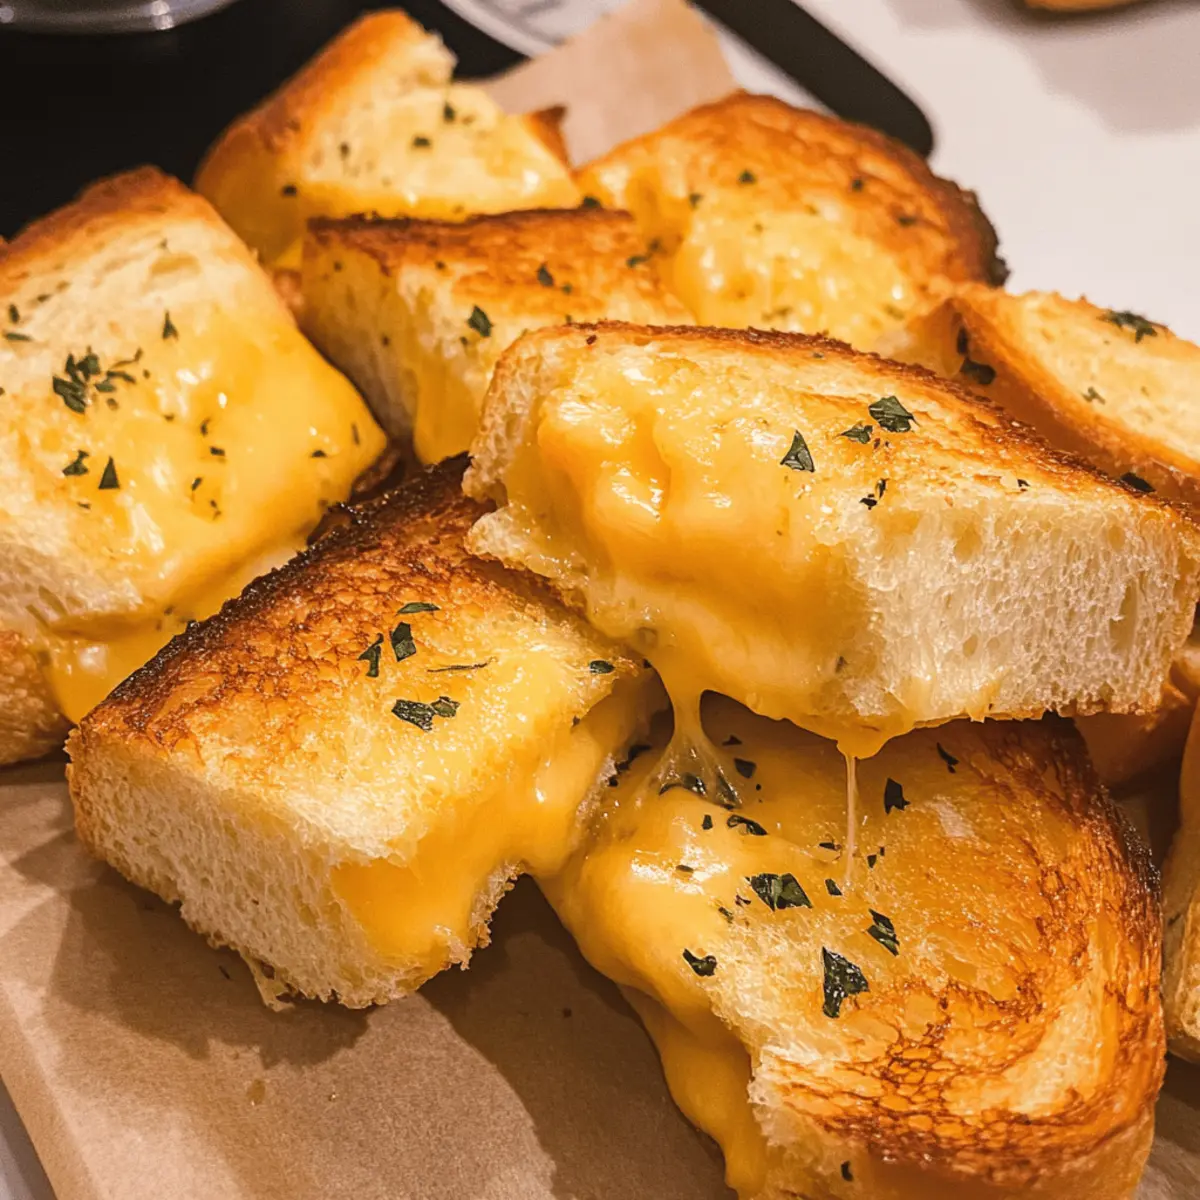
Hawaiian Roll Grilled Cheese Recipe FAQs
How do I select ripe Hawaiian rolls?
Absolutely! When selecting Hawaiian rolls, look for ones that are soft and have a slight sheen on the surface. They should be free of any dark spots or mold; fresh rolls will have a sweet aroma and a fluffy texture. If you can, opt for rolls that are from the bakery section for the best taste.
What is the best way to store leftover Hawaiian Roll Grilled Cheese?
For optimal freshness, store leftover Hawaiian Roll Grilled Cheese sandwiches in an airtight container in the fridge for up to 3 days. If you want to keep them crispy, I recommend reheating them in the oven rather than the microwave, which can make them soggy. Just pop them in a preheated oven at 350°F (175°C) for a few minutes until warm.
Can I freeze Hawaiian Roll Grilled Cheese sandwiches?
Absolutely! To freeze, wrap each assembled sandwich in plastic wrap and place them in a resealable freezer bag. They can be frozen for up to 1 month. When you're ready to enjoy, bake them straight from the freezer at 350°F (175°C) for about 15-20 minutes, flipping halfway through to ensure even warming.
What should I do if my sandwiches are soggy after baking?
Very! If your Hawaiian Roll Grilled Cheese sandwiches turn out soggy, it often means the butter was too melted before baking or the rolls were too moist. For next time, make sure to use softened but not melted butter, and consider using a baking sheet lined with parchment paper to help with crispiness.
Are there any dietary considerations for making Hawaiian Roll Grilled Cheese?
Definitely! If you have dietary restrictions, you can easily adapt this recipe. For a dairy-free option, use margarine for the butter and dairy-free cheese alternatives. Just ensure that the Hawaiian rolls you choose fit your dietary needs, as some may contain milk or eggs. Always check the labels!
Can these sandwiches be prepared ahead of time?
Yes! You can assemble the Hawaiian Roll Grilled Cheese sandwiches up to an hour before baking. Just keep them covered in the refrigerator until you're ready to bake. This makes it super convenient for busy weeknights, allowing you to pop them into the oven right before serving for maximum freshness!
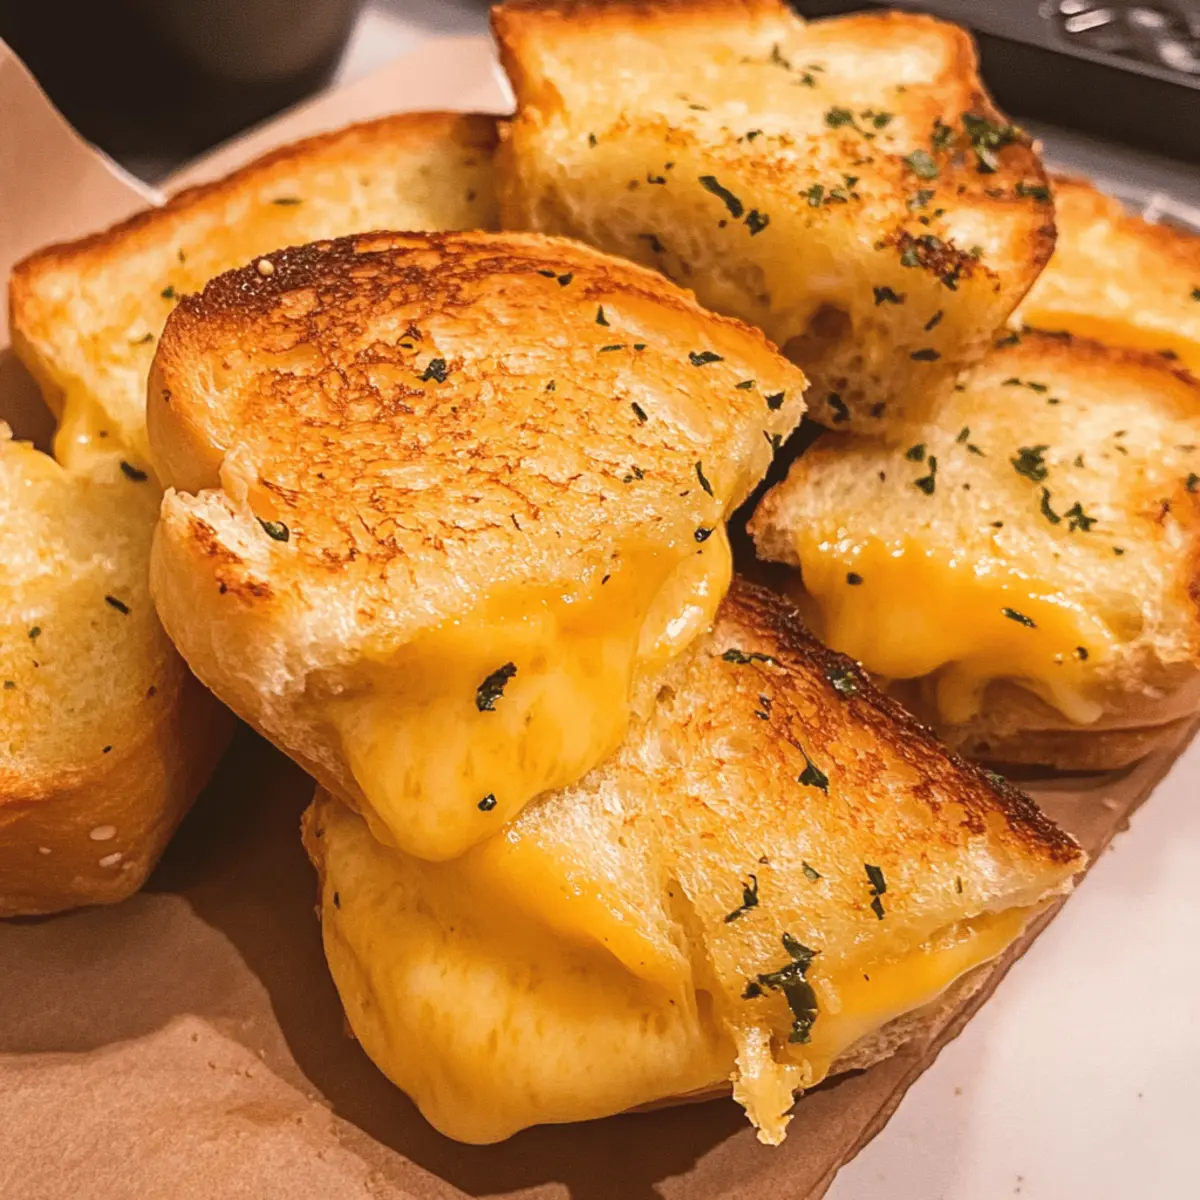
Hawaiian Roll Grilled Cheese That Will Melt Your Heart
Ingredients
Equipment
Method
- Preheat your oven to 350°F (175°C).
- Combine softened butter with oregano, garlic powder, and chopped parsley in a mixing bowl.
- Slice the Hawaiian sweet rolls into thirds and spread garlic herb butter on each slice.
- Layer your choice of cheese between two slices of the buttered Hawaiian rolls.
- Bake for 20-25 minutes, flipping halfway through to achieve a golden crust.
- Remove from oven, let cool slightly, and serve immediately.



Leave a Reply